Irregular French Pearl Nail Art — Elegant Step-by-Step Tutorial
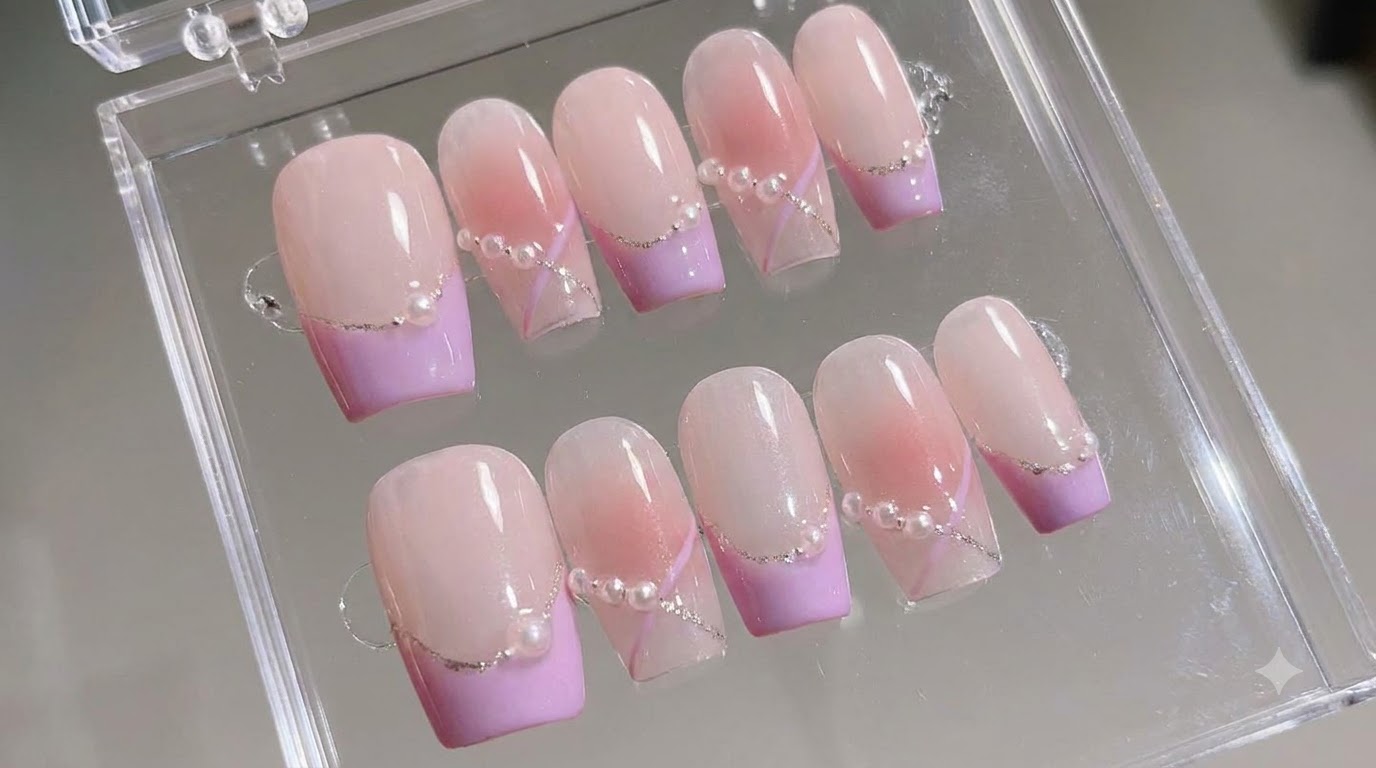
Discover how to create chic irregular French pearl nail art featuring ice-translucent milk tea pink bases, abstract purple tips, and delicate platinum line accents.
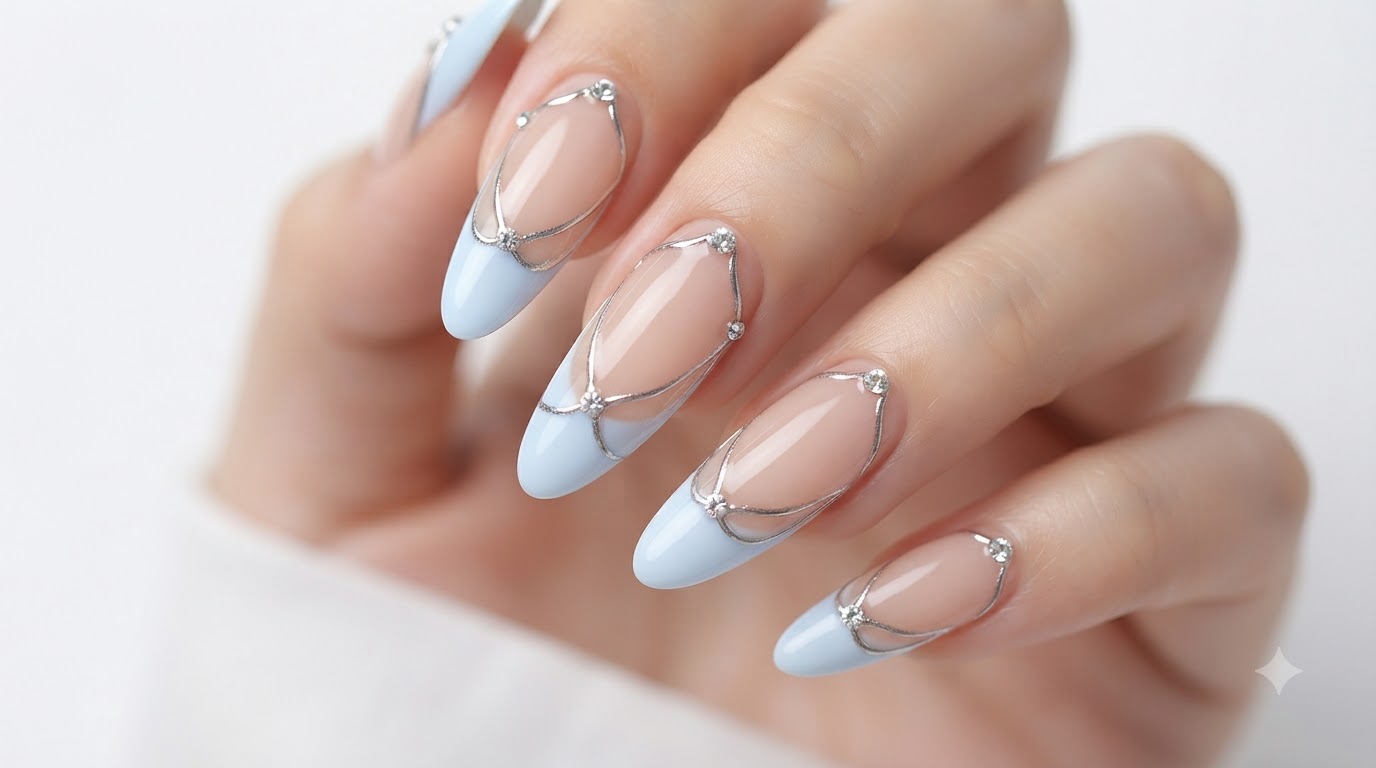
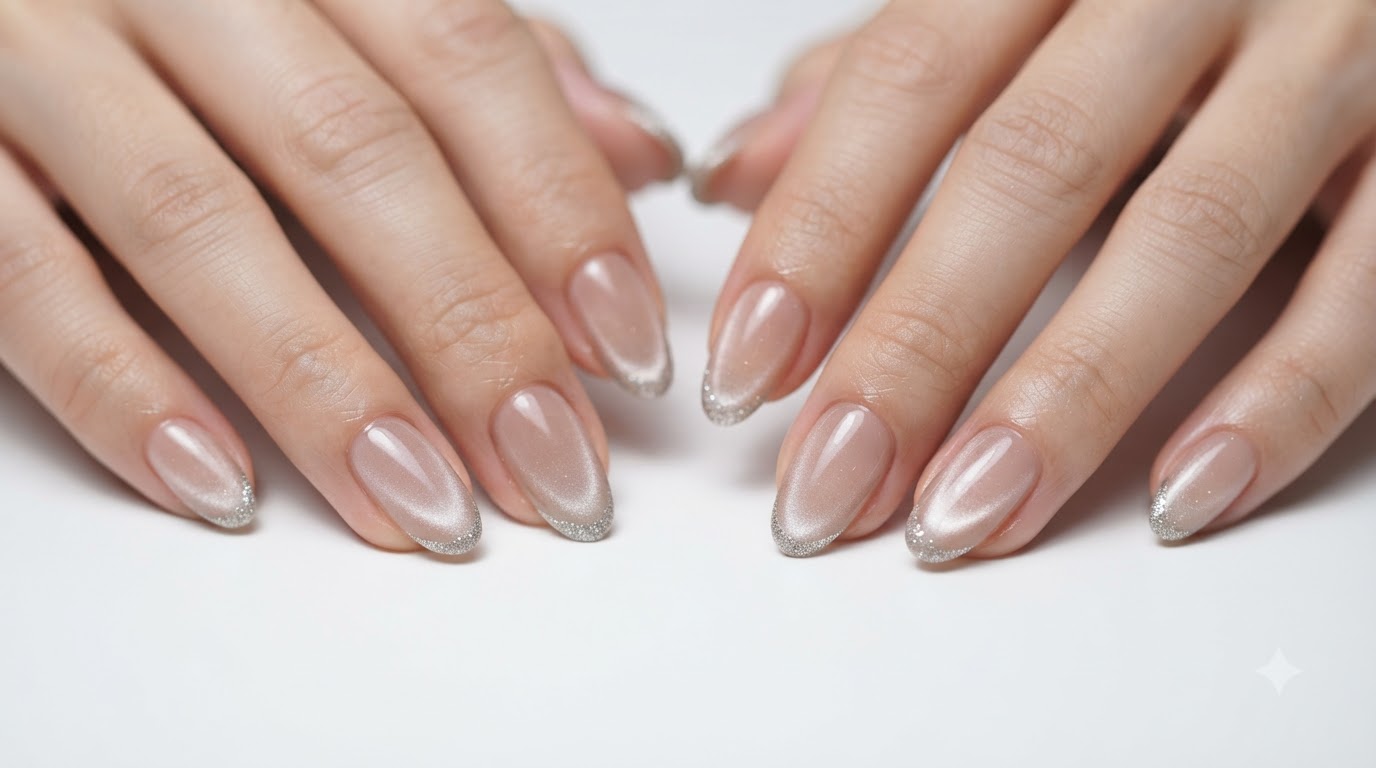
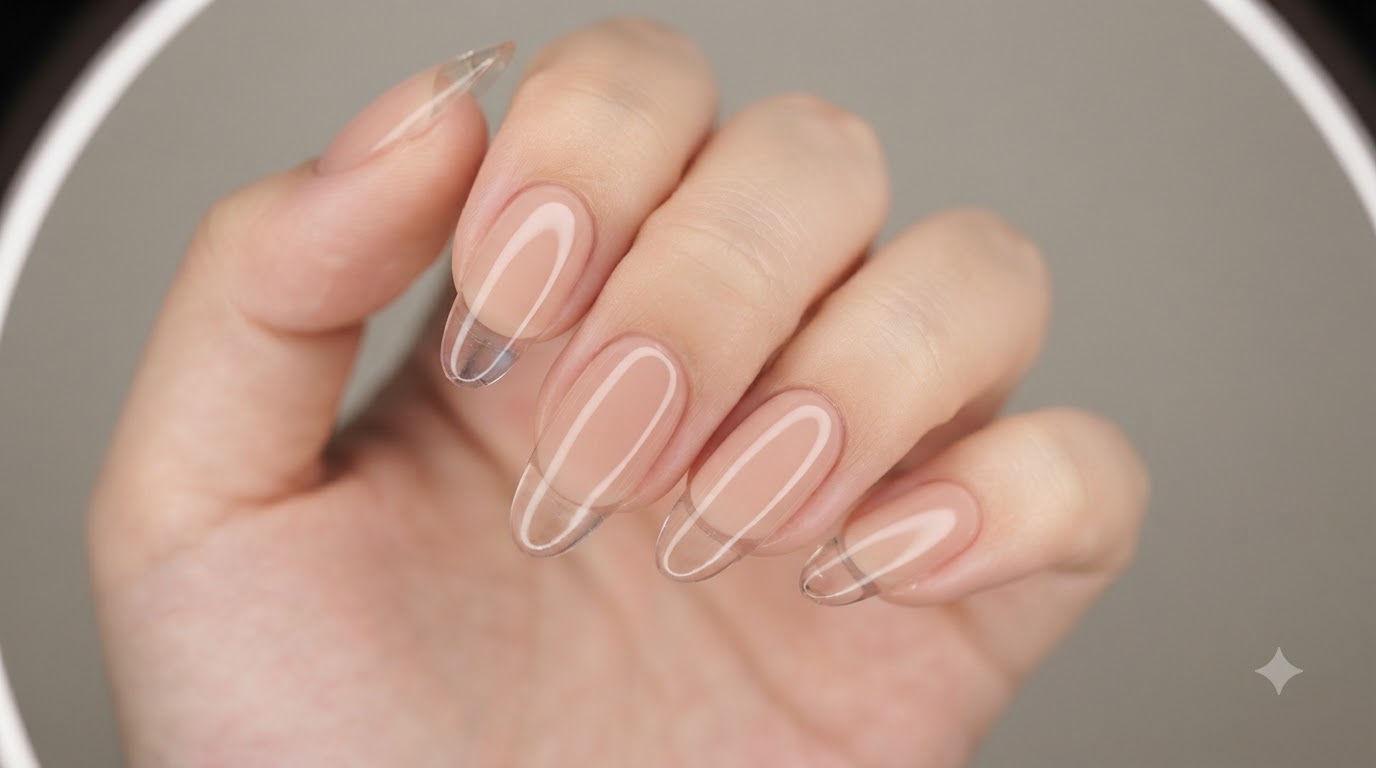
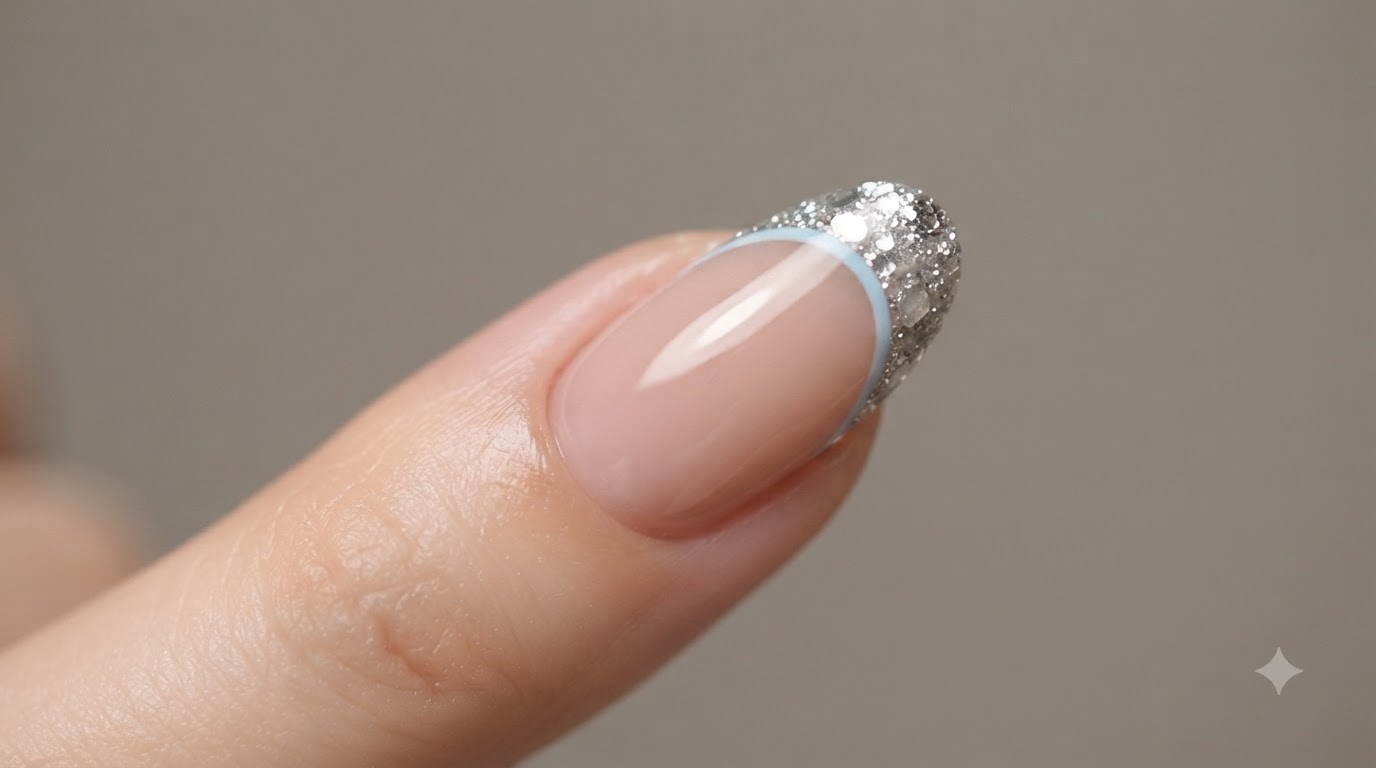
Elevate your manicure game with this stunning irregular French pearl nail art design. Combining an ice-translucent milk tea pink base with soft gradient effects and playful, wavy purple French tips, this look achieves the perfect balance of modern abstract style and timeless elegance. Delicate platinum lines paired with tiny pearls and metallic steel beads add a touch of sophisticated texture, making it a standout choice for any special occasion or everyday luxury.
Steps
- 1Apply base gel to nail tips
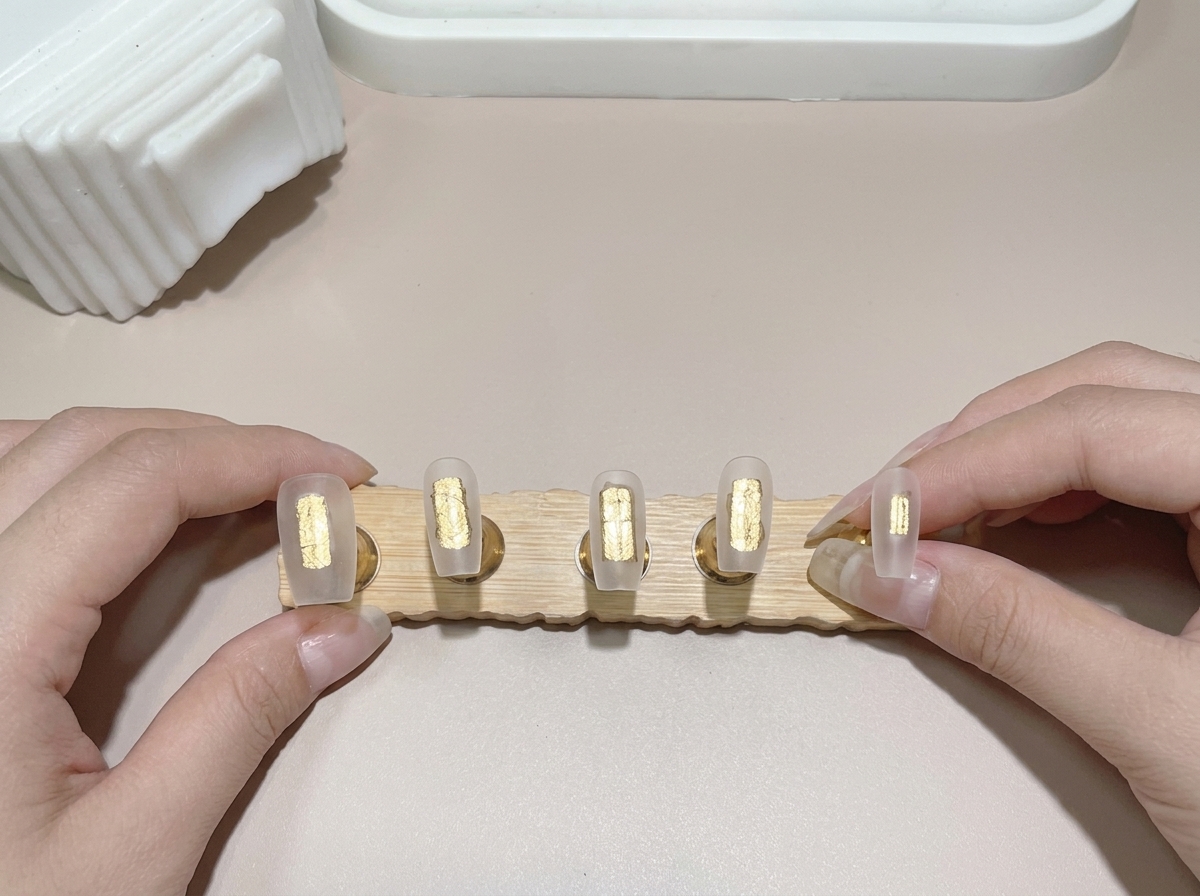
Apply a thin and even layer of base gel to all the prepared nail tips secured on the wooden display stand using a brush. Ensure complete coverage without pooling at the edges. This foundational layer creates an adhesive surface for the upcoming color layers. Cure under a UV or LED lamp as required.
Tip: Applying too thick of a base coat can cause it to wrinkle or cure unevenly under the lamp. - 2Apply ice-translucent milk tea gel
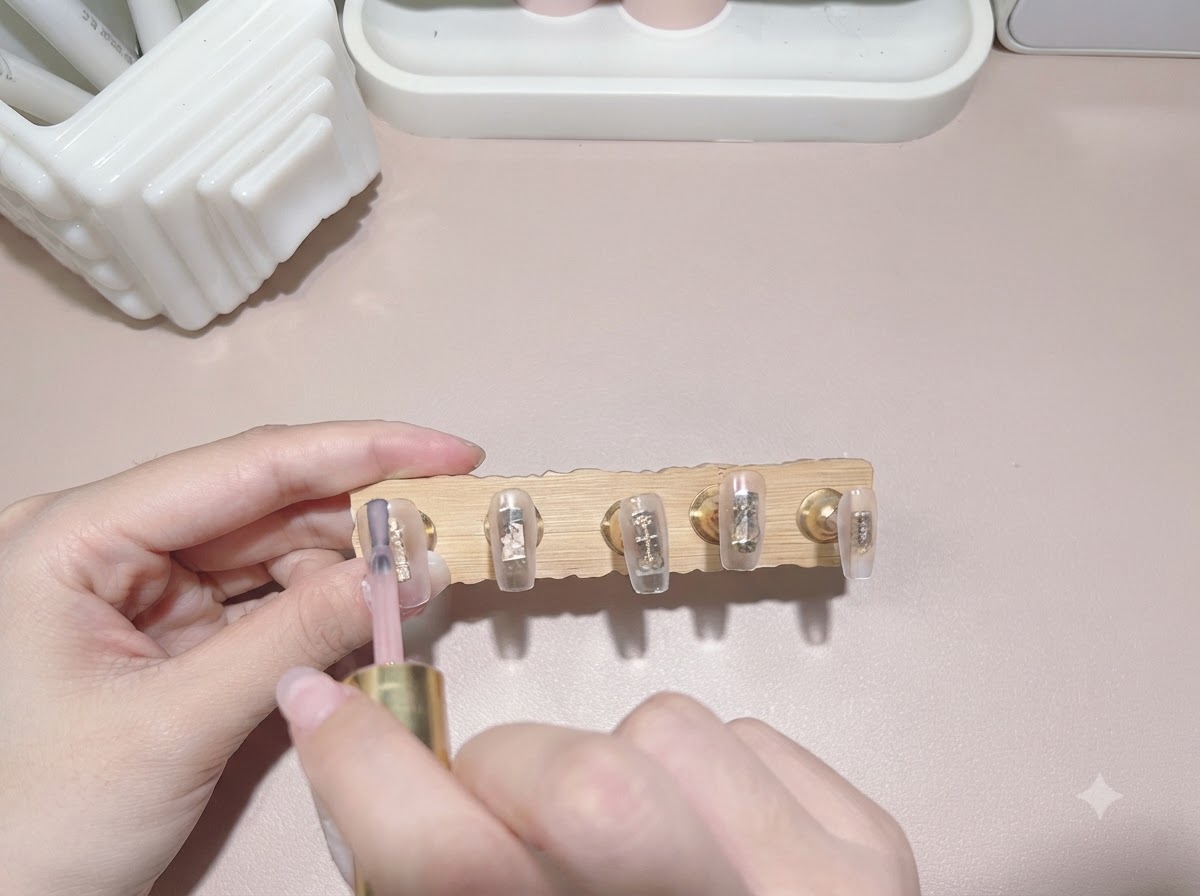
Apply the first layer of ice-translucent milk tea colored gel evenly across all the nail tips on the display stand. Make sure the application is smooth and streak-free to achieve the desired translucent effect. Cure the layer under the UV or LED lamp before proceeding.
Tip: Keep the strokes light and uniform to maintain the clean, translucent quality of the milk tea color. - 3Apply Second Base Color Layer
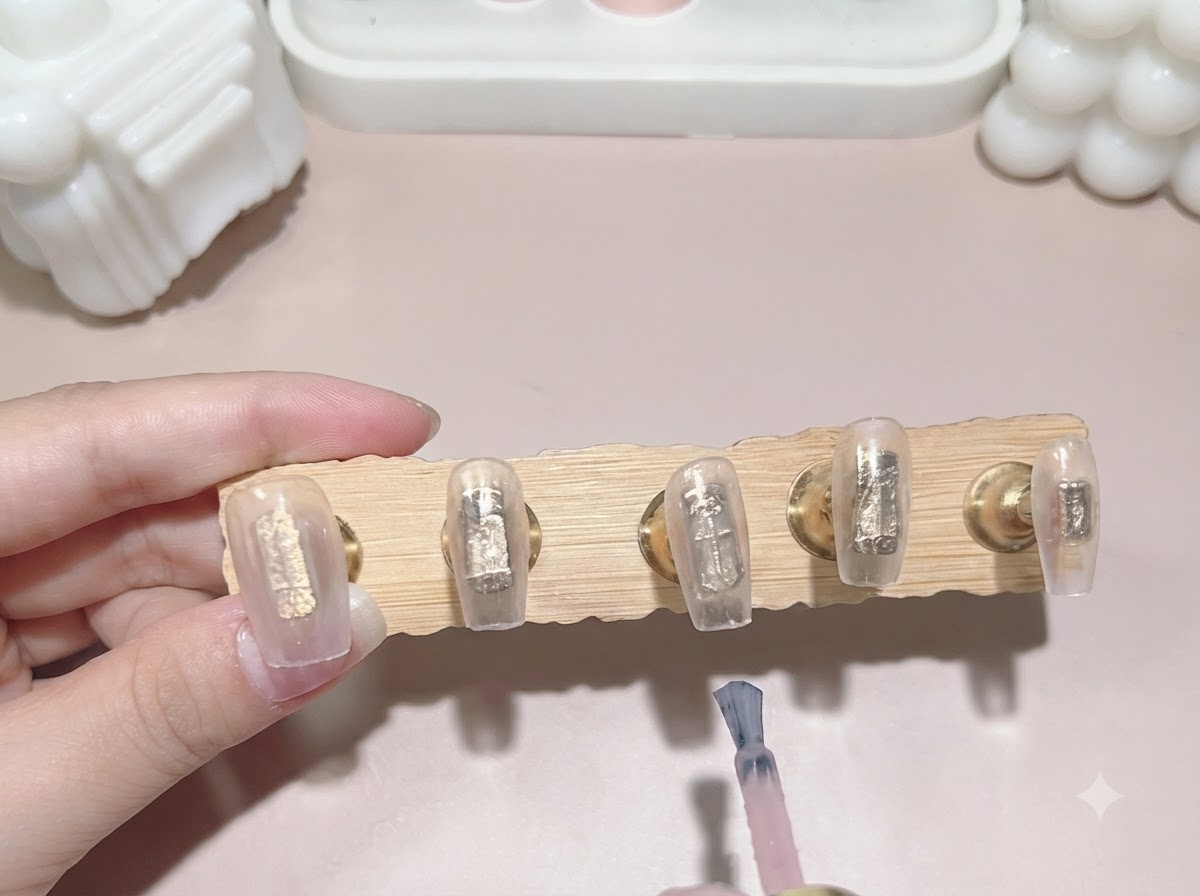
Apply a second layer of the ice-translucent milk tea colored gel across the nail tips to ensure even coverage and build up the opacity. Brush the color smoothly from the cuticle area down to the free edge, checking that there are no streaks. Once all the nails are completely and evenly coated, cure them fully under your UV or LED lamp.
Tip: Applying two thin layers of a translucent gel always provides a better, more even finish than one thick layer, which can wrinkle or pool during curing. - 4Apply Blooming Gel
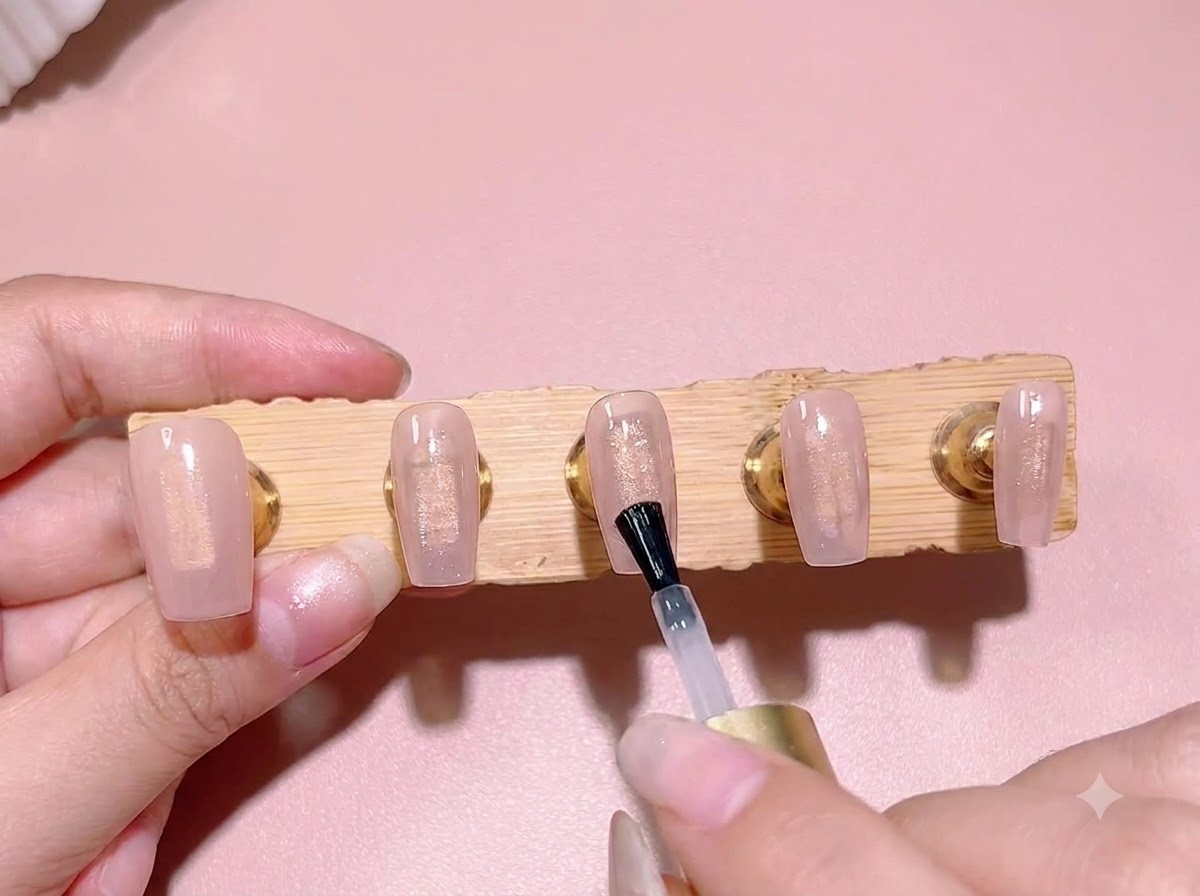
Apply a smooth, even layer of clear blooming gel over the cured base color on the index and middle fingernails. This specialty gel is designed to help any wet polish placed on top of it disperse naturally and seamlessly. Do not cure the nails after applying this layer; the surface must remain wet for the blooming effect to work correctly in the next step.
Tip: Keep the blooming gel application relatively thin and even to maintain control over how much the top color disperses. - 5Create a Soft Pink Gradient
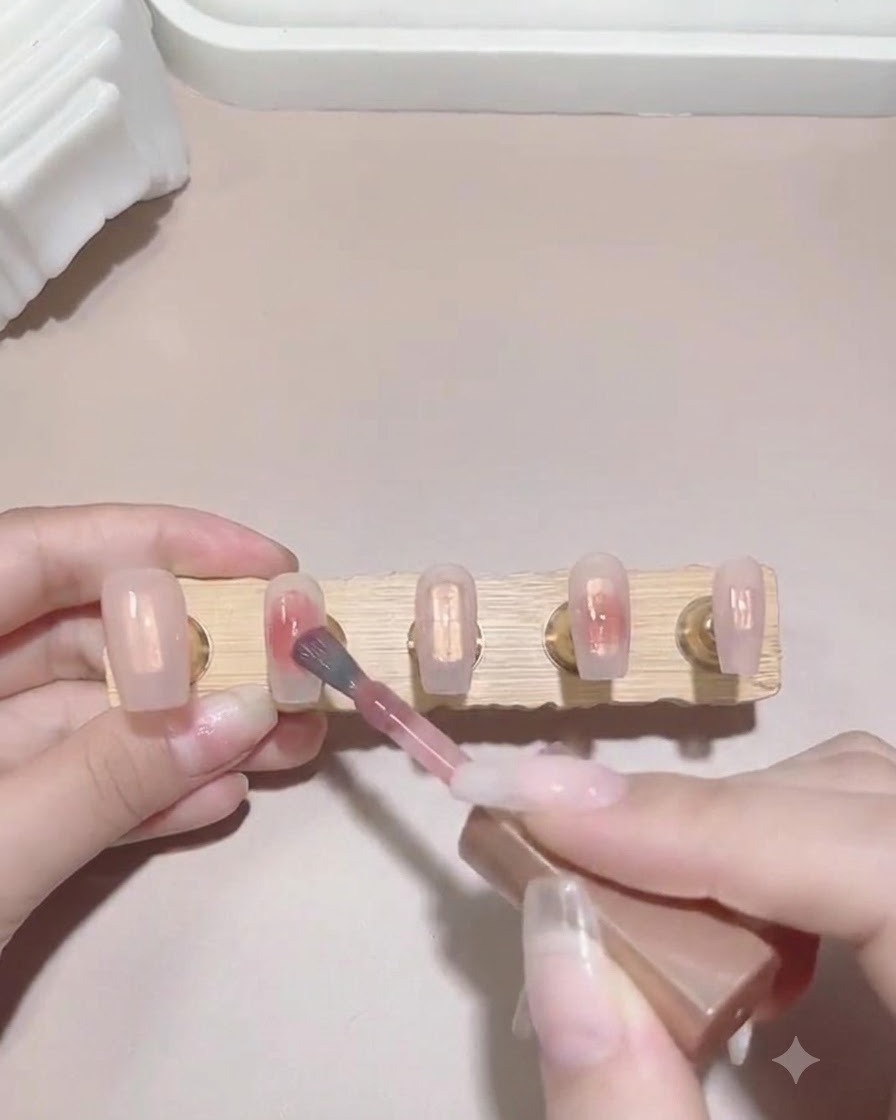
While the clear blooming gel is still wet, dab a small amount of milk tea pink gel polish directly onto the nail surface. Immediately take a fine detail brush and gently sweep the edges of the pink polish outward. The wet blooming gel will naturally help the color diffuse, blending it into a soft, ethereal gradient effect across the nail.
Tip: Use a very light, feathery touch with your detail brush to softly guide the color rather than dragging or pressing into it aggressively. - 6Cure gradient color layer
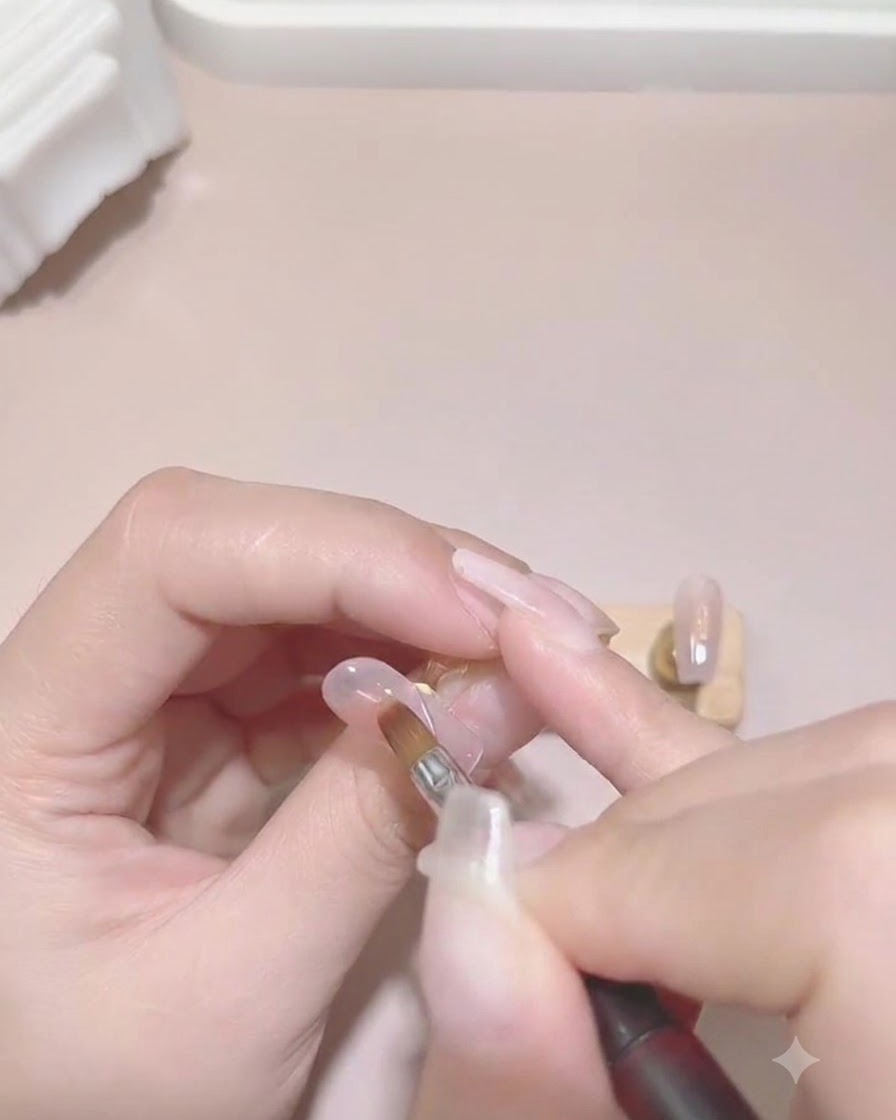
Place the hand under the UV or LED lamp to cure the gradient color layer. Ensure the hand is positioned evenly to allow light to reach all surfaces of the nails, setting the blended color design completely before moving on to the next decorative step.
Tip: Make sure your fingers lie flat inside the lamp so the light cures the sides and tips evenly without shifting the wet color layers. - 7Draw a diagonal purple line
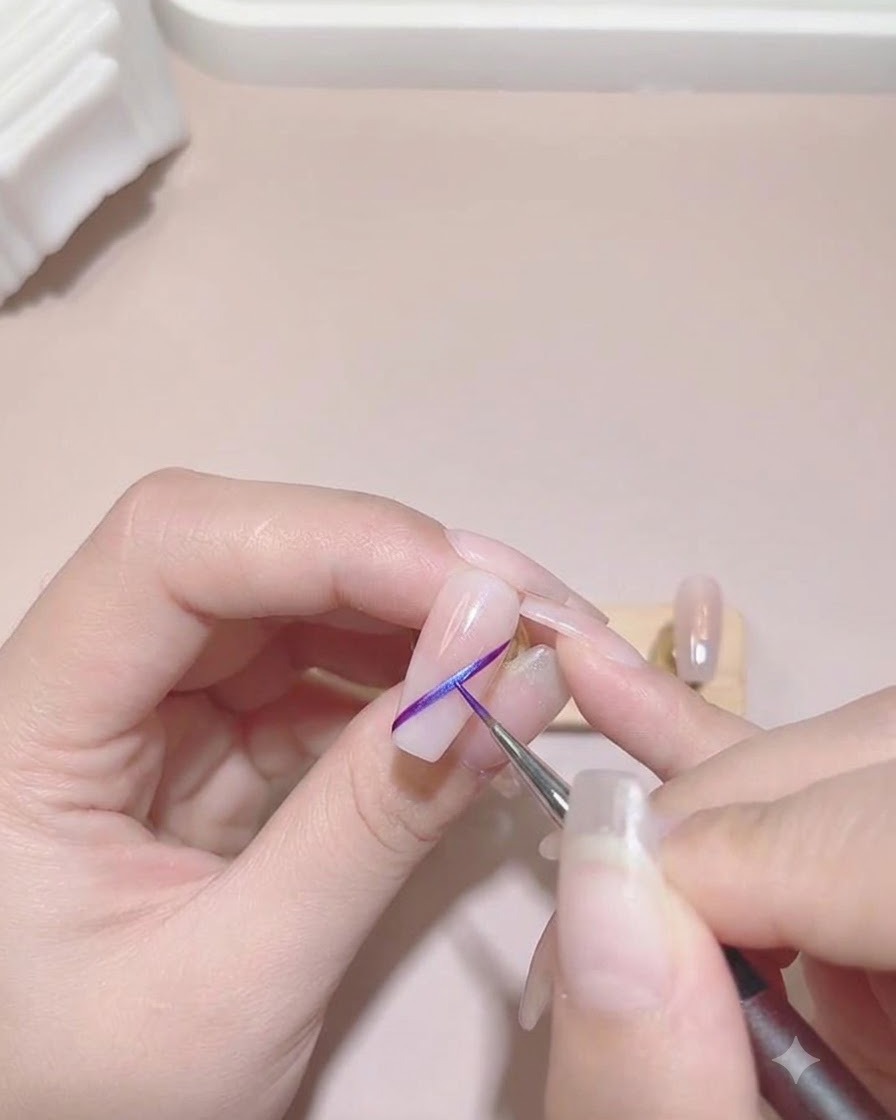
Take a fine liner brush dipped in purple color gel and carefully draw a clean diagonal line across the cured nail surface. Keep a steady hand to ensure the line is crisp and well-defined from edge to edge. Cure the purple line briefly if needed to lock it in place.
Tip: Use the tip of a fine detail brush and minimal pressure to achieve a sharp, thin line. - 8Add intersecting platinum gel lines
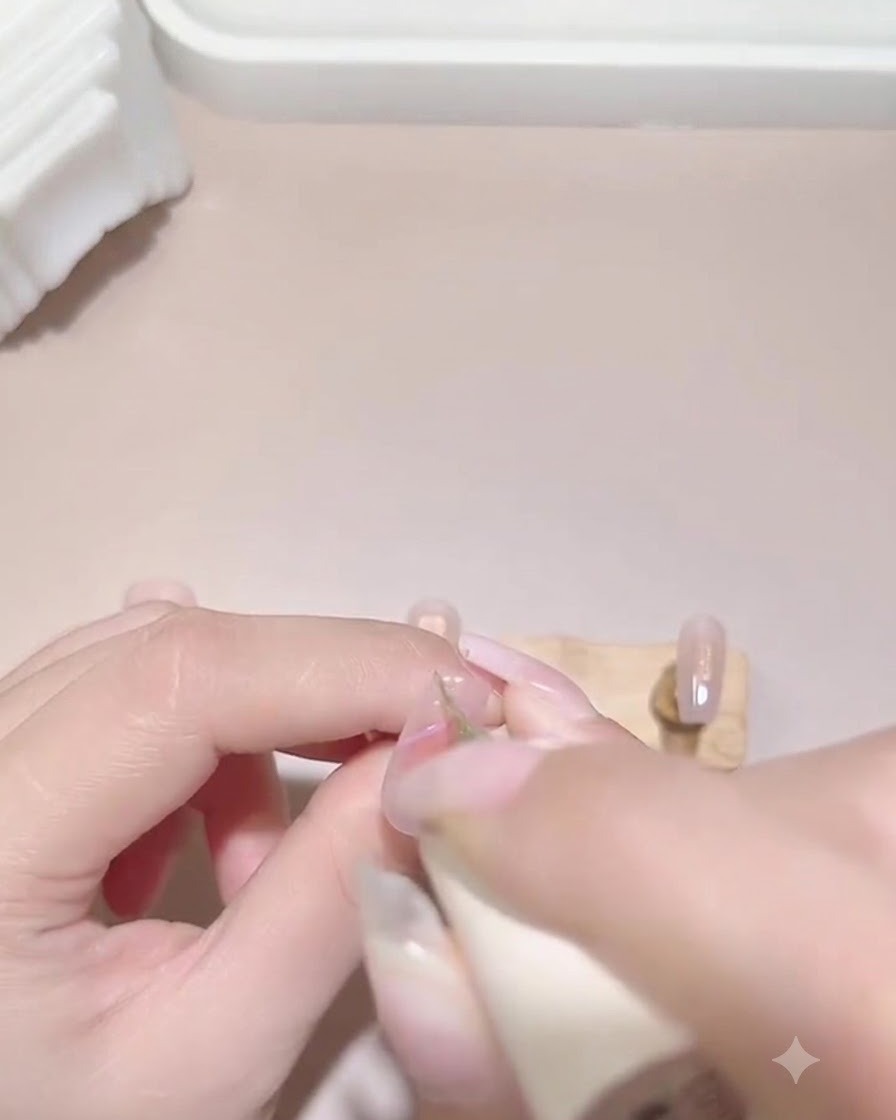
Using a fine liner brush, apply sparkling platinum gel across the diagonal lines, intersecting directly over the purple line to create a striking double diagonal design. The metallic shimmer of the platinum gel adds contrast and dimension to the nail art. Cure under the lamp after positioning.
Tip: Wipe your brush clean between strokes to keep the platinum glitter particles concentrated and sharp. - 9Attach pearls and steel beads
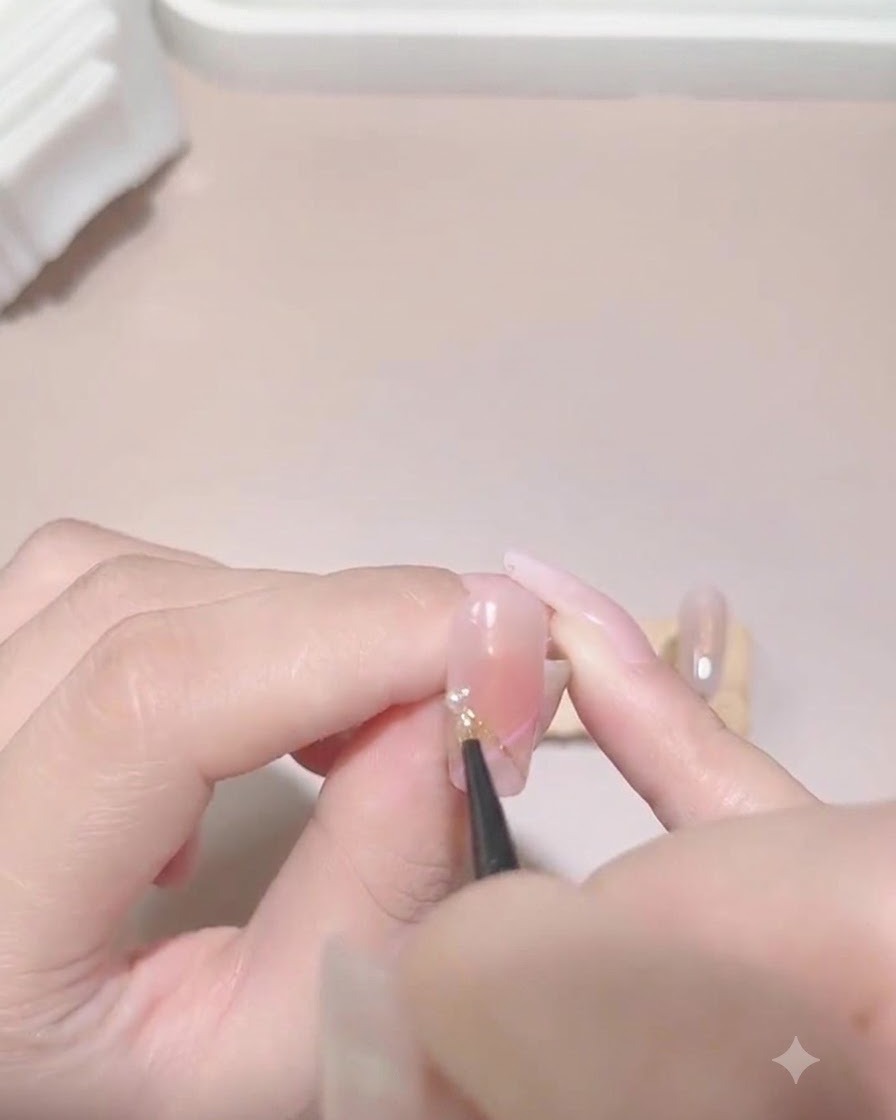
Using a wax pencil or detail tool, carefully pick up and place small white pearls and metallic steel beads along the platinum gel line. Press them gently into place to secure them in the tacky layer or adhesive gel. This adds an elegant, textured embellishment to the linear design before final curing.
Tip: Use a tiny drop of rhinestone glue or clear builder gel beneath the pearls to ensure they stay firmly attached. - 10Paint irregular French tip lines
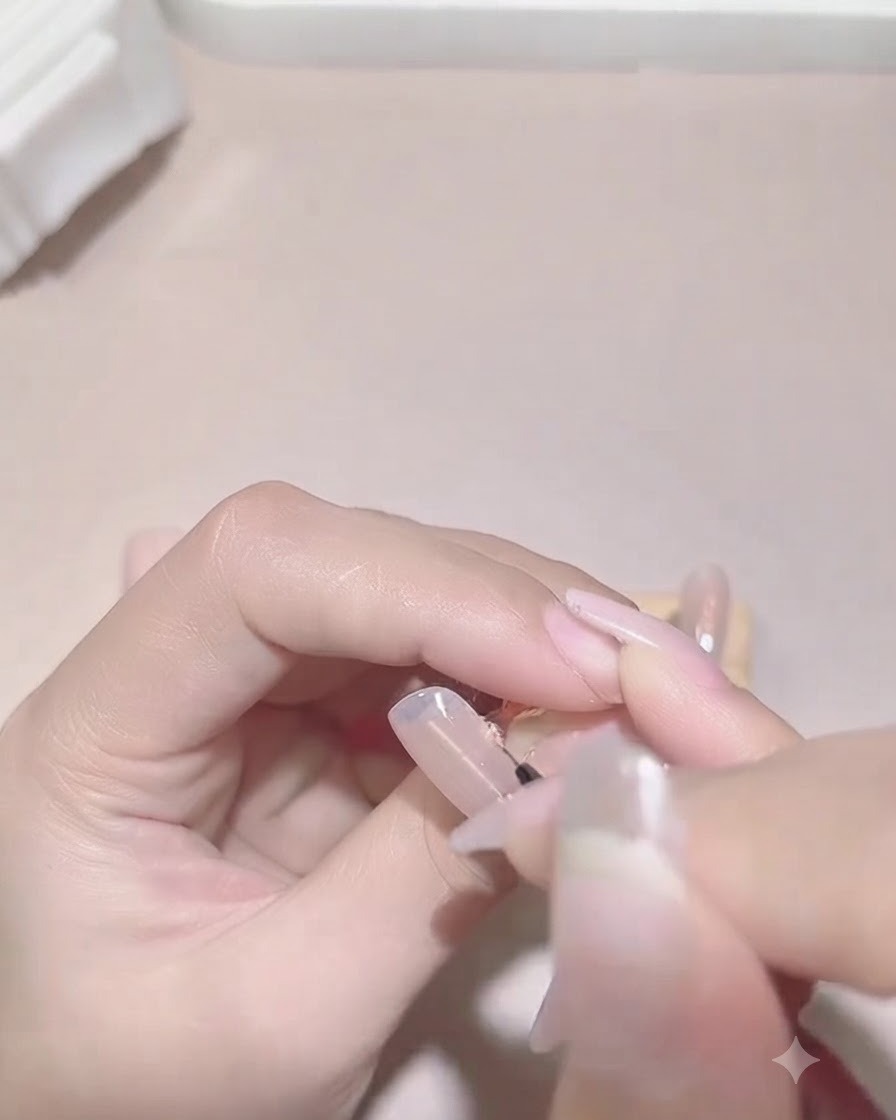
Take a fine detail brush and use a gentle wiggling motion to paint irregular French-style tip lines across the thumb, middle finger, and pinky nails. This organic, wavy style creates a modern, abstract twist on the classic French manicure look.
Tip: Keep a very light hand when wiggling the brush tip to achieve smooth, free-flowing curves without harsh edges. - 11Fill in and adjust French tips
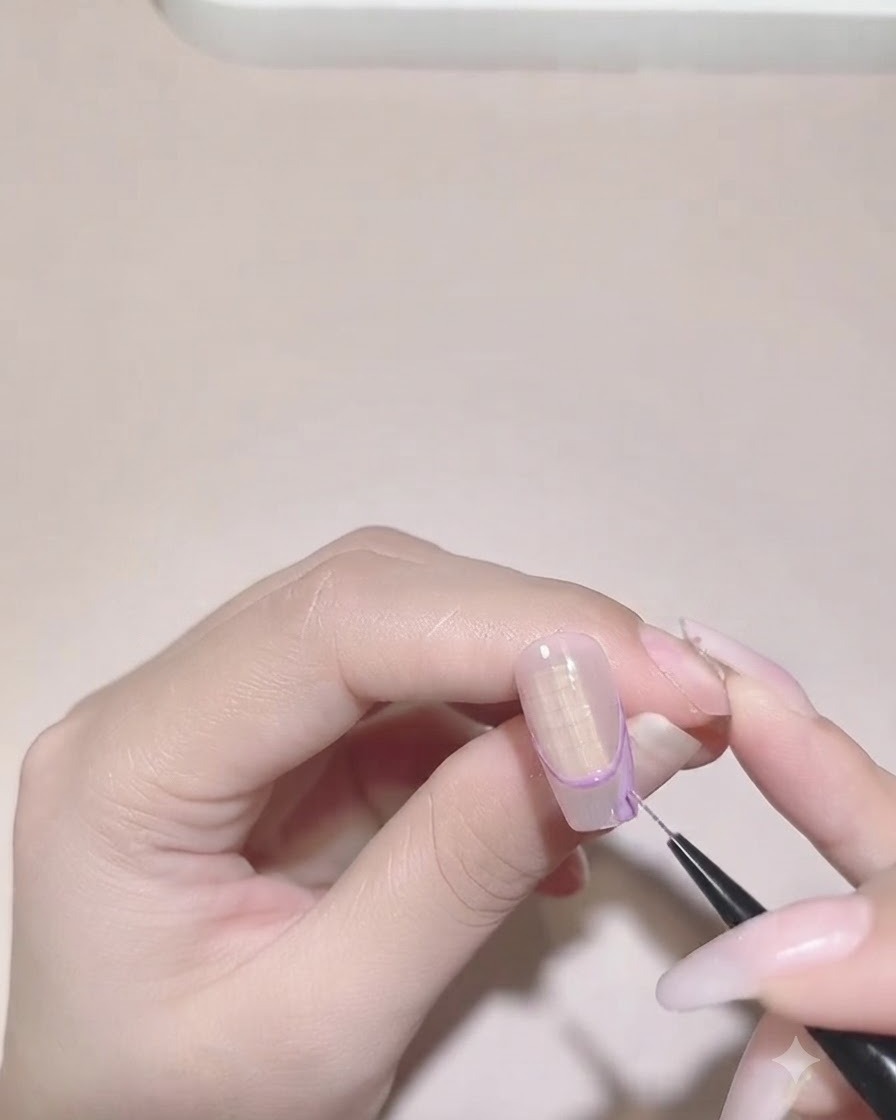
Carefully fill in the remaining space of the French tips with the color, making minor adjustments with your brush to smooth out any uneven edges. Ensure the boundary line looks clean and matches the intended abstract shape before proceeding to cure.
Tip: Work in thin layers when filling in the tip area to prevent the gel from pooling or running over your outline. - 12Cure French tip design
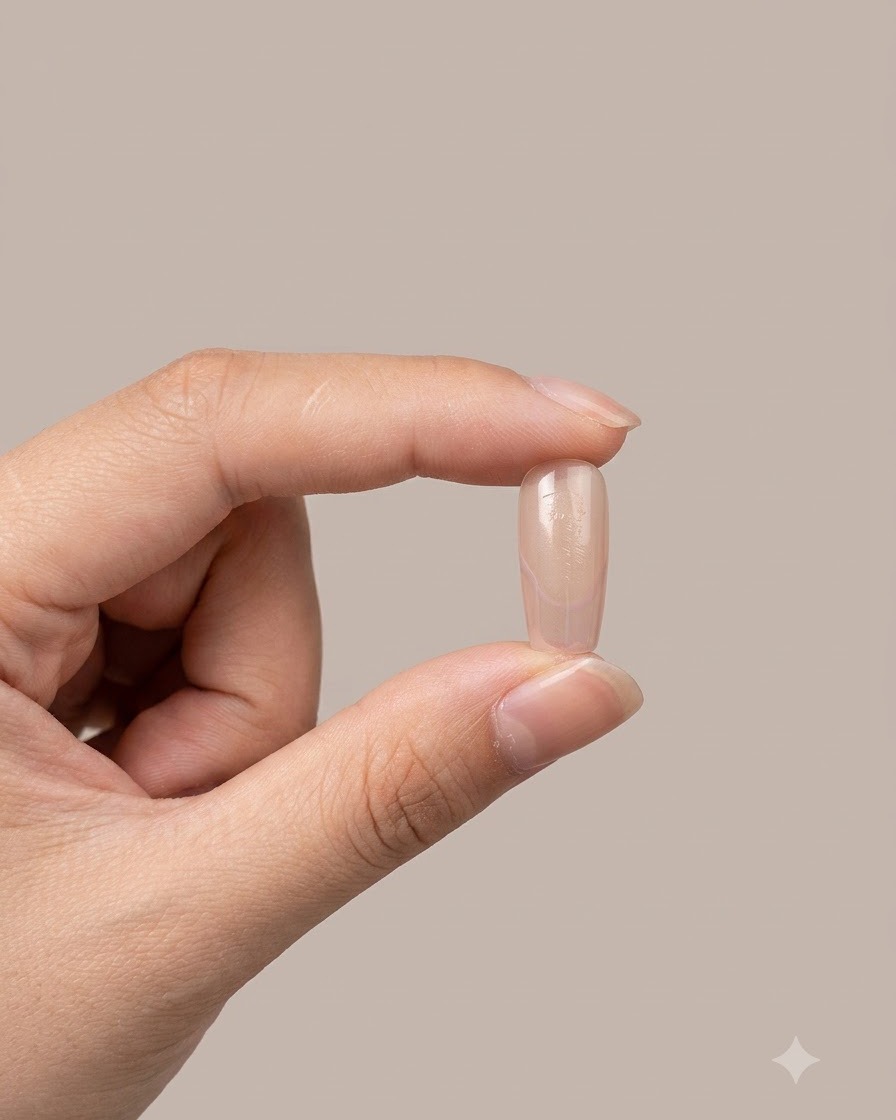
Place the nails under the UV or LED lamp to cure the freshly painted and filled irregular French tip design. Fully curing this layer ensures the lines and filled areas stay locked in place without smudging during the next embellishment phase.
Tip: Double-check that the pigment is fully opaque and evenly cured before adding any metallic outlines or gems on top. - 13Outline French tip with platinum gel
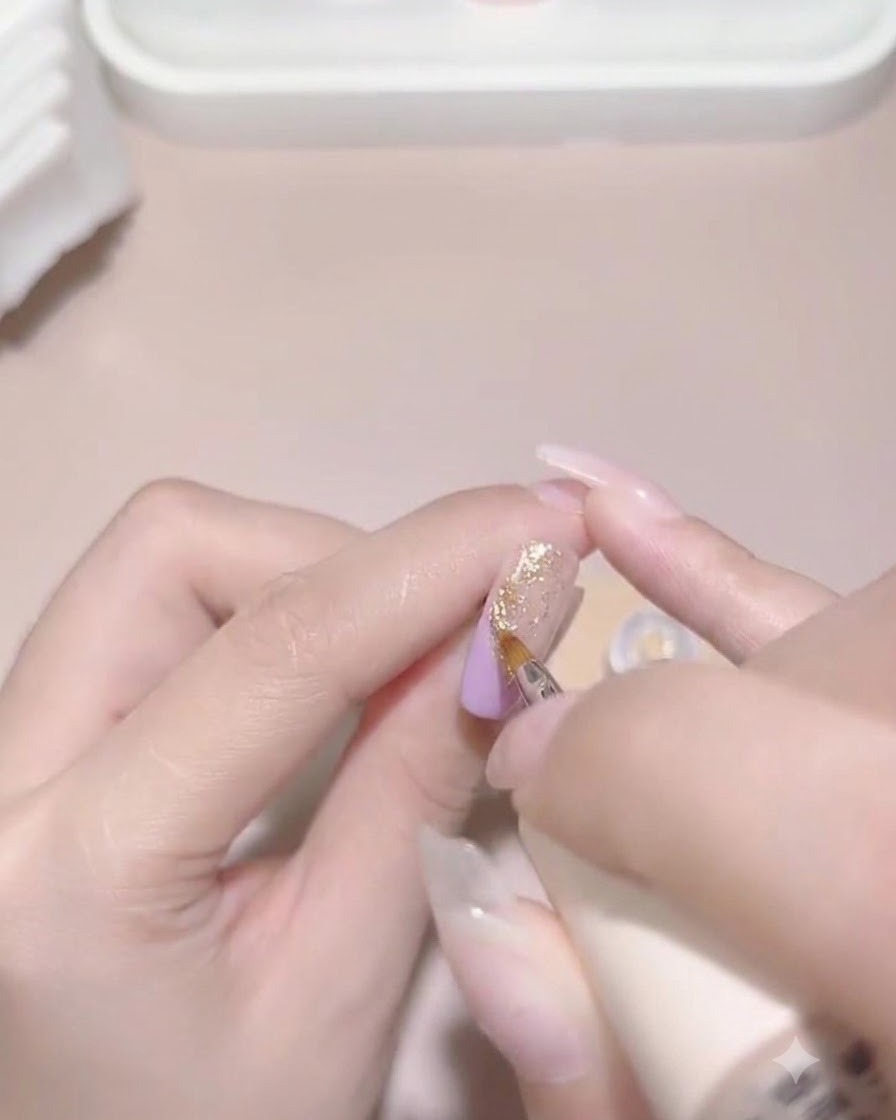
Dip a fine liner brush into platinum gel and carefully draw a thin line to outline the bottom edge of the French tip. This shimmering metallic accent adds dimension and catches the light, framing the abstract tip design elegantly.
Tip: Load just a tiny amount of platinum gel onto the very tip of your brush to maintain a crisp, ultra-thin metallic line. - 14Attach pearls and steel beads
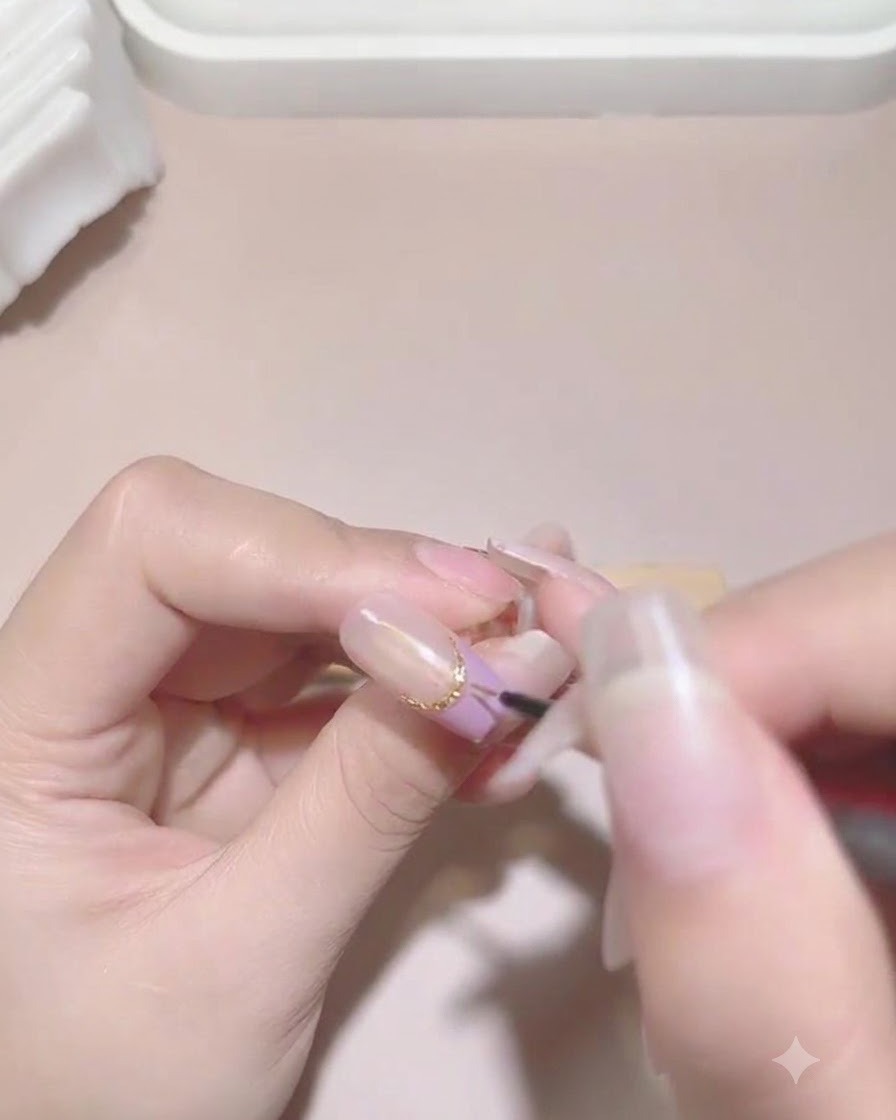
Apply a small dot of rhinestone glue along one side of the French tip boundary. Using a wax picker tool, carefully pick up and place pearls and small steel beads into the glue to create an intricate, textured embellishment cluster.
Tip: Do not use too much glue, or it will overflow around the pearls and dull their shiny finish once cured. - 15Cure and seal around rhinestones
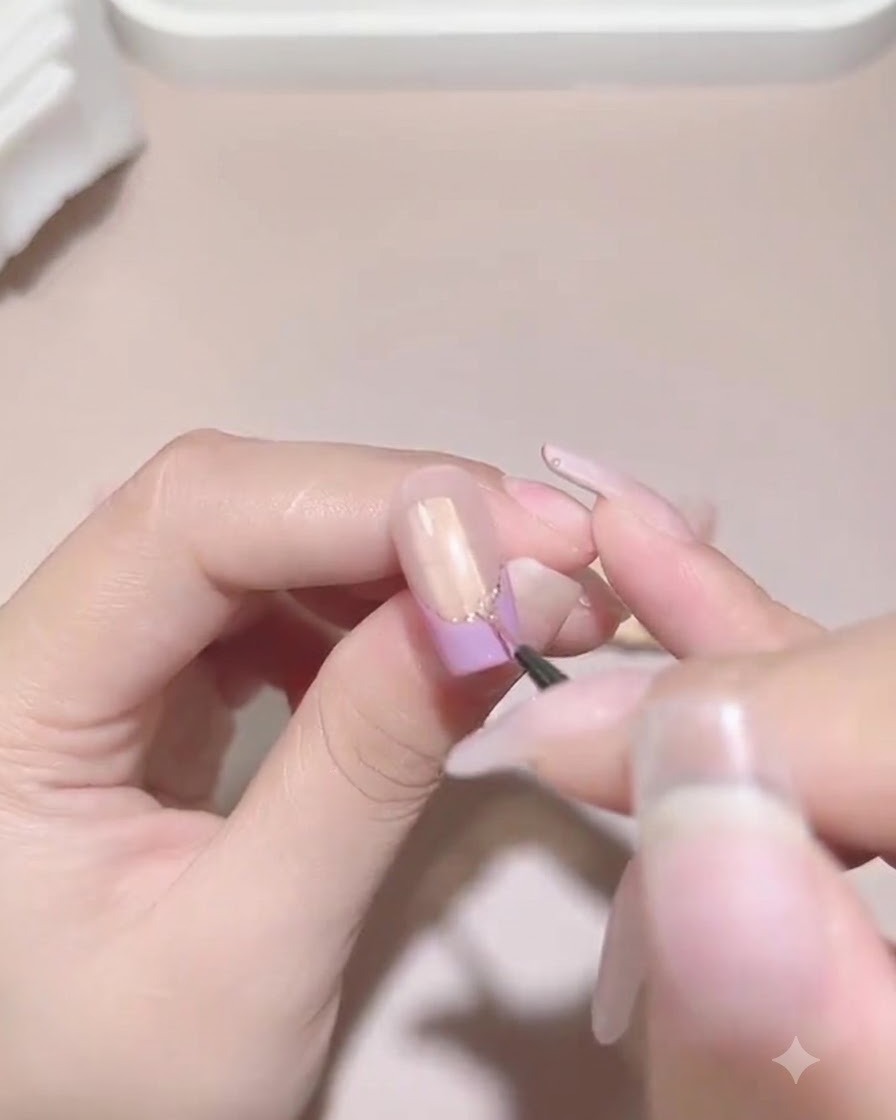
Place the hand under the UV or LED lamp to fully cure the rhinestone glue and top coat, ensuring all embellishments are securely locked in place. Carefully seal around the edges of the pearls and steel beads with a fine liner brush to prevent snagging and extend the wear time of the manicure. Cure again if necessary to set the sealing gel completely.
Tip: Be careful not to cover the tops of the pearls with sealing gel, as this can dull their natural luster and pearlescent shine. - 16Apply final top coat
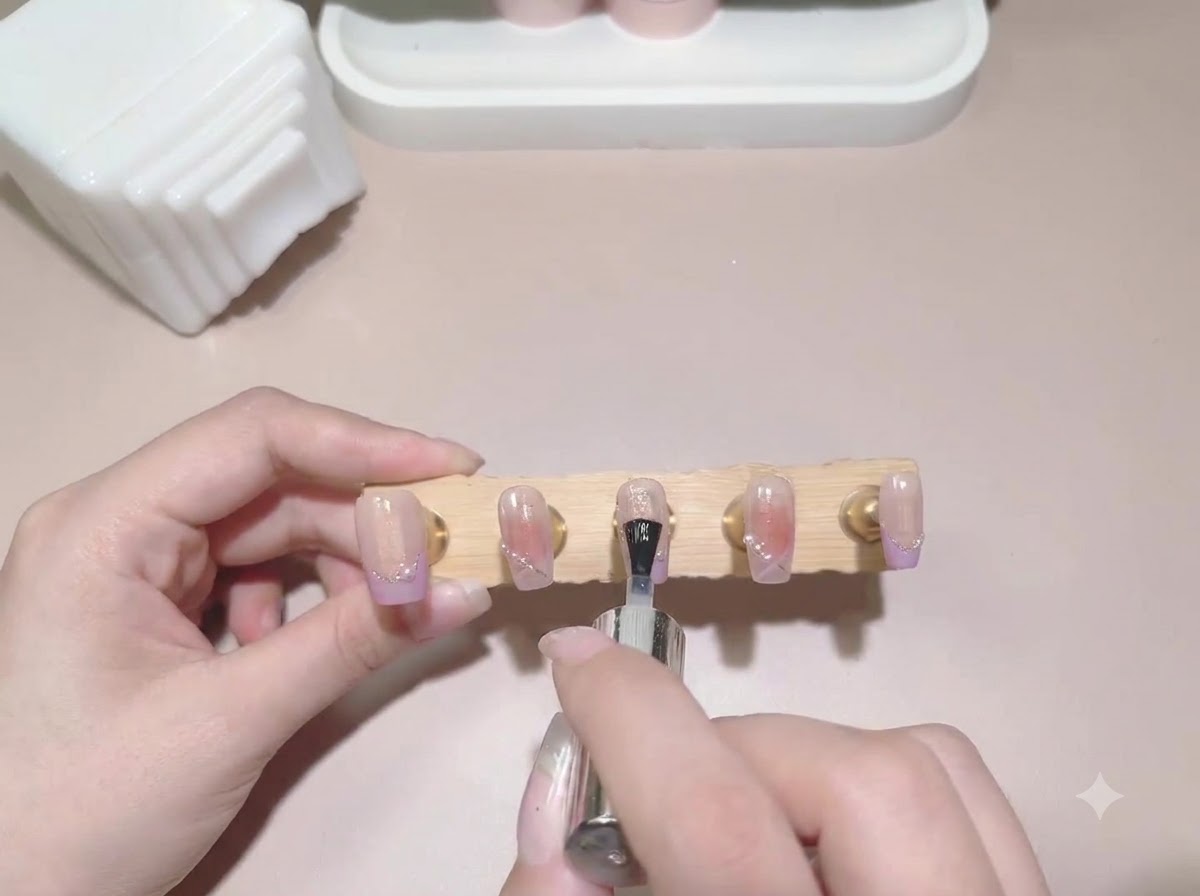
Apply a final overall layer of glossy top coat to all completed nail tips to protect the design and give a long-lasting shine. Cure the nails under the lamp to finish.
Tip: Cap the free edge with top coat to prevent chipping and seal the entire nail art creation.