Baby Blue French Tip Nails
Silver Lines and Rhinestones — Step-by-Step Tutorial
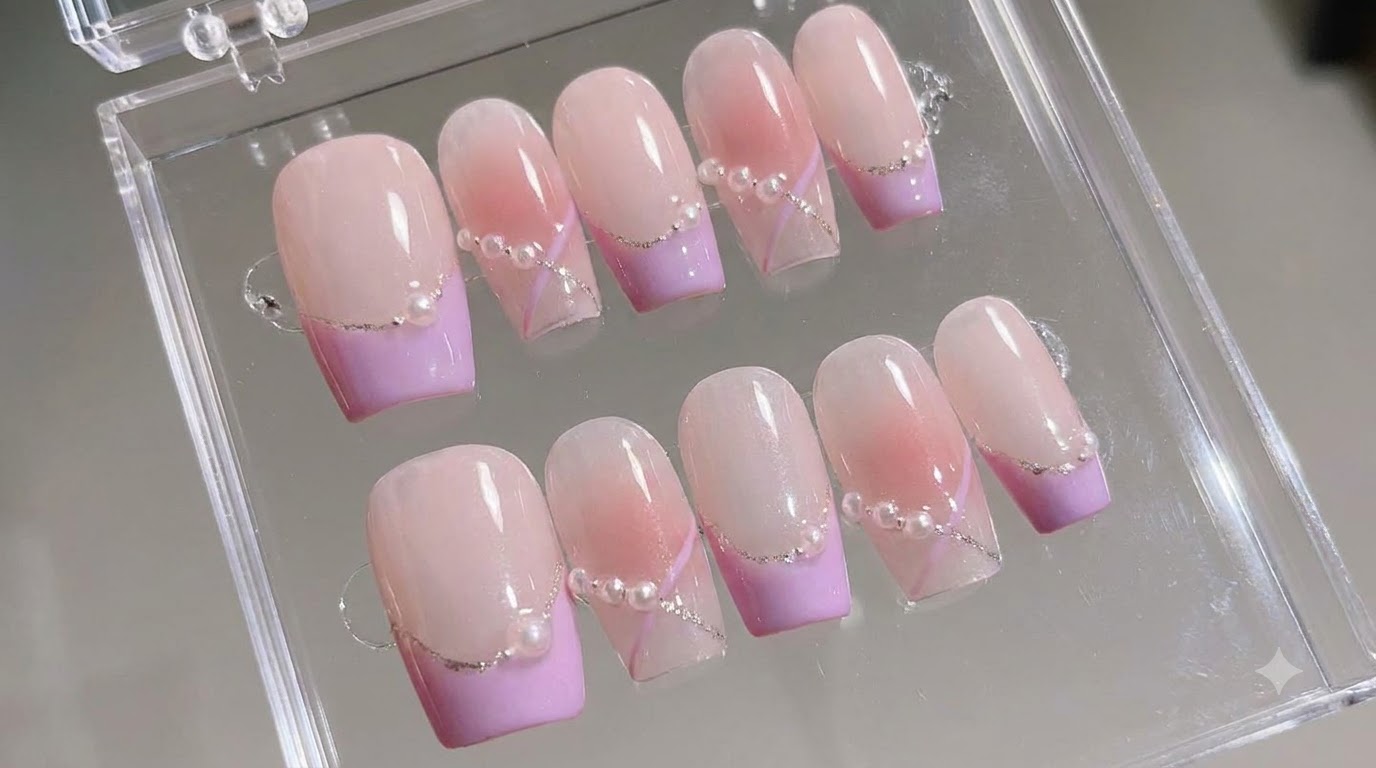
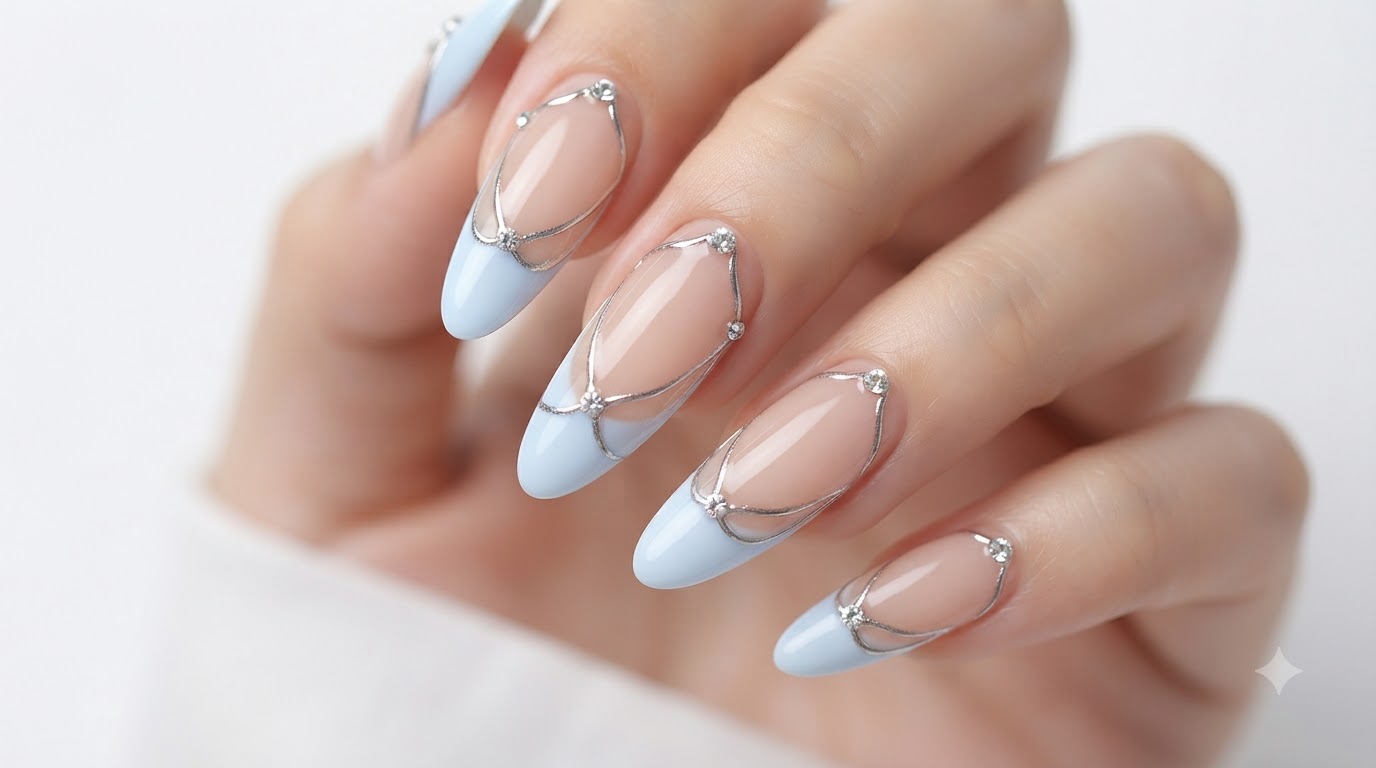
Elevate classic French tips with a soft baby blue sponge gradient, intricate metallic silver detailing, and delicate sparkling rhinestones.
Combining soft pastel tones with shimmering metallic elements creates an effortlessly elegant manicure that stands out. This look bridges the gap between clean minimal styling and eye-catching detailing, perfect for special occasions or everyday glam.
Steps
- 1Apply French guide sticker
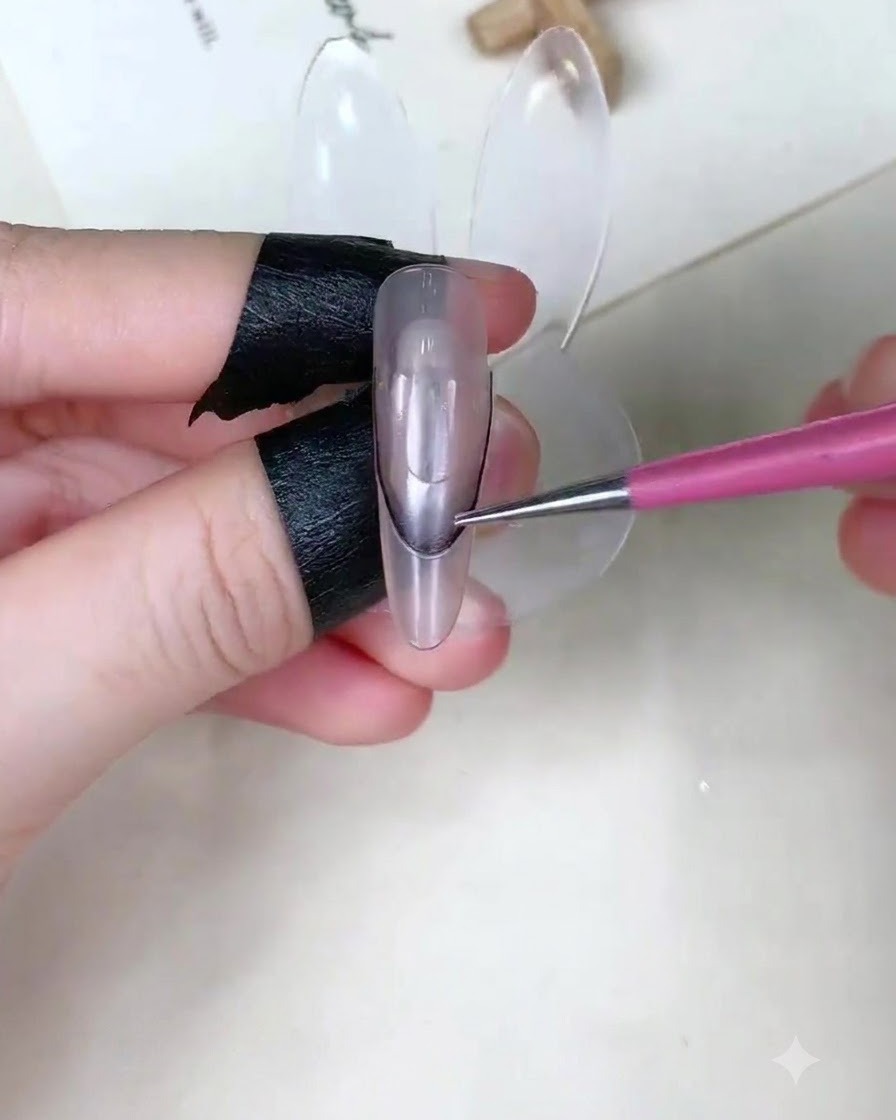
Carefully place a curved French sticker across the nail plate to establish a clean and precise smile line. Press down firmly along the edges to prevent any gel from bleeding underneath.
Tip: Ensure the sticker is symmetrical on both sides before pressing it down completely. - 2Brush baby blue gel polish on the tip
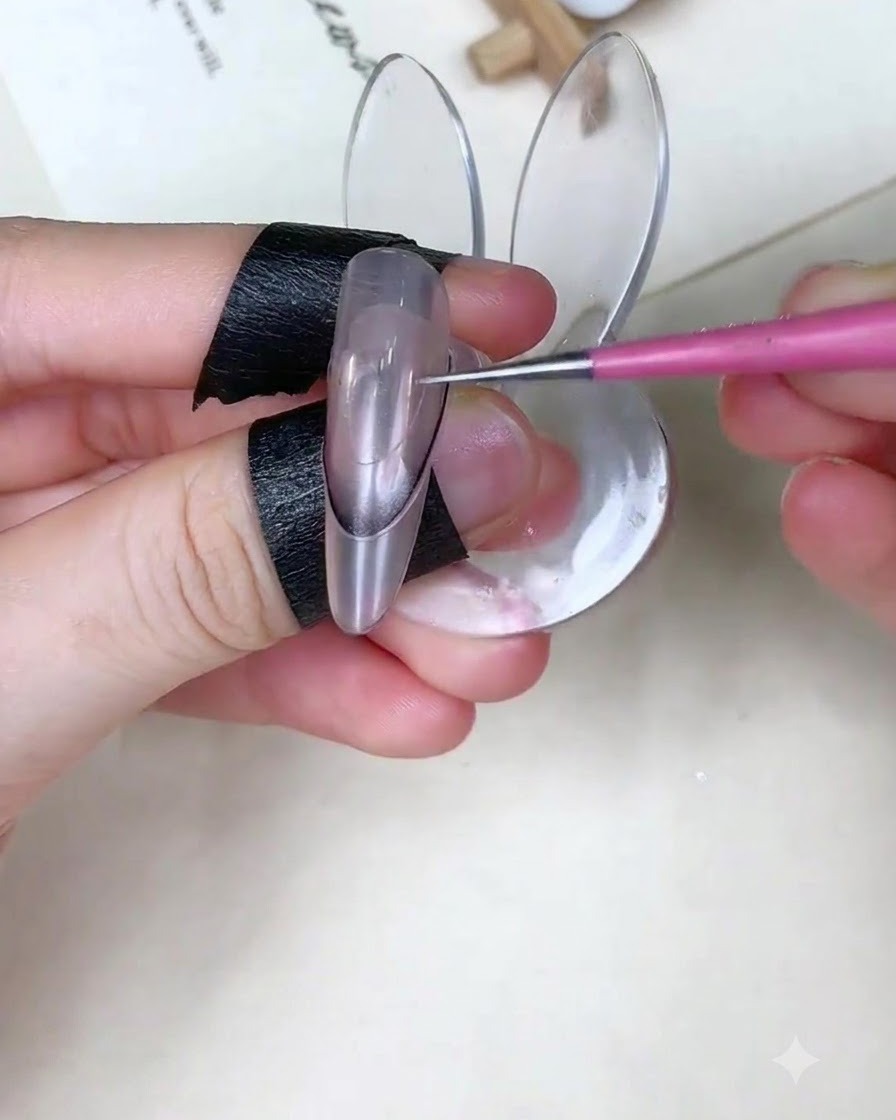
Take a fine detail brush loaded with baby blue gel polish and apply an even layer onto the nail tip area situated above the applied guide sticker. Keep the application smooth and concentrated near the edge.
Tip: Use light strokes to prevent pooling along the edge of the guide sticker. - 3Dab with a makeup sponge for a gradient tip
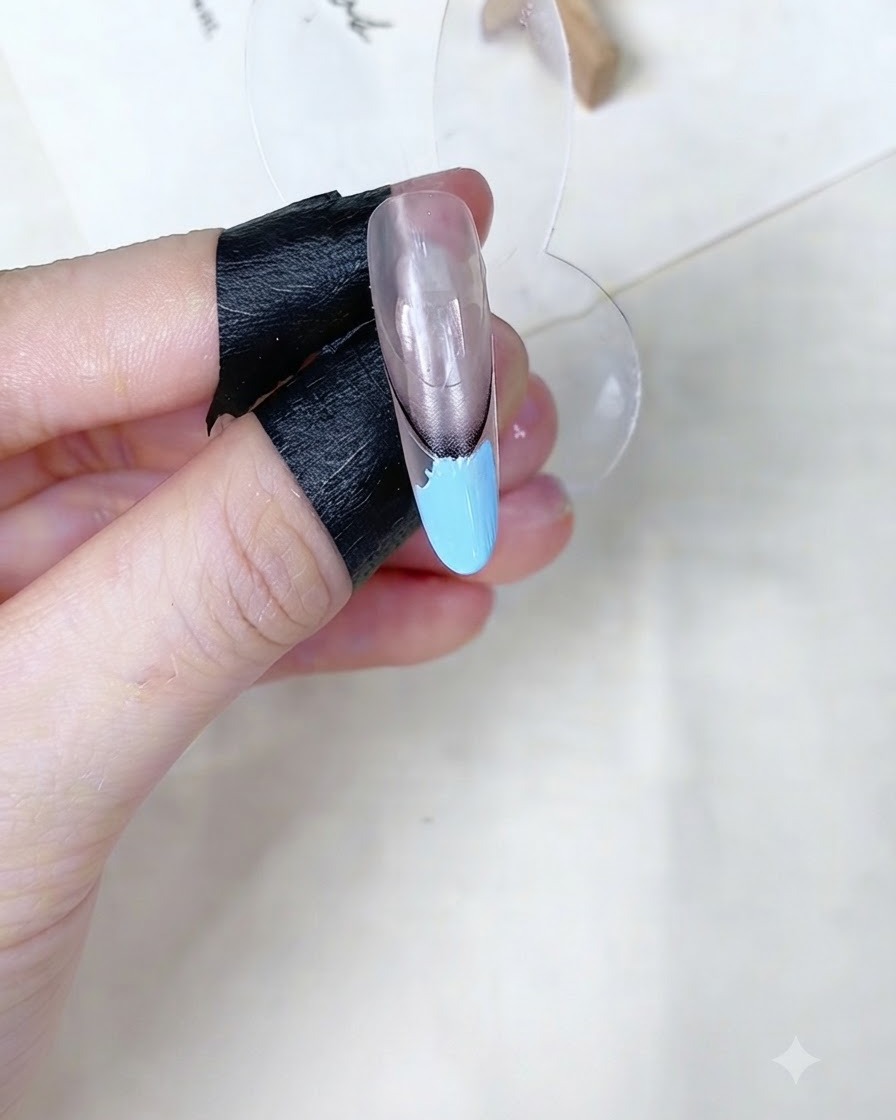
Gently and repeatedly dab a small makeup sponge over the newly applied baby blue gel. This diffuses the harsh lines and creates a smooth, high-position gradient French tip effect.
Tip: Dabbing lightly and quickly gives a more seamless fade than pressing down hard. - 4Cure under UV/LED lamp
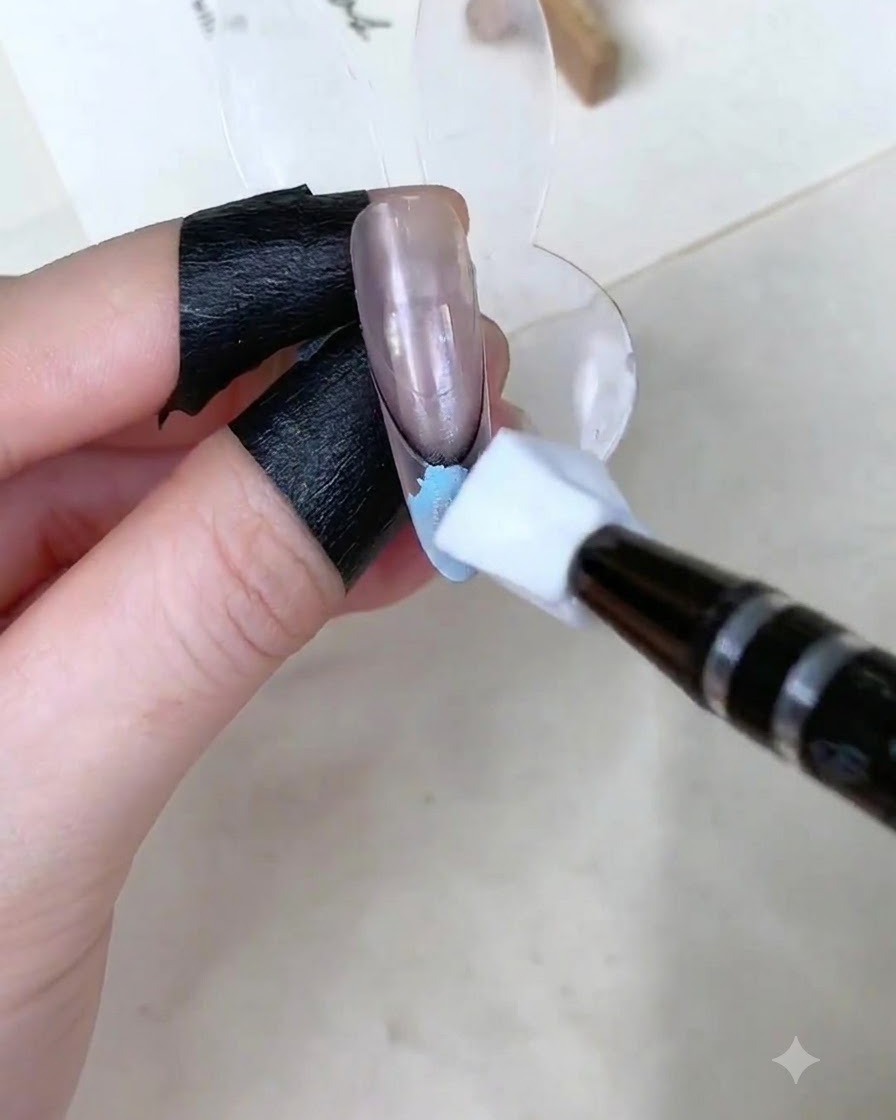
Place the hand or nail display under a UV or LED lamp to fully cure the baby blue French tip gel layer. Follow standard curing times to ensure the product hardens properly before the next step.
Tip: Make sure the light hits the entire nail evenly to prevent uncured soft spots. - 5Draw thin silver lines
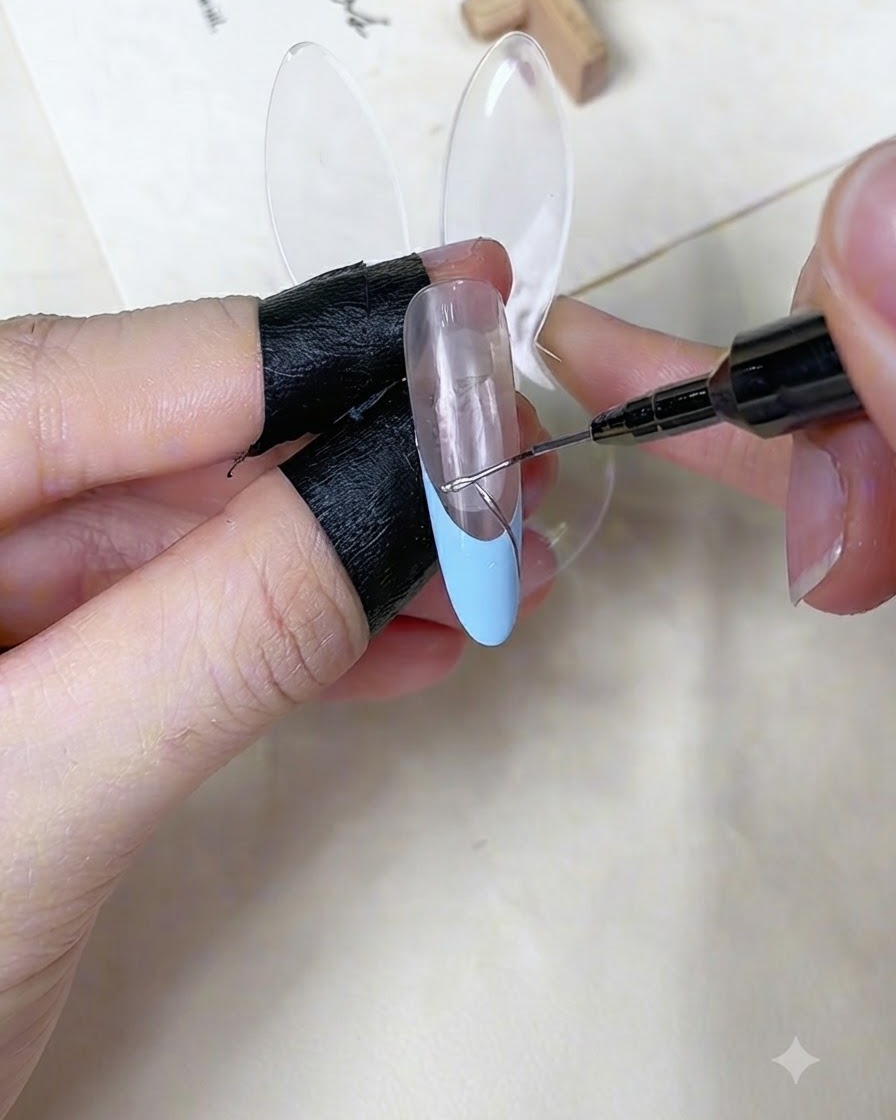
Dip a fine detail liner brush into silver gel or chrome paint. Carefully trace along the French smile line and sweep delicate accent lines across the nail surface to add intricate detail.
Tip: Keep a steady hand and use the tip of the brush rather than pressing flat for the thinnest lines. - 6Cure the silver lines
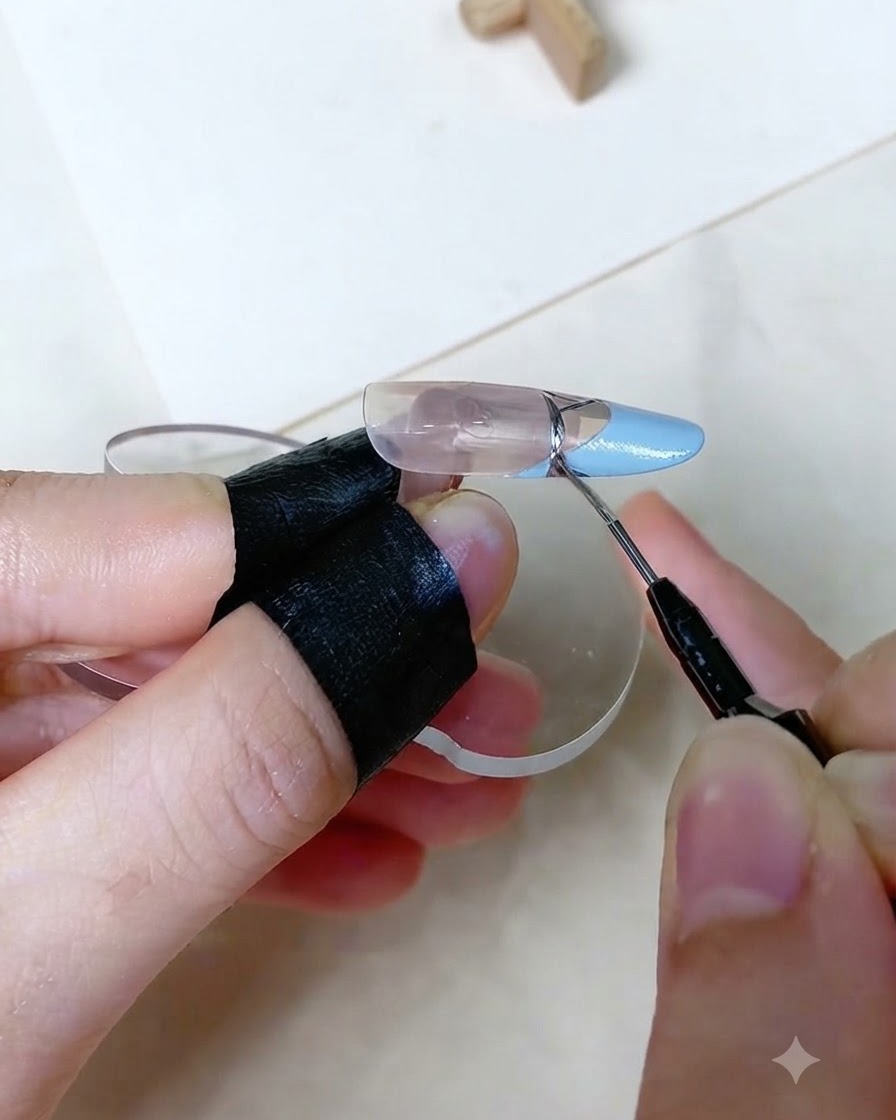
Place the nail under the UV or LED lamp to cure the freshly drawn silver line details, ensuring the metallic lines are completely set and secured before applying the top coat.
Tip: Make sure your fine liner brush is clean and thin to achieve crisp, sharp metallic lines. - 7Apply glossy top coat
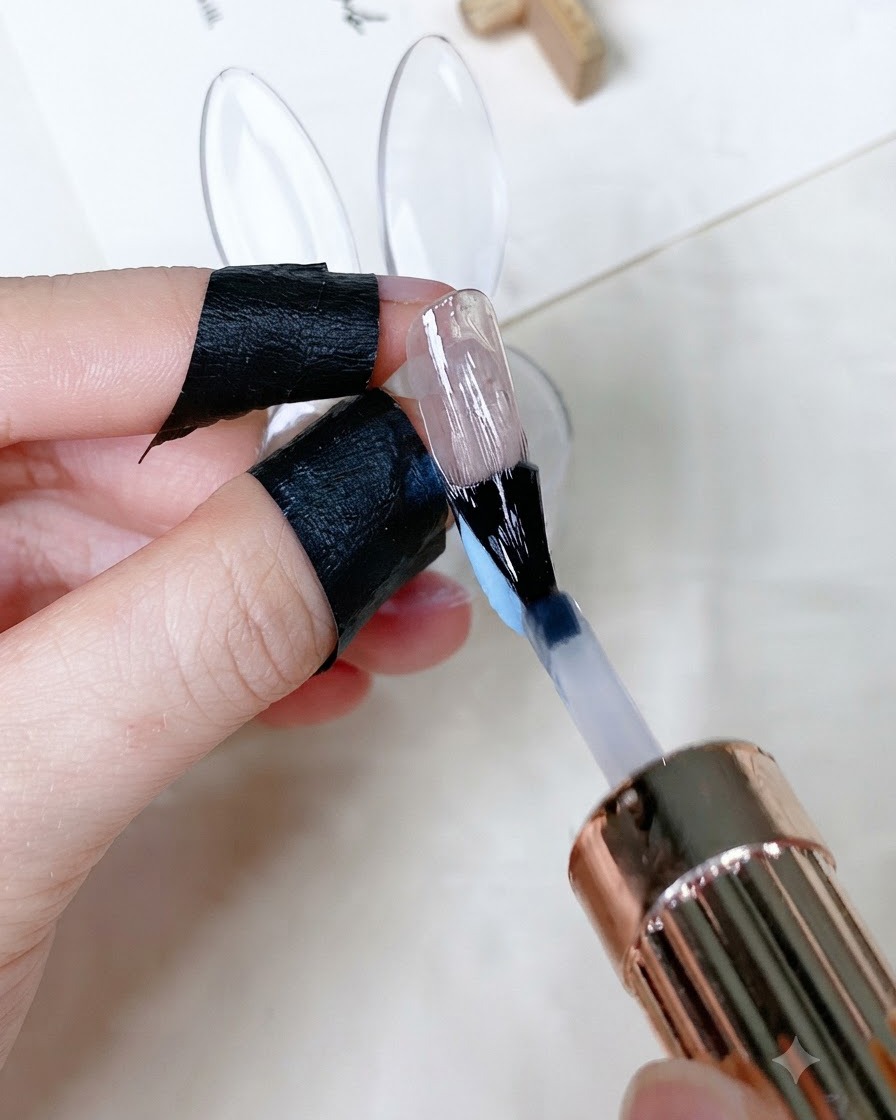
Apply a layer of glossy clear top coat over the entire nail surface to seal in the color and painted lines. Ensure complete coverage and cap the free edge for long-lasting wear.
Tip: Cap the free edge carefully to prevent chipping and protect the nail art underneath. - 8Cure the top coat
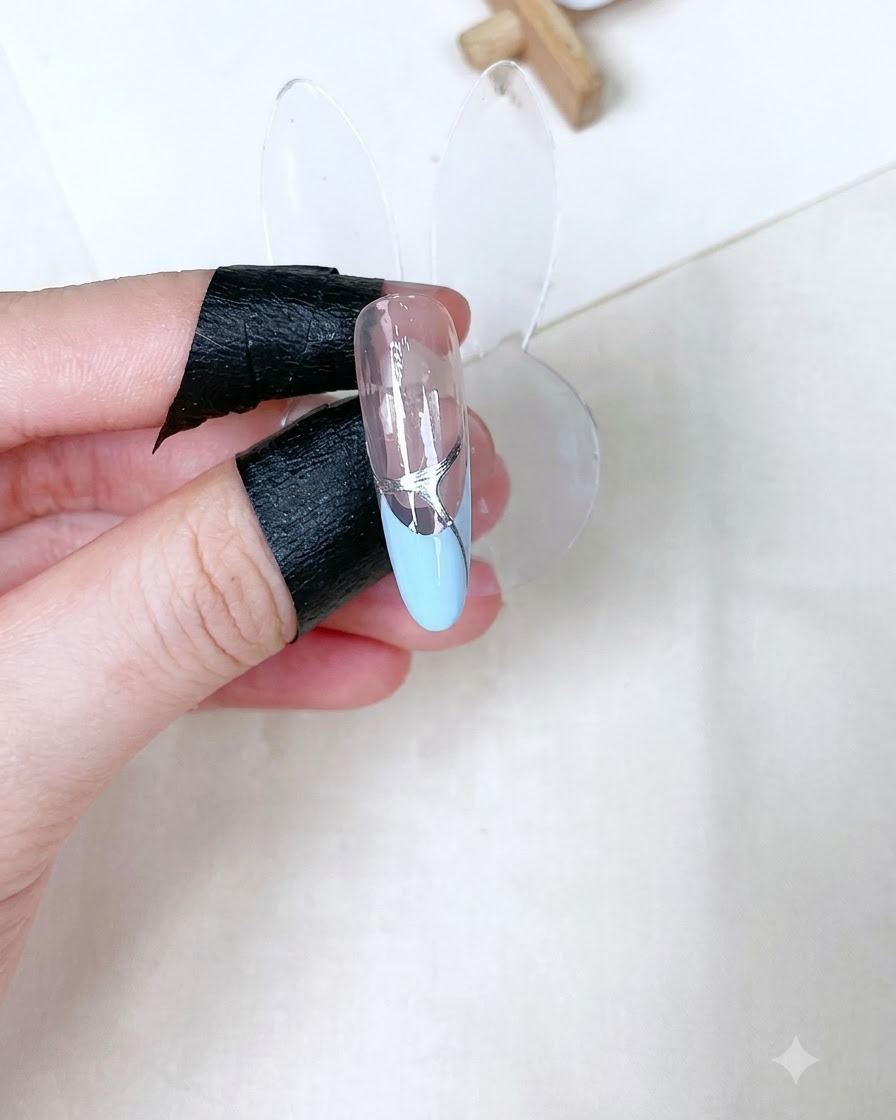
Cure the top coat layer under the UV/LED lamp to lock in the shine and protect the design from wear and chipping.
Tip: Ensure the entire surface is evenly exposed to the lamp light to avoid sticky uncured spots. - 9Apply rhinestone adhesive gel
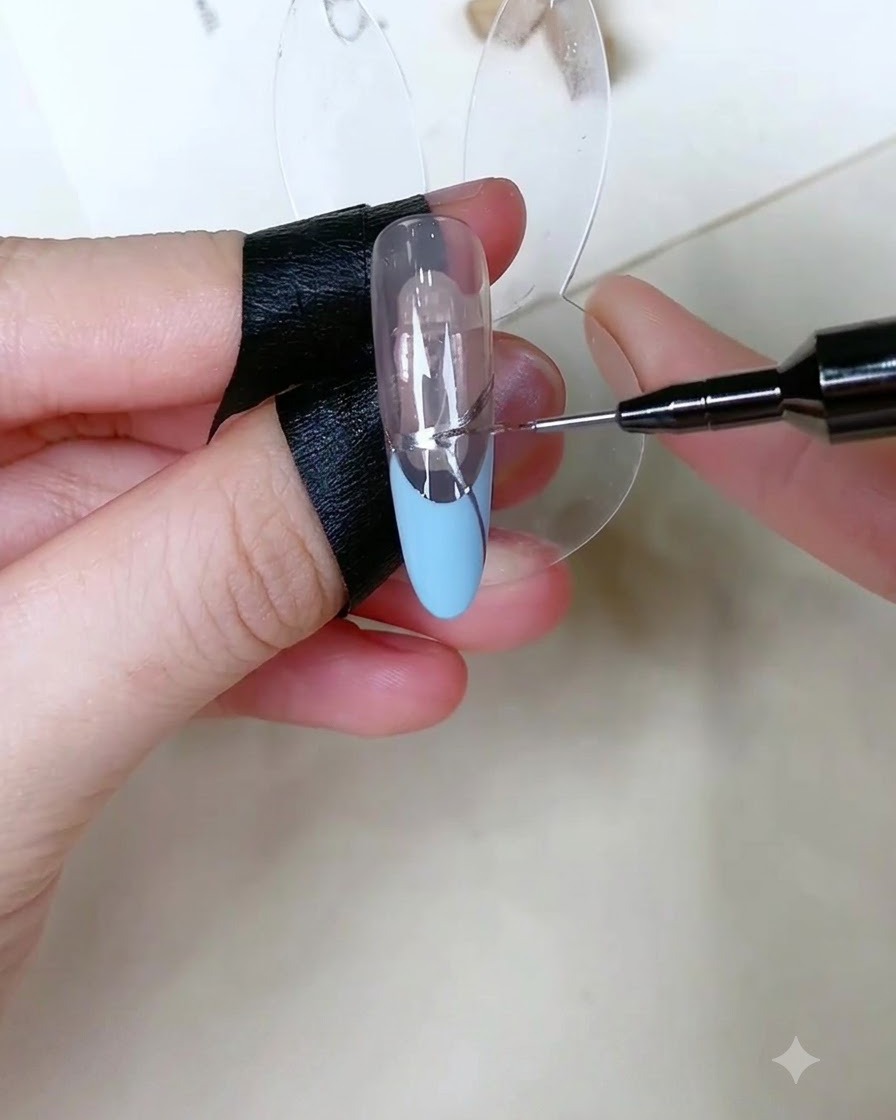
Using a fine applicator tool, place tiny dots of clear rhinestone adhesive gel onto the designated spots on the nail surface where the gems will be anchored.
Tip: Use precise amounts of adhesive gel to prevent overflow and keep the rhinestones secure. - 10Place small round rhinestones
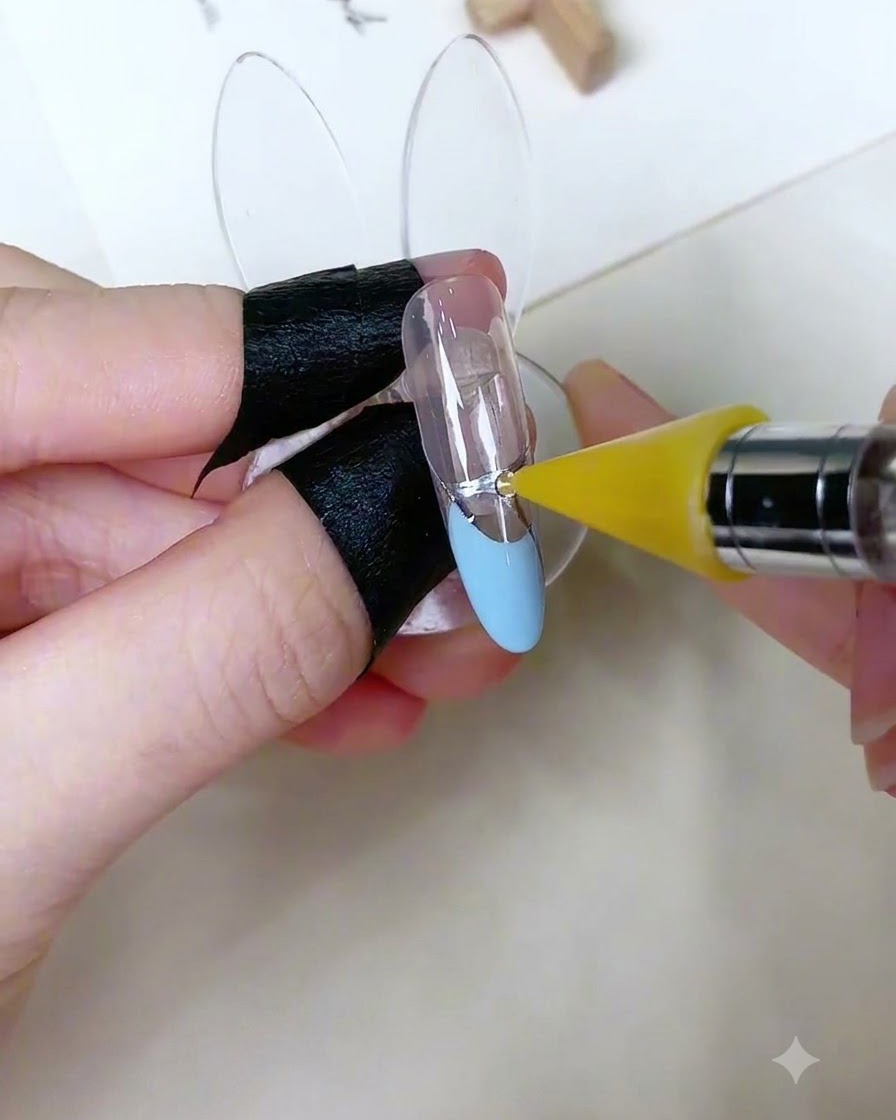
Carefully pick up small round rhinestones using a pickup tool and place them directly onto the adhesive gel dots previously applied to the nail surface.
Tip: Press the rhinestones lightly into the gel to ensure they stay firmly in place before curing. - 11Final Cure for Rhinestones
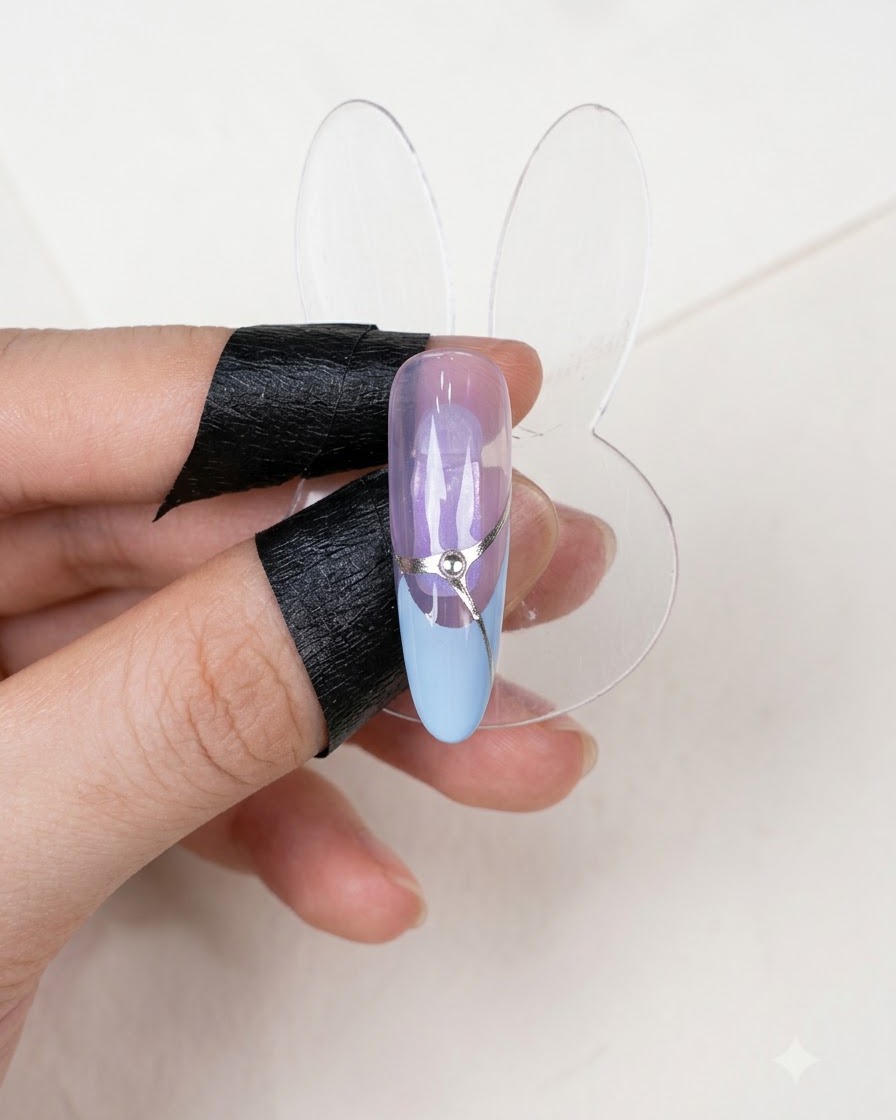
Place the nail under the UV or LED lamp for a final cure. This hardens the rhinestone gel completely, locking the small round rhinestones and silver detailing firmly in place for long-lasting wear.
Tip: Ensure your hand is placed flat inside the lamp to cure the rhinestones evenly without shifting the gel.