Gilded Floral French Manicure — Step-by-Step Gel Art Tutorial
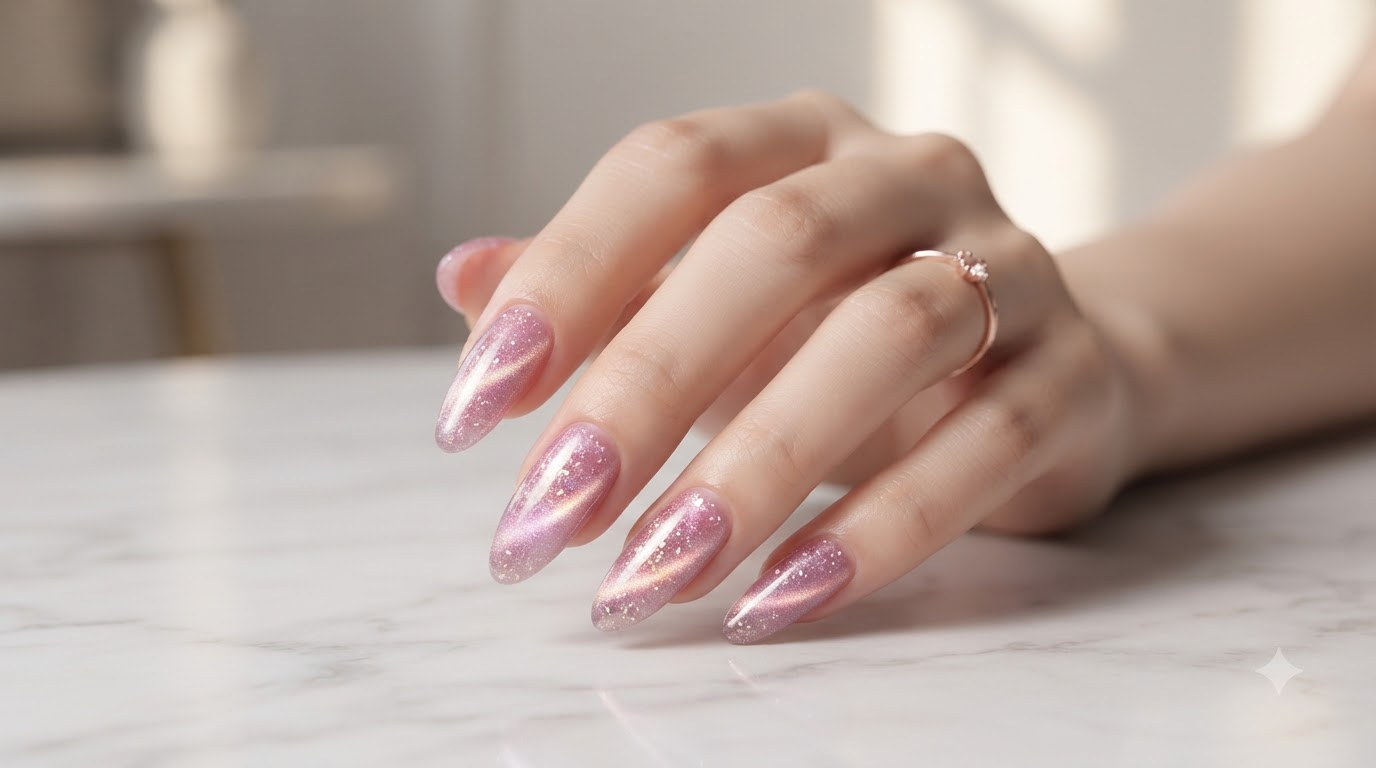
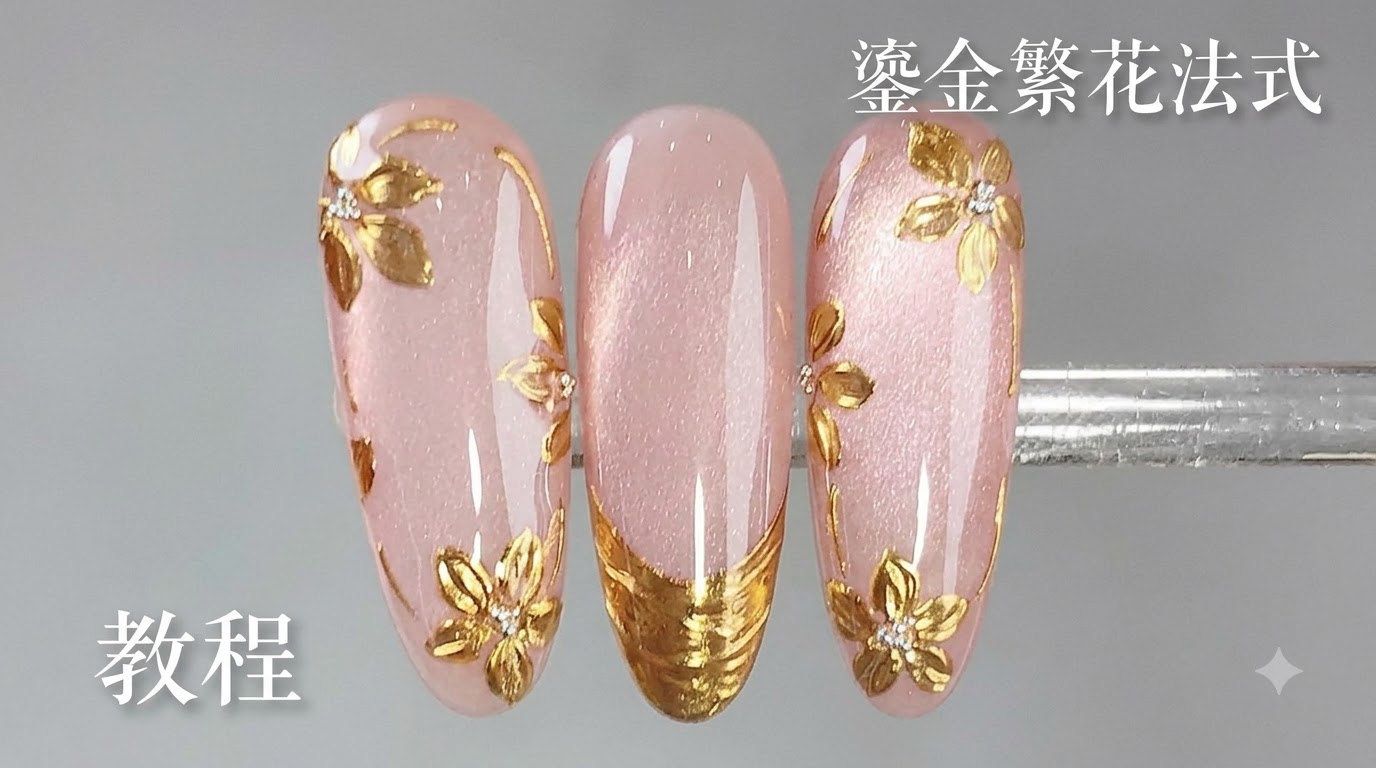
Elevate your nail art with a classy gilded floral French manicure featuring translucent pink cat-eye gel, vintage gold chrome, and delicate hand-painted floral accents.
The gilded floral French manicure combines timeless elegance with dimensional modern techniques. By pairing a soft translucent pink magnetic base with brilliant vintage gold chrome details and intricate floral line work, this look creates an exquisite, salon-quality statement that catches the light from every angle.
Steps
- 1Apply Jade D05 base coat
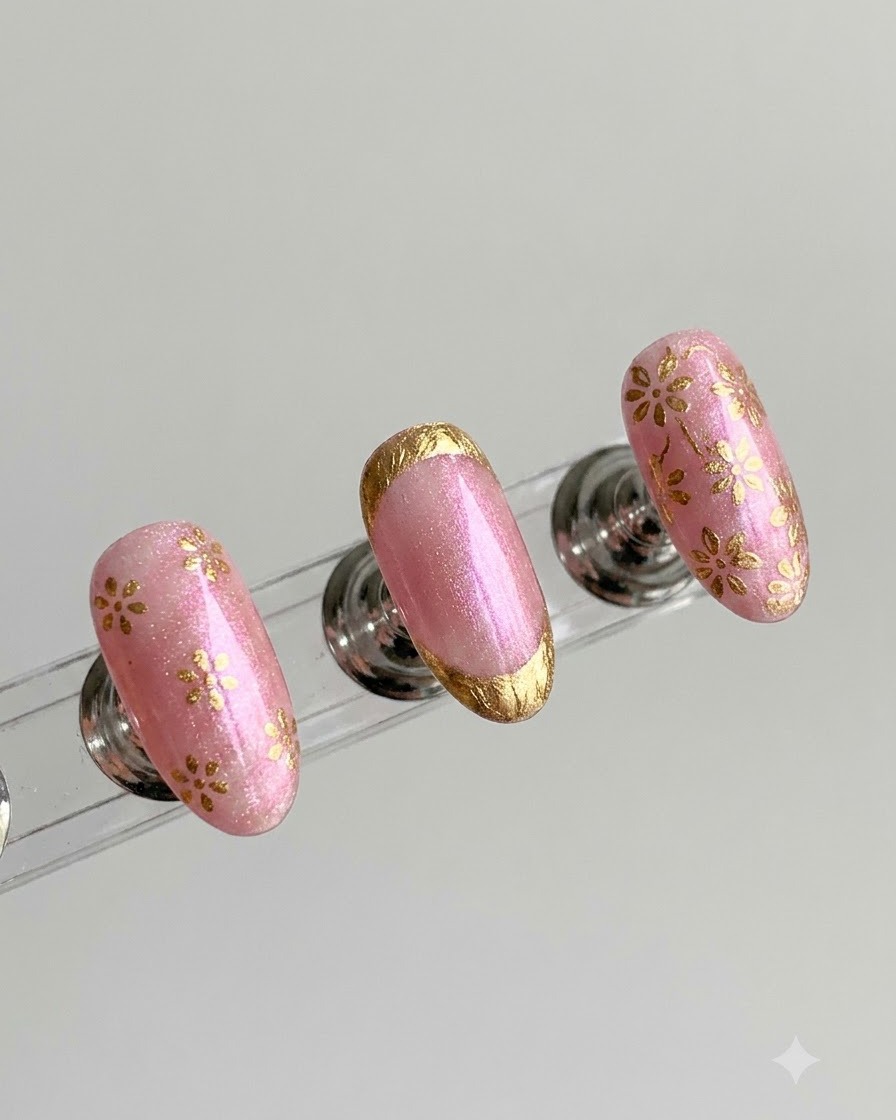
Take your Jade D05 base coat and apply an even, smooth layer across the surface of the nailcite: 1. Make sure to brush it out evenly to prepare the base for the upcoming magnetic and design layerscite: 1.
Tip: Keep the layer thin and even to ensure proper curing and a smooth foundation. - 2Apply Water Glow Clear 05
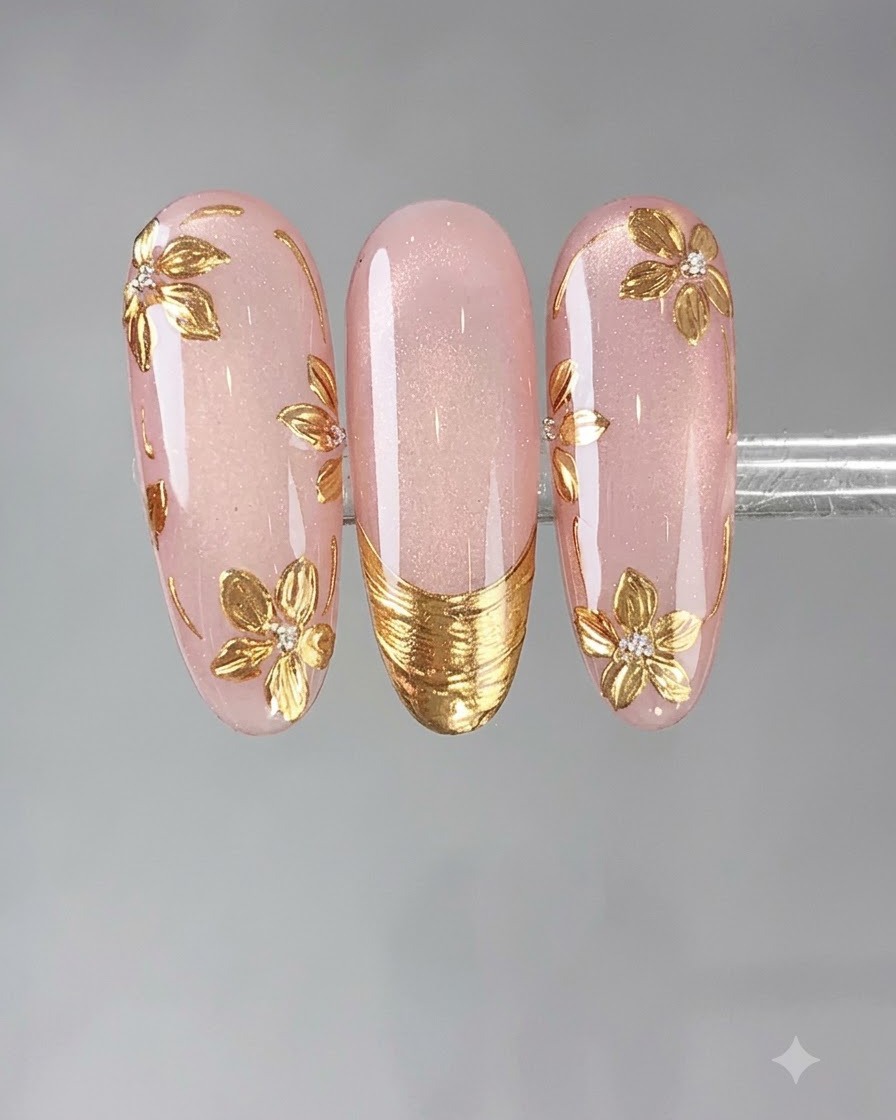
Next, apply a fresh layer of Water Glow Clear 05 directly over your cured base coatcite: 1. This layer will interact with the magnet to create the signature dimensional glow effectcite: 1.
Tip: Do not cure this layer yet, as you need the gel to be wet for the magnetic effect. - 3Create wide magnetic effect
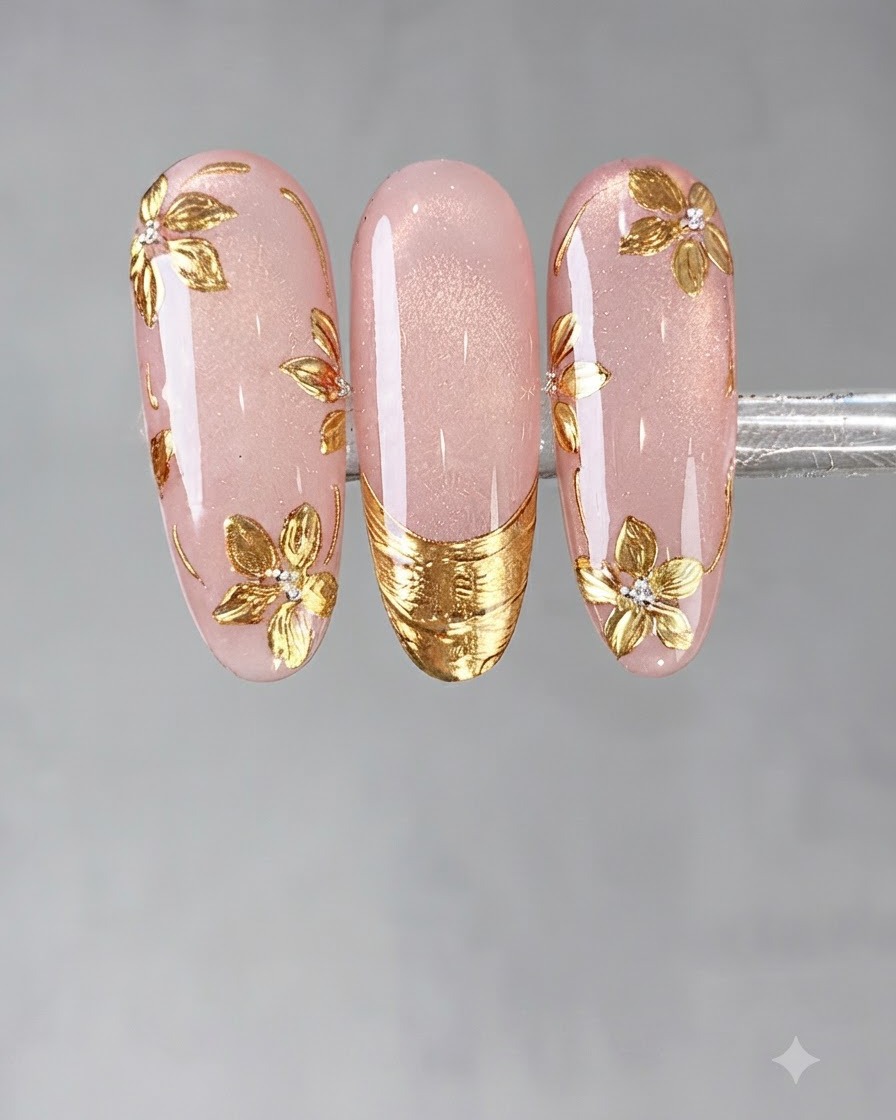
Take a magnetic stick and hover it over the wet gel, moving it side-to-sidecite: 1. This motion disperses the magnetic particles to form a wide, shimmering magnetic field across the nailcite: 1.
Tip: Keep the magnet close to the nail without touching the wet surface. - 4Form glass bead effect
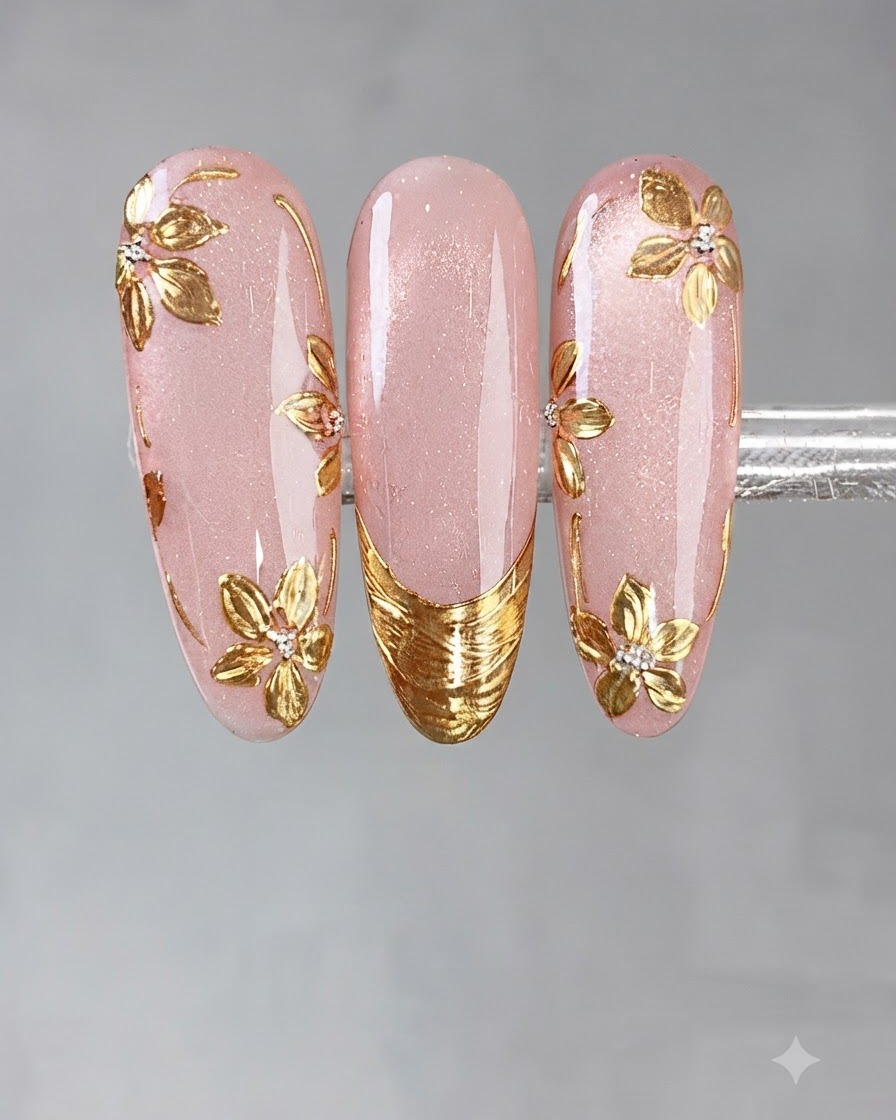
Immediately after creating the wide effect, use the magnet in a circular motion over the center of the nailcite: 1. This concentrates the particles into a brilliant glass bead or cat-eye centercite: 1.
Tip: Work quickly while the gel is still mobile to get a sharp circular reflection. - 5Apply peel-off top coat
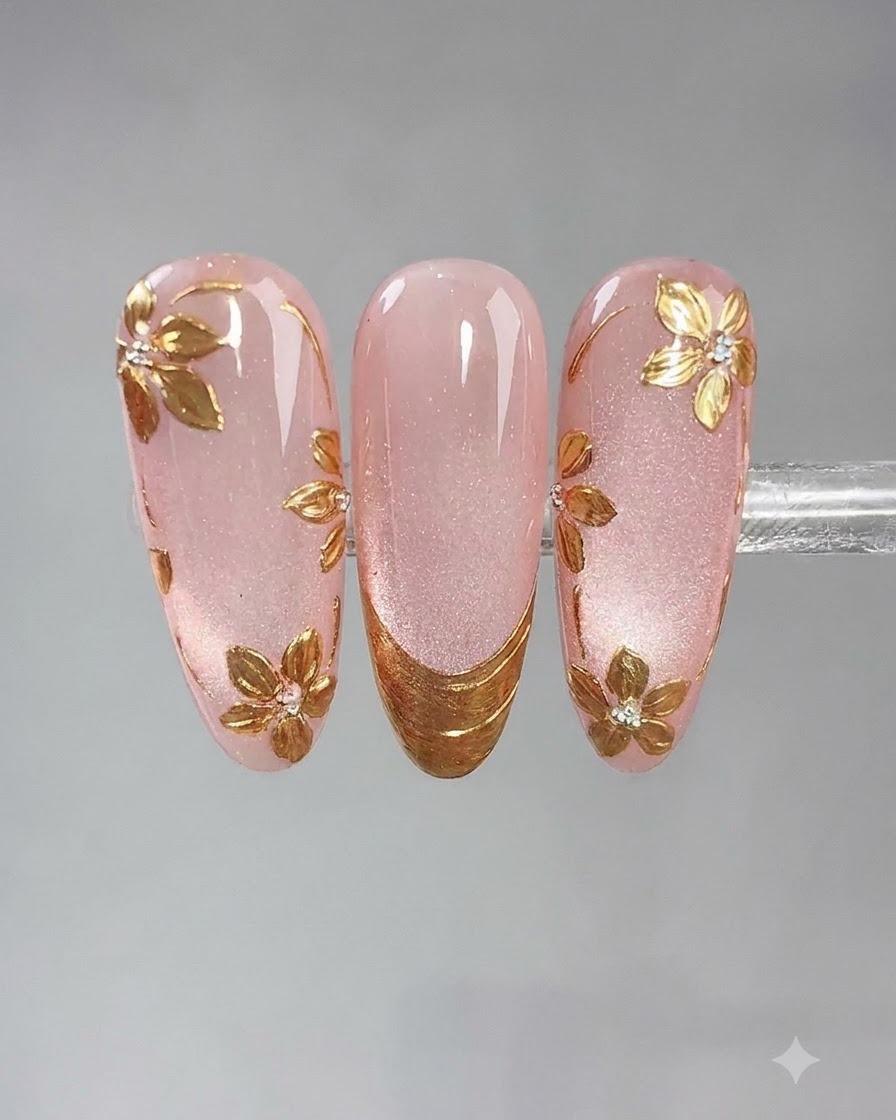
Brush an even layer of peel-off top coat over the cured magnetic color layercite: 1. This seals the cat-eye effect and prepares the surface for the next phase of detailed nail artcite: 1.
Tip: Brush it on evenly to provide a clean barrier for subsequent steps. - 6Draw French tip with glue
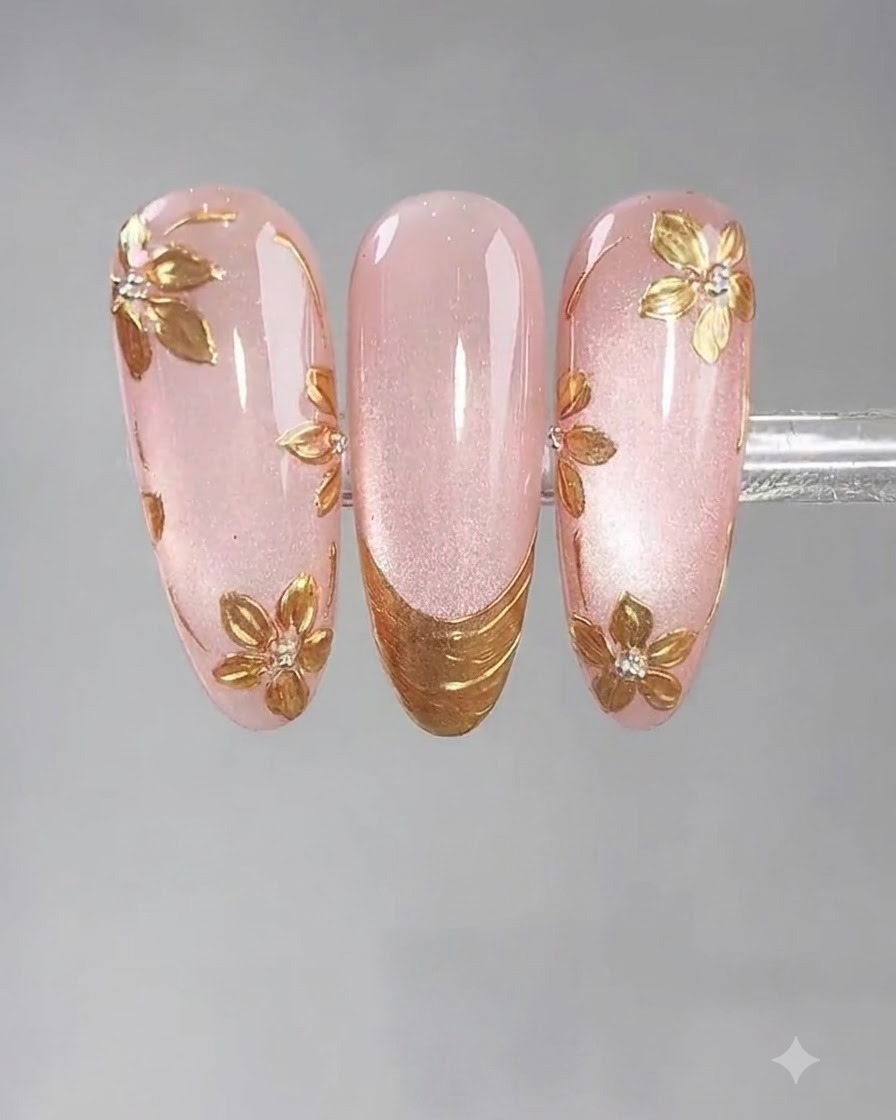
Using a fine liner brush, apply sticky nail art glue along the tip of the nail to map out a classic French tip curvecite: 1. This sticky glue will catch and hold the mirror powder cleanlycite: 1.
Tip: Keep the curve smooth and even across the smile line for a polished French look. - 7Buff Vintage Gold Mirror Powder
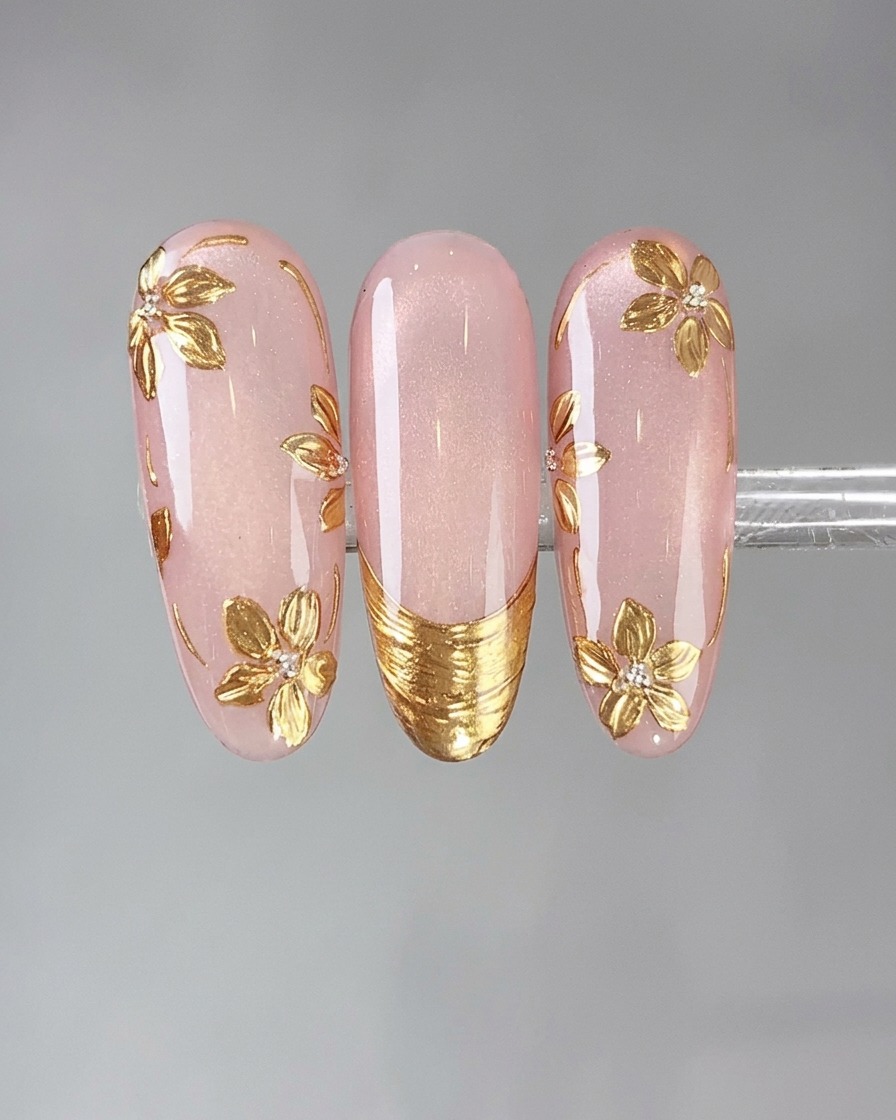
Take a sponge applicator and gently buff the Style Valley vintage gold mirror powder directly onto the cured sticky glue linescite: 1. Ensure the powder adheres evenly across the entire French tip and floral design shapes to create a brilliant metallic finish.
Tip: Make sure the sticky glue is fully cured before applying the powder, and gently brush away any excess fallout with a soft dusting brush. - 8Apply Powder-Sealing Top Coat
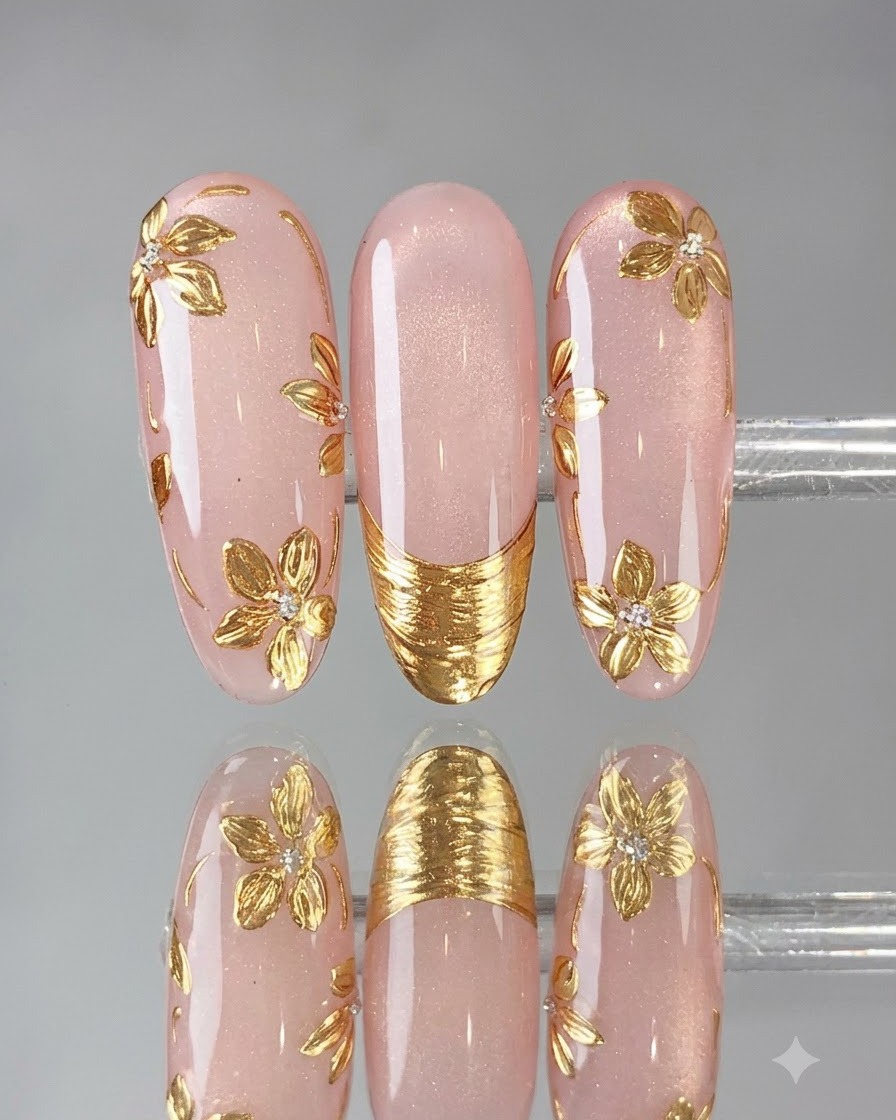
Apply a protective layer of powder-sealing top coat carefully over the gold French tip and floral designs to lock in the mirror powder before the final finish.
Tip: Sealing the powder prevents it from rubbing off or dulling during subsequent steps. - 9Apply Final Smooth Top Coat
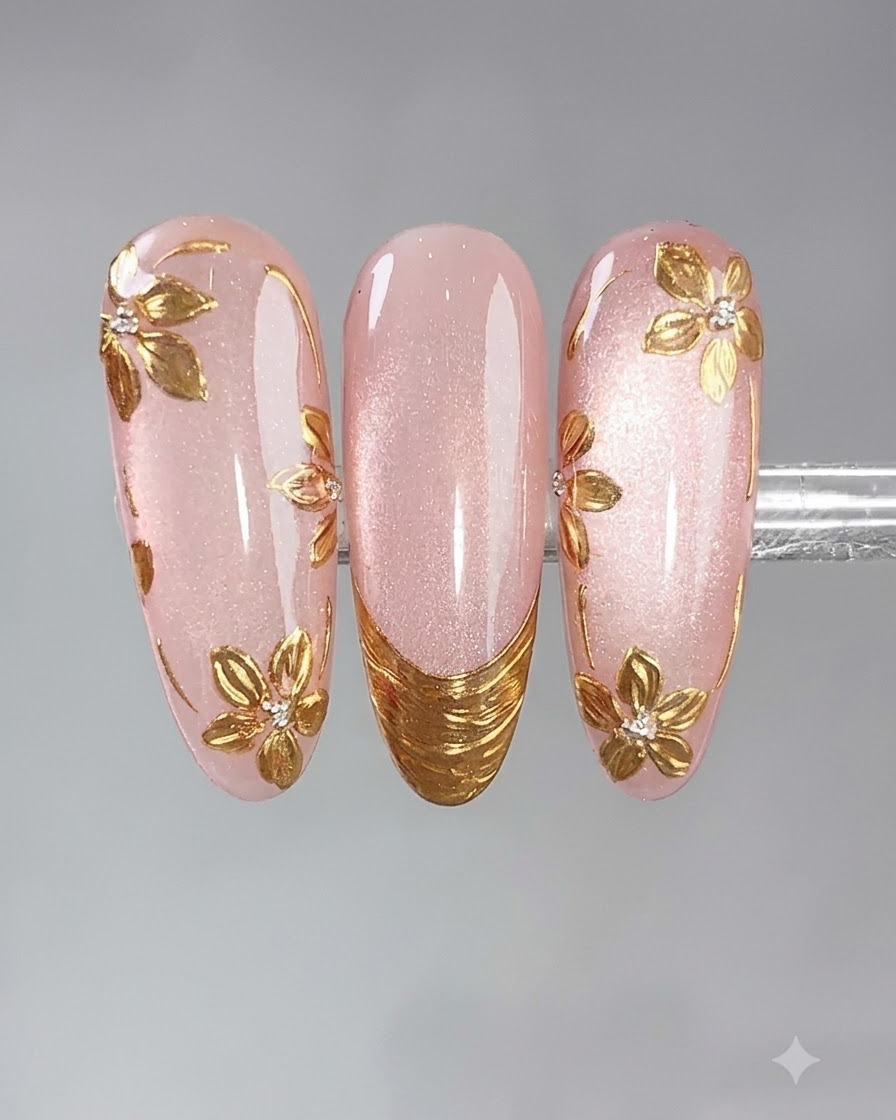
Apply a generous yet even layer of smooth top coat over the entire nail surface to encapsulate the gold mirror powder and nail art details. Seal the free edge carefully to prevent chipping, then cure completely under the UV or LED lamp.
Tip: A smooth top coat locks in the chrome shine and protects the delicate mirror powder from wearing off at the edges. - 10Place Glue Dots for Flowers
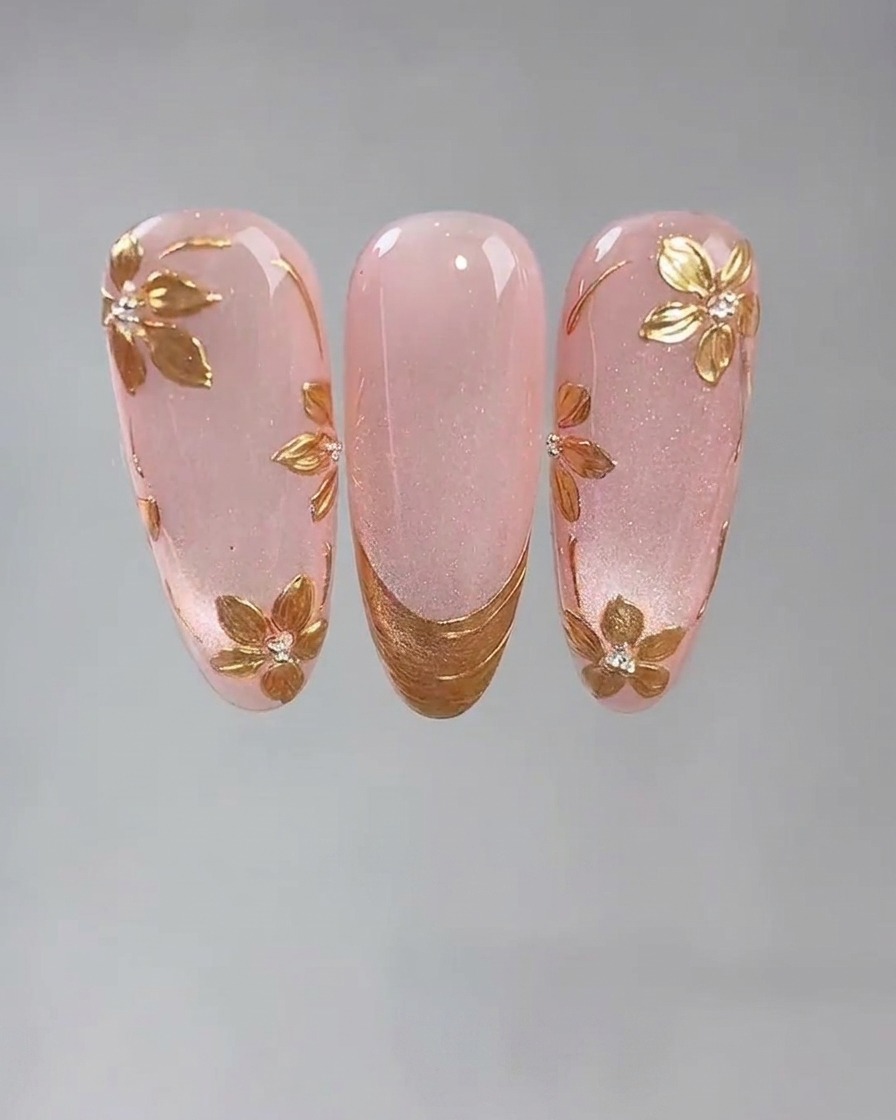
Apply small individual dots of sticky nail art glue onto the prepped nail plate to serve as the centers and anchoring points for the floral pattern.
Tip: Keep the glue dots small and precise to maintain delicate flower proportions. - 11Create Floral Petal Patterns
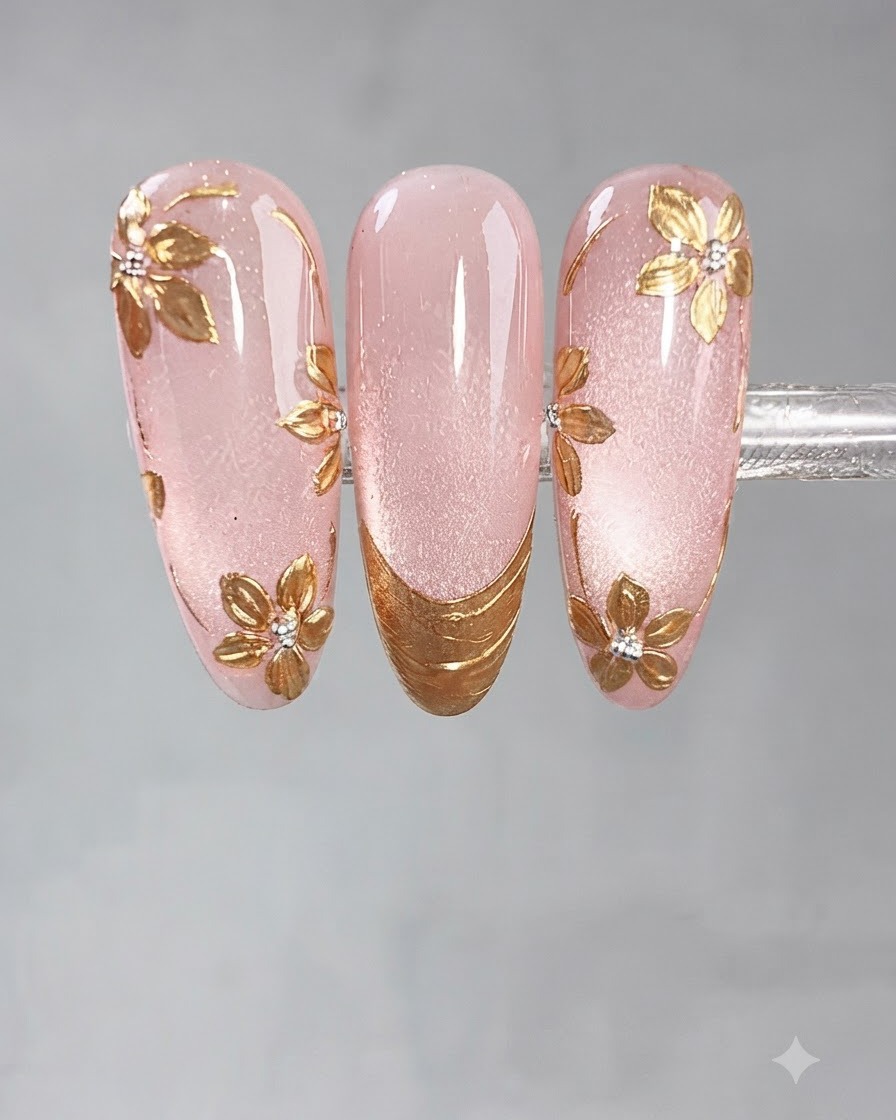
Using a dotting tool dipped in sticky nail art glue, carefully stamp out multiple petal shapes to form delicate flowers across the nail surface. Arrange several flowers strategically to create a balanced composition.
Tip: Work in small sections if necessary so the sticky glue doesnt lose its tackiness before you finish shaping the flowers. - 12Build Harmonious Flower Clusters
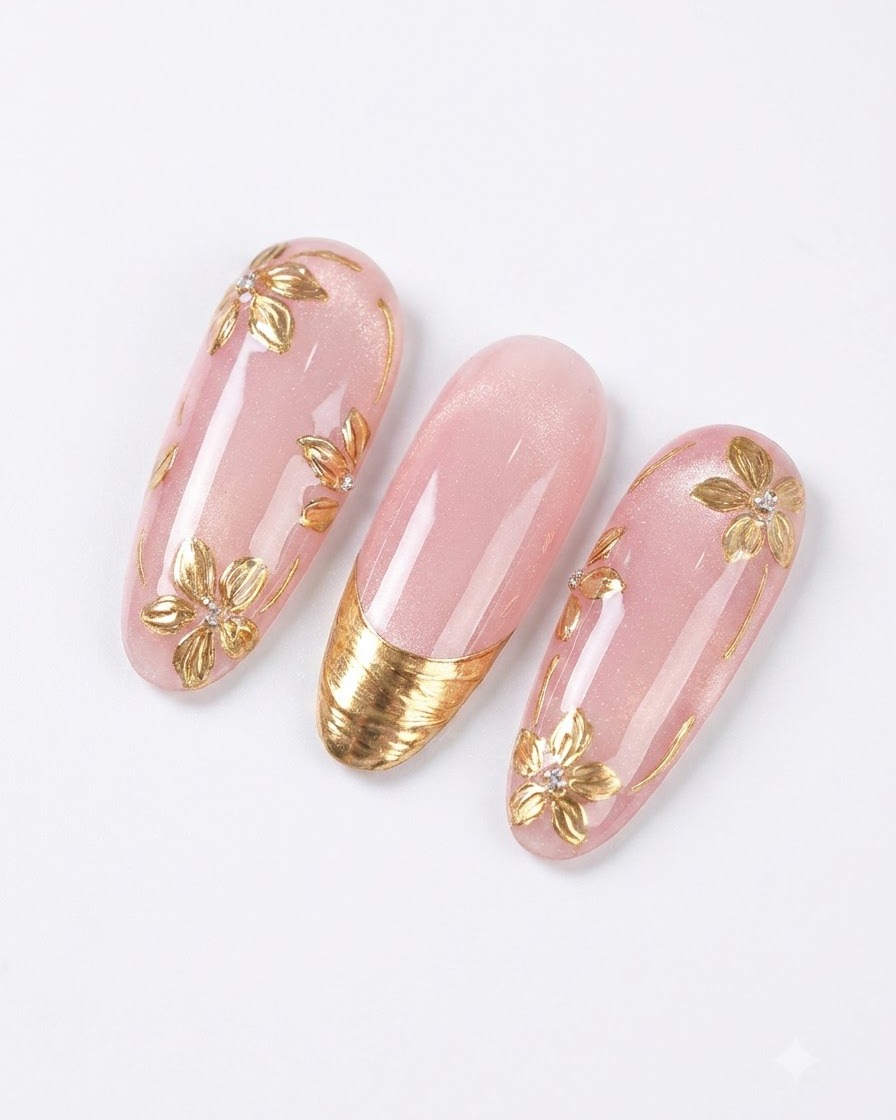
Add additional flower shapes and fine lines between the petals around the initial bloom to build a complete, harmonious floral cluster across the nailcite: 1. Varying the placement of smaller and larger blooms creates a more natural, organic look.
Tip: Varying the placement of smaller and larger blooms creates a more natural, organic look. - 13Draw Fine Stems and Leaves
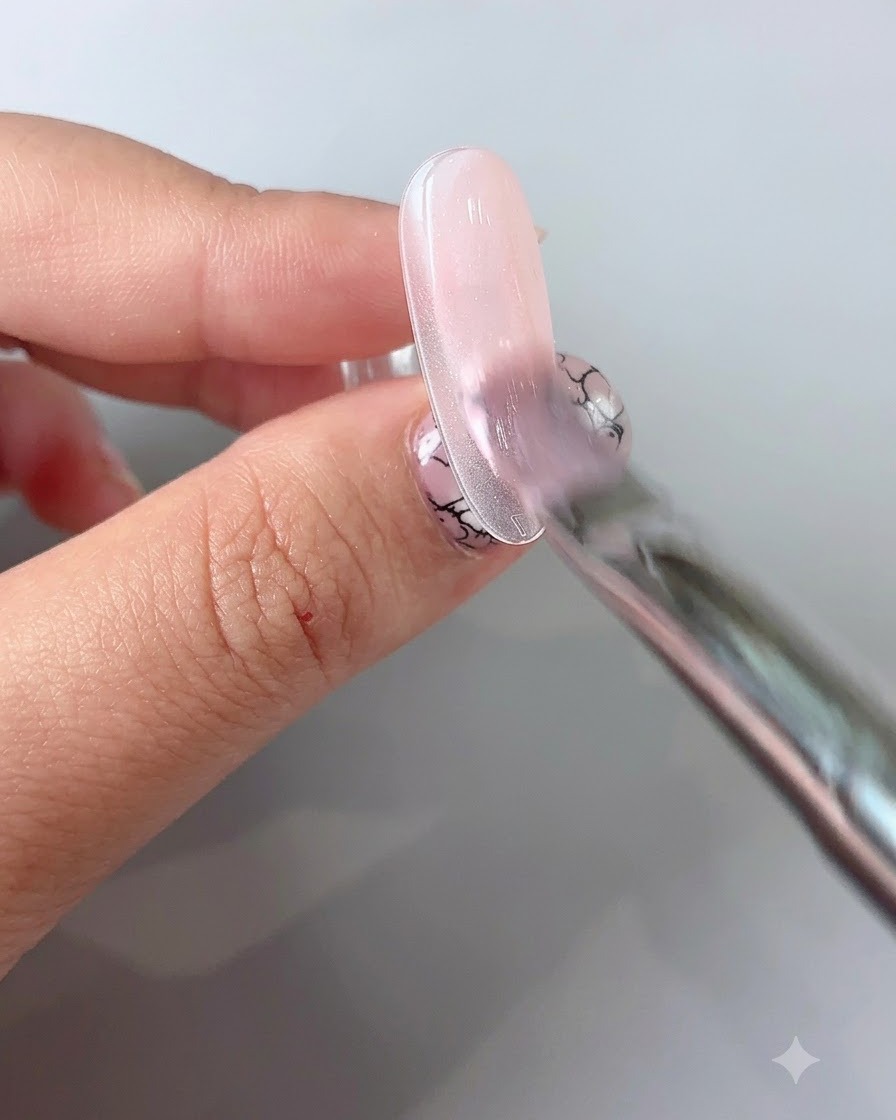
Dip a fine liner brush into the sticky nail art glue and draw delicate lines, stems, and leaves connecting the floral clusters. This adds intricate detail and organic movement to the overall design.
Tip: Keep a very light hand when using the liner brush to ensure the lines remain thin, elegant, and consistent. - 14Apply Powder to Floral Design
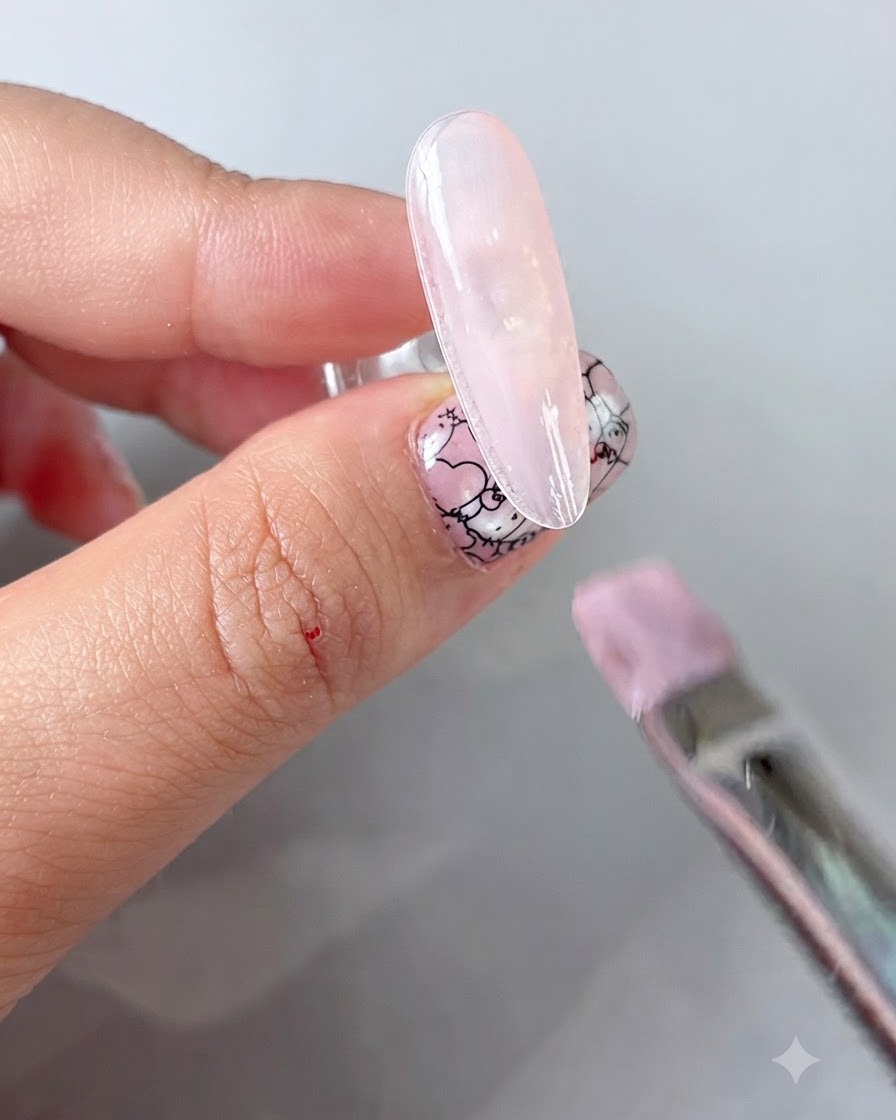
After curing the drawn floral and line design, use a sponge applicator or silicone tool to rub the vintage gold mirror powder over the cured sticky glue elements until they transform into shiny gold art.
Tip: Buff firmly but gently to maximize the mirror reflection without distorting the fine line work. - 15Place Center Steel Beads
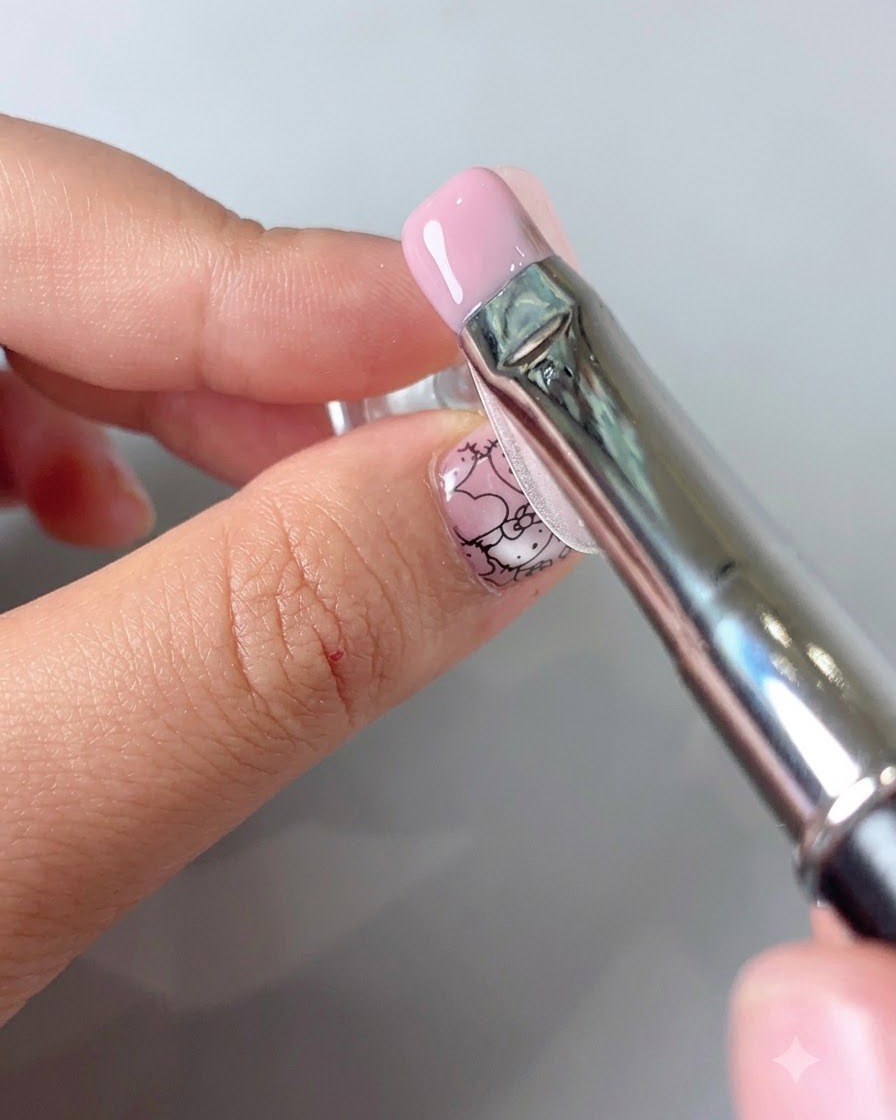
Pick up tiny gold steel beads using a fine-tipped picking tool and place them precisely into the center of each gold flowercite: 1. This adds a realistic dimensional element to the center of the blooms before sealing.
Tip: Use a tiny dab of base gel or sticky glue to secure the beads if they need extra hold before the final top coat. - 16Apply Sealing Top Coat
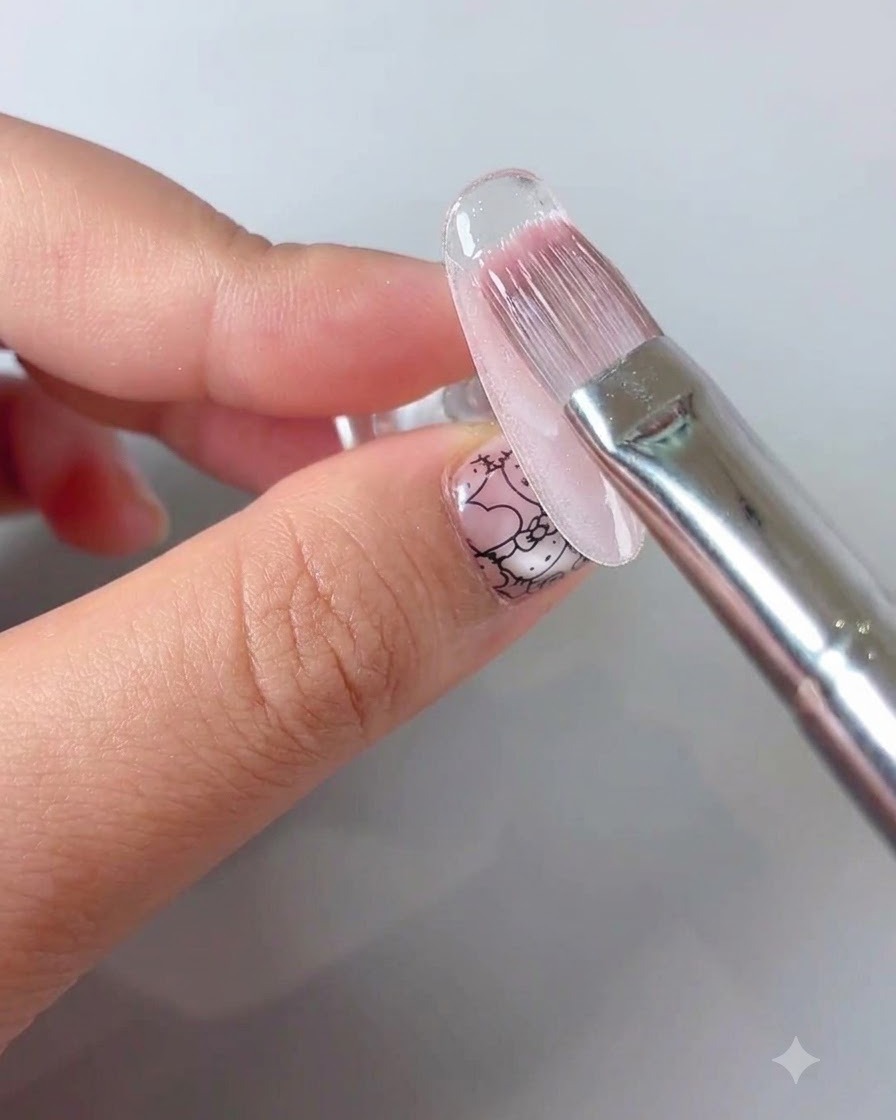
Apply an even layer of sealing top coat over the cured floral nail art design to protect the hand-painted details and secure the embedded elements in place before the final finish.
Tip: Ensure the top coat fully covers the edges of the nail art to prevent peeling and lifting. - 17Apply Final Smooth Top Coat
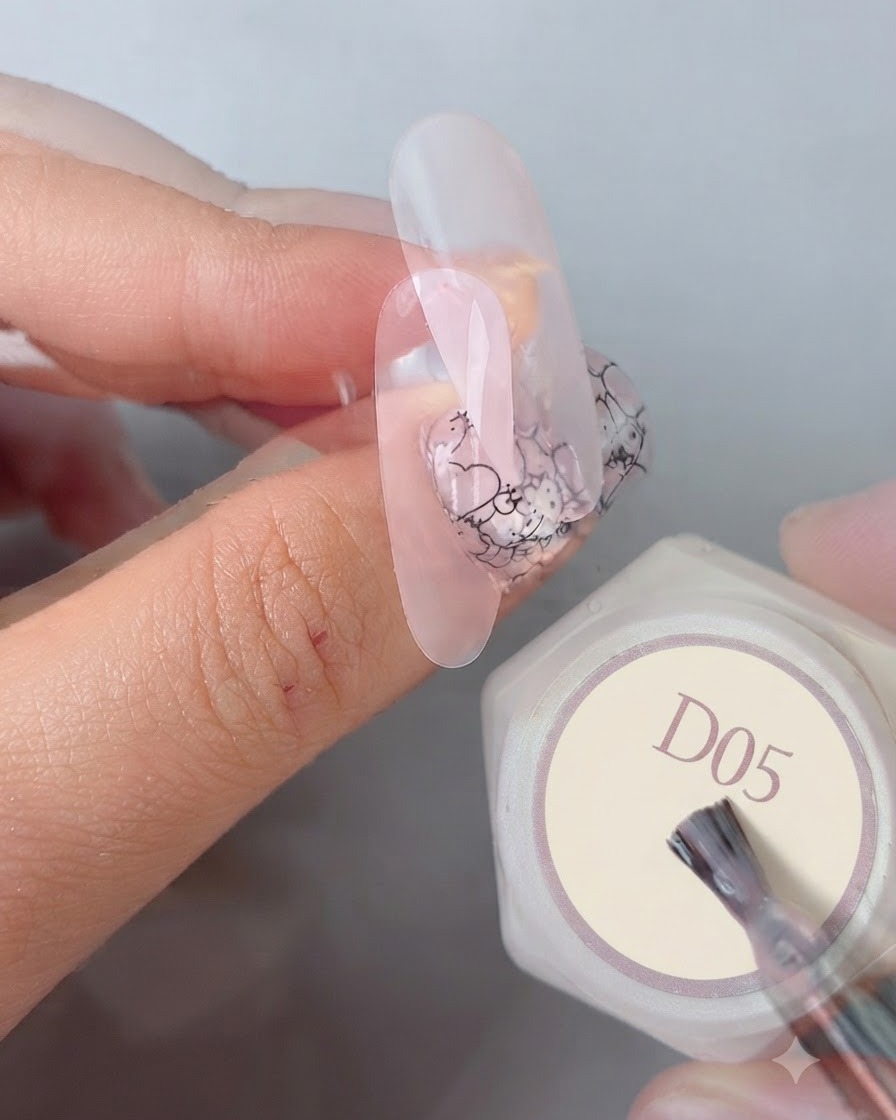
Apply a final layer of smooth top coat to complete the manicure, giving the nails a high-gloss finish, enhanced durability, and a polished look.
Tip: Cure thoroughly under a UV or LED lamp after application to ensure a long-lasting, glossy shine.