Silver Glitter French Tip
Rhinestone Accent — Step-by-Step Tutorial
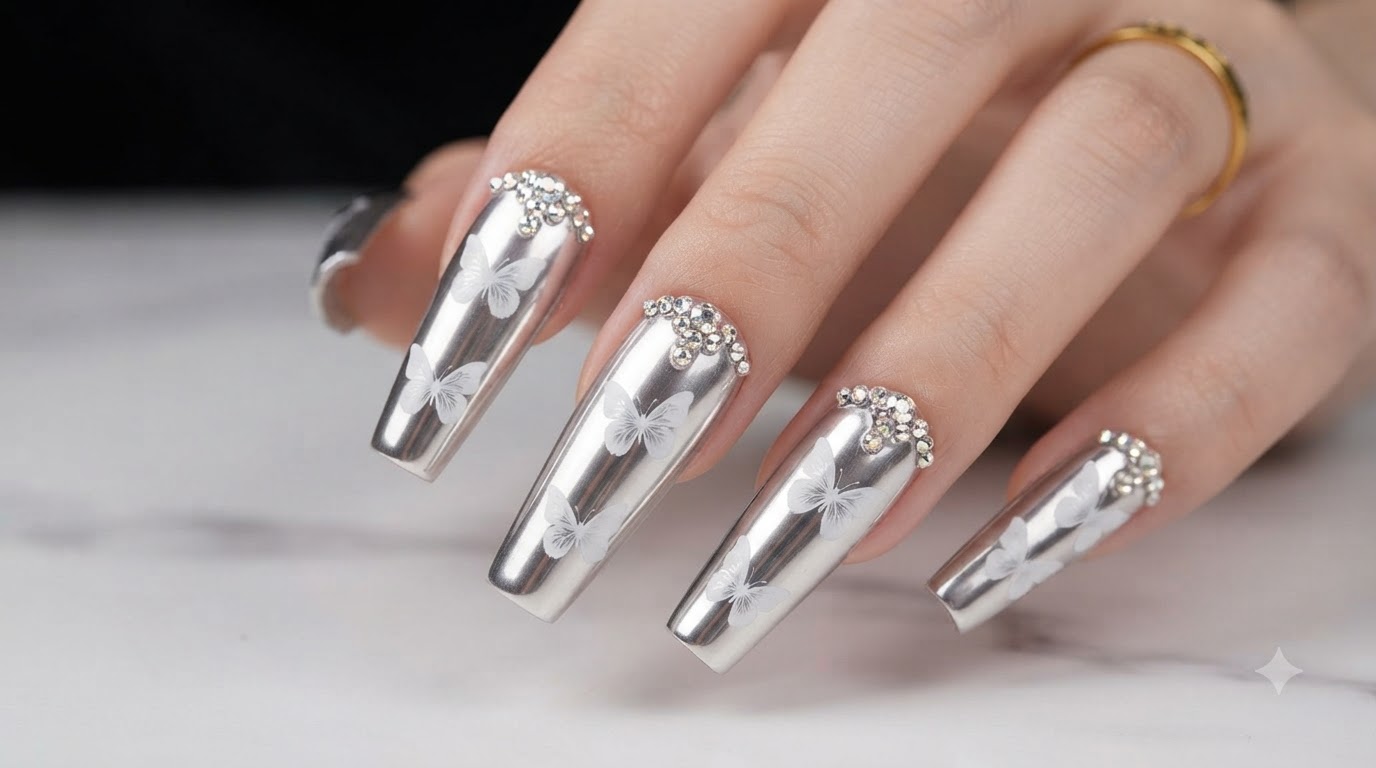
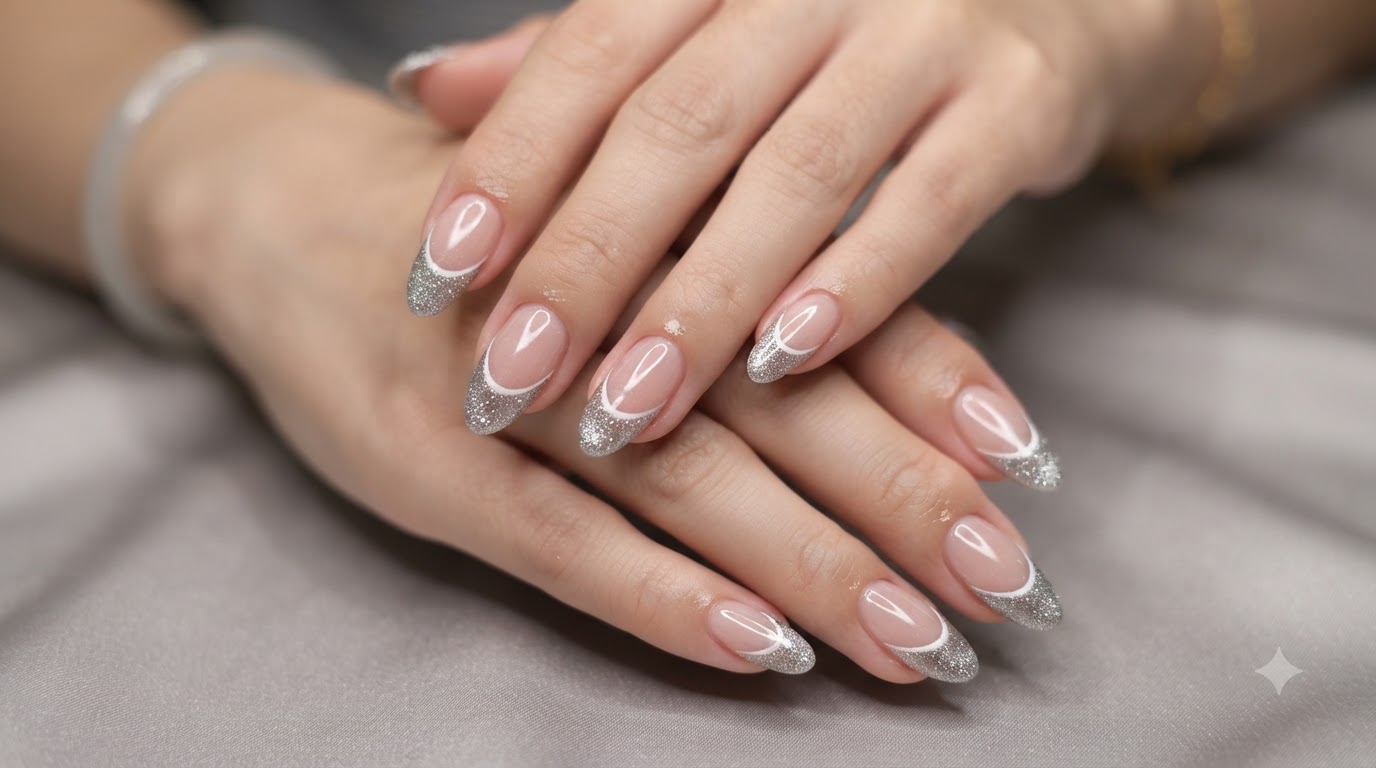
Elevate your classic French manicure with this dazzling New Year's inspired look. Featuring a silver glitter tip and an intricate rhinestone cluster, it is the perfect sparkly accent nail.
Nothing says celebration quite like a touch of sparkle. This silver glitter French tip takes a natural, semi-sheer nude base and elevates it with a stunning, jewelry-like rhinestone cluster at the cuticle. It is the ultimate accent nail for New Years Eve, weddings, or any time you want your manicure to make a glamorous statement.
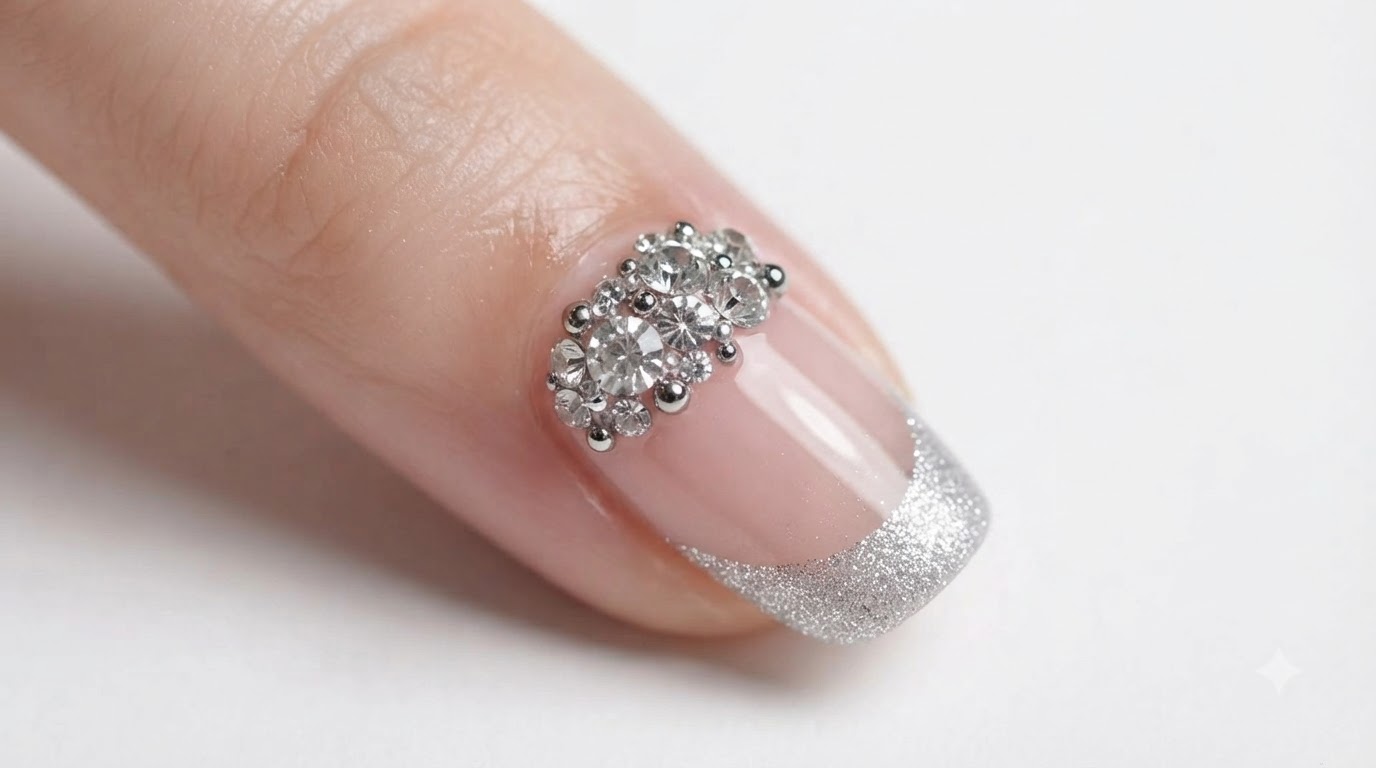
Steps
- 1Apply nude gel base
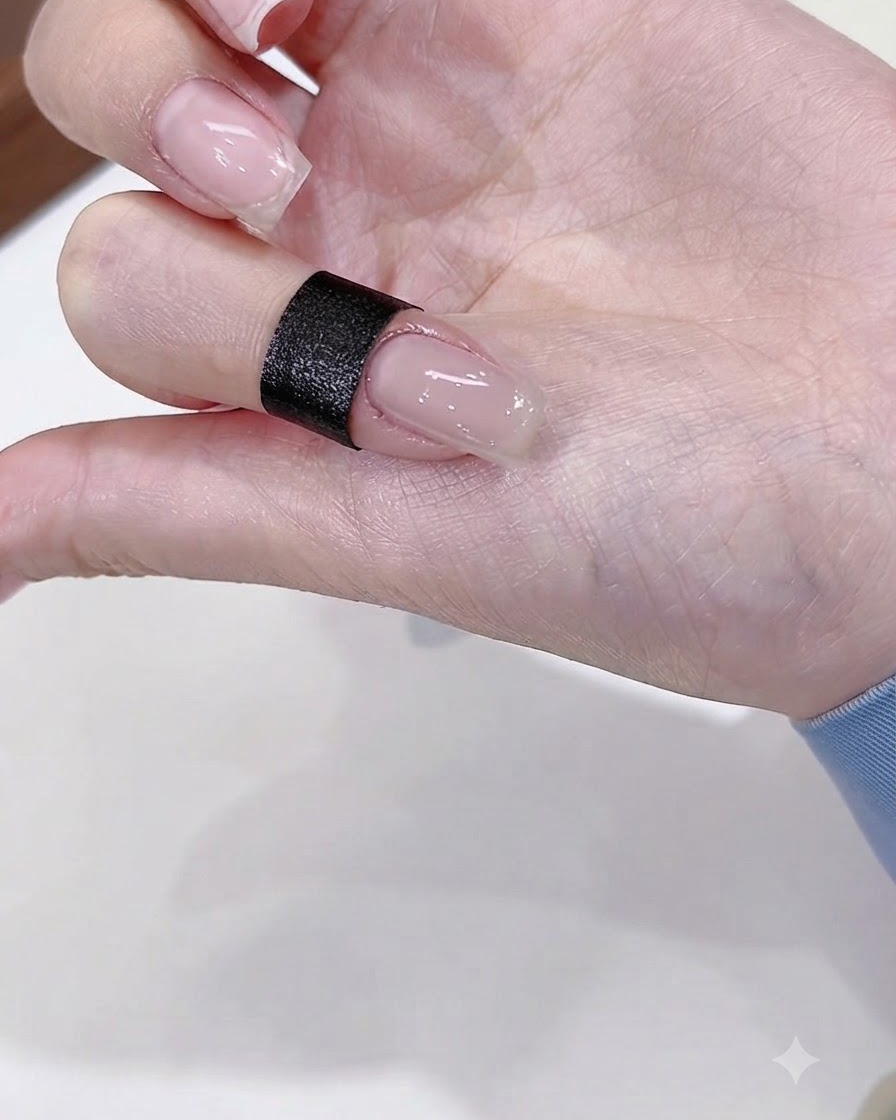
Apply a smooth, even coat of nude-colored gel base over the entire nail plate. Keep the application neat around the cuticle area and cap the free edge, then cure it under your nail lamp.
Tip: A clean, semi-sheer nude base helps hide any natural nail imperfections and provides the perfect backdrop for a sparkly French tip. - 2Paint the glitter French tip
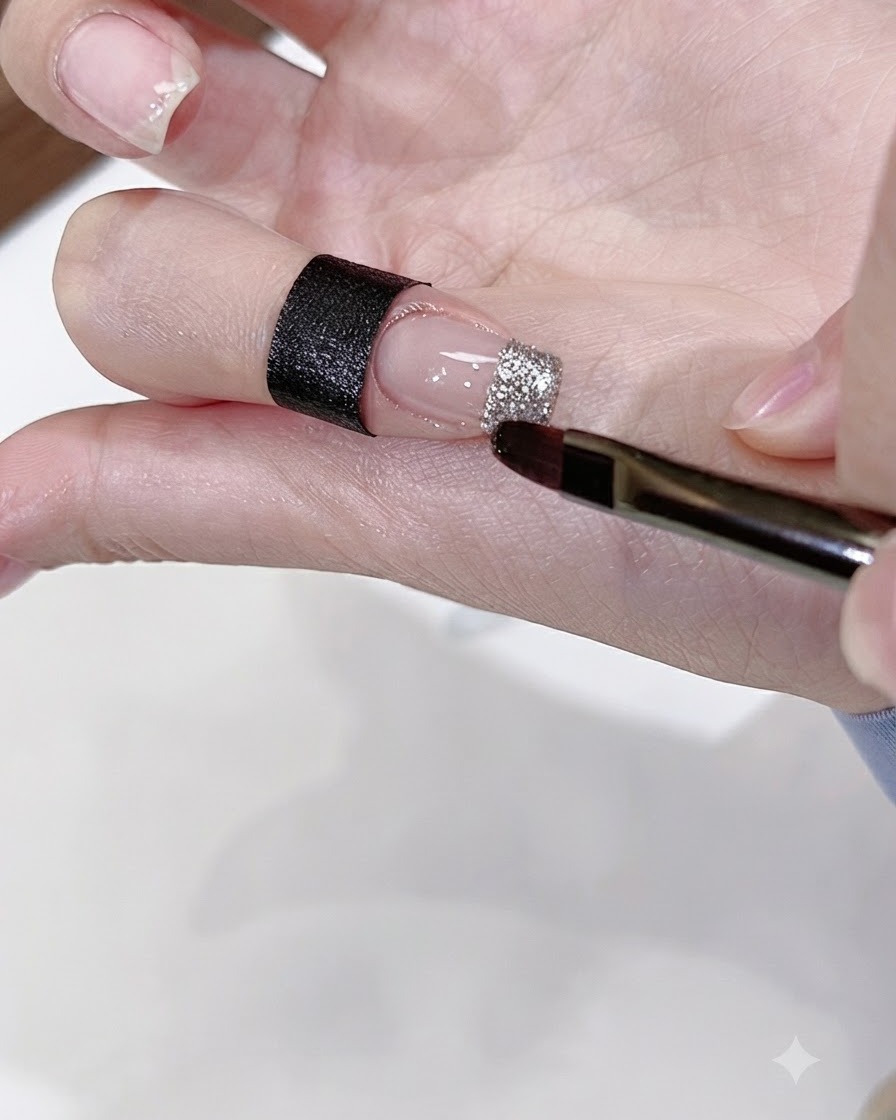
Using a flat nail art brush, apply silver glitter gel along the free edge of the nail to form a French tip. Adjust the thickness of the tip and the curve of the smile line to your preference, then cure completely.
Tip: If your glitter gel is chunky, lightly pat the glitter into place rather than brushing it to ensure an even, opaque coverage without adding bulk. - 3Apply diamond glue
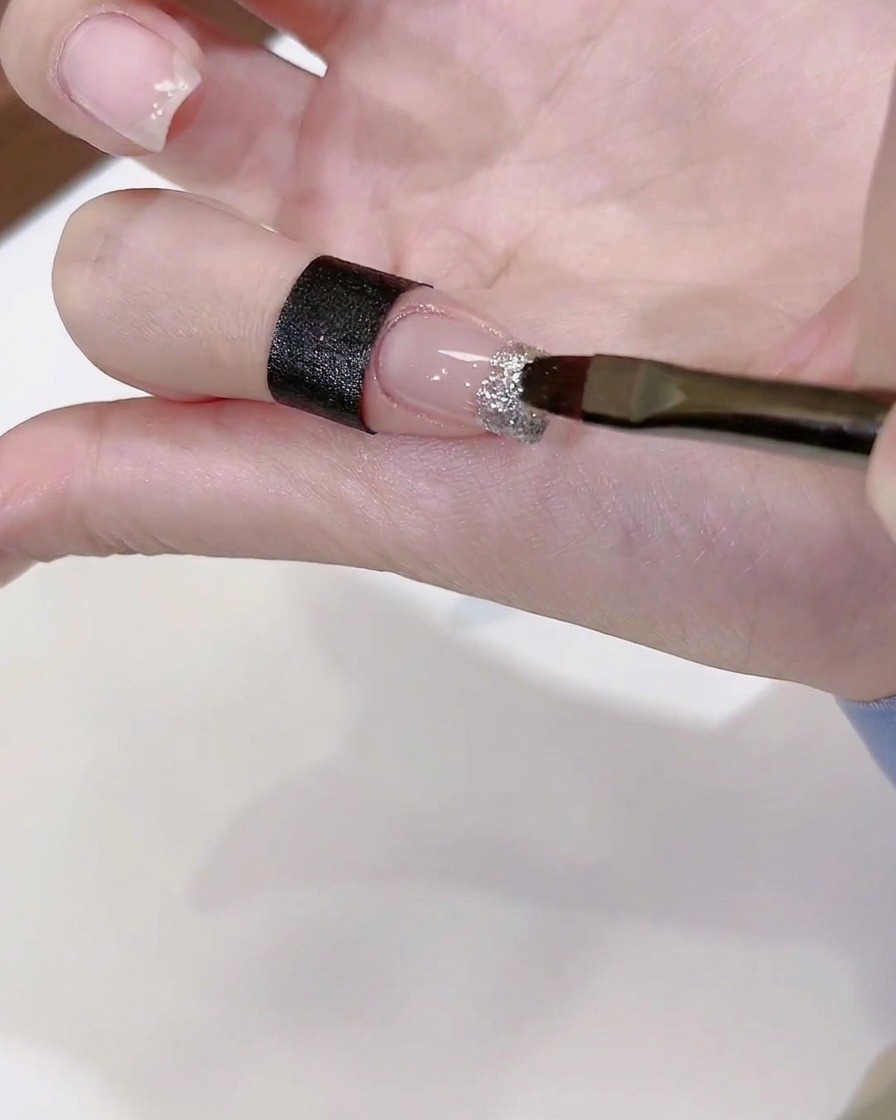
Apply a dab of clear diamond glue directly onto the nail surface in the area where you plan to arrange and secure your rhinestonescite: 1. This thick, viscous glue provides the strong hold needed to keep heavy nail decorations securely in place.
Tip: Use just enough glue to anchor the crystals without overflowing onto the surrounding nail design. - 4Select nail decorations
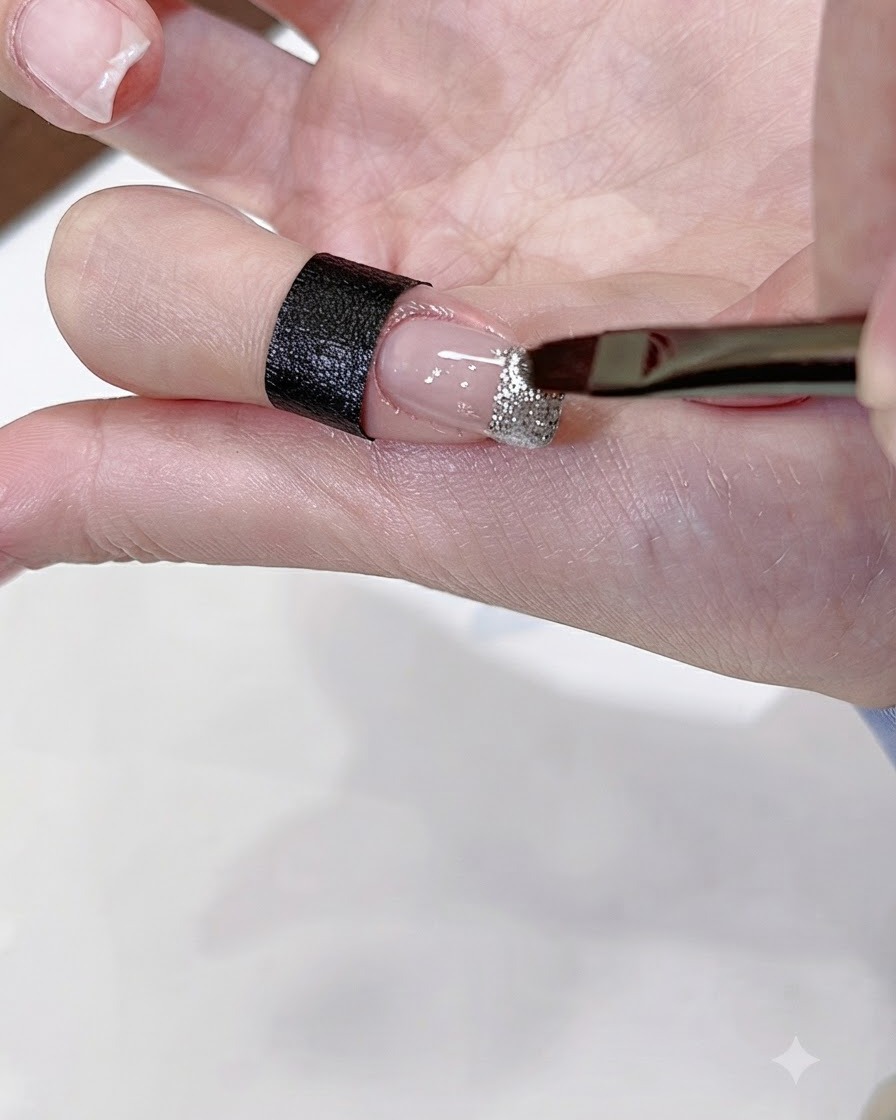
Select the required rhinestones, round crystals, and miniature steel beads from your storage organizercite: 1. Having your embellishments ready and sorted makes the placement process smooth and precise before the glue sets.
Tip: Keep a wax picker tool or fine tweezers handy to easily pick up and position tiny crystals and beads. - 5Position the main rhinestone
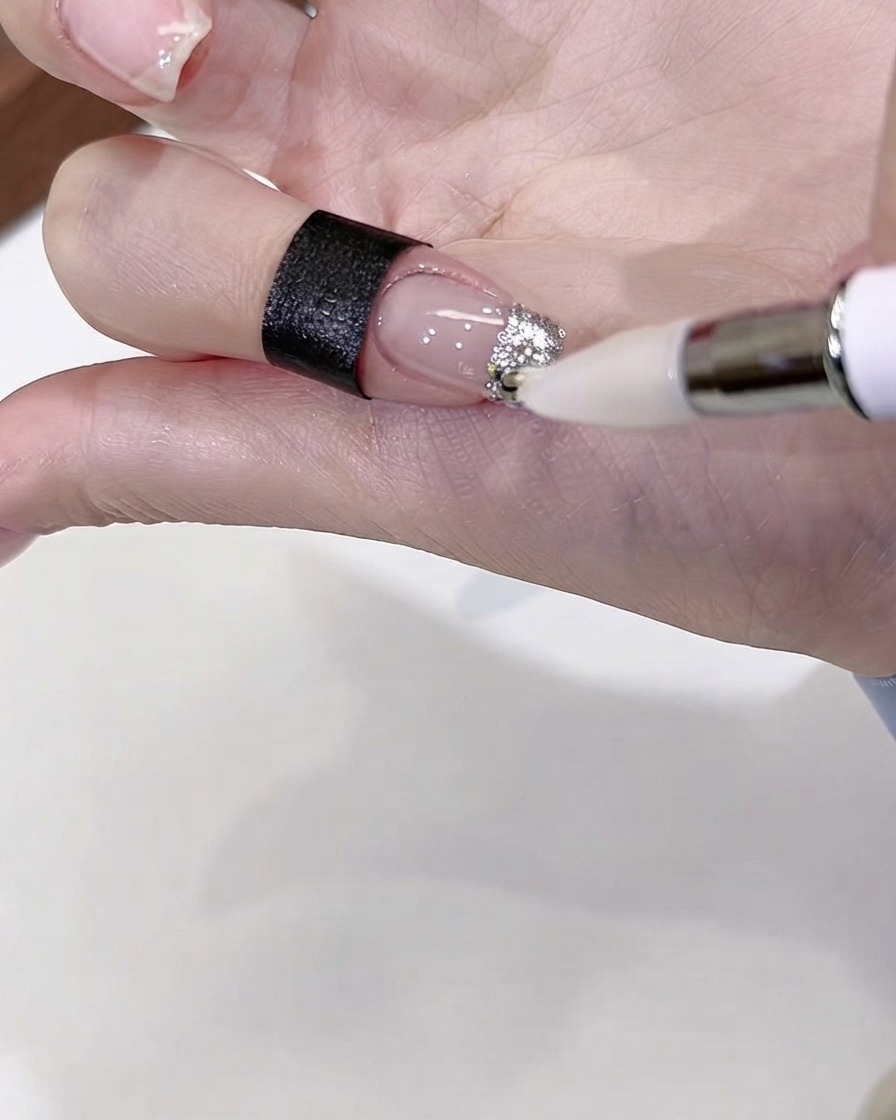
Using a wax picker pen or rhinestone tool, pick up your large shaped rhinestone and place it directly onto the wet diamond glue. Position it right at the smile line of your French tip as the anchor for your design.
Tip: Do not cure the nail after placing the first stone! You need the glue to stay wet so you can continue building the cluster. - 6Cluster small crystals and beads
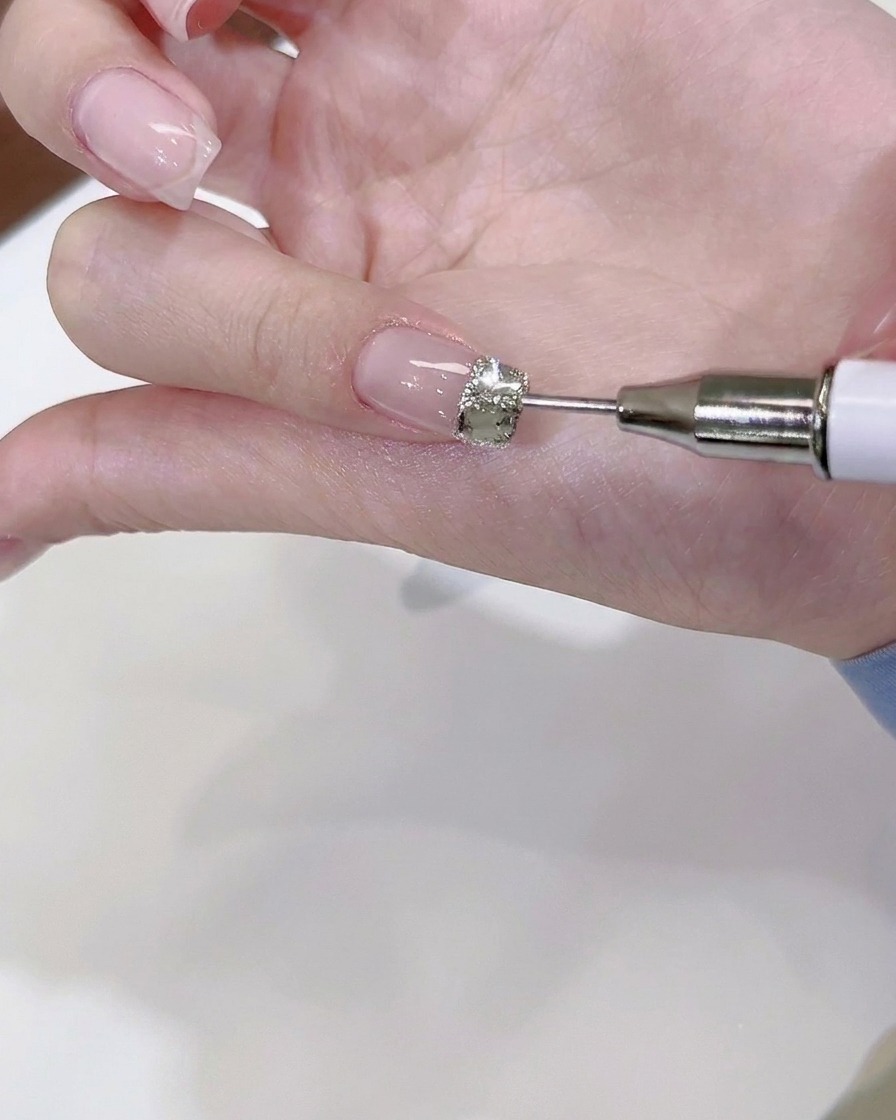
Use a fine dotting tool to pick up small round crystals and steel beads, nestling them into the gaps around the large rhinestone. Once your cluster looks full and balanced, cure the nail completely in the lamp to set the glue.
Tip: Steel beads are perfect for filling tiny empty spaces and giving the rhinestone cluster a seamless, jewelry-like finish. - 7Cure under nail lamp
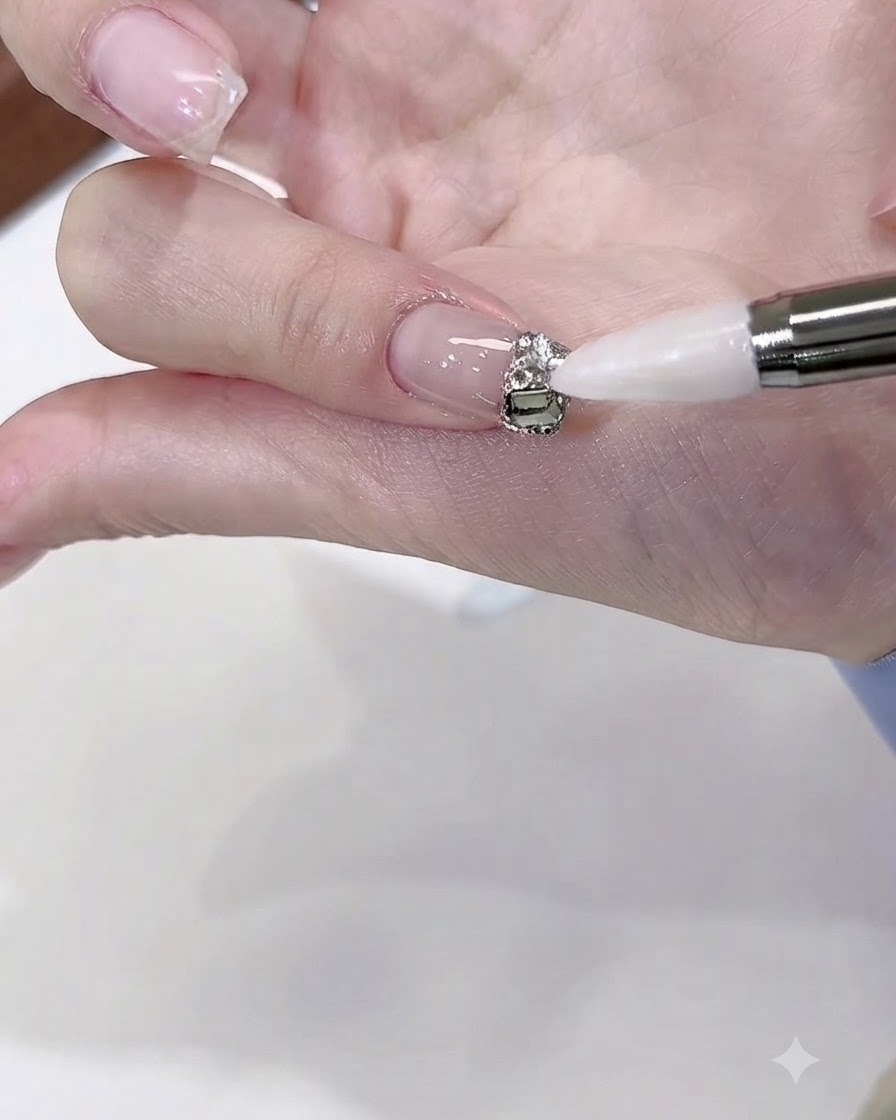
Place your hand under a UV or LED nail lamp to cure the diamond glue and lock the rhinestones firmly in placecite: 1. Ensure your hand remains steady so the decorations do not shift while the adhesive hardens.
Tip: Full curing prevents the heavy gems from sliding or detaching prematurely. - 8Seal rhinestone edges
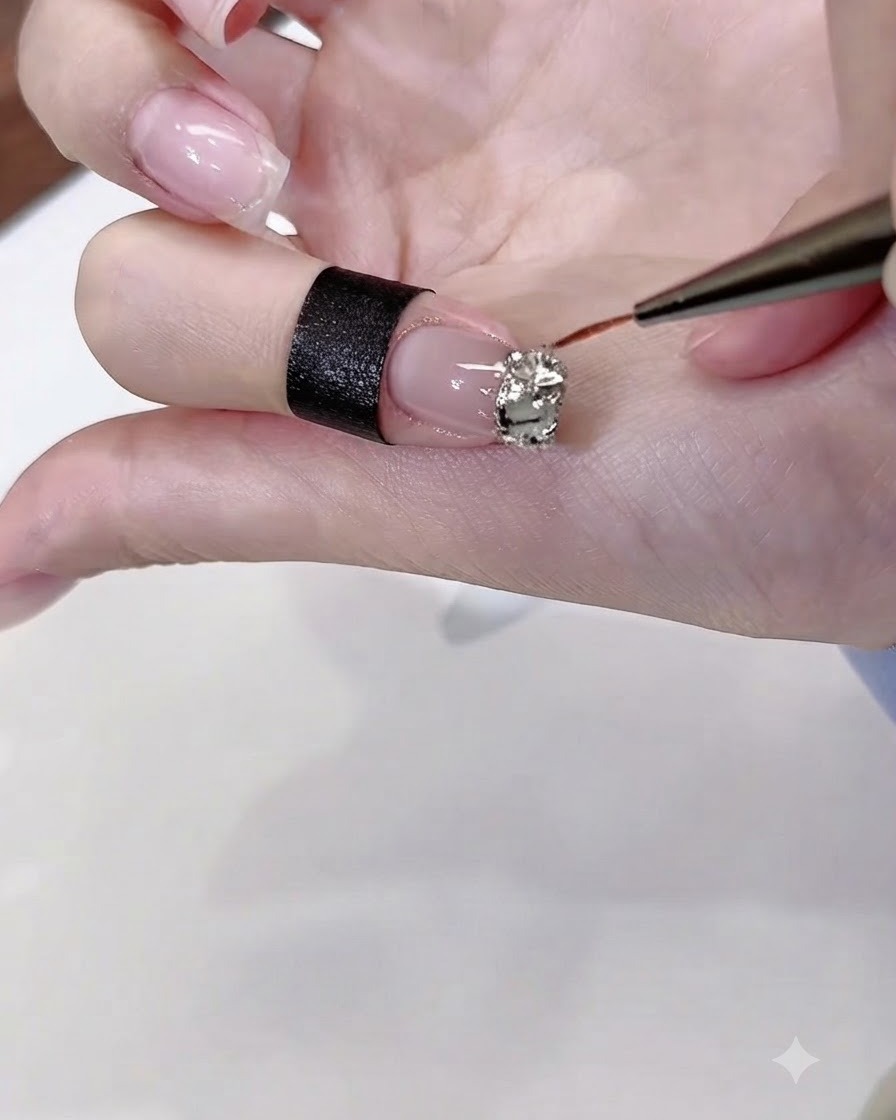
Using a fine liner brush, carefully apply clear diamond glue around the base and outer edges of the rhinestone cluster. This completely fills any tiny gaps and securely anchors the gems to the nail, ensuring they do not catch on hair or clothing.
Tip: Keep the glue strictly to the edges and base of the gems. Getting glue on the faceted tops will instantly dull their sparkle.