Silver Chrome Butterfly Nail Art — Step-by-Step Tutorial
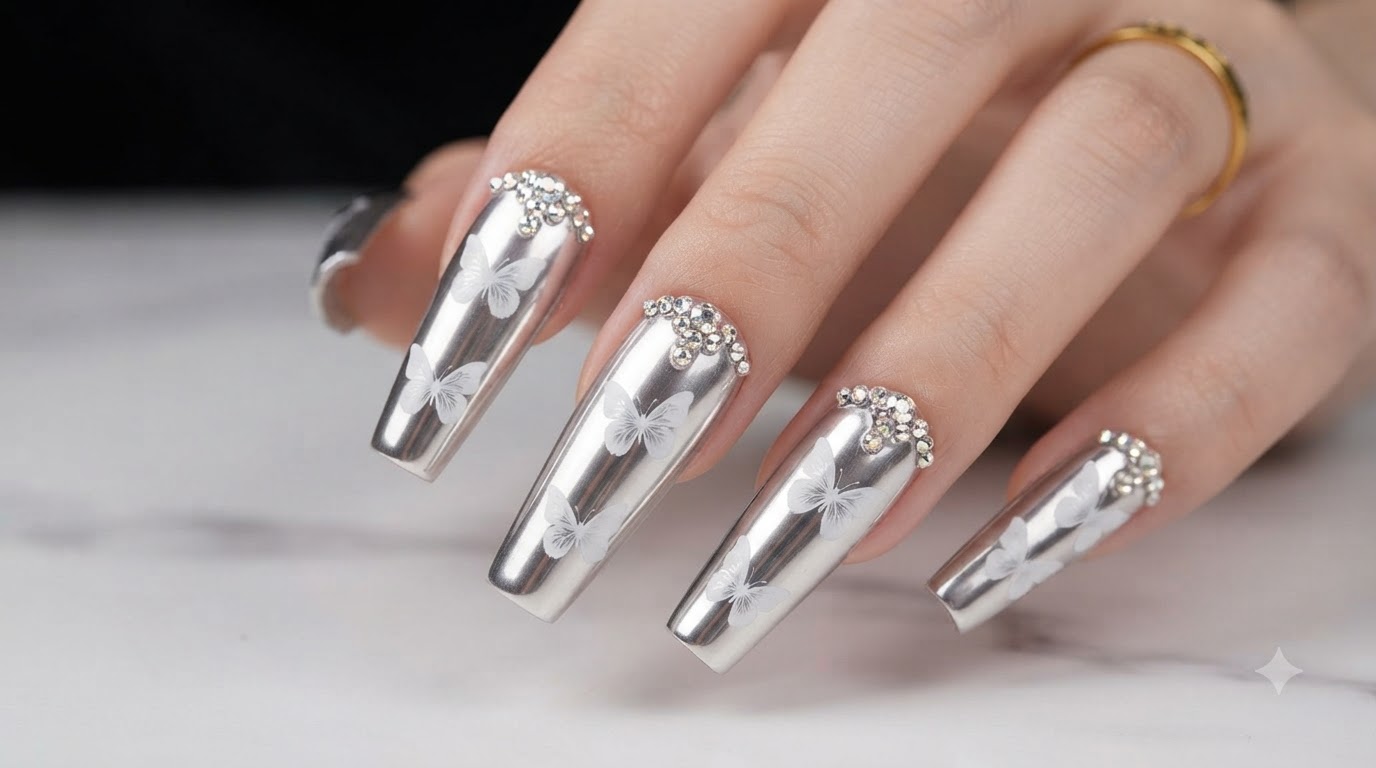
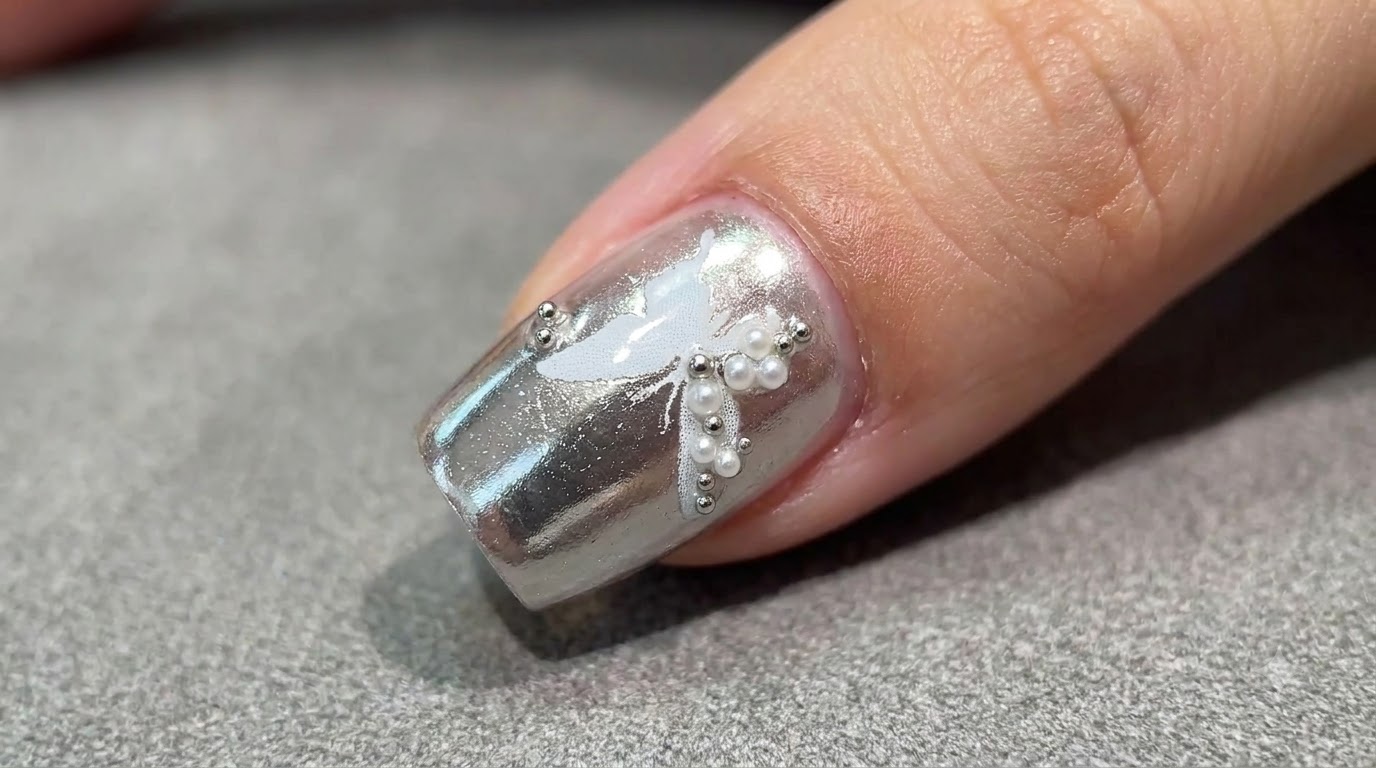
Create stunning silver chrome mirror nails accented with a delicate white stamped butterfly, rhinestones, pearls, and steel beads.
Metal-finished chrome trends continue to dominate nail art styles, offering a sleek and futuristic look that catches every ray of light. This tutorial combines a smooth silver chrome gradient base with precise stamping and dimensional embellishments like pearls and steel beads. Perfect for anyone wanting to elevate their manicure game with sophisticated detailing.
Steps
- 1Pick up silver chrome powder
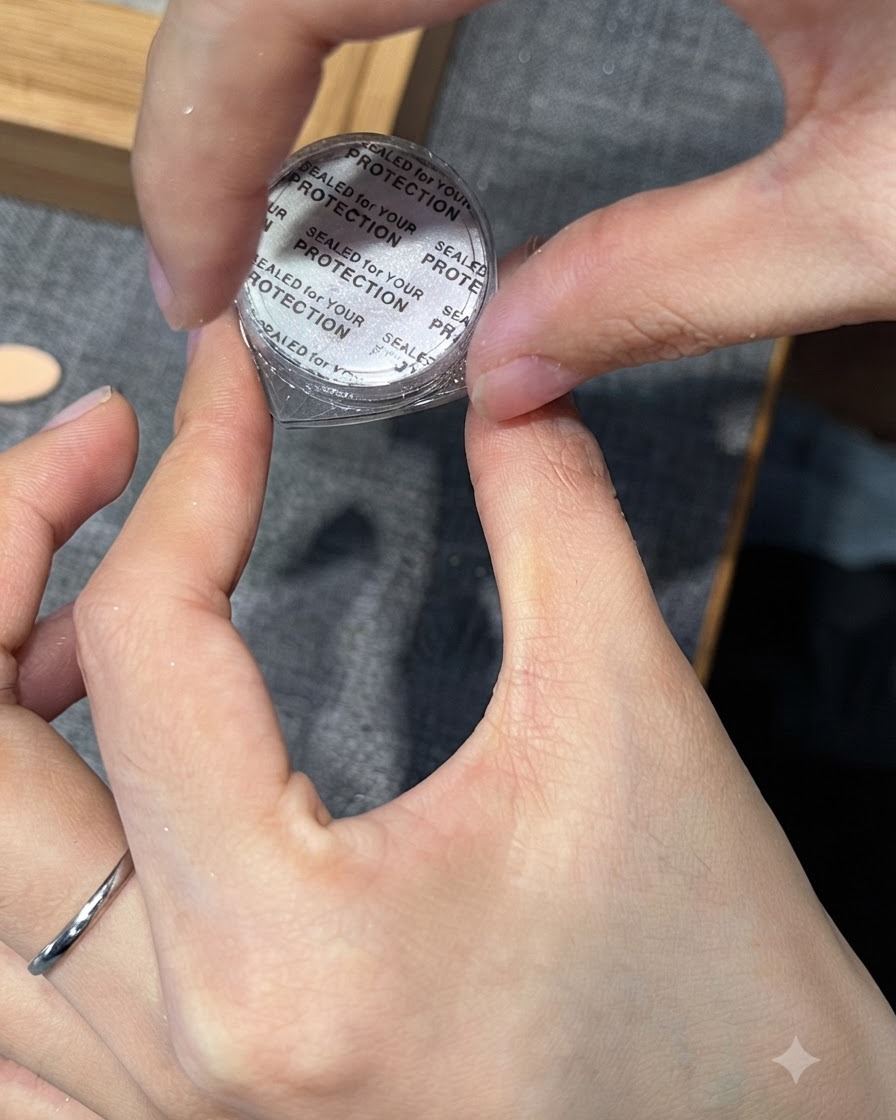
Take a small amount of silver chrome mirror powder using a sponge applicator tool, preparing it for application onto the nail surface.
Tip: Tap off any excess powder from the applicator to ensure a smooth and even distribution. - 2Apply chrome powder gradient
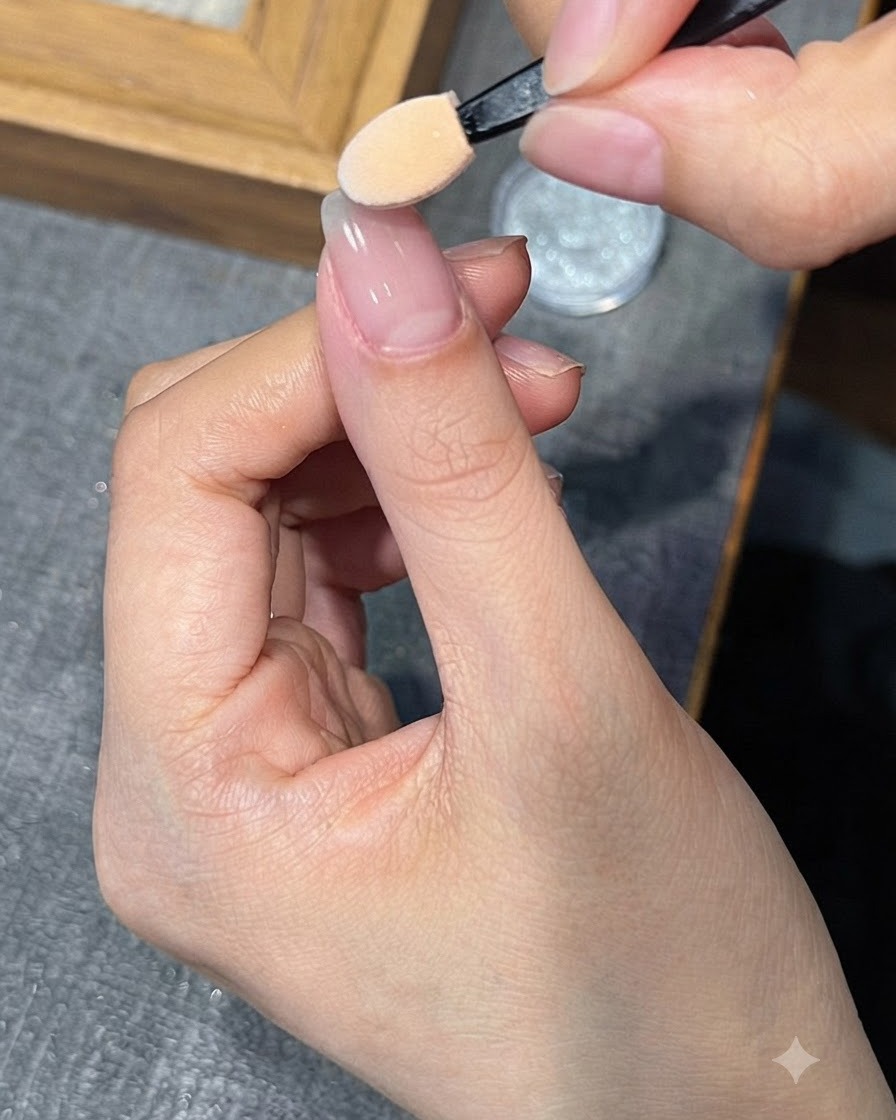
Gently apply and blend the silver chrome powder onto the nail tip using the sponge applicator to create a seamless gradient effect.
Tip: Press lightly near the middle of the nail to fade out the powder smoothly for a true gradient look. - 3Seal chrome with base gel
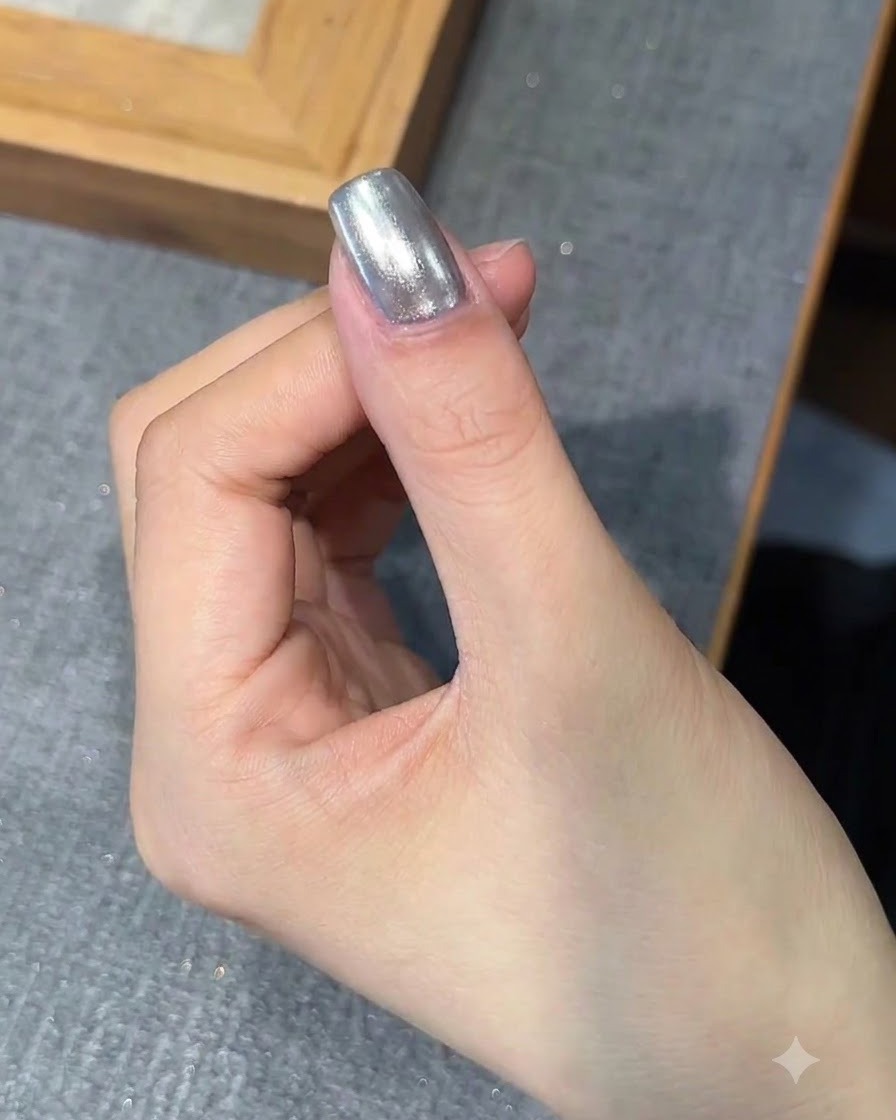
Apply a layer of base gel carefully over the chrome powder to seal it in place and protect the finish from chipping.
Tip: Cap the free edge with the base gel to completely encapsulate the chrome powder. - 4Cure base gel under lamp
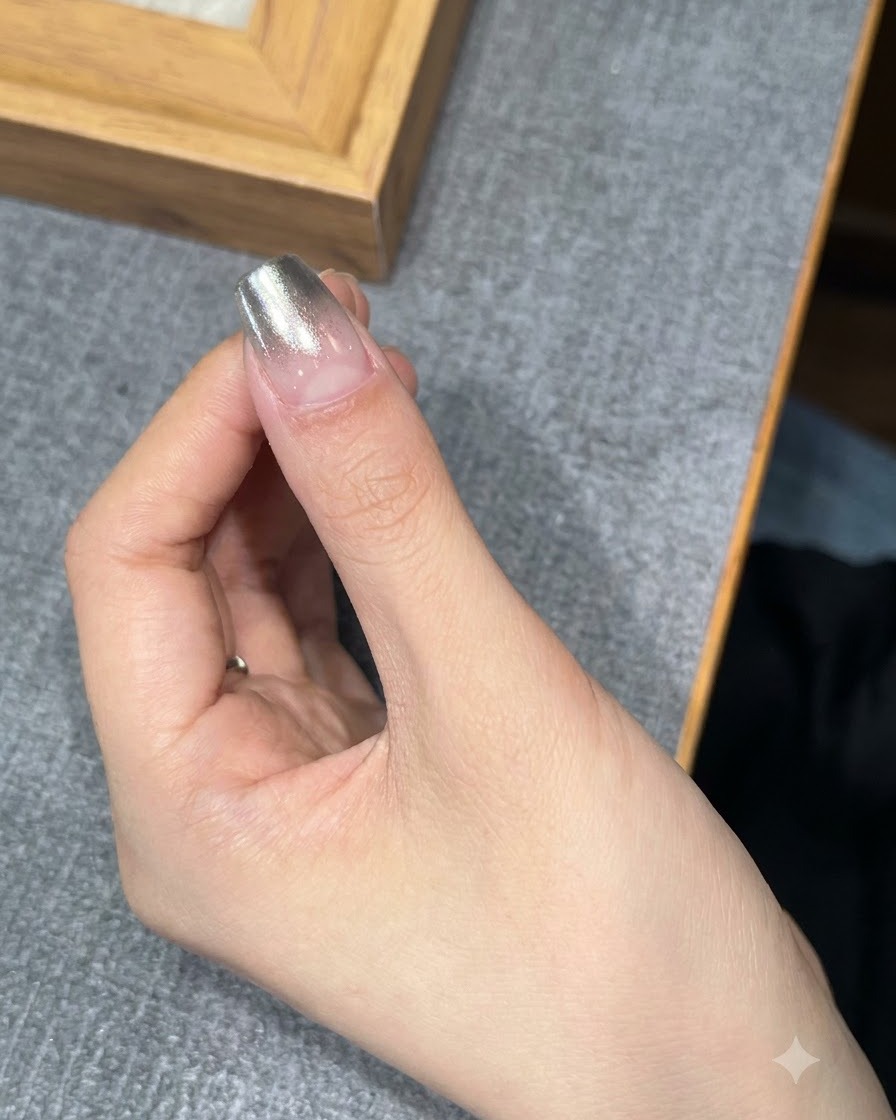
Place the nail under the UV or LED lamp to fully cure the base gel layer and secure the underlying chrome design.
Tip: Ensure the hand is positioned correctly under the light source for an even cure. - 5Scoop white stamping gel
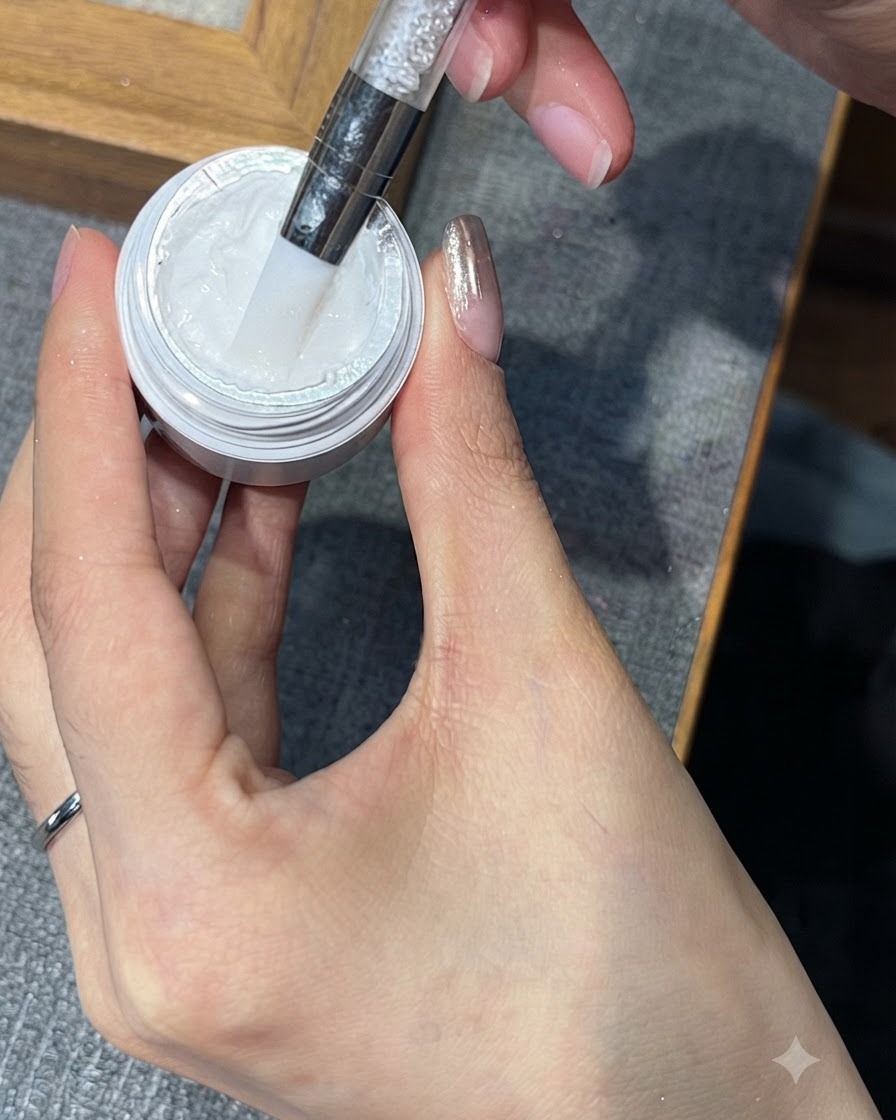
Take a small amount of white stamping gel using a specialized tool or brush, getting it ready for the stamping plate transfer.
Tip: Use a controlled amount of gel to prevent overflow onto the plate grooves. - 6Apply gel to stamping plate
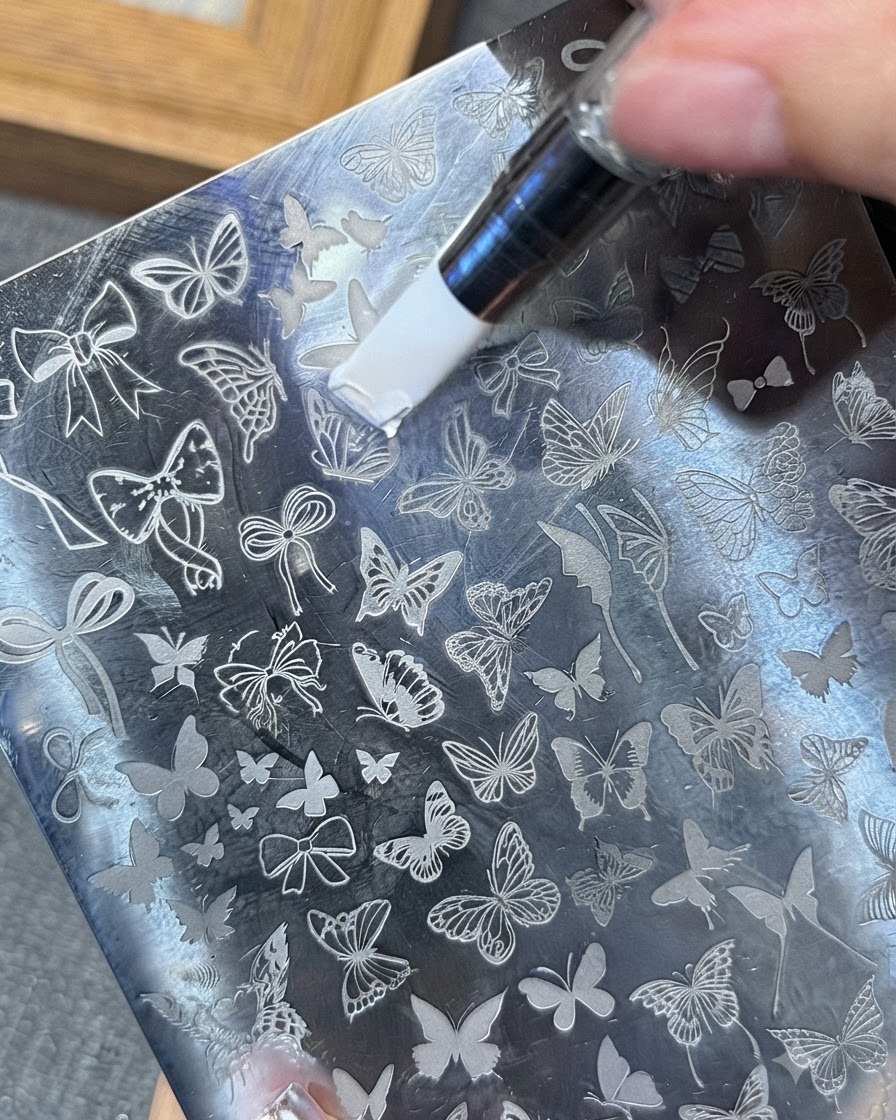
Spread the white stamping gel evenly across the butterfly design etched onto the metal stamping plate.
Tip: Ensure all engraved lines of the butterfly design are fully filled with the gel. - 7Scrape excess stamping gel
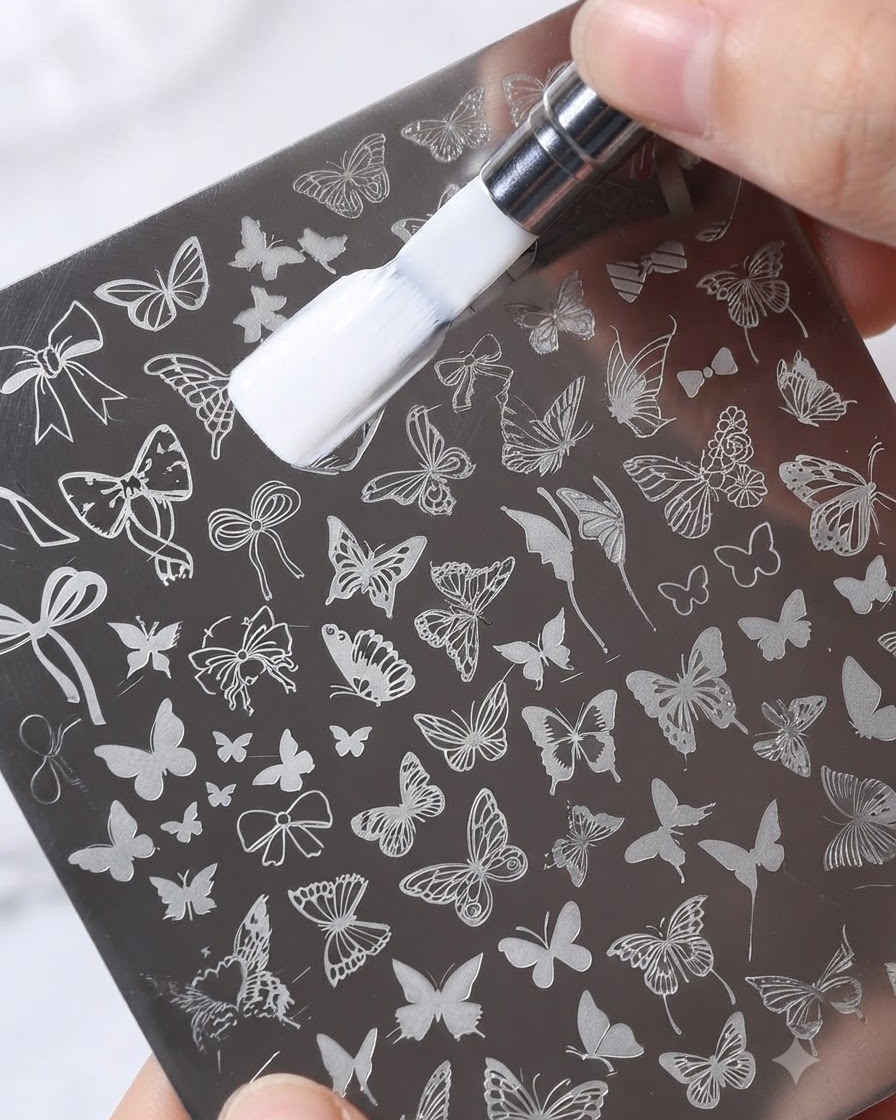
Hold the metal scraper at a 45-degree angle and swipe firmly across the stamping plate to remove excess white gel, leaving the gel only inside the etched butterfly design grooves.
Tip: Do not press too hard or at too flat an angle, as this can scoop gel out of the etched design and cause incomplete transfers. - 8Pick up the stamped design
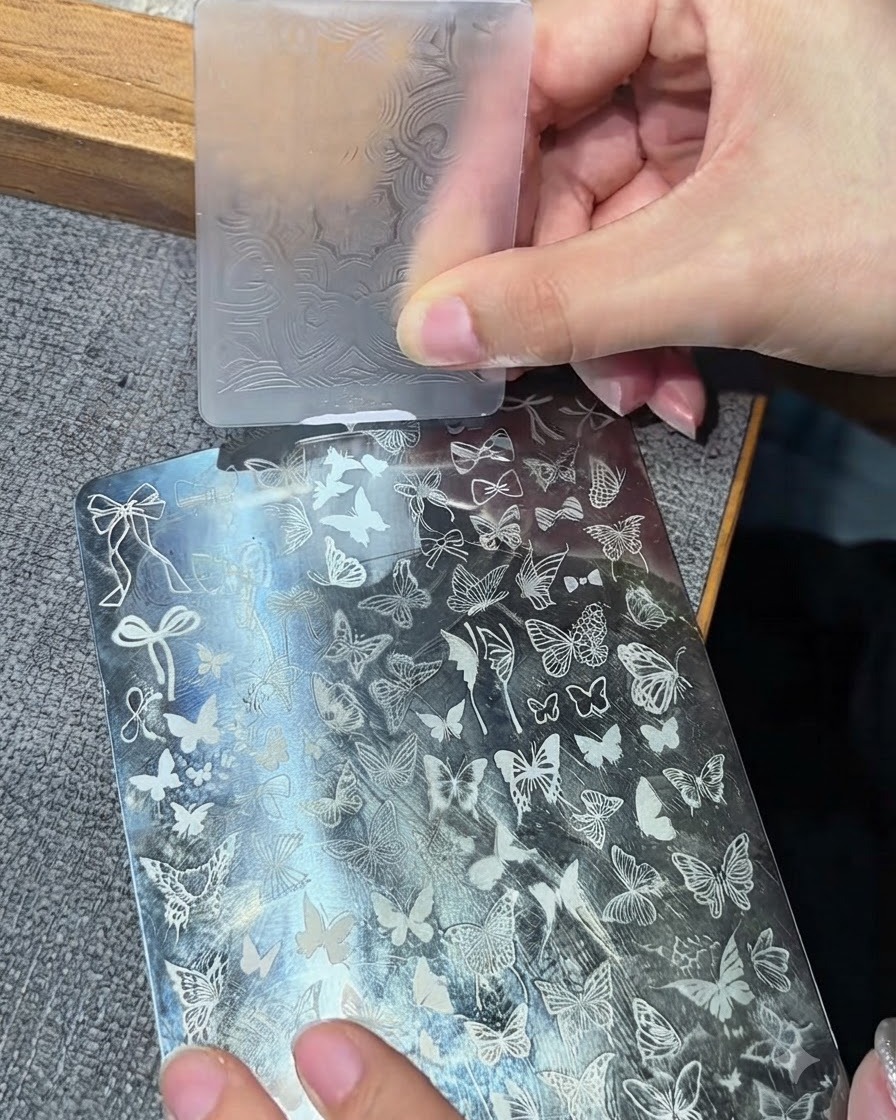
Gently roll or press the clear silicone stamper directly over the etched butterfly design on the plate to lift the white gel pattern onto the stamper head.
Tip: Roll the stamper in a smooth, single direction rather than pushing straight down to avoid air bubbles and distorting the image. - 9Transfer design onto the nail
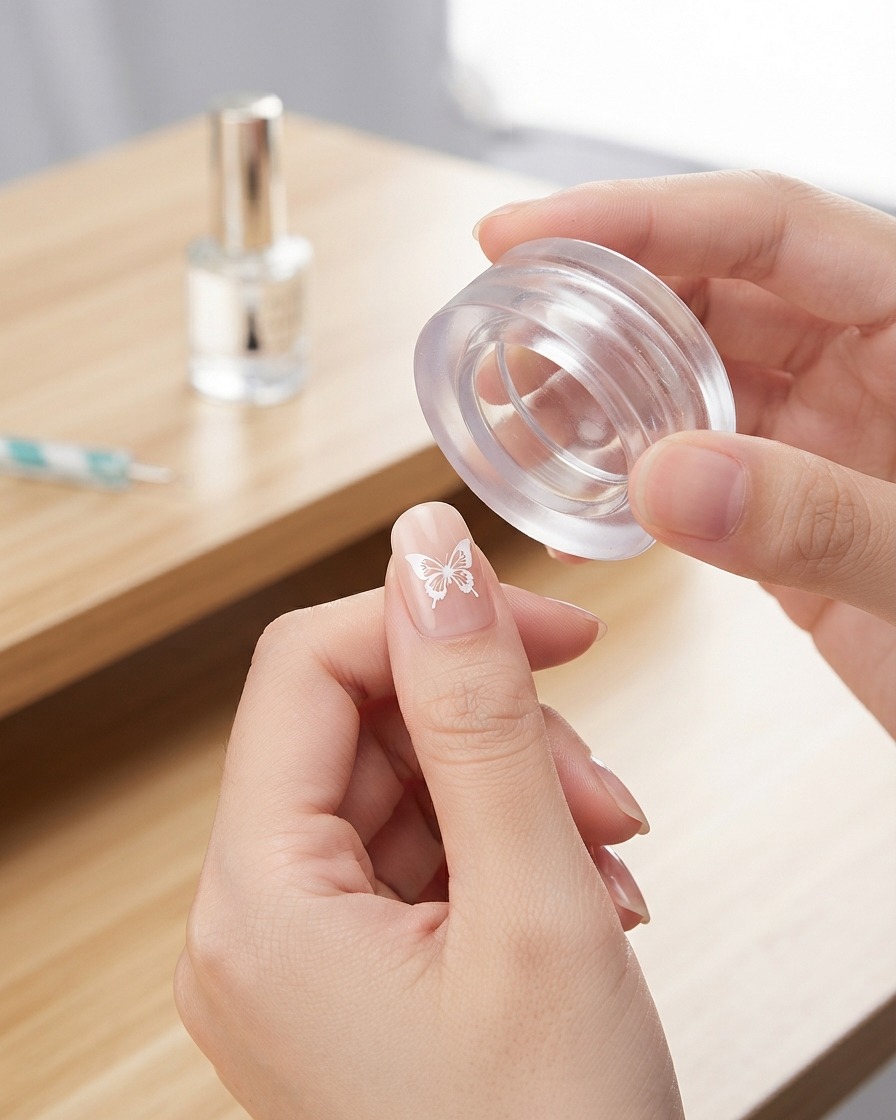
Carefully align the white butterfly design on the clear stamper over the nail and press it down to transfer the pattern accurately onto the nail surface.
Tip: Because the stamper is clear, you can precisely position the design exactly where you want it on the nail. - 10Cure the stamped design
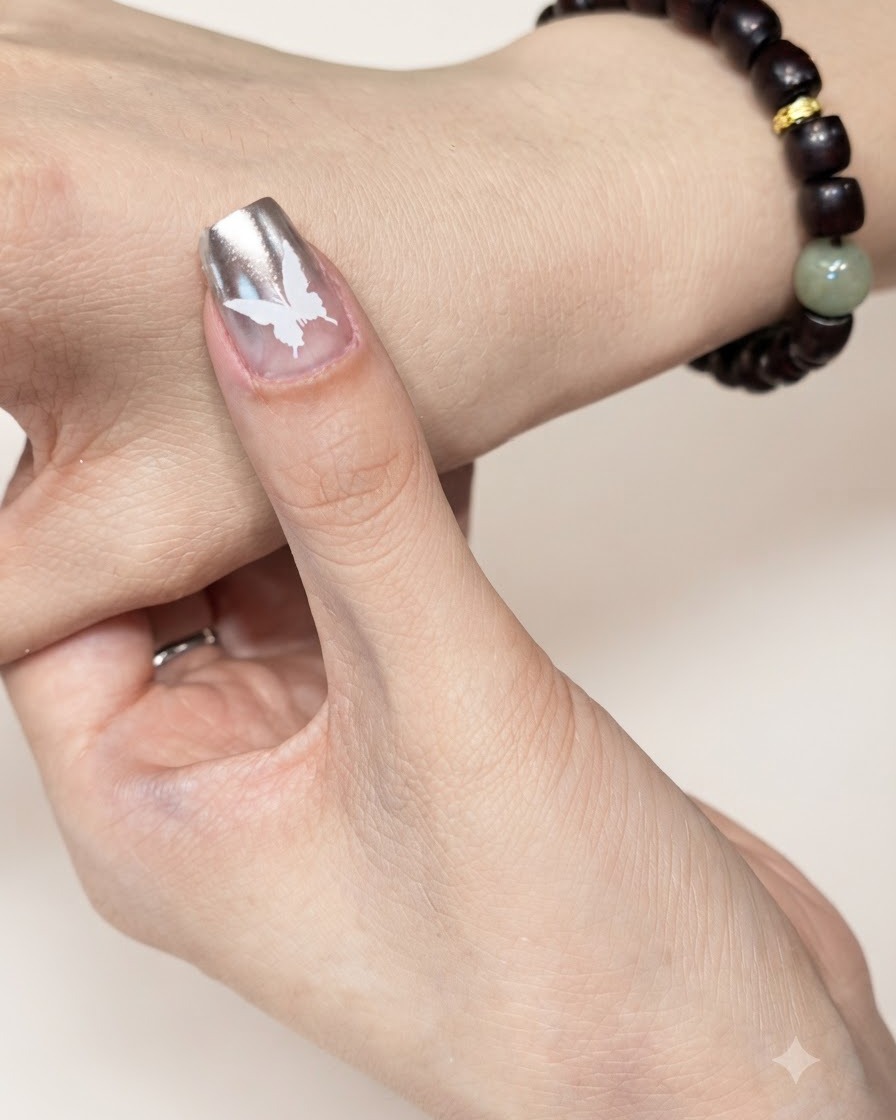
Place your hand under the UV or LED lamp to cure the transferred white butterfly design so it sets firmly in place before the next layer.
Tip: Ensure your hand is placed flat and centered under the lamp for even curing across the nail surface. - 11Apply top coat
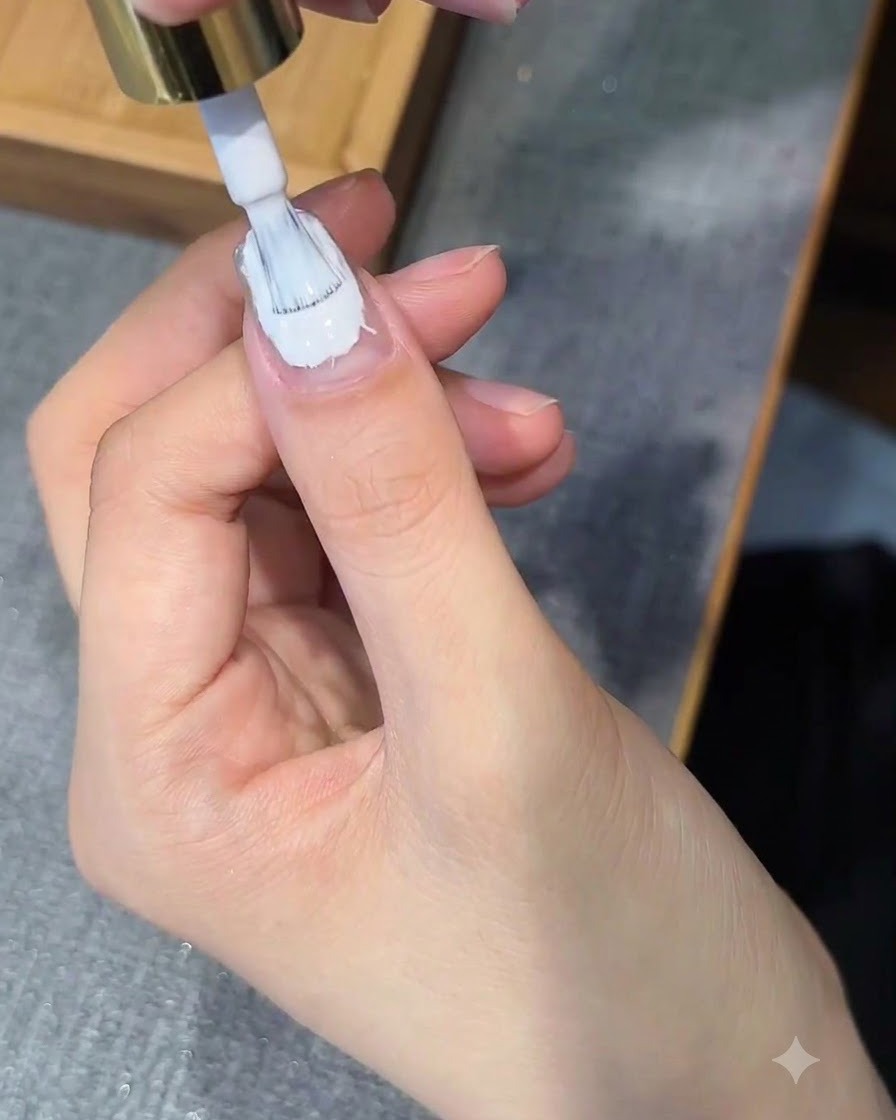
Apply a smooth layer of clear top coat evenly over the entire nail, sealing in the stamped butterfly design and protecting the nail art from chipping.
Tip: Cap the free edge of the nail with top coat to prevent premature lifting and peeling of the manicure. - 12Cure the top coat
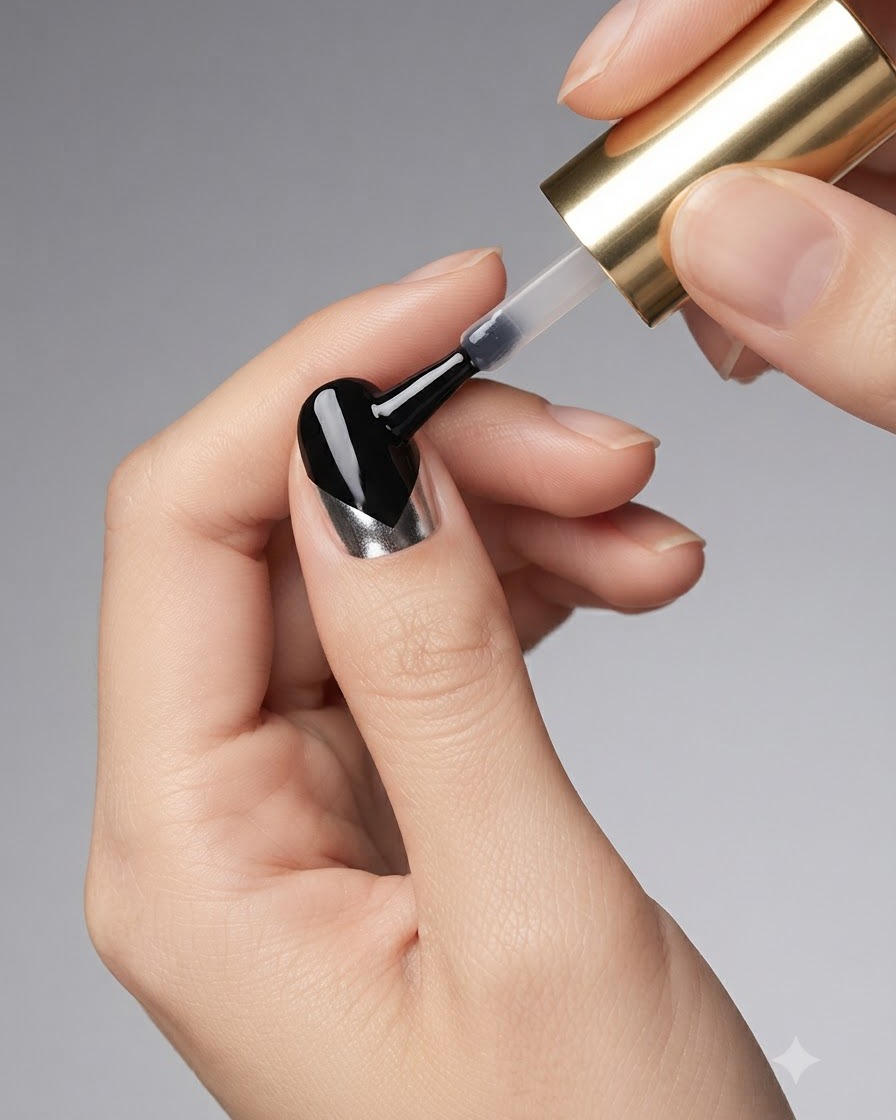
Place the nail under the UV or LED lamp to fully cure and harden the top coat, locking in the shine and sealing the final look.
Tip: Follow your specific top coat manufacturers recommended curing time to ensure a fully hardened, high-gloss finish. - 13Pick up a rhinestone with a dotting tool
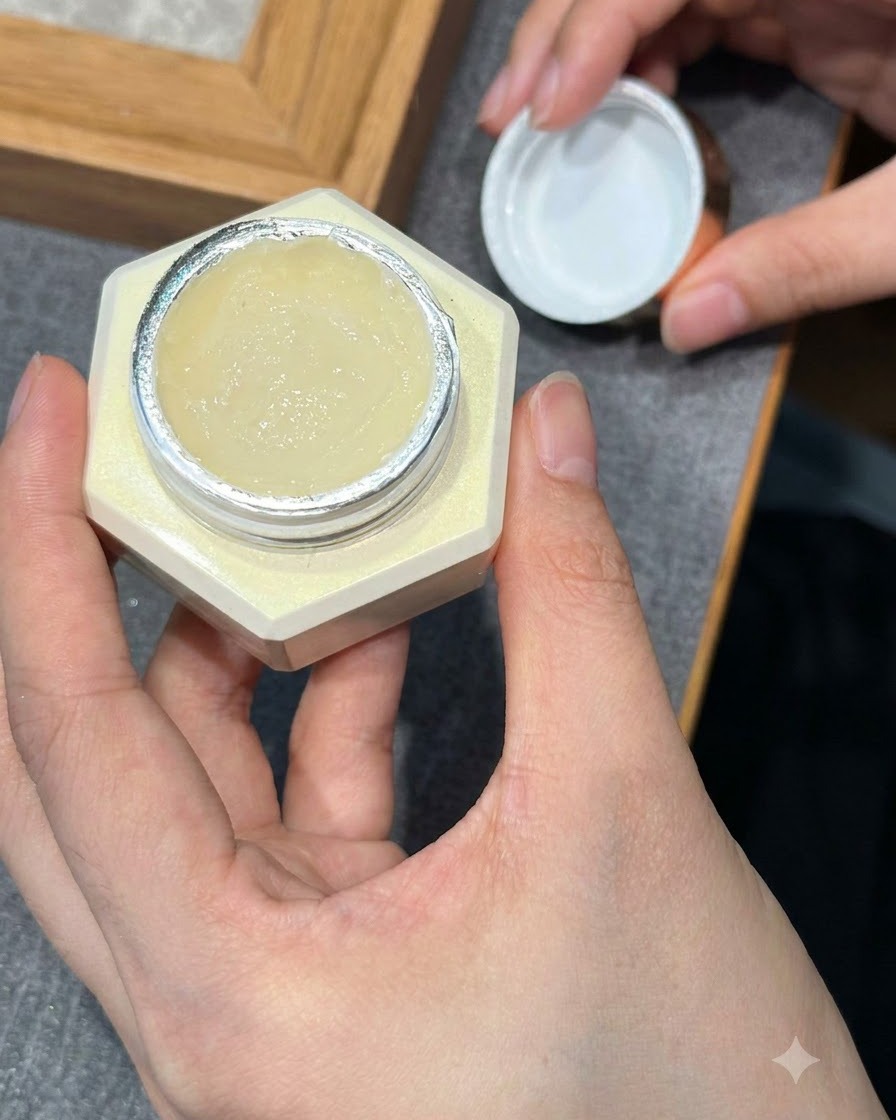
Dip your dotting tool slightly into a bit of nail glue or base gel if needed, then touch the top of a small rhinestone to pick it up securely on the tip of the tool. Position it carefully for placement on the nail surface.
Tip: A tiny amount of tacky gel on the dotting tool tip helps pick up and hold small gems easily without them shifting. - 14Apply rhinestone to the nail
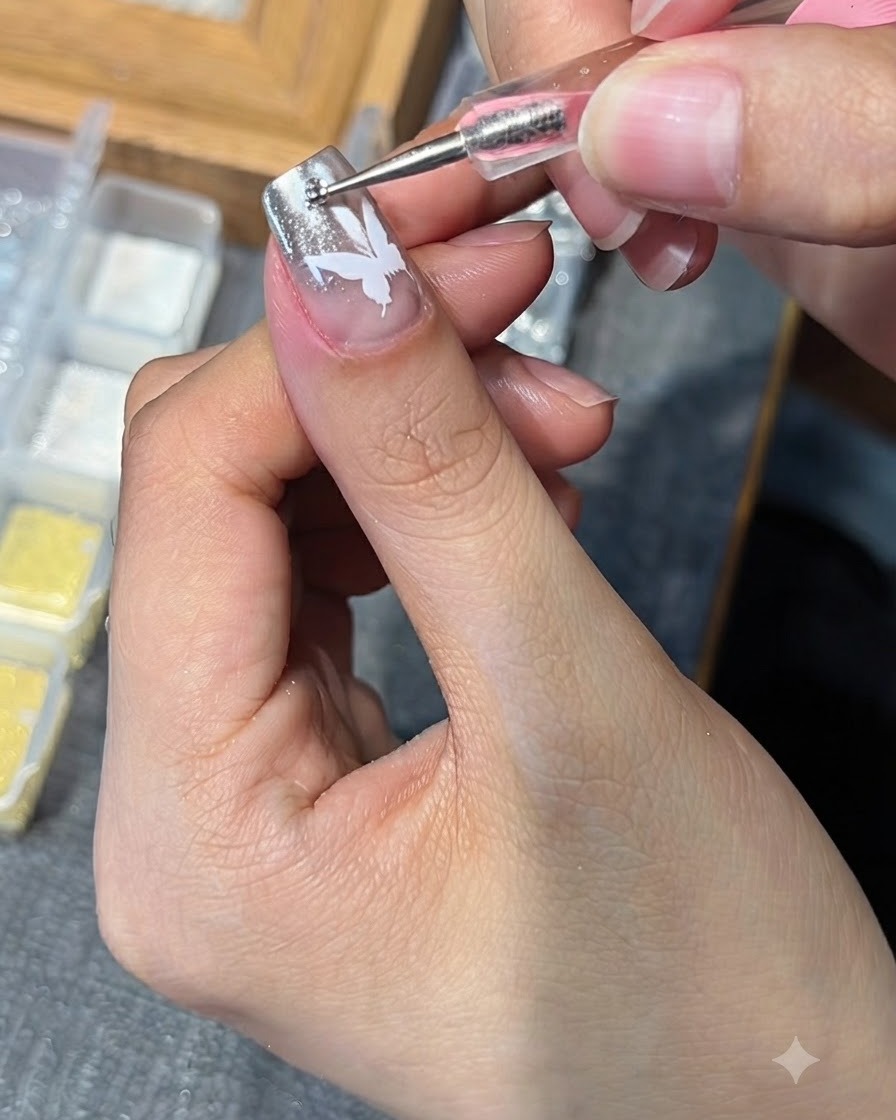
Carefully pick up a small rhinestone using a dotting tool or wax pencil and place it onto the designated spot of the butterfly design on the nail surface. Press down gently to secure it into the uncured gel or adhesive layer before setting.
Tip: Make sure the rhinestone is placed accurately on the wet gel layer so it adheres firmly once cured. - 15Add steel beads and pearls
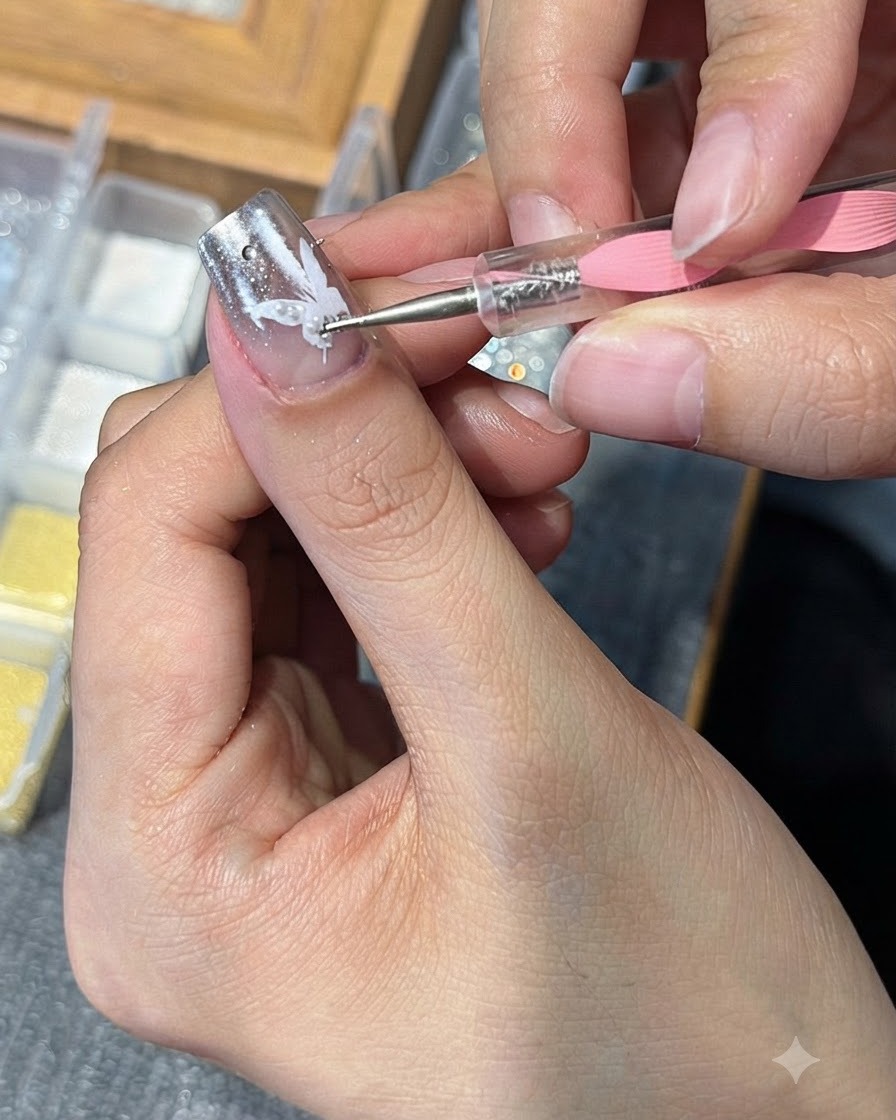
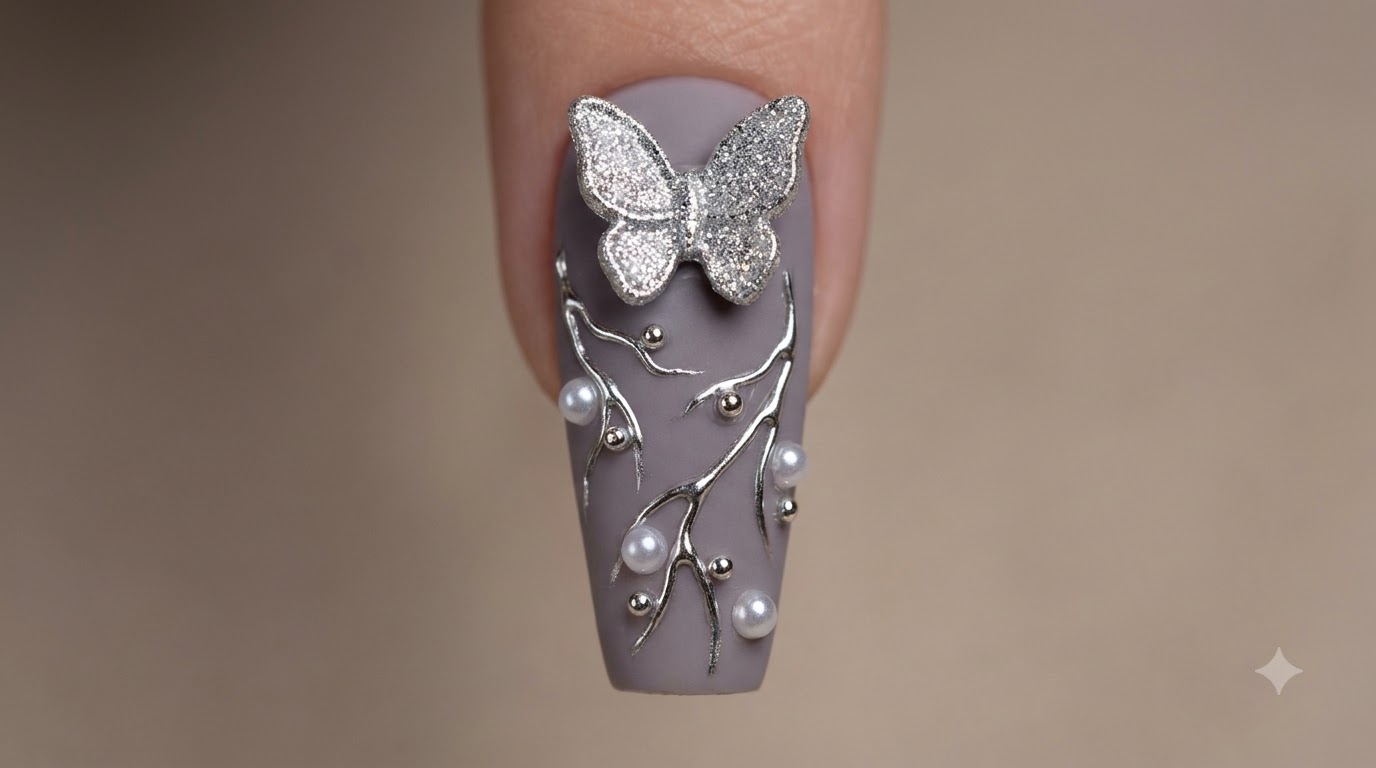
Using your detailing tool or dotting pen, pick up tiny silver steel beads and small pearls and arrange them intricately along the contours of the butterfly wings. This adds dimensional texture and elegance to the nail art design.
Tip: Work quickly but precisely when placing multiple small beads to keep them evenly spaced and aligned. - 16Cure under the lamp
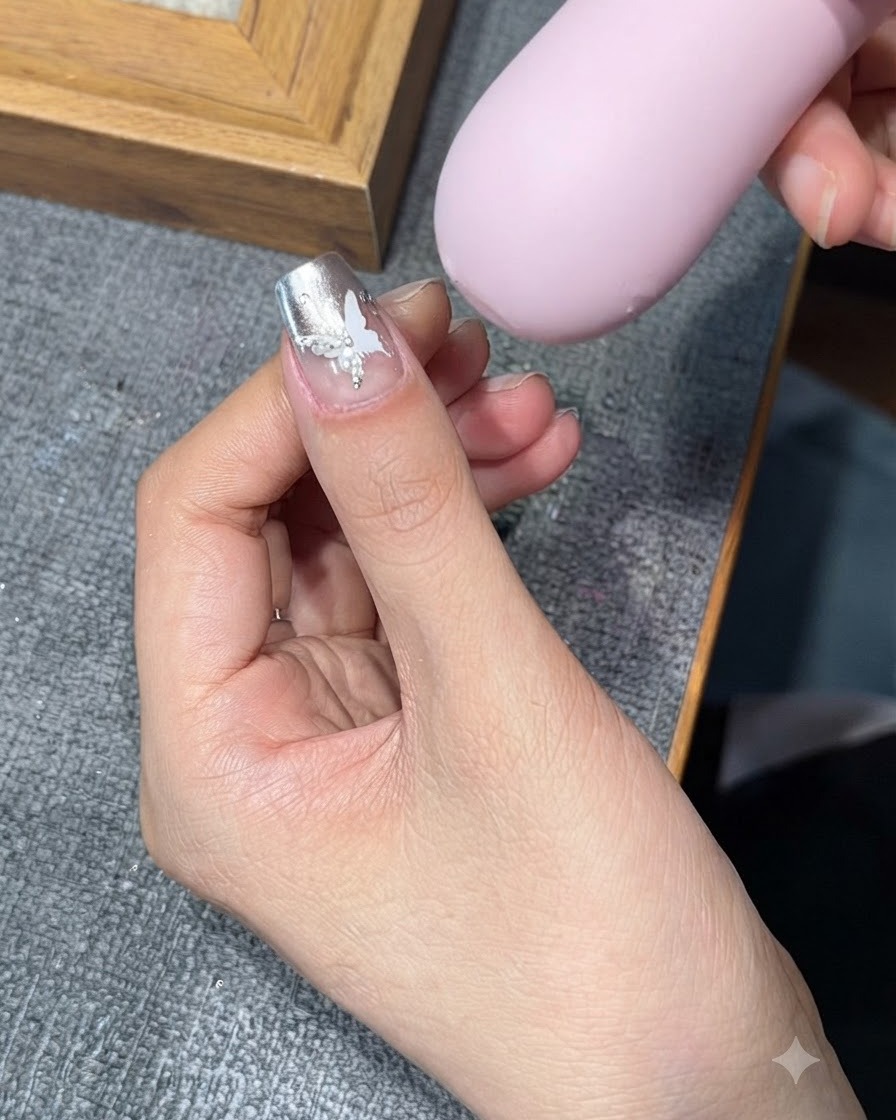
Place your hand under the UV or LED lamp to fully cure and harden the top coat and secure all the embedded rhinestones, pearls, and steel beads in place. Ensure proper curing time according to your gel product instructions.
Tip: Check that all embellishments are fully anchored and the gel is completely cured to prevent snagging or lifting.