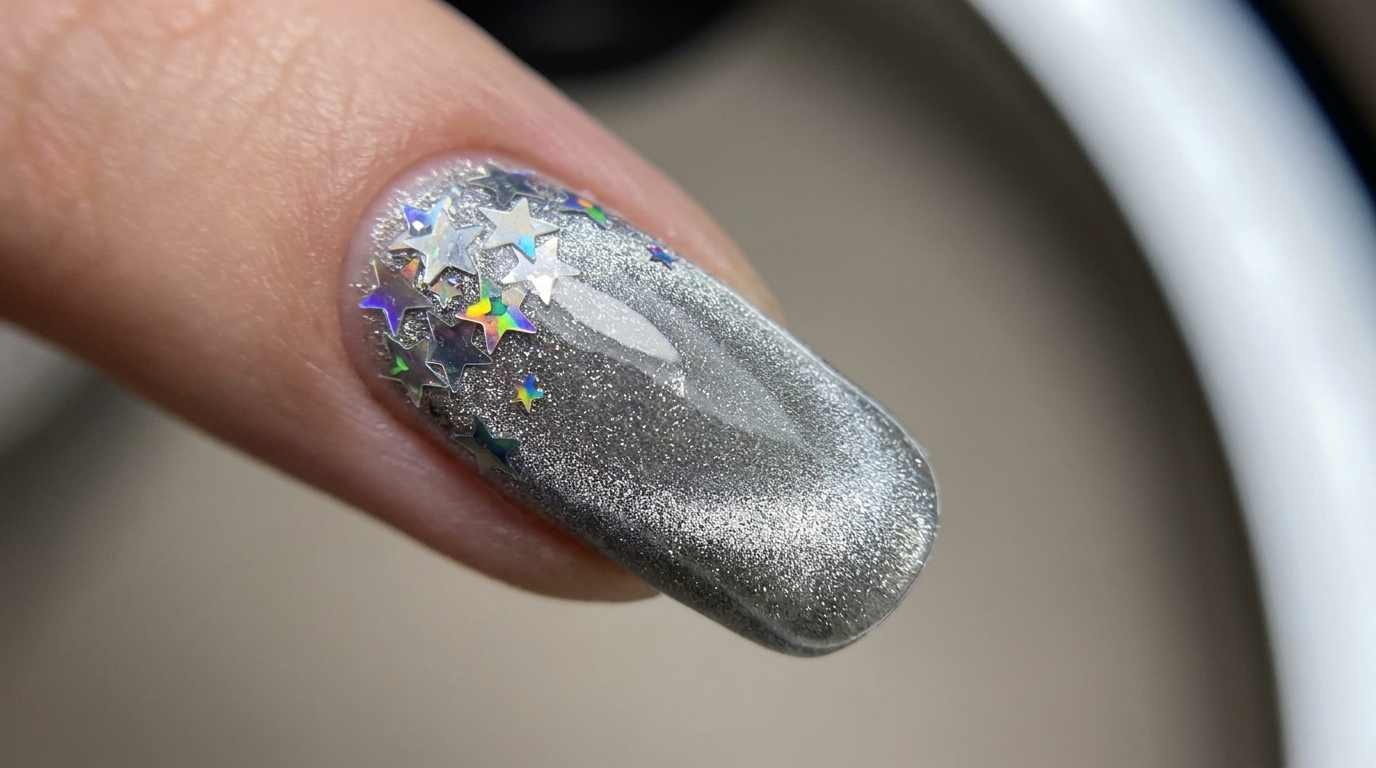
Minimalist Metallic Silver Star Nails — Beginner Step-by-Step Tutorial
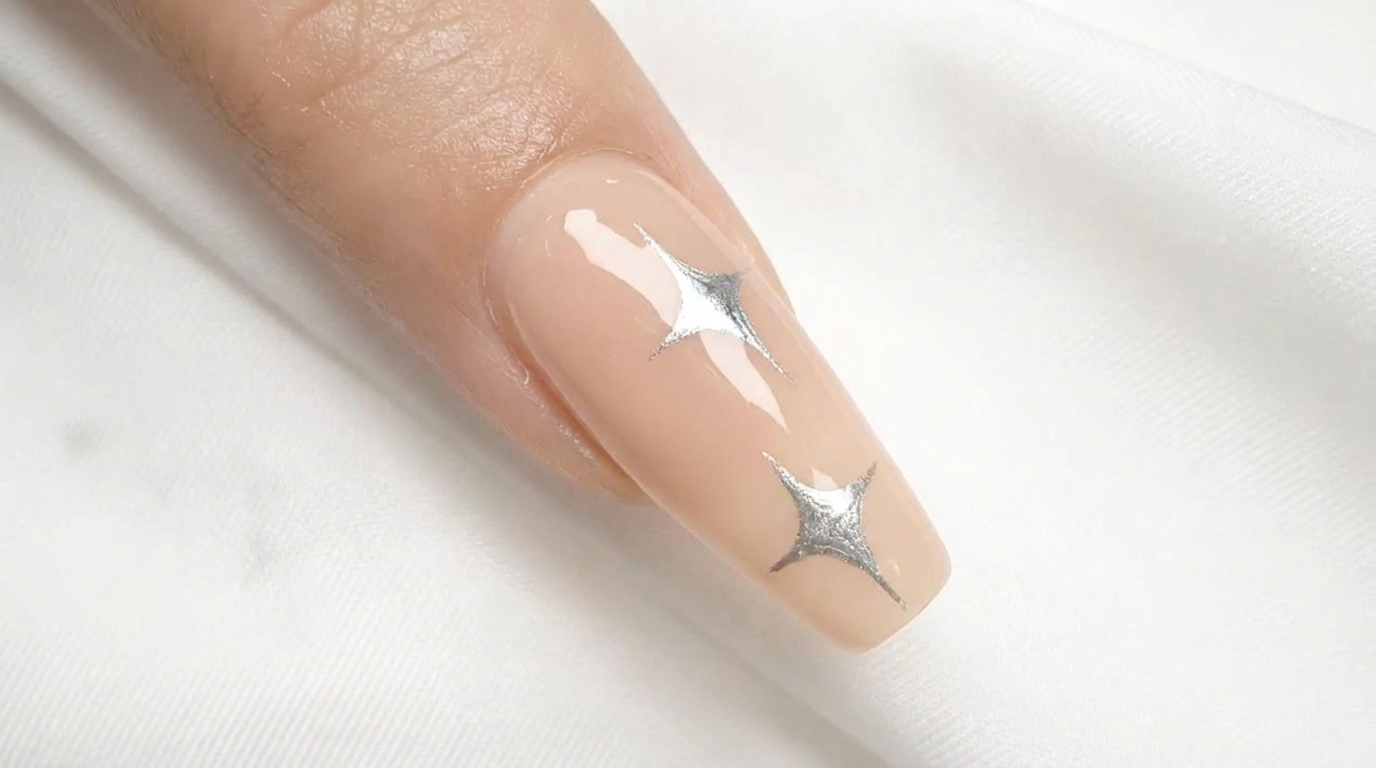
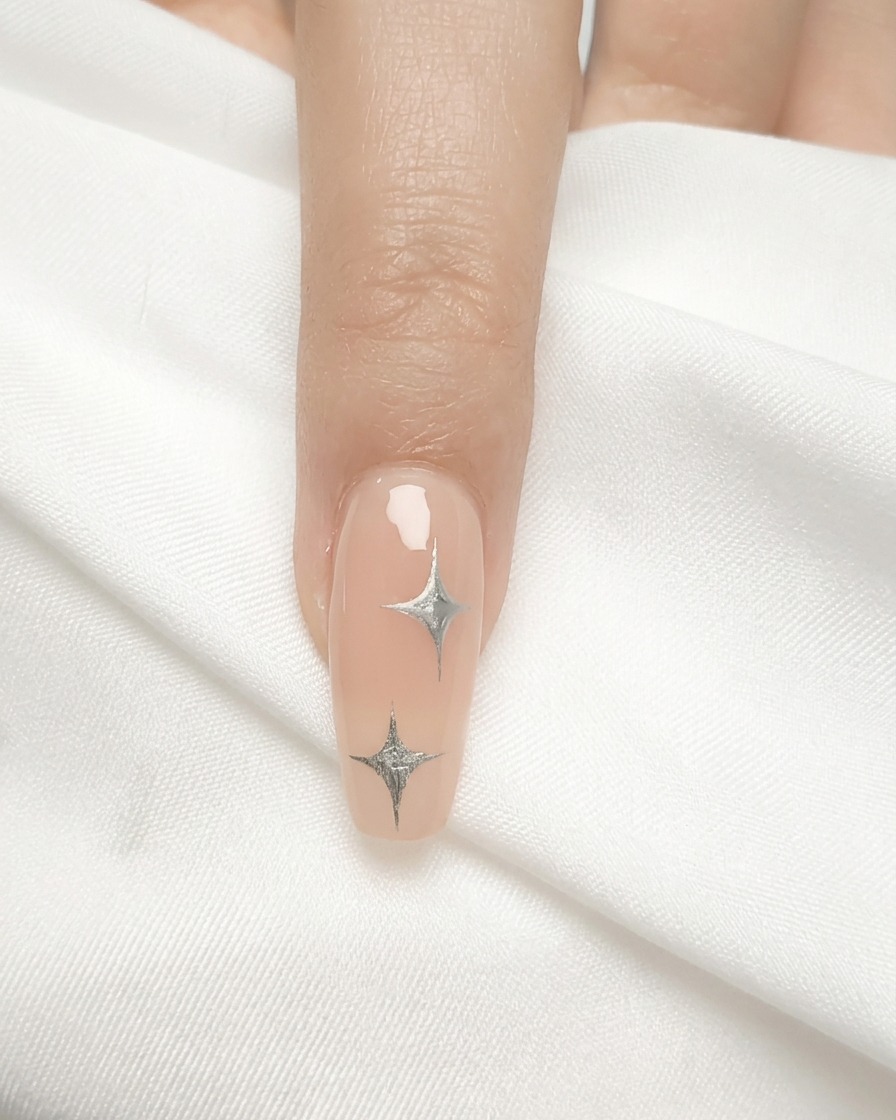
Create an effortless, chic look with these minimalist metallic silver star nails. This simple hand-painted design is perfect for adding a touch of celestial glam.
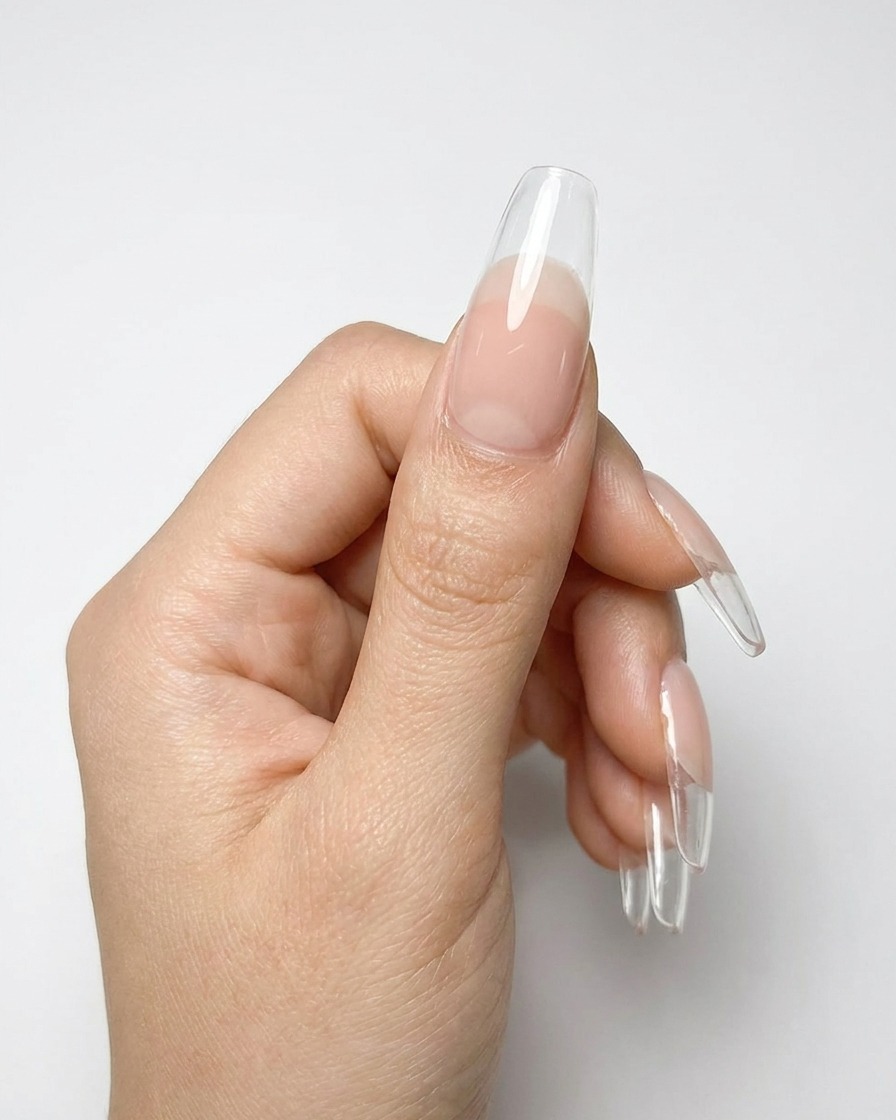
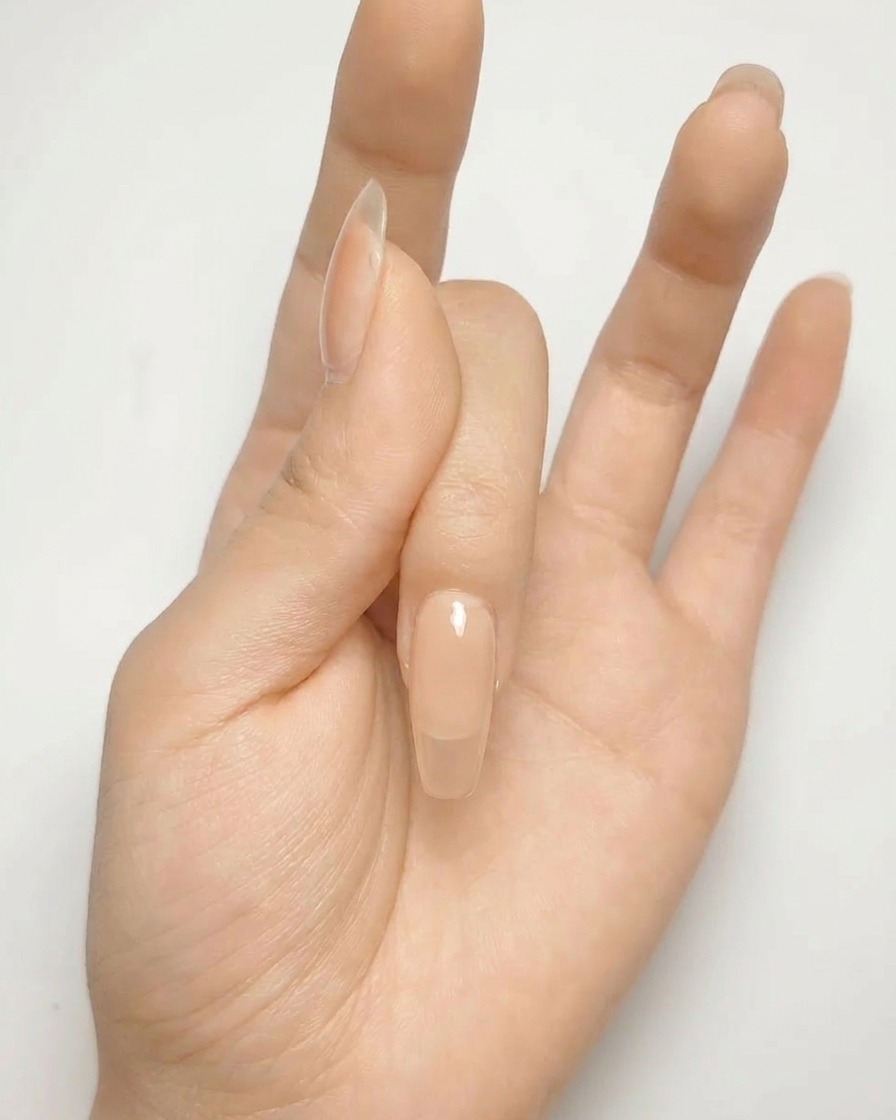
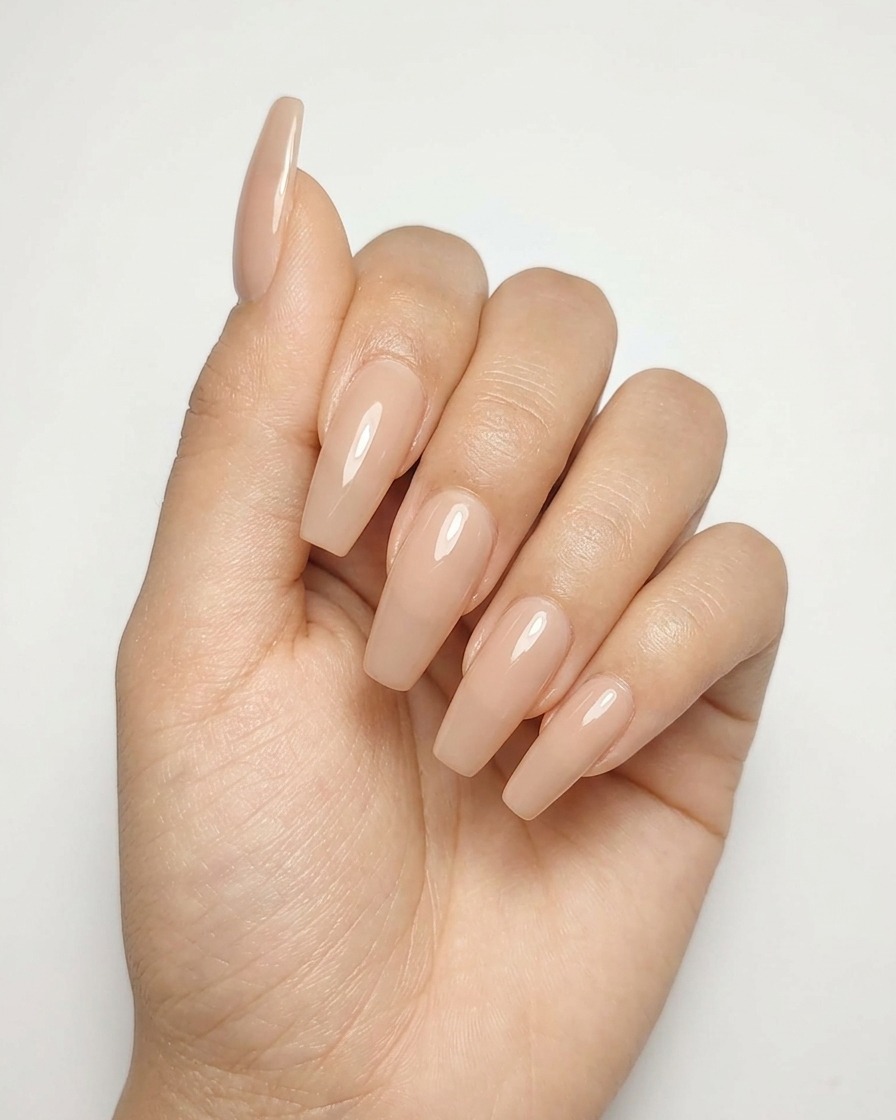
Elevate your everyday manicure with the trendy and sophisticated minimalist star design. This look pairs a classic nude base with striking metallic silver stars, making it an ideal choice for both casual wear and special occasions. Follow this simple technique to achieve salon-quality nail art right at home.
Steps
- 1Apply first nude gel layer
Apply a thin, even first layer of nude gel polish to the nail, ensuring you cap the free edge to prevent chipping. Avoid touching the cuticles to ensure a clean finish. Cure under the UV/LED lamp as directed by the product instructions.
Tip: Apply in thin layers to ensure proper curing and prevent pooling around the cuticles. - 2Apply second nude gel layer
Apply a second thin, even layer of nude gel polish over the first cured layer to achieve full opacity. Ensure the coverage is uniform across the entire nail surface. Cure again under your UV or LED lamp.
Tip: Check the edges and corners to ensure full coverage before placing the hand in the lamp. - 3Cure base color
Place your hand under the UV or LED lamp to fully cure the nude gel color. Ensure all nails are positioned directly under the light source for an even cure. Follow the manufacturers specified time for best results.
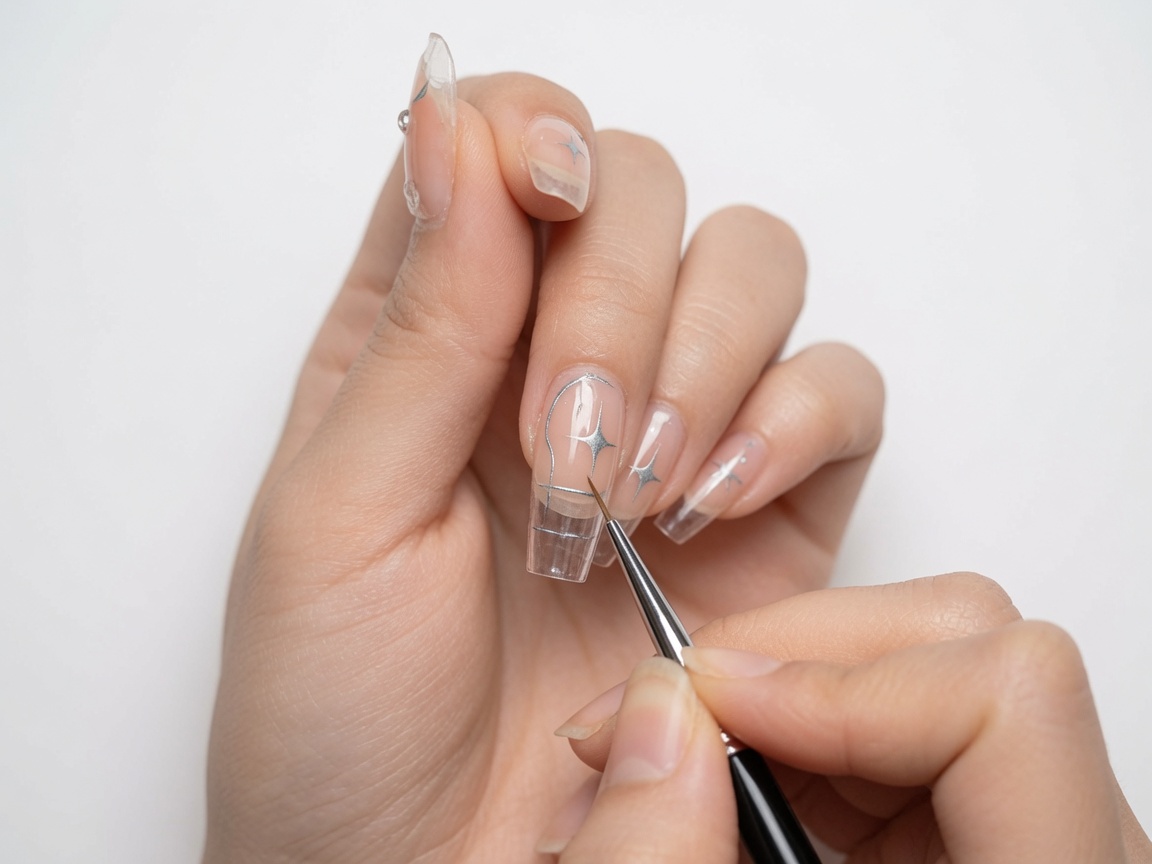
Tip: Keep your hand flat inside the lamp to ensure all areas of the nail receive even light exposure. - 4Draw the star cross
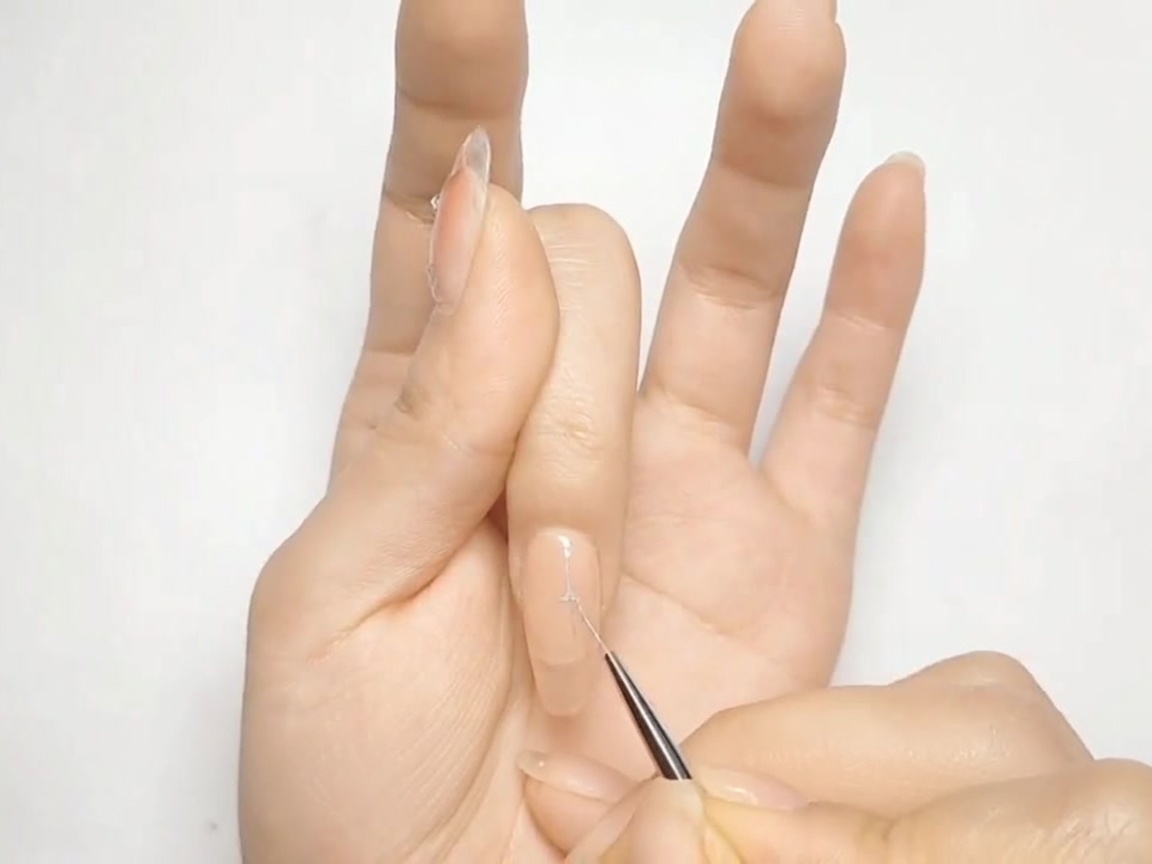
Using a thin liner brush, pick up a small amount of metallic silver gel. Draw a crisp, clean cross shape on the nail surface to serve as the foundation for the star design.
Tip: Keep the liner brush vertical for more precision, and use light pressure to get thin, sharp lines. - 5Fill the star design
Carefully fill in the four corners of the cross using the metallic silver gel to create a complete, sparkling star shape. Work slowly to maintain clean edges and ensure the star is balanced.
Tip: Use the tip of the brush to push the gel into the corners for crisp points. - 6Cure the star design

Place the nail under the UV or LED lamp to cure the silver star design. Ensuring the metallic gel is fully cured is important to prevent smudging when moving on to the next step.
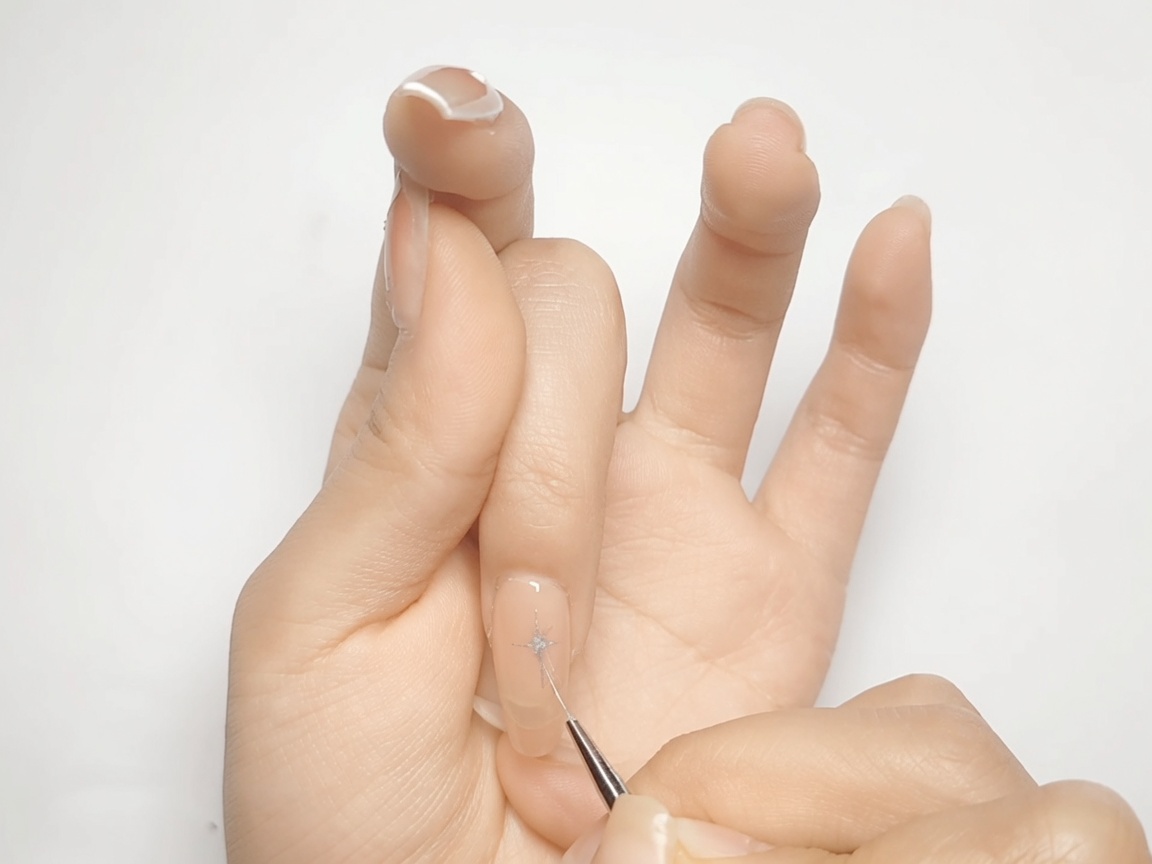
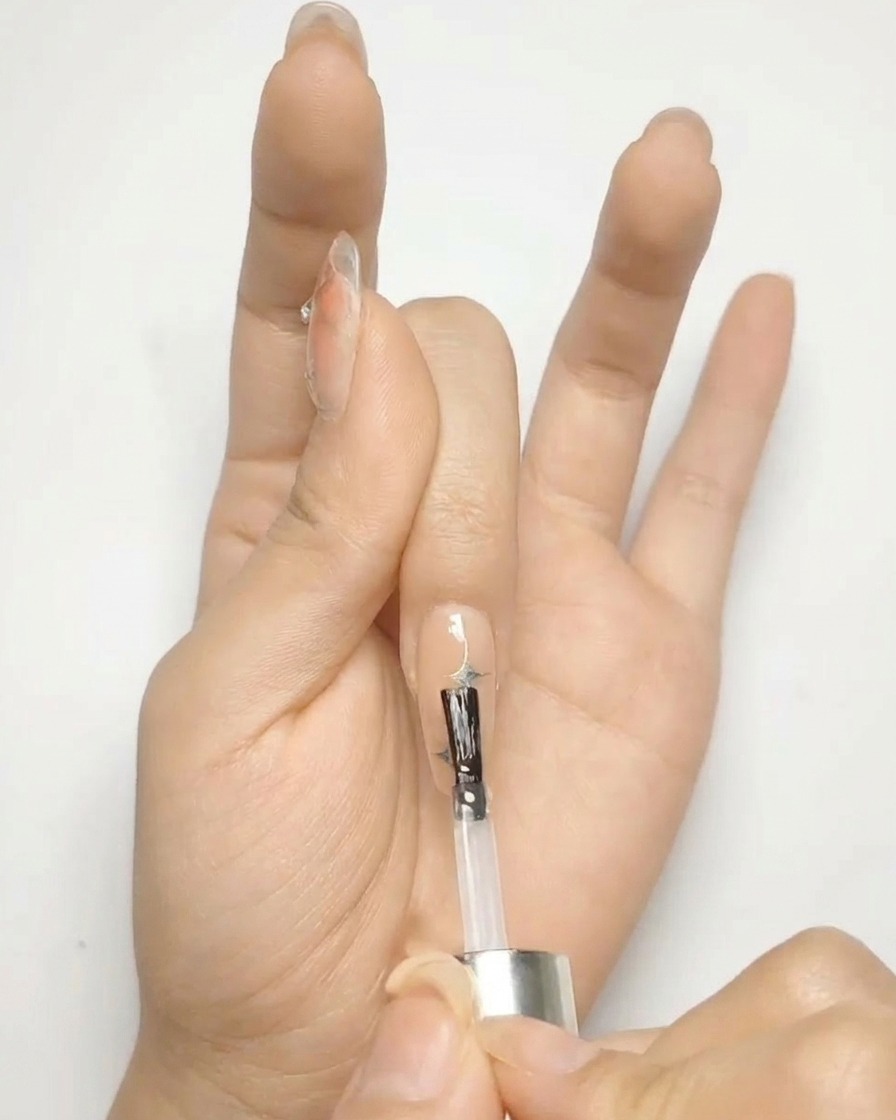
Tip: Curing for the full recommended time helps prevent the metallic gel from shifting during subsequent steps. - 7Position the second star
Using a thin liner brush and metallic silver gel, paint a cross shape on the nail surface in your desired location for the second star. Keep the lines clean and sharp to ensure the final star shape looks precise.
Tip: If the lines are too thick, use a clean brush to gently wipe away excess gel before curing. - 8Fill in the star design
Carefully fill in the four corners of the star design with the metallic silver gel. Use gentle strokes to create the pointed star appearance, ensuring the edges are crisp and defined.
Tip: Work in small amounts of gel to maintain control and prevent the design from smearing. - 9Cure the star design
Place your hand under the UV or LED lamp to cure the metallic silver star design. Follow your gel products instructions for the recommended curing time to ensure the pigment is fully set.
Tip: Ensure your hand is placed flat inside the lamp to get an even cure across the entire surface of the nail. - 10Apply top coat
Apply a final layer of top coat over the entire nail surface, covering the silver star art. Ensure you cap the free edge to prevent chipping and protect the design, providing a high-gloss, long-lasting finish.
Tip: Apply the top coat in a smooth, fluid motion to avoid streaks and bubbles on the surface.