Silver Galaxy Star Cat Eye Nails — Step-by-Step Tutorial
Create stunning galaxy star cat eye nails with this easy tutorial. Learn to achieve a magical glass-bead effect using silver magnetic gel and star decals.
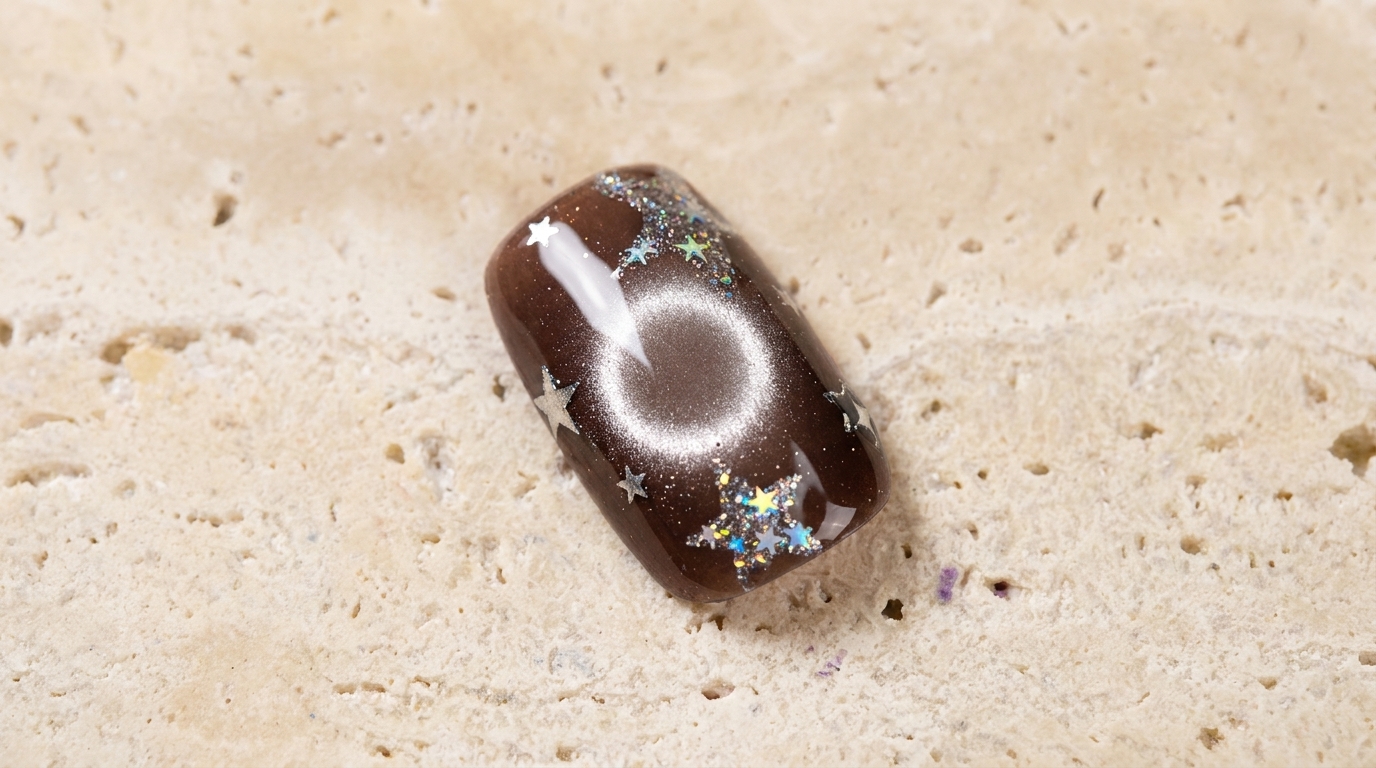
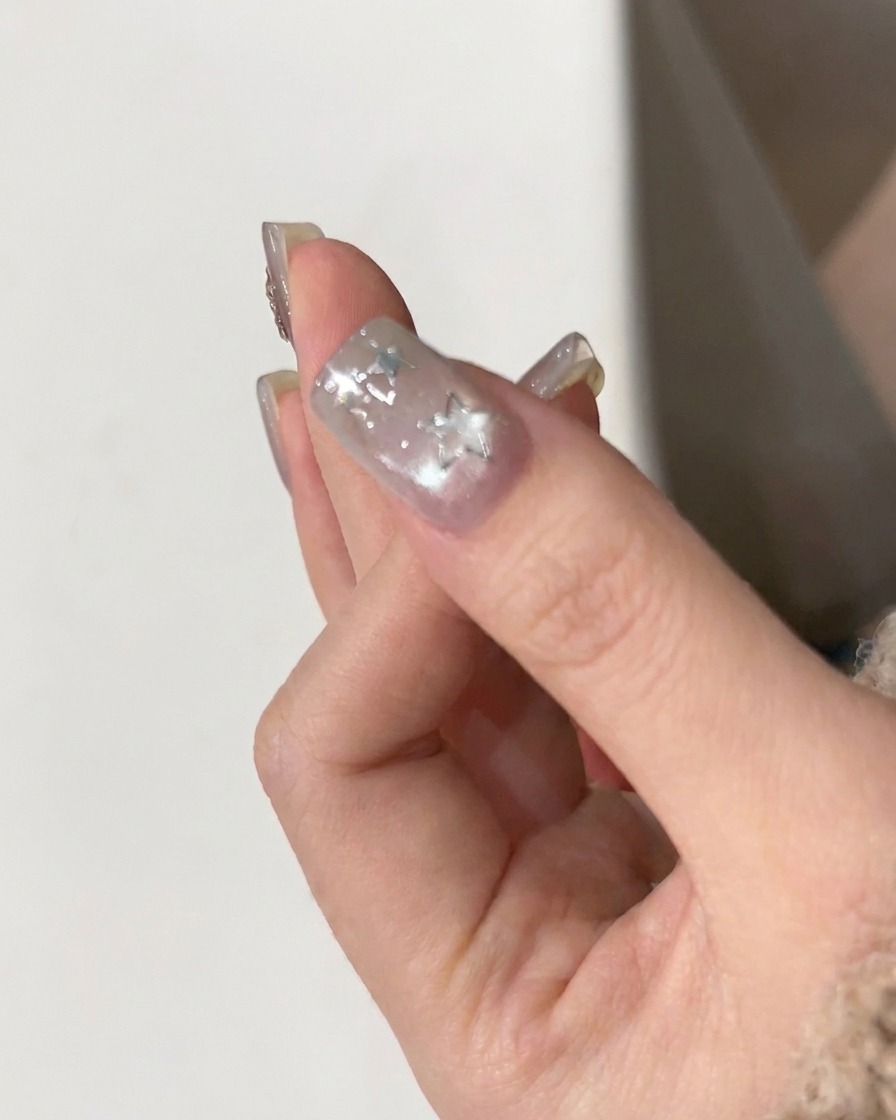
Cat eye designs are taking the nail art world by storm, and this silver galaxy look is truly out of this world. By combining a mesmerizing glass-bead magnetic effect with delicate star-shaped stickers and glitter, you can create a stunning celestial manicure. It looks incredibly complex but is surprisingly simple to achieve at home with the right tools.

Steps
- 1Apply silver cat eye gel
Apply an even coat of silver cat-eye gel polish to the nail. Ensure you cover the entire surface, capping the free edge to prevent premature chipping or lifting.
Tip: Apply a thin, uniform layer for the best magnetic effect. Thicker layers can make it difficult for the cat-eye pigment to move freely. - 2Create the cat-eye effect
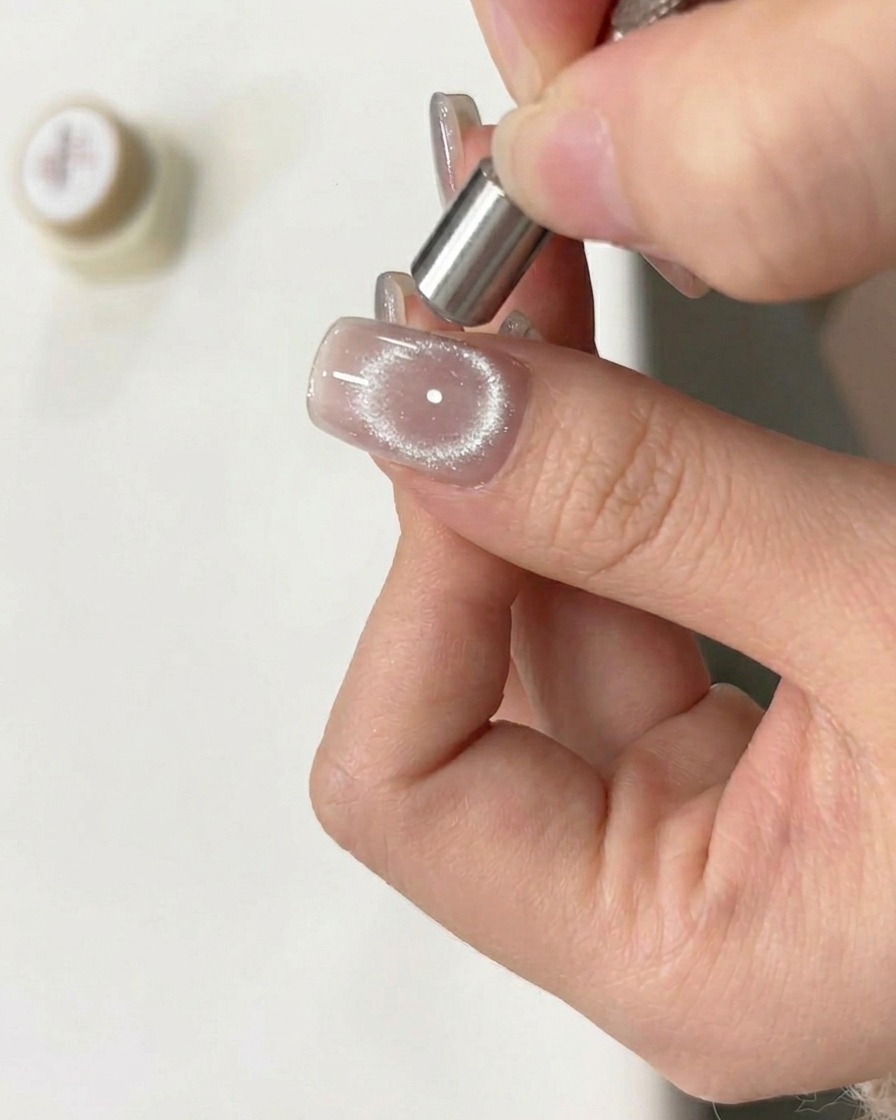
Before curing, hold the magnet tool close to the nail surface and move it in a circular motion. This will draw the magnetic pigments into a circular glass-bead shape.
Tip: Dont let the magnet touch the wet gel. Keep it steady at a consistent distance to achieve a clean, defined shape. - 3Cure the gel polish
Place your nails into the UV/LED lamp and cure for the time recommended by the product manufacturer. This locks the cat-eye design into place.
Tip: Ensure your hand is positioned correctly inside the lamp so all areas of the nail receive even light exposure. - 4Remove the inhibition layer
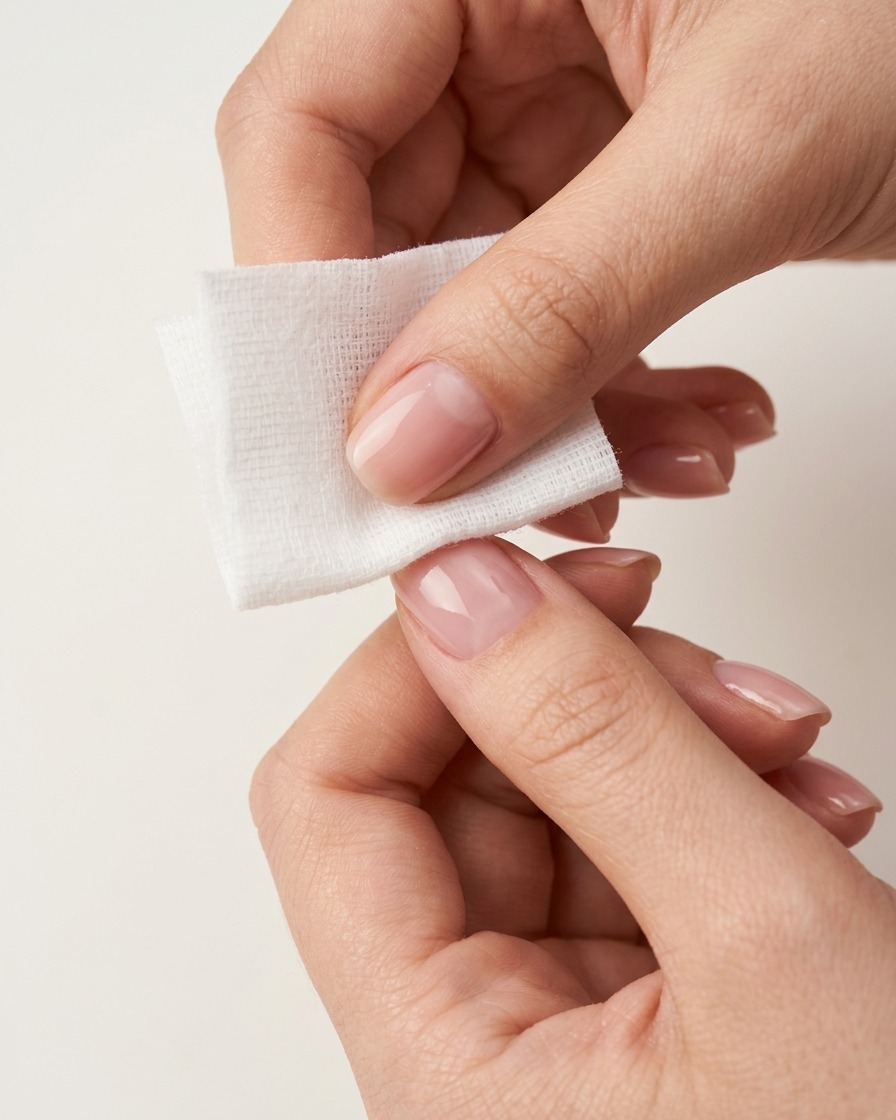
After curing, the nail may have a tacky inhibition layer. Use a lint-free wipe saturated with cleanser to gently remove this sticky residue from the surface.
Tip: Use a clean, lint-free wipe to ensure no debris is left on the nail before moving to the next step. - 5Place star stickers
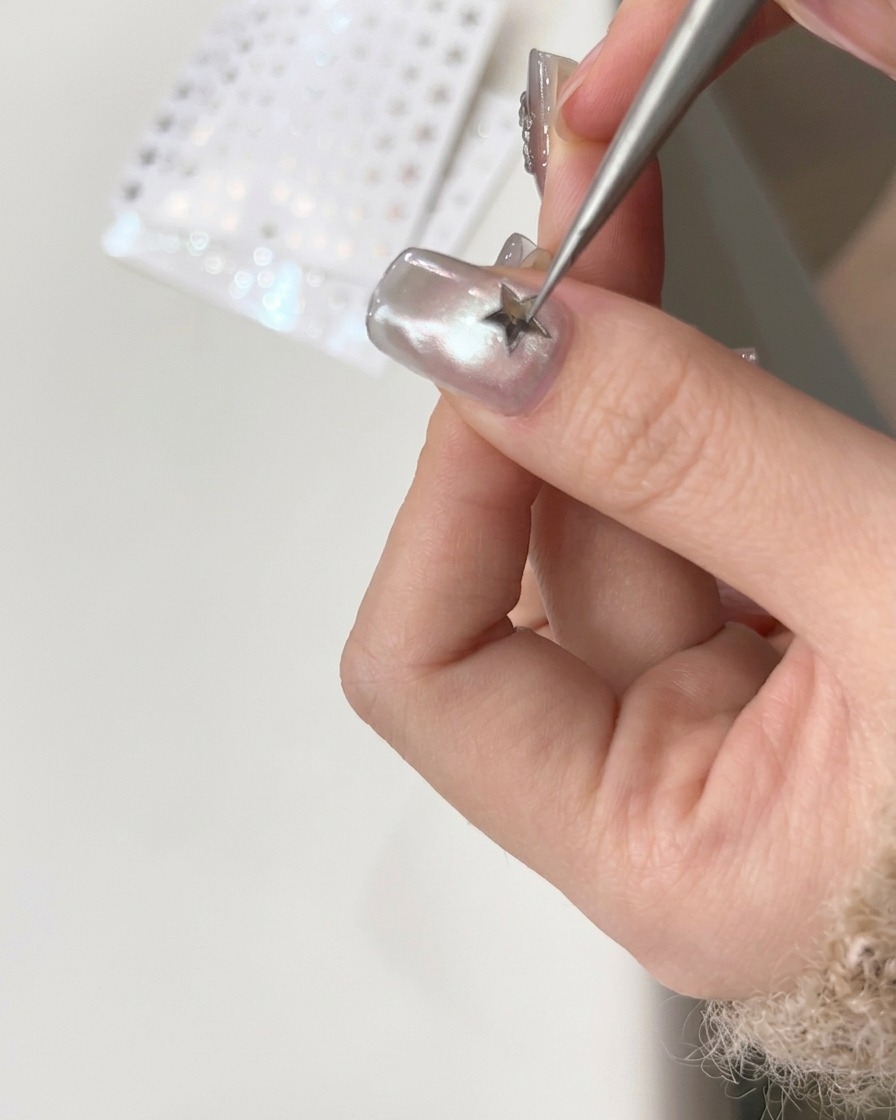
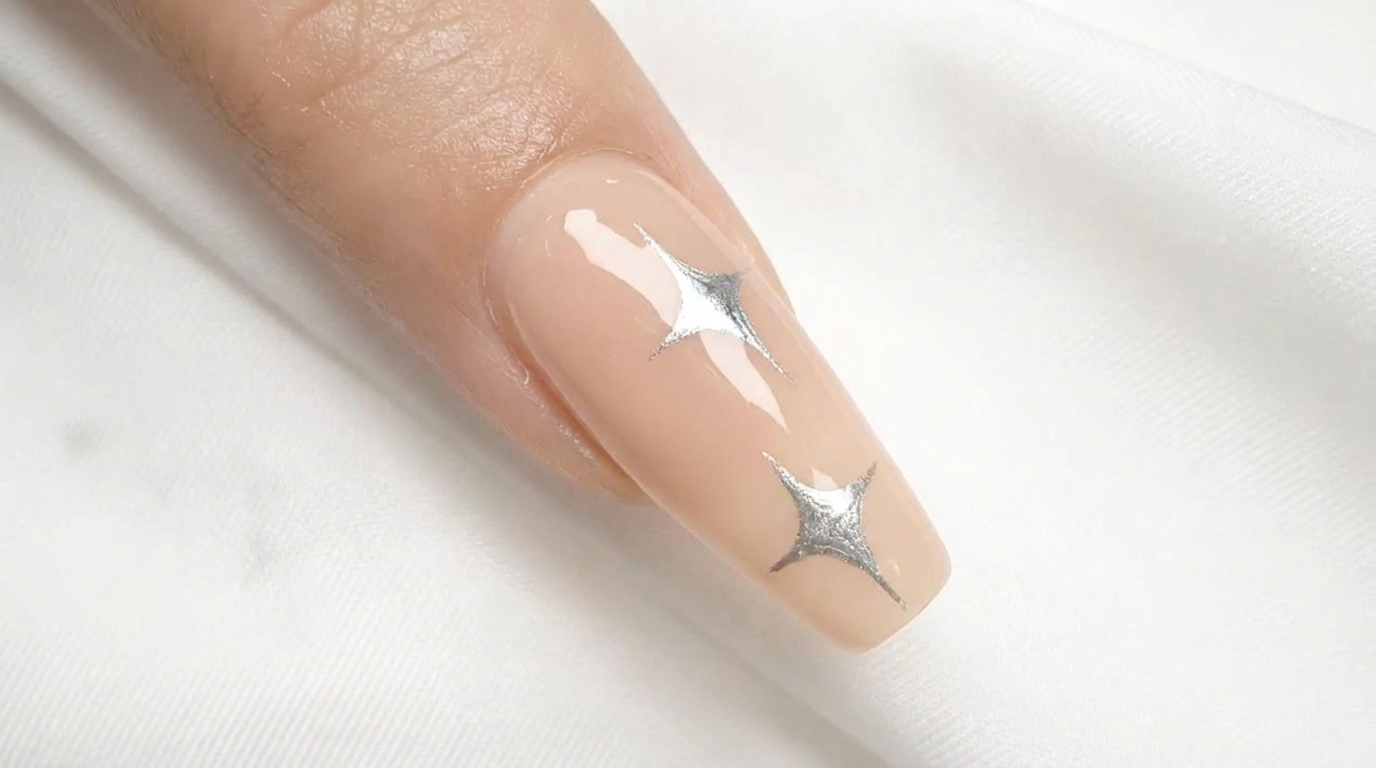
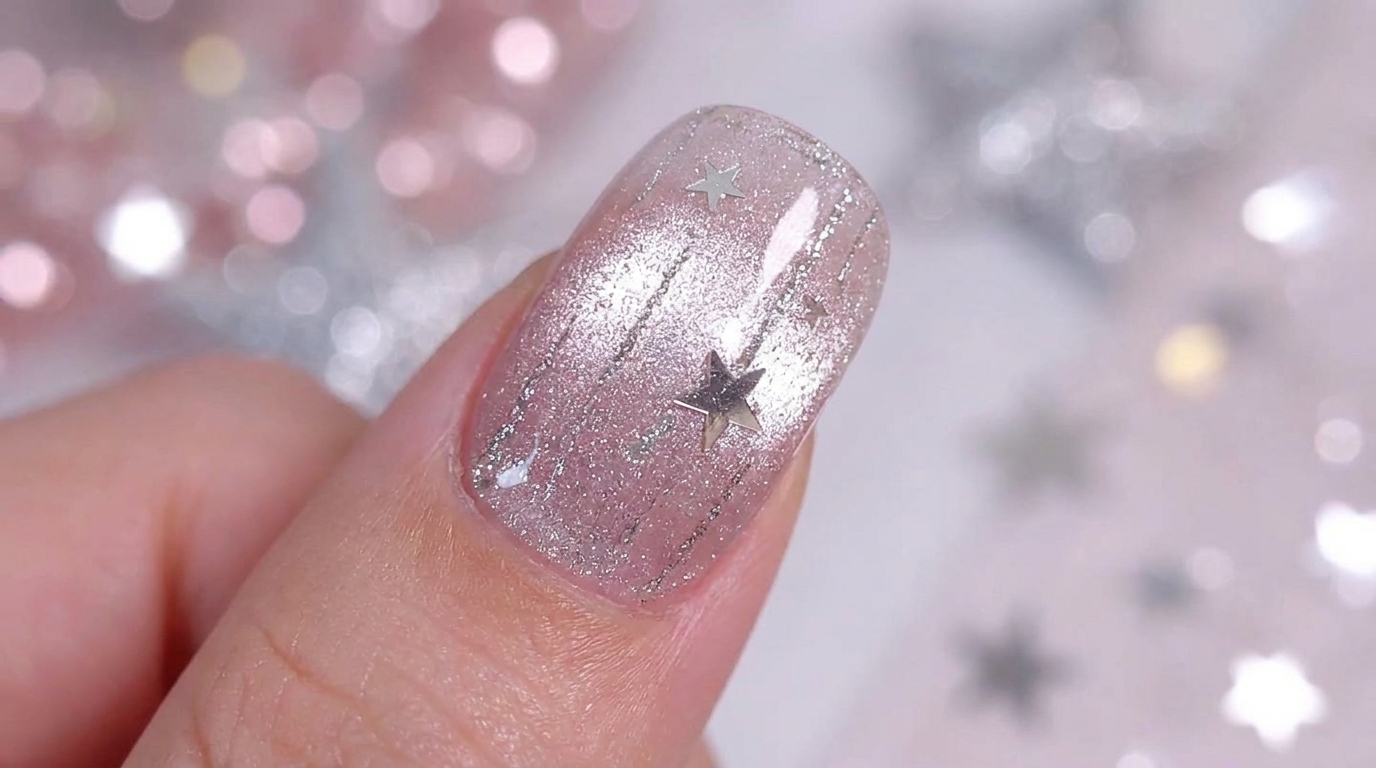
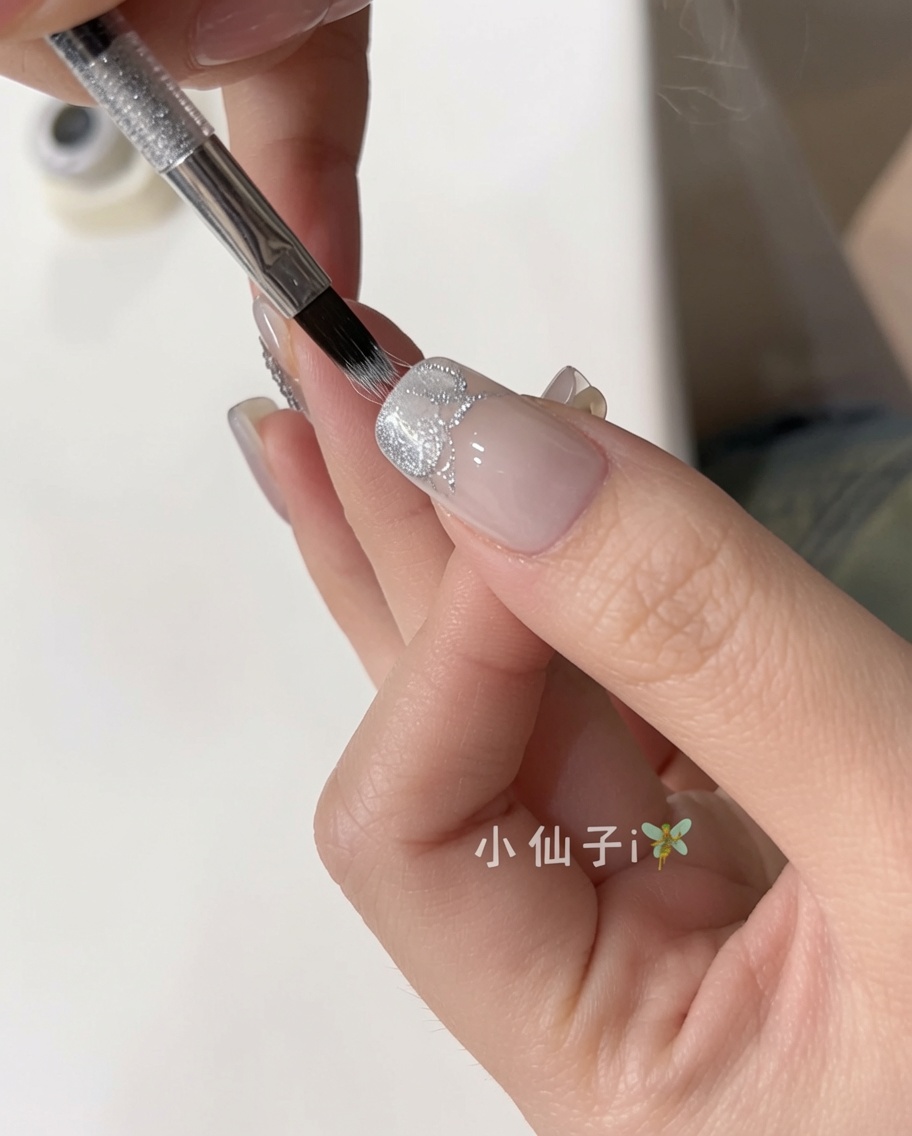
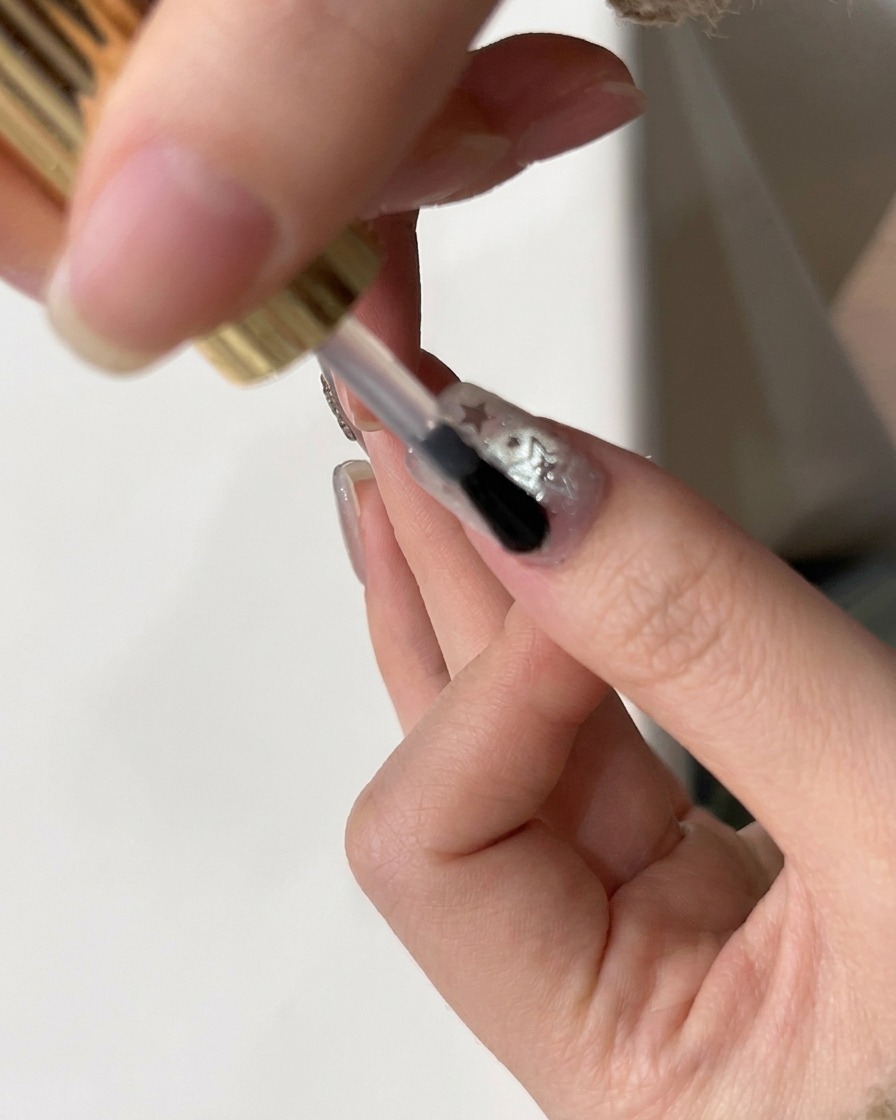
Use tweezers to carefully pick up and place your star-shaped stickers onto the nail. Arrange them to your desired pattern, pressing down gently to ensure they lie flat.
Tip: If the sticker doesnt lie flat, gently press it down with the edge of your tweezers or a silicone tool. - 6Secure stickers with base gel
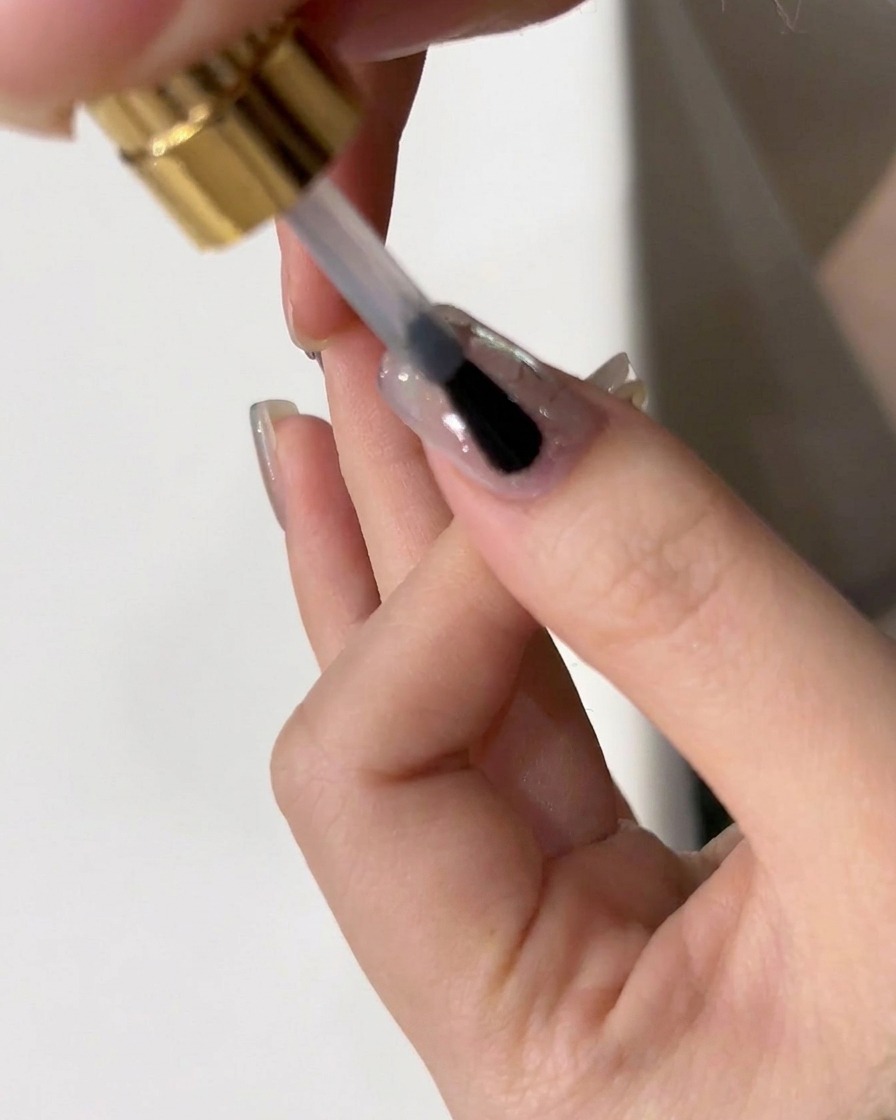
Apply a thin layer of base gel or adhesive over the entire nail to lock the stickers into place and create a smooth foundation for the final top coat.
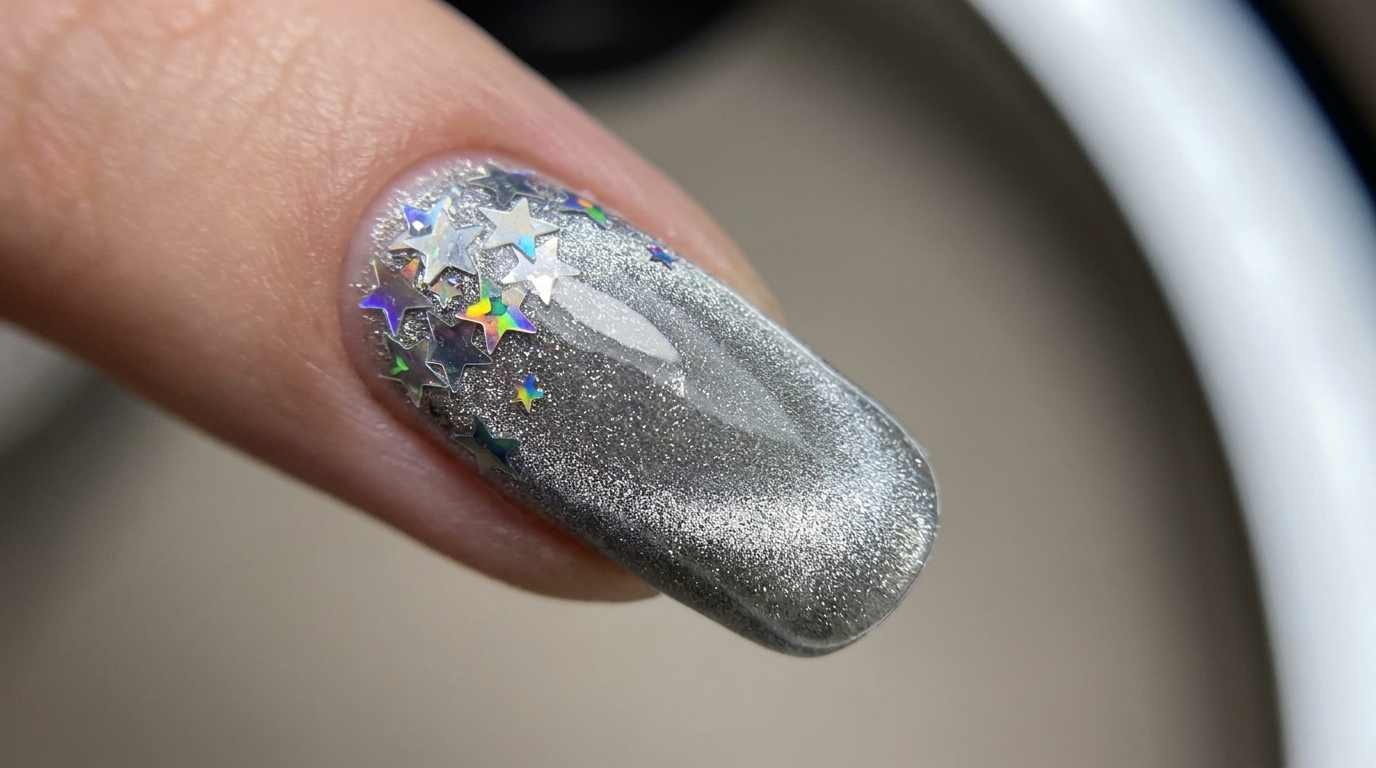
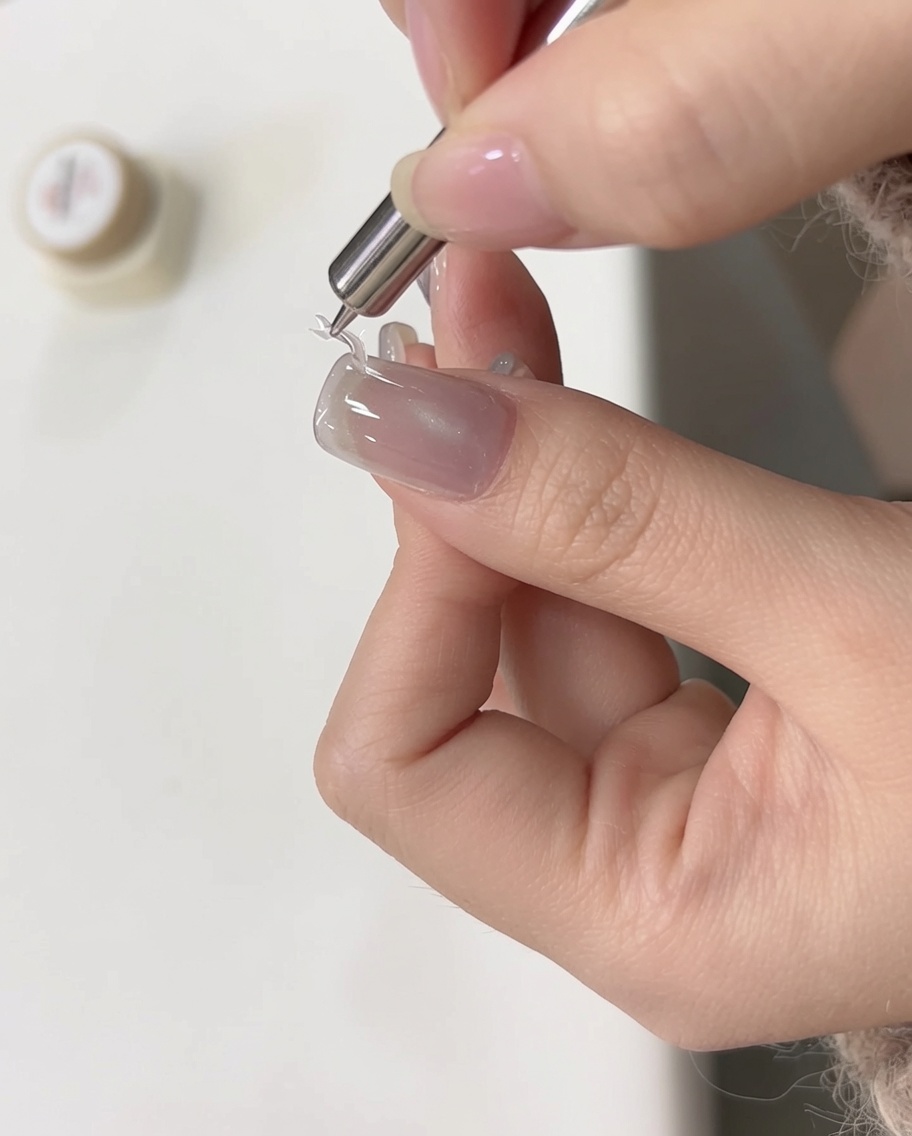
Tip: Ensure you cover the edges of the stickers with the gel so they do not catch on hair or clothing. - 7Apply star glitter
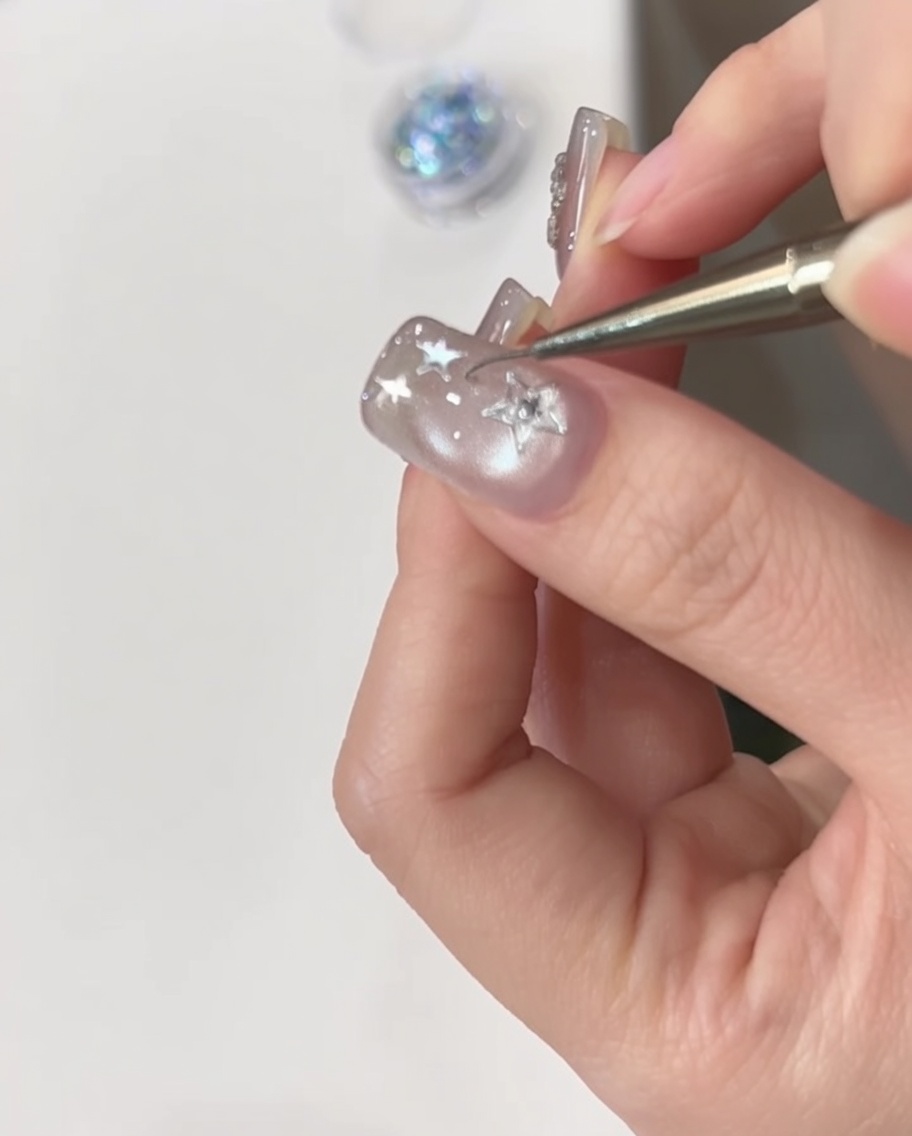
Using a fine precision tool, carefully pick up and place small star-shaped glitter pieces onto the nail surface. Arrange them around the previously applied star stickers to enhance the design. Once you are satisfied with the placement, press them gently to ensure they lie flat against the nail.
Tip: Work in small sections to keep the glitter from shifting before you secure it. - 8Cure the design
Place your hand under the UV or LED lamp to cure the star stickers and glitter in place. Follow the recommended curing time for your specific gel adhesive or base to ensure the nail art is fully set before moving on to the top coat.
Tip: Ensure your fingers are positioned directly under the light for an even cure across all nail art pieces. - 9Apply leveling gel and top coat
Apply a layer of leveling gel followed by your top coat over the entire nail. This step encapsulates the glitter and stickers, creating a smooth, even surface that protects the nail art. Be sure to cap the free edge for long-lasting wear.
Tip: A leveling gel helps fill in any gaps created by the glitter pieces for a perfectly smooth finish.