Starry Night Cat-Eye Sequin Nails — Step-by-Step Tutorial
Create a mesmerizing galaxy effect with this starry night cat-eye tutorial. Learn to layer magnetic polish, holographic stars, and builder gel for depth.
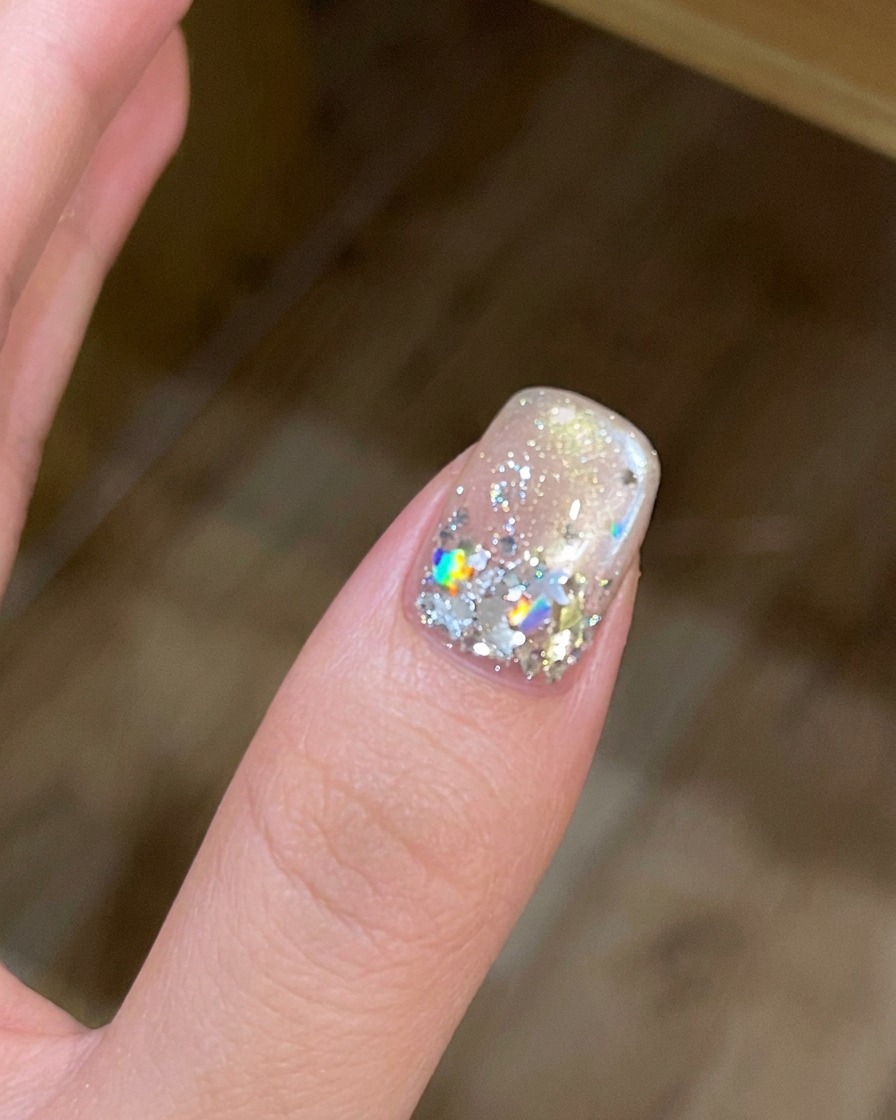
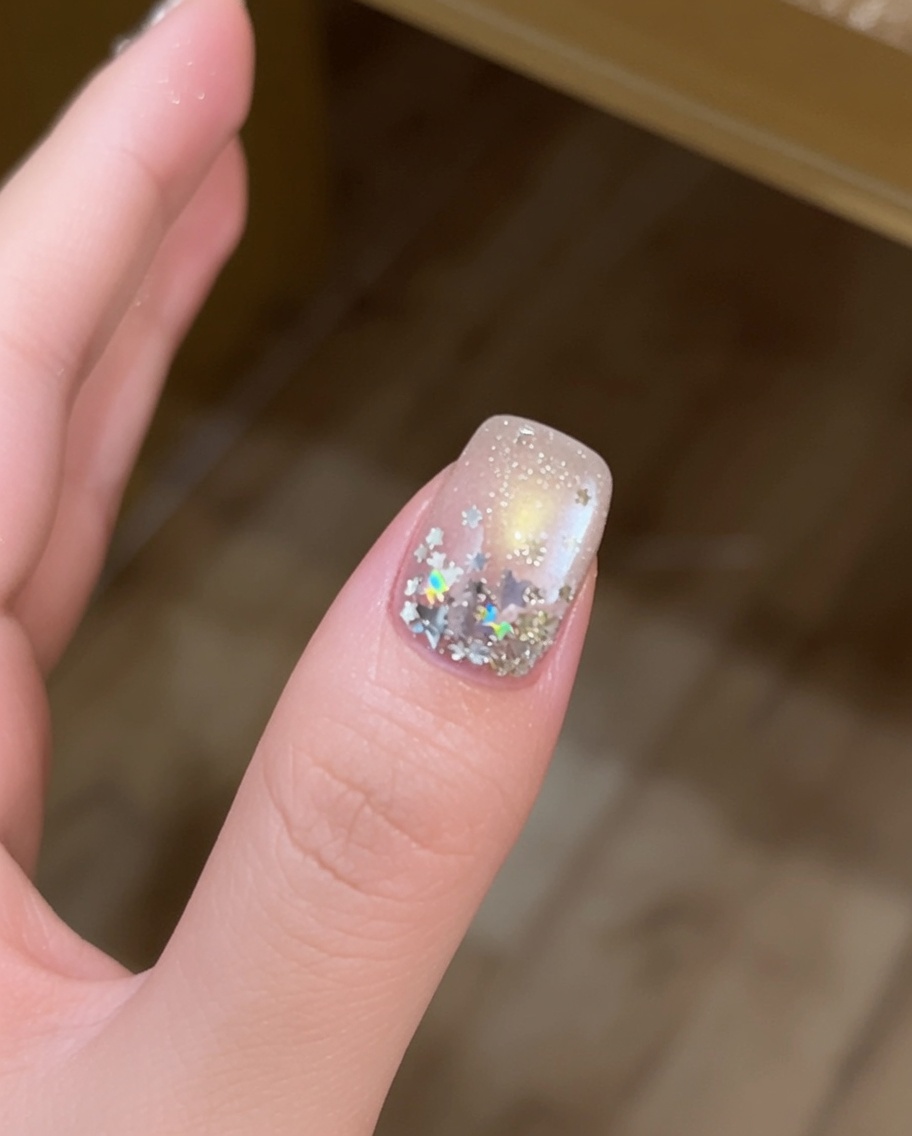
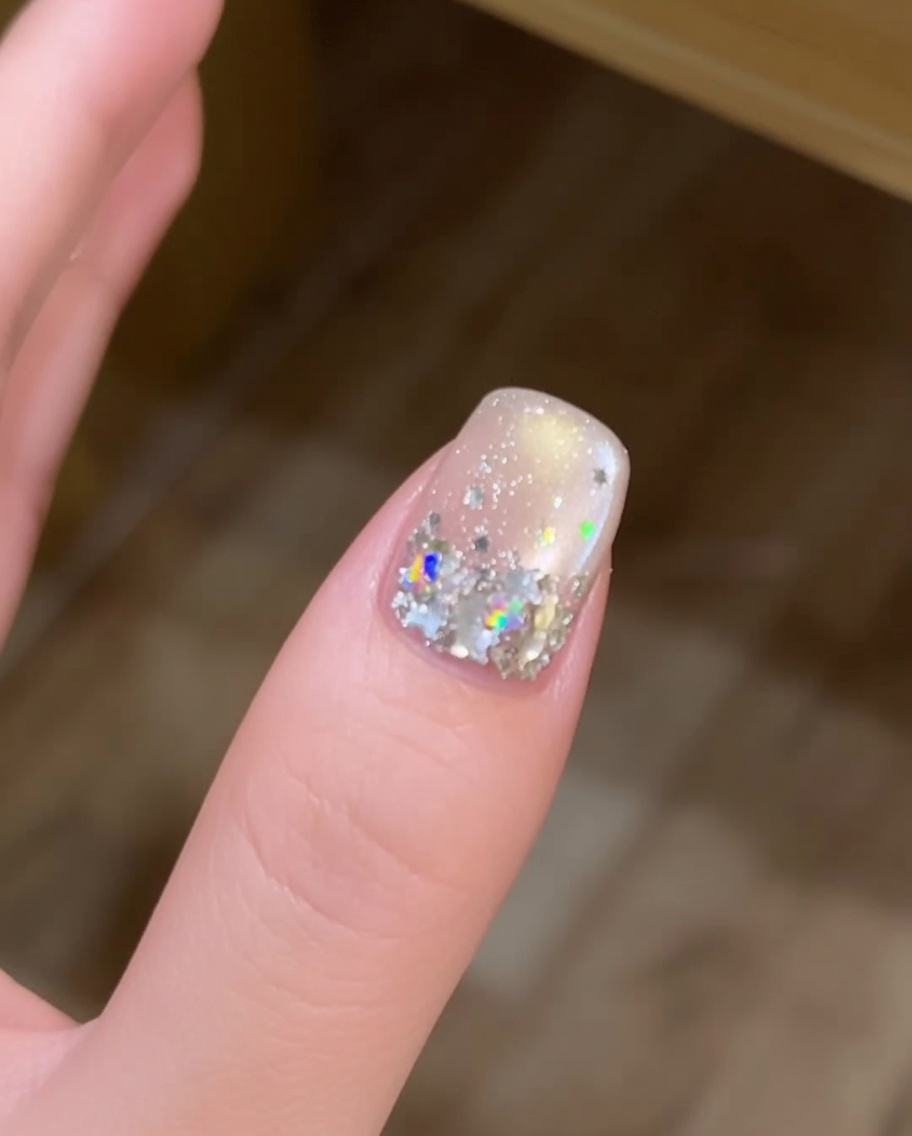
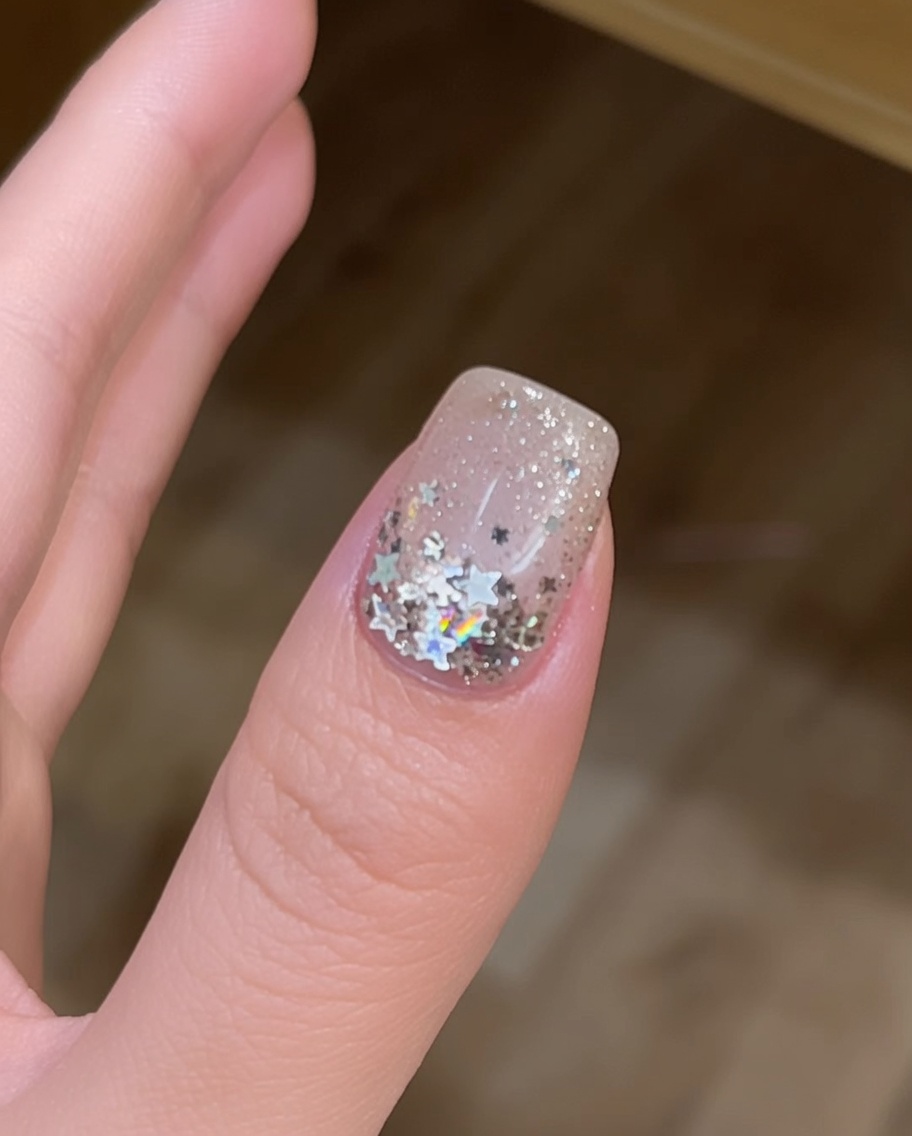
The combination of magnetic cat-eye polish and encapsulated sequins creates a stunning, multi-dimensional look that captures the magic of the night sky. This technique uses a clever mix of reflective pigments and star-shaped accents to give your nails a professional, high-gloss finish. Perfect for those who love bold, celestial-inspired nail art with a touch of elegance.
Steps
- 1Apply white gel
Apply a thin, even layer of white gel to the nail tip area. Ensure the application is smooth to create an ideal base for the cat-eye polish and sequin art to follow. Cure only once the entire layer is applied to your satisfaction.
Tip: Keep this layer thin to prevent the gel from pooling at the free edge. - 2Cure the white gel
Place your hand inside the UV or LED lamp and cure the white gel layer for the manufacturers recommended time. Proper curing ensures the base is completely set before layering the next products.
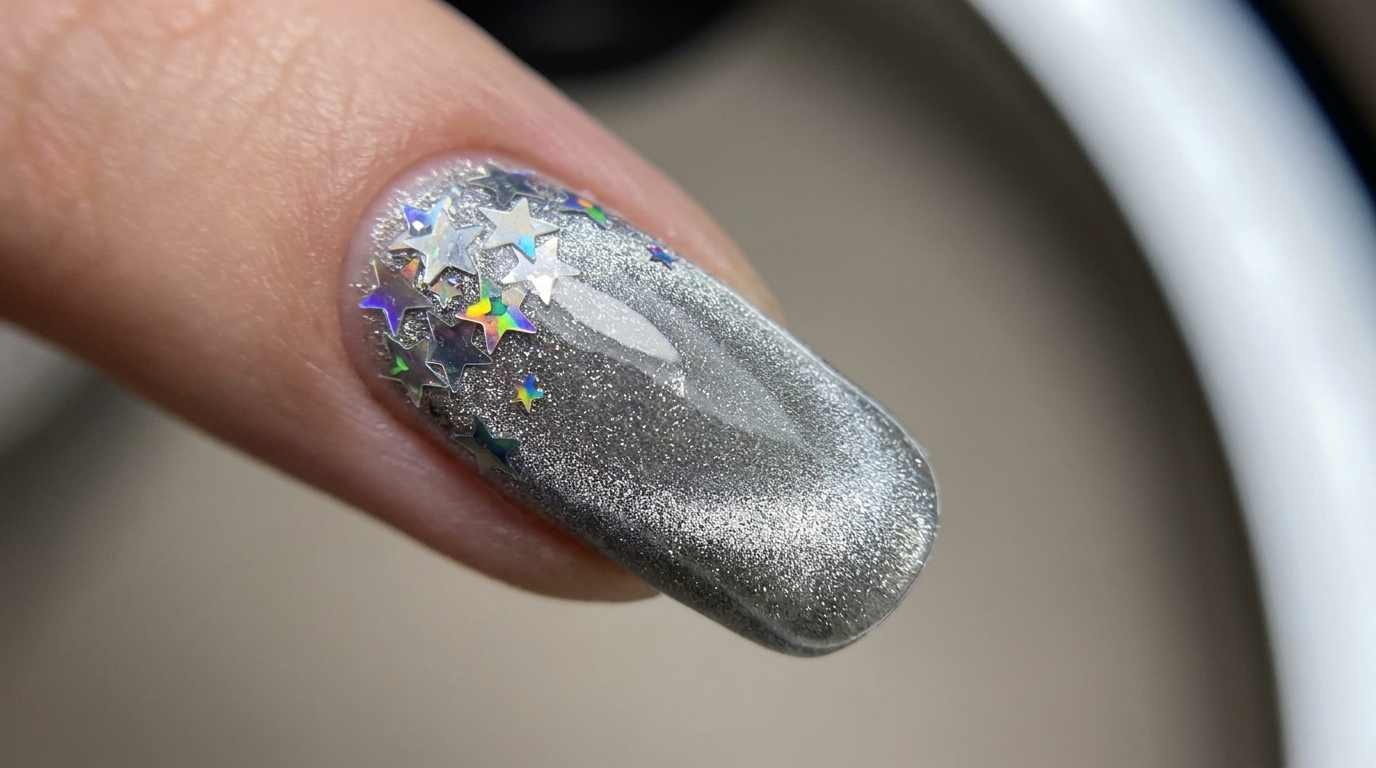
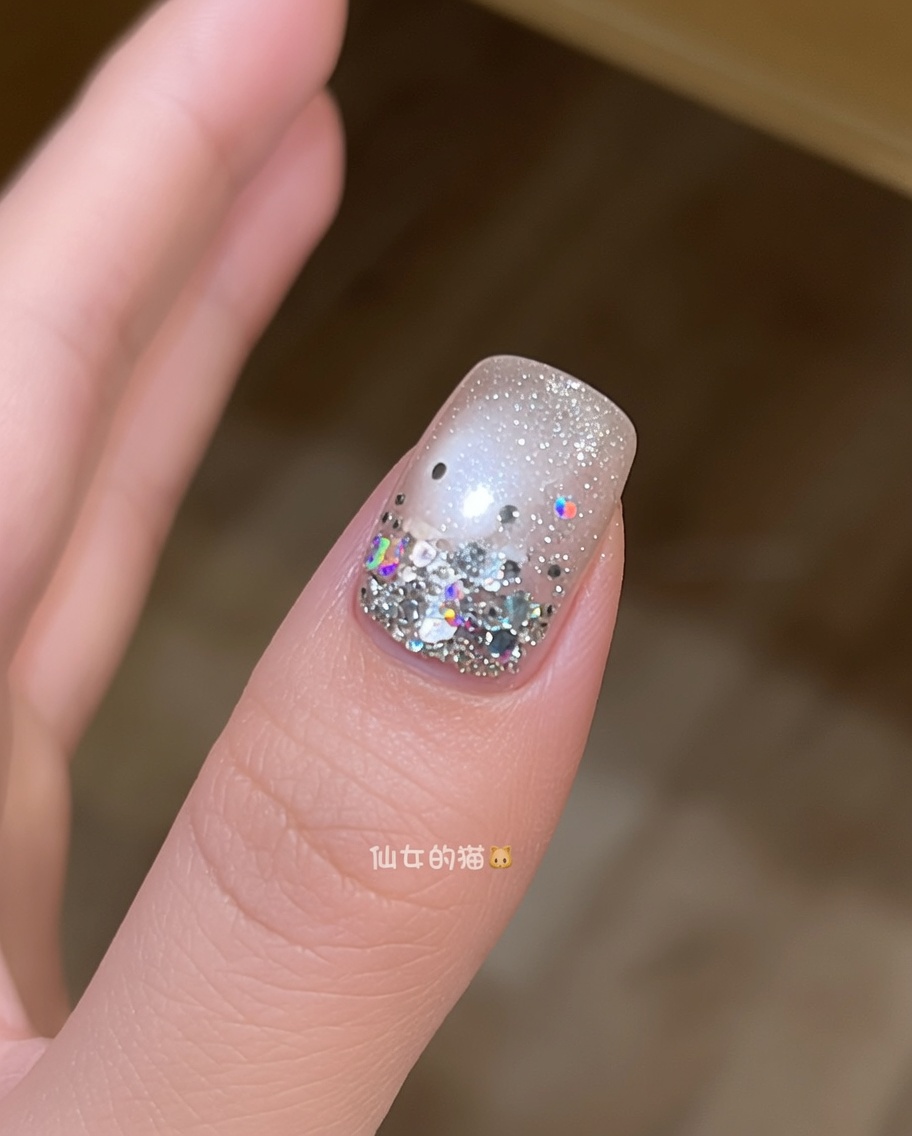
Tip: Ensure your fingers are positioned flat inside the lamp to get an even cure across the entire nail surface. - 3Apply silver cat-eye gel
Apply a generous layer of silver cat-eye gel polish over the cured white base. This polish contains magnetic particles that will create the metallic effect in the next step.
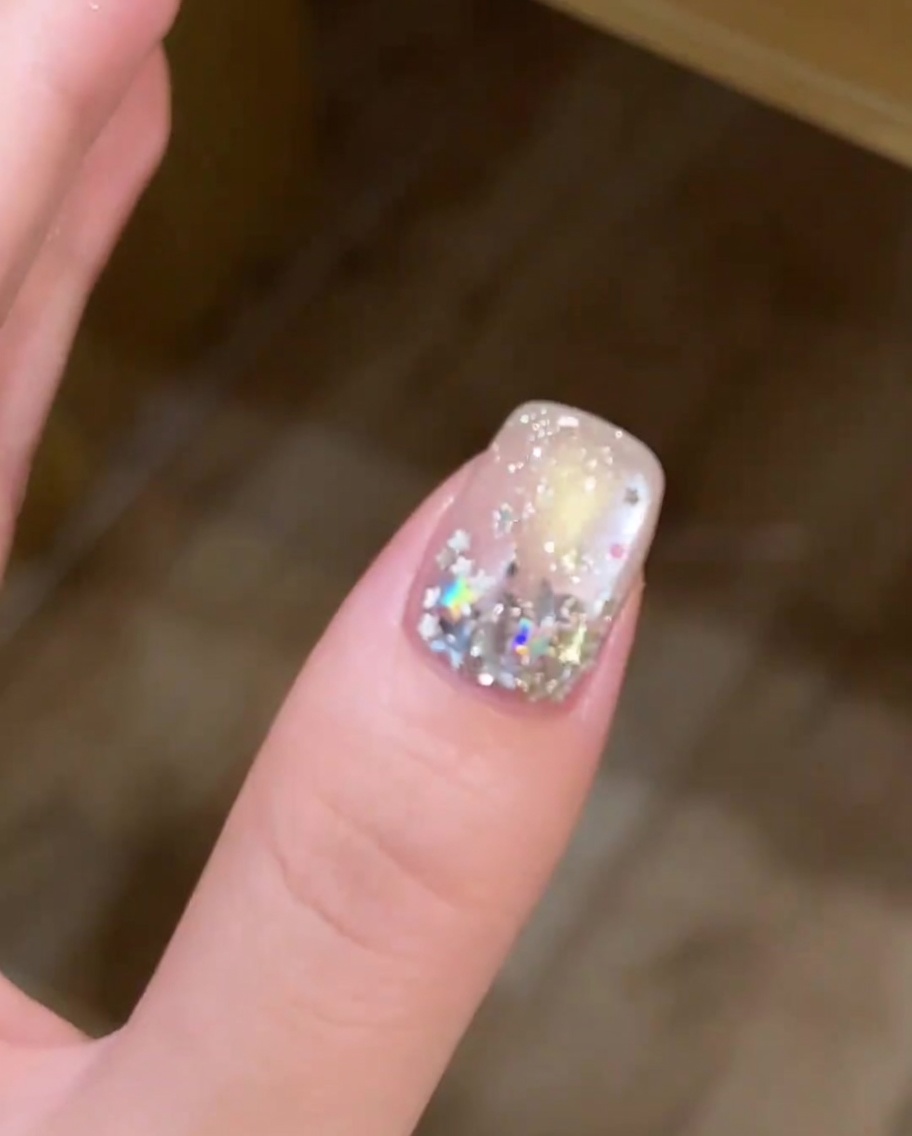
Tip: Apply the cat-eye polish evenly to ensure the magnetic particles are distributed across the entire nail. - 4Create cat-eye effect
Before curing, hold your nail magnet over the nail surface. Move or hover the magnet in a circular motion to pull the metallic particles into a circular cat-eye effect. Once you are happy with the pattern, proceed to cure.
Tip: Hold the magnet close to the nail for a stronger, more defined effect, but be careful not to touch the wet polish. - 5Cure cat-eye gel
Place the nail back into the UV or LED lamp to cure the silver cat-eye design. Curing immediately after using the magnet is crucial to lock the metallic pattern in place.
Tip: Do not bump the nail against the lamp housing while inserting your hand. - 6Apply adhesion gel

Apply a thin layer of builder or adhesion gel over the cured cat-eye nail. This layer acts as a sticky base to hold the star sequins in place before they are encapsulated.
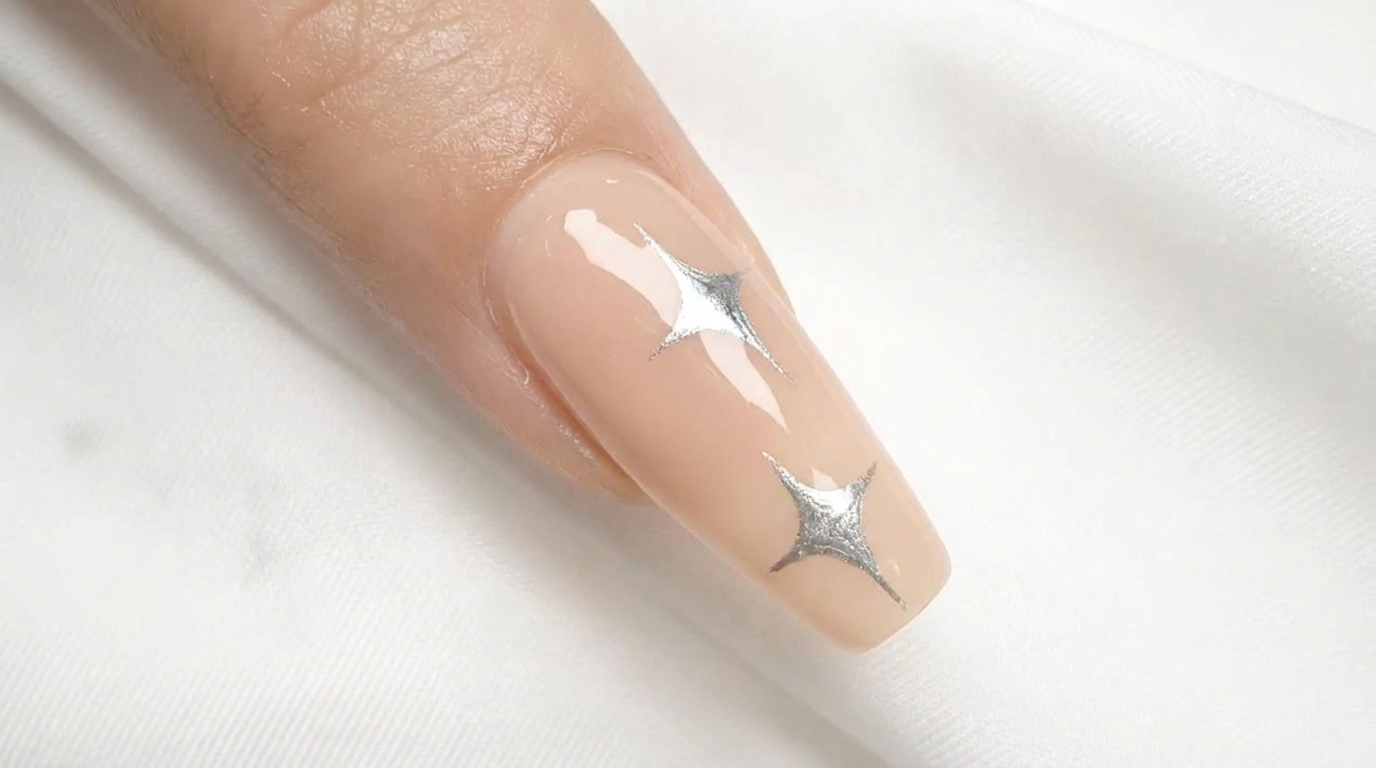
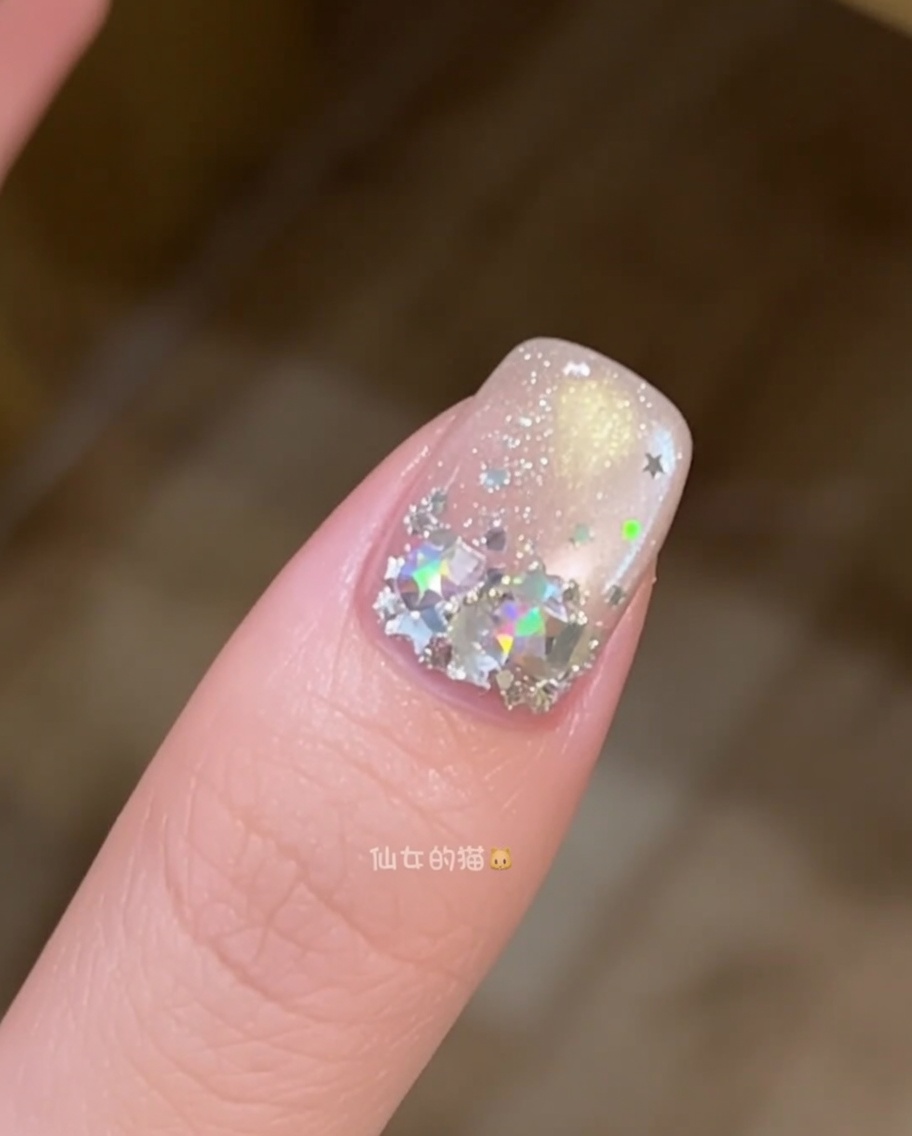
Tip: Use a clear builder gel for this step so it does not interfere with the cat-eye color underneath. - 7Place large star sequins
Using a fine detail brush or a wax-tipped picker tool, carefully place your larger star-shaped sequins onto the tacky layer of the nail. Position them to create your desired pattern, ensuring they lay flat against the nail surface.
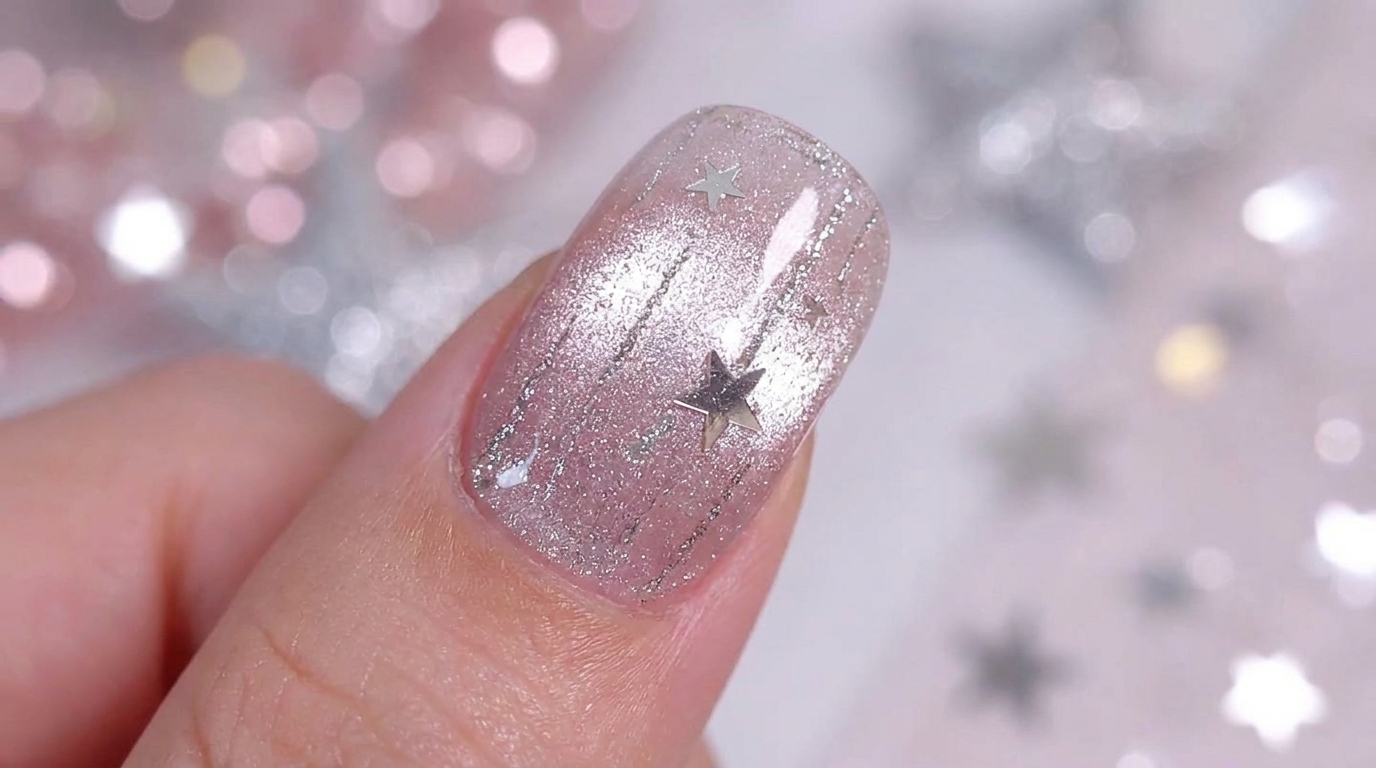
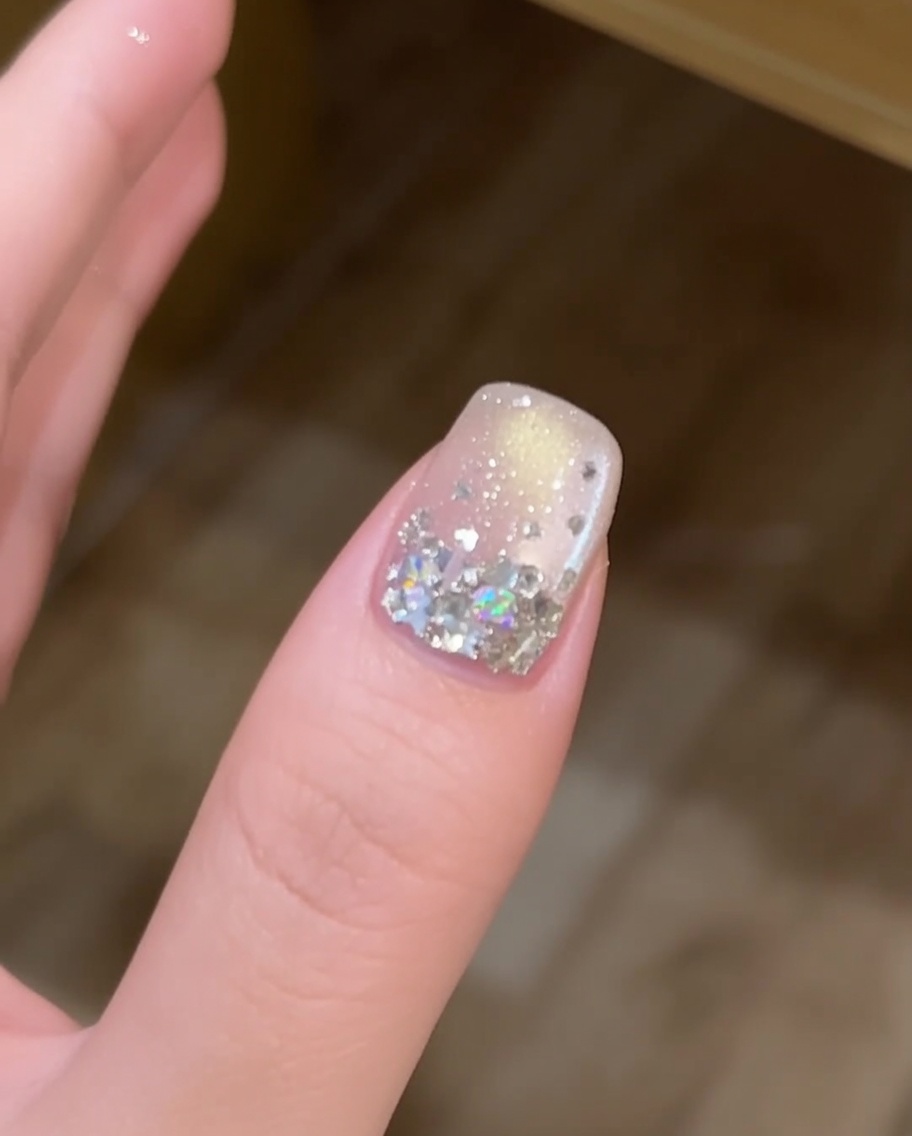
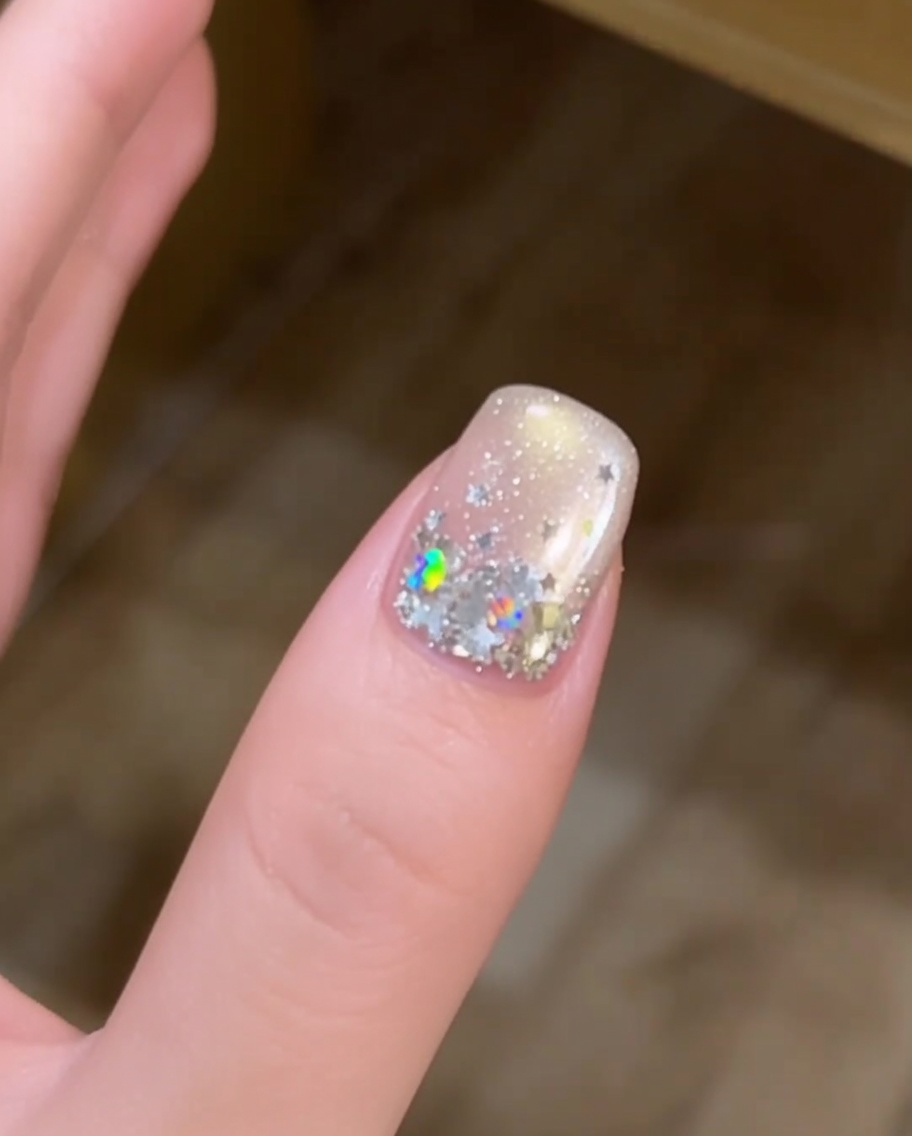
Tip: If a sequin is not lying flat, use the edge of your brush to gently press down the points of the star until it adheres securely. - 8Add smaller star accents
Fill in the gaps between the larger stars by adding smaller, colorful star-shaped sequins. This layering effect adds depth and detail to your nail art design.
Tip: Place the smaller sequins in a cluster for a more deliberate, textured look. - 9Cure the sequin design

Once all sequins are placed to your satisfaction, place your hand into the UV or LED lamp to cure. This locks the sequins in place before you encapsulate them with builder gel.
Tip: Check that all points of the stars are pressed down before curing to prevent them from catching on hair or clothing later. - 10Encapsulate with builder gel
Apply a generous, clear layer of builder gel over the entire sequin design. This process, known as encapsulation, smooths out the surface and provides the structural strength needed to hold the nail art in place.
Tip: Ensure the gel covers all edges of the sequins, especially the points of the stars, so they feel smooth to the touch. - 11Spread and smooth the gel
With a short, firm brush, gently spread the builder gel toward the cuticle and side walls. Work carefully to ensure an even distribution without flooding the surrounding skin.
Tip: Keep the brush parallel to the nail surface to avoid creating streaks in the clear gel. - 12Apply leveling bead
Use a longer, tapered brush to pick up a larger bead of builder gel. Place it in the center of the nail and allow it to self-level, creating a smooth apex and structure for the nail.
Tip: If the gel starts to run to the side, tilt your finger upside down for a few seconds to help the gel self-level toward the center. - 13Level and refine the builder gel
Using a short brush, gently distribute the builder gel across the entire nail surface to ensure full coverage over the sequins. Pick up a slightly larger bead of gel and place it near the apex to build proper structure and strength. Allow the gel to self-level for a moment before finalizing the shape, ensuring the sides are smooth and well-defined before curing.
Tip: Working in thin, controlled motions helps prevent the gel from flooding the cuticles while still building enough structure. - 14Cure the builder gel
Place your hand inside the UV or LED lamp to cure the leveled builder gel. Ensure your nails are positioned directly under the light source for the full duration recommended by your product to ensure the structure hardens completely.
Tip: If you feel a heat spike, briefly remove your hand from the lamp for a few seconds before placing it back in. - 15Apply top coat
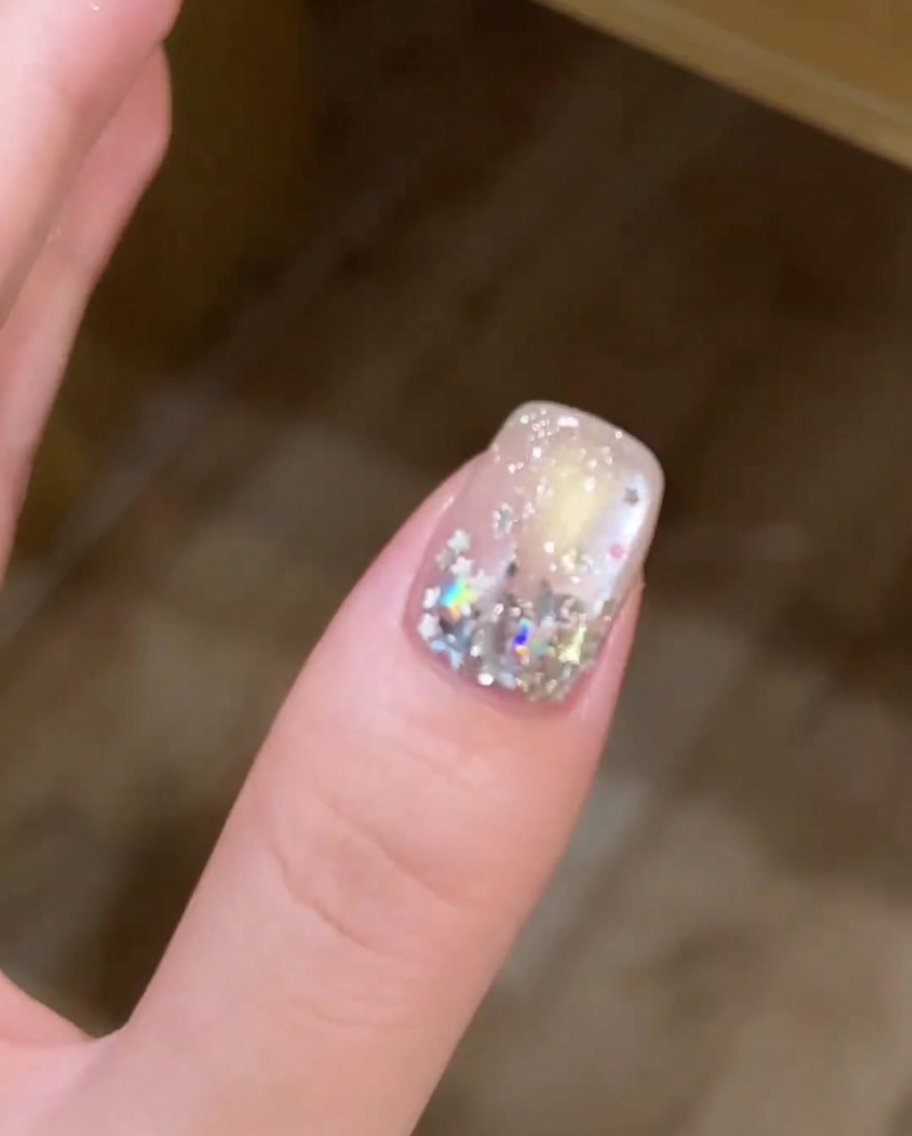
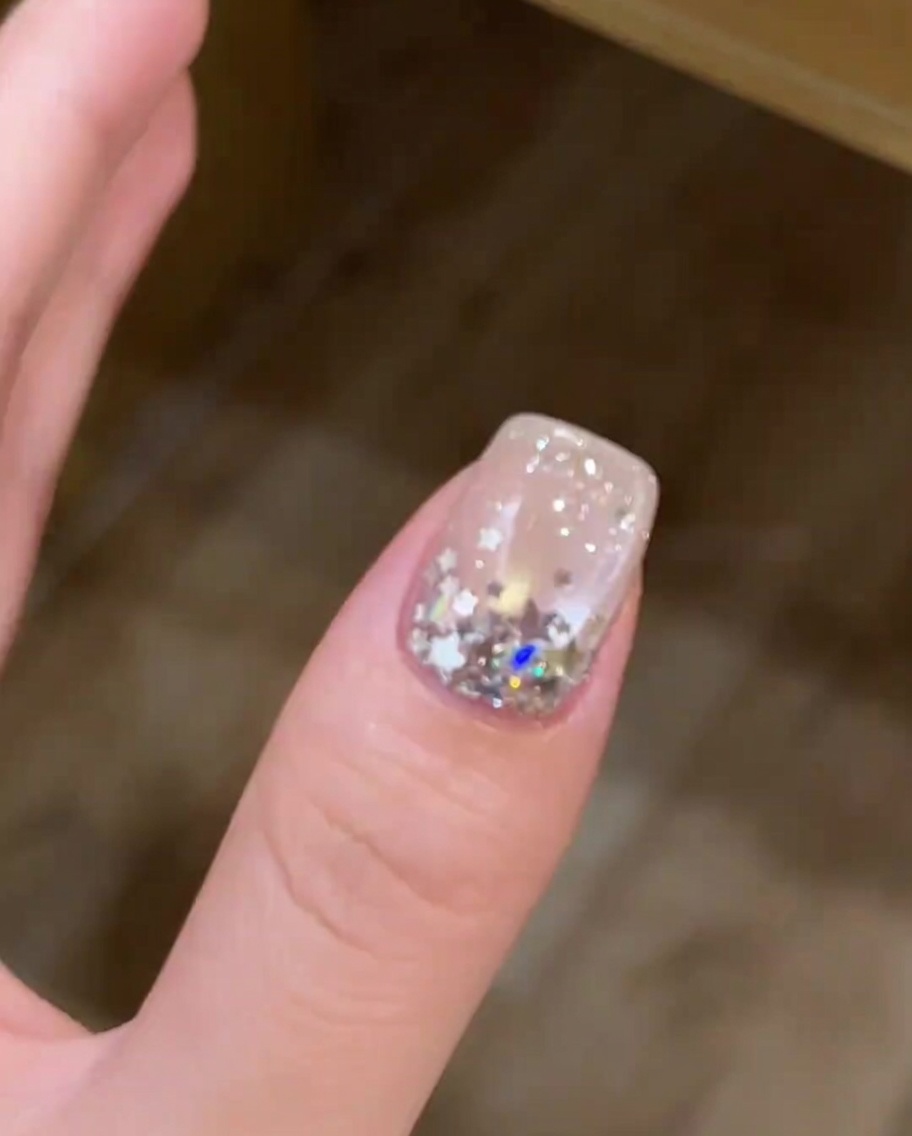
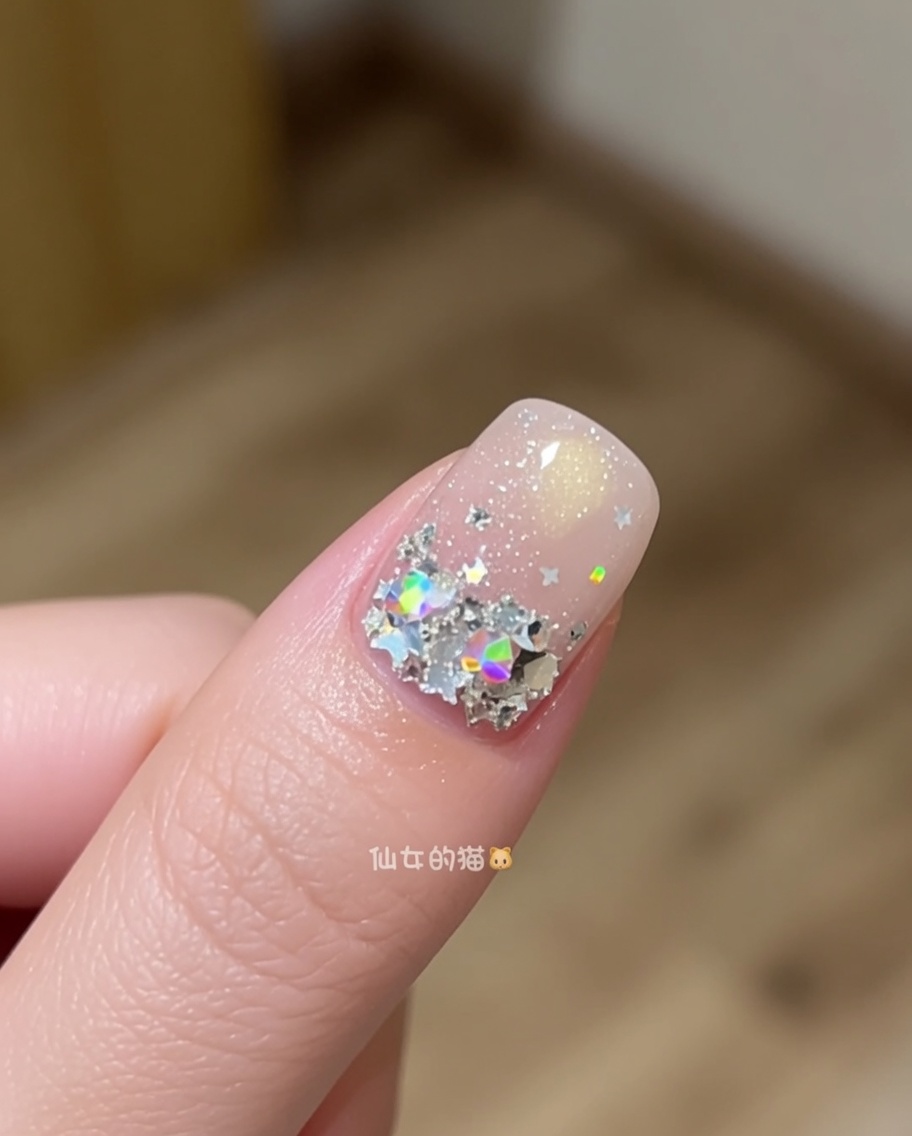
Apply a final layer of clear top coat over the entire nail to seal in the design and provide a high-gloss finish. Be sure to cap the free edge to protect the manicure from chipping. Ensure the coverage is smooth and free of bubbles.
Tip: A smooth application of top coat is essential for a professional, long-lasting look. - 16Final cure
Place your nails back into the UV or LED lamp for the final cure. This step locks in the top coat, ensuring a durable, hard, and shiny surface that completes the nail look.
Tip: Make sure to cure for the full recommended time to ensure the top coat is completely dry and set.