Magnetic Cat-Eye Star Nail Art — Step-by-Step Gel Tutorial
Create a mesmerizing celestial manicure with this brown magnetic cat-eye gel tutorial featuring hand-painted silver stars and holographic glitter accents.
Magnetic cat-eye gels are perfect for creating manicures with incredible depth and movement. By manipulating the magnetic particles, you can achieve a stunning circular glass bead effect that serves as the perfect cosmic backdrop. Adding hand-painted platinum silver stars and holographic glitter pieces takes this look into another dimension, resulting in a beautifully layered, space-inspired design that is sure to catch the light from every angle.
Steps
- 1Apply brown cat-eye gel
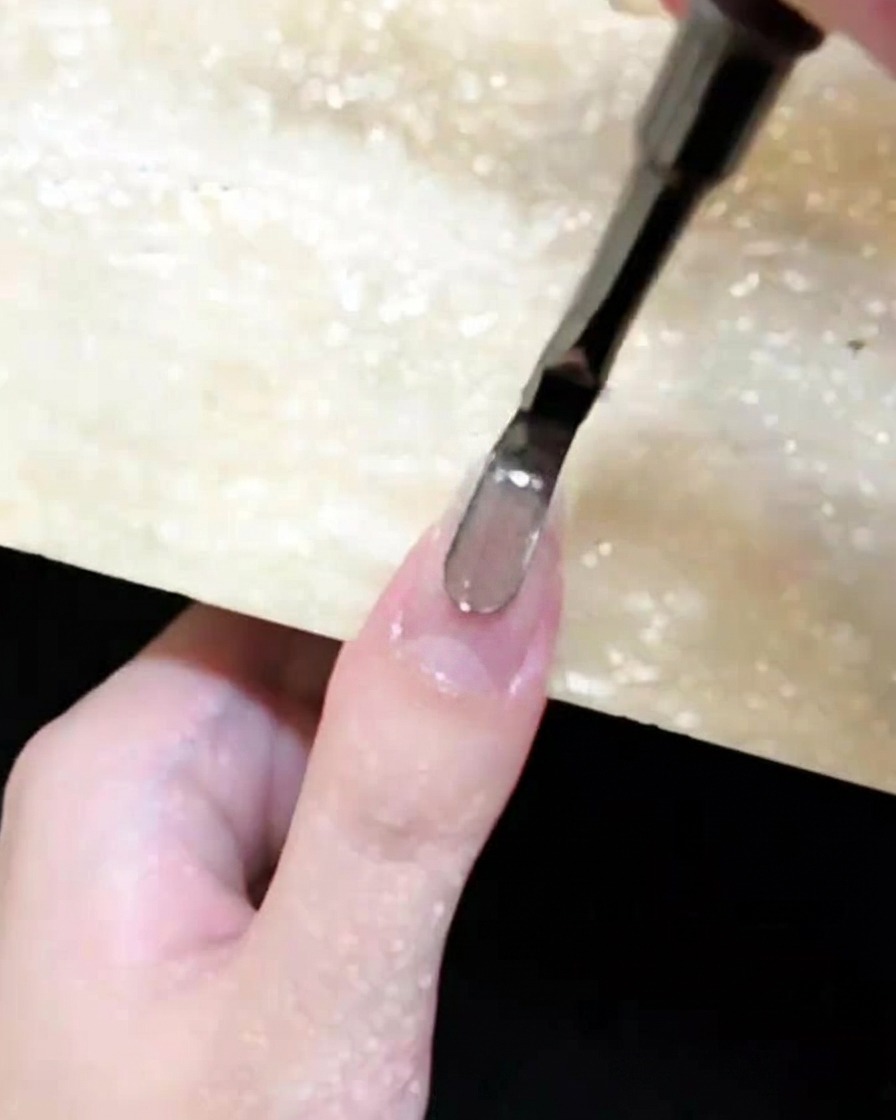
Apply an even layer of the M27 brown cat-eye gel polish to your prepped nail. Do not cure this layer yet, as the gel must remain wet to allow the magnetic particles to be manipulated in the next step.
Tip: Work on one nail at a time and cure immediately after creating the magnetic effect to ensure the pattern stays in place. - 2Create the cat-eye effect
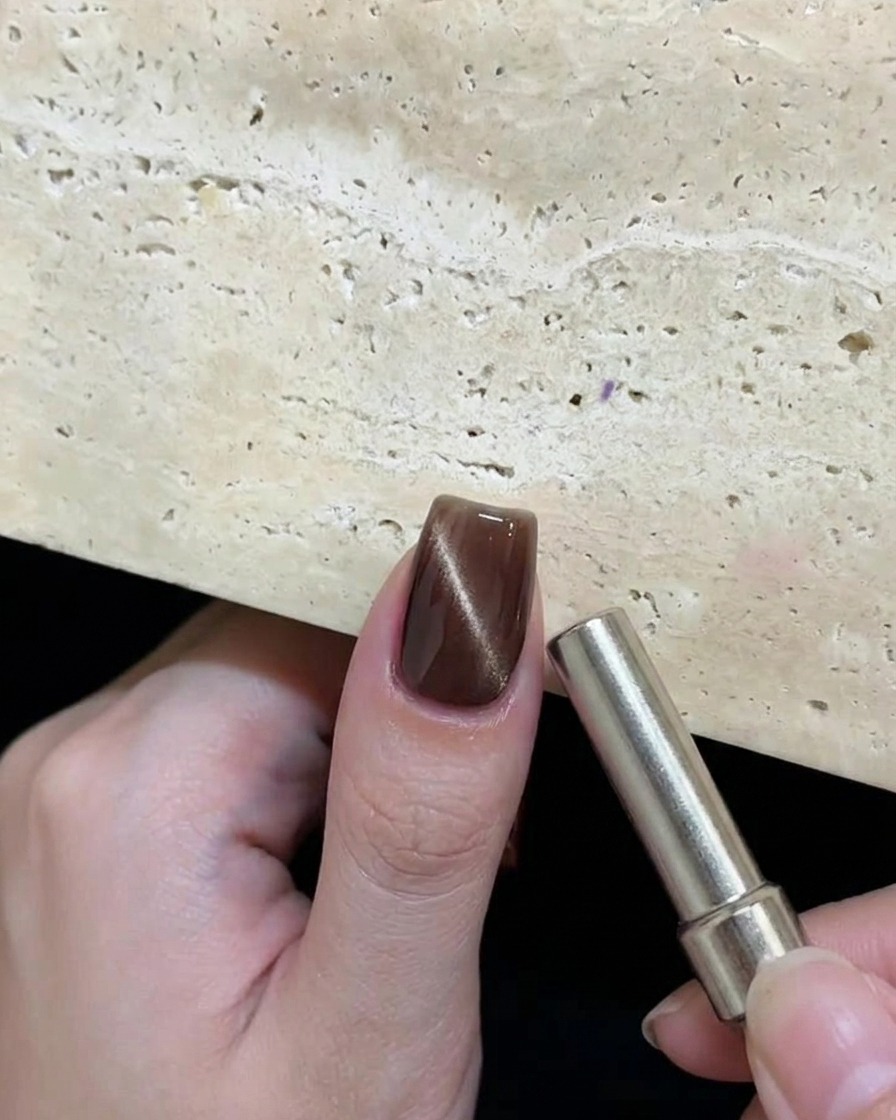
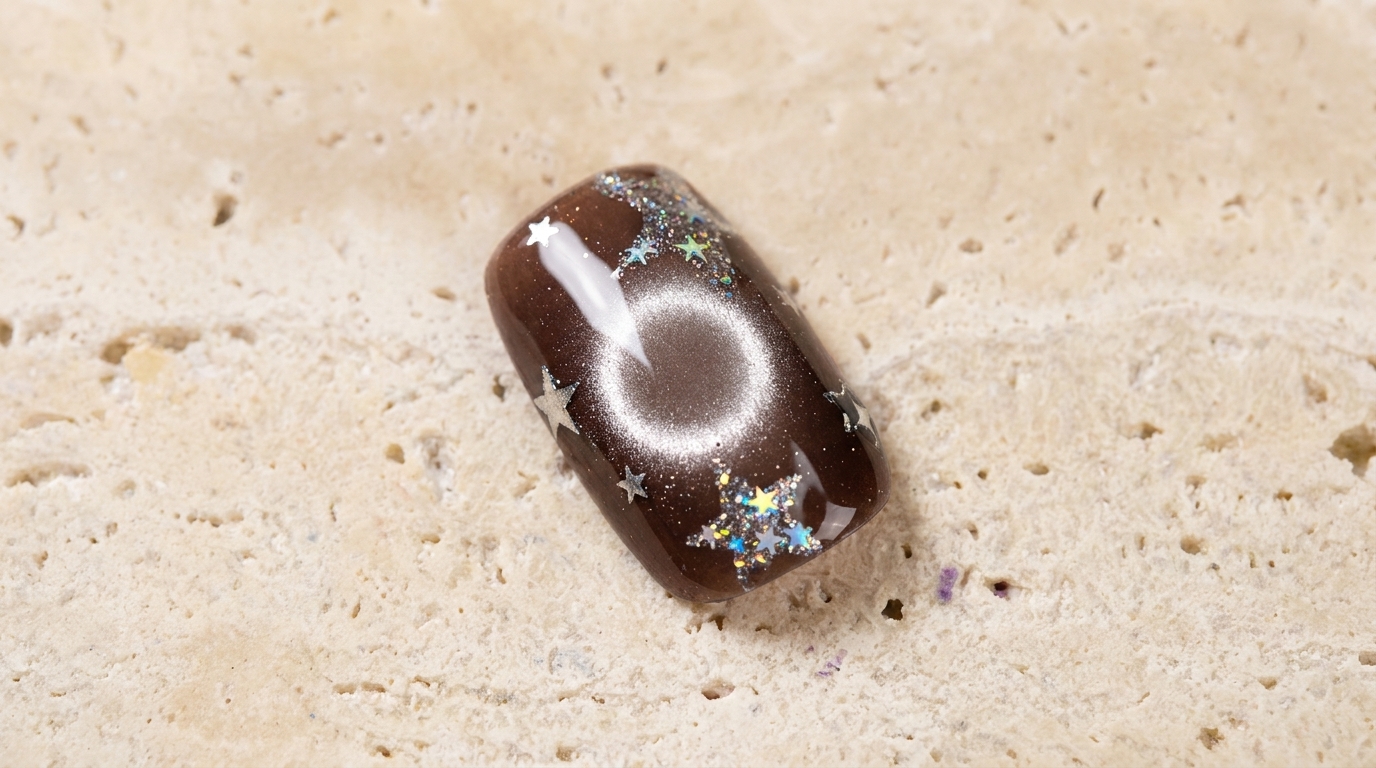
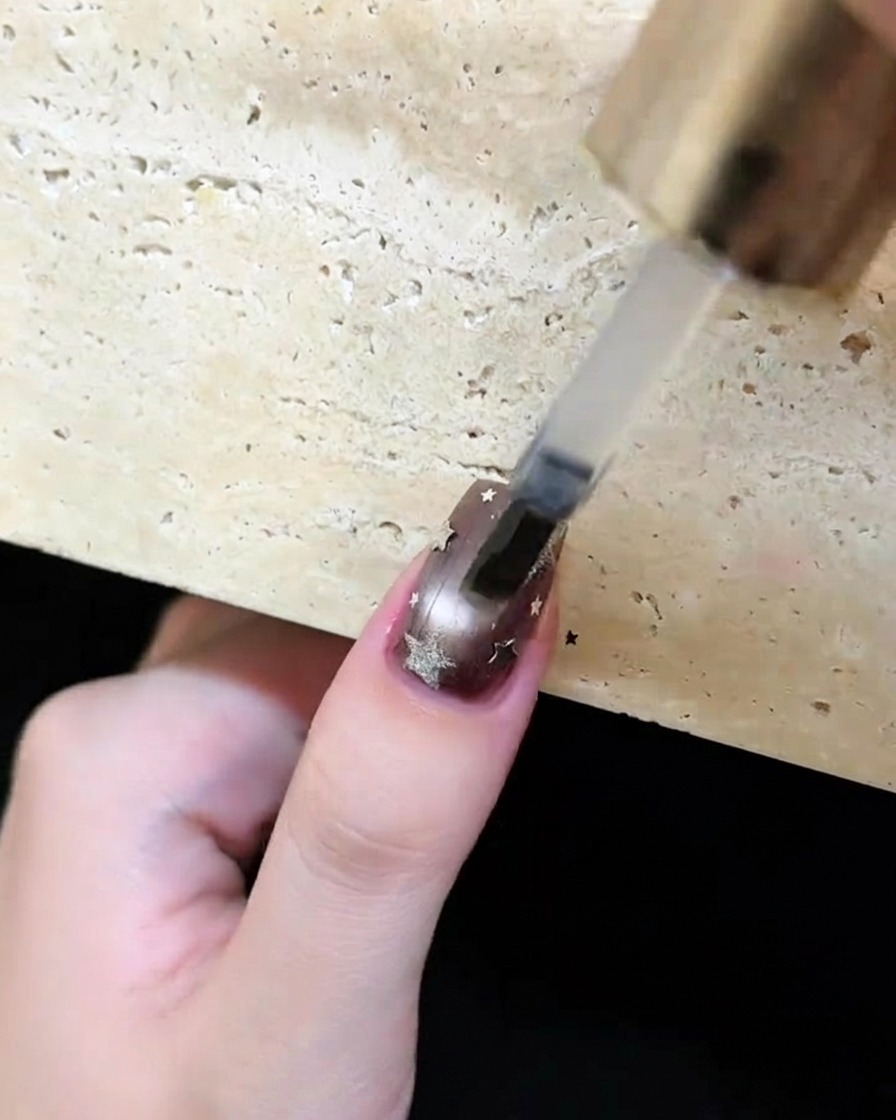
Hold a cylindrical magnet close to the wet M27 brown cat-eye gel base to activate the magnetic particles. Position the magnet strategically to draw the particles into a luminous, circular glass bead effect.
Tip: Keep the magnet as close to the nail as possible without touching the wet gel for a sharper, more defined circle. - 3Cure the cat-eye gel base
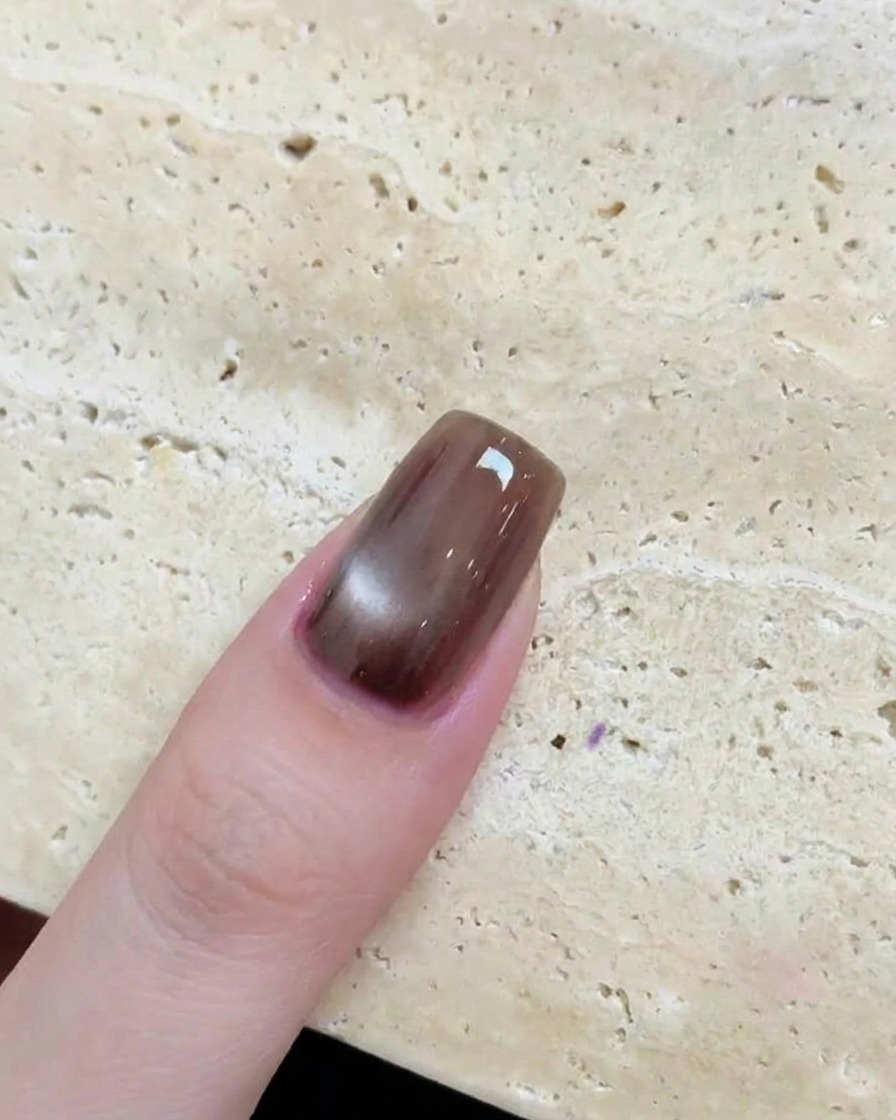
Once the circular glass bead effect is formed, immediately place the hand under a UV or LED lamp. Cure the nail fully to lock the magnetic particles in place and prevent the design from dispersing.
Tip: Cure each nail individually right after magnetizing to ensure the crispest cat-eye effect. - 4Paint silver stars
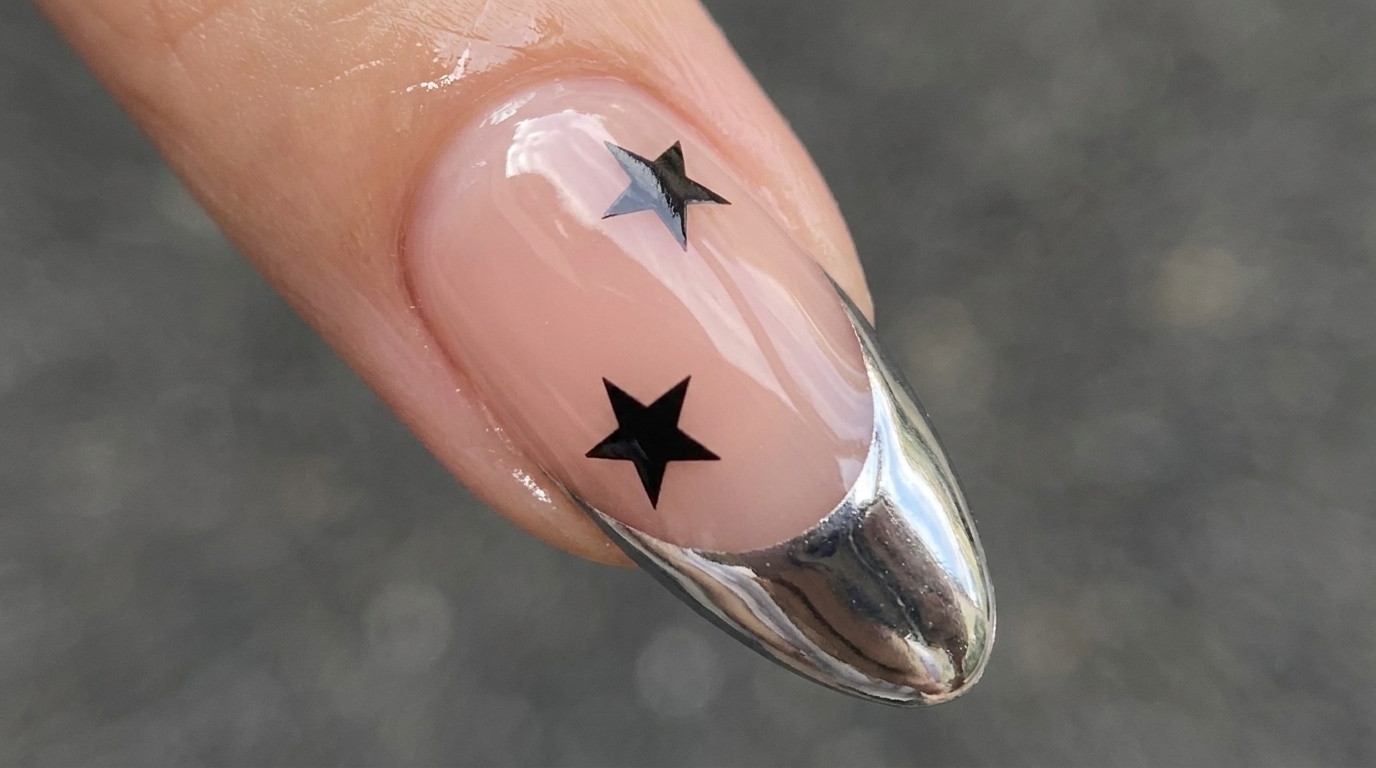
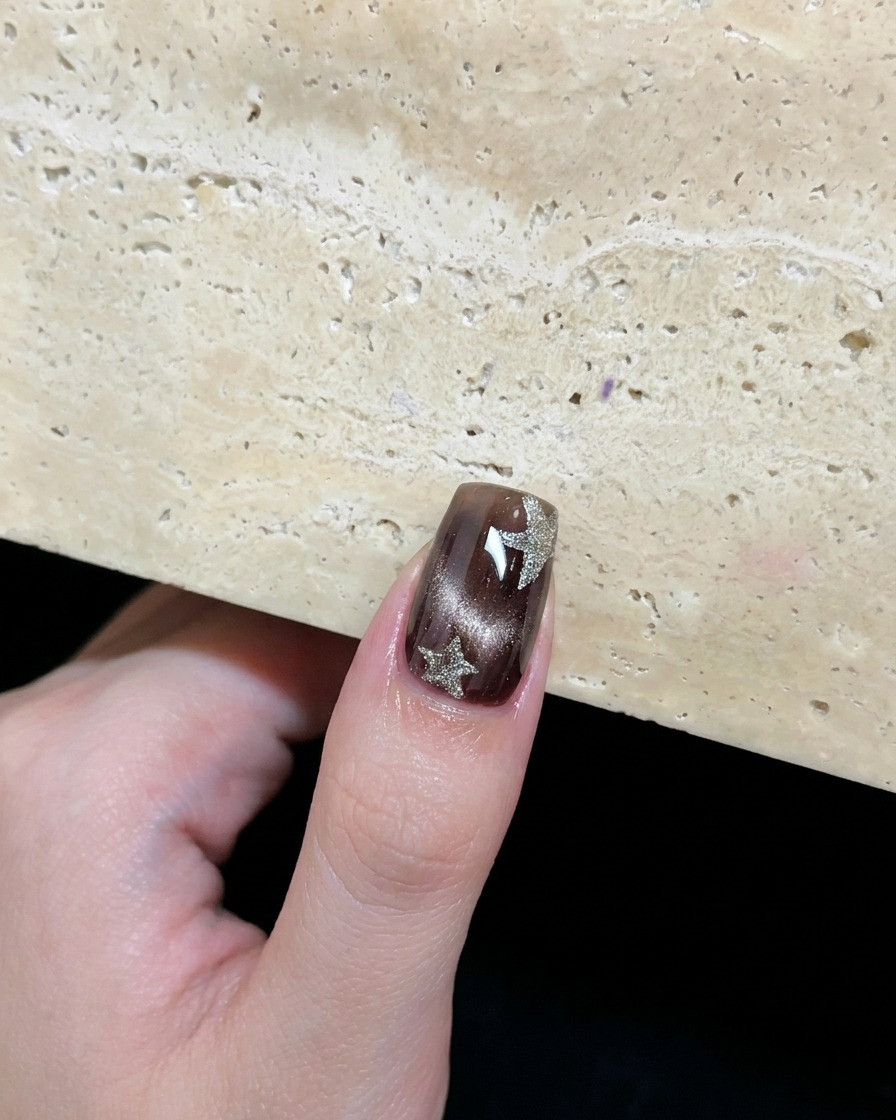
Using a fine liner brush and platinum silver gel, carefully draw two stars onto the cured base color. Ensure the lines are clean and precise to maintain the crisp look of the design before curing.
Tip: If you struggle with hand-painting stars, try using a very light touch or practice on a nail tip first to get the proportions right. - 5Cure the silver stars
After drawing the two stars with platinum silver gel, carefully place the hand under your UV or LED lamp. Cure completely to set the star designs before moving on to the glitter application.
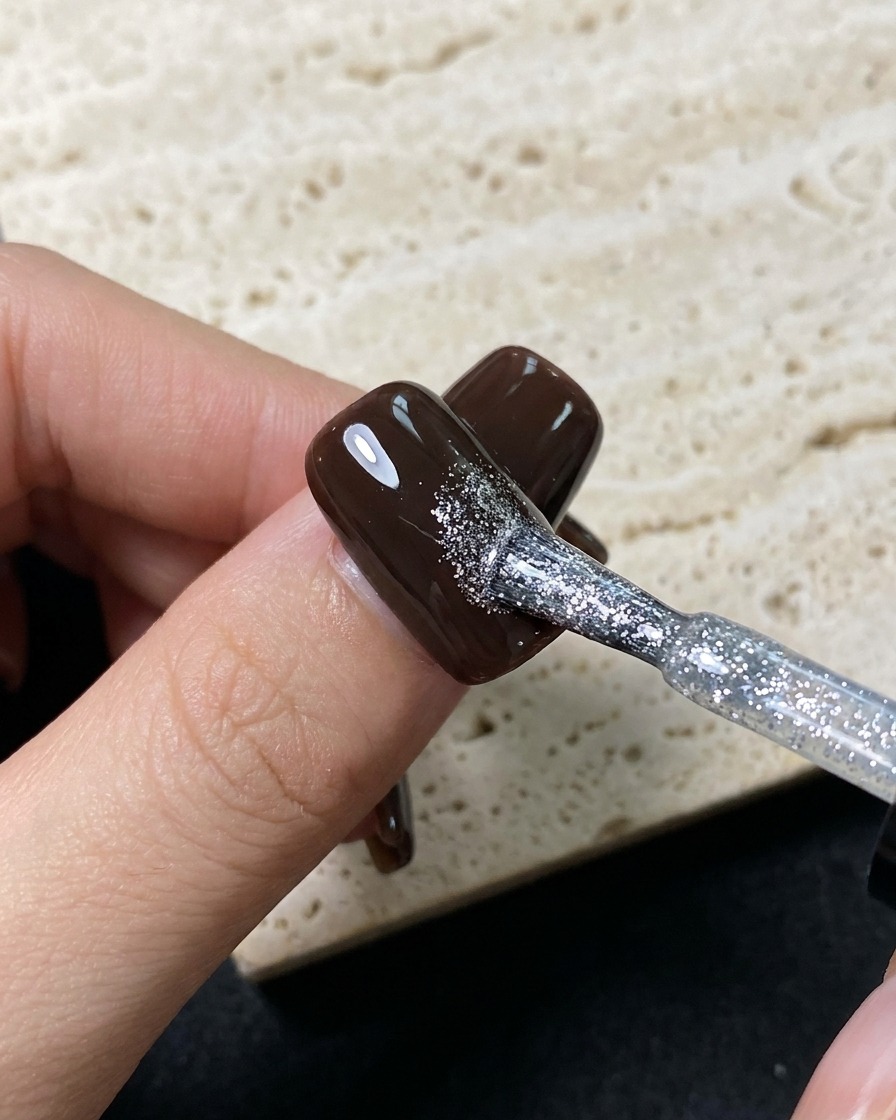
Tip: If your silver gel is highly pigmented, it may require slightly longer curing time to fully dry. - 6Add star glitter
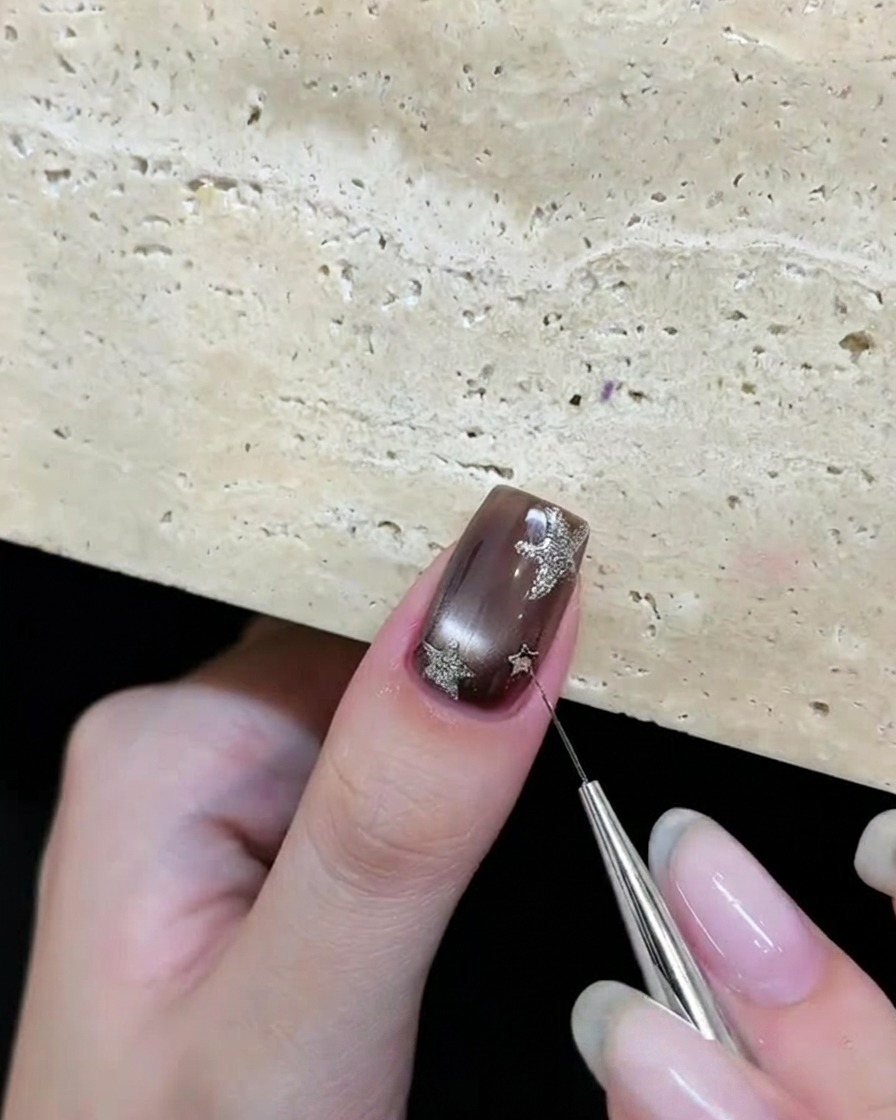
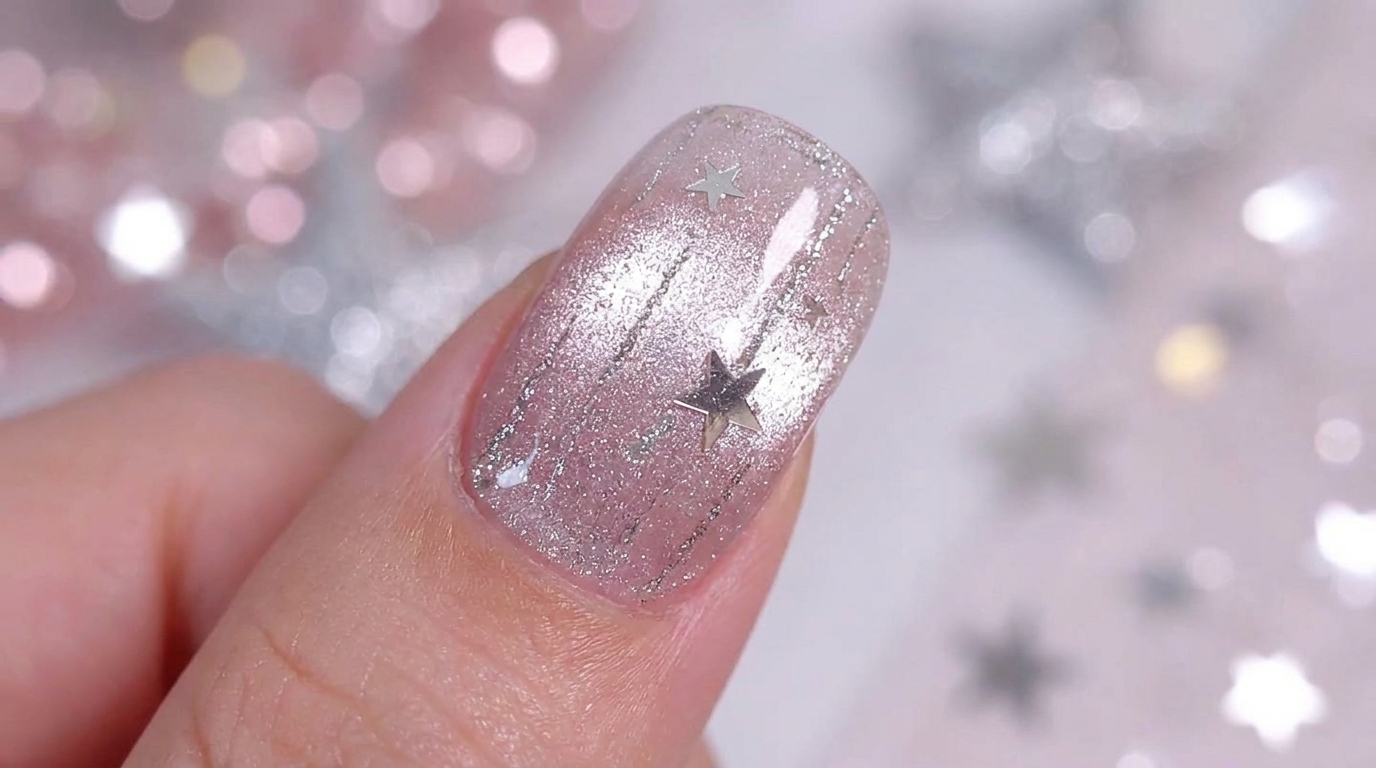
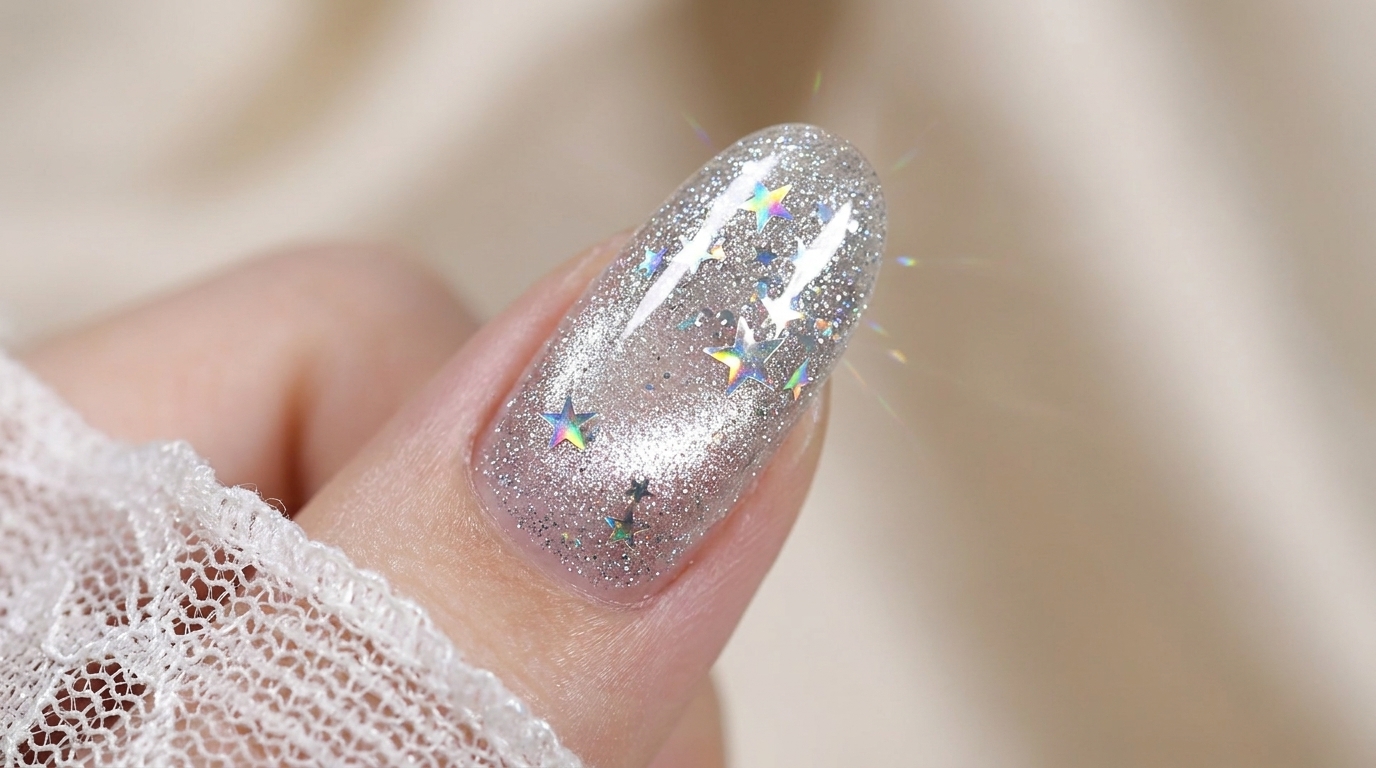
Using a dotting tool or tweezers, apply various sizes of star-shaped glitter pieces onto the nail. You can place these over the previously painted stars or as standalone accents to create a layered, dimensional look.
Tip: Apply a tiny bit of clear gel or top coat as an adhesive for the glitter pieces to ensure they stay secure during placement. - 7Arrange glitter accents
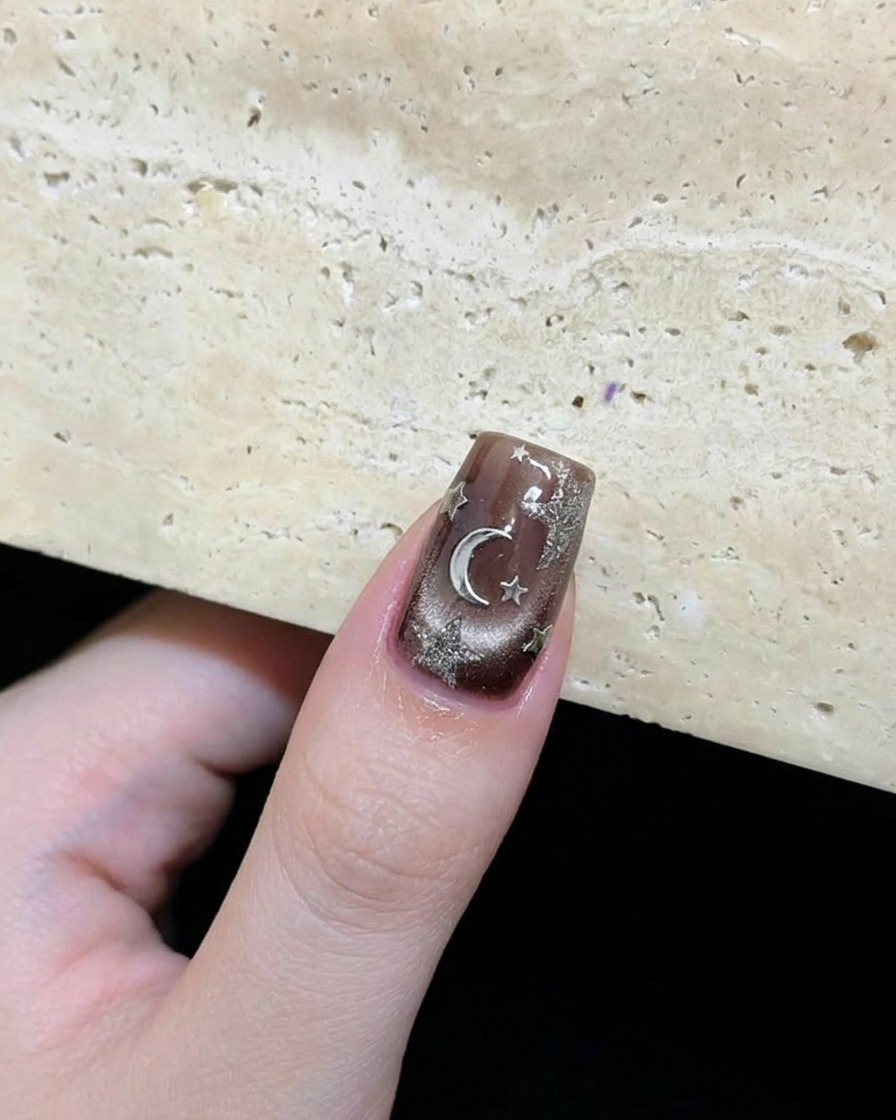
Carefully arrange the star glitter pieces around the perimeter of the nail to frame the central design. This adds a finished, decorative border to your space-themed manicure.
Tip: Keep the glitter away from the very edge of the cuticle and sidewalls to prevent catching and improve longevity. - 8Apply top coat
Apply a generous layer of clear top coat over the entire nail, ensuring all glitter pieces and painted art are completely covered and encapsulated. Cure the nail fully under your UV or LED lamp to protect the design and provide a smooth, glossy finish.
Tip: Be sure to cap the free edge with the top coat to prevent the nail art from chipping at the tips.