Silver Cat-Eye Glitter Star Nails — Dazzling Sparkle Tutorial
Elevate your manicure with this stunning silver cat-eye design featuring a glitter gradient and holographic star sequins for a celestial, high-shine finish.
Bring the night sky to your fingertips with this dazzling silver cat-eye nail look. By combining magnetic polish depth with a textured silver glitter gradient and playful star accents, this design achieves a sophisticated yet whimsical aesthetic that is perfect for any occasion.
Steps
- 1Peel off old gel polish
Begin by gently using a metal tool to lift the edge of the previous gel layer. Since a peel-off base was used, the old polish should come off in a single strip from the nail plate.
Tip: Work slowly to ensure you dont damage the natural nail surface while peeling. - 2Remove remaining gel
Once the edge is lifted, carefully pull the remaining gel strip off the nail. Ensure all remnants of the old polish are removed to prepare for the new design.
Tip: If the gel is stubborn, do not force it; apply a little more pressure with the tool to lift it cleanly. - 3Buff cuticles with essence pen

Use the essence pen to buff away any residual adhesive on the nail surface. This tool also gently exfoliates dead skin around the cuticle area, while the released essence oil keeps the skin hydrated and protected.
Tip: The essence pen is excellent for keeping cuticles healthy while you prep; the residue is conveniently contained within the pen. - 4Apply silver cat-eye gel base
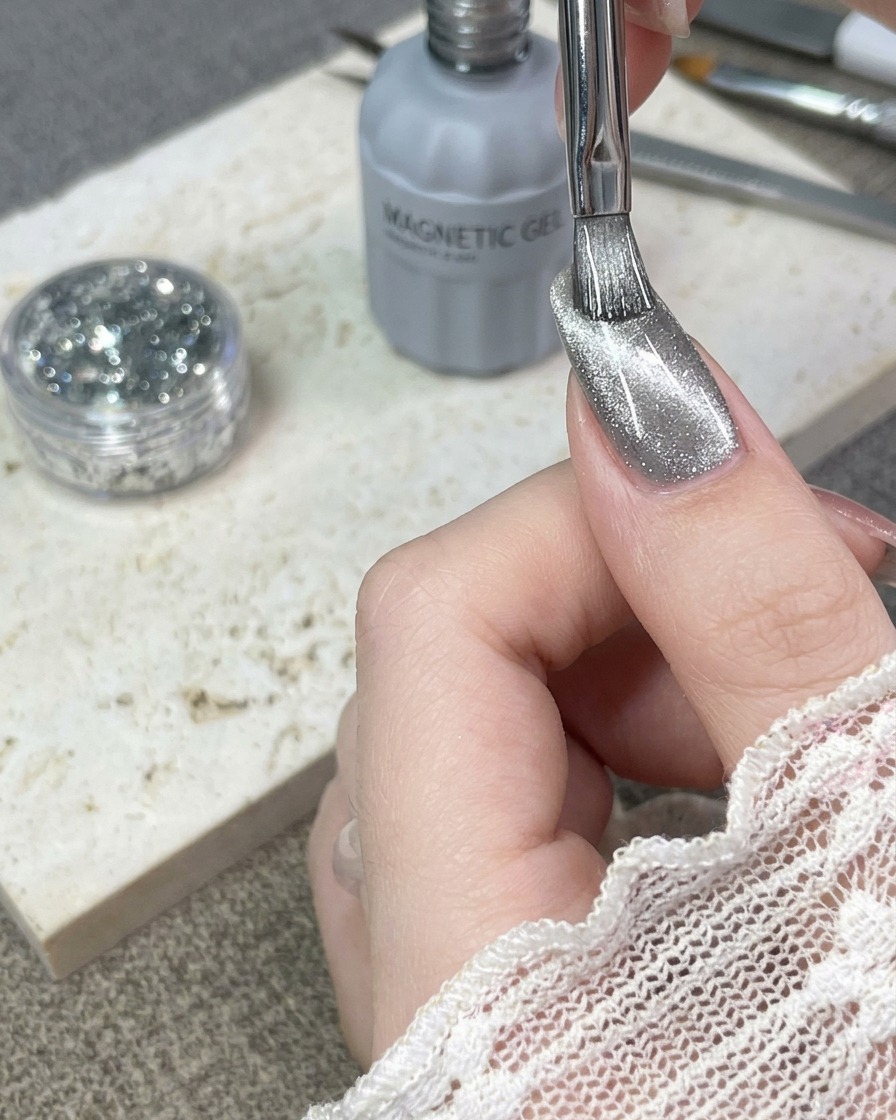
Apply an even coat of the silver cat-eye gel to the nail. This specific formula includes a built-in base and top coat, which simplifies the process and ensures a smooth, non-sticky finish after curing.
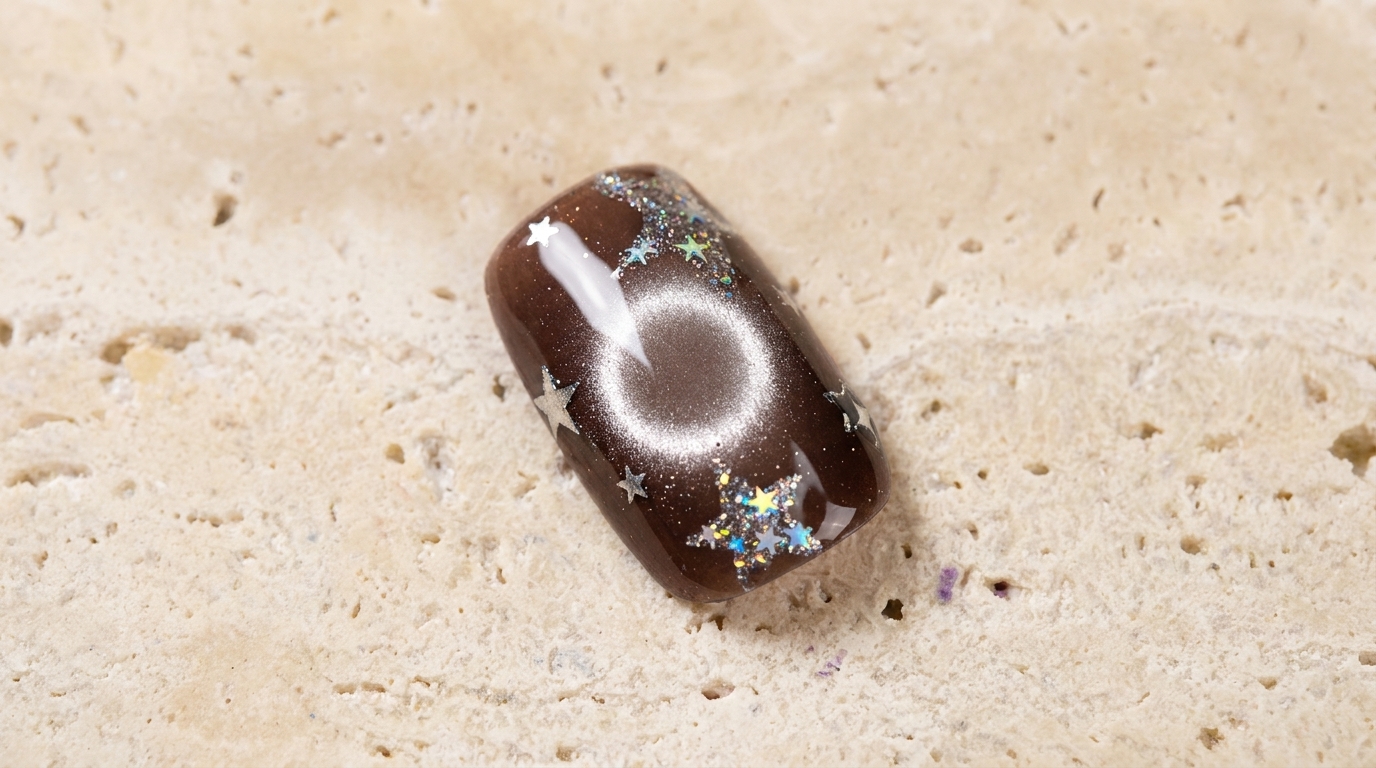
Tip: Apply an even layer to ensure the magnetic powder is distributed correctly for the best cat-eye effect. - 5Define the magnetic cat-eye effect
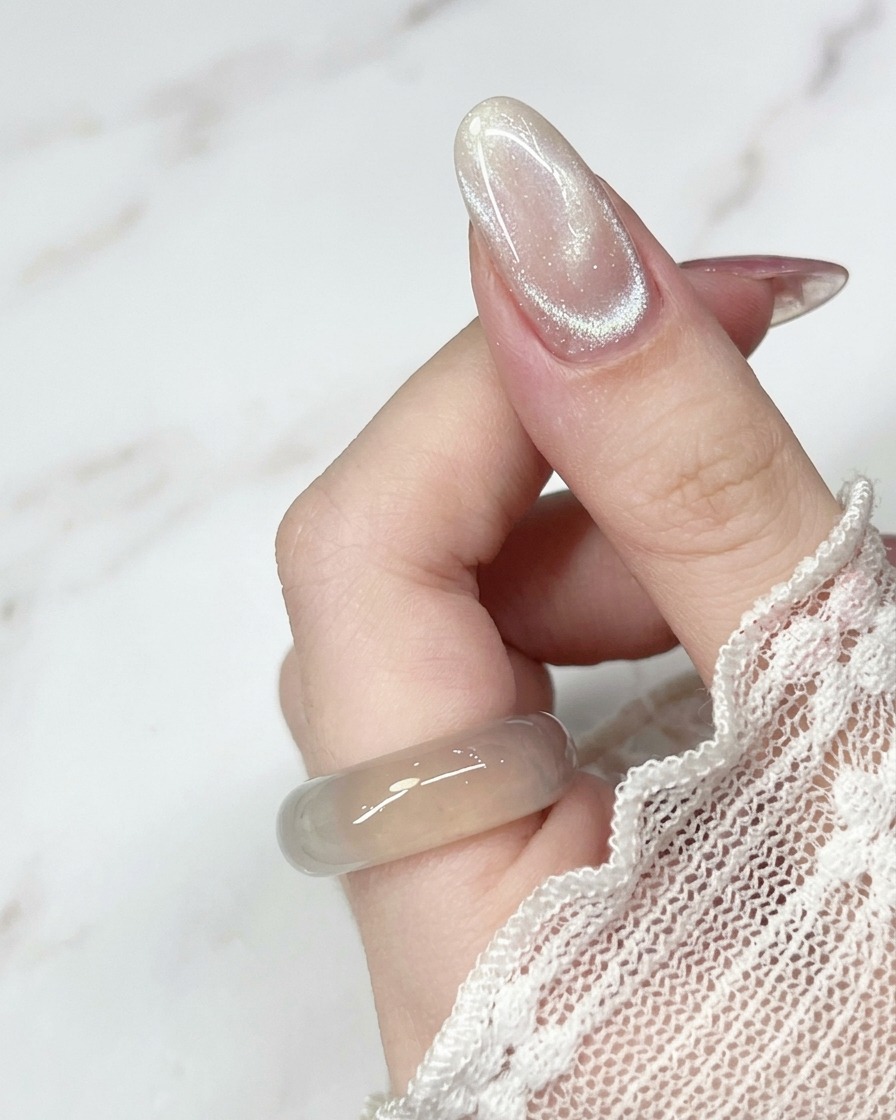
While the gel is still wet, hover your magnetic tool over the nail. Move it steadily in your desired direction to pull the magnetic particles into a sharp, shimmering line or pattern before immediate curing.
Tip: Hold the magnet steady to get a crisp, defined line in the magnetic polish. - 6Check cured nail surface

After curing the gel polish under the lamp, inspect the nail surface. It should be completely smooth and non-sticky, providing a perfect base for the next step.
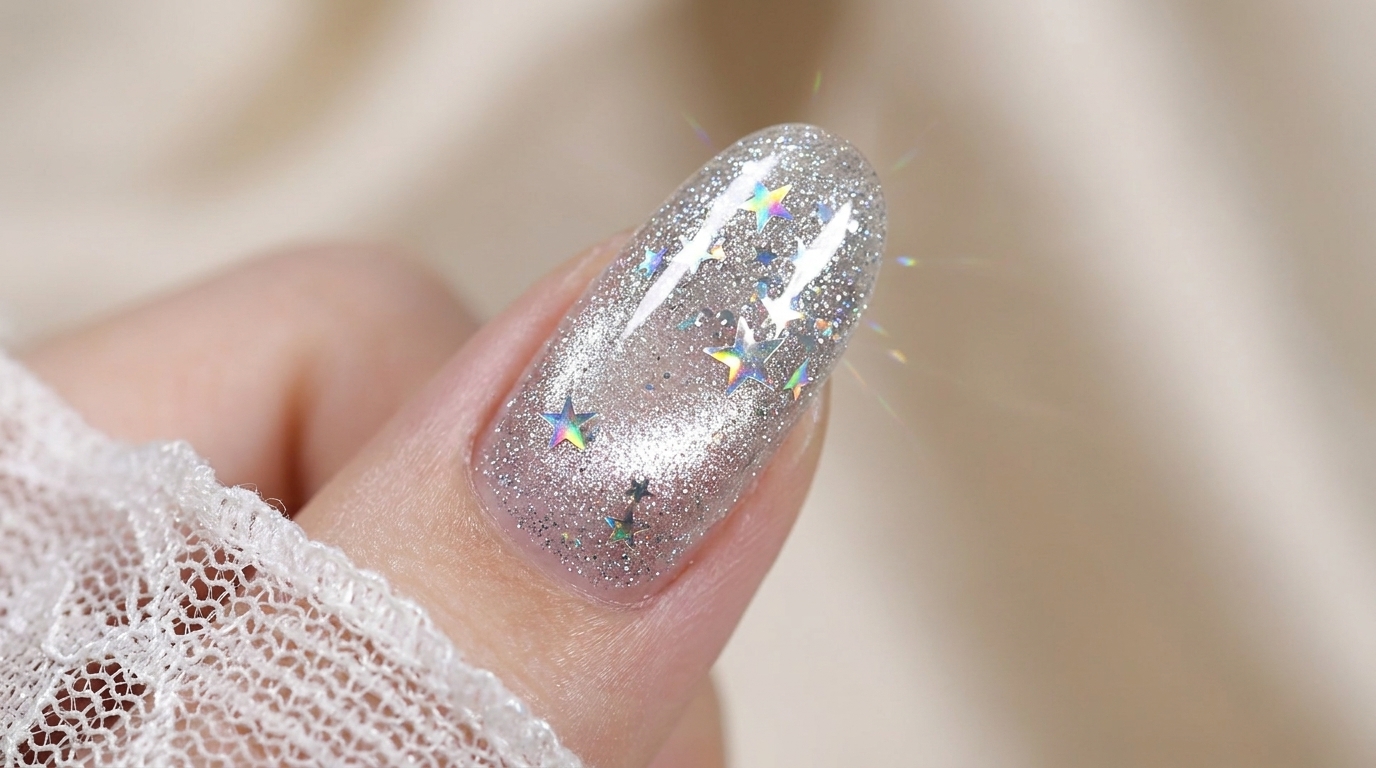
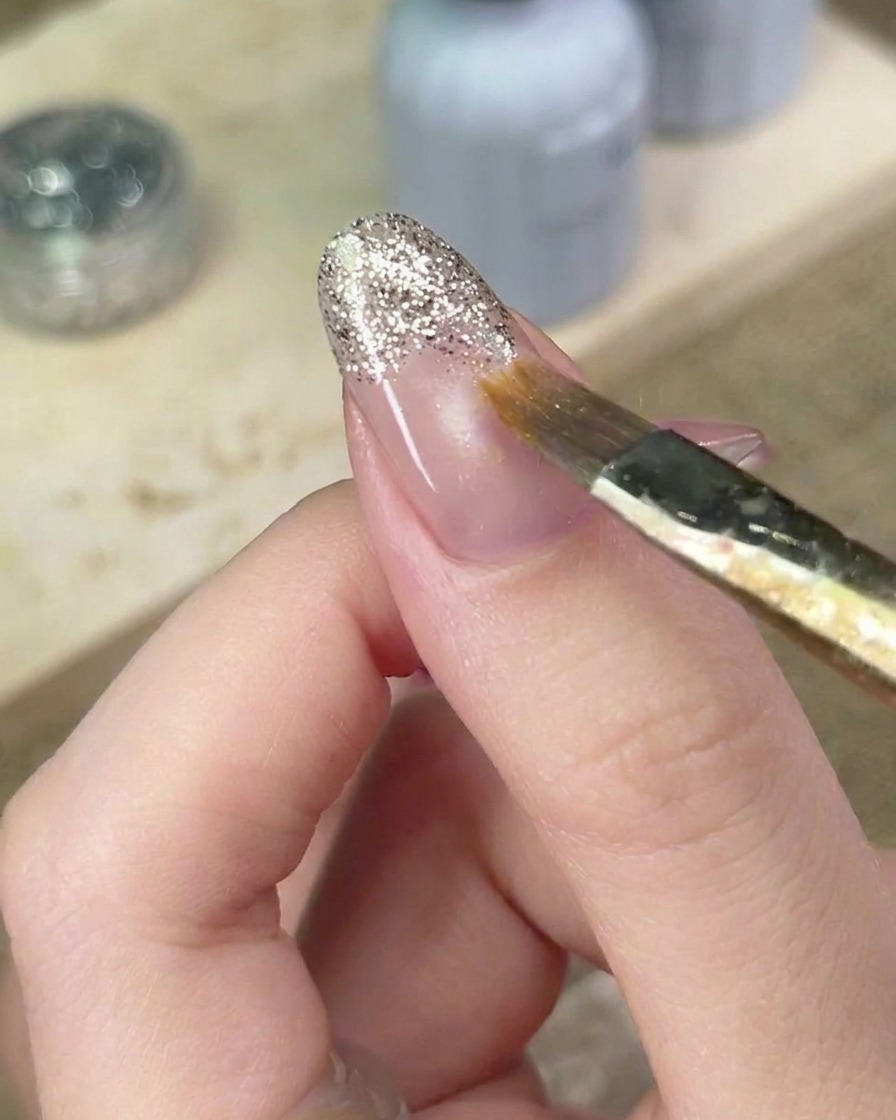
Tip: Ensure the nail is fully cured according to the gels instructions before moving on to adding glitter or decorations. - 7Apply silver glitter gradient
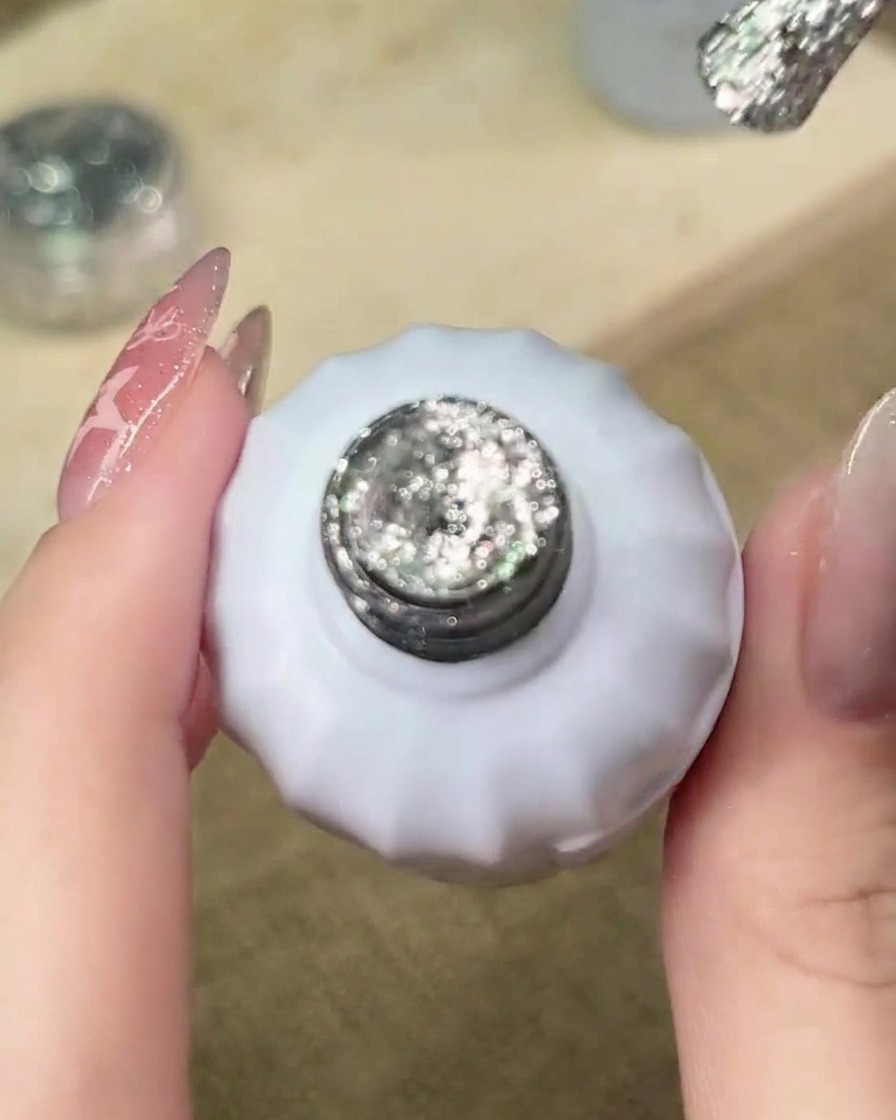
Using a brush, apply the silver glitter gel to the tip of the nail. Use a light, feathering motion to drag the glitter slightly toward the center, focusing the highest density of sparkles at the free edge.
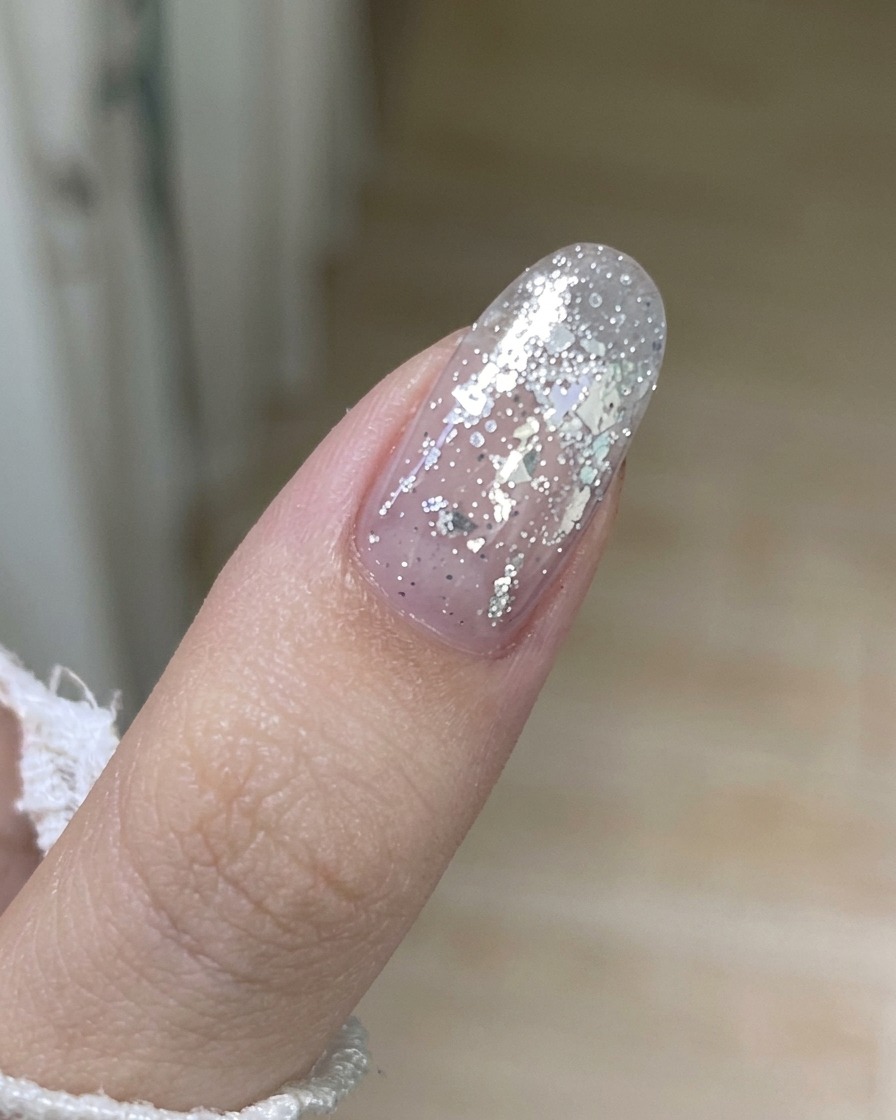
Tip: Keep the layer of glitter gel relatively thin to ensure the base color remains visible underneath, enhancing the dimension of the look. - 8Blend the glitter gradient
Using a clean nail art brush, gently blend the edges of the silver glitter gel towards the middle of the nail. This softening motion ensures the transition from the glitter-heavy tip to the clear base is seamless and professional.
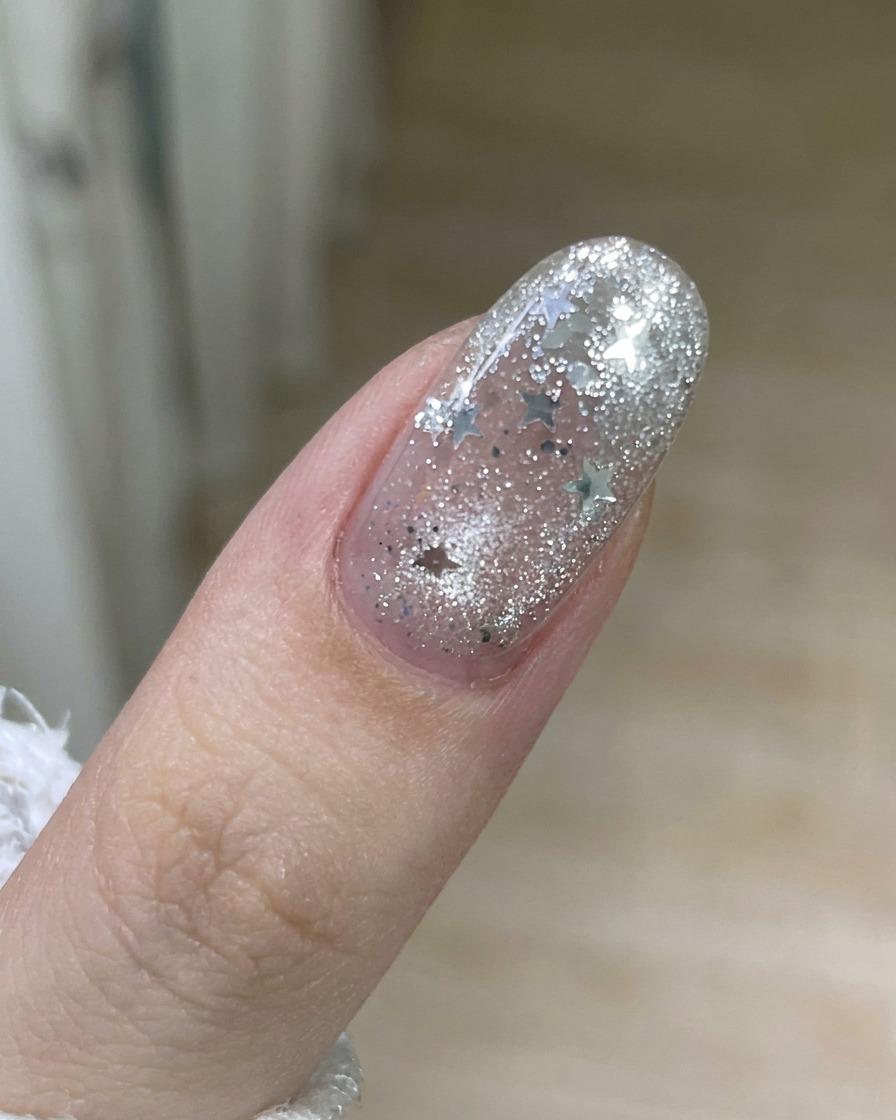
Tip: Wipe your brush frequently during the blending process to avoid pulling too much glitter and making the gradient uneven. - 9Embed star sequin accents
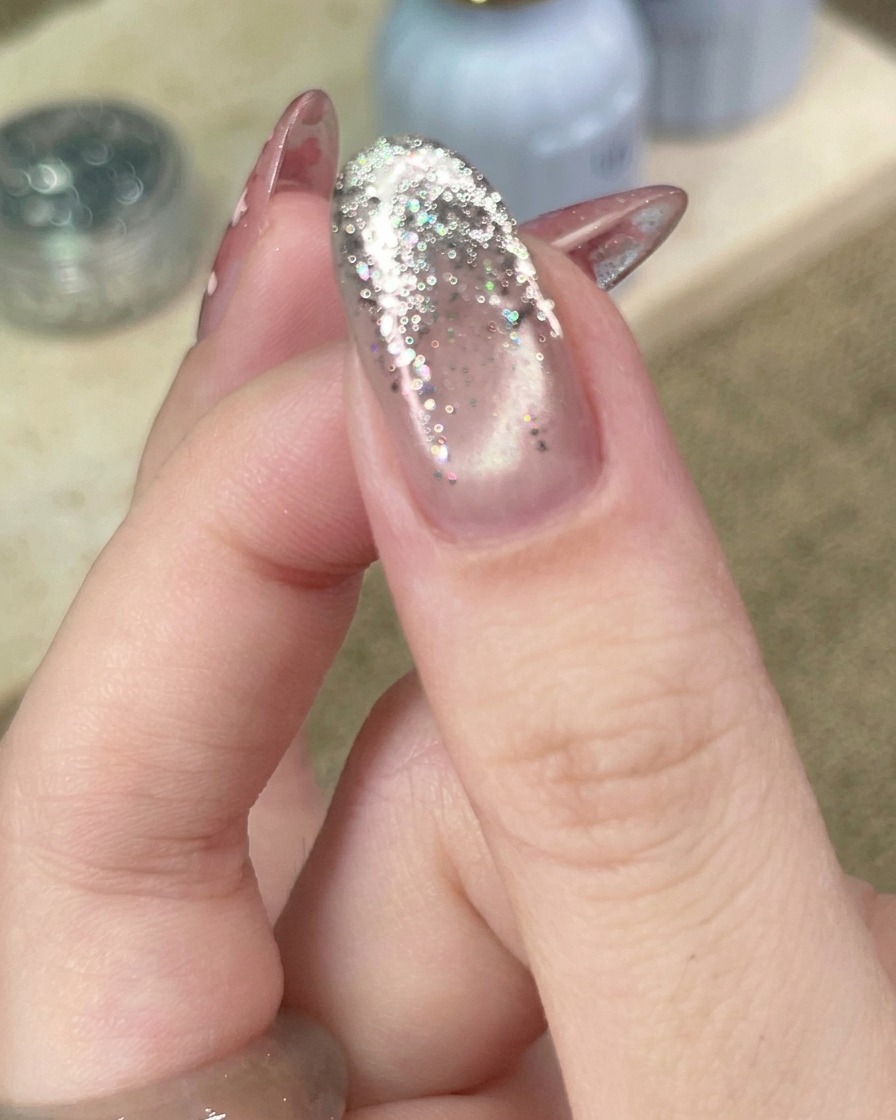
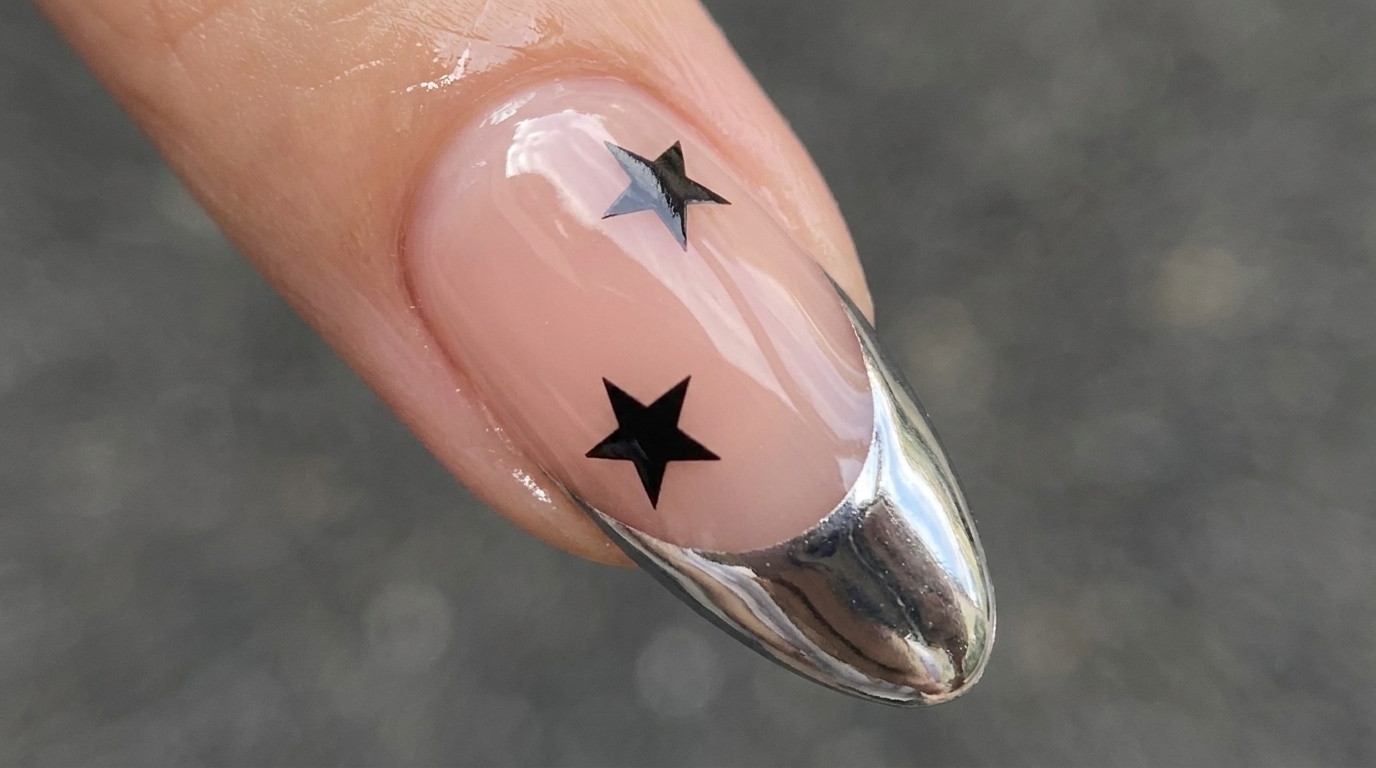
Using tweezers or a wax pencil, carefully place small silver star sequins onto the nail while the base or a thin layer of top coat is still tacky. Arrange them over the glitter gradient to achieve a balanced, sparkling celestial look before curing.
Tip: Apply a final layer of top coat over the stars to encapsulate them, ensuring they stay flat and smooth against the nail.