Metallic Mirror Gel Liner Art Designs — Step-by-Step Tutorial
Elevate your nail art with stunning metallic mirror gel designs. Learn to create precise chrome flames, stars, hearts, and butterflies with this easy guide.
Metallic mirror gel liner is a game-changer for those looking to add high-shine, chrome-like details to their manicures. This versatile medium allows for incredible precision, making it perfect for both minimalist accents and bold, graphic nail art. By mastering a few simple shapes, you can create professional-grade reflective designs right at home.
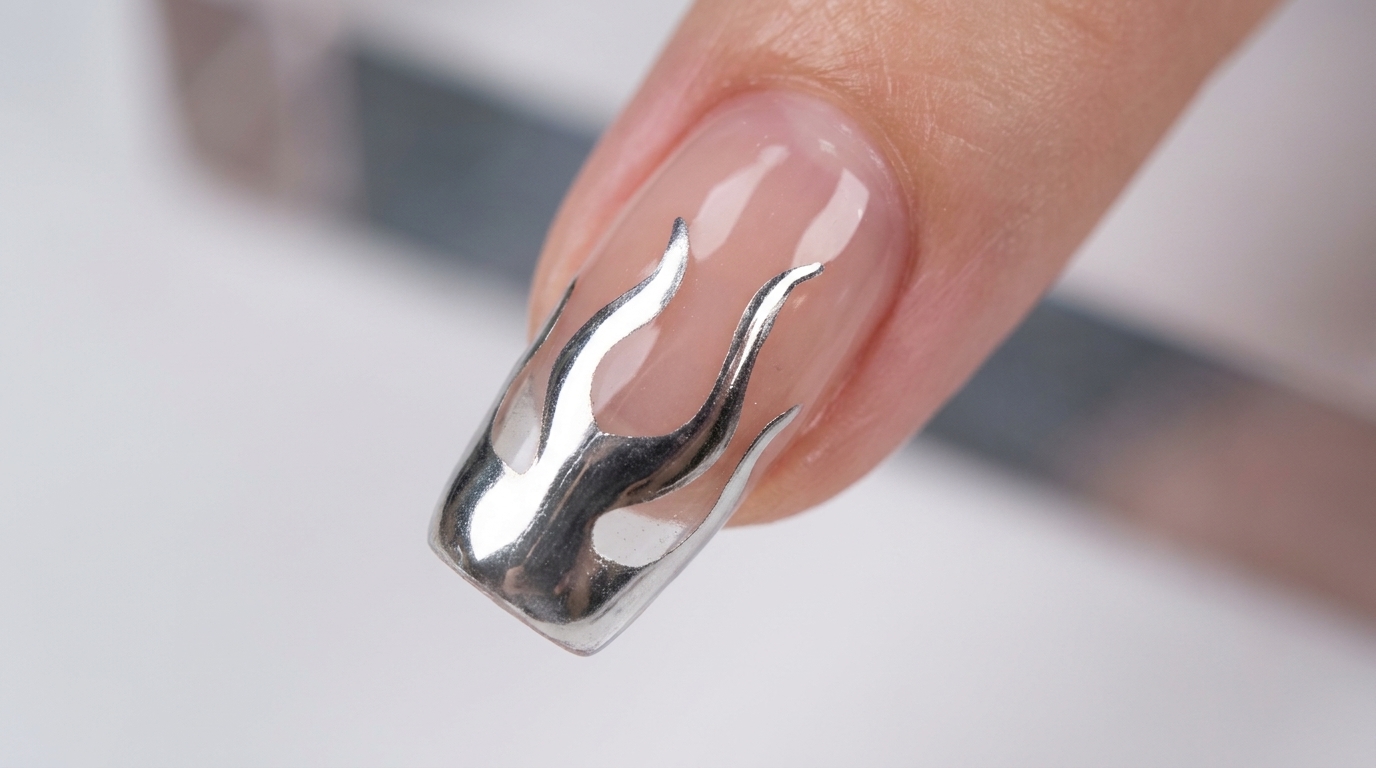
Steps
- 1Outline the heart
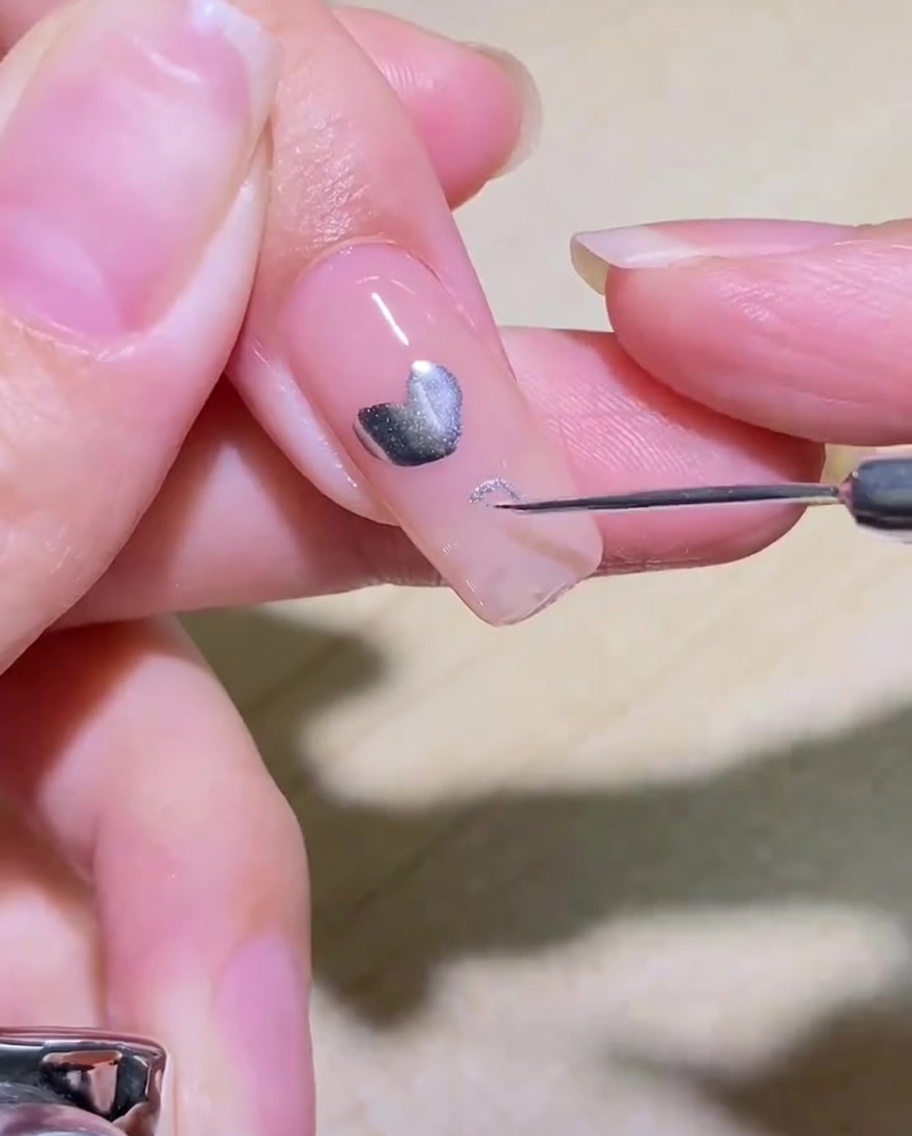
Using a fine liner brush and silver mirror gel, carefully draw the outline of a heart shape on the nail surface. Keep your strokes steady to ensure the shape is symmetrical.
Tip: If the gel is too thick, use a tiny amount of product to make the outline more precise. - 2Fill the heart
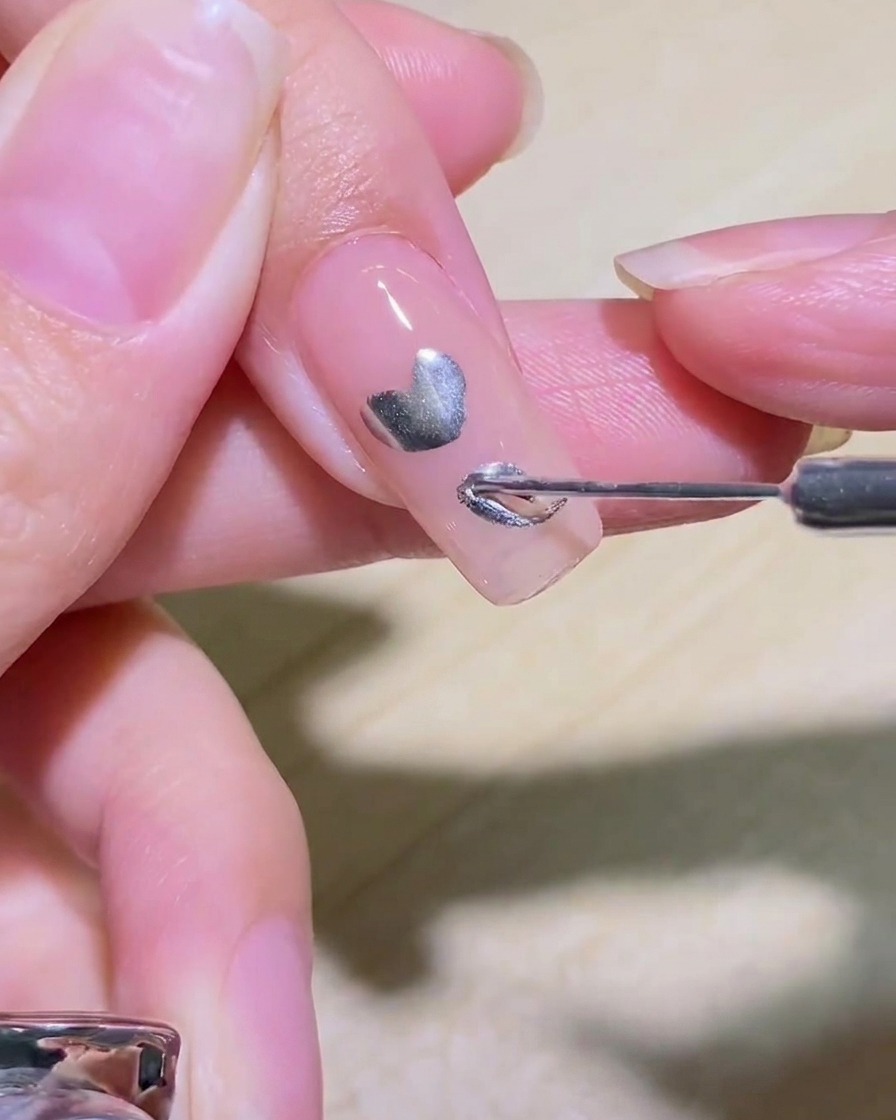
Once the outline is complete, use the liner brush to fill in the center of the heart with more silver mirror gel. Ensure even coverage for a smooth, reflective look.
Tip: Avoid over-filling to keep the edges of the heart sharp. - 3Start the four-pointed star
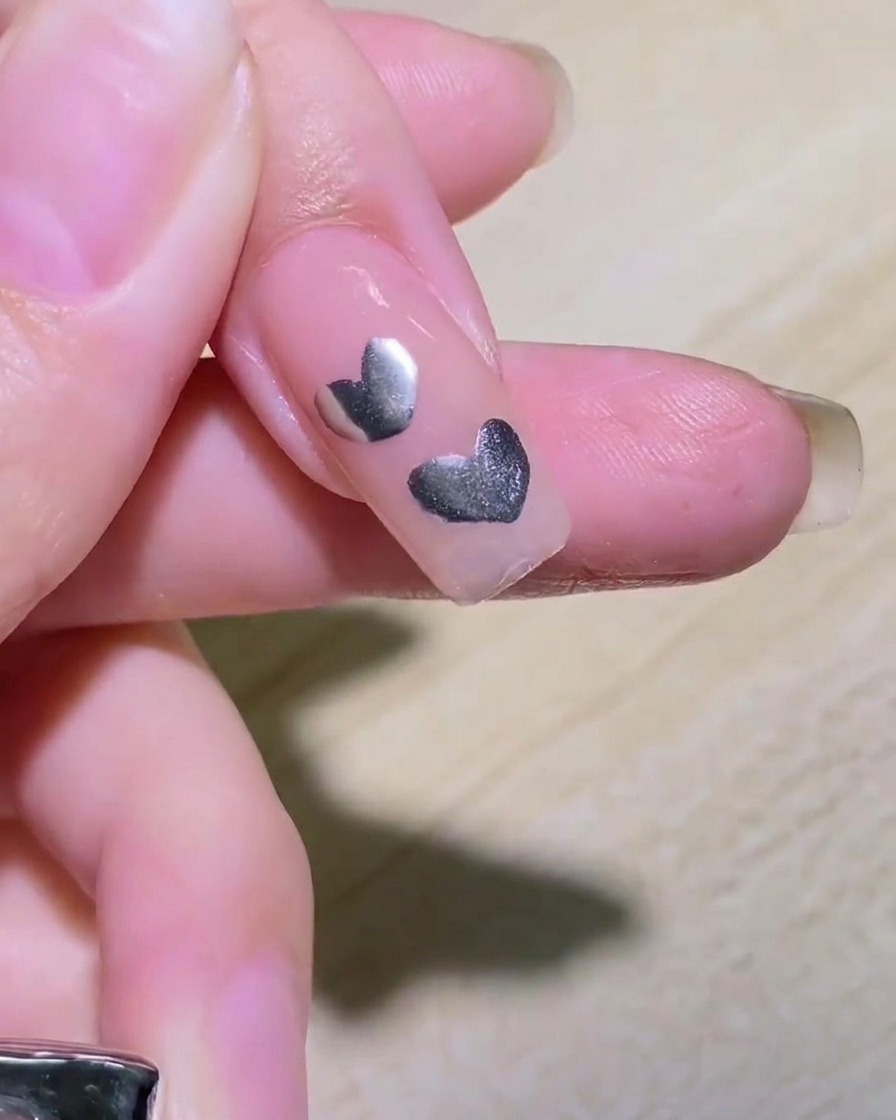
Using the liner brush, draw two long, intersecting lines on the nail to form the base of a four-pointed star. These lines should cross at the center to create the desired shape.
Tip: Keep your lines thin at the ends and slightly thicker at the center for a more dynamic look. - 4Accent the star
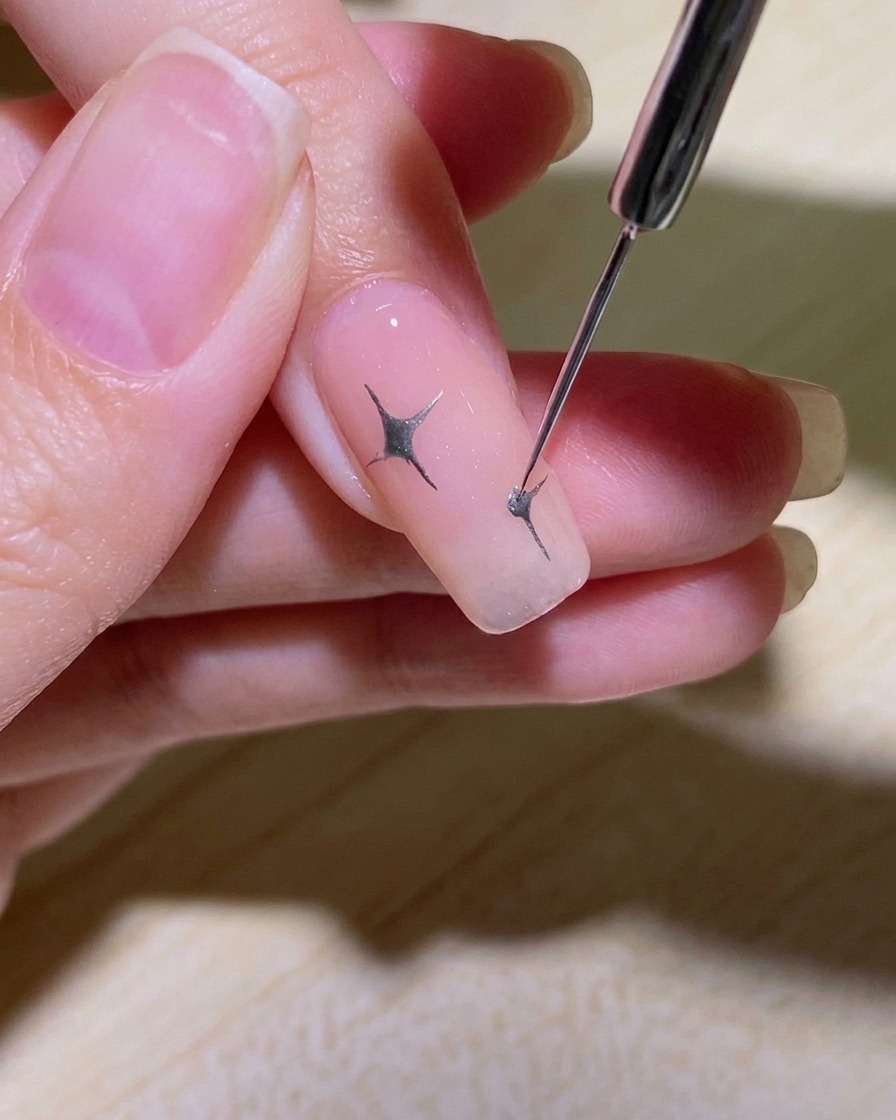
To complete the star art, add a small dot at the center of the intersecting lines and use the tip of your liner brush to add tiny accent lines radiating from the points.
Tip: Use a light touch to ensure these fine details remain clean and crisp. - 5Outline the butterfly wing
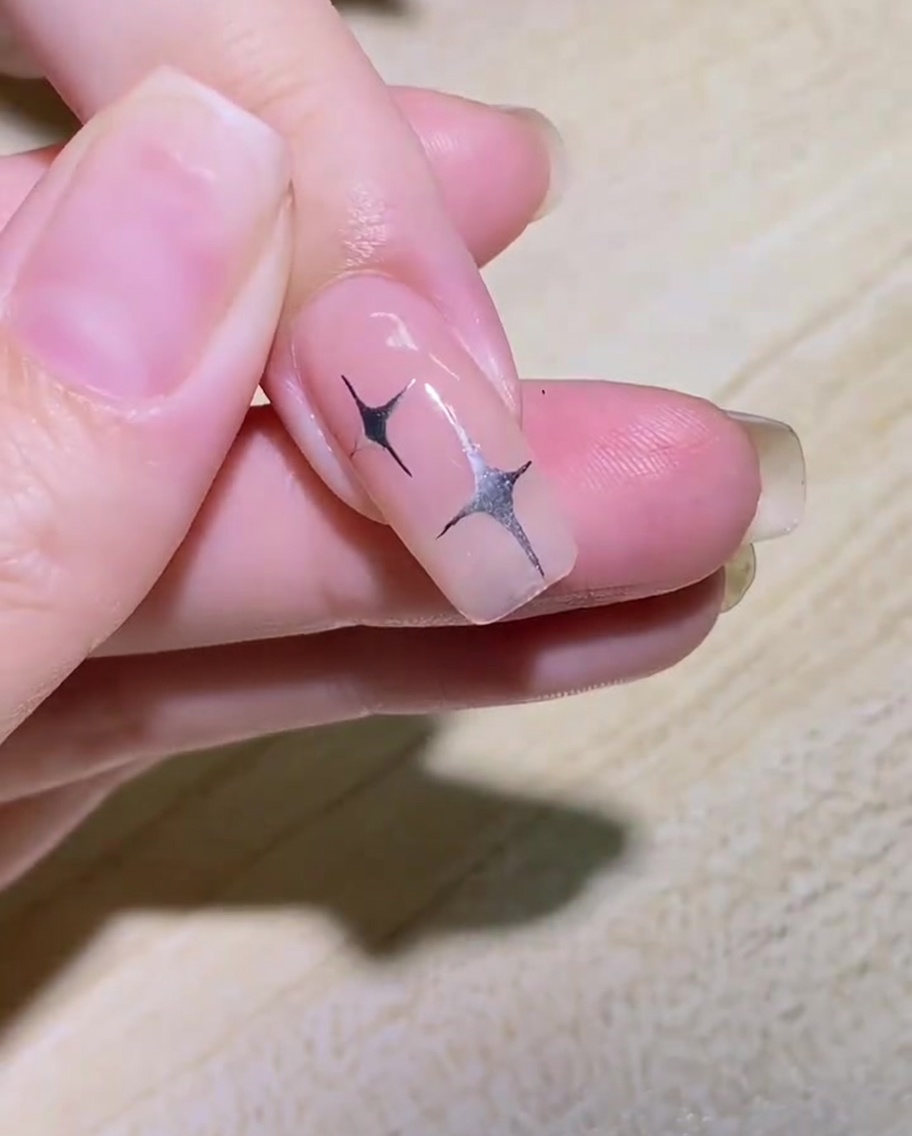
Position your liner brush on the side of the nail and draw the graceful, curved outline of a butterfly wing. Focus on getting a smooth, continuous line.
Tip: Rest your hand on a steady surface to maintain control while drawing curves. - 6Detail the butterfly wing
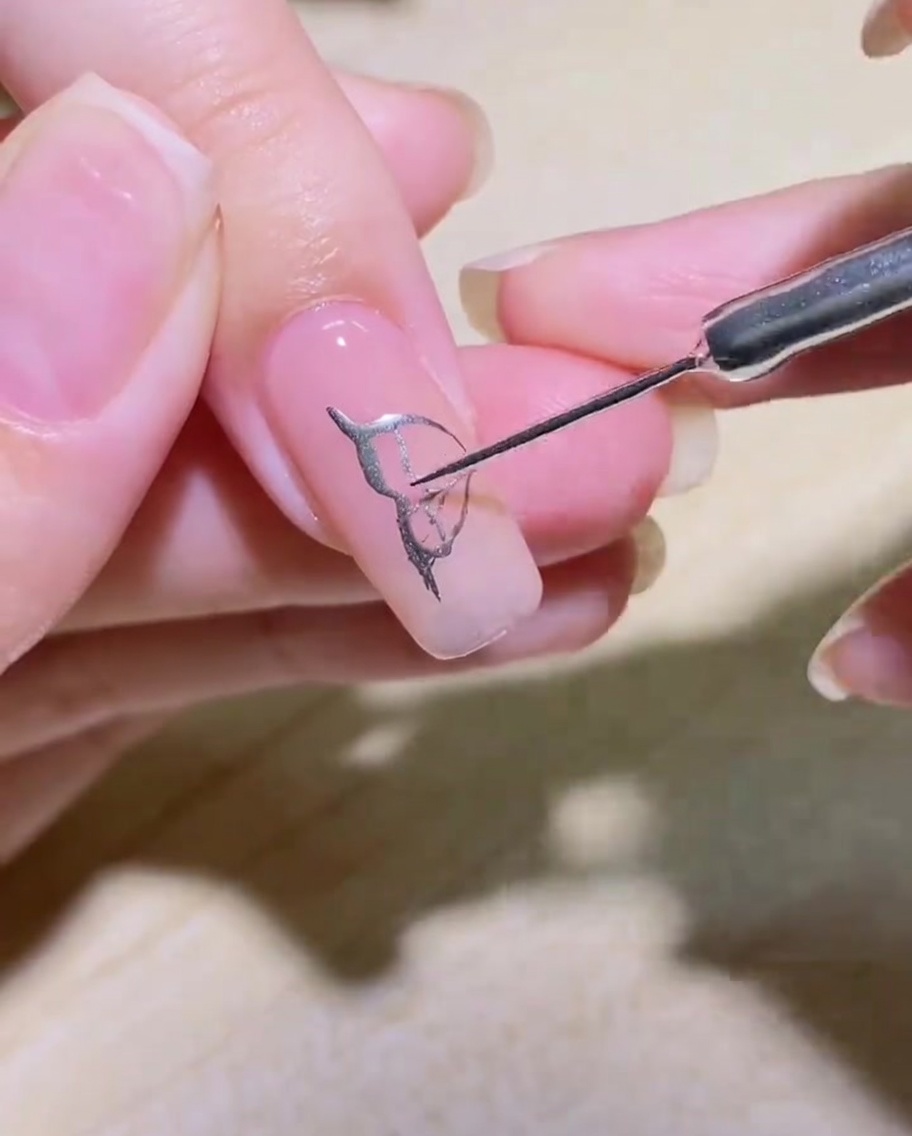
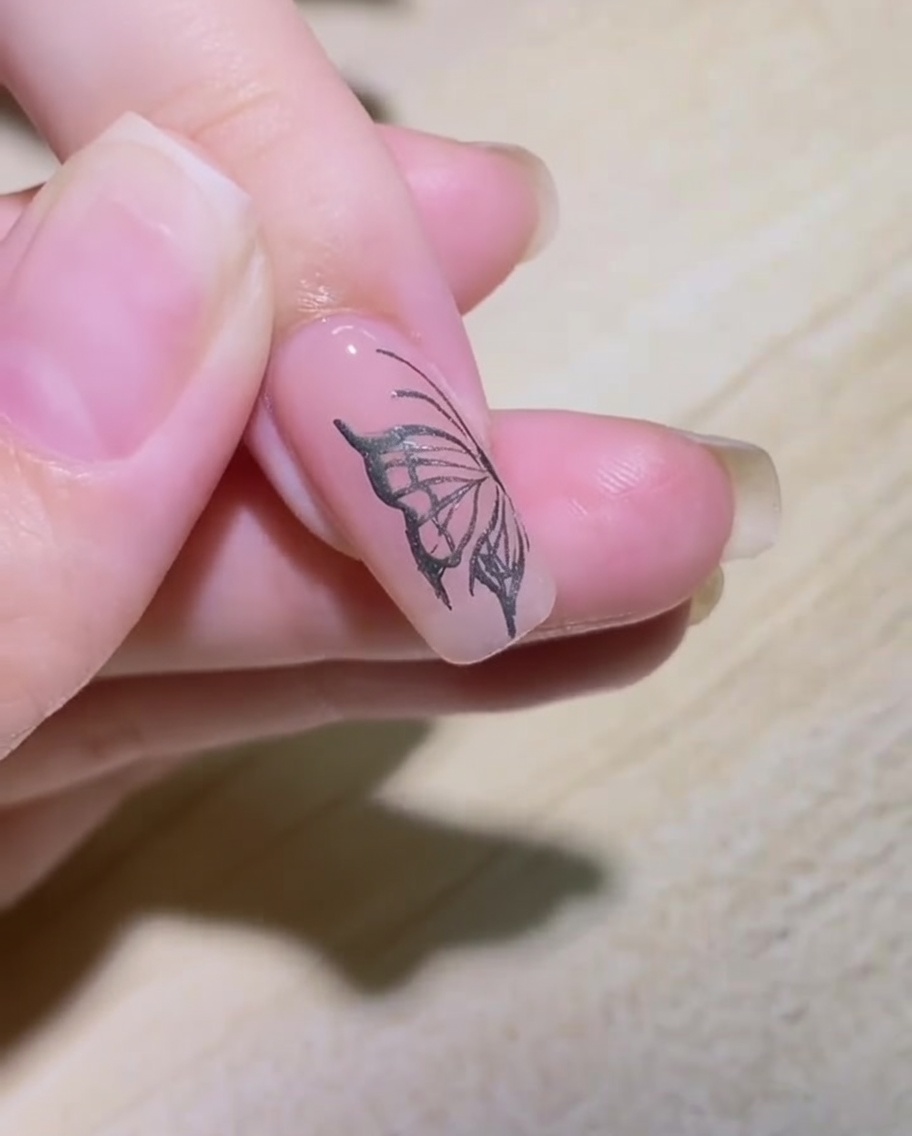
Use the liner brush to fill in the wing with silver mirror gel, adding small decorative strokes to mimic the intricate patterns found on butterfly wings.
Tip: Work in small sections to keep the details neat and well-defined. - 7Outline flame design
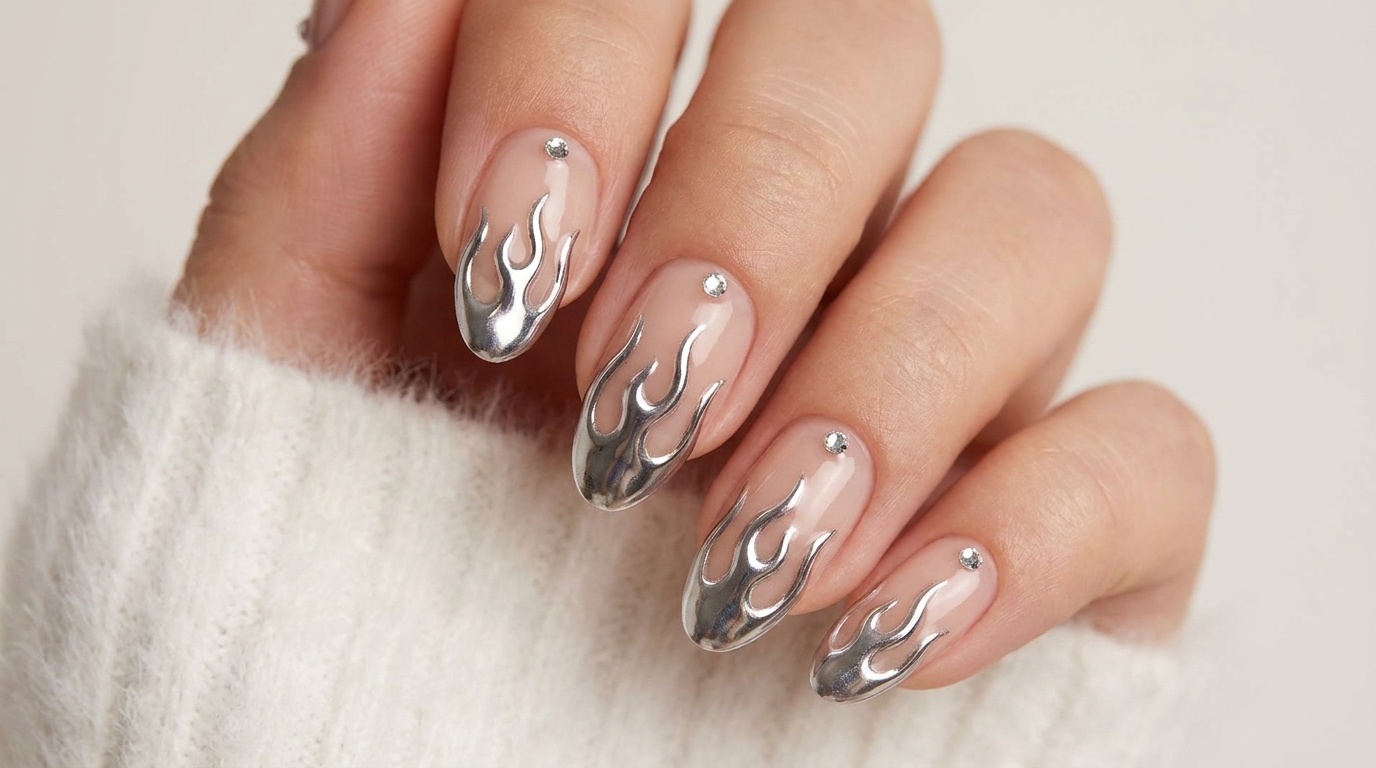
Using a thin liner brush, carefully outline the base shape of the flames on the nail using the mirror metallic liner gel. Ensure the lines are clean and precise to create the foundation for the flame effect.
Tip: Keep your hand steady and use a light touch to get thin, sharp lines for the flames. - 8Fill in the flames
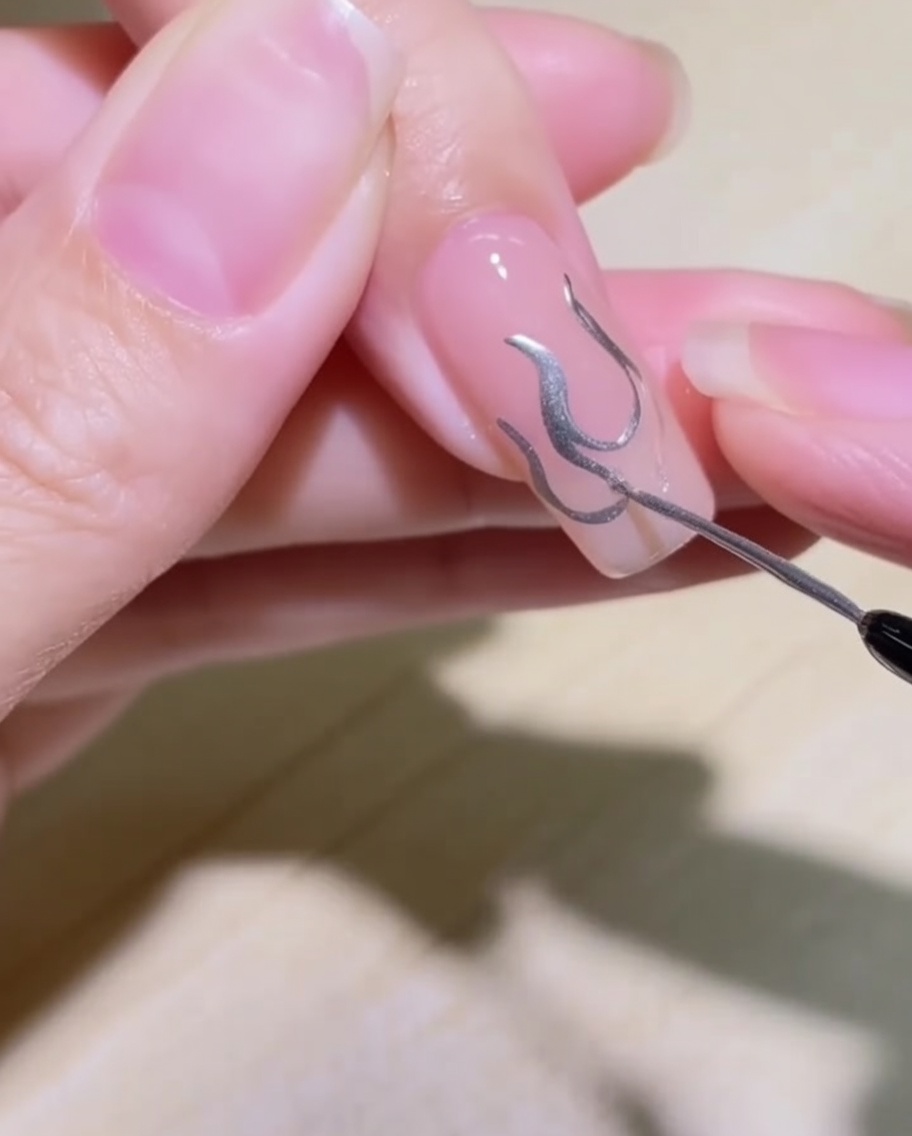
Once the outline is complete, fill in the center of the flame shapes with the same metallic mirror gel. Ensure even and solid coverage for a smooth, reflective finish.
Tip: Apply the gel in thin, even strokes to avoid bulk and ensure it cures properly. - 9Check flame design
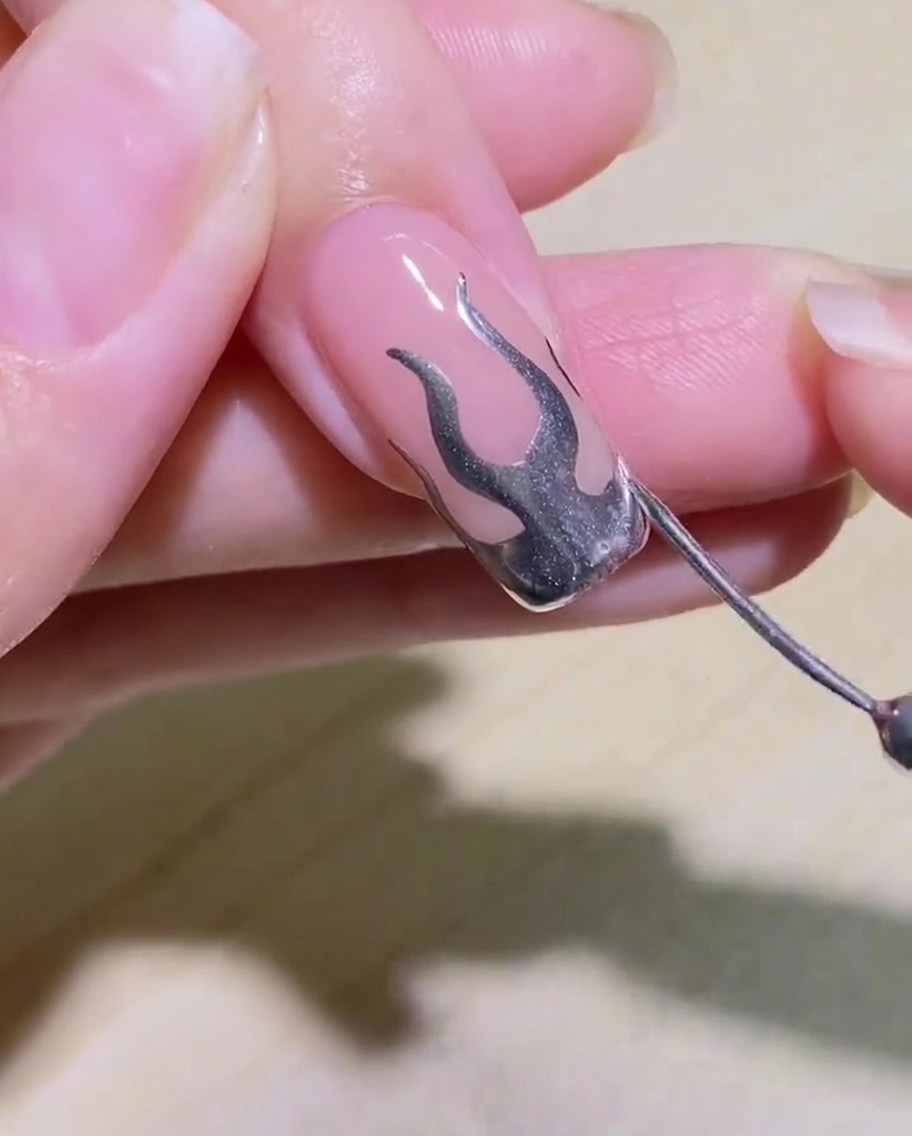
Review the nail to ensure the flame design is perfectly shaped and filled before moving on to the curing stage. The design is now ready to be cured under the lamp for a mirror-like finish.
Tip: Check for any gaps or uneven edges before curing, as this is the final look before setting. - 10Product showcase
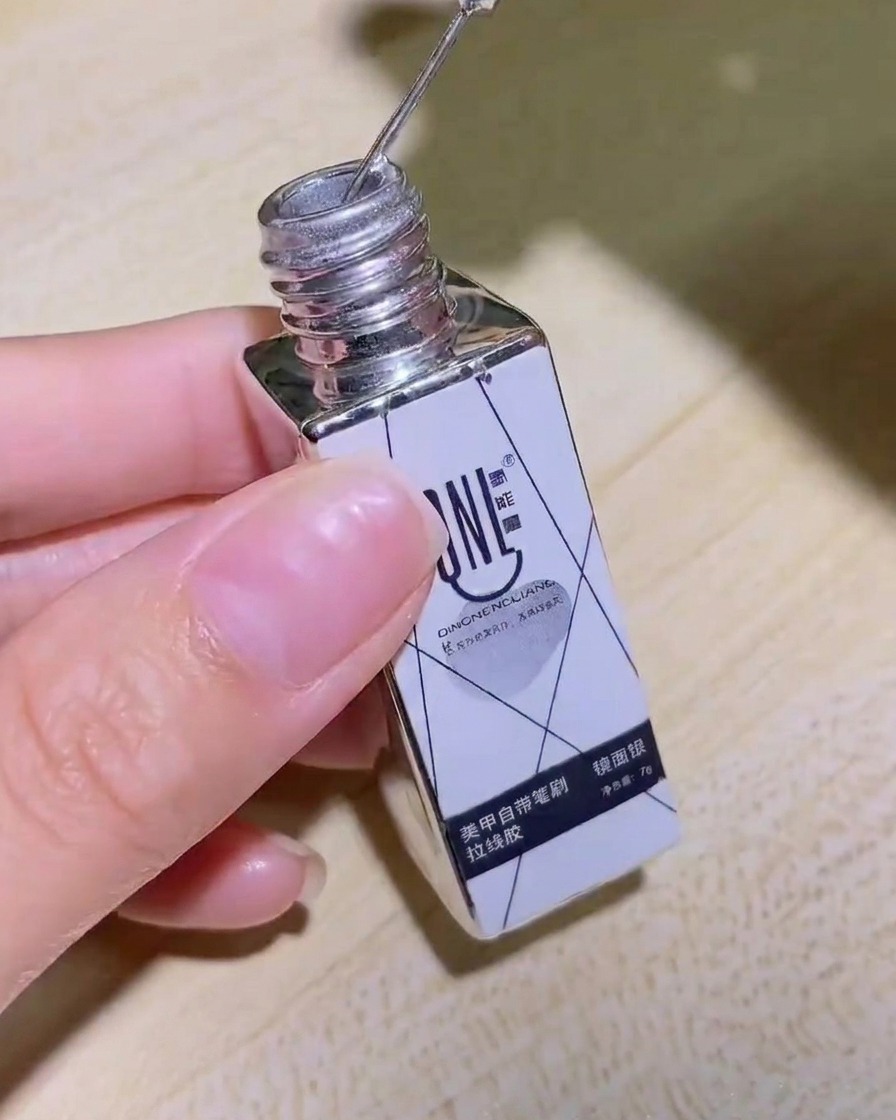
This is the mirror silver liner gel used to create the intricate designs on the nail. The bottle comes with a built-in liner brush which makes it easy to paint precise patterns.
Tip: Ensure the cap is tightened properly after use to keep the liner gel from drying out.