Silver Glitter French Tip Nail Extension — Step-by-Step Tutorial
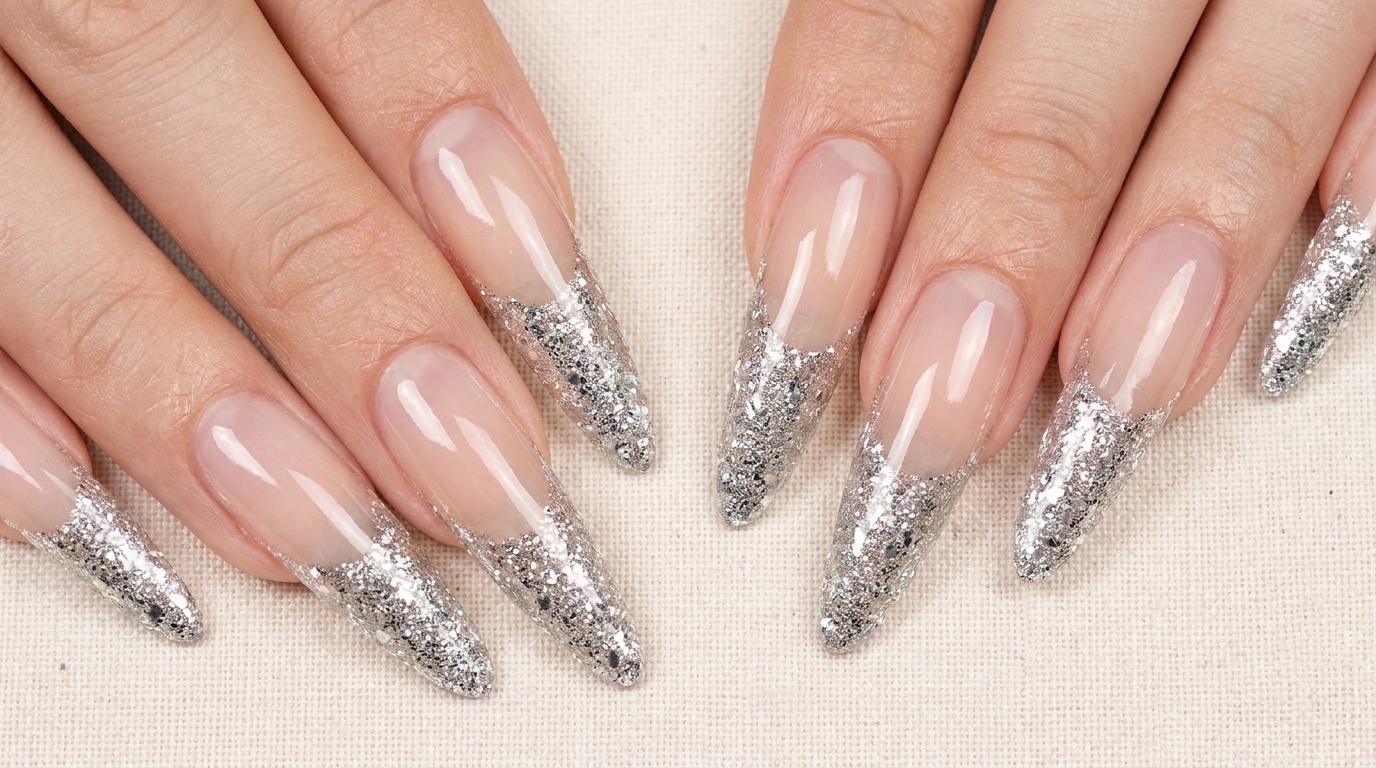
Elevate your look with stunning silver glitter French tip nail extensions. Learn how to achieve this glamorous, high-shine design with our professional guide.
Silver glitter French tips add a sophisticated and modern twist to the classic French manicure. This design is perfect for those who love a bit of sparkle while maintaining a clean and elegant aesthetic. Whether you are prepping for a special event or just love a bold statement, this technique ensures a durable and polished finish.
Steps
- 1Trim nail extension tips
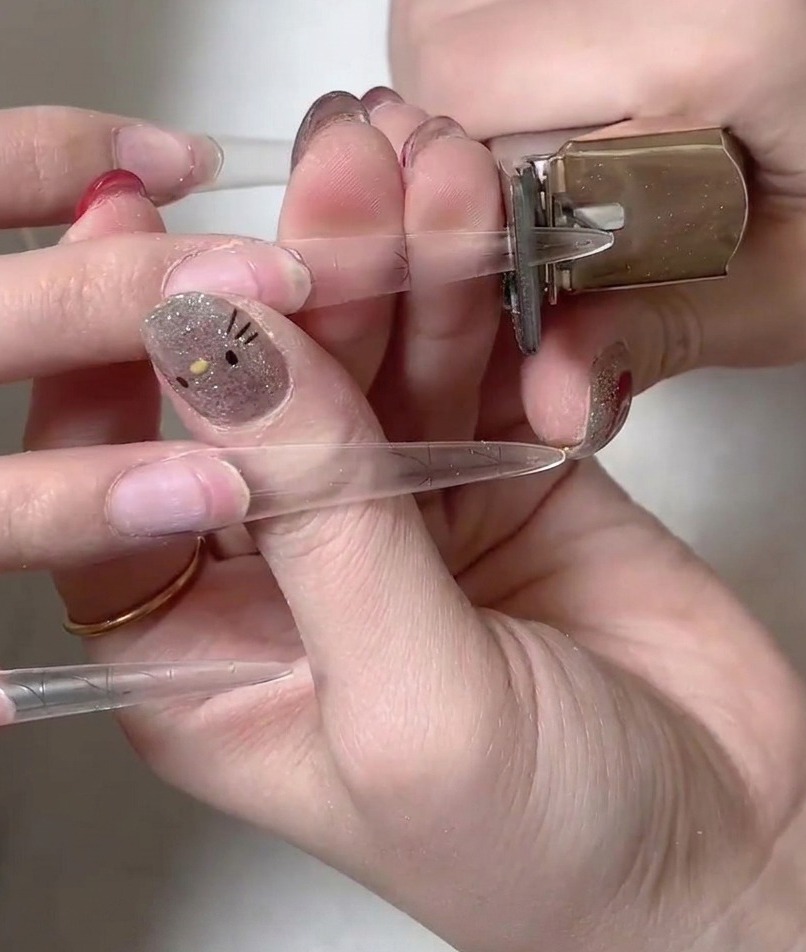
Using a specialized nail clipper, trim the plastic extension tip to your desired length. Ensure the cut is clean and straight to create a balanced foundation for the gel application. This step helps define the final silhouette of the nail.
Tip: Check the symmetry across all fingers before finalizing the length of each nail. - 2Apply gel base coat
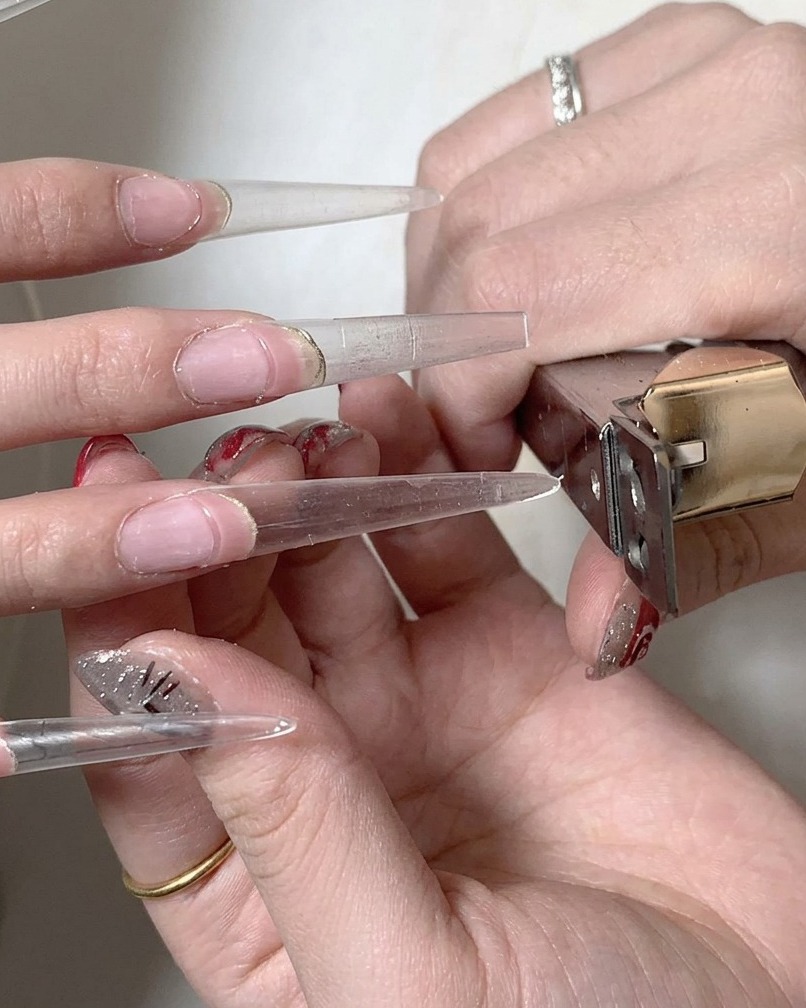
Apply a thin layer of clear gel base coat to the surface of the natural nail and the plastic extension. This creates the necessary adhesion layer for the gel to bond securely to both surfaces.
Tip: Avoid getting gel on the skin around the nail to ensure a clean, long-lasting manicure. - 3Cure base gel
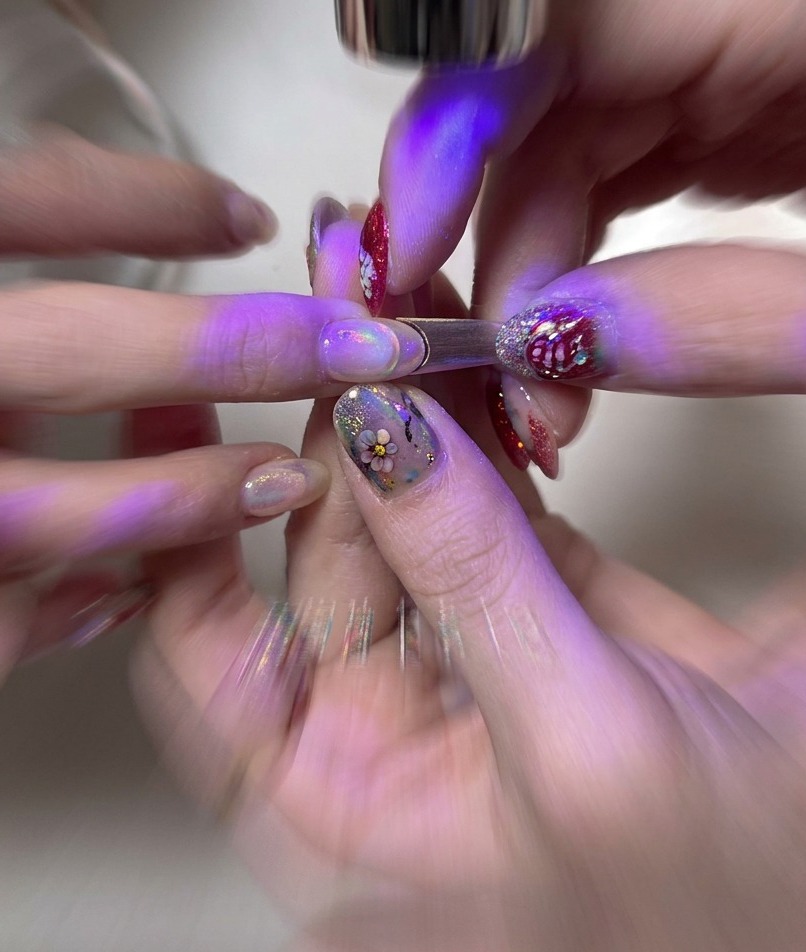
Place the finger under a mini portable UV/LED lamp to cure the base gel layer. Follow the lamps instructions to ensure the gel is fully set and ready for subsequent layers.
Tip: Ensure the nail is positioned directly under the light source for an even cure. - 4Secondary cure
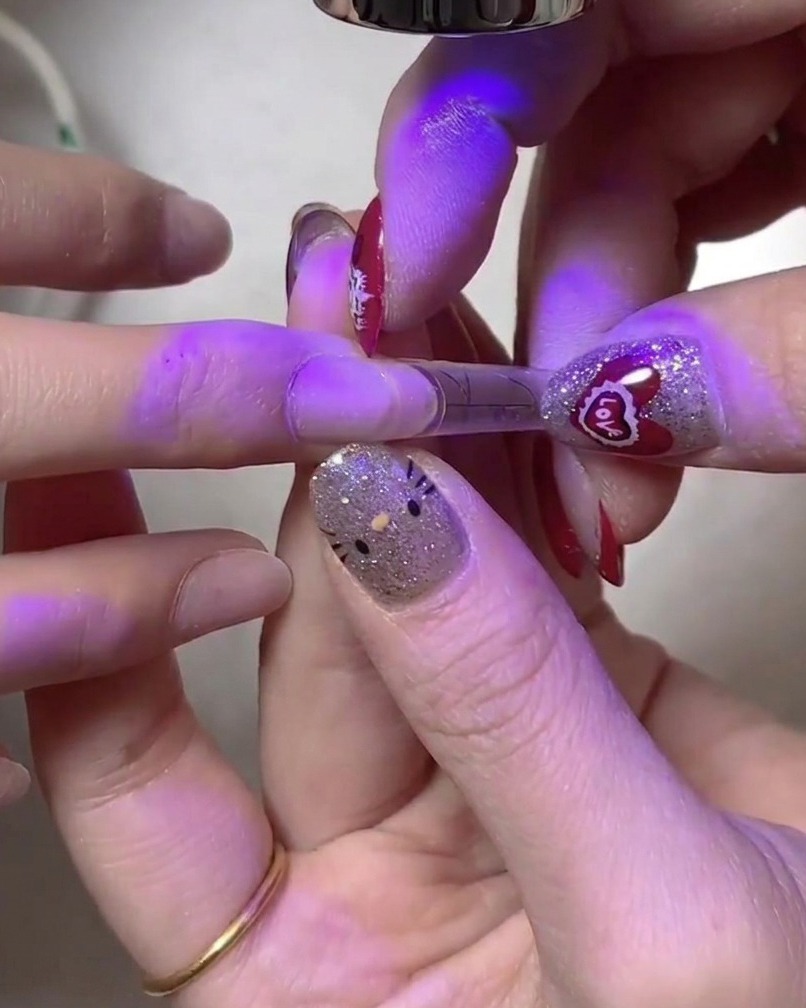
Hold the nail under a second UV/LED lamp to perform a secondary cure. This ensures that the gel is thoroughly set, increasing the durability and strength of the nail extension.
Tip: Secondary curing prevents soft spots and ensures the gel is fully hardened. - 5Remove plastic extension form
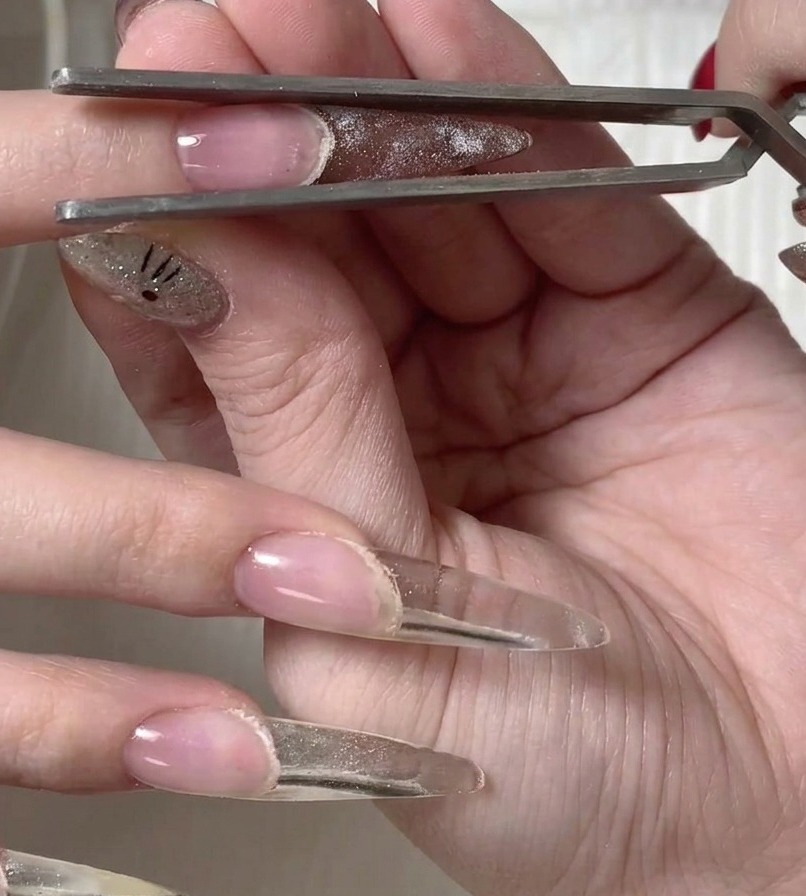
Use a pair of metal tweezers to gently grasp and remove the plastic extension form from the now-cured nail. Take care to peel it away steadily to avoid damaging the cured gel surface.
Tip: If the form is difficult to remove, ensure the gel is completely cured first. - 6Cure underside
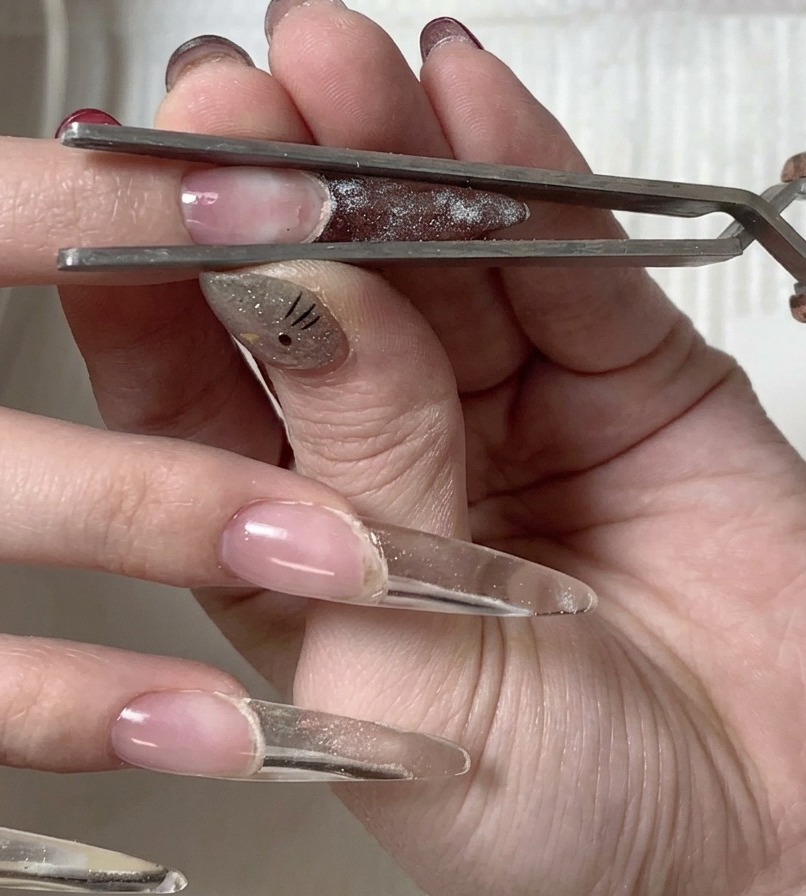
Place the finger back under the lamp to specifically cure the underside of the nail tip. This step is crucial for hardening the gel underneath the extension, ensuring structural integrity and preventing any lingering tackiness.
Tip: Focusing on the underside ensures the entire nail extension is rigid and properly set. - 7Remove sticky inhibition layer
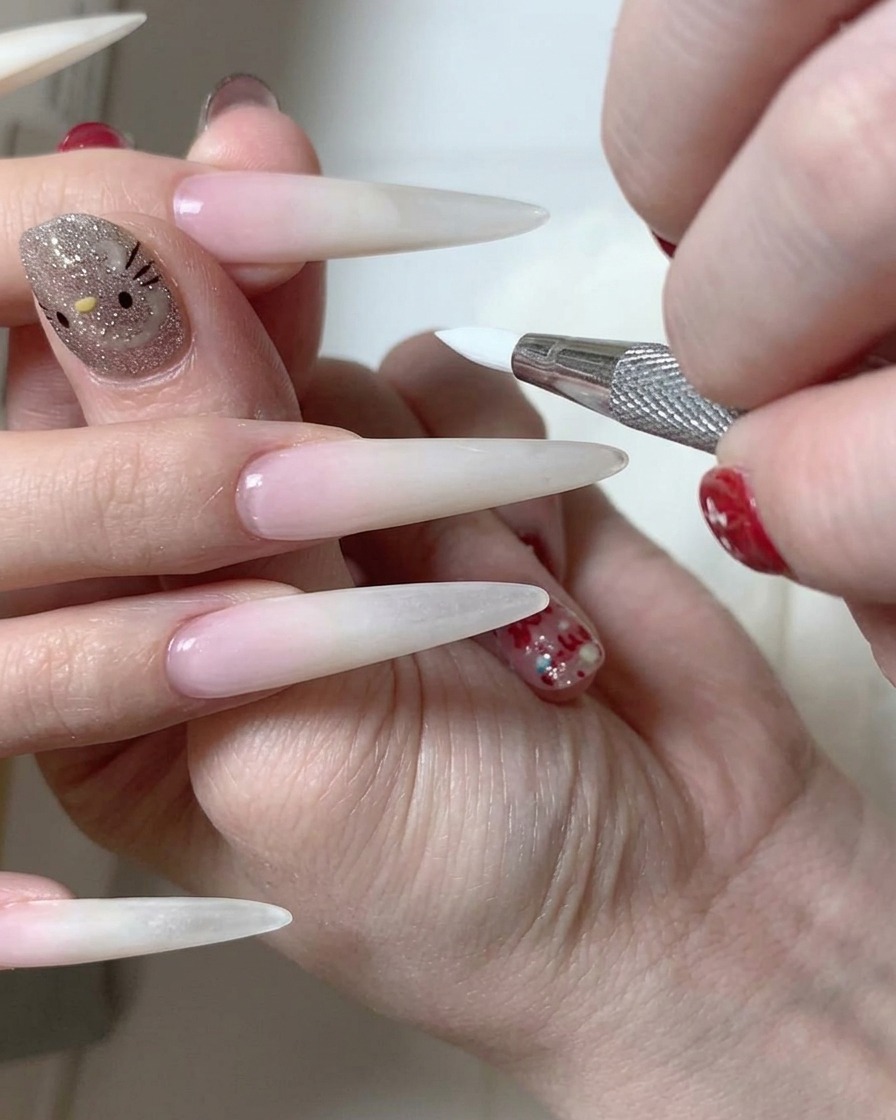
After curing your final top coat, use a lint-free wipe saturated with isopropyl alcohol or a specialized cleanser to gently remove the sticky inhibition layer from the nail surface. This ensures a clean, non-tacky finish.
Tip: Use a fresh section of the lint-free wipe for each nail to avoid spreading uncured residue. - 8Apply silver glitter french tip
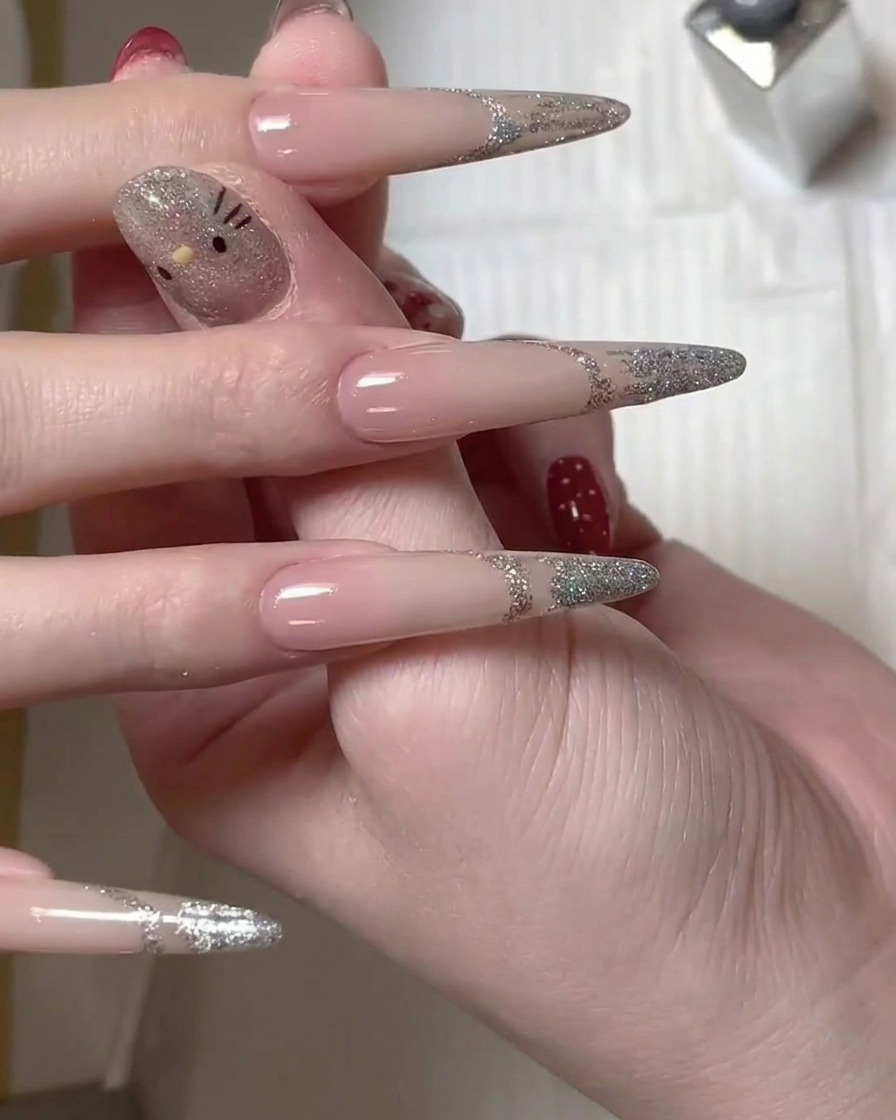
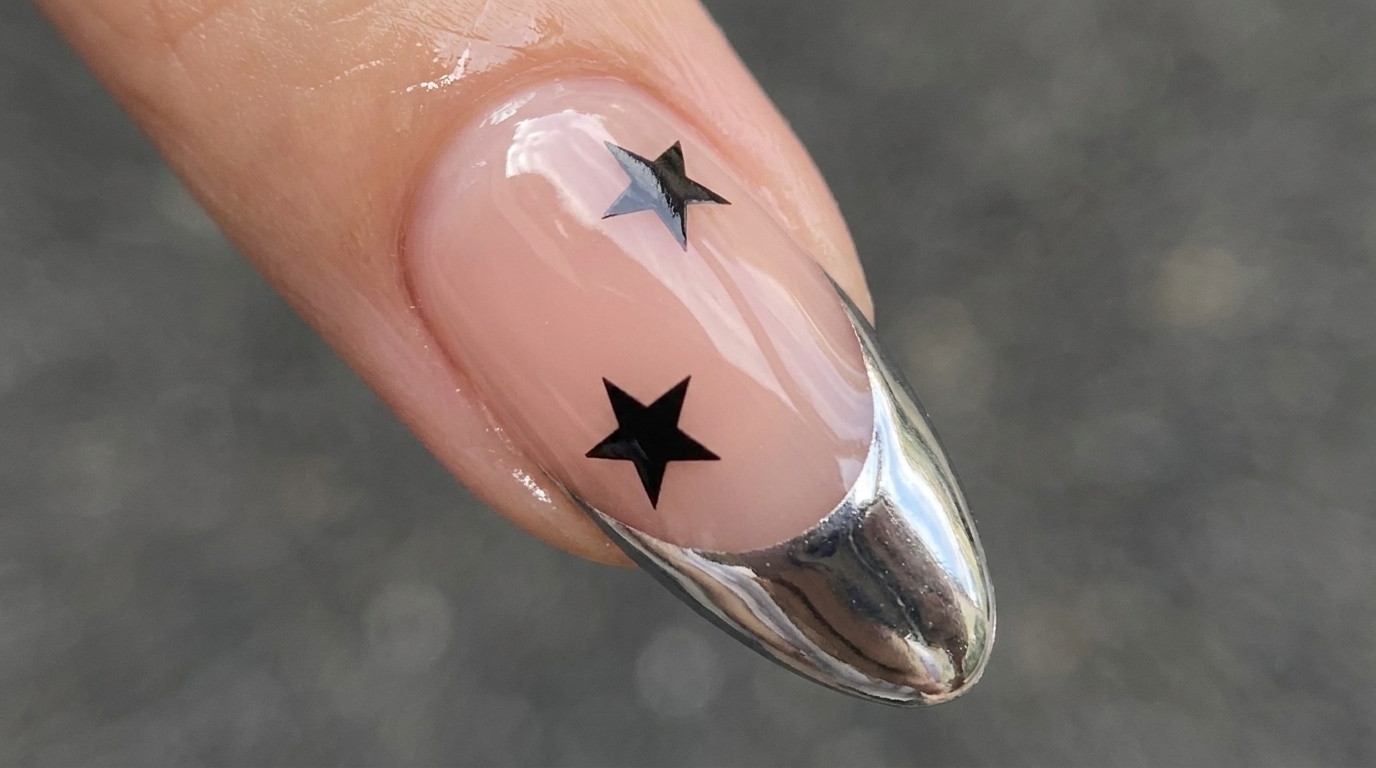
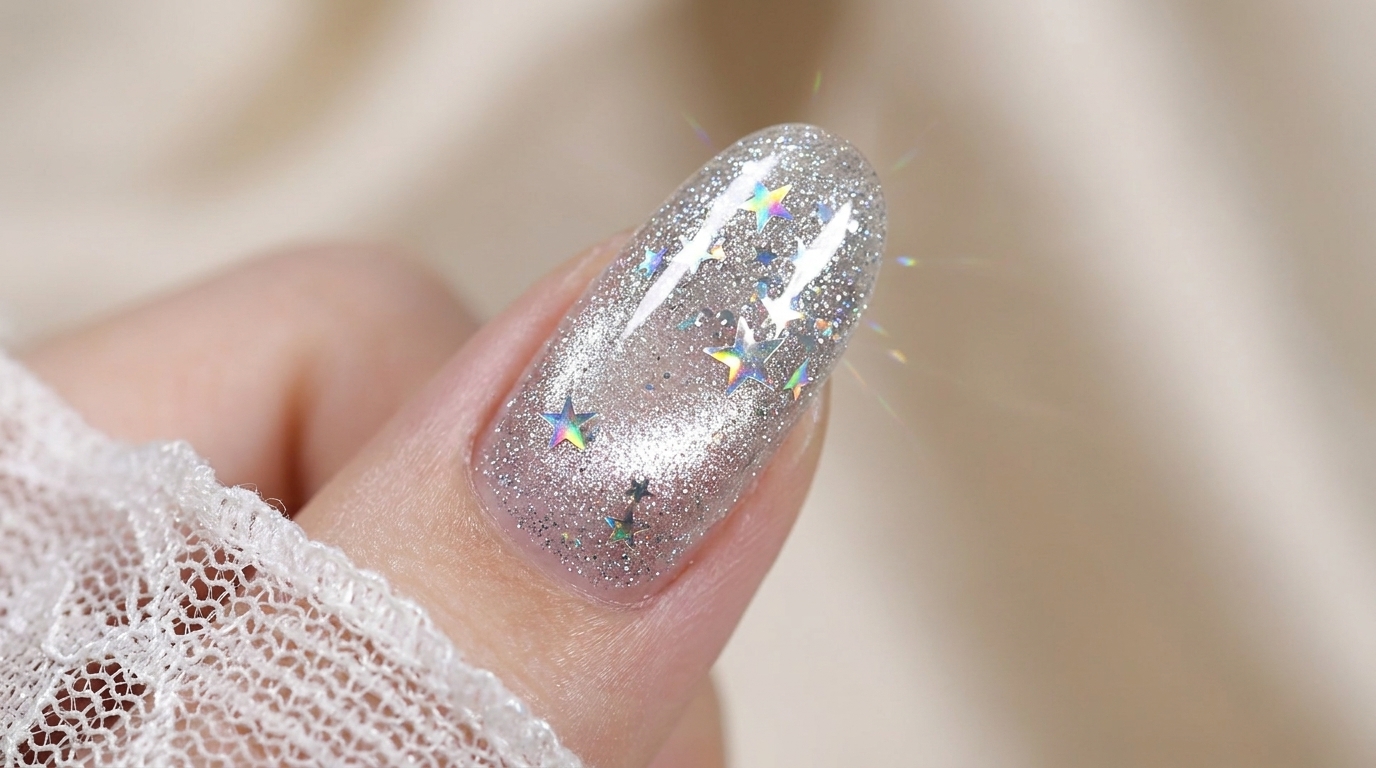
Using a silver glitter gel polish, carefully apply the color to the free edge of the nail to create a crisp french tip effect. Work slowly to maintain a clean line across the smile line.
Tip: If the glitter polish is too sheer, apply two thin layers instead of one thick one to maintain control over the shape. - 9Perfect the french tip line
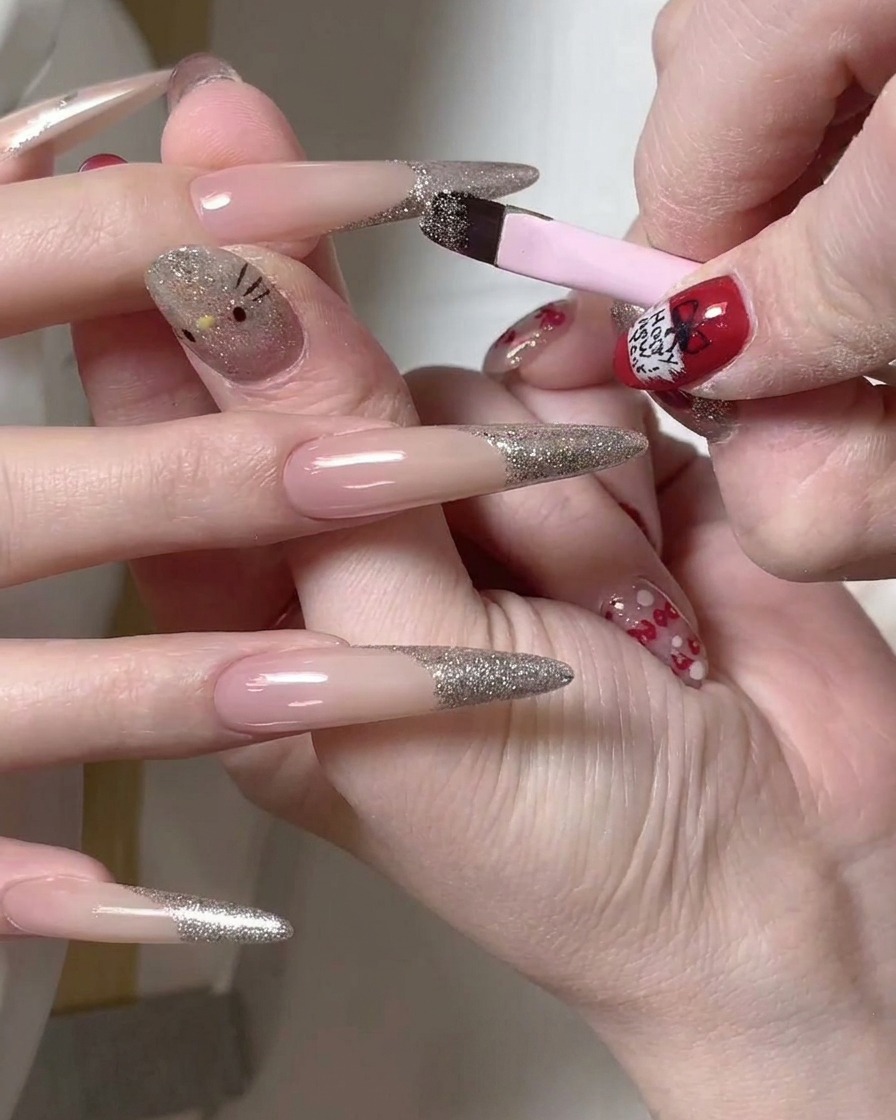
Take a fine-detail liner brush to refine the smile line of your silver glitter french tip. This step ensures the glitter is evenly distributed and the edges of the french design are sharp and symmetrical.
Tip: Keep a clean, dry brush nearby to quickly wipe away any glitter that strays from the desired french line.