Chrome Flame Nail Art — Trendy Mirror-Finish Tutorial
Master the viral chrome flame trend at home with this easy tutorial. Create stunning metallic designs on a sheer nude base with a mirror-like finish.
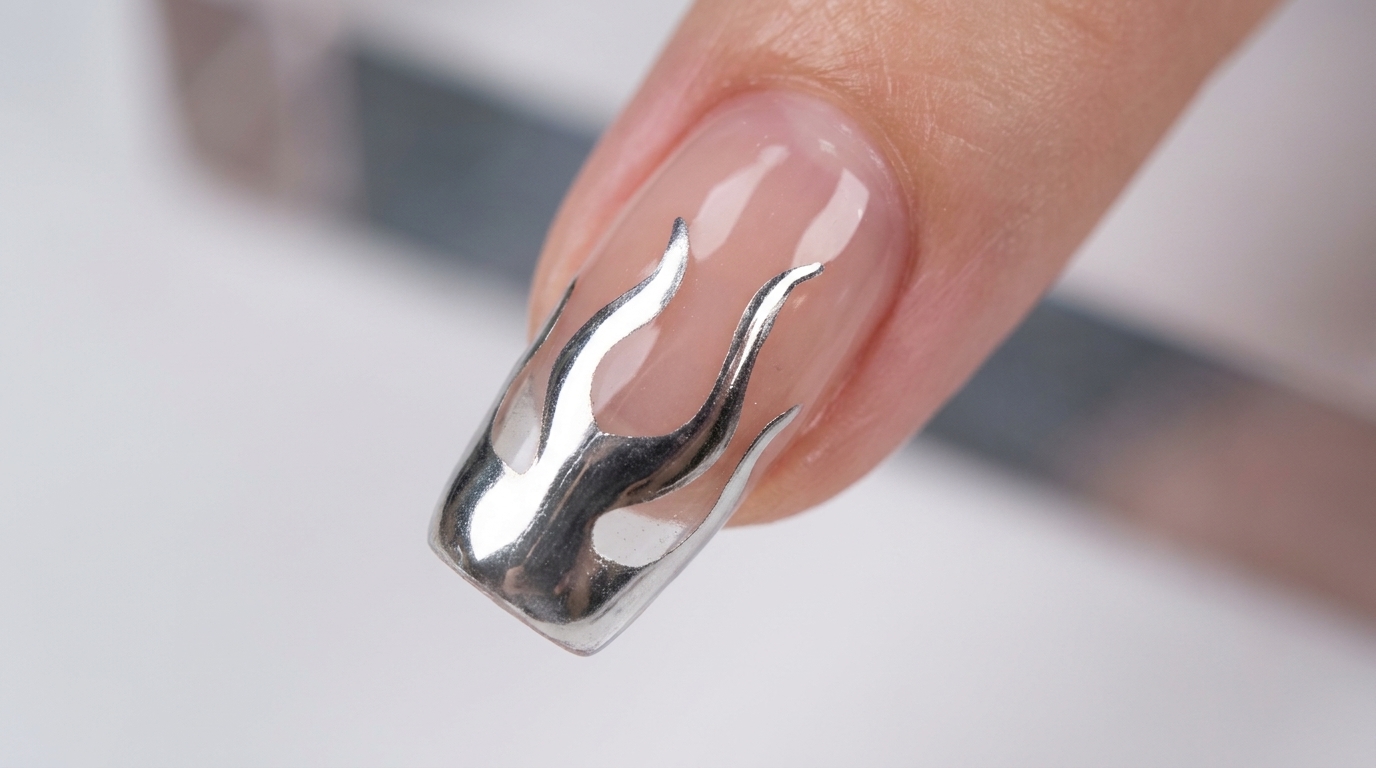
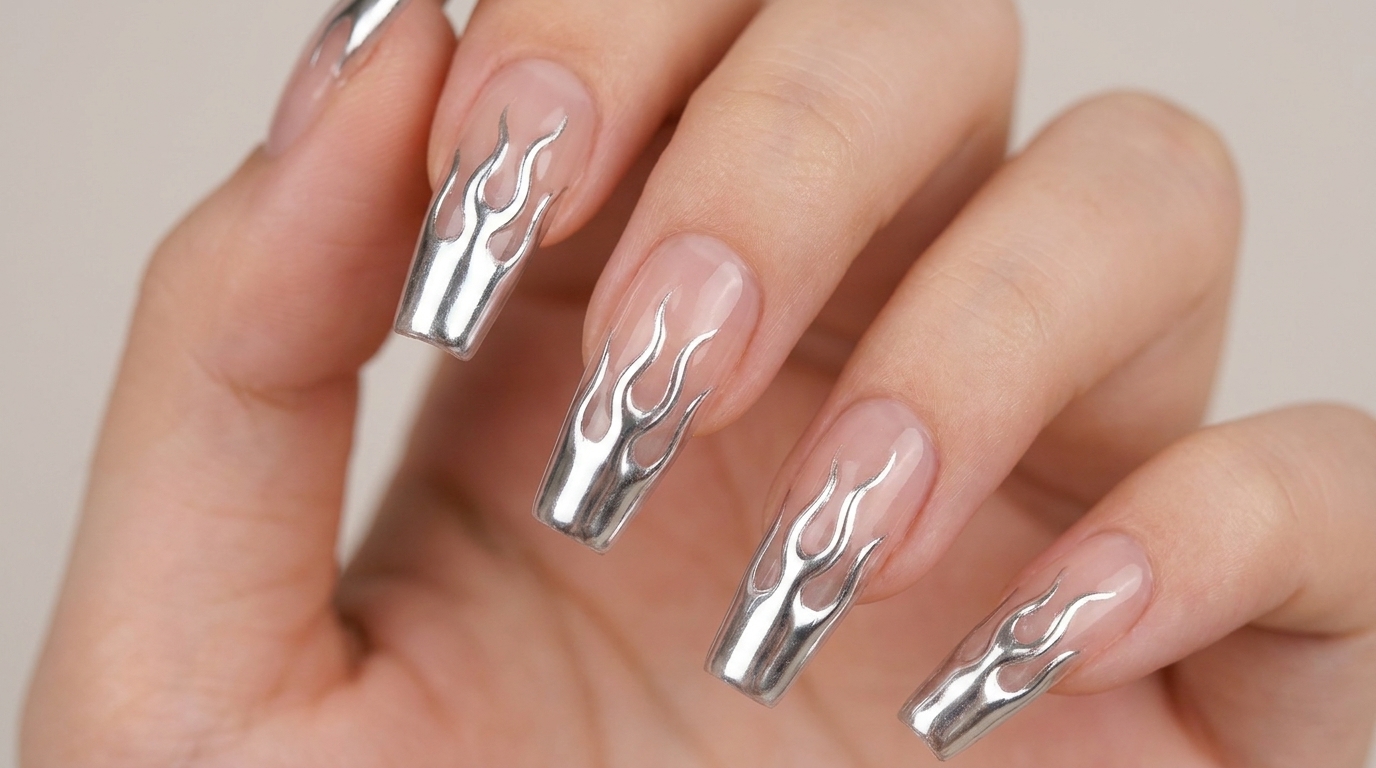
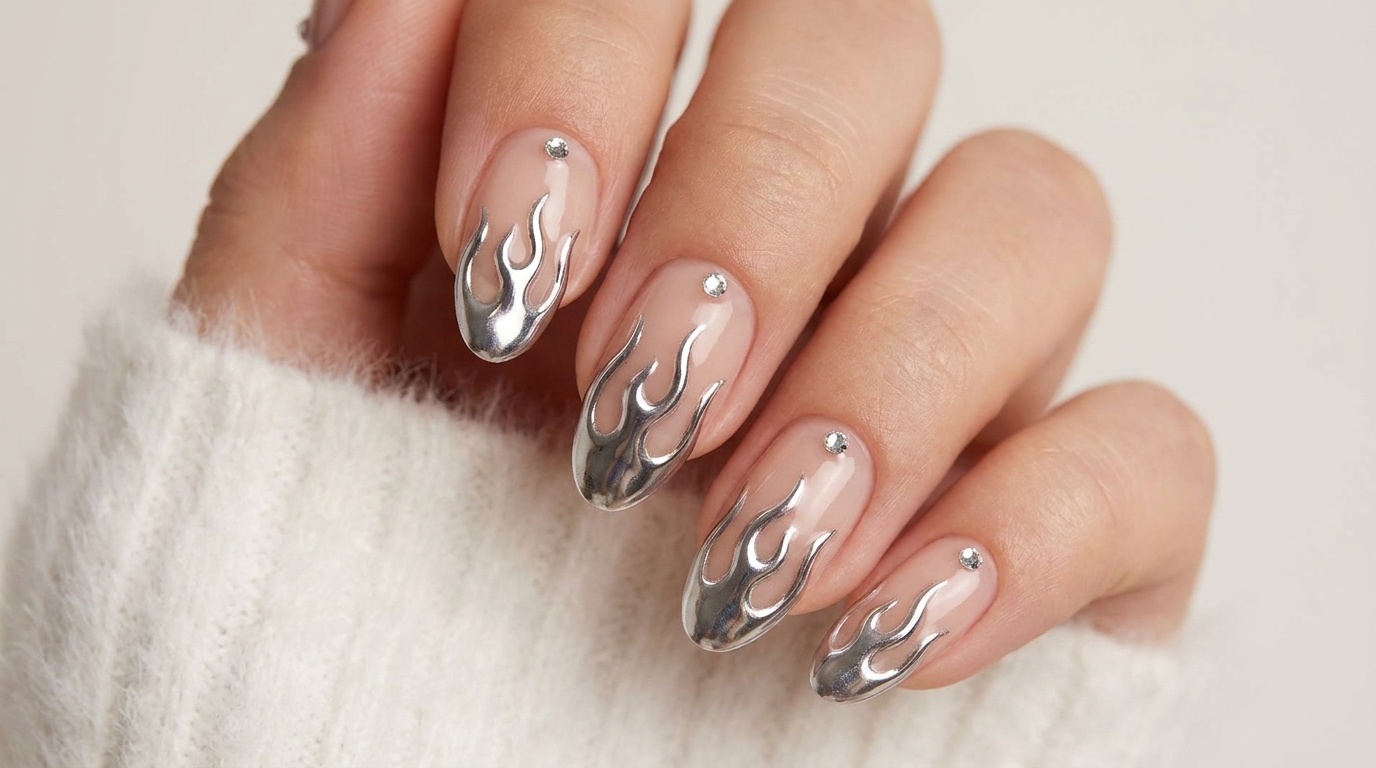
The chrome flame nail trend is everywhere, blending a clean, minimalist base with bold, edgy metallic accents. While this look often carries a high salon price tag, it is surprisingly achievable with the right technique. Follow along as we break down the process of creating these mirror-finish flames and adding the perfect rhinestone details for a high-impact manicure.
Steps
- 1Apply sheer nude base
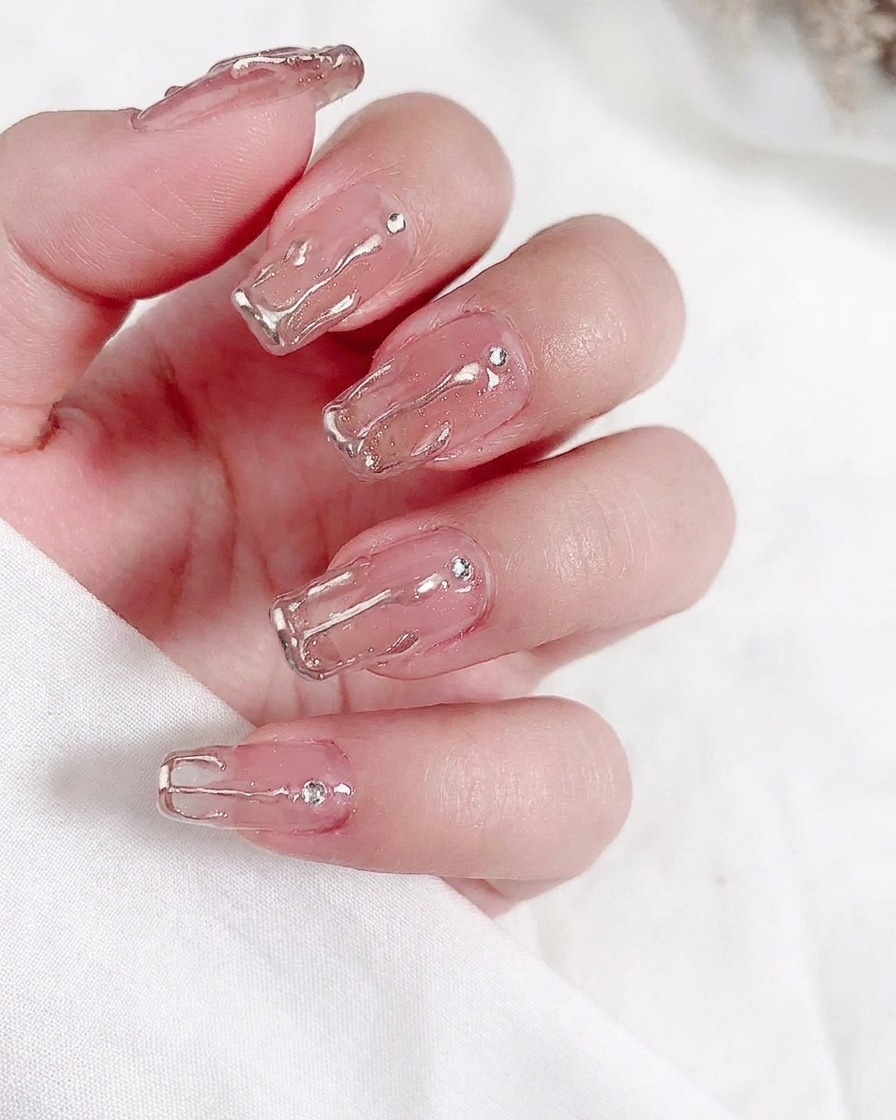
Apply a thin, even layer of sheer nude gel polish to the entire nail plate. Ensure the product is applied smoothly for a clean, natural base. Cure under a UV/LED lamp as directed by your polish brand.
Tip: Keep the layer thin to prevent pooling at the cuticles and ensure even curing. - 2Smooth the gel color
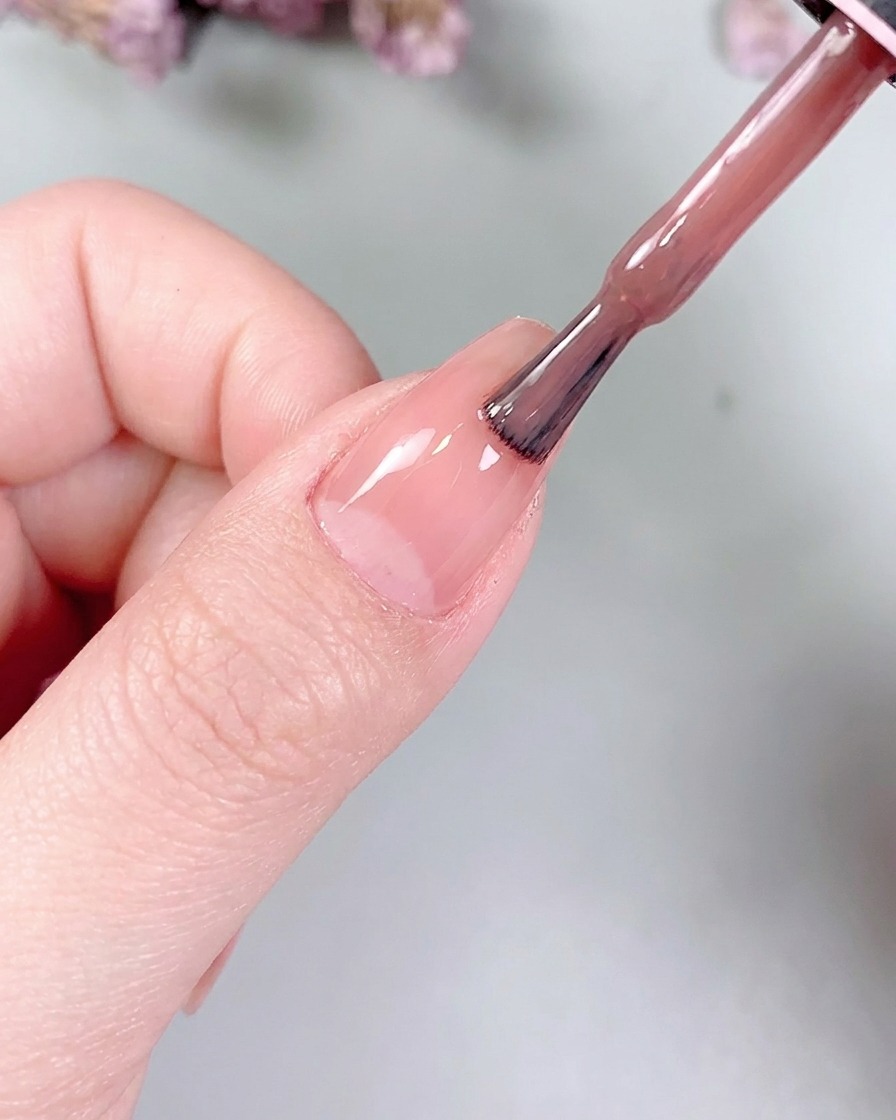
Use a clean gel brush to gently smooth and distribute the nude gel color evenly across the nail surface. This ensures a uniform base without streaks or bubbles before curing.
Tip: Work with a light touch to avoid pulling too much product off the nail plate. - 3Apply matte top coat
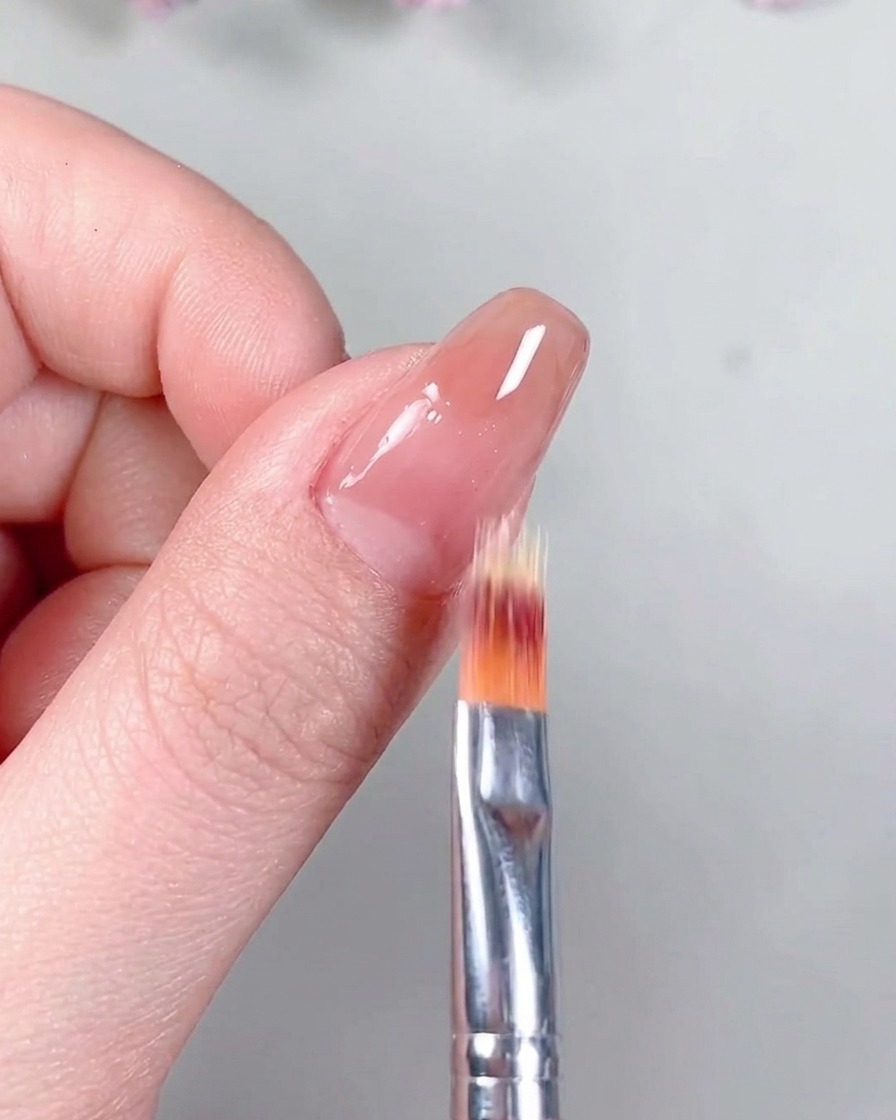
After curing the base color, apply a thin layer of matte top coat over the entire nail. This provides a non-slip, matte surface that helps the subsequent chrome powder stick only to the glued design later.
Tip: Ensure the entire nail is covered for a consistent matte finish. - 4Cure the matte layer
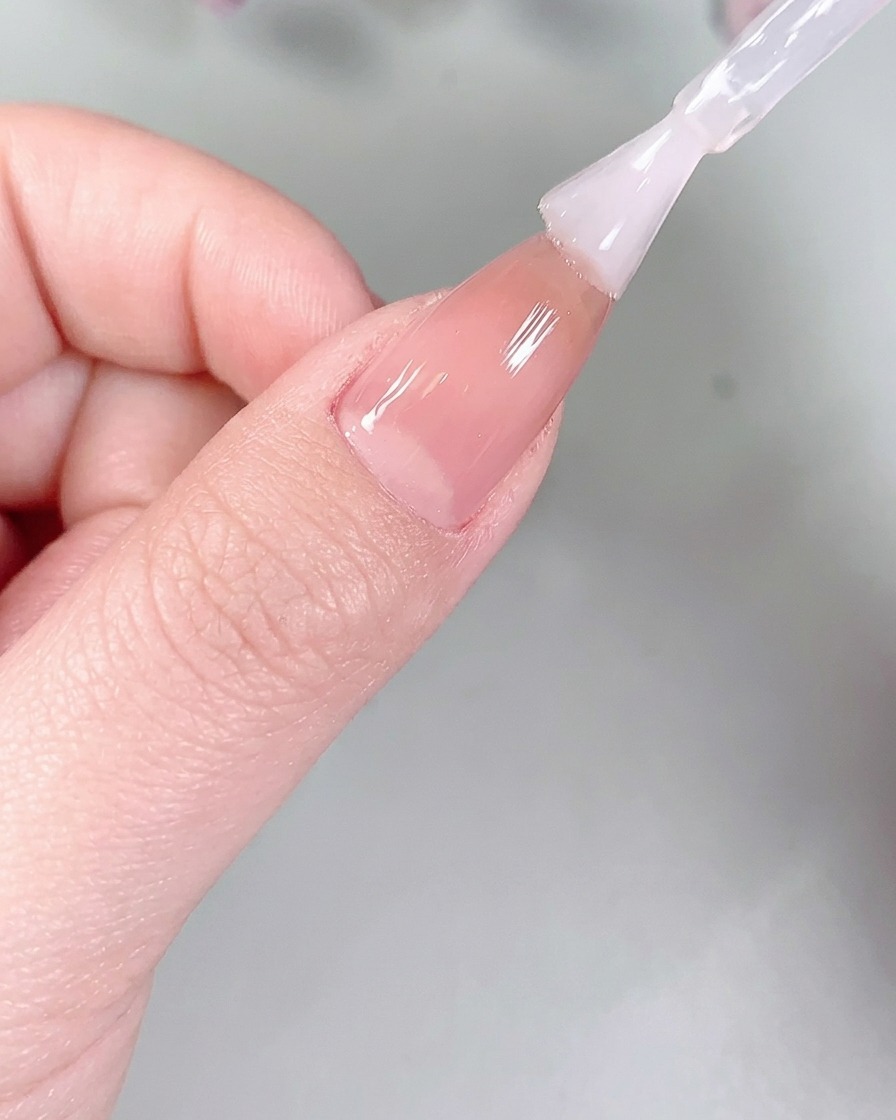
Place your hand under the UV/LED lamp to fully cure the matte top coat. Ensure all nails are positioned correctly to receive even exposure.
Tip: Check that the lamp is set for the correct curing time required by your top coat product. - 5Draw flame designs
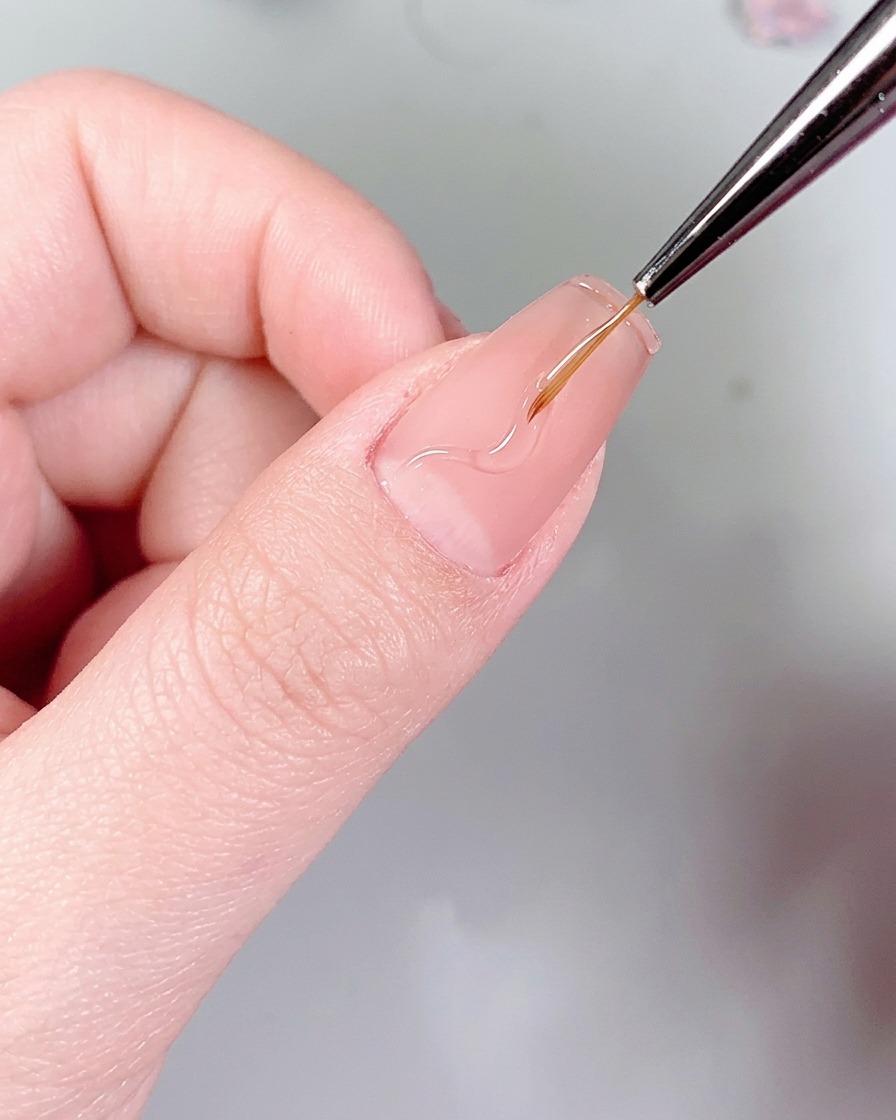
Using a fine liner brush and clear nail glue, carefully draw flame patterns onto the matte-finished nail. The glue will remain tacky to hold the chrome powder.
Tip: Use light, flowing strokes to create organic-looking flame shapes. - 6Apply chrome powder
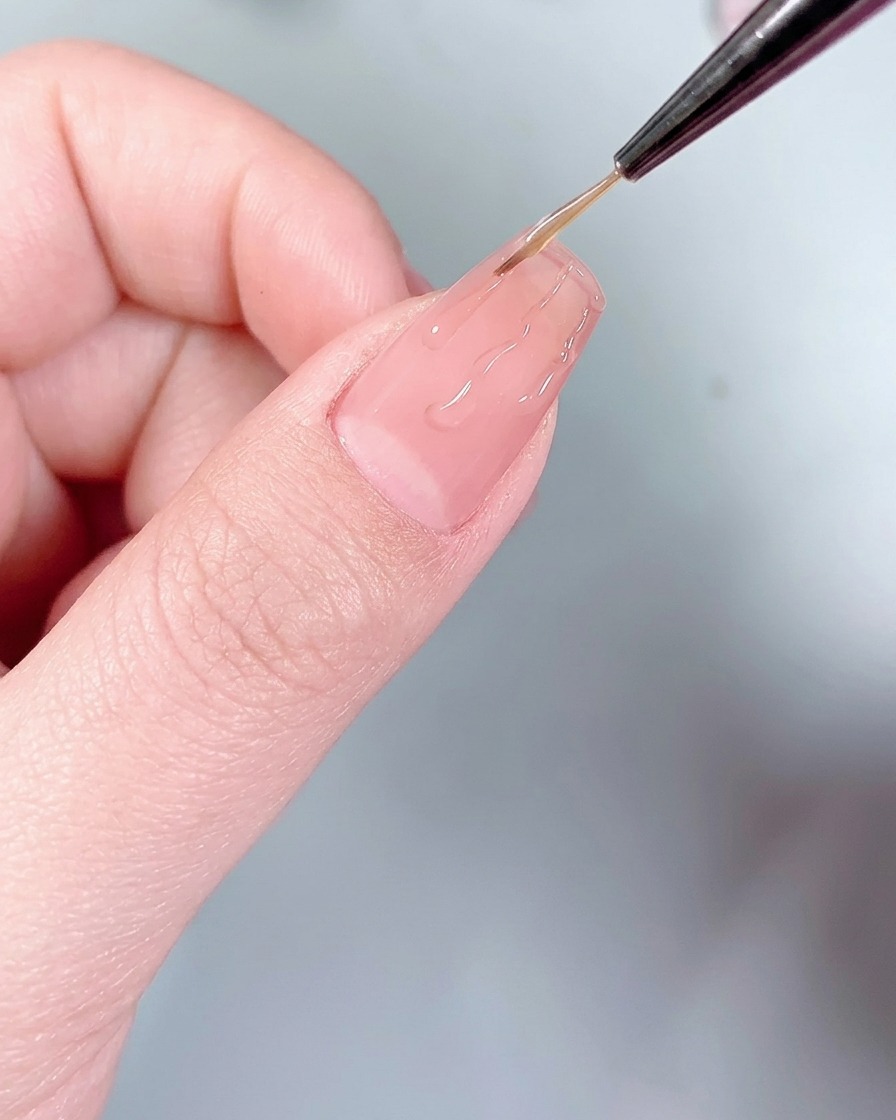
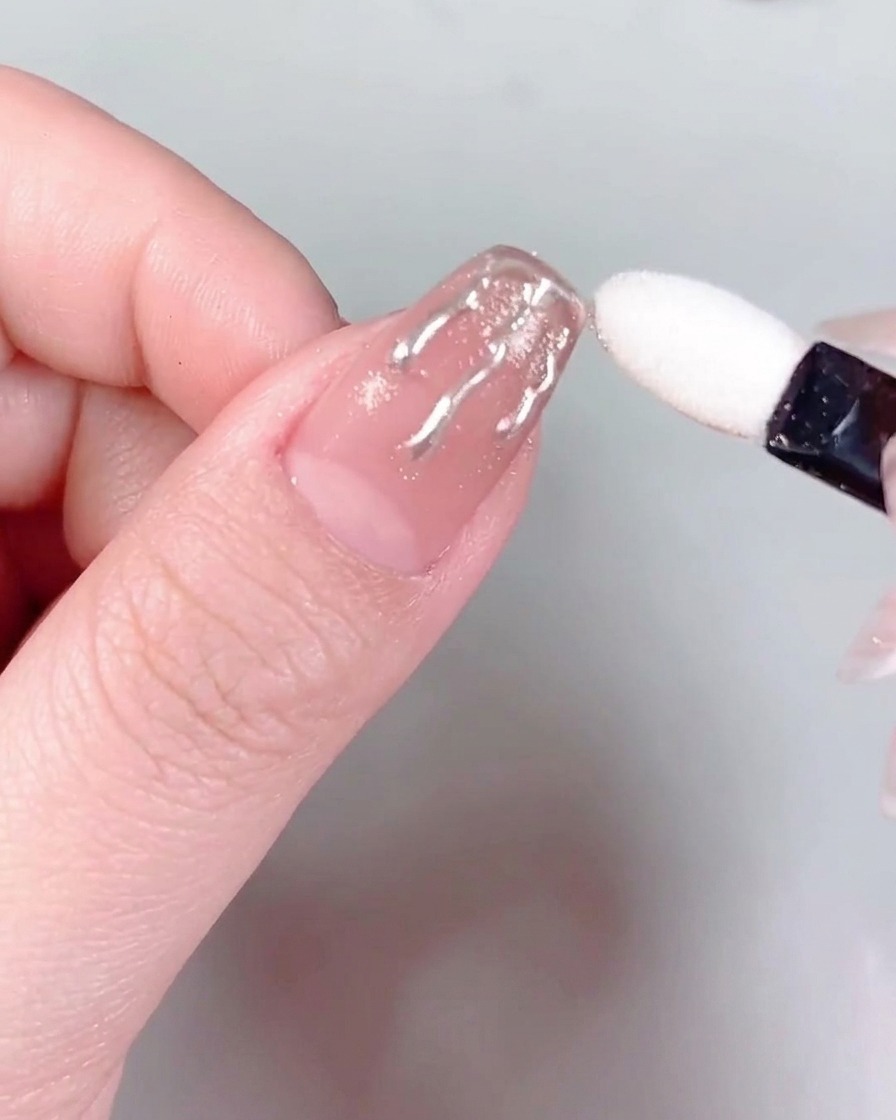
Using a silicone applicator, gently buff silver chrome powder over the glue flame designs. The powder will adhere only to the tacky glue, creating a mirror-finish effect.
Tip: Use a soft brush to dust off any excess powder from the surrounding matte area. - 7Cure to set chrome powder
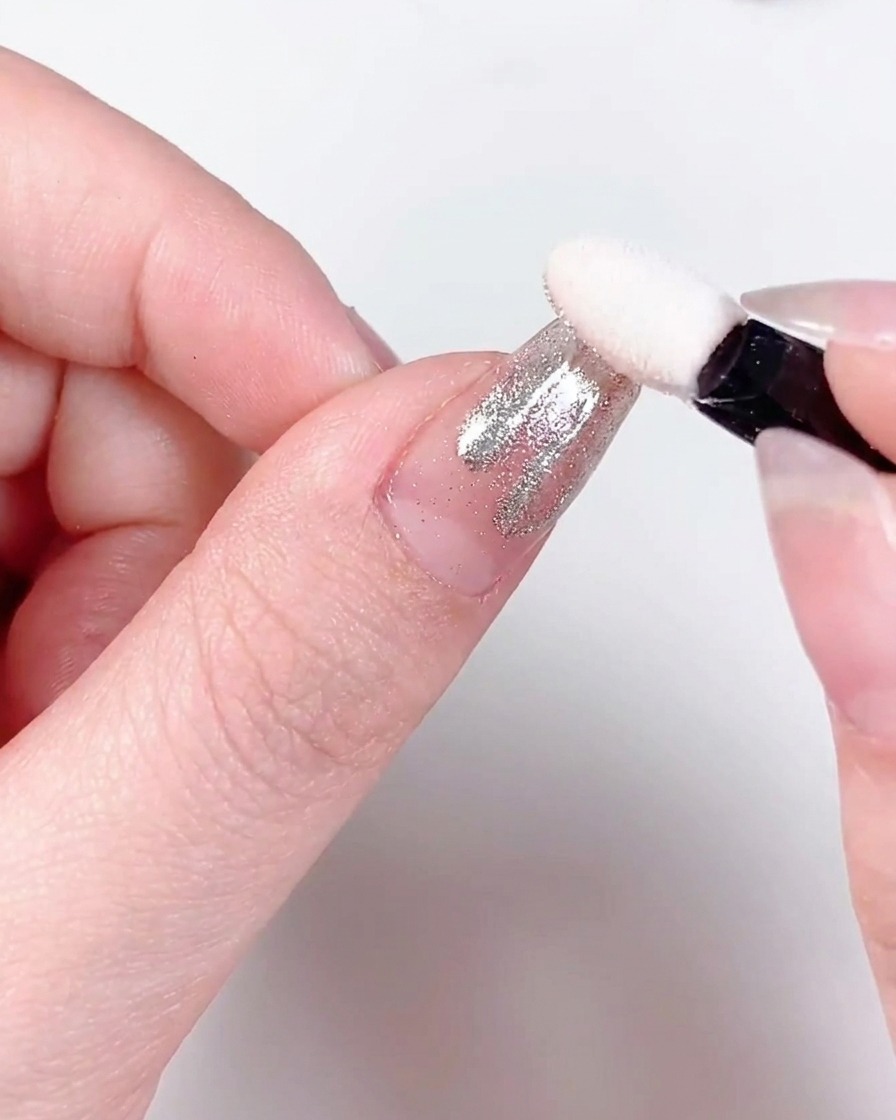
Place your hand under the UV/LED lamp and cure for the recommended time to lock the silver chrome powder onto the flame designs. This ensures the chrome finish is durable and smudge-proof before applying the final top coat.
Tip: Ensure the entire flame design is fully exposed to the light for an even, high-shine mirror effect. - 8Apply rhinestone accent
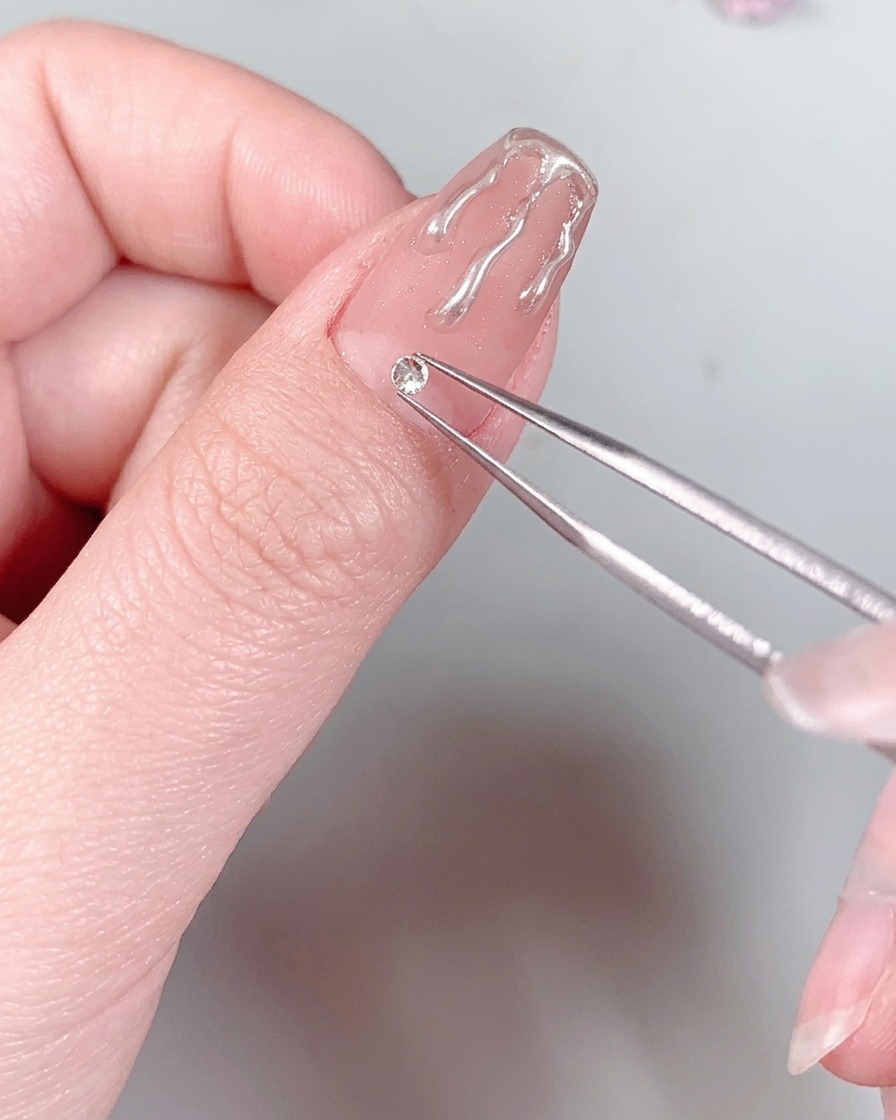
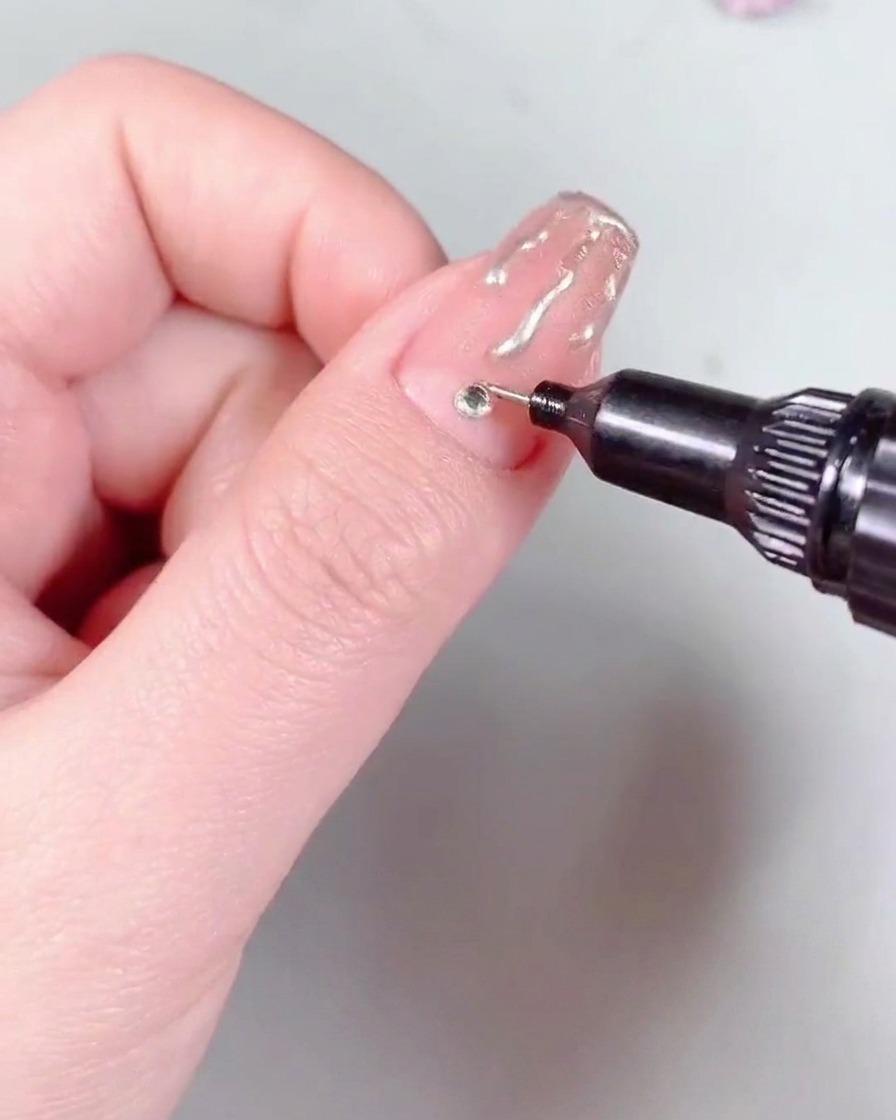
Using precision tweezers, pick up a small, flat-bottomed rhinestone and carefully place it at the base of your nail, near the cuticle. Position it gently to ensure it sits flat against the nail surface.
Tip: Applying a tiny dot of base gel or rhinestone glue at the base before placing the gem helps it stay firmly in position. - 9Cure to secure rhinestone
Once the rhinestone is perfectly positioned, place your hand back into the UV/LED lamp to cure and harden the adhesive. This step anchors the stone so it remains securely attached during daily wear.
Tip: Check the position of the rhinestone one last time before curing to ensure it is centered and level. - 10Apply final top coat
Apply a final thin layer of steel top coat over the entire nail surface, including over the chrome flame art and the rhinestone. This seals everything in, provides a protective shine, and prevents the chrome from wearing off.
Tip: Cap the free edge with the top coat to extend the life of your manicure and prevent edge wear.