Chrome Flame Nail Art — Professional Mirror Finish Tutorial
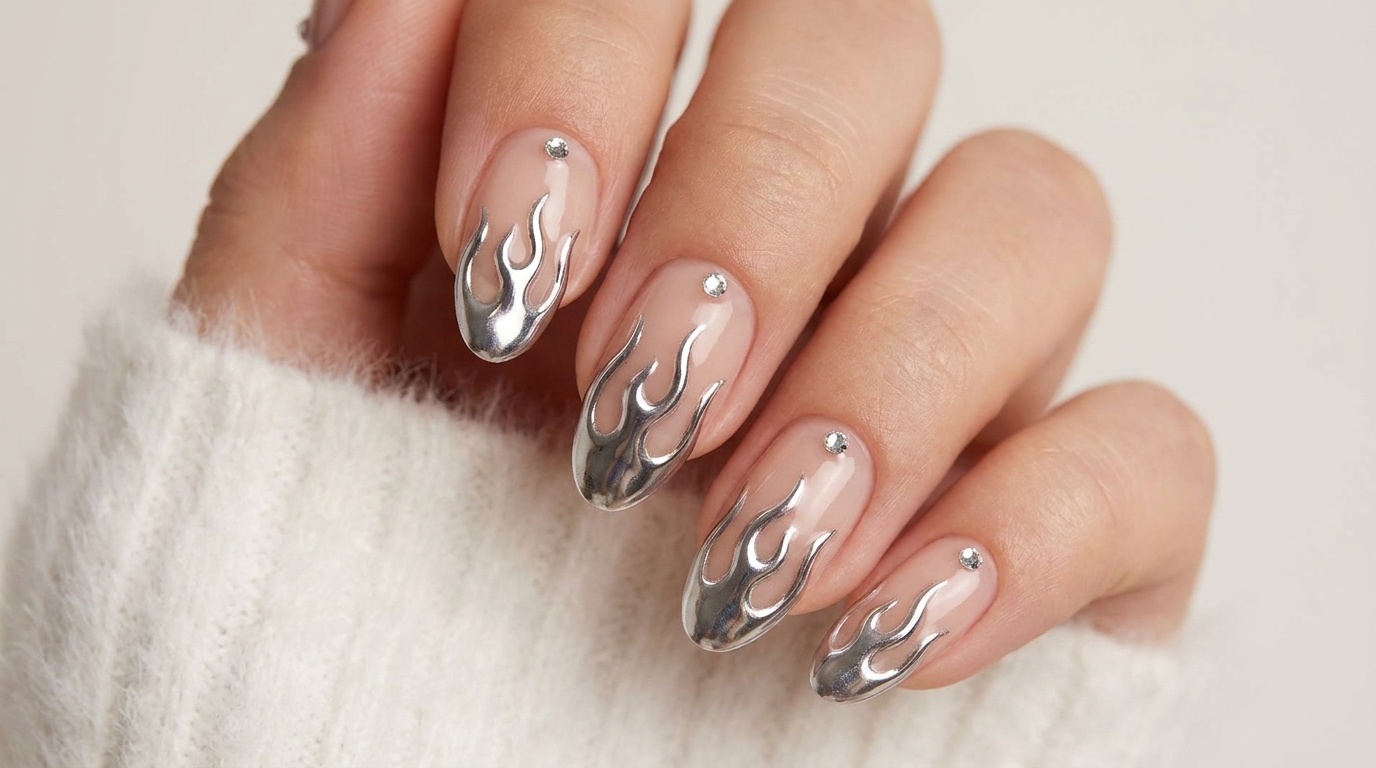
Master the trending chrome flame nail art with this easy-to-follow tutorial. Create a stunning, high-shine metallic fire design on your natural nails.
The chrome flame look combines the edgy aesthetic of Y2K-inspired designs with the sleek, modern finish of metallic gel. This tutorial breaks down the process of creating symmetrical, mirrored flames that catch the light perfectly. By mastering precise brush control and the self-leveling technique of metallic gel, you can achieve a flawless, liquid-metal effect that elevates any manicure.
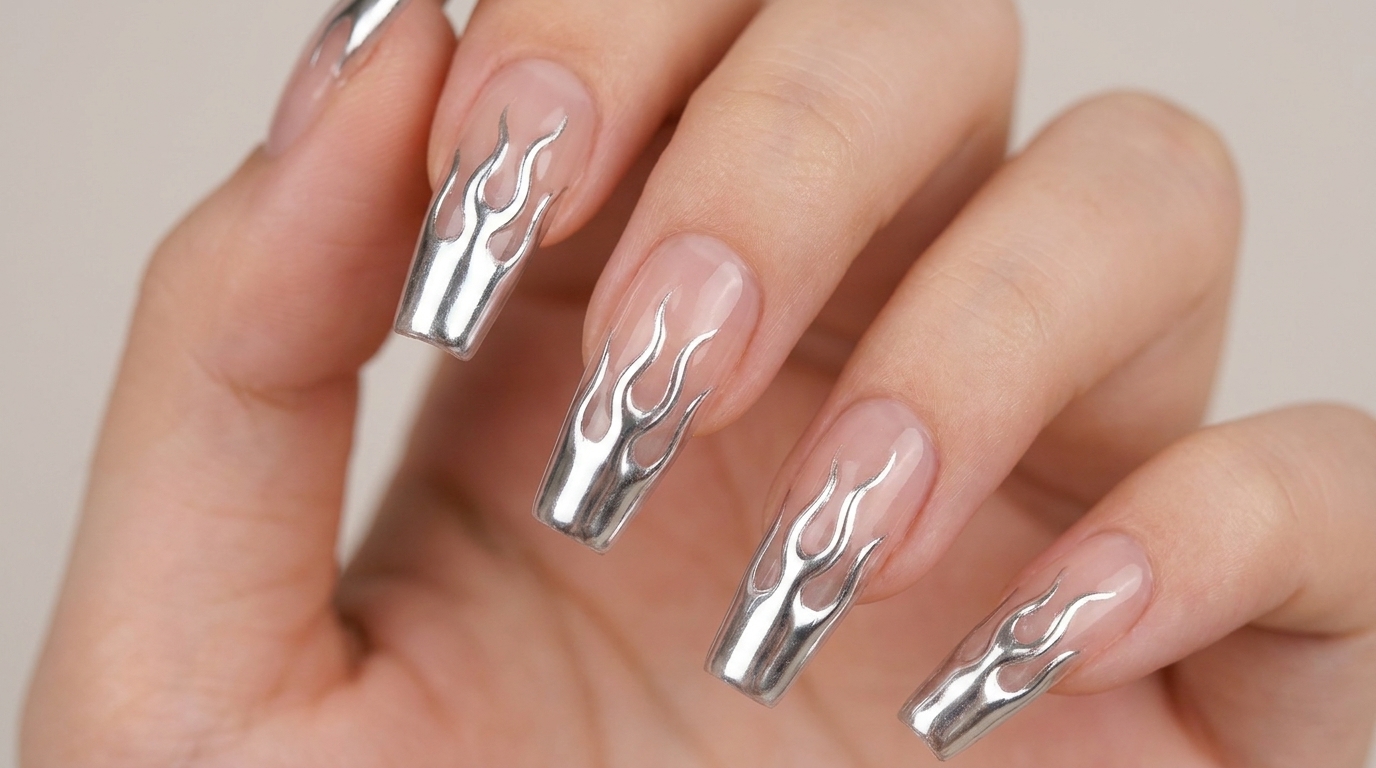
Steps
- 1Mark the center of the nail
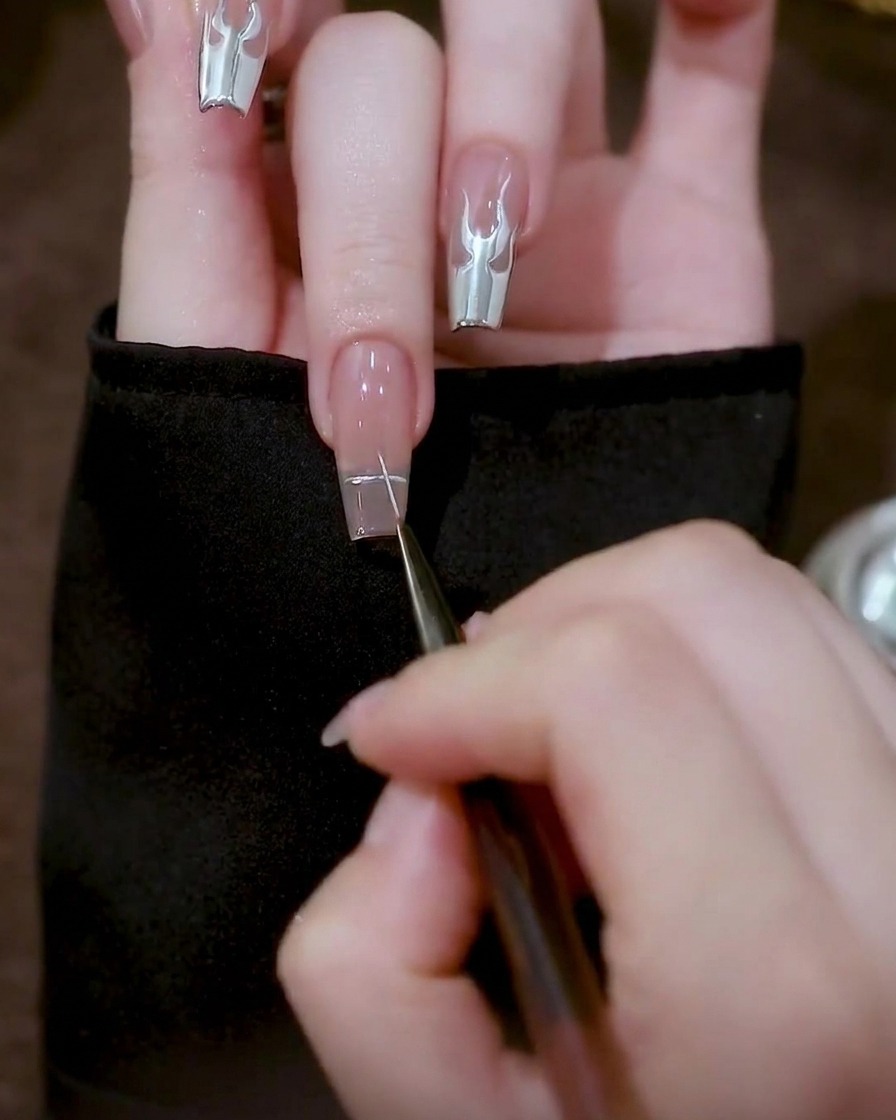
Using a fine liner brush and chrome gel, carefully mark a cross at the center point of the nail. This serves as a guide for the symmetrical placement of the flame design.
Tip: Keep your lines thin and light to ensure accuracy for the subsequent design steps. - 2Draw the center horn shapes
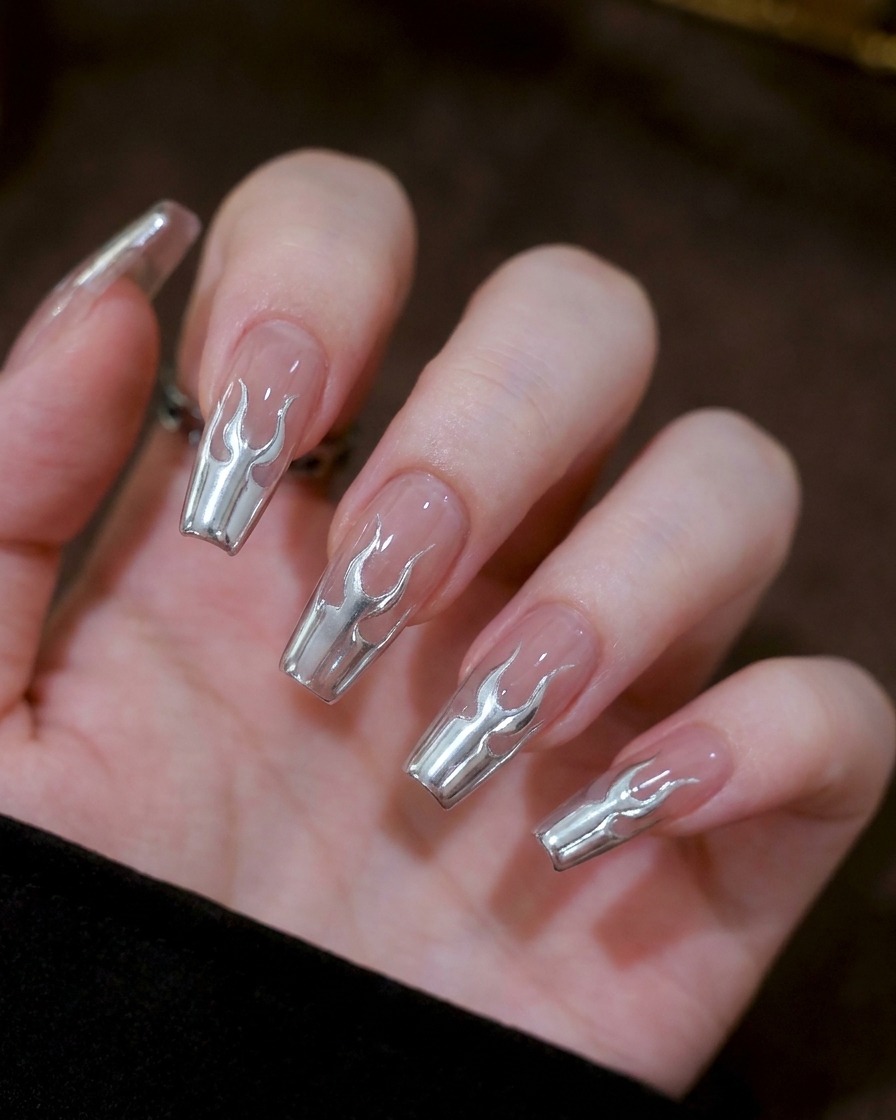
Using the cross as a reference, draw two small, symmetrical U-shaped horn shapes in the center of the nail above the intersection.
Tip: Maintain symmetry between the two shapes to ensure the flame design looks balanced. - 3Outline the flame base
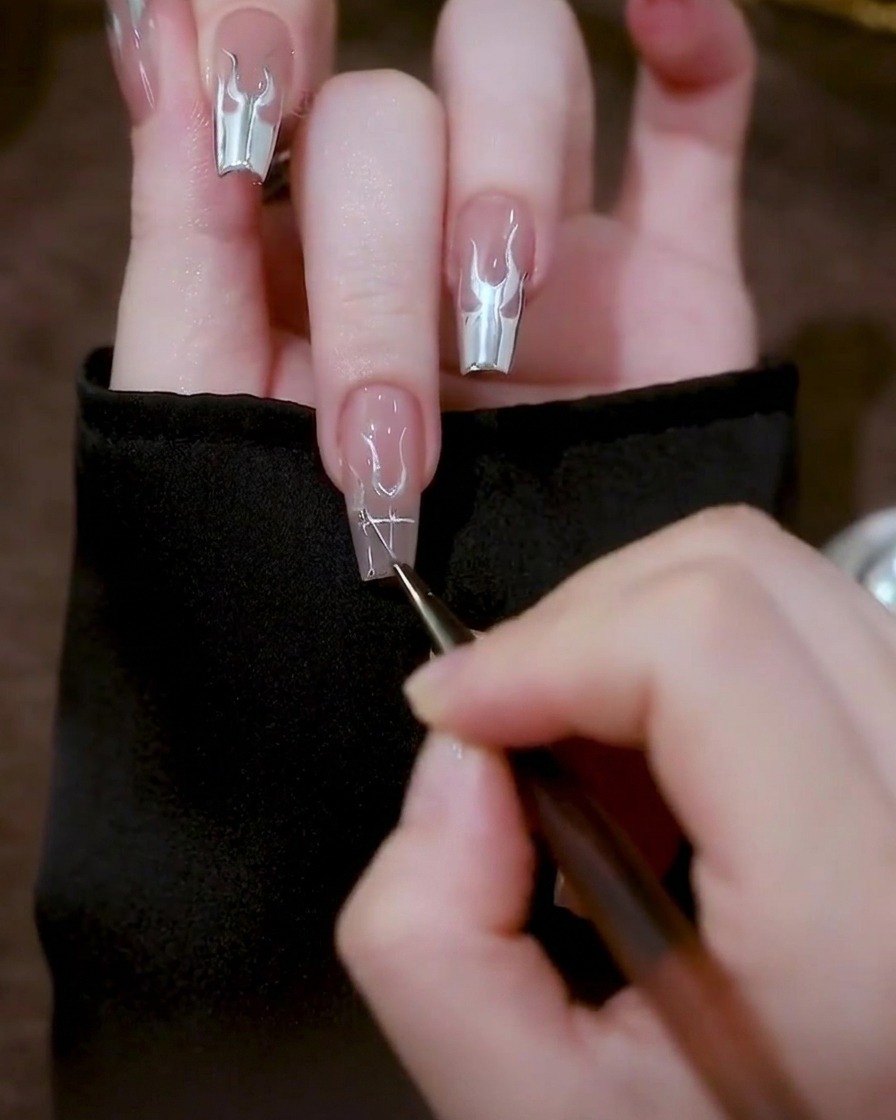
Add symmetrical triangular flame shapes on both sides of the center horn shapes. These triangles form the base of the fire design.
Tip: Focus on keeping the shapes mirror-images of each other for a clean, professional look. - 4Extend the flame outlines
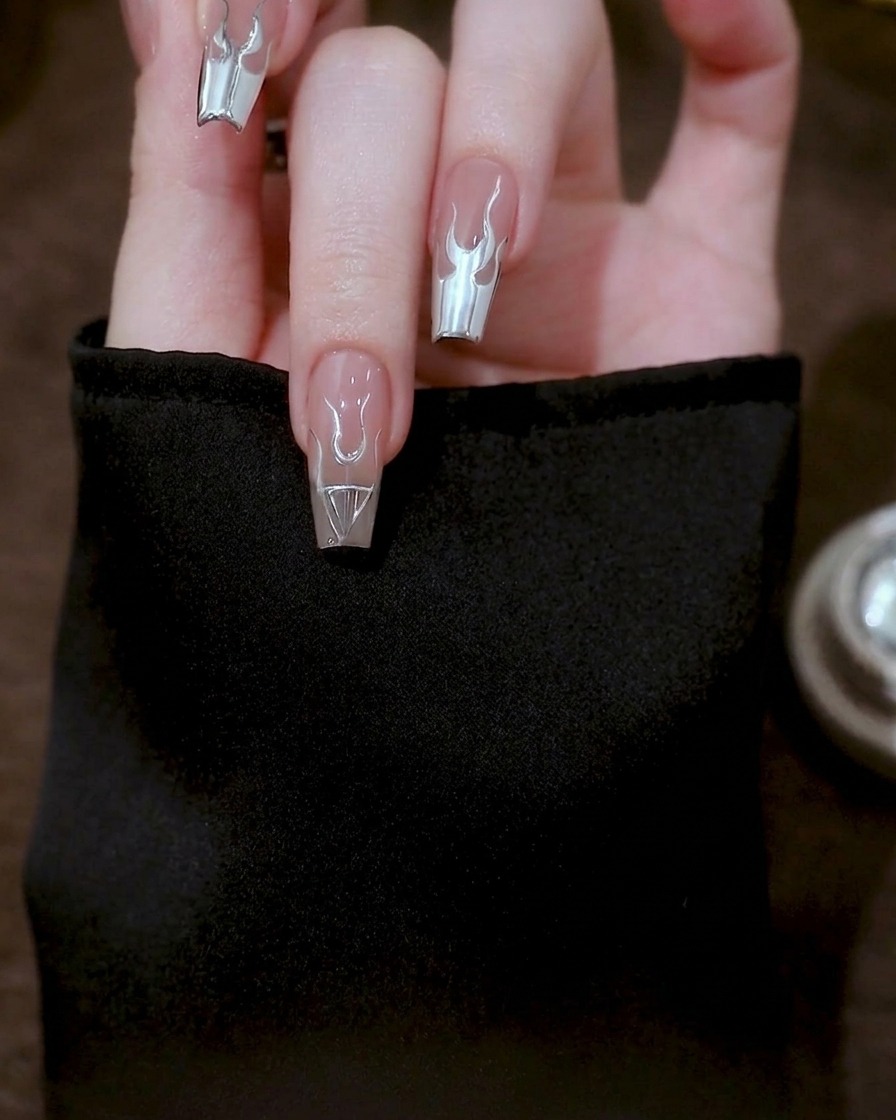
Extend the flame design by drawing curved outer outlines that reach down towards the tip of the nail. These lines provide the shape and flow of the fire design.
Tip: Use a smooth, sweeping motion with your liner brush to create fluid, continuous curves. - 5Connect the flame elements
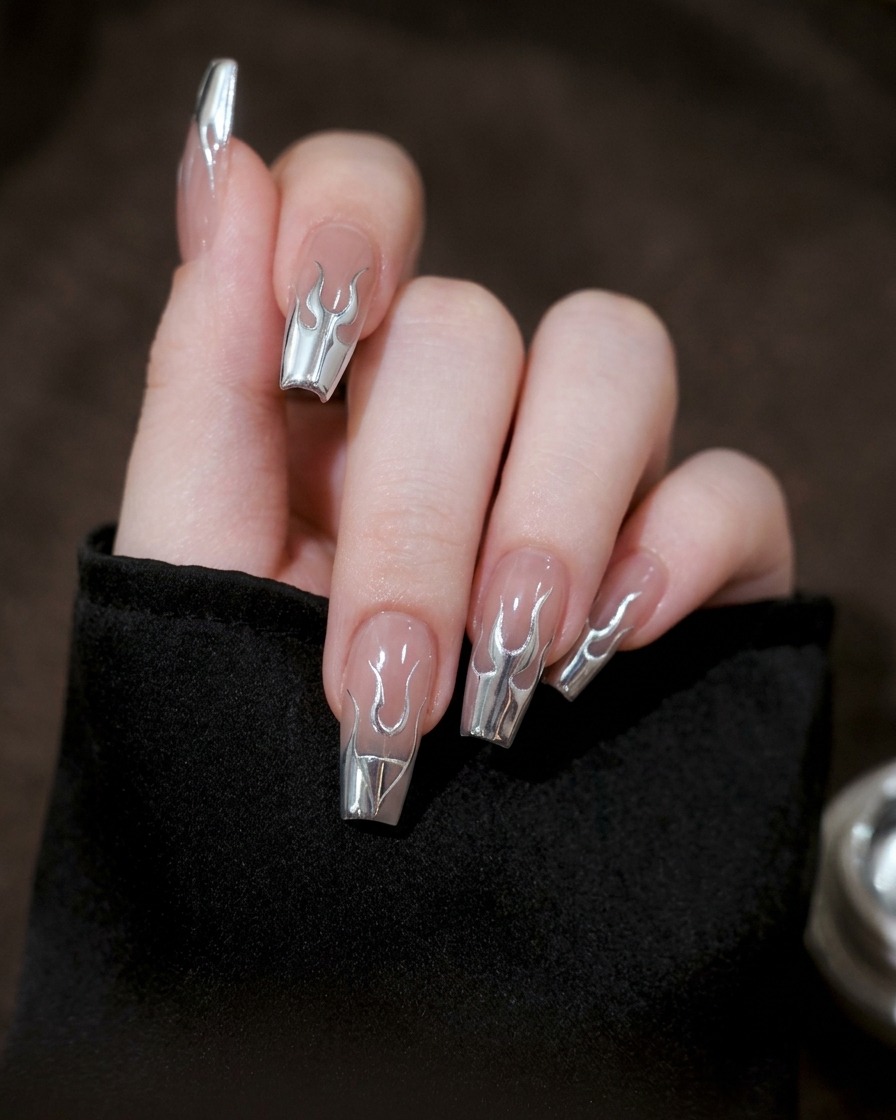
Connect the central base and the sides of the flame structure using fluid, curved lines. This unifies the individual shapes into a cohesive flame design.
Tip: Ensure the connection points are smooth and integrated into the overall shape. - 6Refine and detail
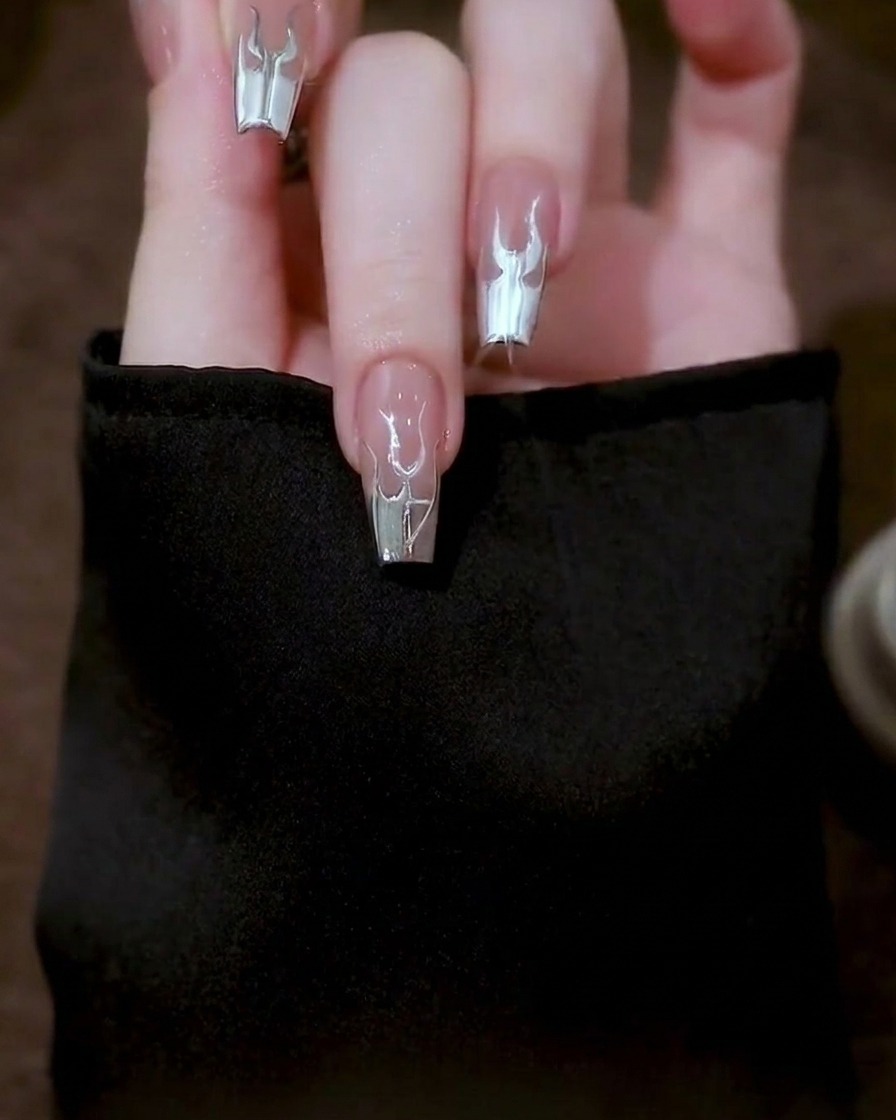
Carefully refine the arcs and small details of the flame design to polish the edges. Ensure the chrome gel is evenly distributed for a smooth, high-shine finish.
Tip: Allow the metal gel to self-level for 15 seconds before curing under the lamp to minimize brush marks. - 7Mirror the flame design
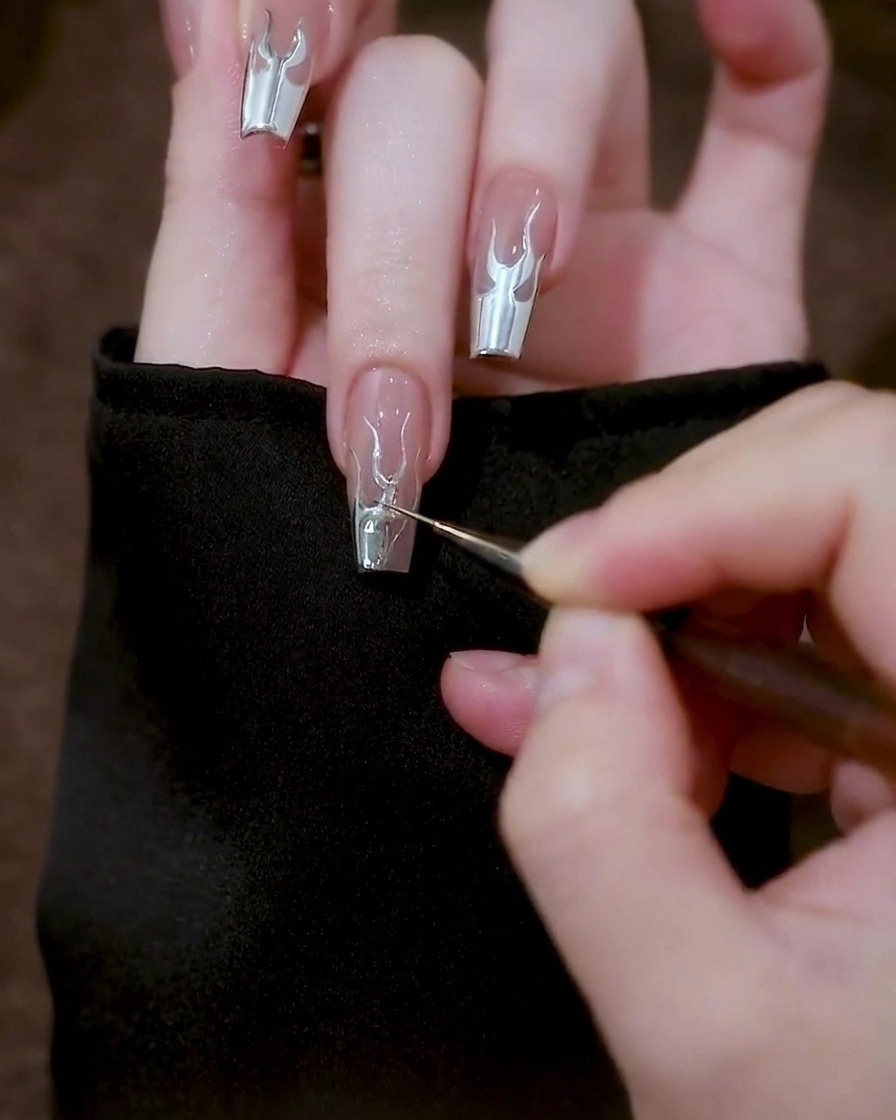
Using the same liner brush, replicate the symmetrical flame pattern on the opposite side of the nail. Maintain consistent spacing and curvature to ensure the design remains balanced and aligned with the center point you established earlier.
Tip: Keep a light touch to ensure the lines remain thin and precise, mirroring the initial flames perfectly. - 8Fill the flame outlines
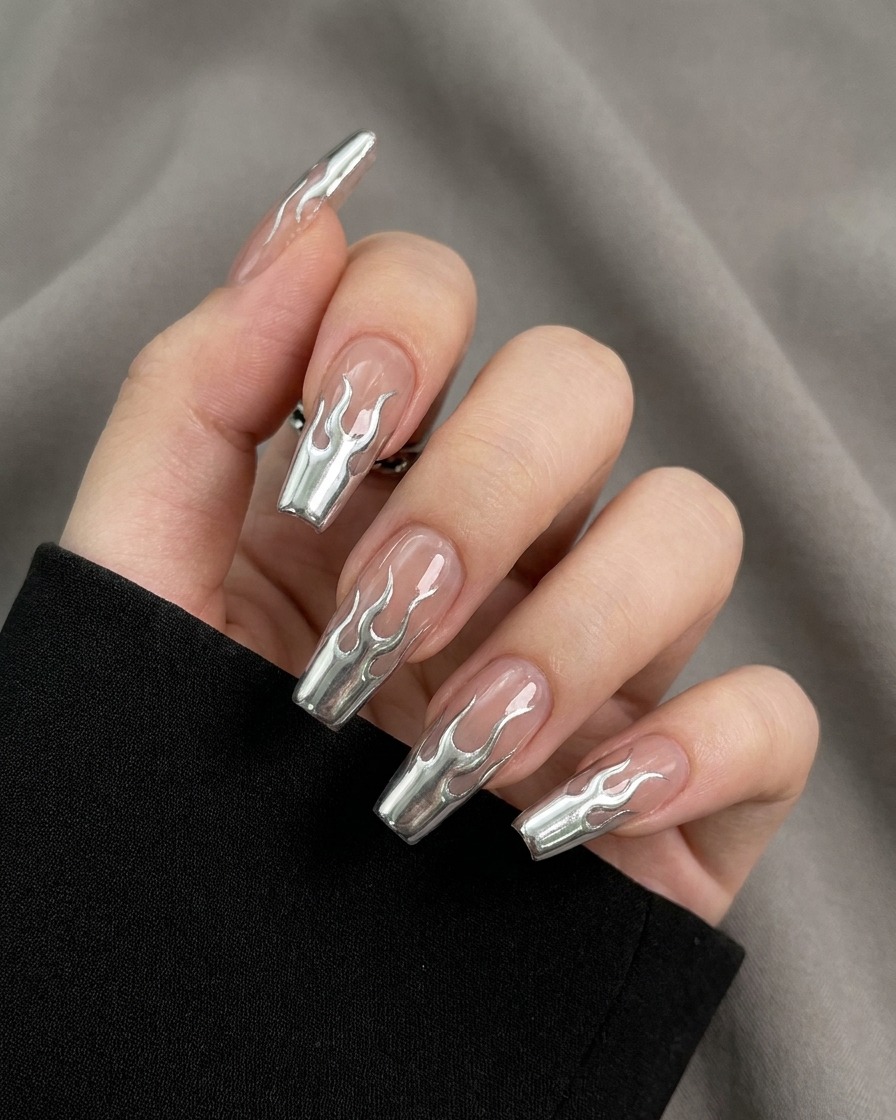
Once your outlines are complete, carefully fill in the flame shapes using the metallic silver gel. Ensure the gel is applied evenly within the borders of the flames to achieve a smooth, opaque, chrome-like appearance.
Tip: Apply the gel slowly to stay within your lines, and use the tip of the brush to nudge the product into the sharp corners of the flame. - 9Self-level the metallic gel
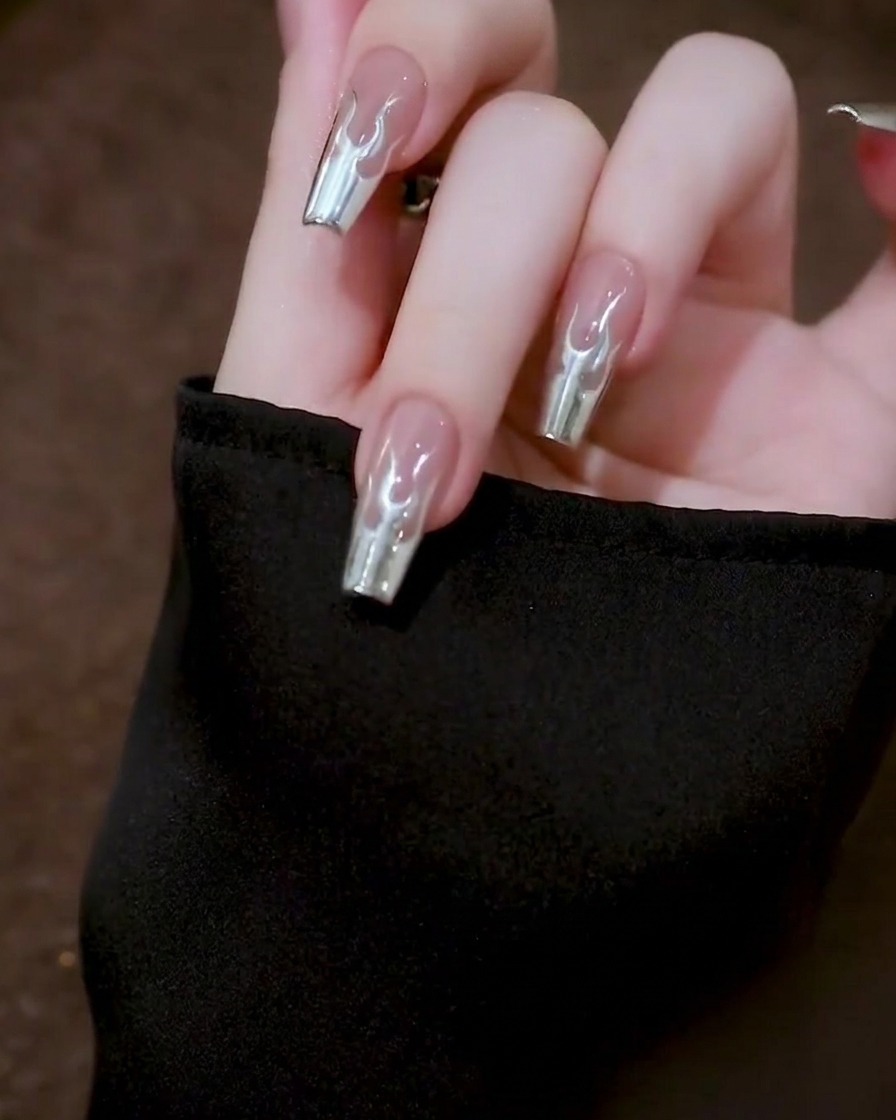
After filling the design, do not cure immediately. Allow the metallic gel to sit undisturbed for 15 seconds. This allows the product to self-level, creating a perfectly smooth surface and eliminating any visible brush strokes for a high-shine, liquid metal finish.
Tip: Be patient during this short waiting period; it is the secret to achieving that flawless, mirror-like chrome effect. - 10Cure the metallic gel
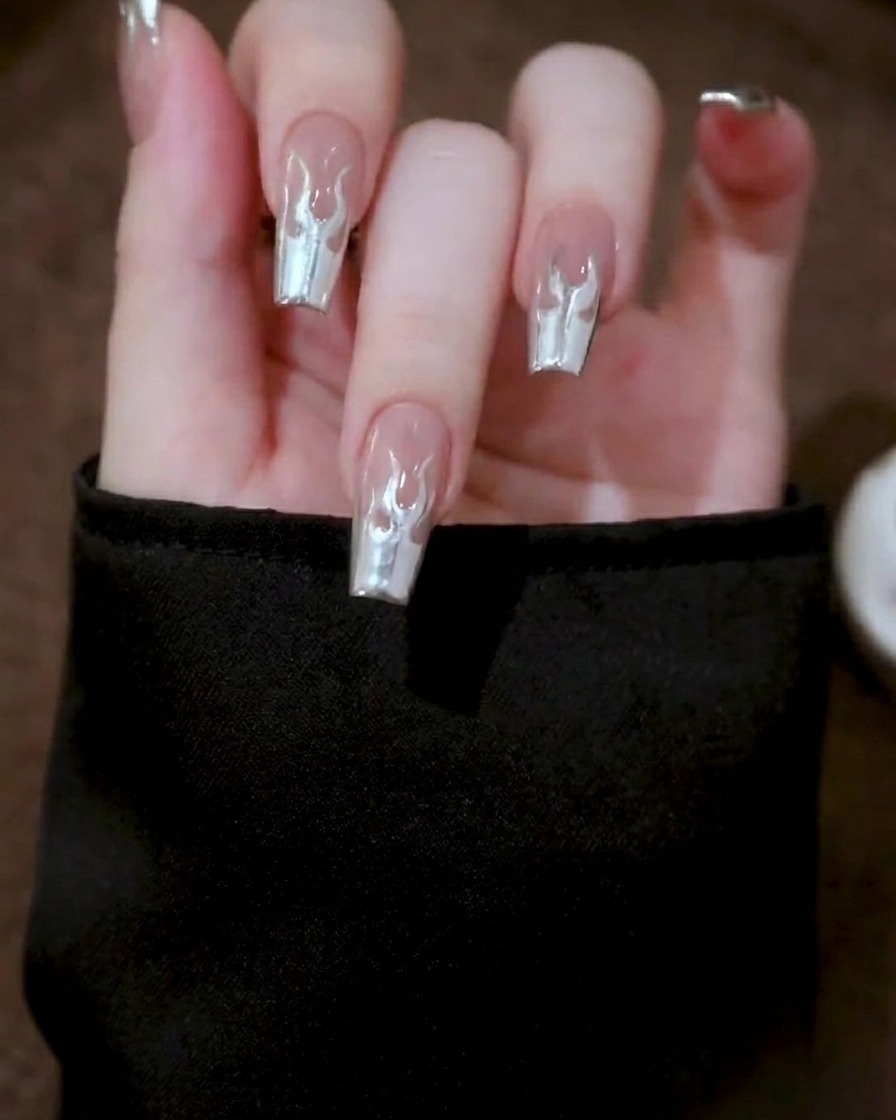
Place the nail under your UV or LED lamp to cure. Ensure the entire design is exposed to the light to fully set the metallic gel. Curing secures the chrome pigment and provides the durability needed for a long-lasting manicure.
Tip: Ensure the hand is placed flat and steady under the lamp to prevent any accidental smudging of the wet gel before it sets.