Red Cat Eye English Stamping Nail Art — Step-by-Step Tutorial
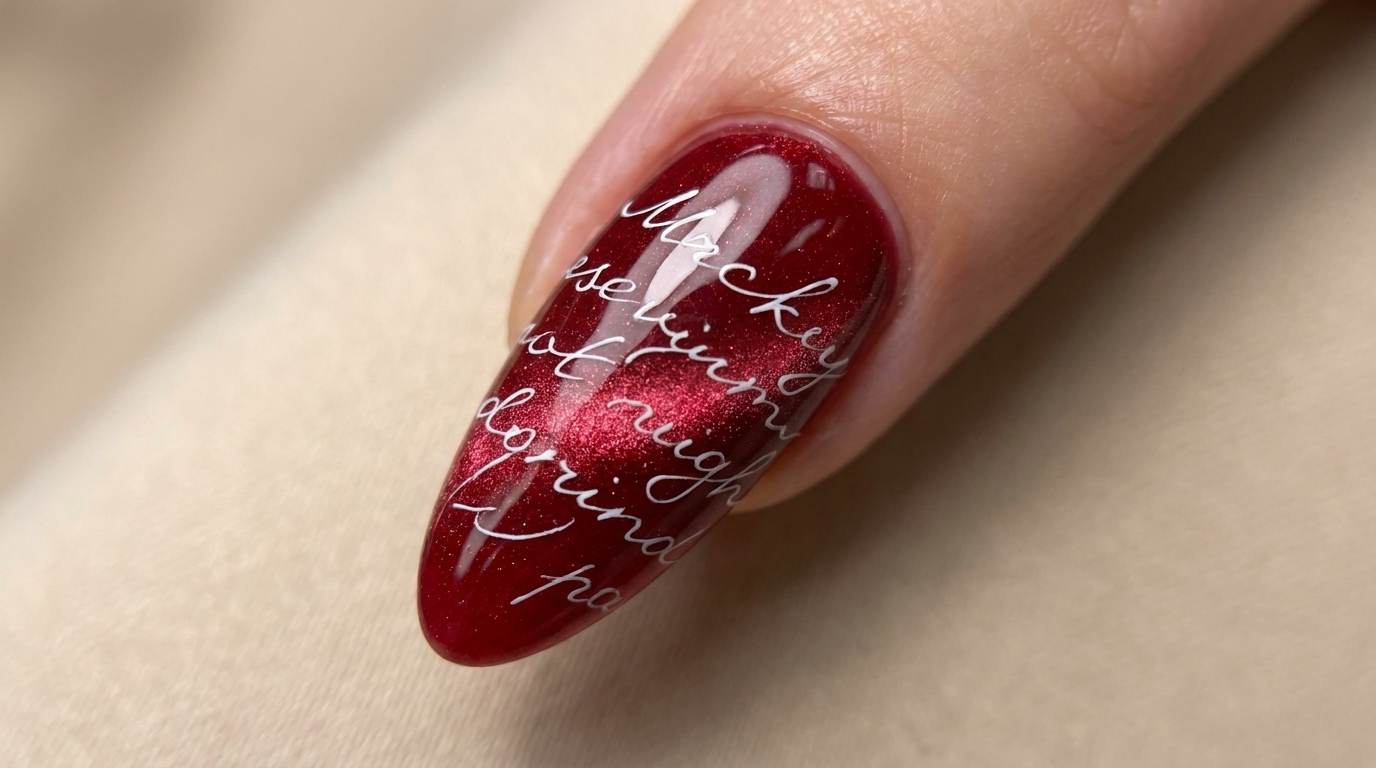
Elevate your manicure with this sophisticated red cat eye look, featuring delicate English cursive typography stamped in crisp white for a high-gloss finish.
The combination of the deep, magnetic shimmer of red cat eye polish and the elegance of white script typography creates a look that is both modern and timeless. This style is perfect for those who want to add a touch of poetic flair to their nails. Whether you are a beginner or an experienced nail artist, this tutorial guides you through the precise process of capturing that perfect cat eye light and achieving a clean, professional transfer of your favorite English text designs.
Steps
- 1Apply red cat eye gel polish
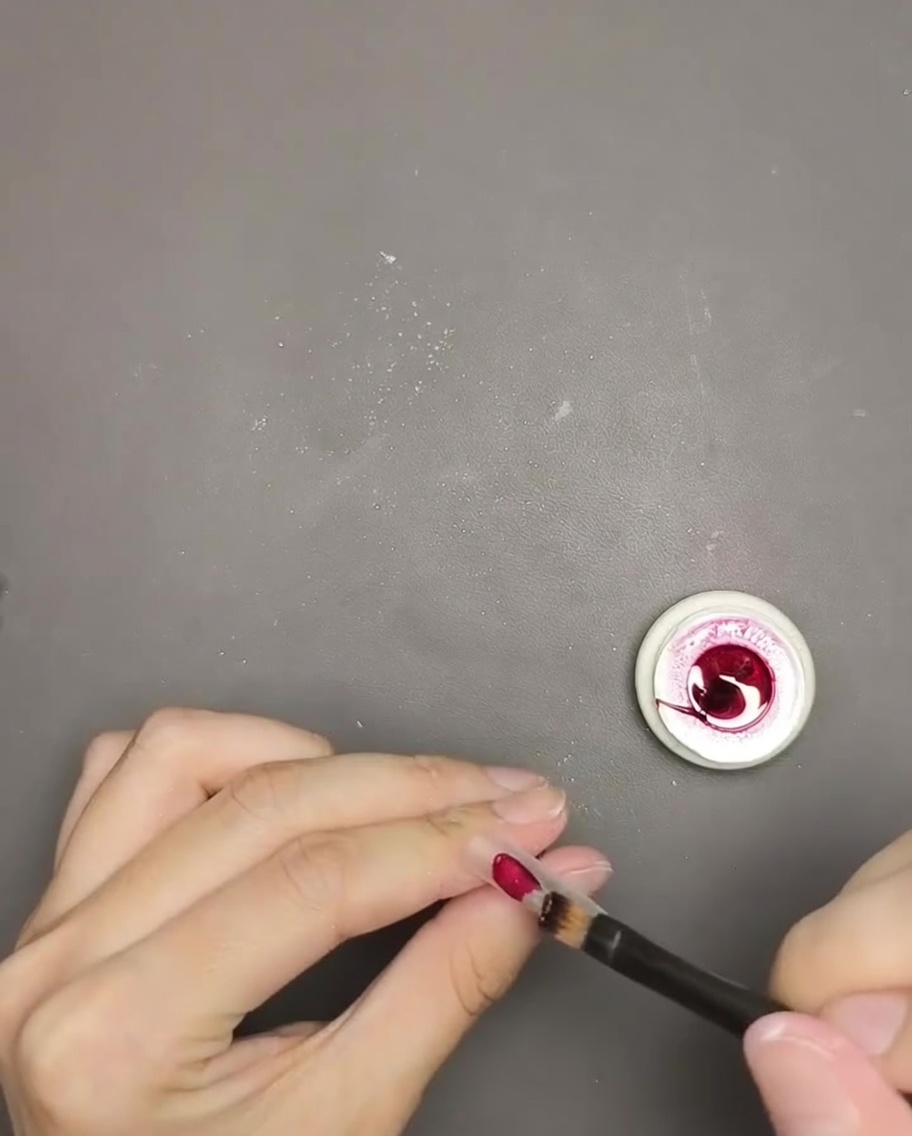
Apply a thin, even coat of red cat eye gel polish over the nail surface. Ensure the polish is applied smoothly and covers the entire nail plate, taking care to avoid the cuticle area for a clean, professional finish.
Tip: Apply in thin layers to ensure the cat eye magnetic particles have enough room to move freely during the next step. - 2Create cat eye effect with magnet
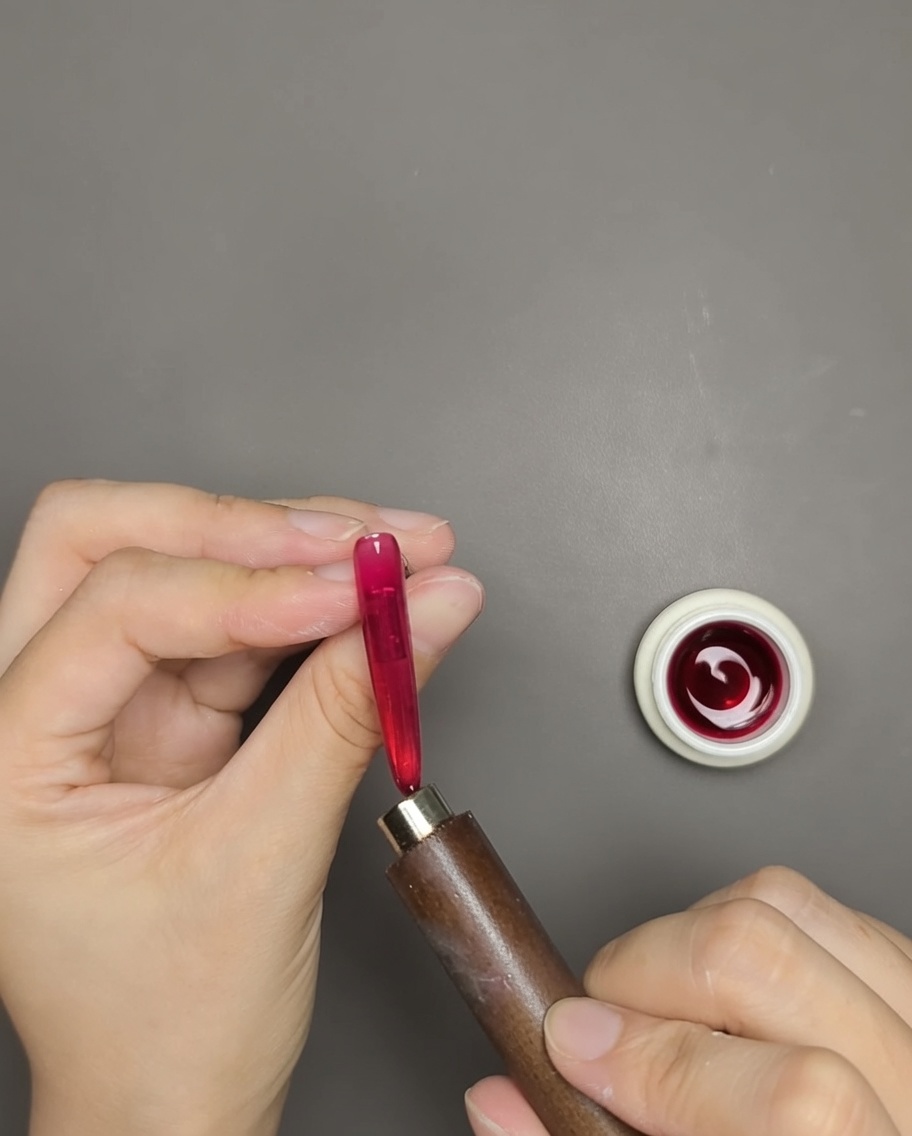
Before curing the gel, hold the magnetic tool close to the nail surface without touching it. The magnetic particles in the gel will shift, creating the signature glowing cat eye effect. Hold the magnet in your desired position for a few seconds until the pattern is set, then cure immediately.
Tip: Experiment with the angle of the magnet to create different light patterns like a diagonal line, an X shape, or a deep cat-eye highlight. - 3Apply stamping polish to plate
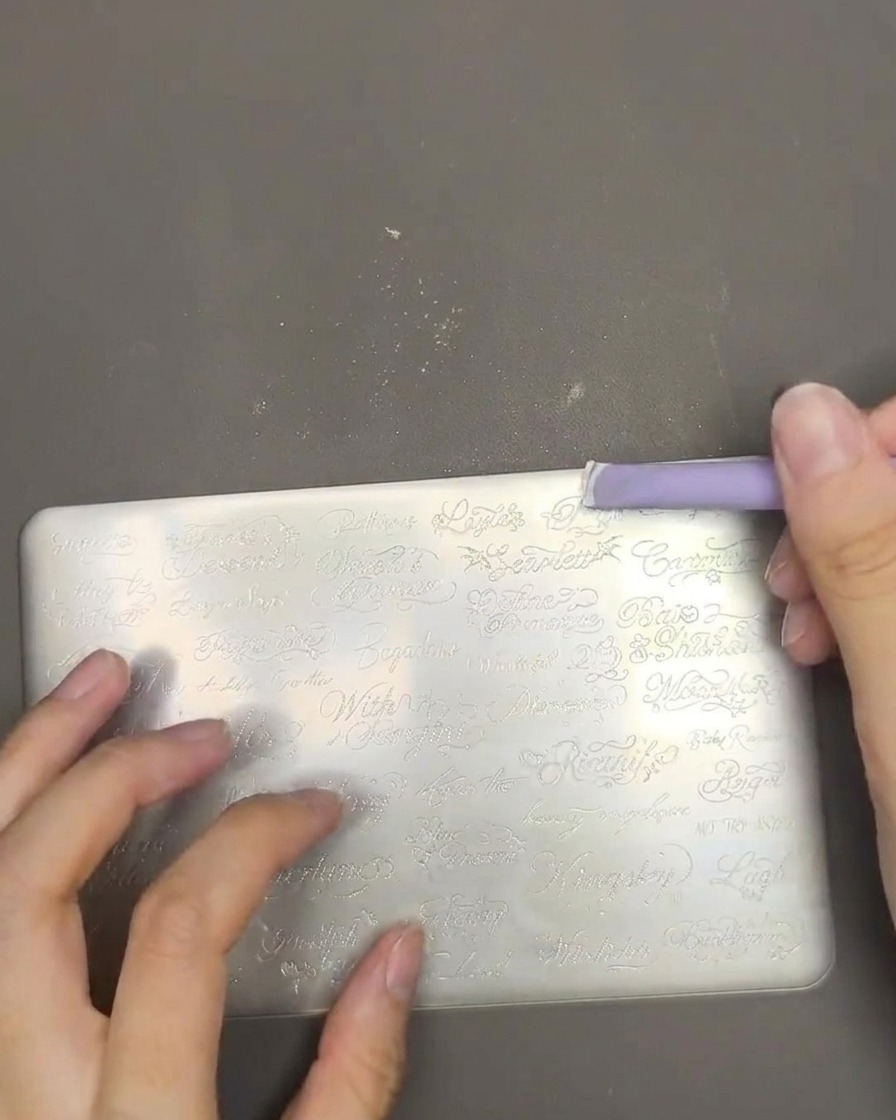
Select your desired English lettering design on the metal stamping plate. Apply a generous amount of white stamping polish directly over the etched design. Use a scraper to quickly spread the polish across the design, ensuring all grooves are filled.
Tip: Work quickly once you apply the stamping polish, as it tends to dry faster than regular nail polish. - 4Scrape excess polish
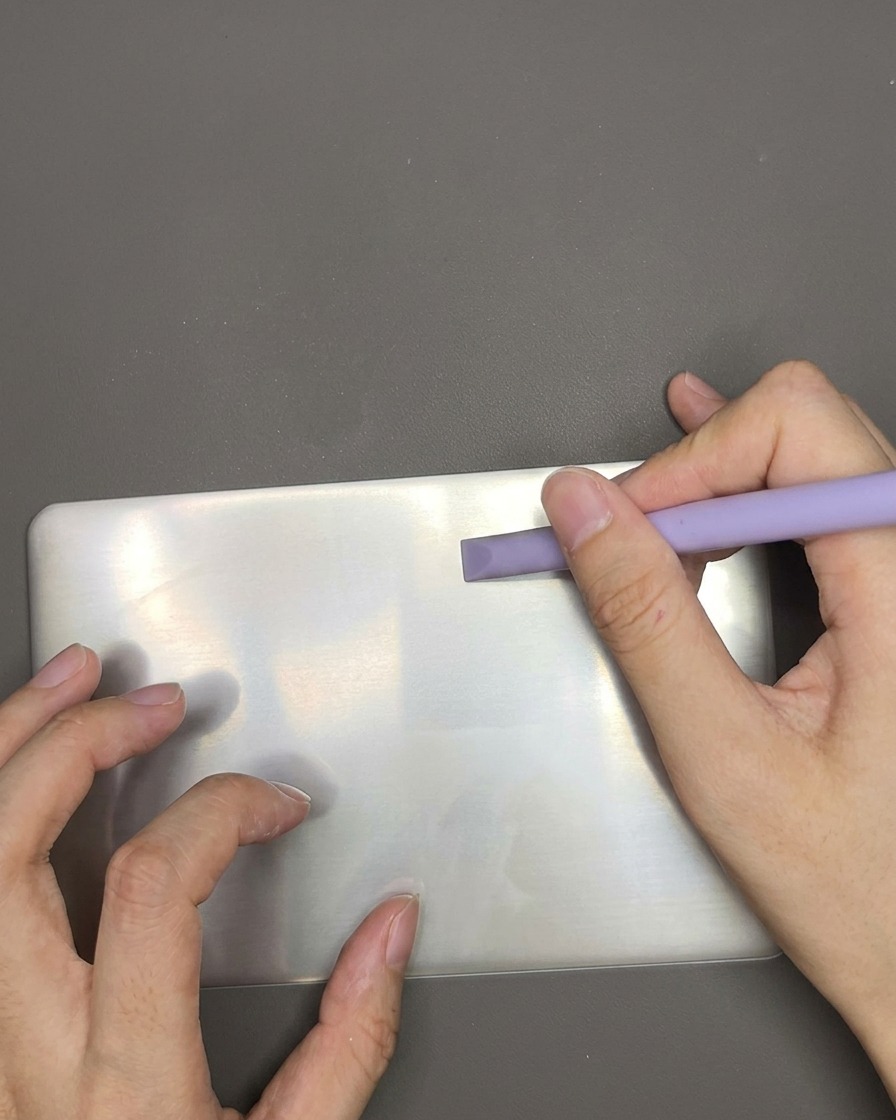
Hold the scraper at a 45-degree angle and use firm, even pressure to swipe across the stamping plate. This removes the excess white polish from the surface of the plate, leaving the design filled with polish ready for transfer.
Tip: A clean scrape is essential for a sharp design. If you see streaks, you may need to apply a bit more pressure or clean your scraper with acetone. - 5Pick up design with stamper
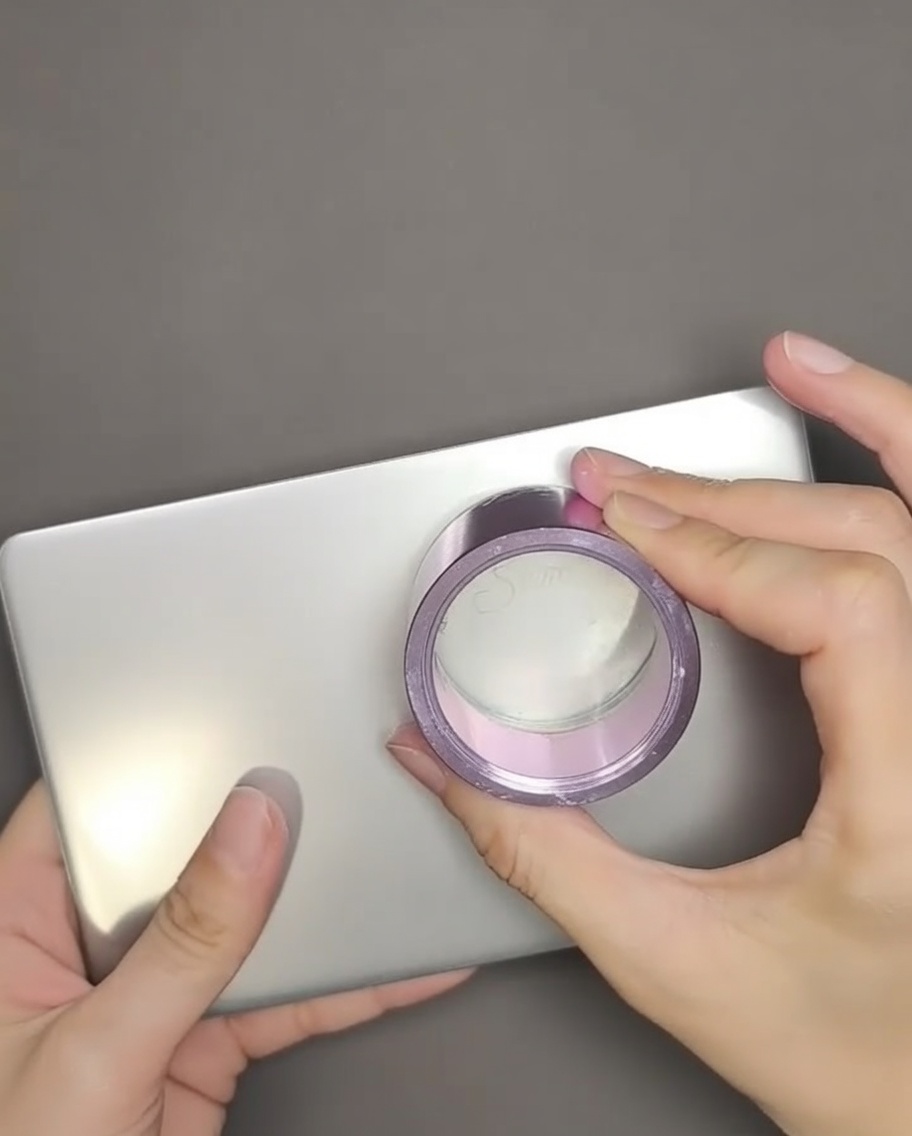
Take your clear silicone stamper and press it firmly and evenly onto the design on the stamping plate. Lift the stamper straight up to reveal the transferred white English lettering on the silicone head.
Tip: Using a clear stamper allows you to see exactly where you are picking up the design, which is helpful for placement. - 6Apply stamping polish to stamper
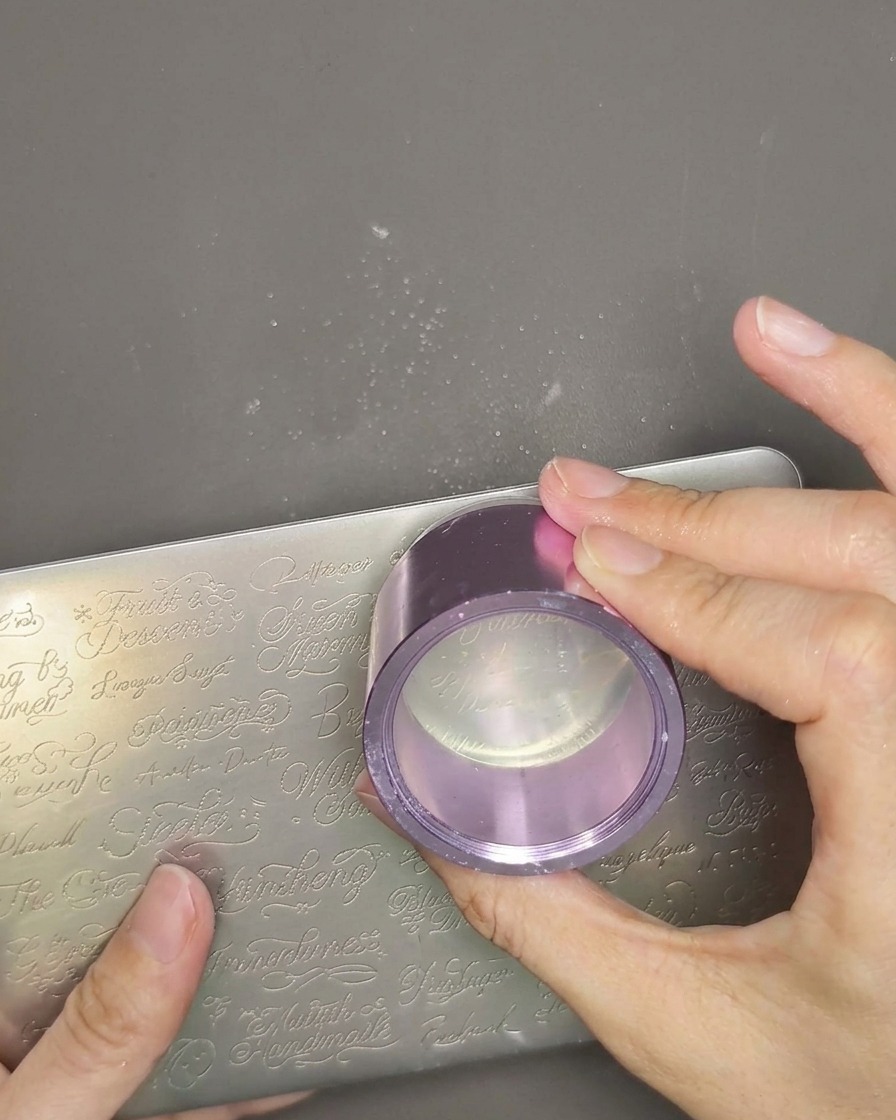
Take the clear stamper head that already has the English text design picked up from the stamping plate. Apply a thin, even layer of white stamping polish directly over the design on the stamper head. Ensure the polish covers all the fine details of the lettering so it transfers clearly to the nail.
Tip: Work quickly once you apply the polish, as stamping polish can dry fast, which might affect the clarity of the transfer. - 7Transfer design to nail
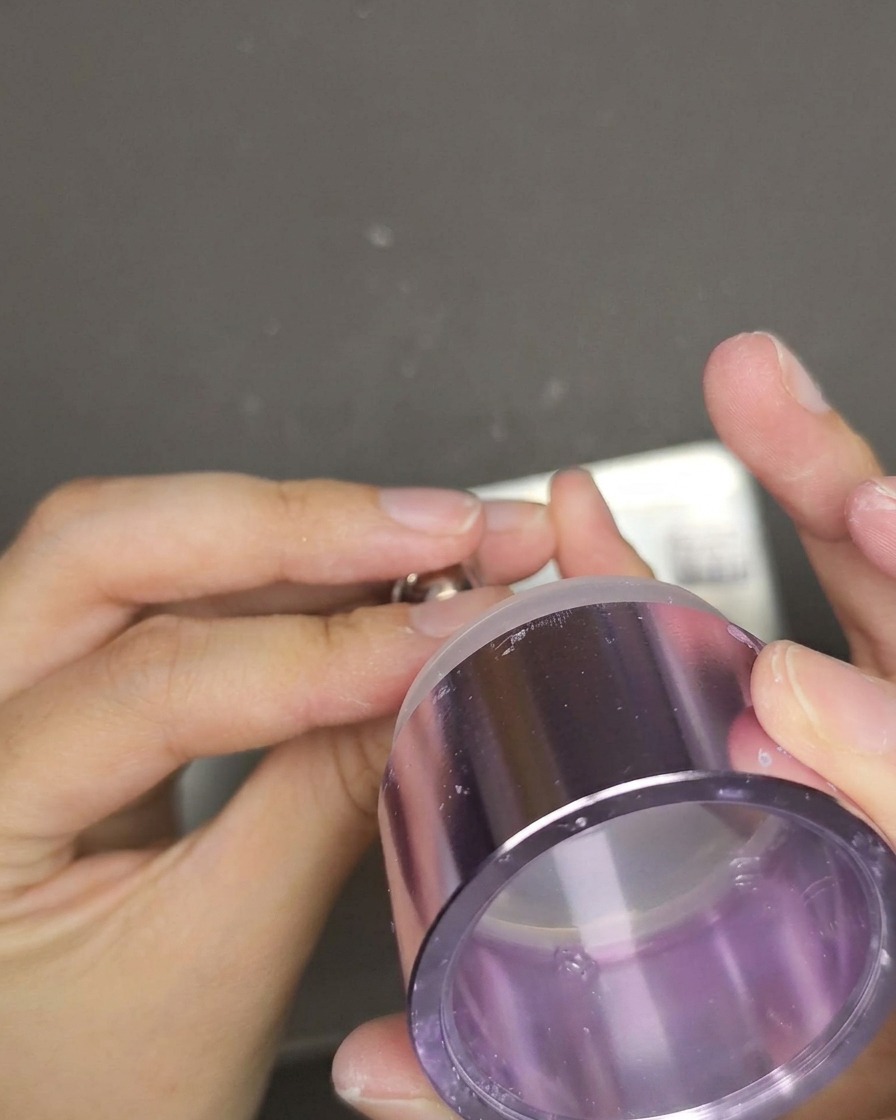
Align the clear stamper head with the desired position on your red cat eye nail. Gently but firmly press the stamper onto the nail surface to transfer the white English text. Lift the stamper straight up to reveal the crisp, stamped design on your nail.
Tip: The transparency of the stamper head is key here — look through the back of the stamper to perfectly center your text before pressing down. - 8Apply top coat
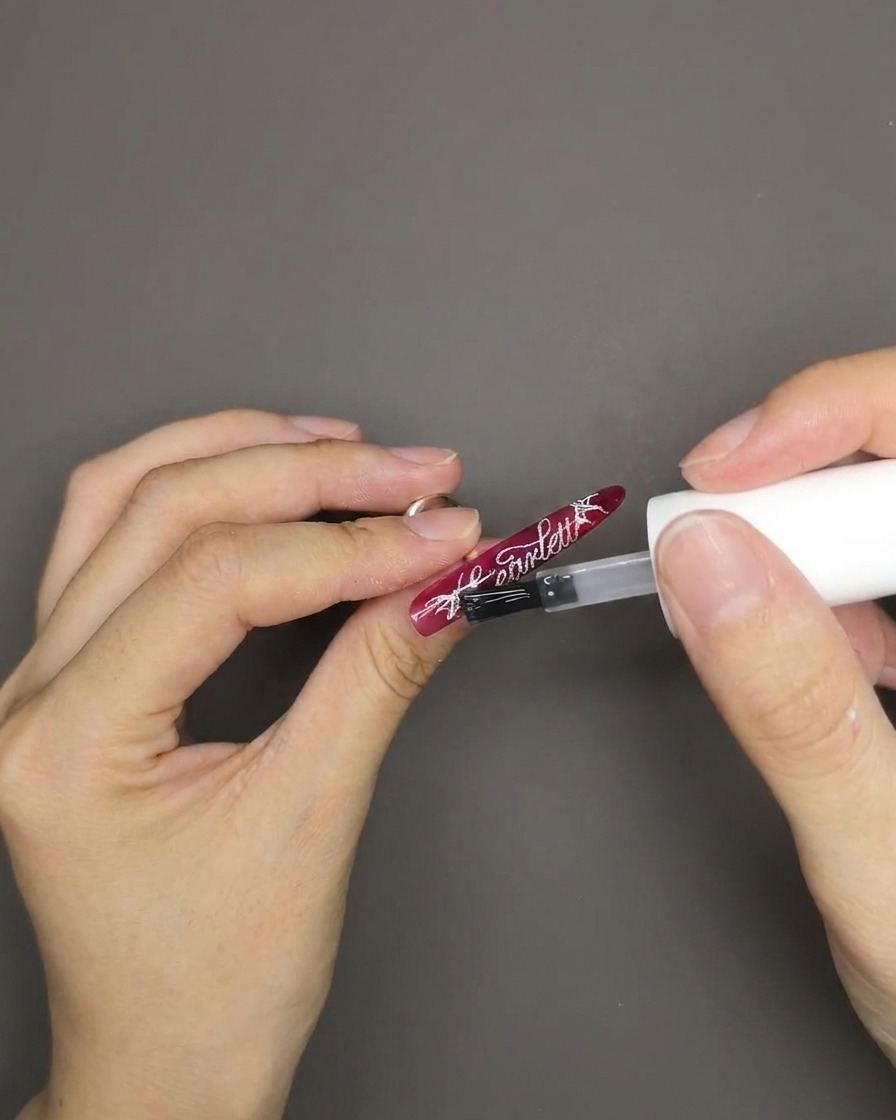
Once the stamping design is transferred, apply a generous layer of clear top coat over the entire nail. This step is crucial to protect the stamped artwork from smudging or chipping and provides a smooth, high-gloss finish that enhances the cat eye effect.
Tip: Use a light touch when applying the top coat over the stamped design to avoid dragging or smearing the delicate lettering.