Glass Rain Chrome Nail Art — Trendy 3D Texture Tutorial
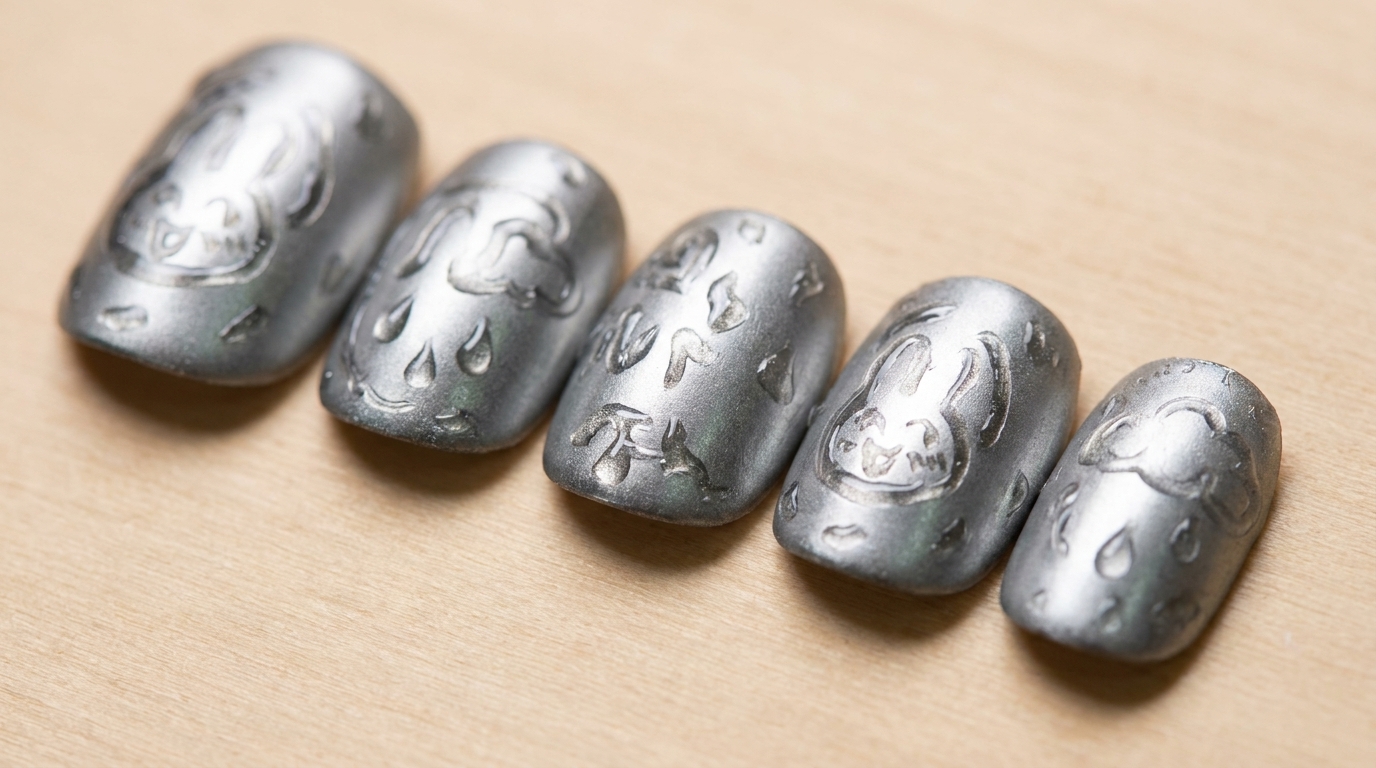
Discover the dreamy glass rain nail trend. This tutorial shows you how to combine silver chrome with raised, glossy rain-themed designs for a foggy glass look.
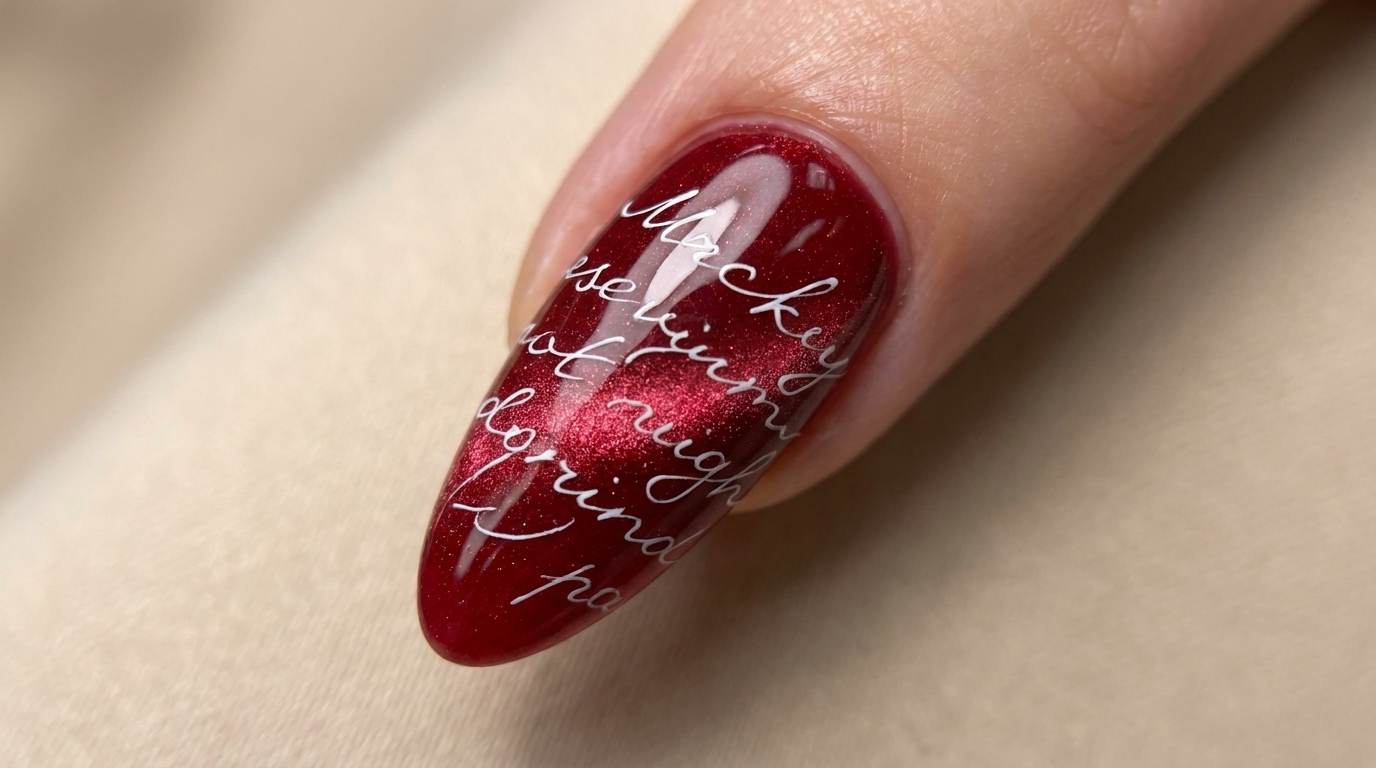
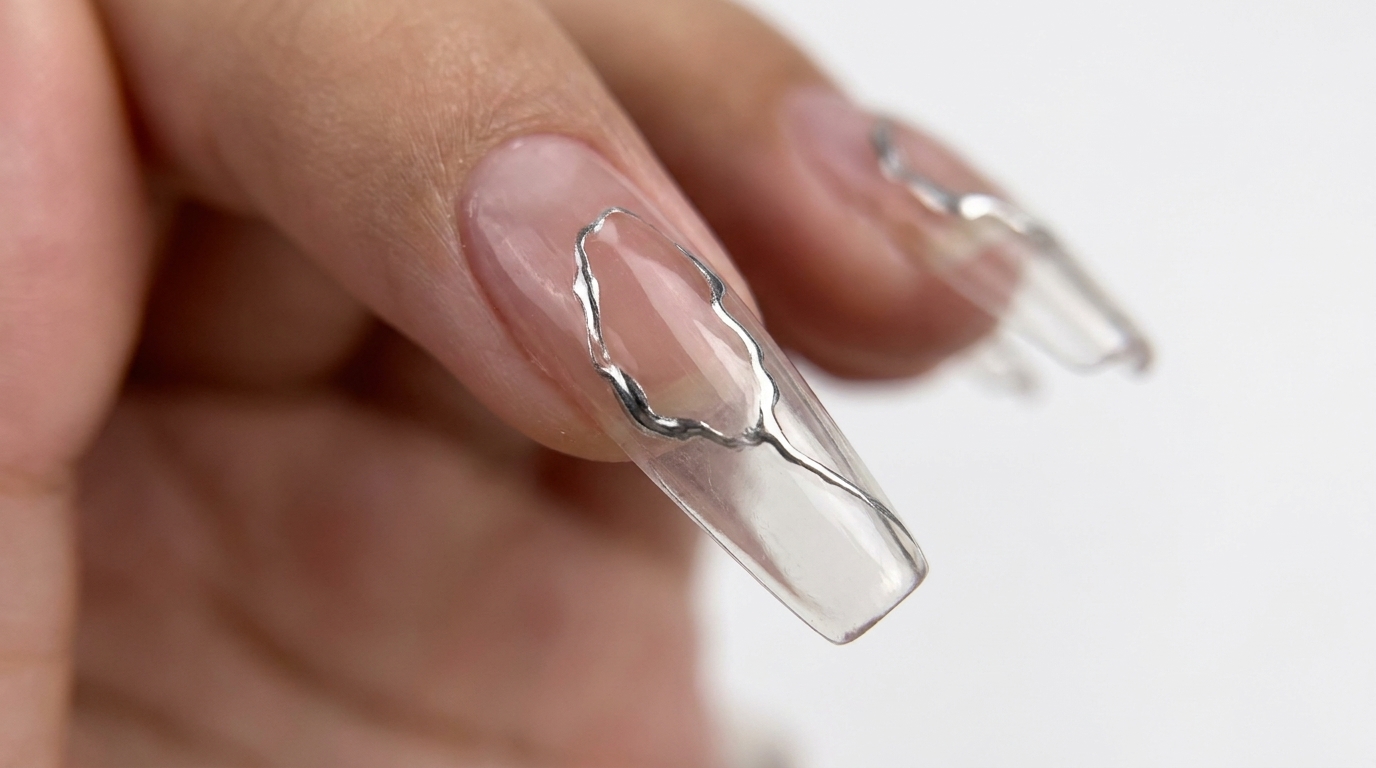
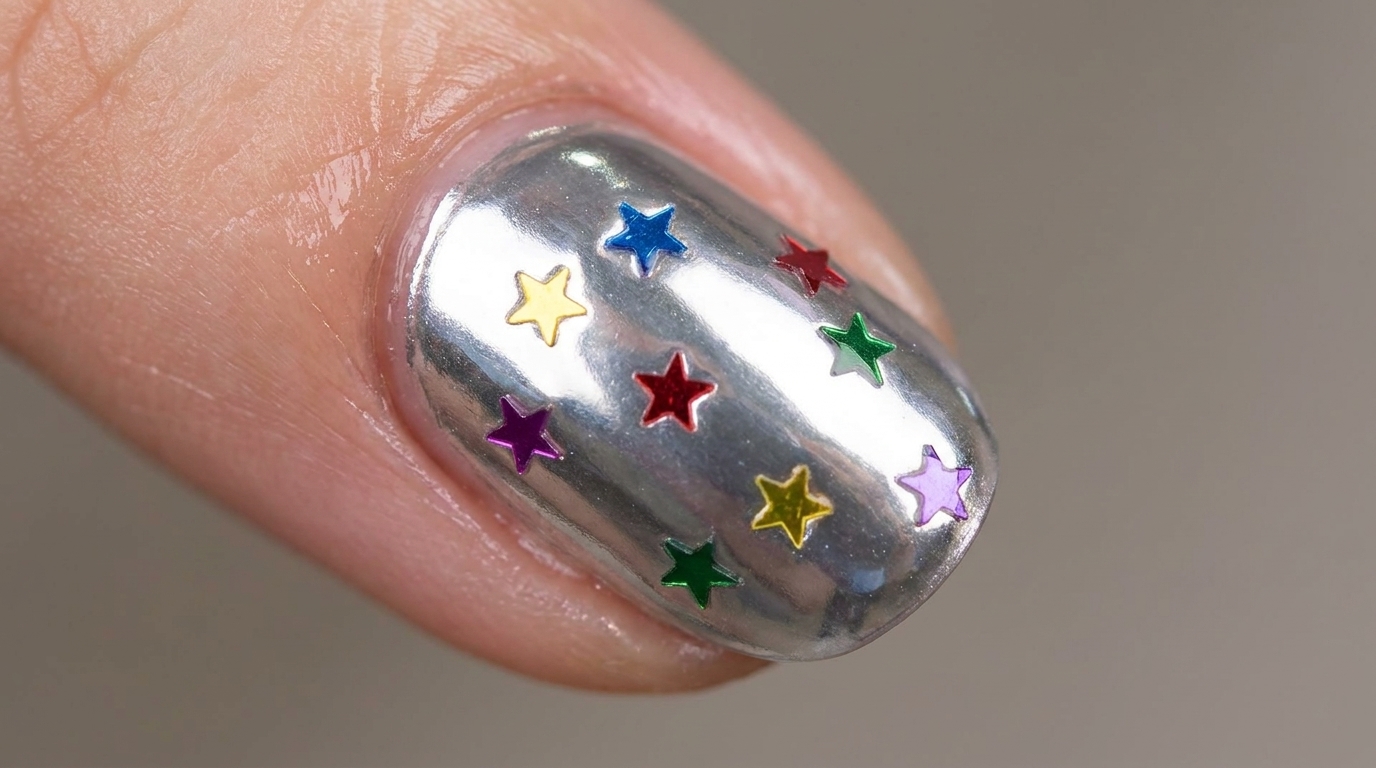
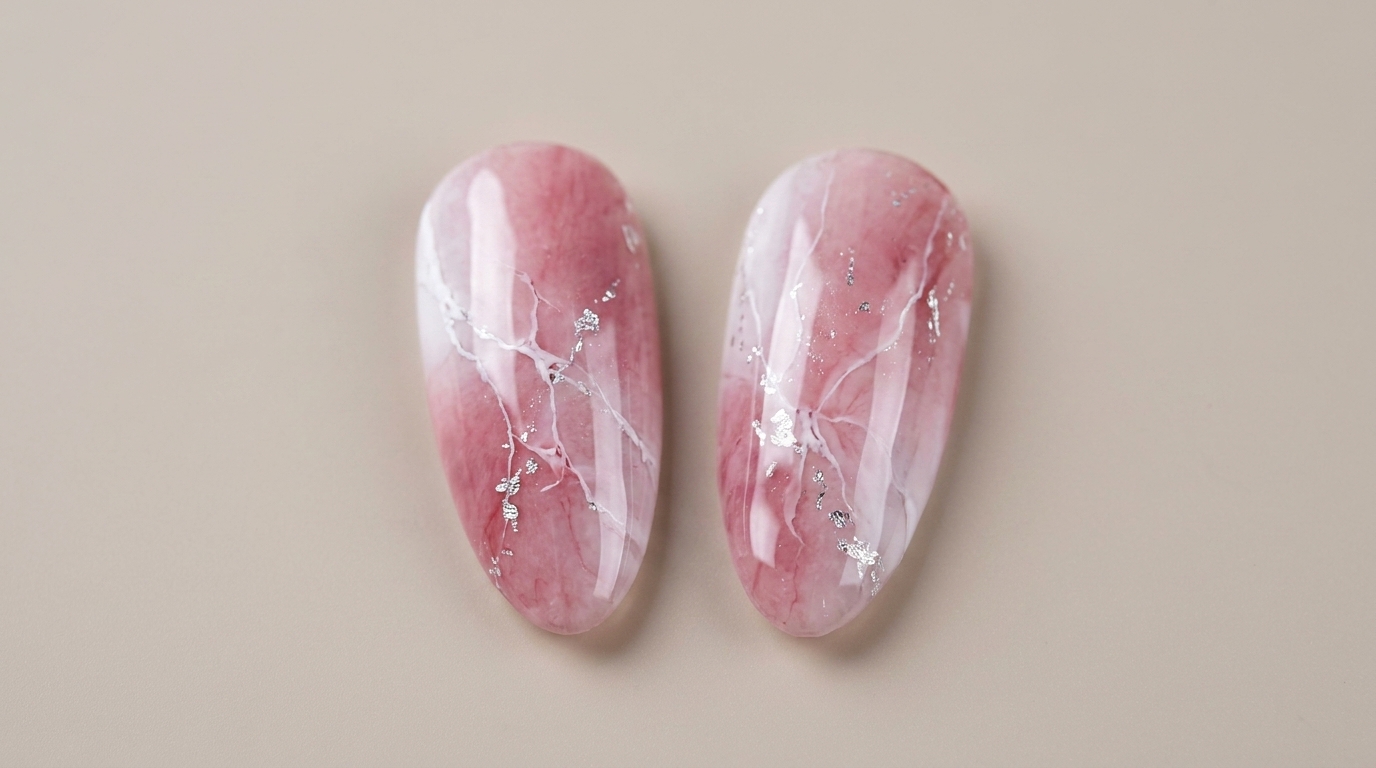
The glass rain nail trend has taken the beauty world by storm, blending a sleek metallic base with whimsical, raised texture. This look creates a beautiful contrast between the matte chrome finish and the glossy, dew-like patterns on top. It is a stunning, sophisticated way to elevate your manicure with 3D nail art.
Steps
- 1Clean and prep the nails
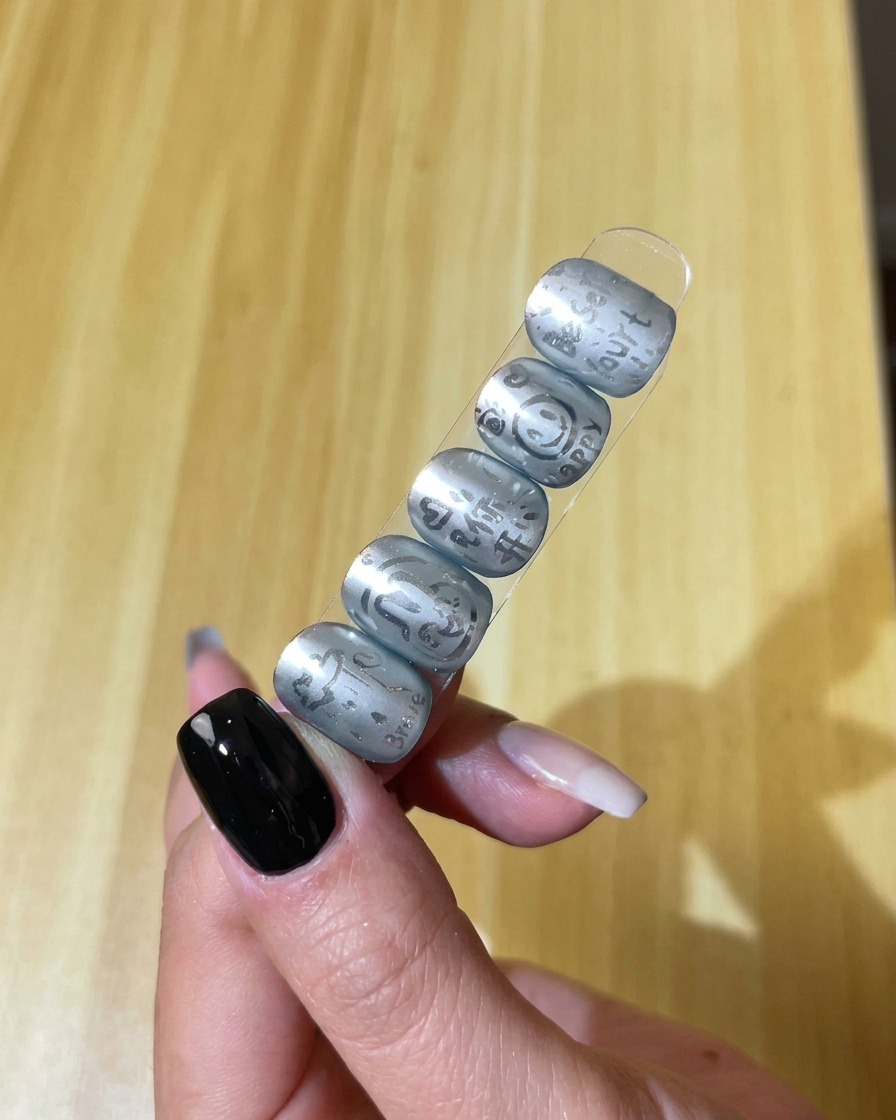
Ensure your nails are clean, dry, and free of any old polish or oils. Gently push back your cuticles and buff the surface of your nails to create a slightly textured area for the gel base to adhere properly.
Tip: A clean, prepped surface is essential to prevent your gel manicure from lifting or peeling early. - 2Apply black gel base coat
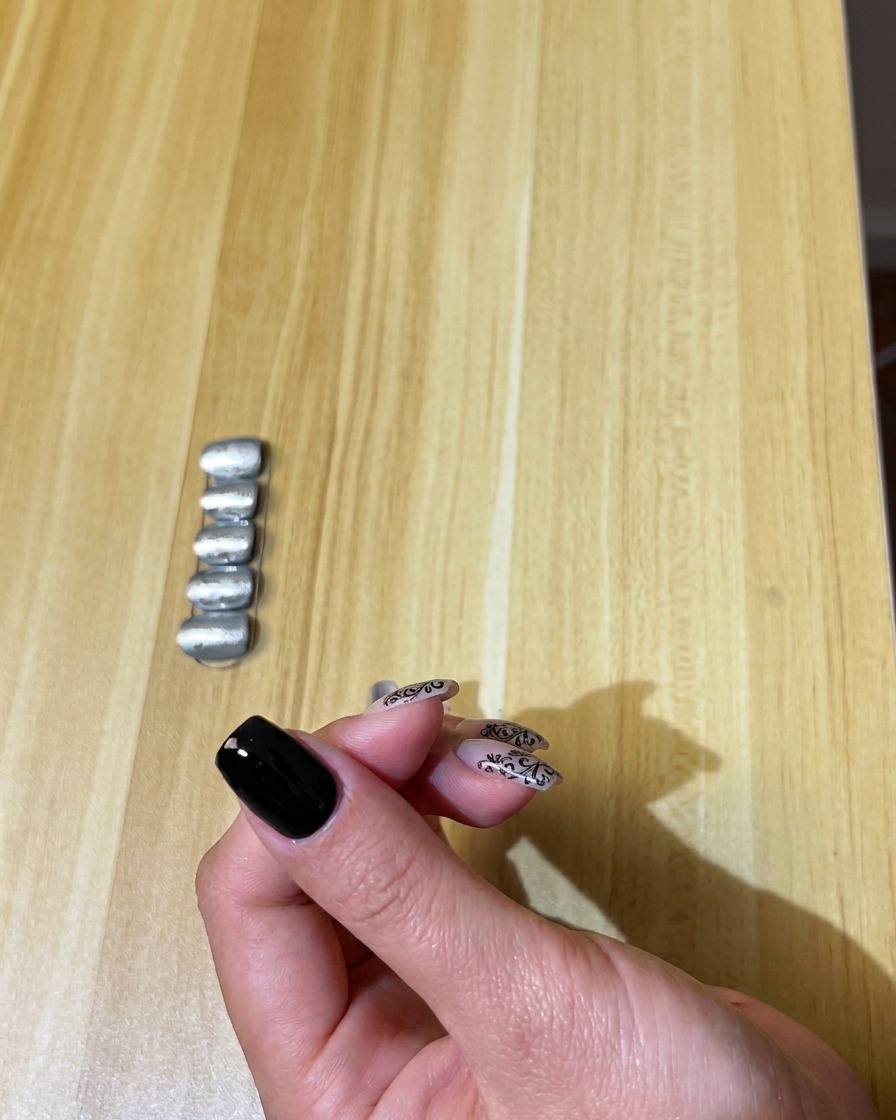
Paint a thin, even layer of black gel polish over the entire surface of each nail. Be careful to avoid the skin around your cuticles and the sides of your nails, and cap the free edge for better wear.
Tip: Applying thin layers is key to a smooth, professional finish and ensures the gel cures correctly without bubbling. - 3Cure the base coat
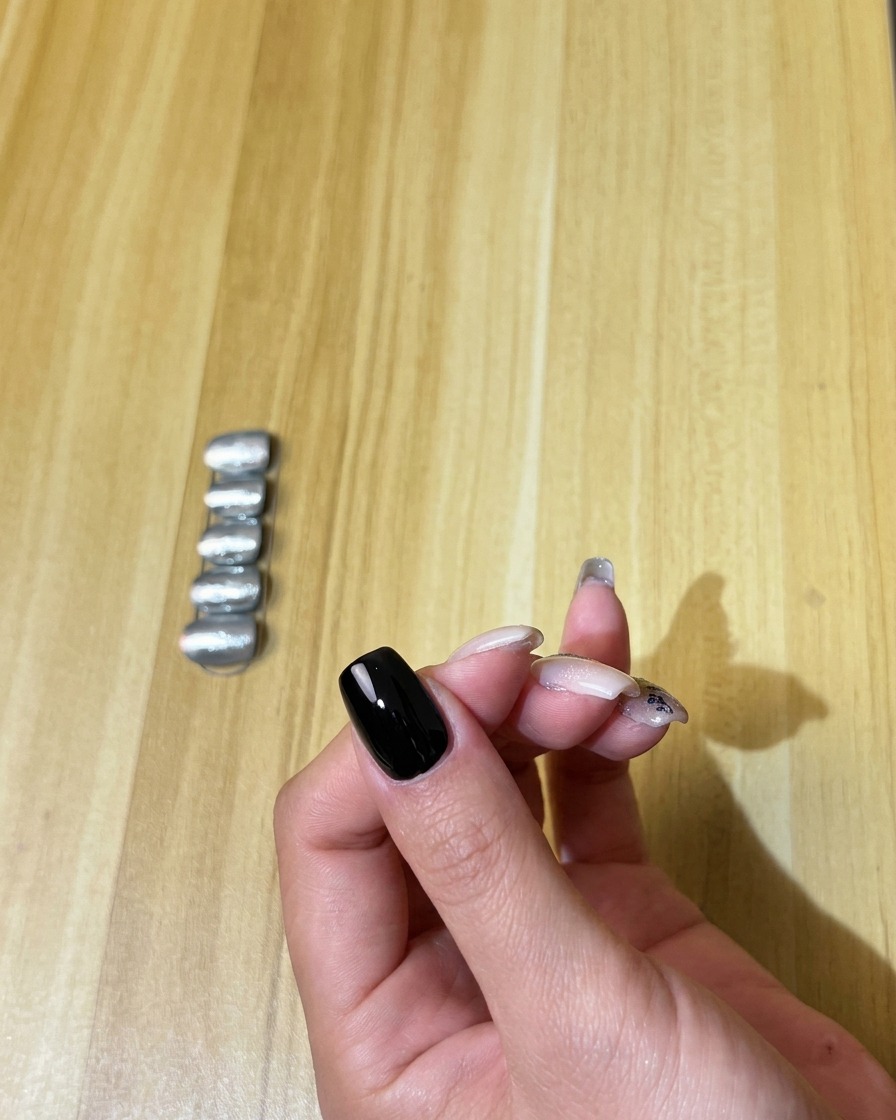
Place your hand into your UV or LED lamp and cure the black base coat for the time recommended by your polish brand. This will fully set the color and create the perfect dark canvas for the chrome powder.
Tip: Do not rush the curing process, as an under-cured base will cause the chrome effect to look uneven. - 4Apply no-wipe top coat
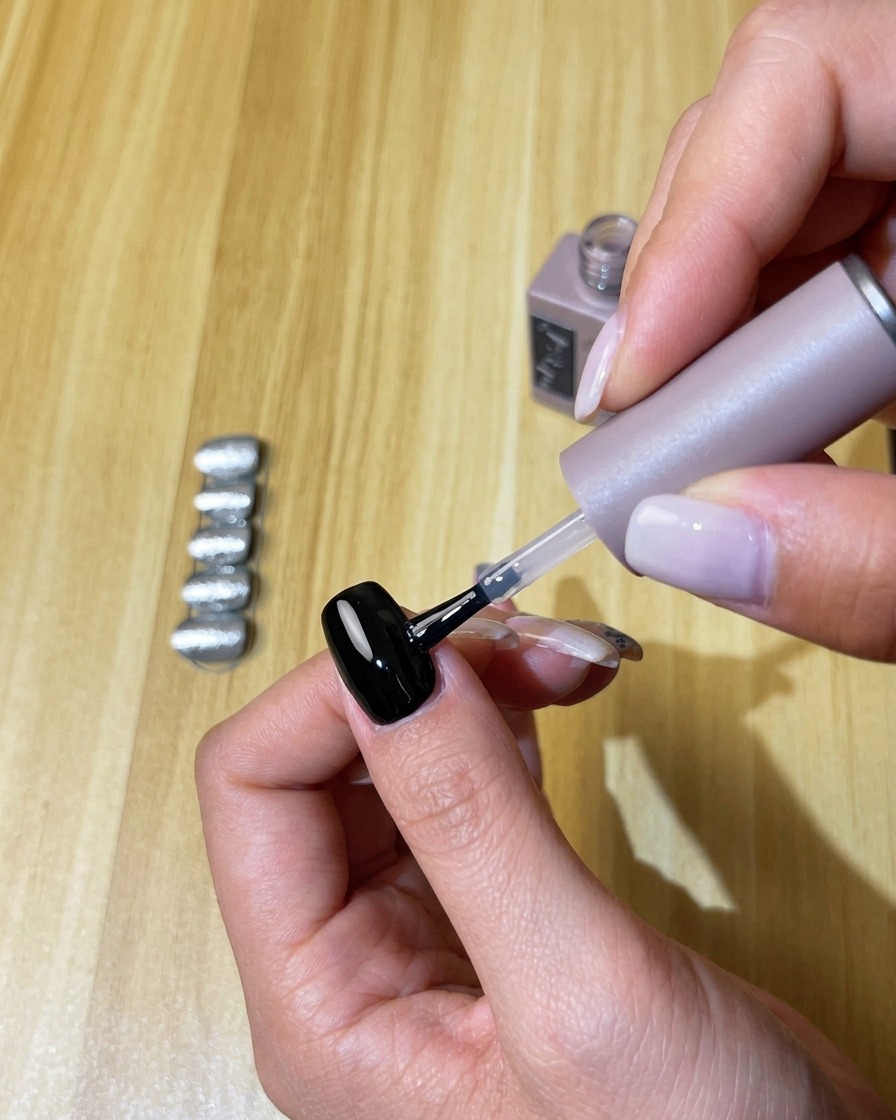
Apply a layer of no-wipe top coat over your cured black base. It is crucial to use a no-wipe formula, as this provides the smooth, non-tacky surface needed for the chrome powder to adhere perfectly.
Tip: Check that the top coat is evenly applied across the entire nail for a flawless chrome mirror effect. - 5Apply silver chrome powder
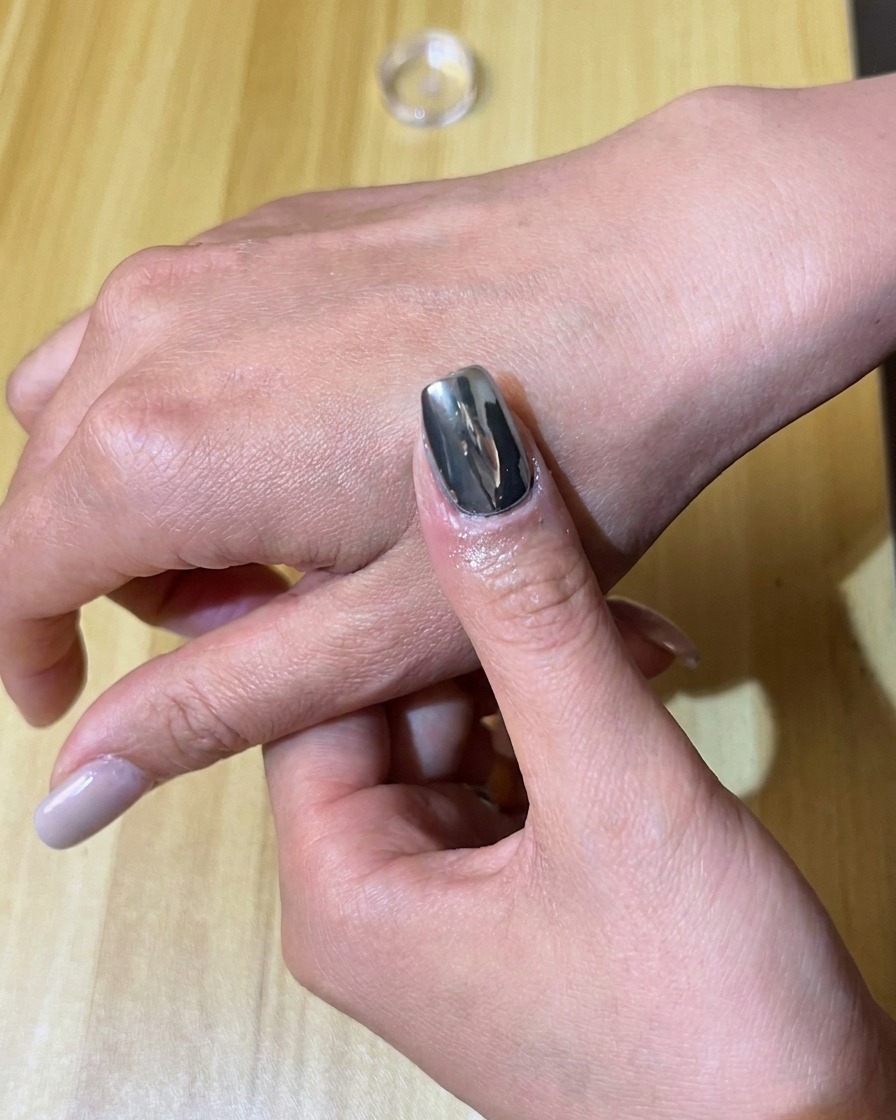
Use a sponge applicator to pick up a small amount of silver chrome powder. Gently rub it over the entire surface of the nail in circular motions until you achieve a smooth, mirror-like chrome shine.
Tip: A little powder goes a long way—start with a small amount and add more as needed to get full coverage. - 6Remove excess powder
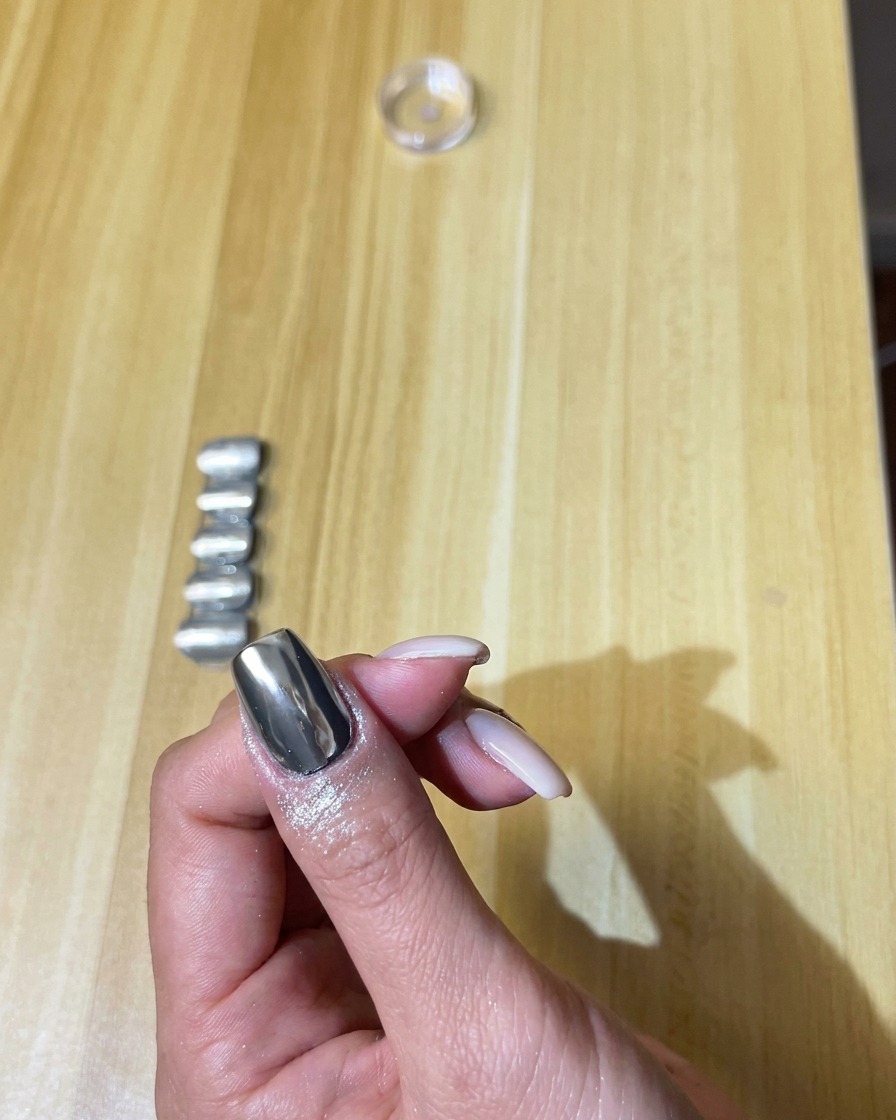
Once the nail has a full mirror finish, use a soft, fluffy brush to gently sweep away any loose chrome particles from the nail surface and around your cuticles.
Tip: Removing all the loose powder before sealing is important to prevent smudging and ensure your top coat stays clear. - 7Seal the chrome with builder gel
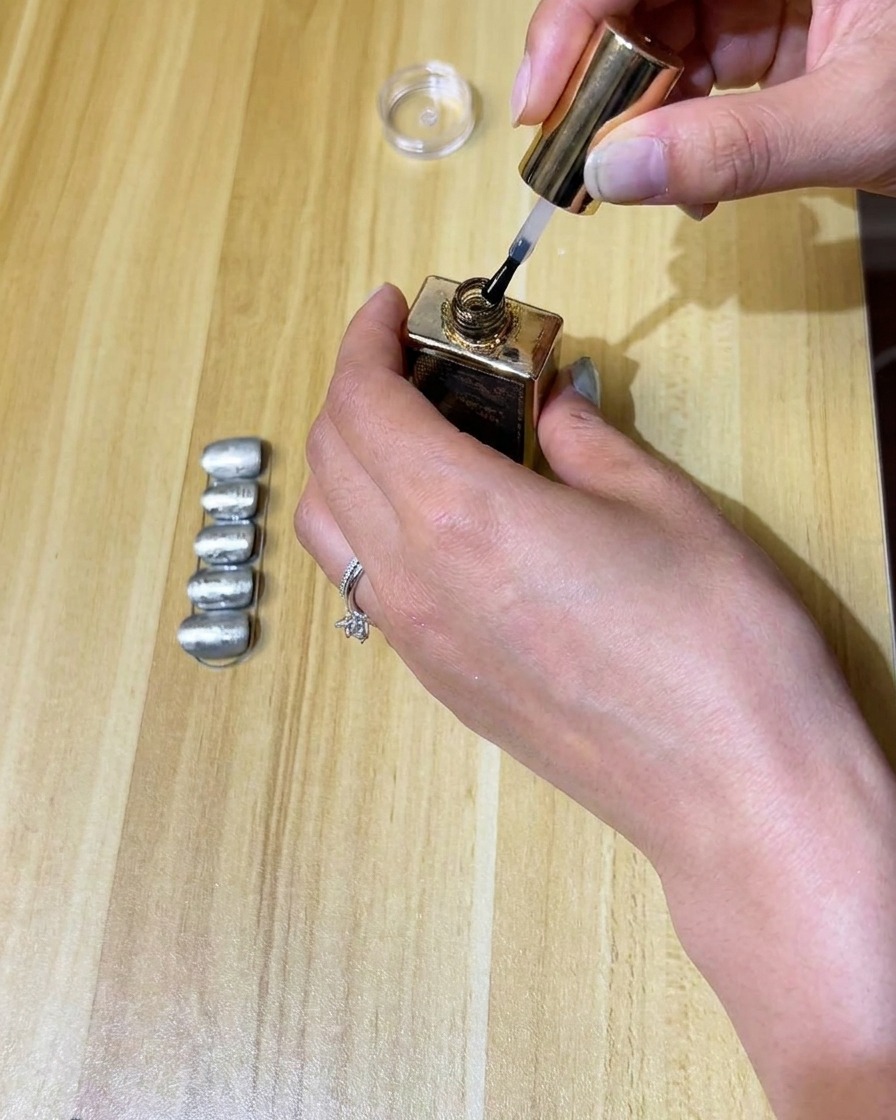
Apply a thin layer of structure or builder gel over the entire nail surface, ensuring you cap the free edge thoroughly. This step is essential to lock in the chrome powder and prevent it from peeling or wearing off prematurely. Cure under your lamp as recommended by the gel product instructions.
Tip: Be extra careful to seal the very tip of the nail, as this is the most common area for chrome to chip. - 8Cure the builder gel
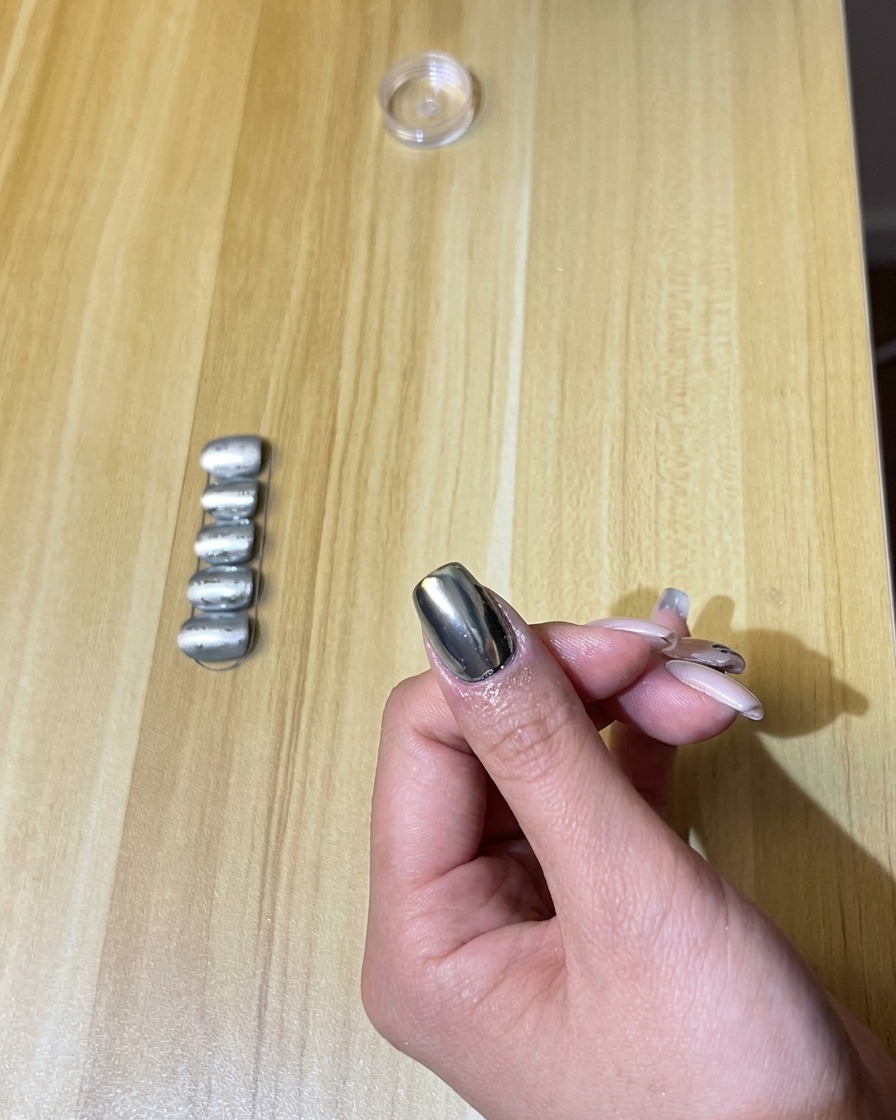
Place your nails into the UV or LED lamp and cure for the full recommended time for your builder gel. This ensures the structural layer is completely hardened, providing a durable protective seal over the chrome powder.
Tip: Keep your fingers flat and centered in the lamp to ensure all sides of the nail cure evenly. - 9Apply matte top coat
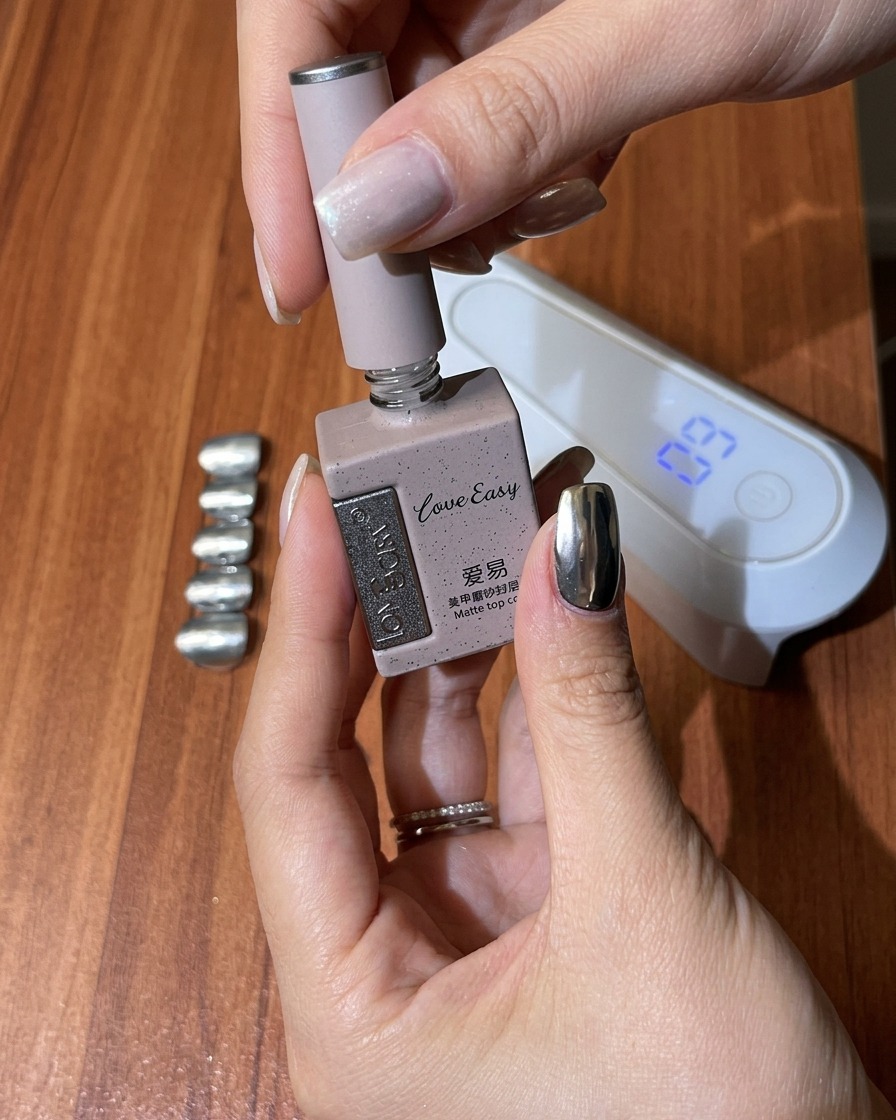
Once the builder gel is cured, apply a layer of matte top coat over the entire nail. This transforms the high-shine chrome into a soft, frosted effect, creating the foggy glass look. Ensure smooth, even coverage and cap the edges.
Tip: Apply the matte top coat in long, smooth strokes to avoid streakiness for a uniform finish. - 10Cure the matte top coat
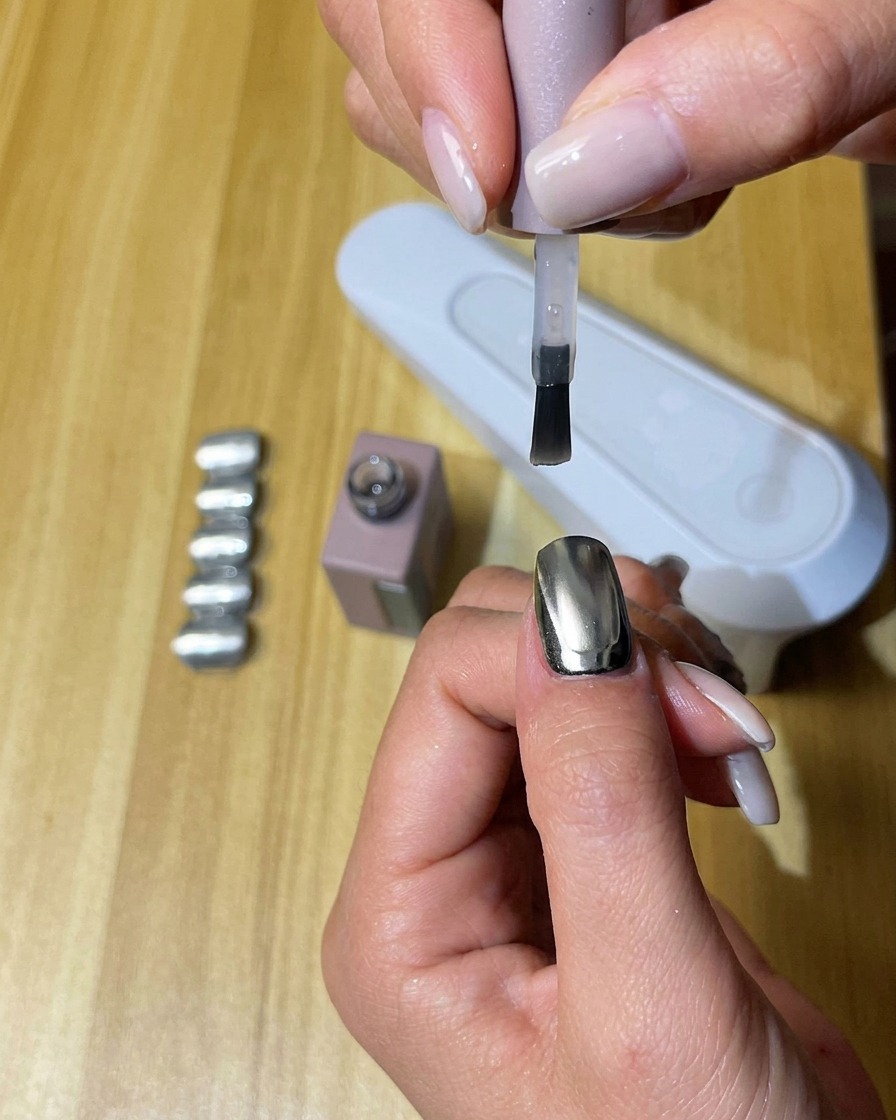
Place your nails back into the UV or LED lamp to cure the matte top coat. This step locks in the matte finish and creates the final surface ready for your nail art designs.
Tip: Ensure you wait for the full cure time to achieve a true matte effect. - 11Cleanse the nail surface
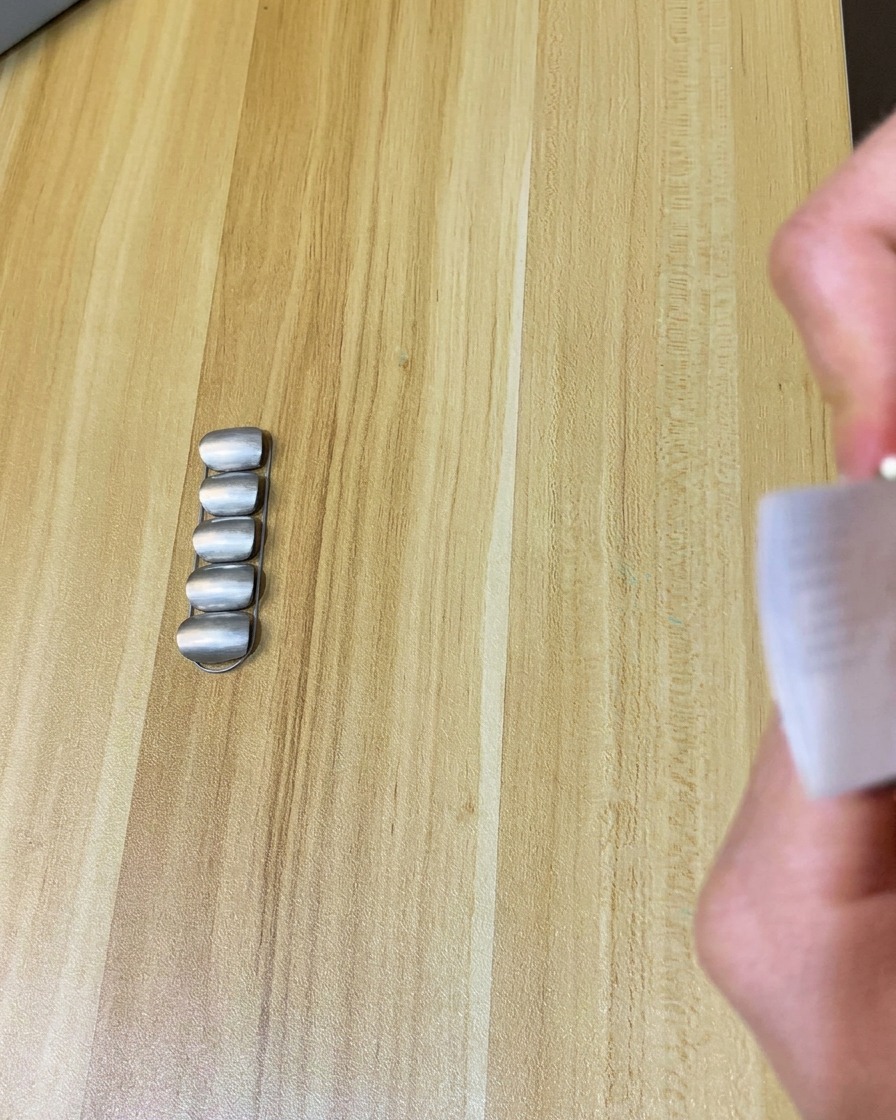
Using a lint-free wipe saturated with nail cleanser, gently wipe down the surface of each nail. This removes any tacky residue or dust, leaving a clean, perfectly matte surface ready for the final hand-painted designs.
Tip: Use a lint-free wipe to ensure no fibers get stuck to the matte finish. - 12Paint the designs
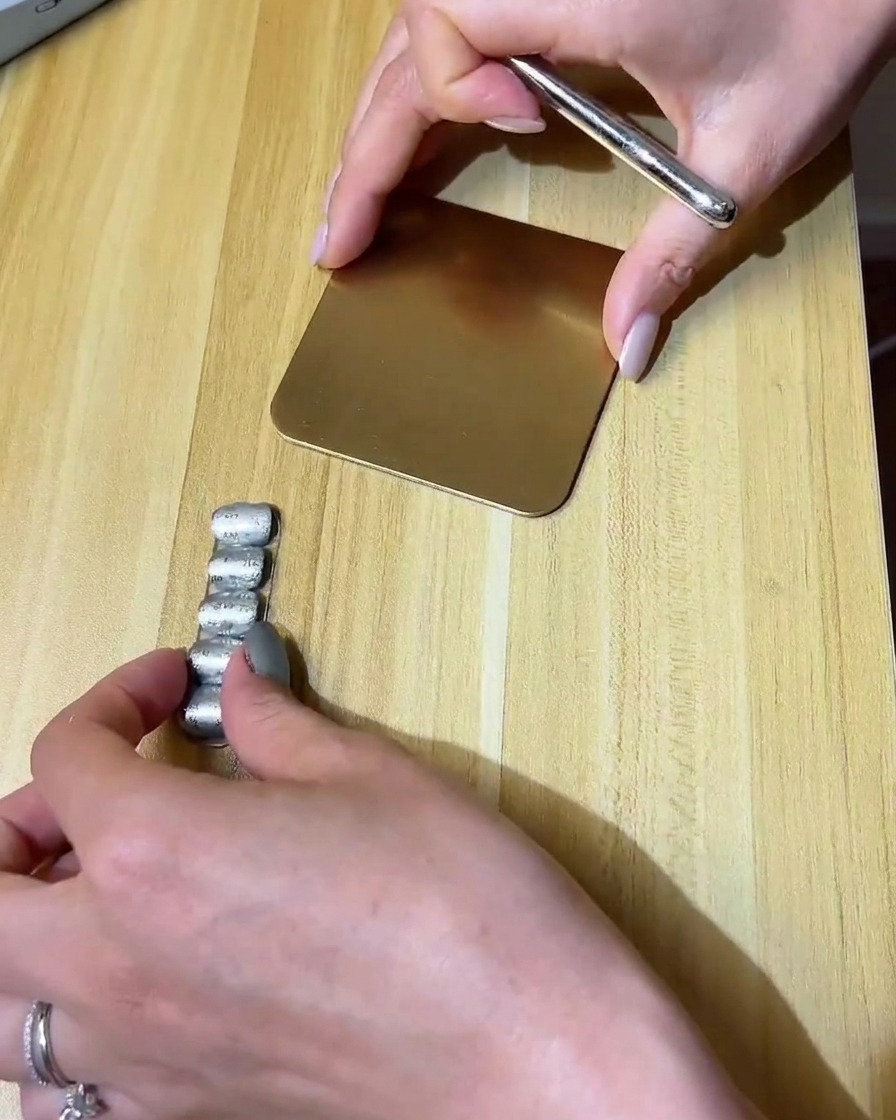
Using a fine-point liner brush and clear top coat, carefully hand-paint your desired patterns—such as cute rabbits and rain clouds—onto the matte surface. The clear gel will appear as a raised, glossy drawing on the foggy-looking matte background, creating a beautiful contrast.
Tip: Use a small amount of clear top coat on your brush to prevent the design from running and keep your lines crisp.