Chrome Powder
Star Sequin 3D Nail Art Tutorial
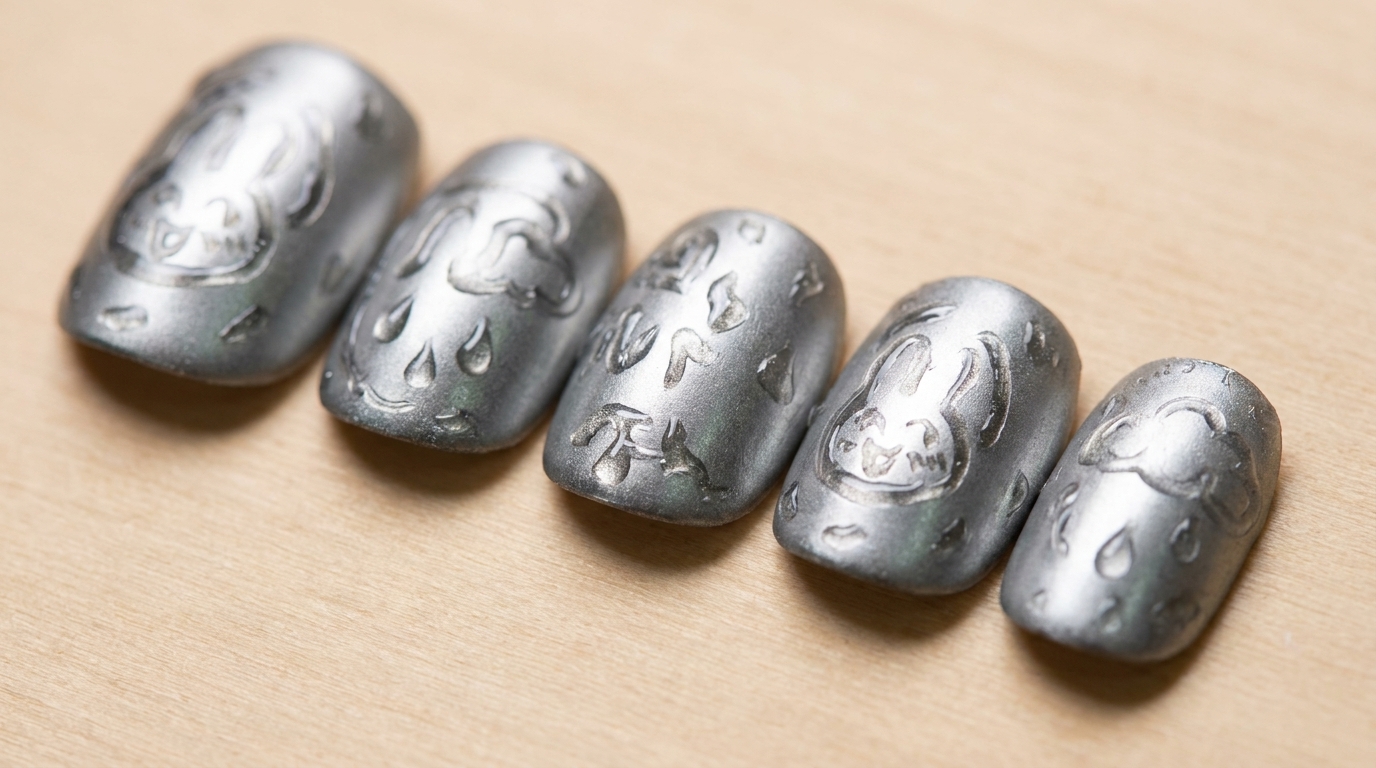
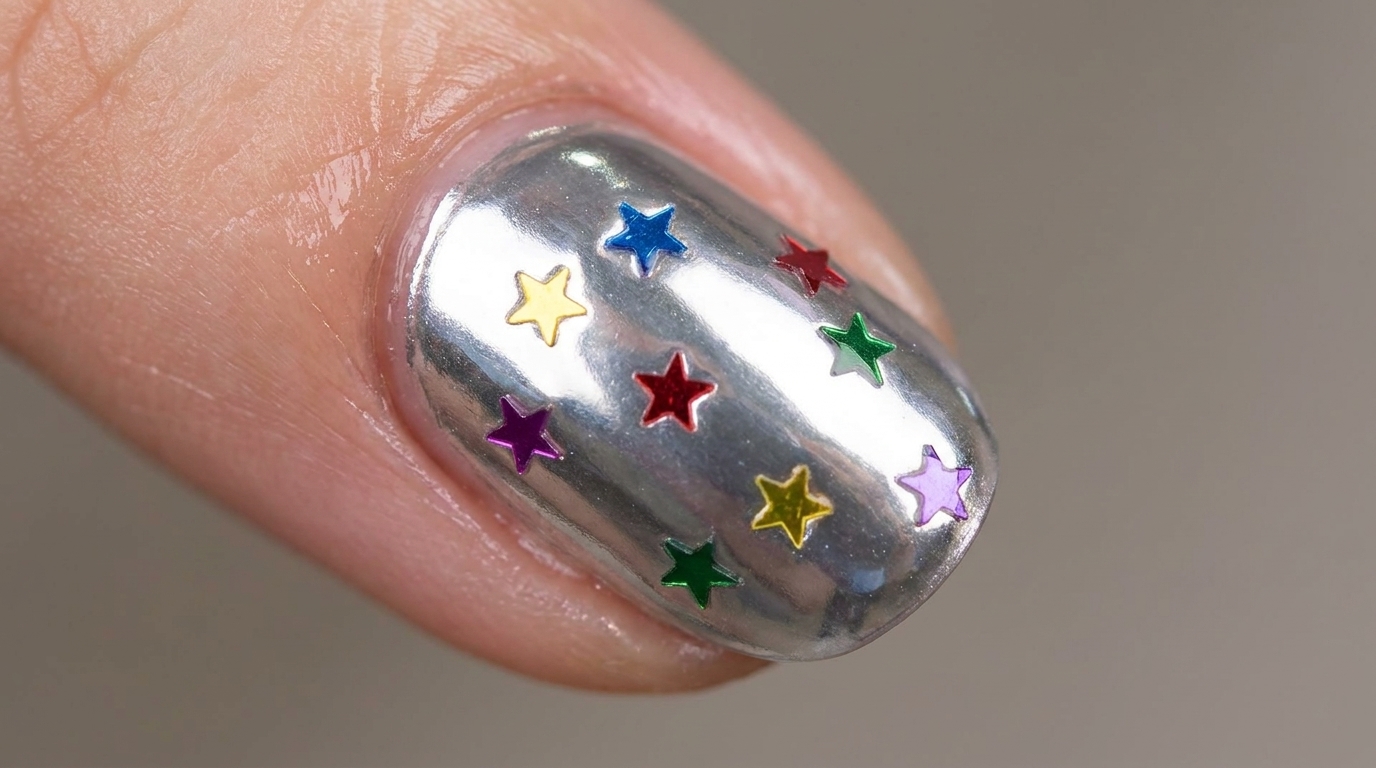
Elevate your manicure with a high-shine silver mirror finish and colorful 3D star sequins. This stunning tutorial shows you how to achieve this viral look.
The mirror-chrome look continues to dominate nail trends, but this version adds a playful, celestial twist. By combining a flawless silver reflective surface with embedded star sequins and a tinted builder gel overlay, you can create a beautiful 3D glass-like effect that looks complex but is surprisingly achievable at home.
Steps
- 1Apply nude gel polish
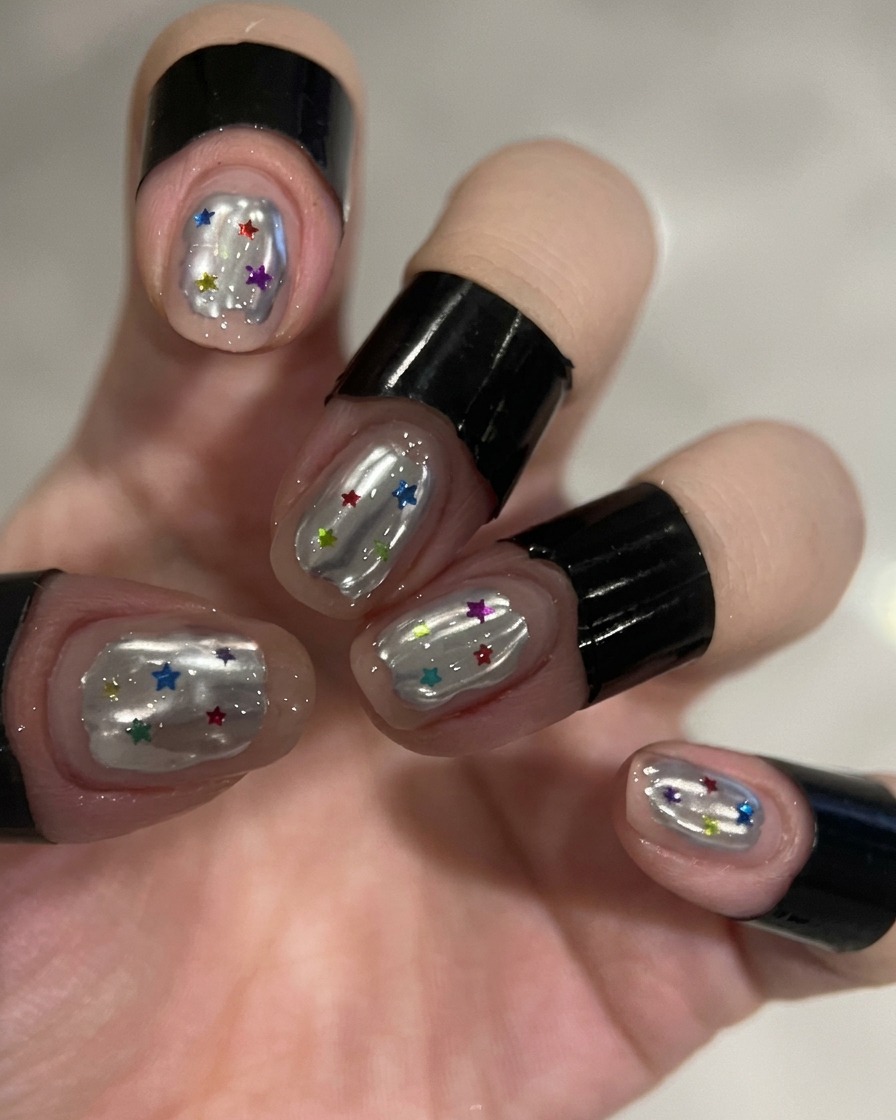
Apply a thin, even coat of nude gel polish, color 560, over your cured base coat. Ensure you cap the free edge for better durability and prevent the polish from touching the surrounding skin. Cure under your UV/LED lamp as recommended for your gel brand.
Tip: Apply in thin layers to ensure proper curing and a smooth finish without bubbling. - 2Cure the gel polish
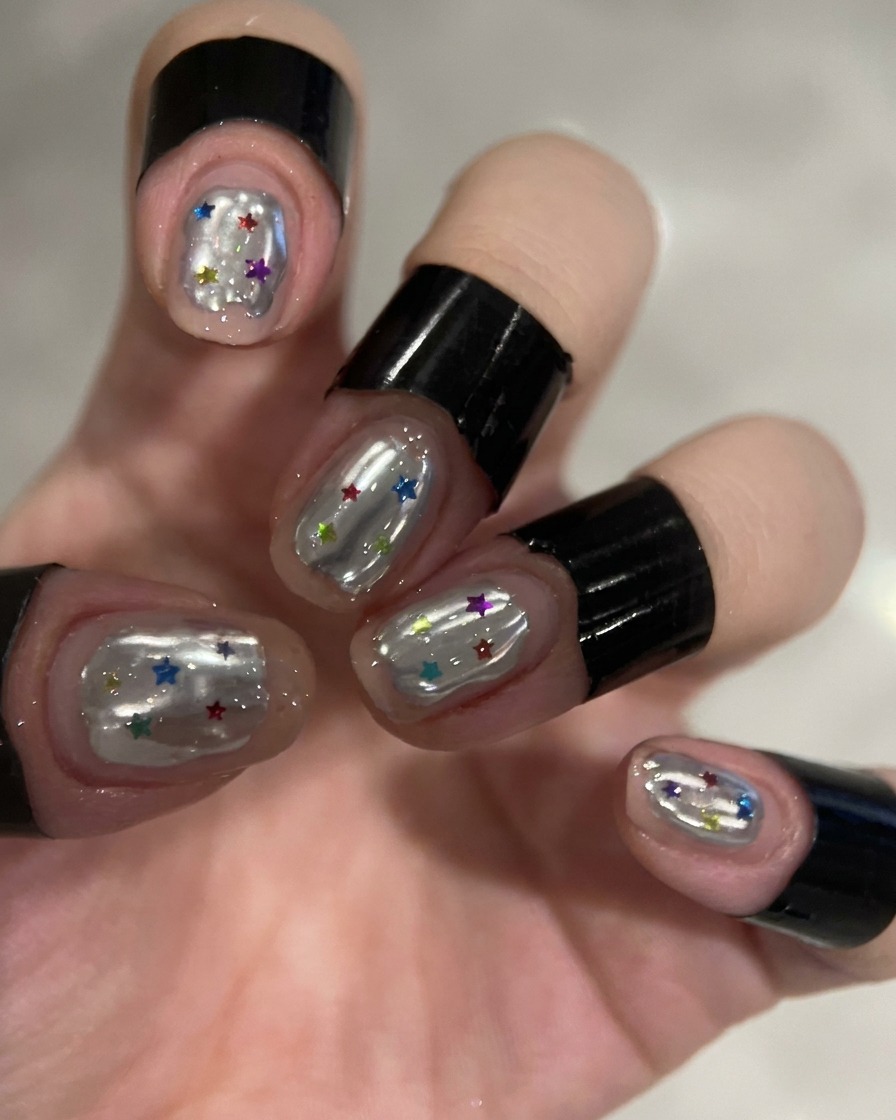
Place your fingers into the UV/LED lamp to cure the nude gel polish. Ensure all nails are positioned correctly under the lights to guarantee an even cure across the entire nail surface.
Tip: If using a small lamp, ensure your thumb is cured separately to avoid uneven hardening. - 3Draw irregular white wave
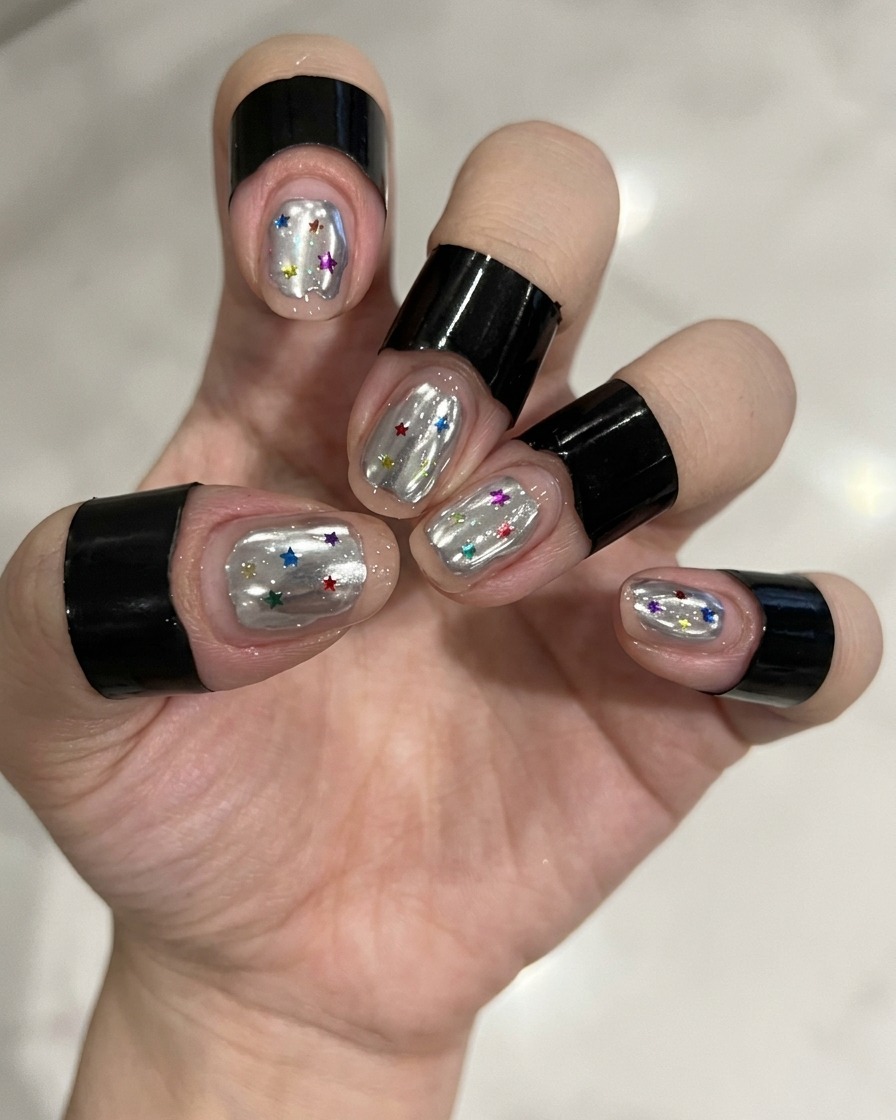
Using a fine liner brush and white gel polish, draw an irregular, abstract wave pattern onto the cured nude base. The lines do not need to be perfect; the irregular design adds to the final artistic look. Cure briefly after drawing.
Tip: Keep your hand steady by resting your pinky finger on the table while drawing the fine lines. - 4Cure the wave design
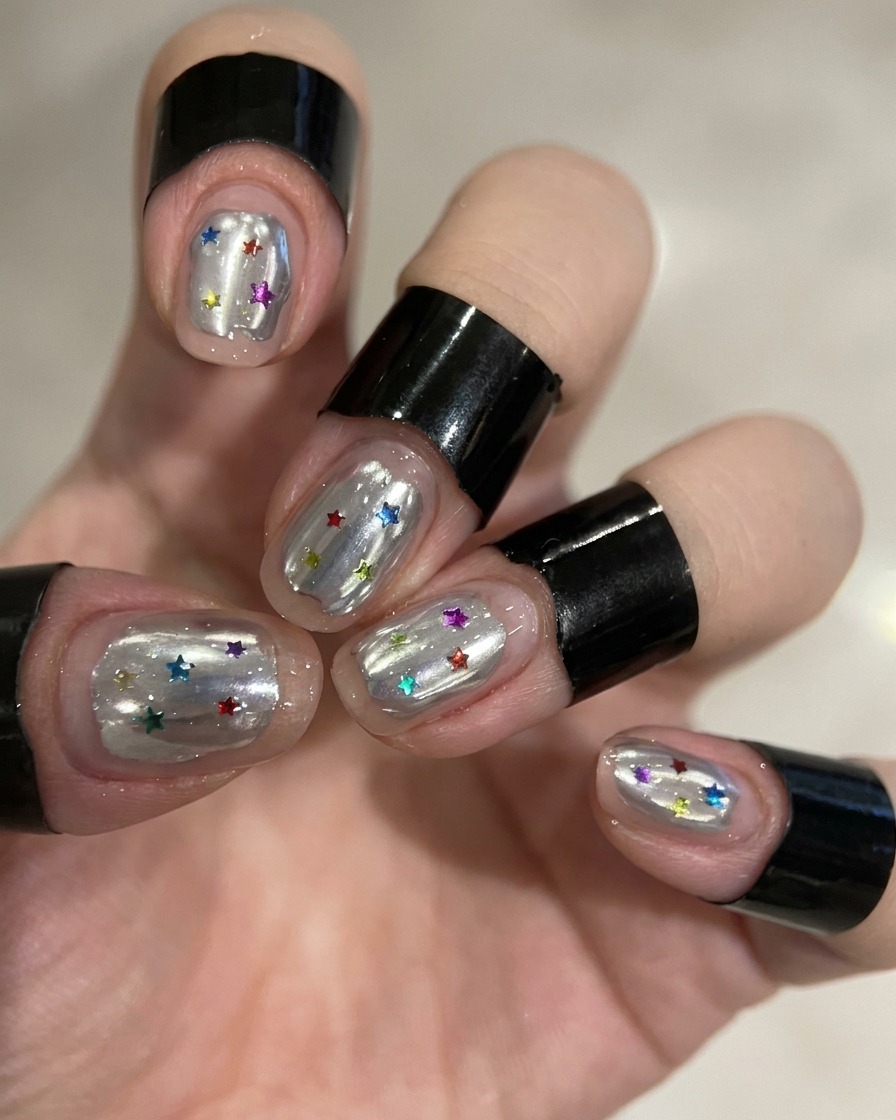
Place the nails back into the UV/LED lamp to fully cure the white gel wave pattern. This ensures the design is set before moving on to the chrome application.
Tip: A full cure at this stage prevents the design from smearing when applying the powder later. - 5Apply non-wipe top coat
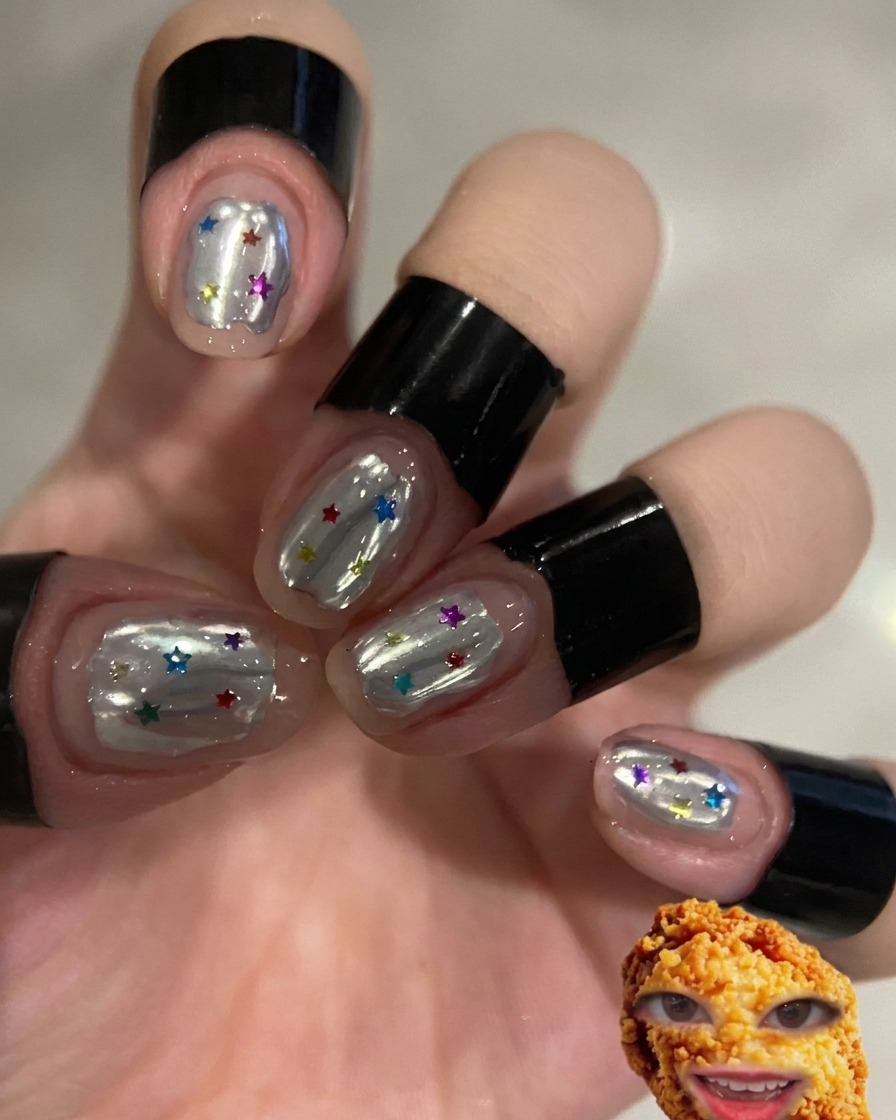
Apply a layer of non-wipe Russian powder top coat over the nails featuring the white wave design. Cure thoroughly under the lamp. This top coat provides the smooth, non-sticky surface necessary for the chrome powder to adhere correctly.
Tip: Ensure the entire surface is covered evenly to prevent patches when applying the chrome. - 6Apply silver chrome powder
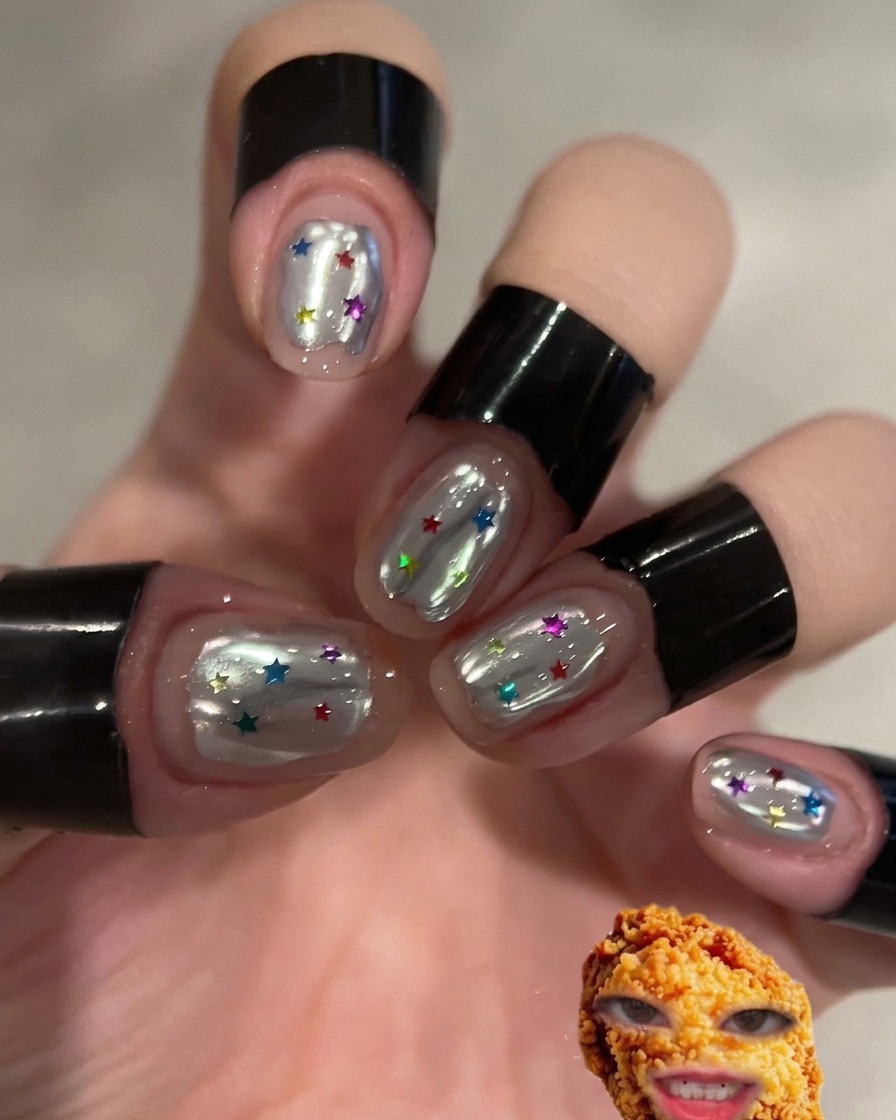
Using your finger, gently rub the silver chrome powder over the non-wipe top coat surface. Use circular motions to ensure even coverage until the entire nail achieves a smooth, reflective mirror finish.
Tip: Apply light pressure to prevent streaking the chrome effect. - 7Buff away excess powder
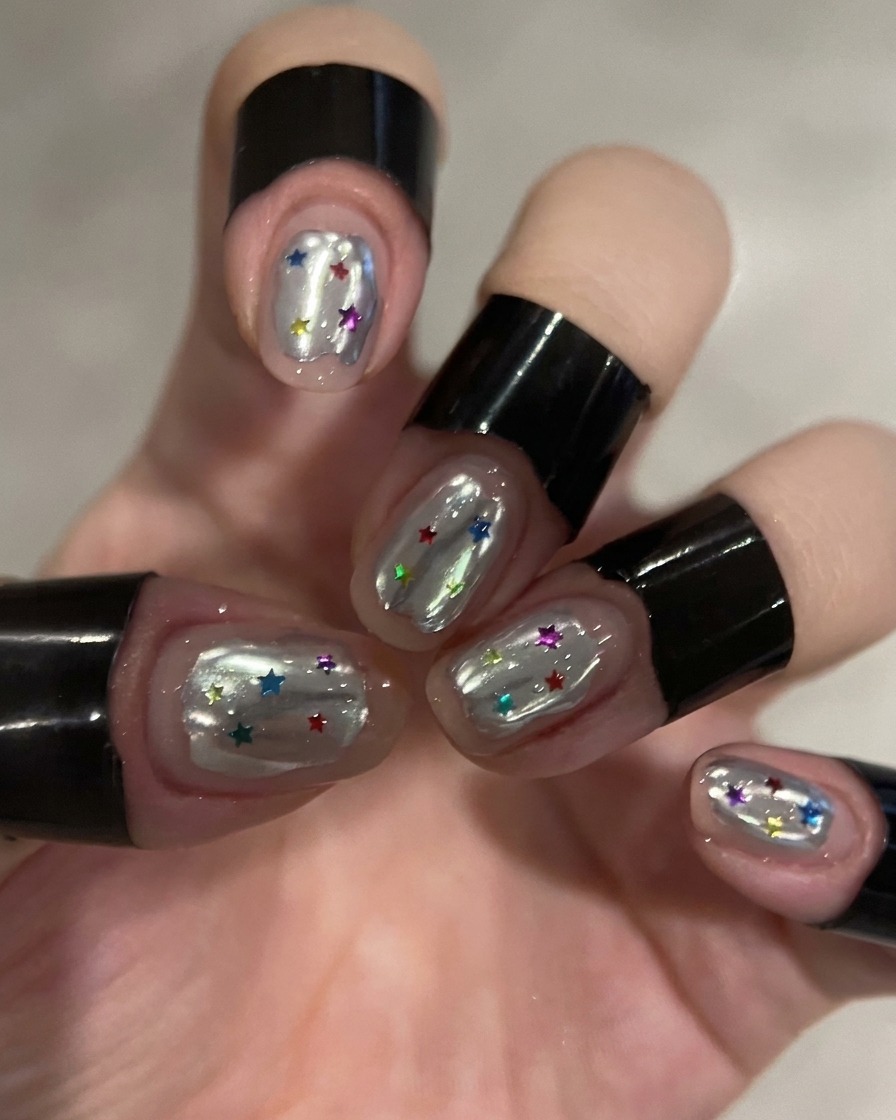
Once the mirror finish is achieved, use a clean, small makeup sponge or soft brush to gently buff away any loose chrome particles from the surface and surrounding skin.
Tip: Be gentle to avoid scratching the newly formed chrome surface. - 8Cure the chrome layer
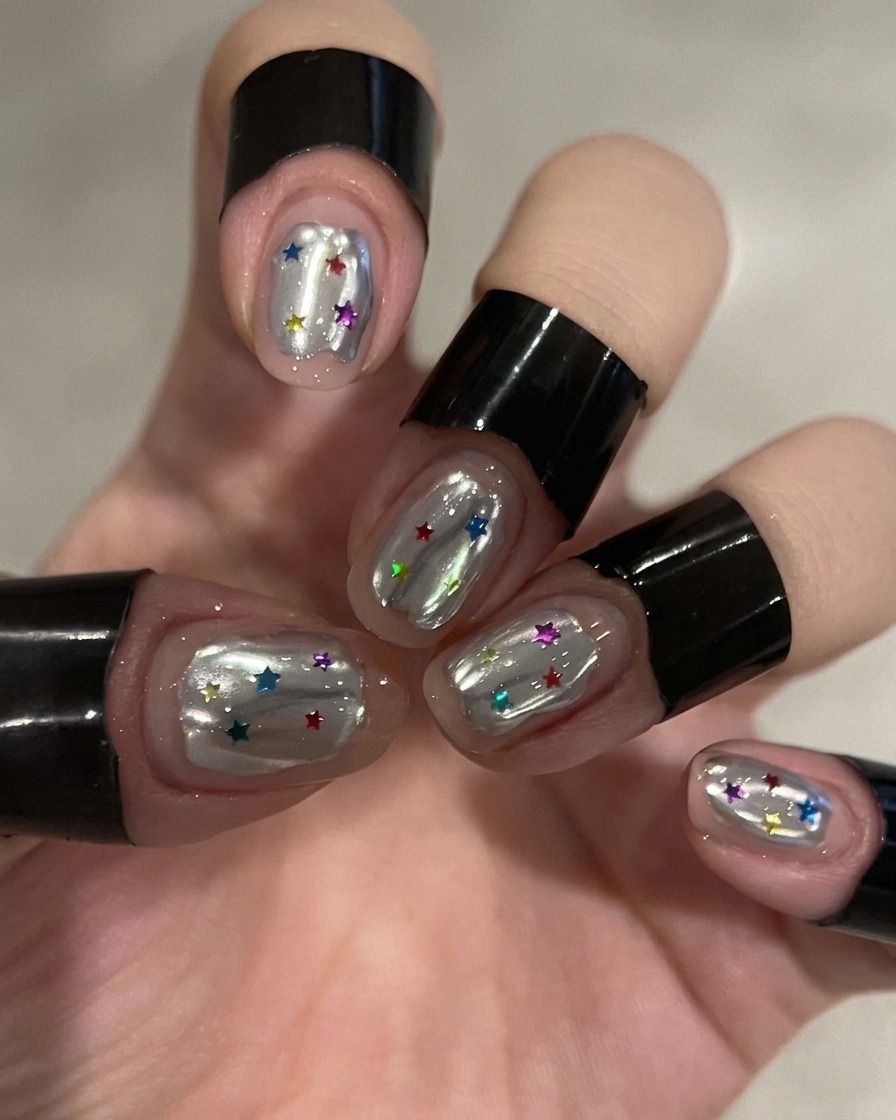
After buffing, place the nails under a UV or LED lamp to cure the chrome-finished layer. This step ensures the powder is fully set and ready for the next sealing stage.
Tip: Ensure the nail is positioned directly under the light source for an even cure. - 9Apply chrome-sealing top coat
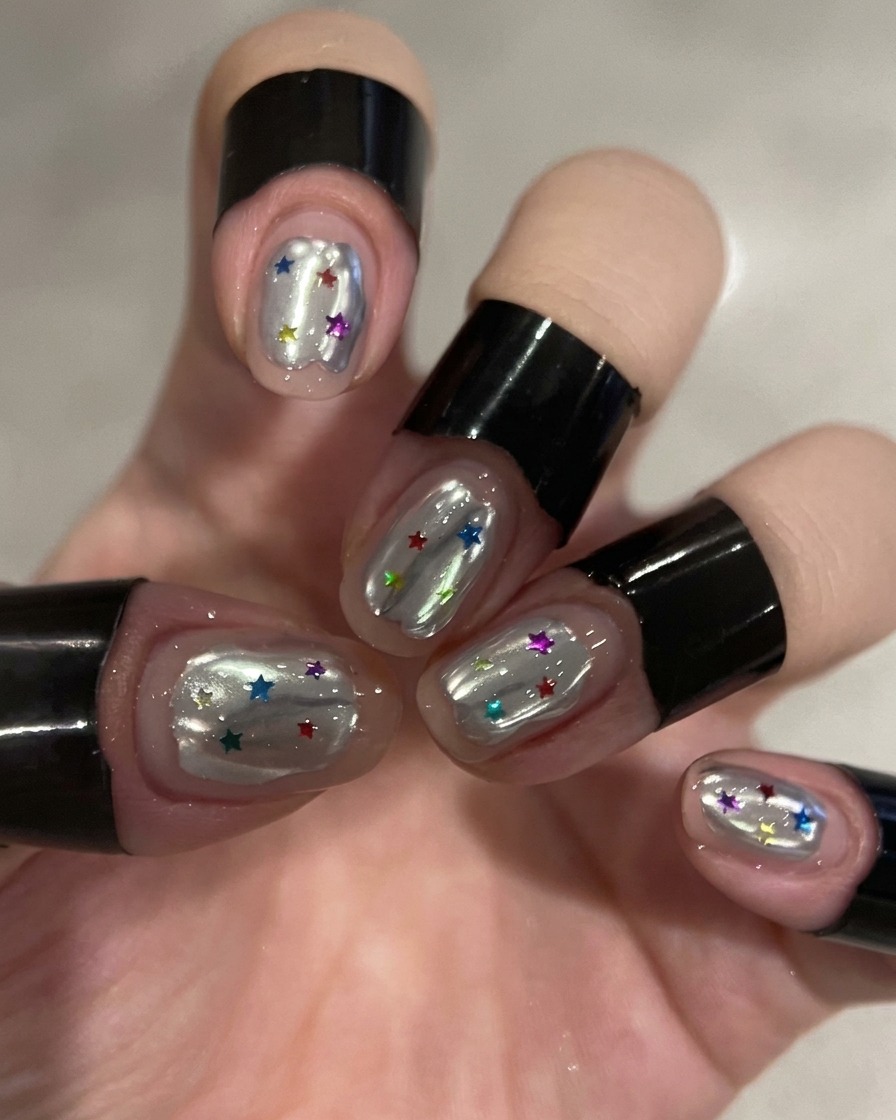
Apply a thin layer of specialized chrome-specific top coat over the entire nail. This layer is crucial to protect the mirror finish and prevent the chrome from chipping or fading.
Tip: Cap the free edge carefully with the top coat for long-lasting results. - 10Apply builder gel base
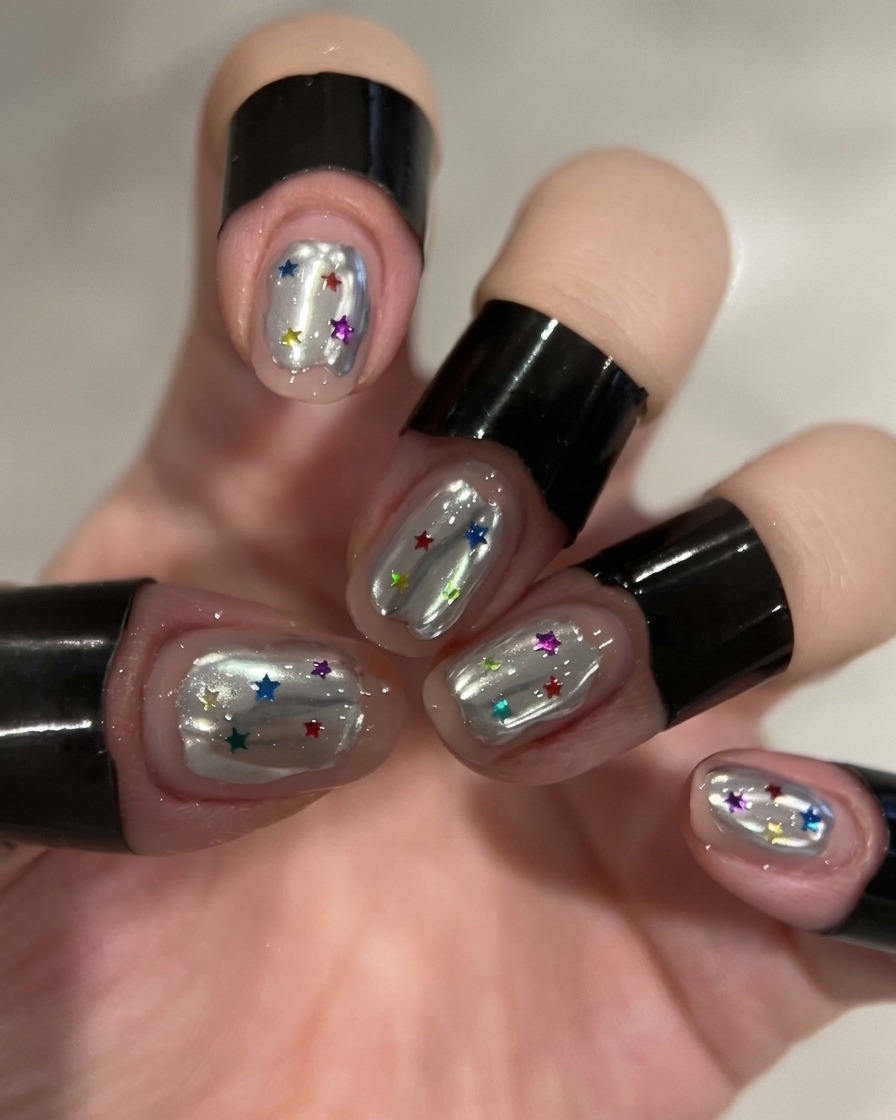
Apply a thin, precise layer of builder gel specifically over the white wave area. This creates a tacky surface for the star sequins to adhere to.
Tip: Use a small, precise brush to keep the builder gel only within the wave pattern area. - 11Apply star sequins
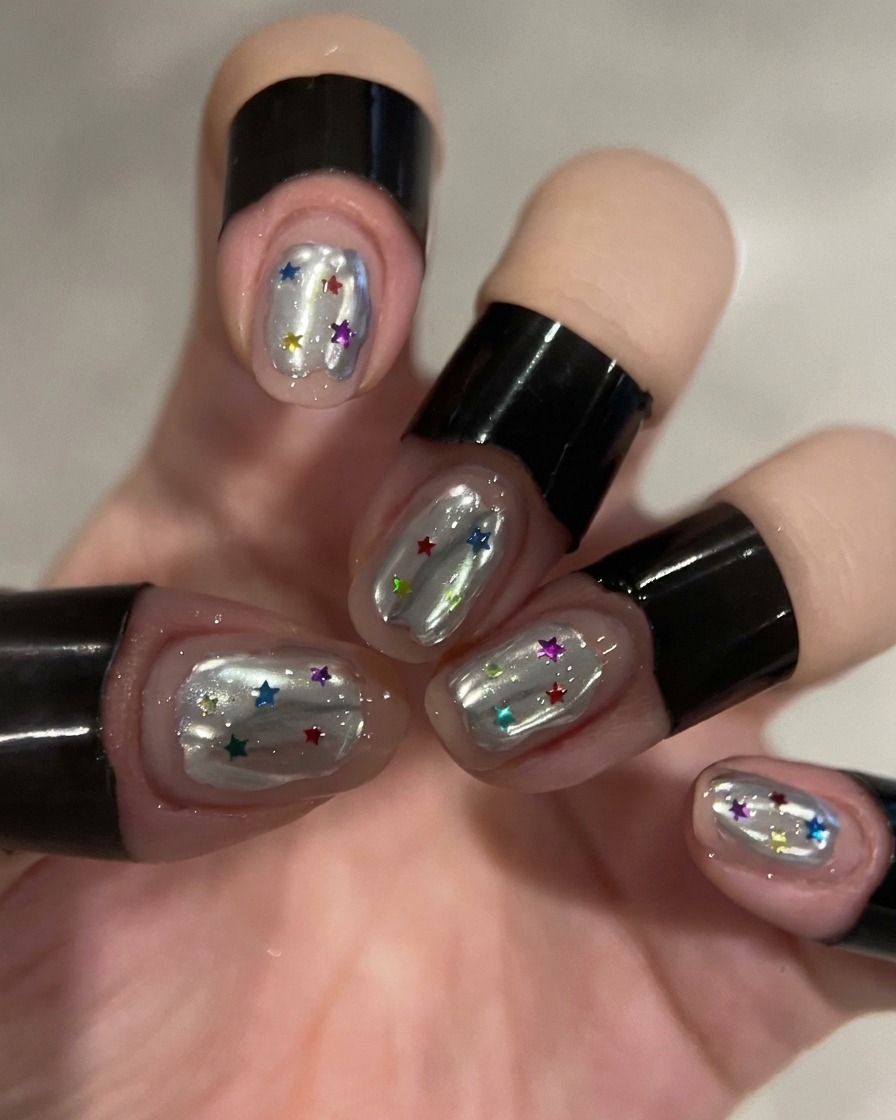
Using a dotting tool, carefully pick up and place colorful star-shaped sequins onto the wet builder gel. Arrange them across the white wave pattern according to your desired design.
Tip: Lightly press each sequin into the gel to ensure it sits flat against the nail surface. - 12Cure the star-adorned nails
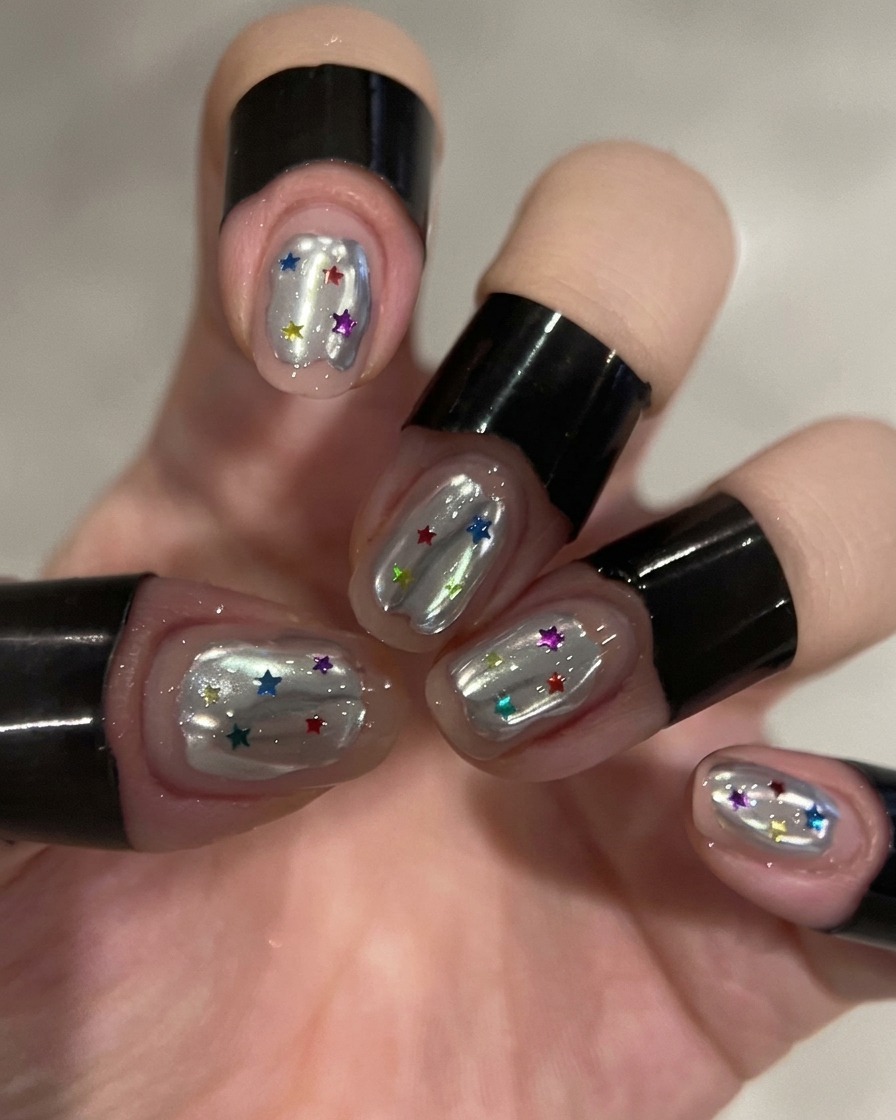
Place your hand inside the UV/LED lamp to cure the gel and seal the star sequins in place. Ensure all fingers are positioned directly under the light source for an even, full cure as recommended by your gel products instructions.
Tip: Do not move your hand during the curing process to ensure the sequins remain flat and properly embedded. - 13Apply violet-tinted builder top coat
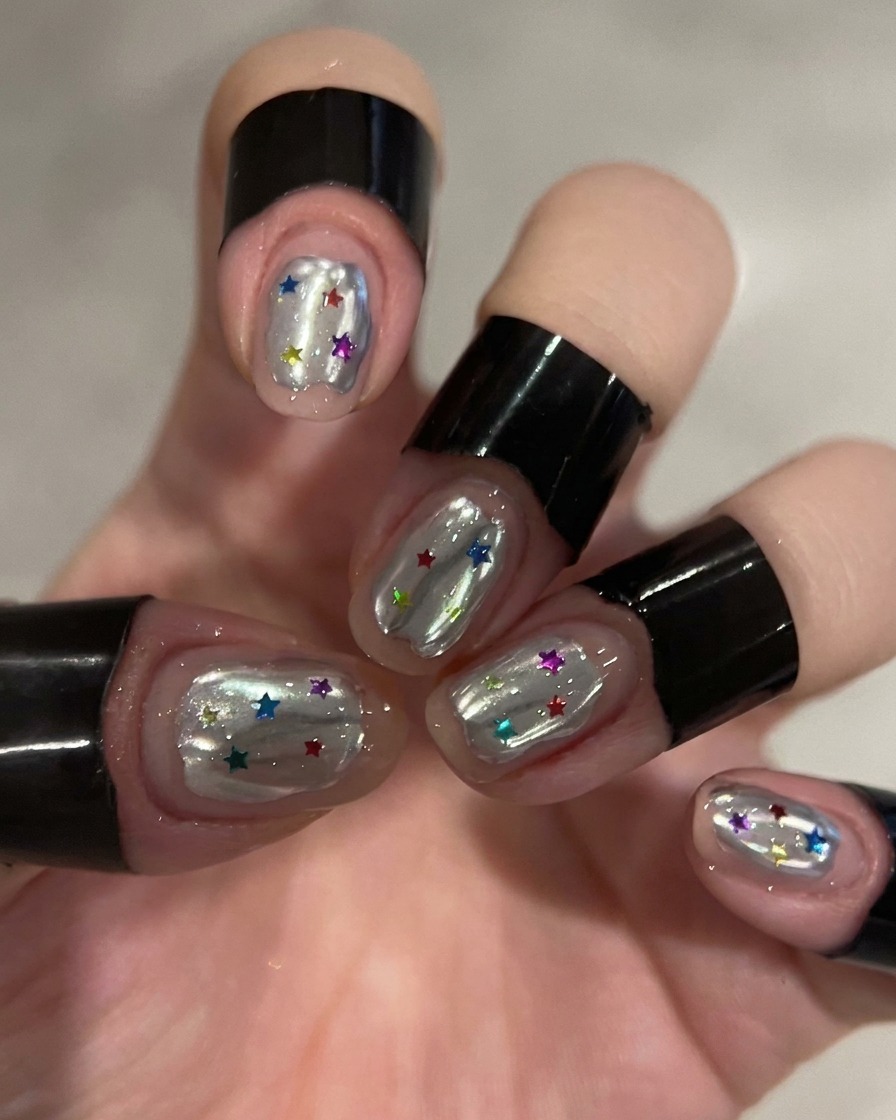
Apply a final, generous layer of violet-tinted builder gel over the entire nail. This adds a beautiful depth and creates a 3D glass-like effect over the chrome and star decorations. Cure thoroughly under your UV/LED lamp.
Tip: Use a slightly thicker amount of builder gel than a standard top coat to achieve that signature 3D encapsulated look.