Marble and Gold Foil Gel Nails — Elegant Step-by-Step Tutorial
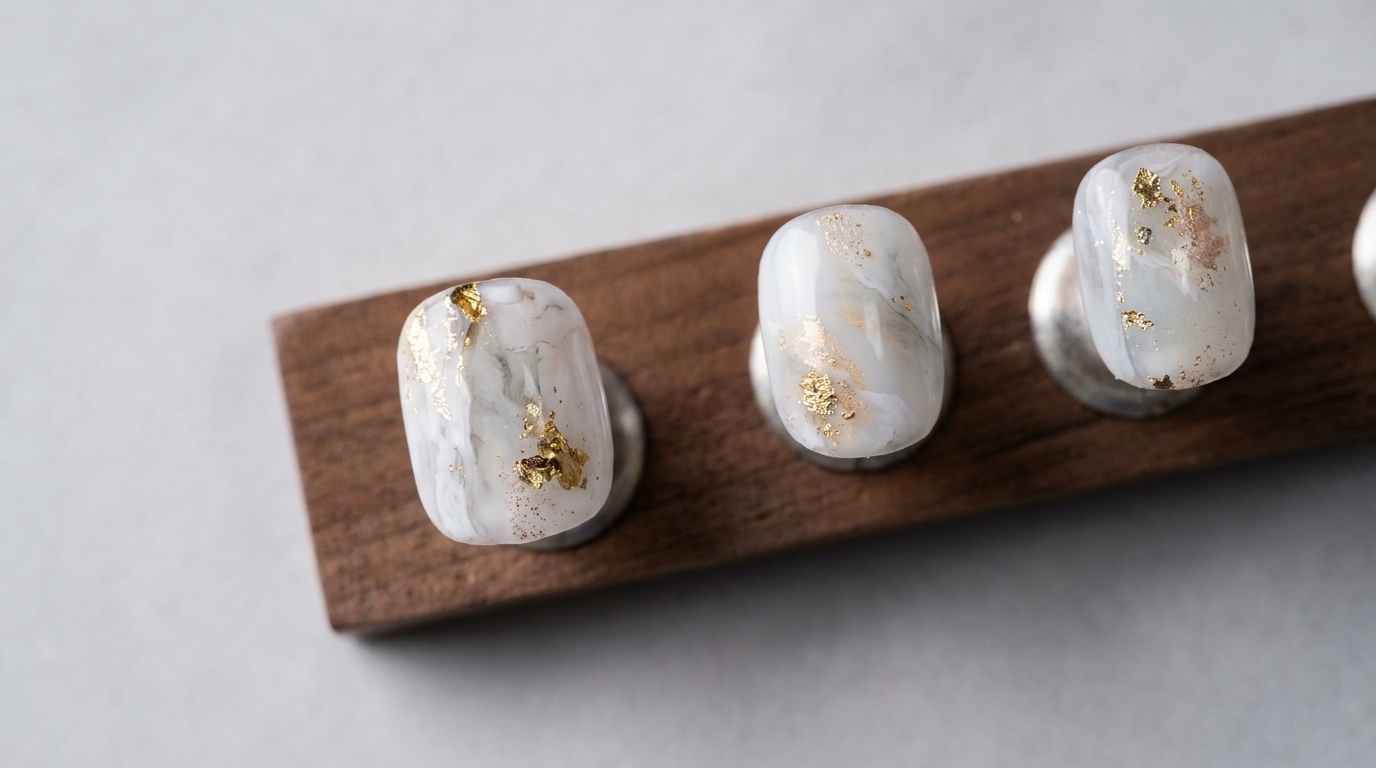
Create an elegant, stone-like marble effect with delicate gold foil accents. This beginner-friendly tutorial shows you how to achieve a high-end salon look.
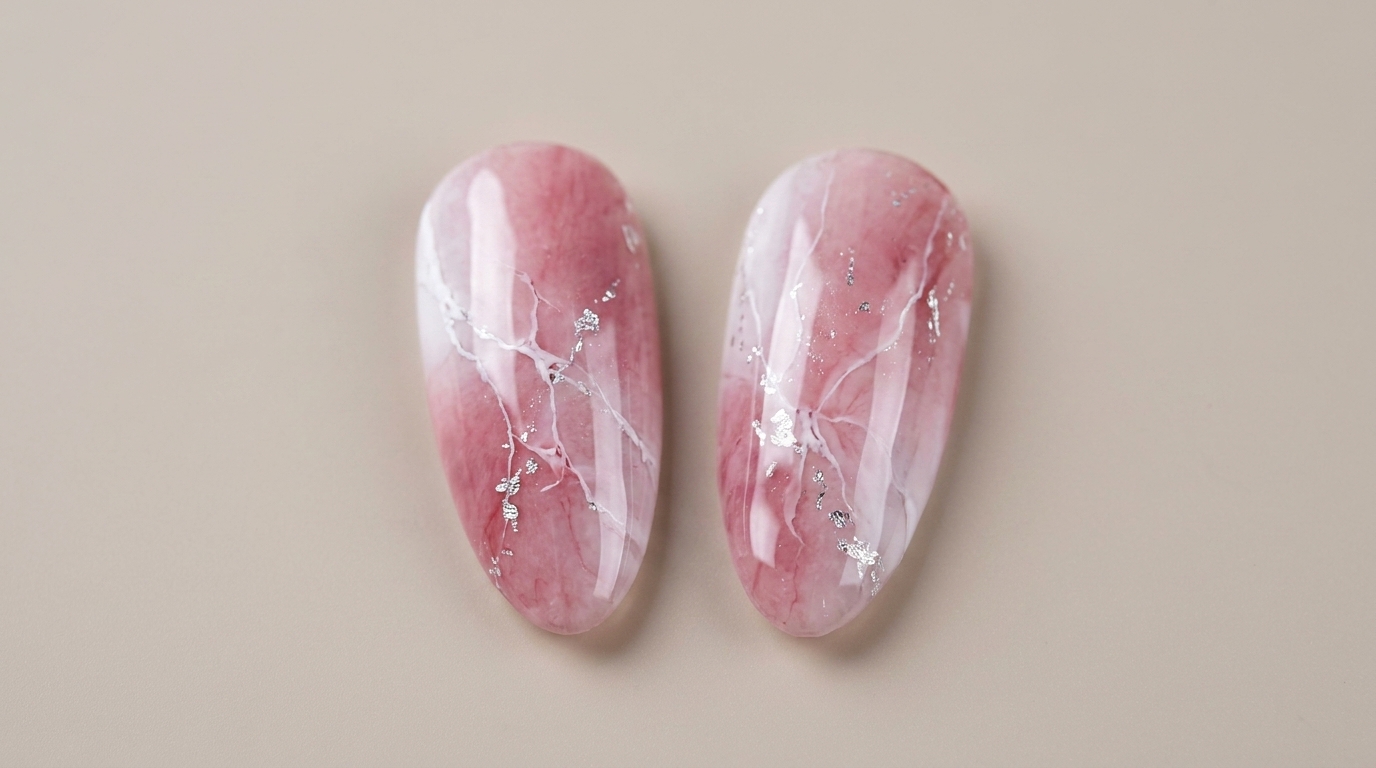
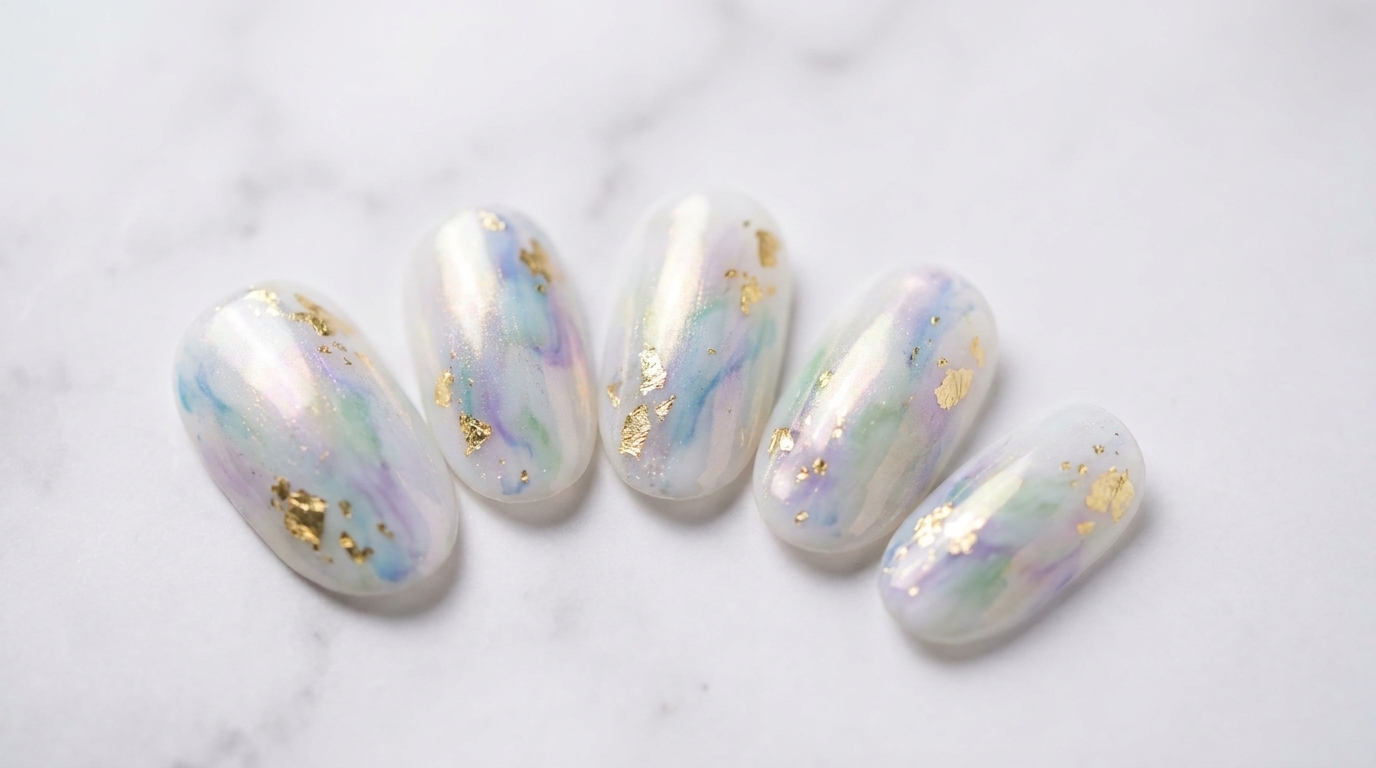
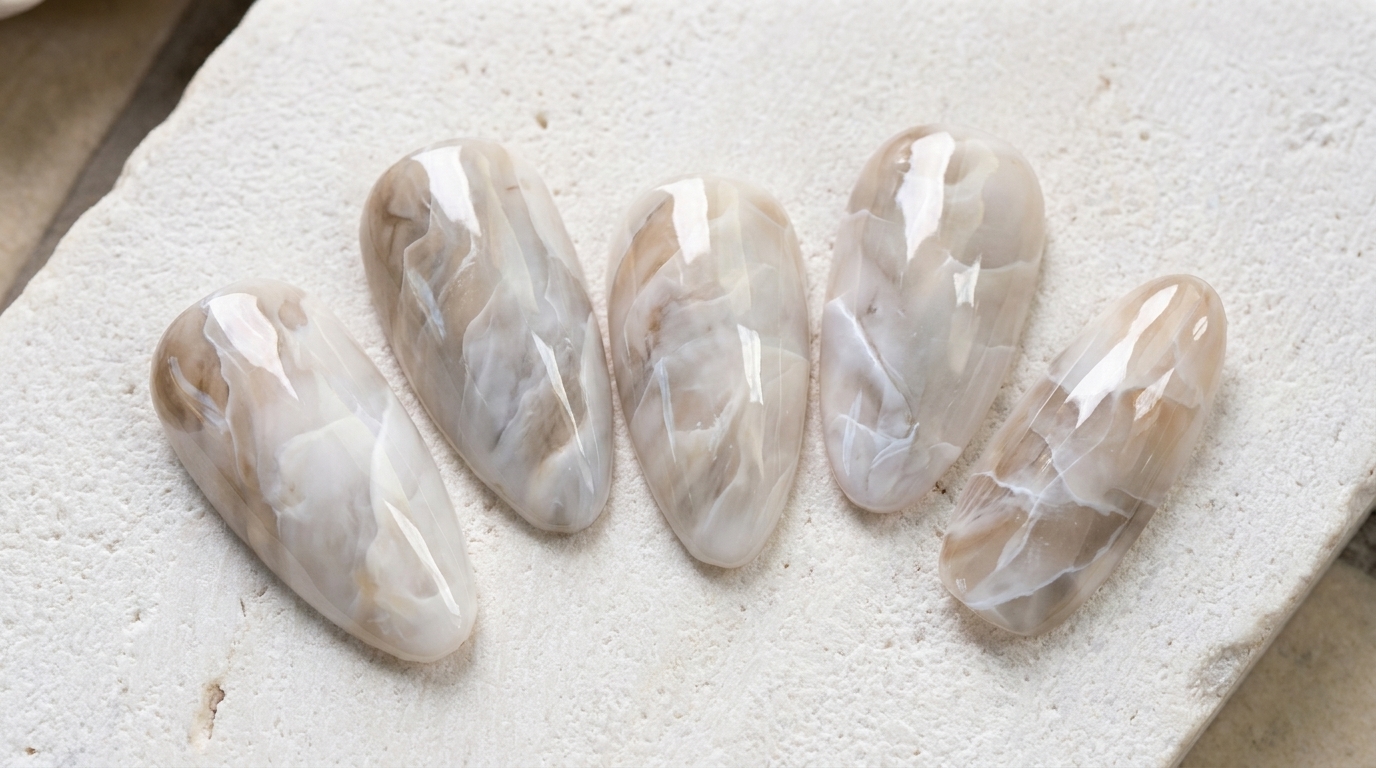
Marble nail art remains a timeless choice for those who love a sophisticated, artistic finish. By combining a milky white base with flowing marble veins and just the right touch of gold foil, you can create a design that feels both organic and luxurious. This technique is easier to master than it looks, focusing on building depth and using controlled diffusion to achieve that signature hazy stone effect.
Steps
- 1Apply first layer of milky white gel
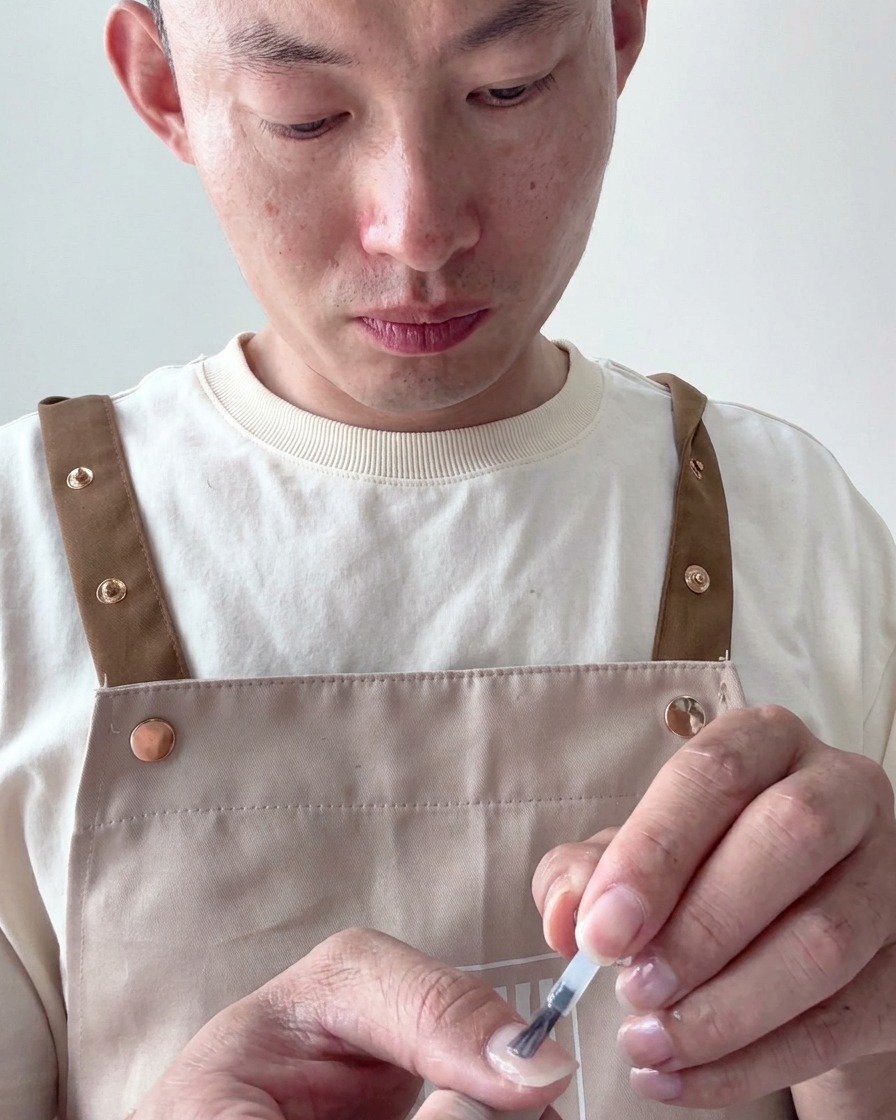
Apply a thin, even layer of milky white gel polish to the nail tip. Ensure the polish is applied smoothly to create an even base for the marble effect. Avoid getting polish on the surrounding skin and cap the free edge for better durability.
Tip: Keep your layers thin to ensure even curing and prevent the polish from pooling at the cuticles. - 2Apply second layer of milky white gel
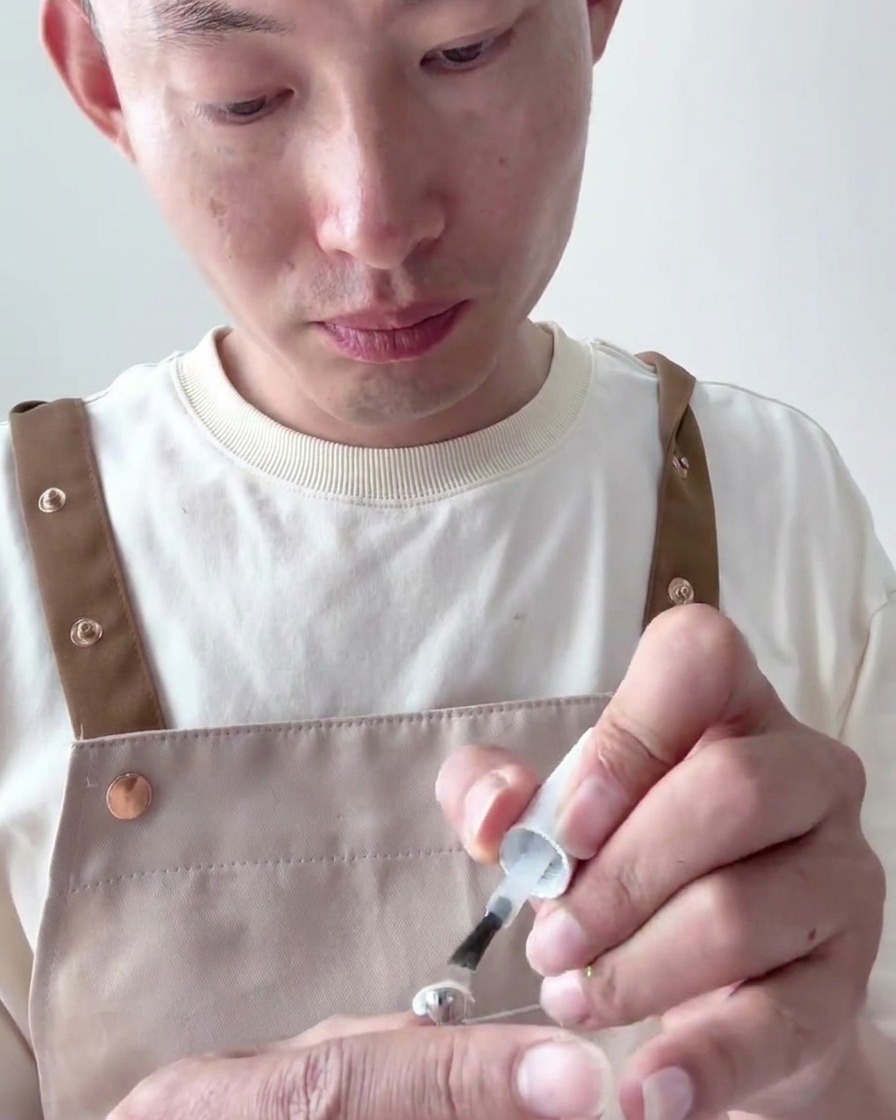
Apply a second, slightly more generous layer of milky white gel polish to increase the opacity. This builds the necessary base color for the marble art, ensuring a consistent and professional look. Check for any streaks and level the polish before curing.
Tip: If the color looks uneven, gently let the polish self-level for a few seconds before placing it under the lamp. - 3Cure the gel polish
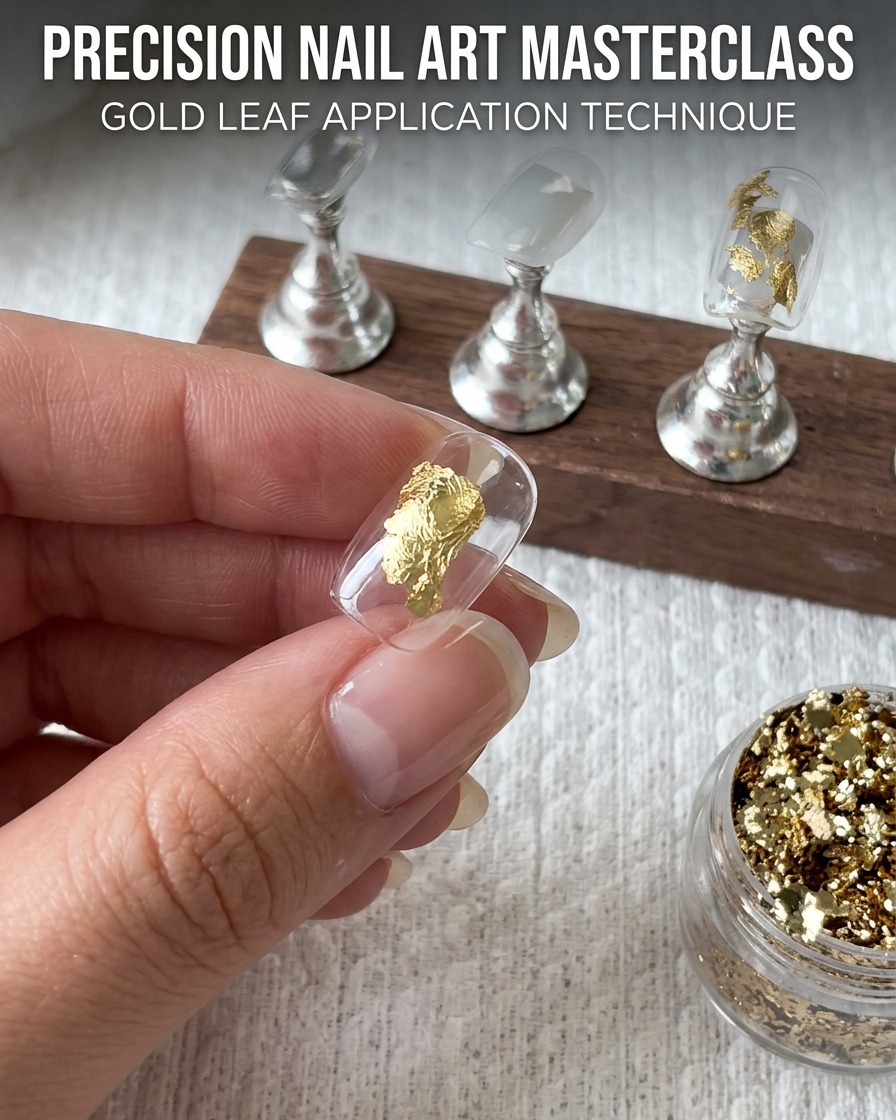
Place the nail tip under your UV/LED lamp and cure for 30 seconds. Ensure the nail is positioned directly under the light source for optimal curing. This step locks the base color in place and prepares it for the decorative nail art layers.
Tip: Ensure your lamp is clean and the bulbs are functioning correctly to prevent under-curing. - 4Apply floating gel
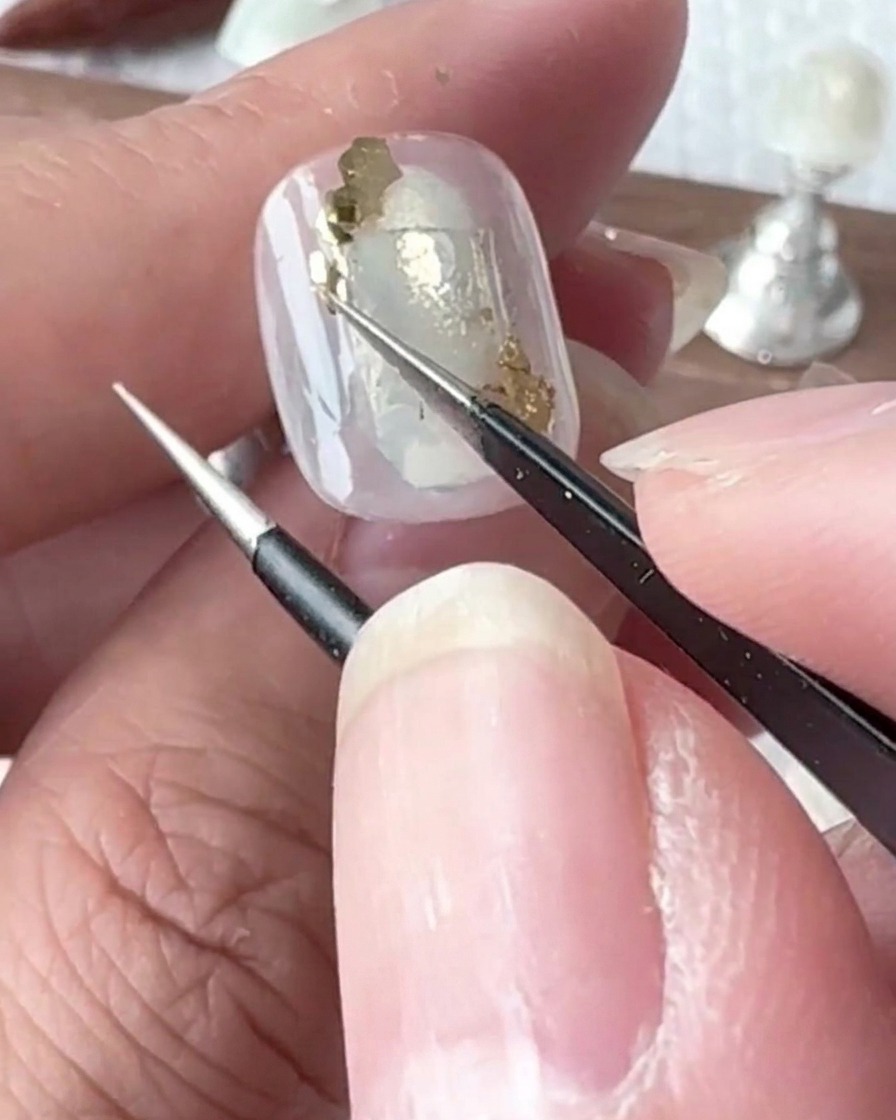
Apply small, strategic dots of floating gel (or clear builder gel) onto the nail where you want the gold foil to adhere. The tacky nature of this gel acts as a glue for the foil pieces. Do not cure at this stage.
Tip: Use a detail brush to place the floating gel precisely where you want the foil accents to be. - 5Apply gold foil
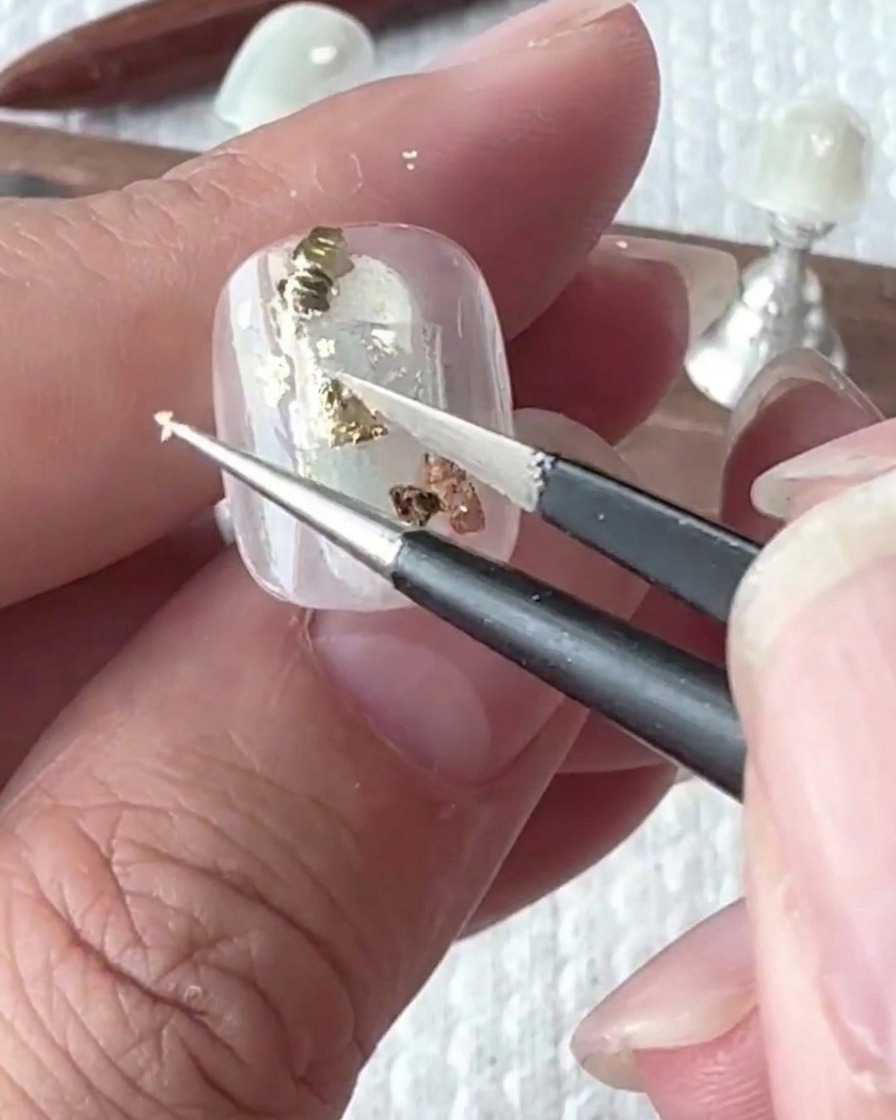
Using tweezers, pick up small pieces of gold foil and place them onto the uncured floating gel along the diagonal section of the nail. The foil will stick immediately to the gel, allowing you to create an elegant, textured design.
Tip: Tear the gold foil into various irregular sizes to create a more natural and artistic look. - 6Flatten the gold foil
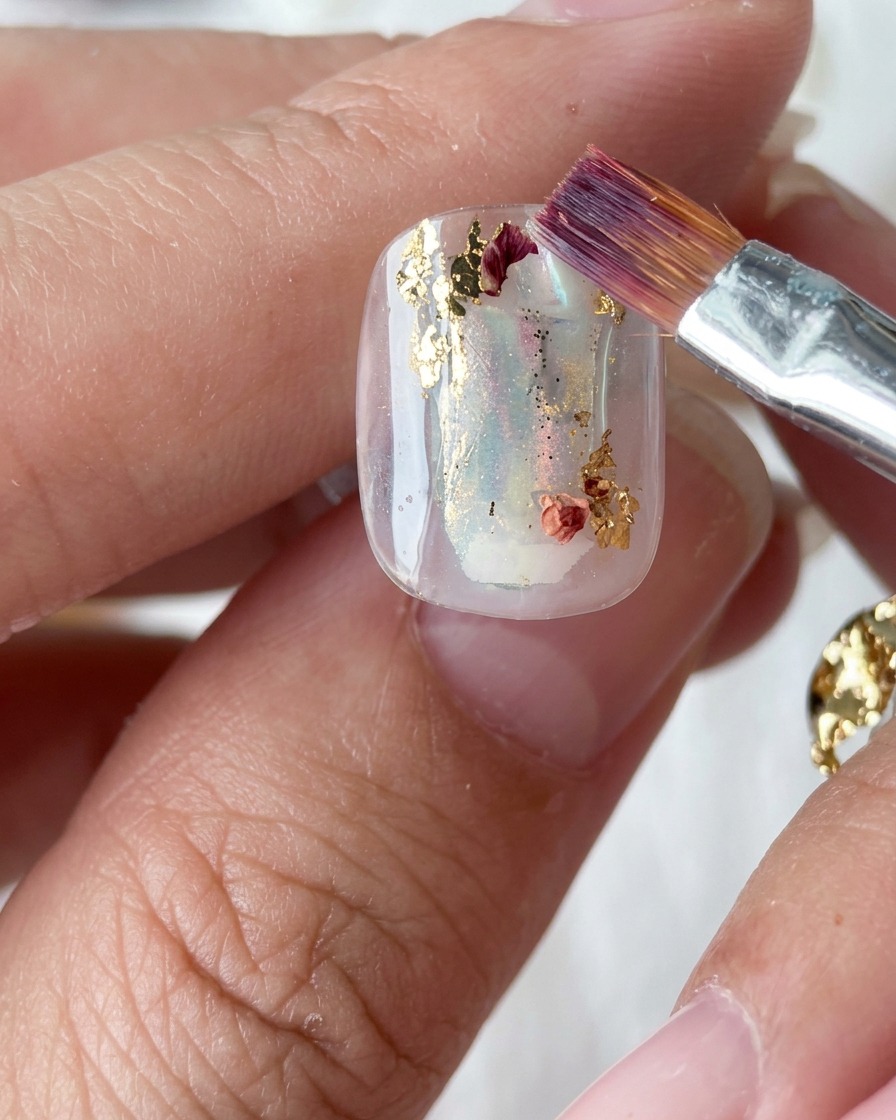
Using a flat brush, gently press the gold foil pieces flat against the nail surface. This ensures the foil is securely embedded into the floating gel and lies flush, preventing any sharp edges or uneven texture before the final top coat application.
Tip: Use a light tapping motion with the brush to avoid dragging or displacing the foil. - 7Set the gold foil
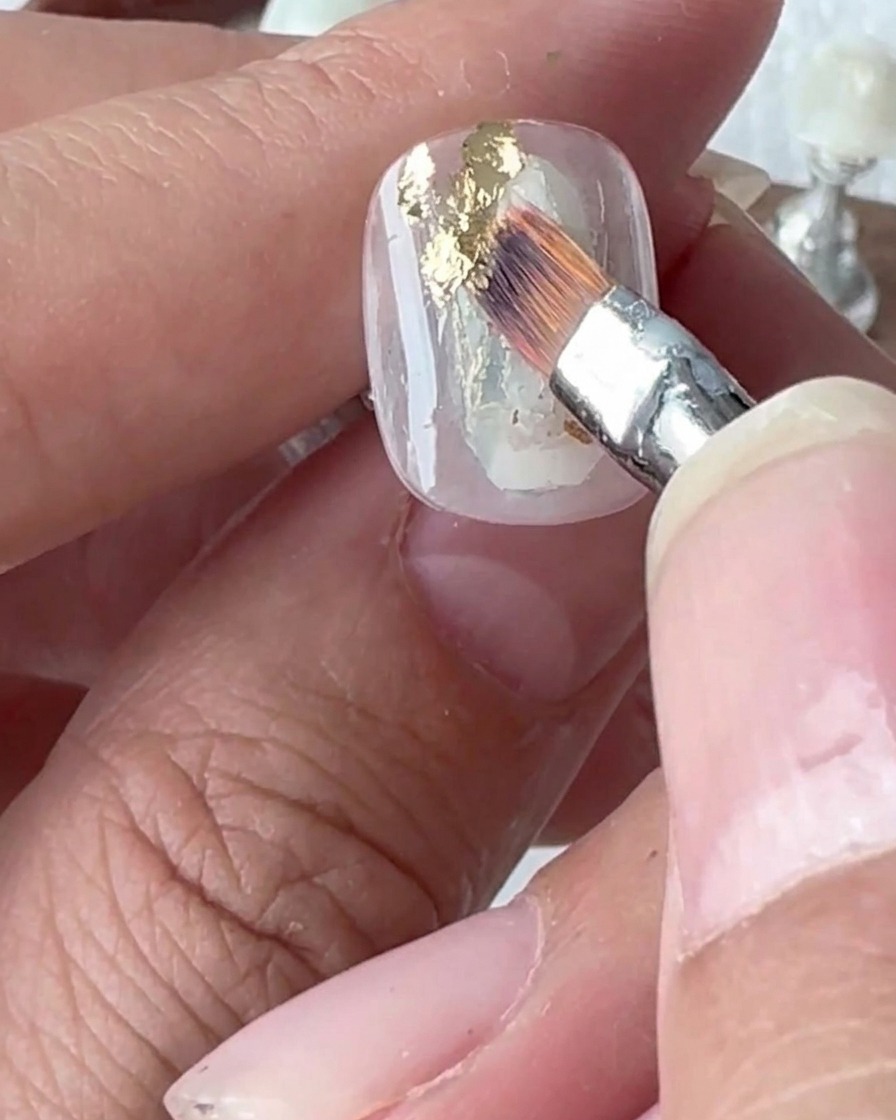
Using a silicone-tipped tool, gently press down on the gold foil pieces applied to the nail surface. This ensures the foil lies flat and adheres securely to the underlying gel, preventing any loose edges from snagging before you continue with the next steps.
Tip: Be light-handed to avoid dragging or tearing the delicate foil. - 8Apply blooming liquid
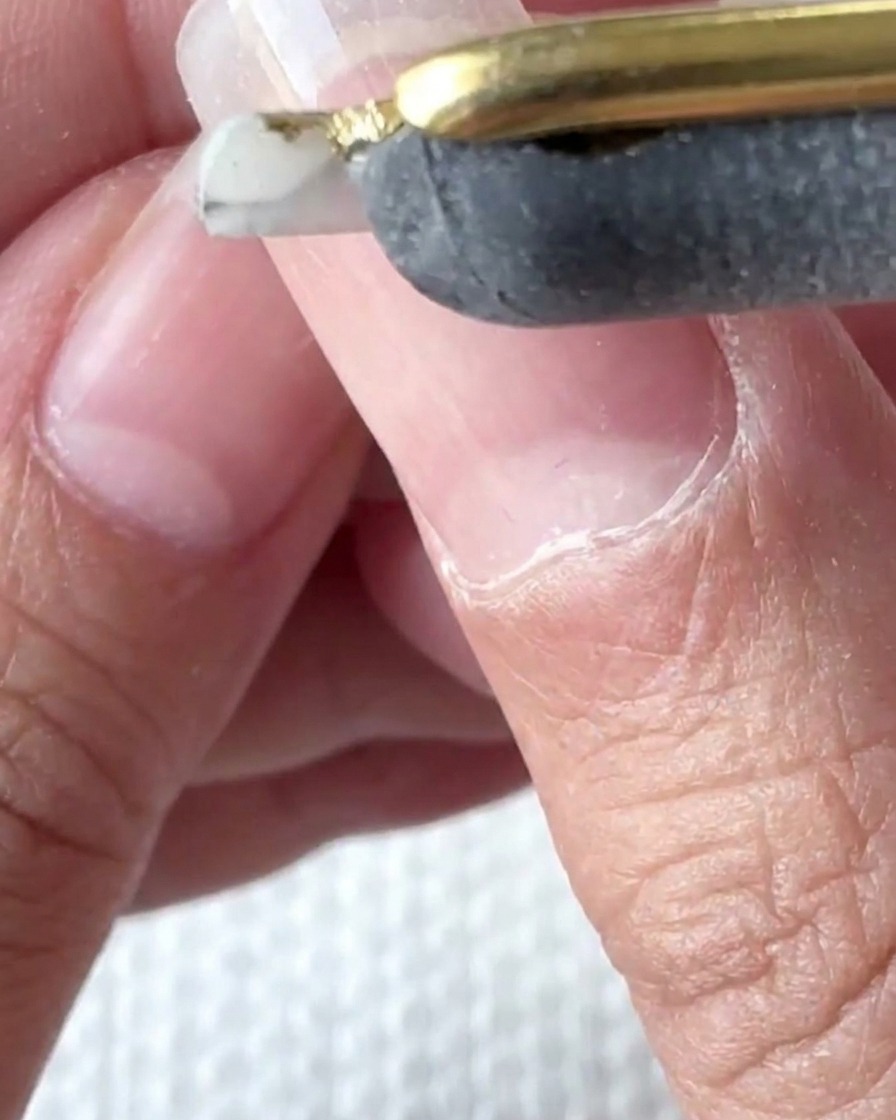
Apply a layer of blooming liquid or marble ink over the nail surface. This product creates a wet, receptive base that allows the subsequently applied gel colors to spread and diffuse naturally, forming the classic marble texture.
Tip: Keep the layer thin and consistent for an even bloom. - 9Drop white gel for diffusion
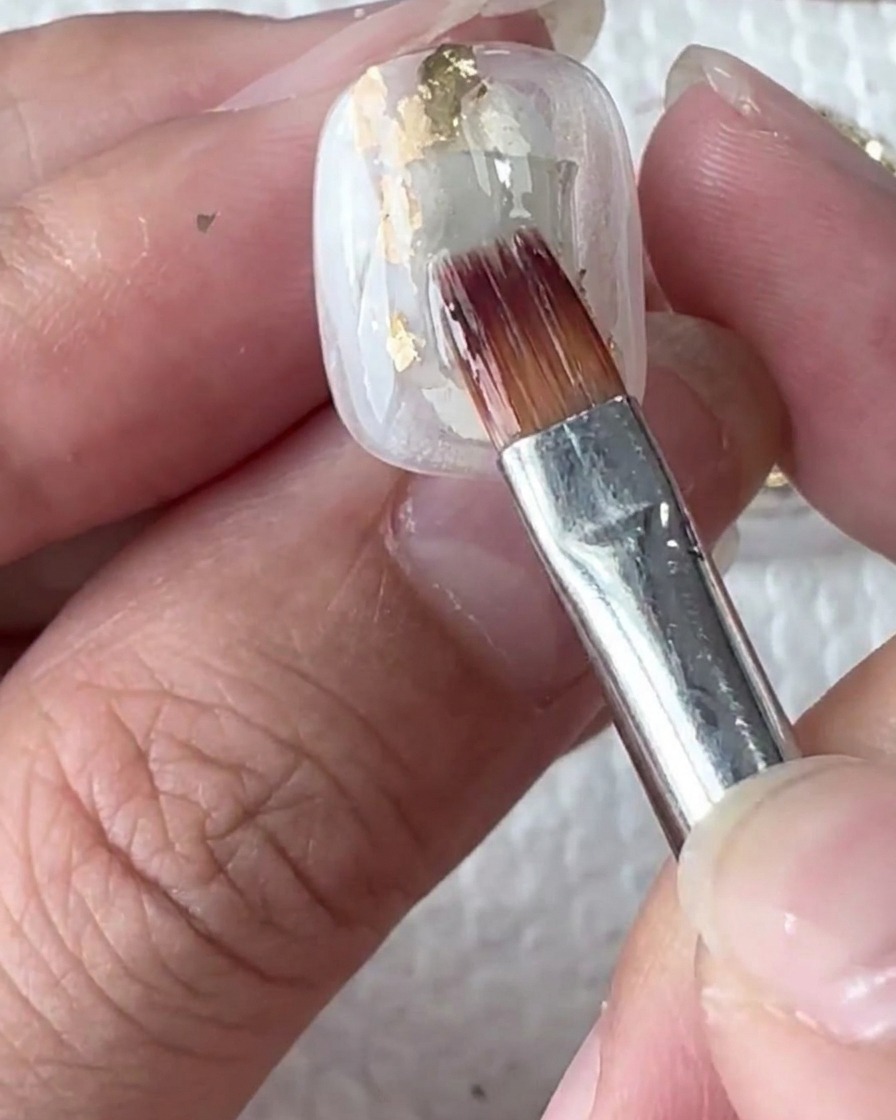
Carefully drop small amounts of white gel onto the wet blooming liquid surface. The white gel will naturally begin to spread and diffuse into the surrounding medium, creating the characteristic soft-edged marble pattern.
Tip: Use a dotting tool or a fine liner brush for better control over the placement of the white gel drops. - 10Softly blend the marble effect
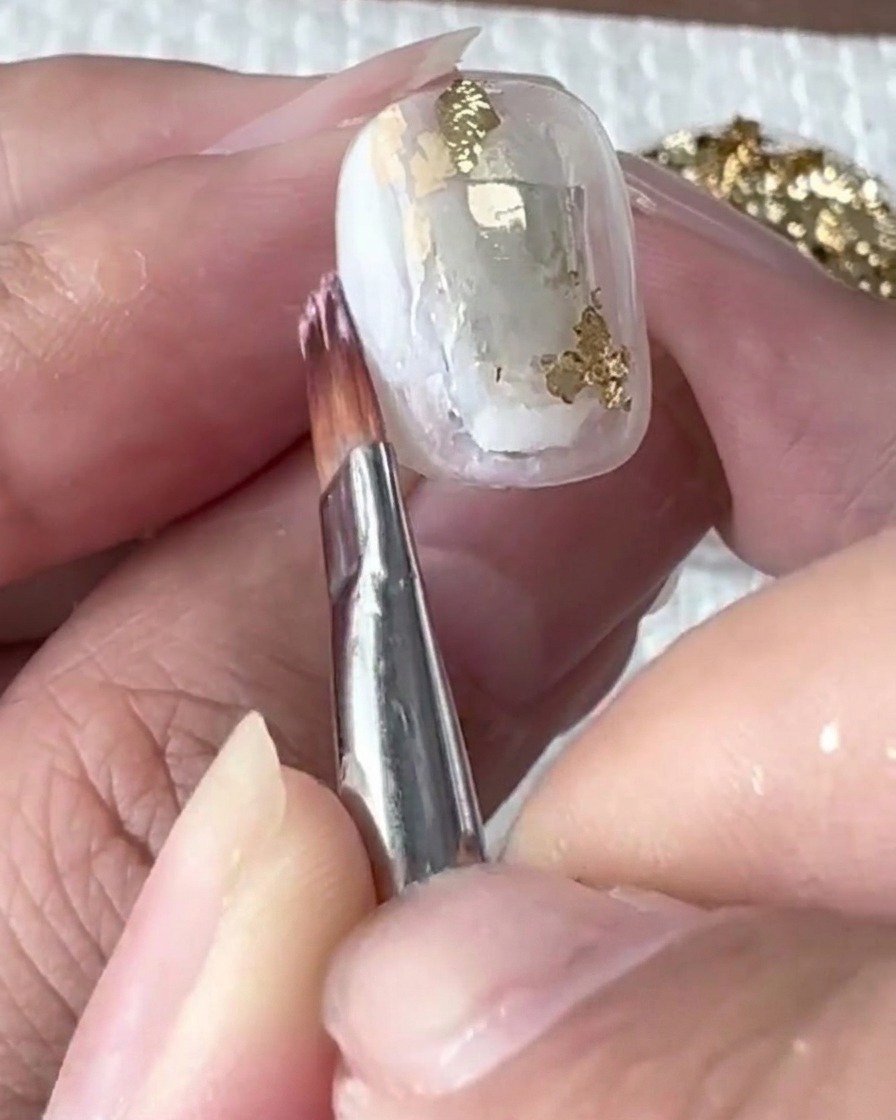
Using a clean nail art brush, gently touch the edges of the white gel to guide its diffusion. Blend softly to create a natural-looking marble aesthetic while keeping the texture distinct and the veins looking fluid.
Tip: Avoid over-blending, which can make the marble look muddy. - 11Cure the marble layer
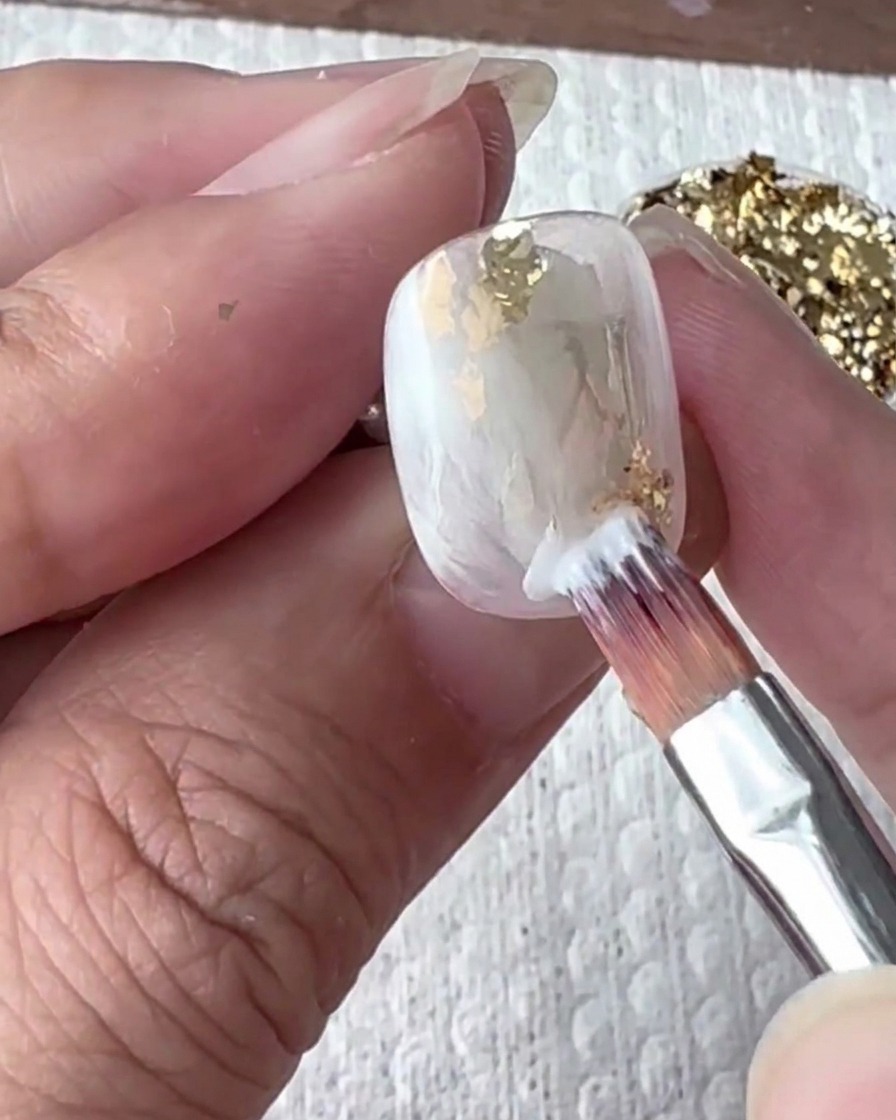
Place your hand under the UV/LED lamp to cure the marble diffusion layer. Ensure the nails are positioned directly under the light source for the full duration to lock the marble pattern in place.
Tip: Check that the blooming liquid has fully set before moving to the next step. - 12Draw marble veins
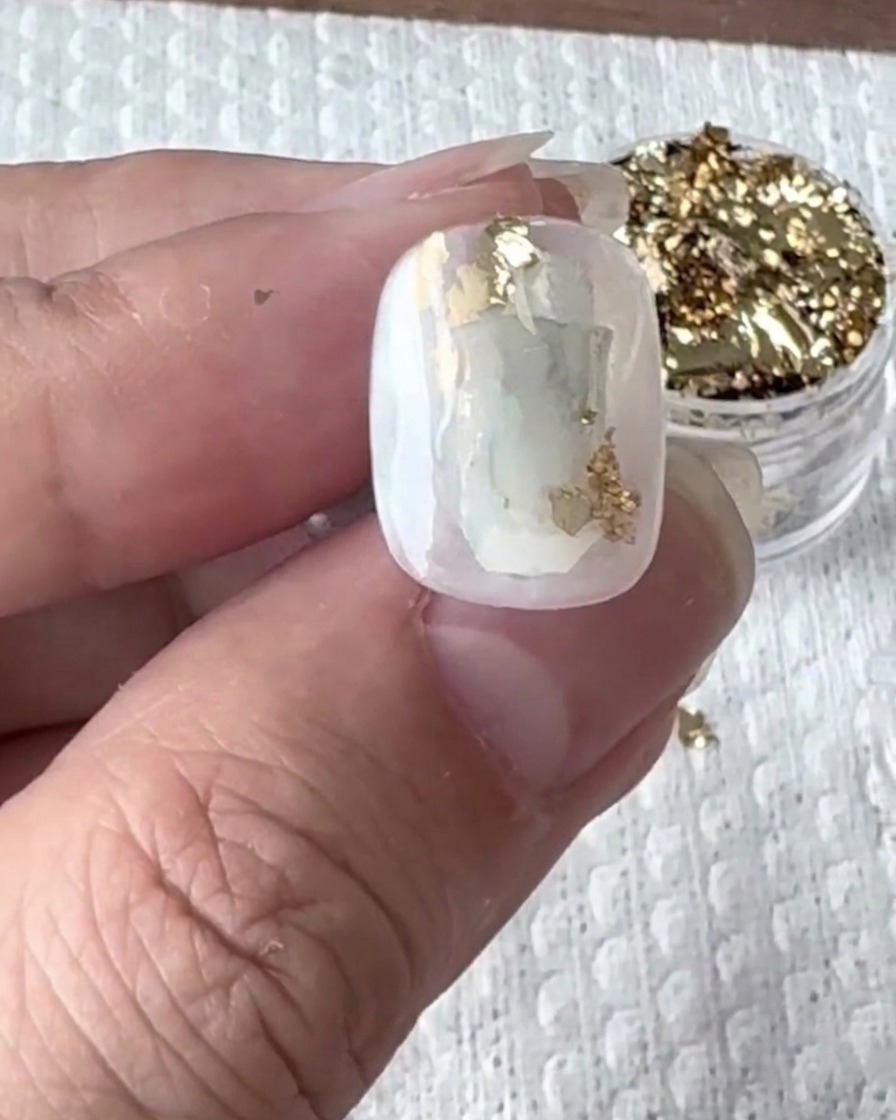
Using a fine liner brush and highly pigmented white paint gel, draw sharp, thin lines over the cured marble layer to create the marble vein outlines. This step adds depth and definition to the design.
Tip: Vary the thickness and direction of the lines for a more realistic marble look. - 13Blur and soften marble lines
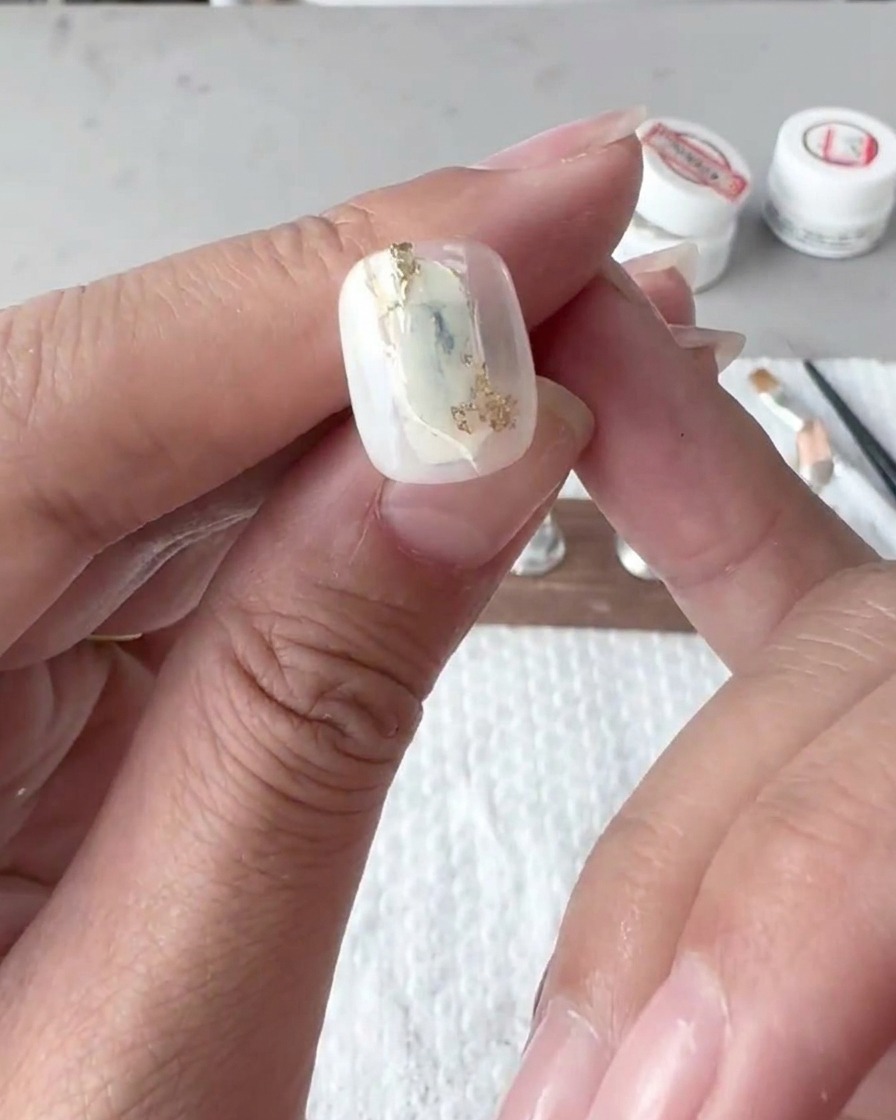
Use a clean, flat nail brush to gently tap and feather the edges of the white gel lines you have drawn. This diffusion technique softens the crisp lines, creating the characteristic hazy, multidimensional look of natural marble.
Tip: Work with a very light touch to avoid removing too much product, which can muddy the marble effect. - 14Refine the marble details
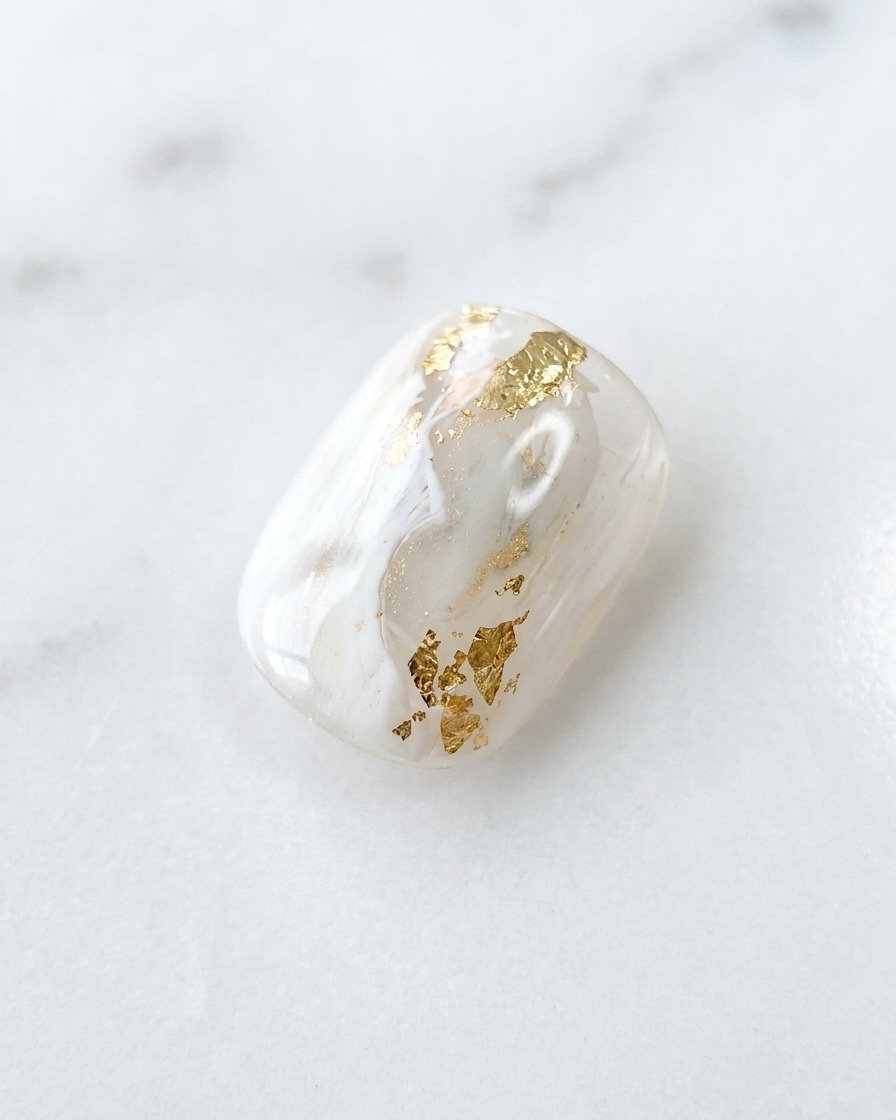
Using a fine liner brush, add a few crisp, thin white accent lines over your blended marble base to add depth and detail. This contrast between blurred and sharp lines is what gives the design its realistic stone-like appearance.
Tip: Less is more when adding final details; focus on following the natural flow of your existing marble pattern. - 15Cure the design
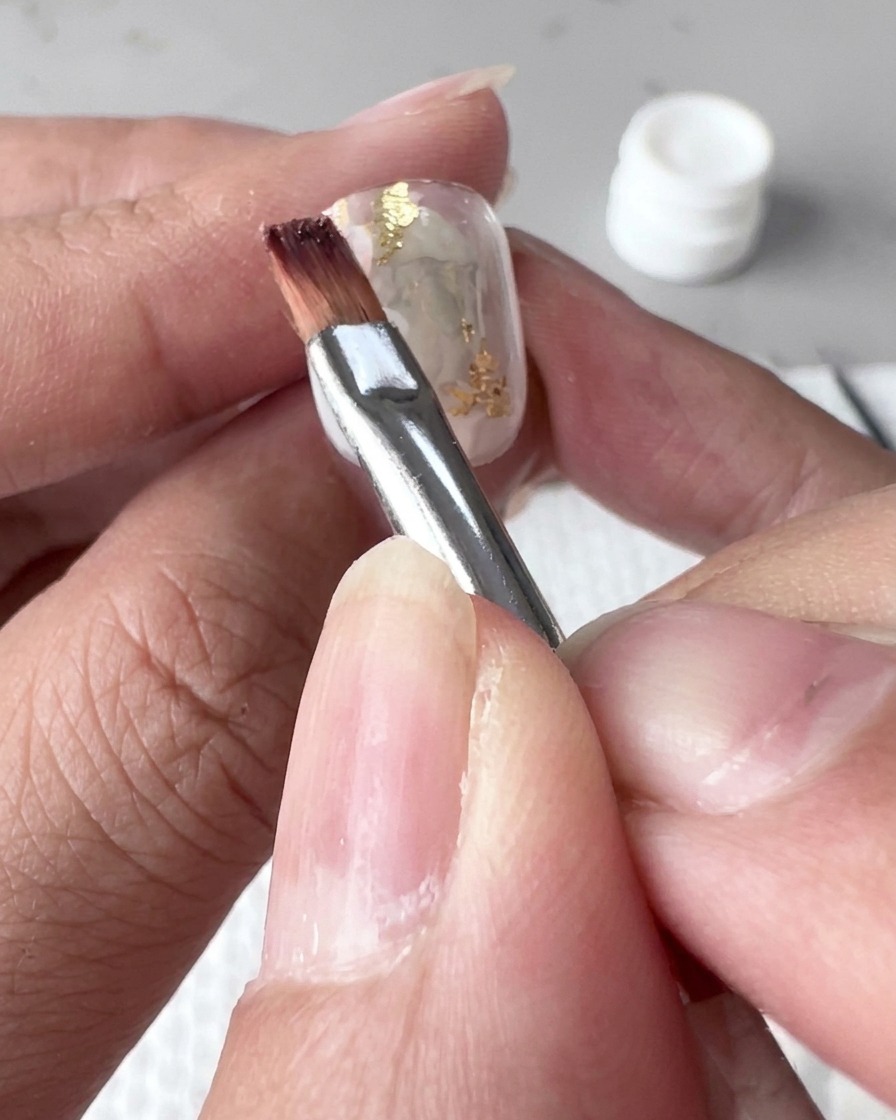
Place the nail under your UV or LED lamp and cure for a full 60 seconds. This ensures that all layers of the gel marble art are fully hardened and stable before you apply the protective top coat.
Tip: Ensure your finger is positioned directly under the light source to guarantee an even, thorough cure across the entire nail surface.