Japanese-Style Layered Marble Gel Nails — Elegant Stone Design Tutorial
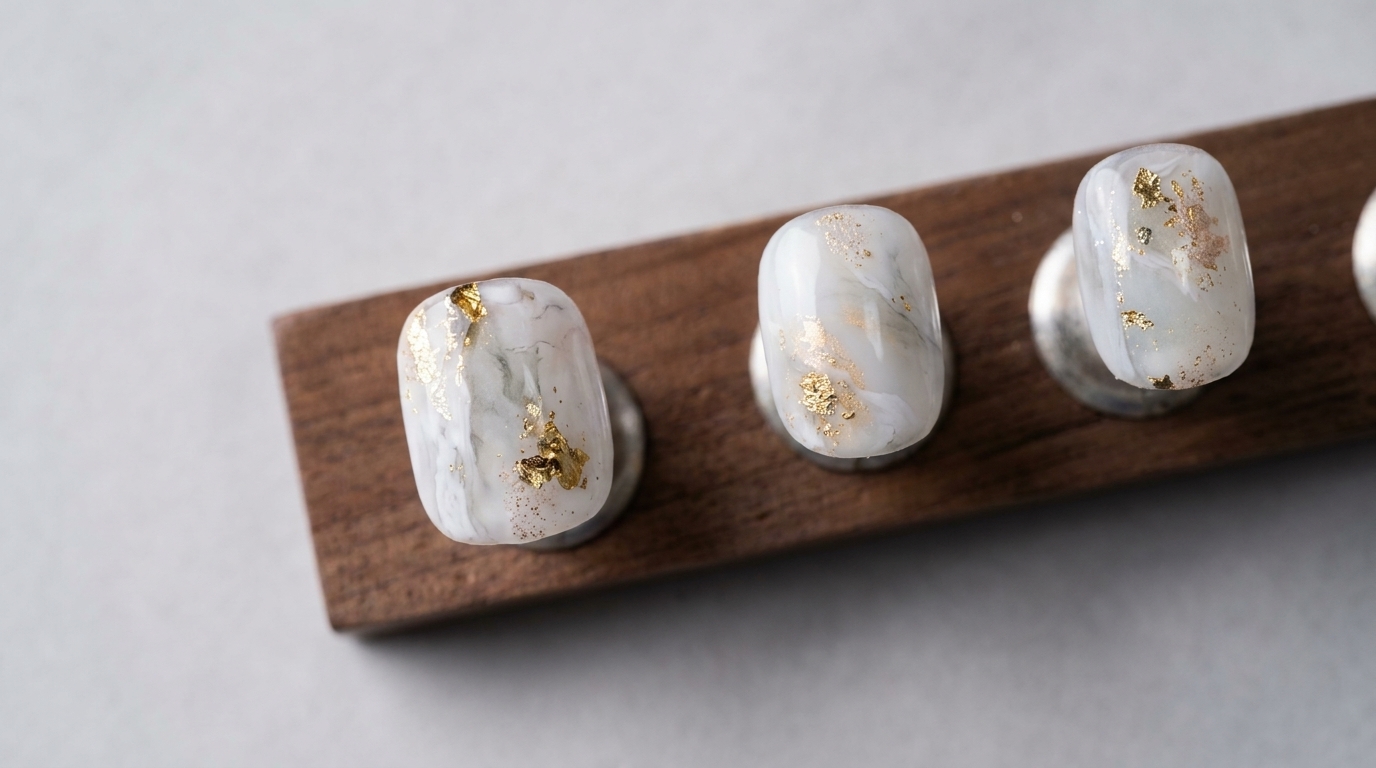
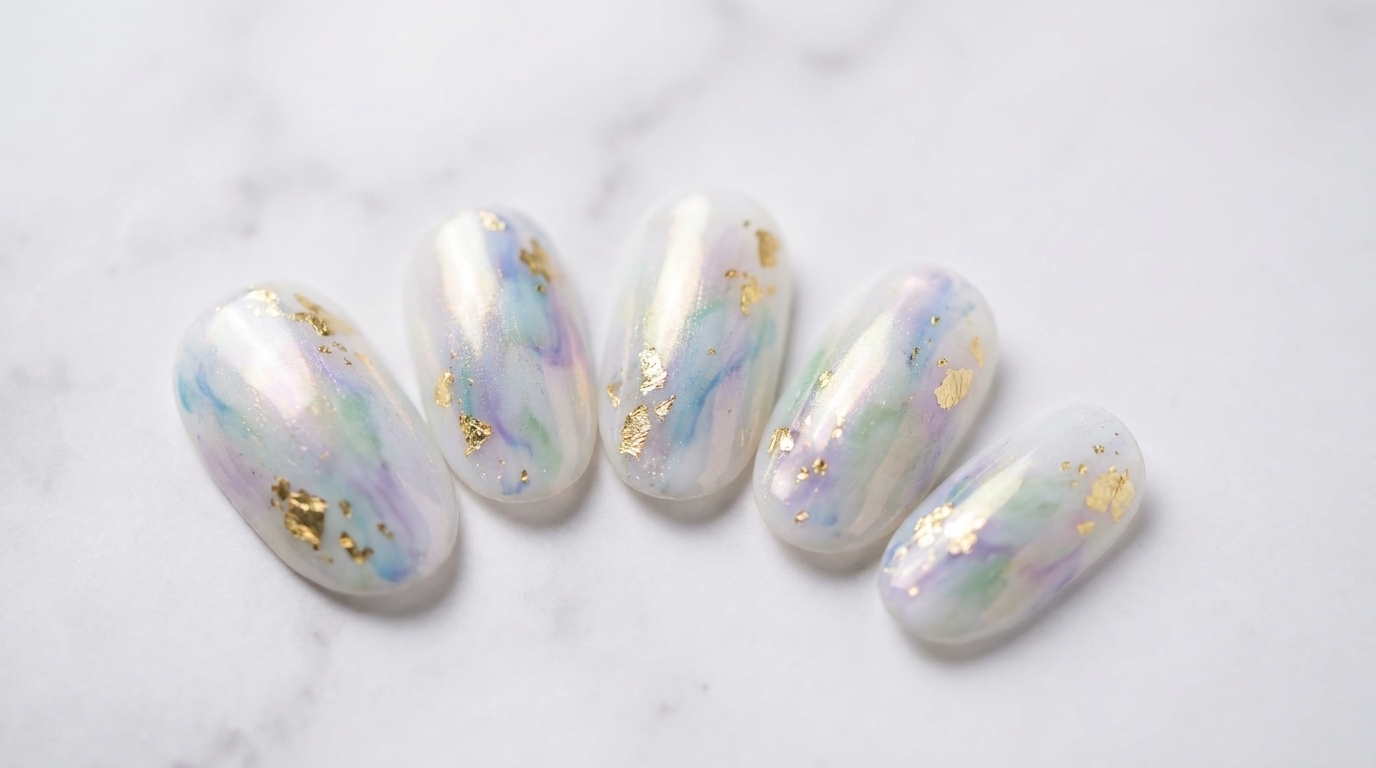
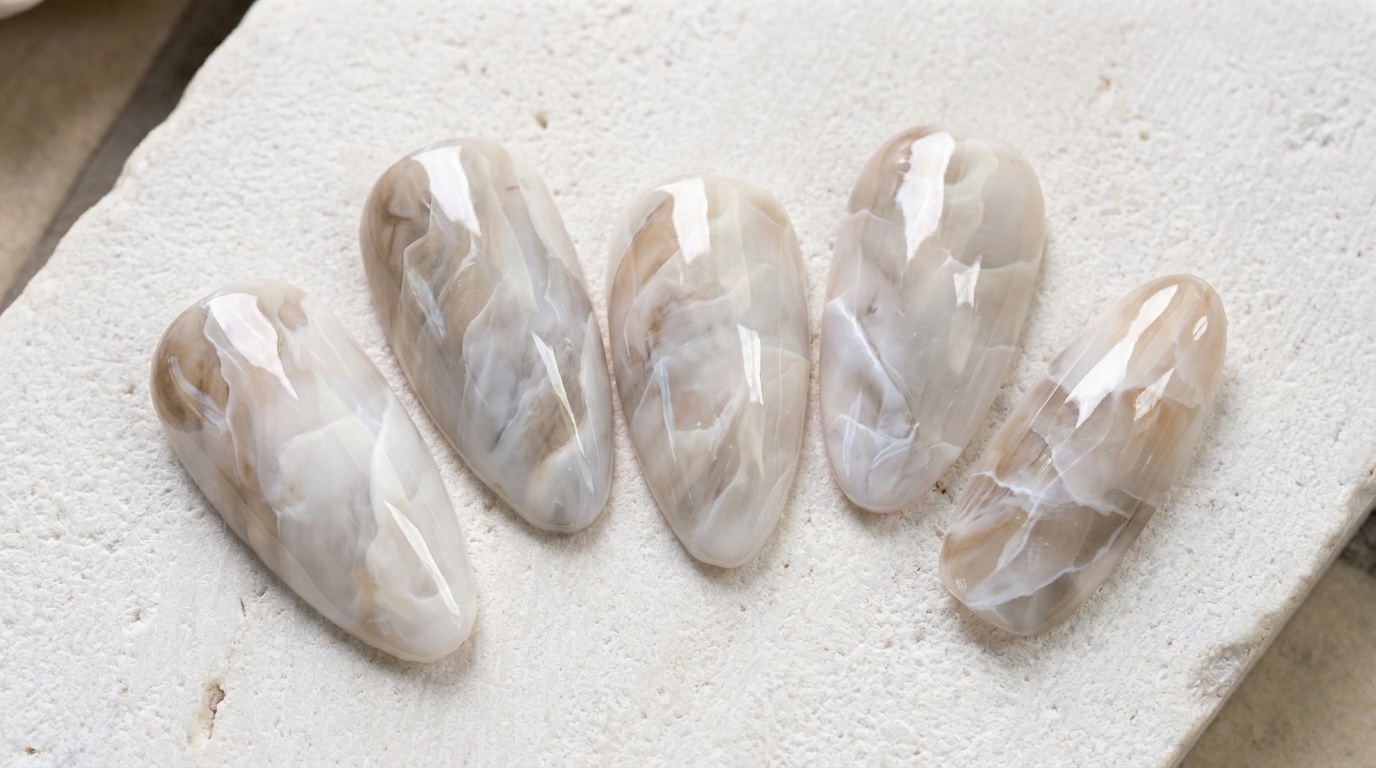
Master the art of sophisticated, multi-dimensional marble nails with this layered Japanese-style gel tutorial. Perfect for an elegant, stone-effect finish.
The Japanese-style marble technique is renowned for its depth, translucency, and natural, stone-like appearance. By layering sheer milky white polish with delicate, feathered veining, you can create a high-end manicure that looks incredibly realistic. This tutorial breaks down the essential layering process to help you achieve a polished, multidimensional look at home.
Steps
- 1Apply milky white gel polish
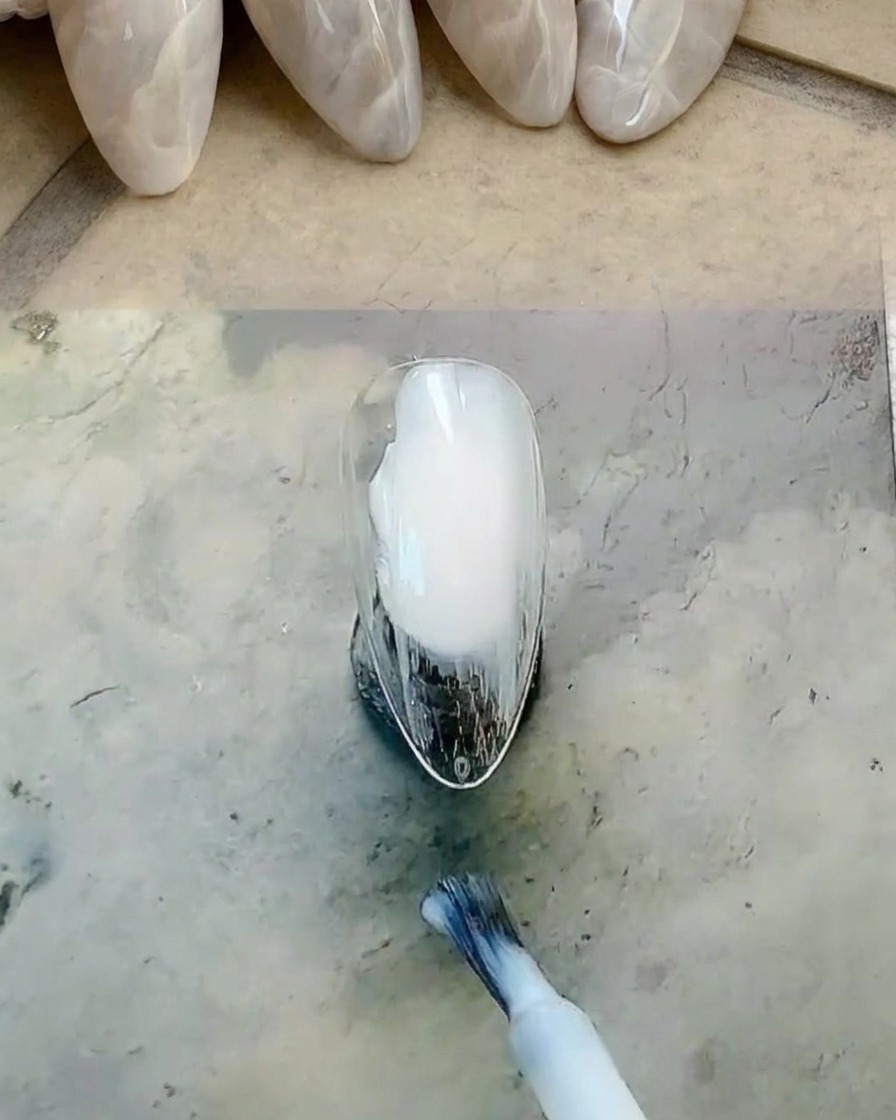
Begin by applying a smooth, even layer of milky white gel polish across the entire nail plate using the bottle brush. Ensure you coat the nail thoroughly for an opaque, consistent base color, then cure under your UV or LED lamp for 30 seconds.
Tip: Keep the layer thin to prevent the polish from pooling at the cuticles or sidewalls for a clean finish. - 2Add brown gel accent
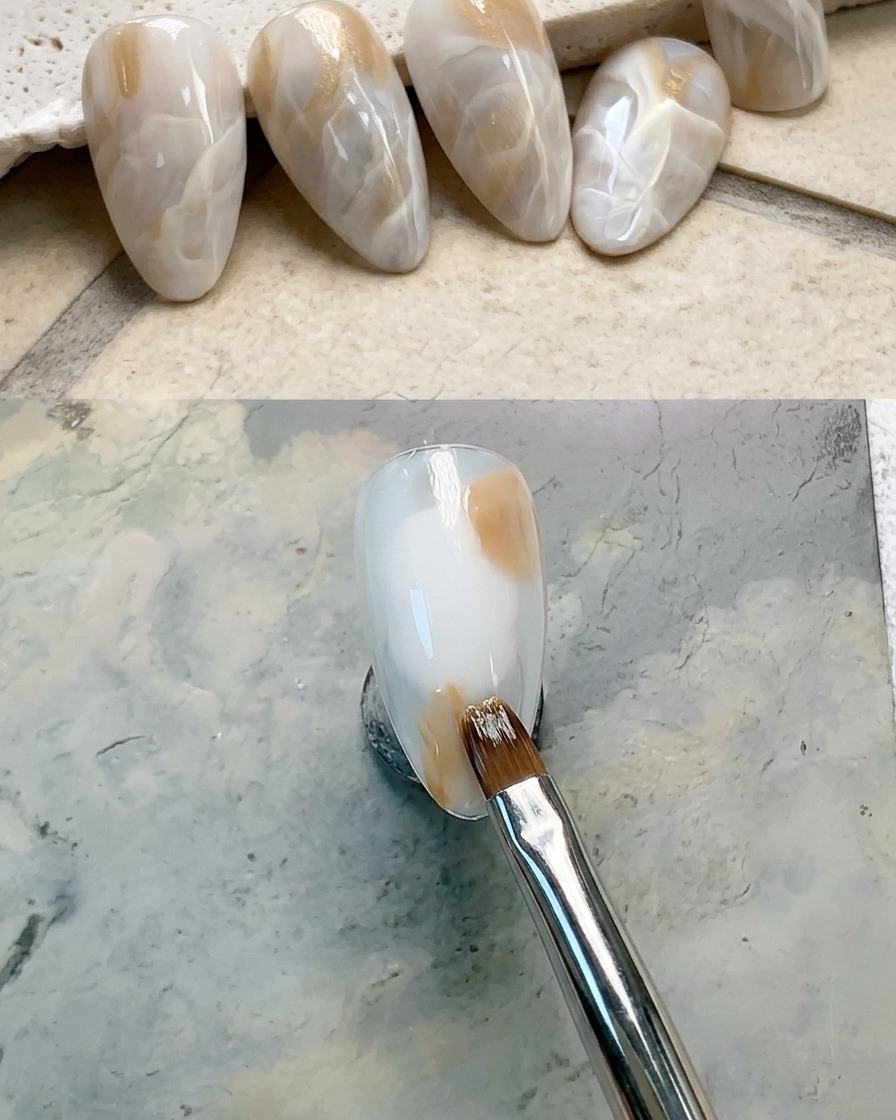
Apply a small dab of brown gel polish to the upper right quadrant of the nail. This will serve as the base for your marble gradient effect. Do not cure at this stage.
Tip: Use a small amount of polish so it is easy to blend out later without making the layer too thick. - 3Add gray gel accent
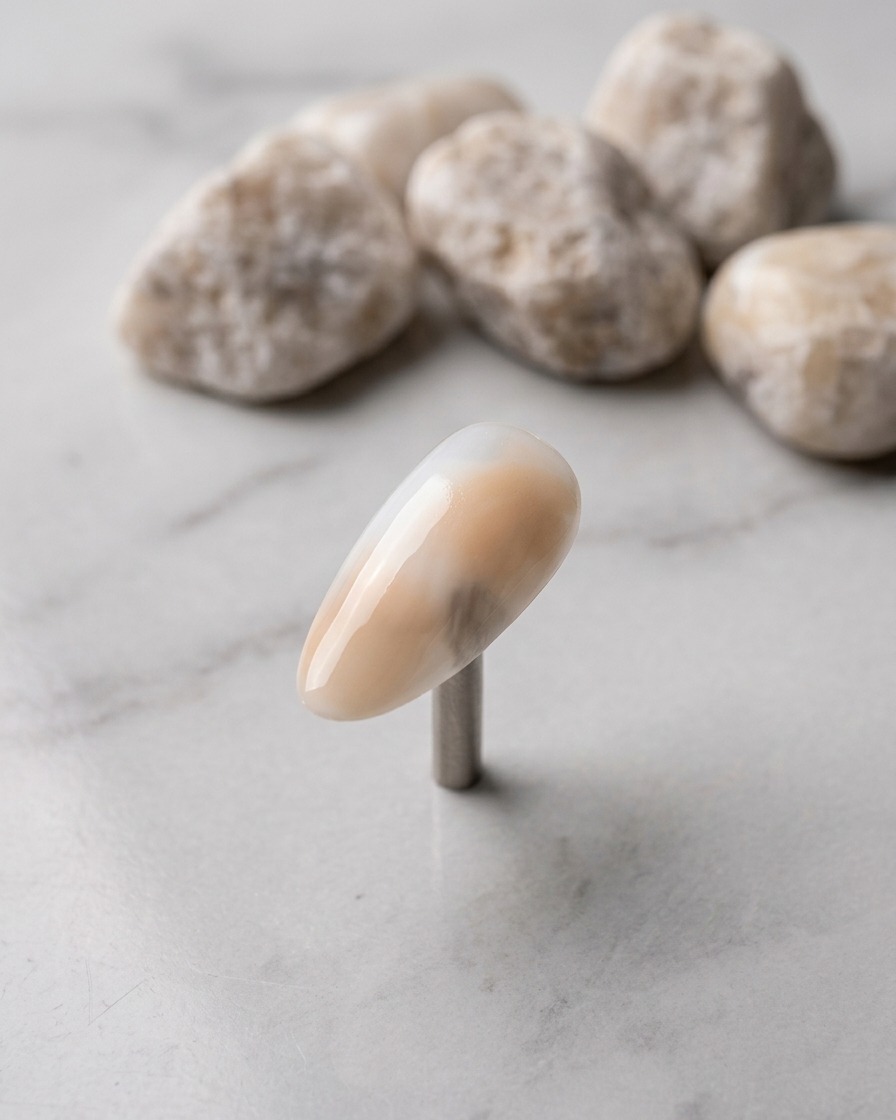
Apply a small dab of gray gel polish to the lower left quadrant of the nail. This works with the brown dab to build the color gradient for the marble design. Keep the polish wet for blending.
Tip: Placing the colors in opposite quadrants helps create a more natural, flowing gradient effect. - 4Apply blooming base
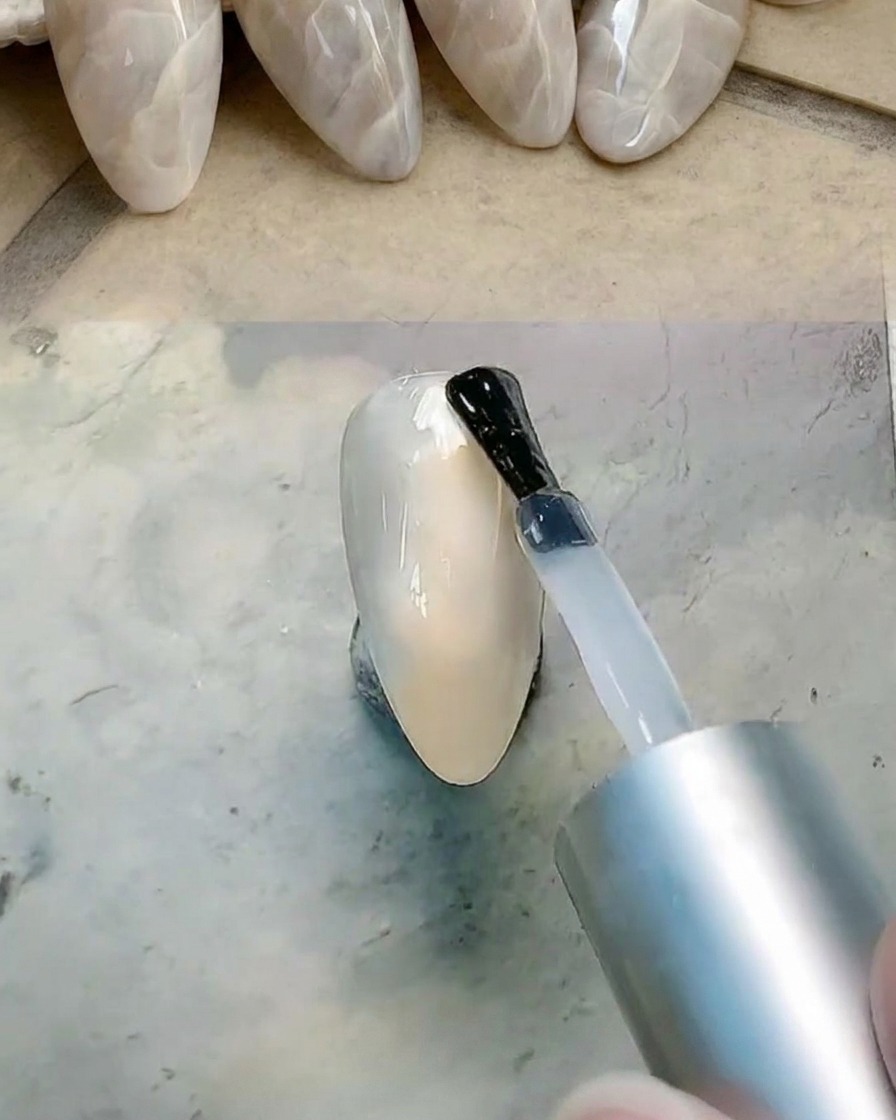
Apply a layer of clear no-wipe gel over the entire nail plate, covering the brown and gray dabs. This creates a wet, slippery surface that allows the colors to bloom and blend smoothly. Do not cure this layer yet.
Tip: The no-wipe gel provides the perfect viscosity for softening the edges of your color dabs. - 5Blend the gradient
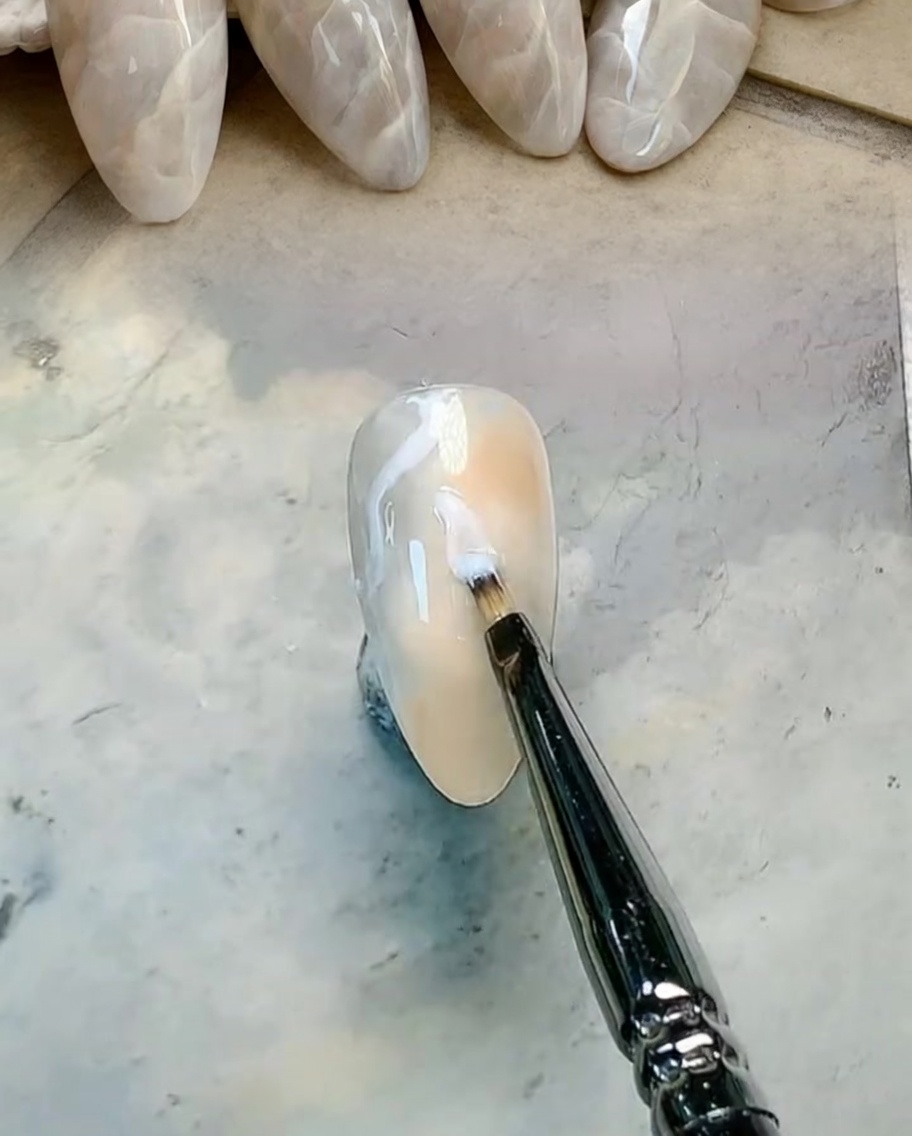
Using a clean flat gel brush, gently pat and smudge the brown and gray gel spots together. Work the brush across the nail to blend the colors into a soft, diffused gradient effect. Once you are satisfied with the blend, cure under the lamp.
Tip: Use light pressure so you move the polish without removing too much color from the nail. - 6Draw marble cracks
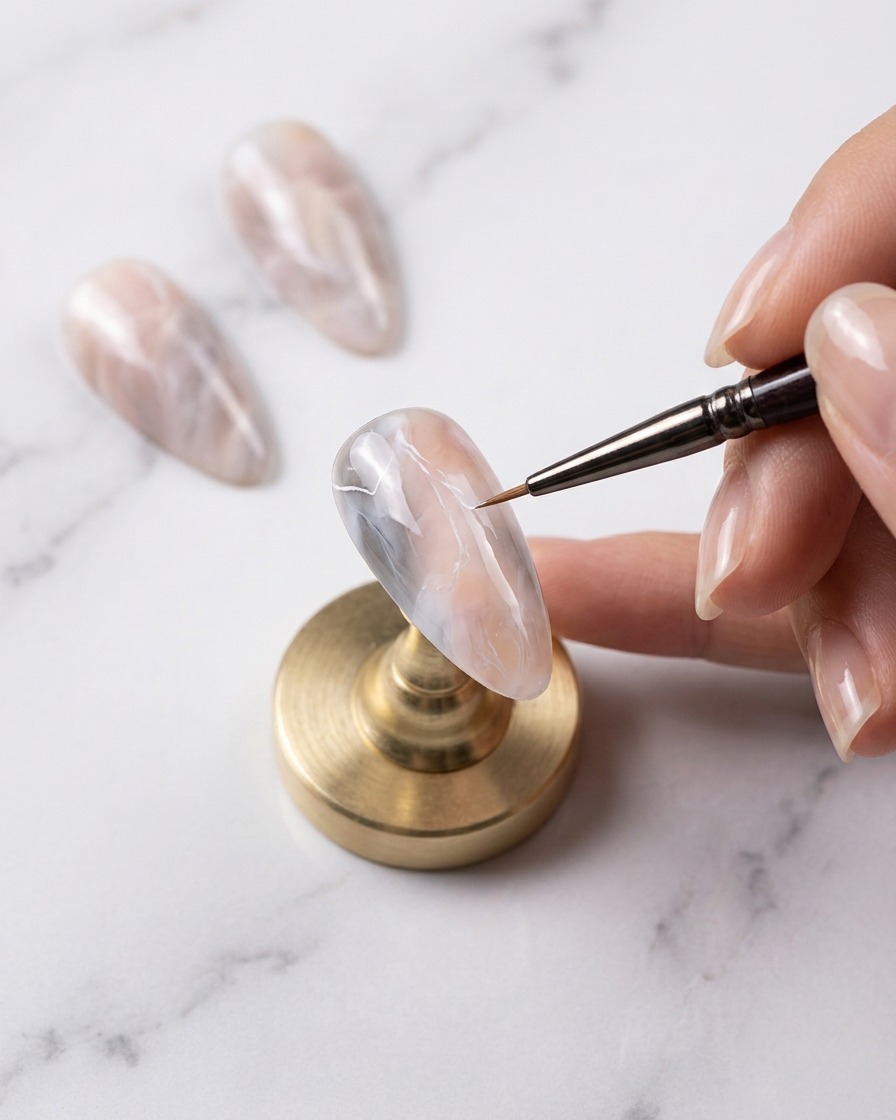
Using a fine liner brush and white texture blooming gel, carefully draw thin, jagged lines across the nail to mimic marble cracks. Keep the lines irregular and vary their thickness to look natural. After drawing, use a small round brush to feather out the edges for a soft fade.
Tip: Less is more; start with faint lines and build up intensity only where you want deeper cracks. - 7Feather the marble lines
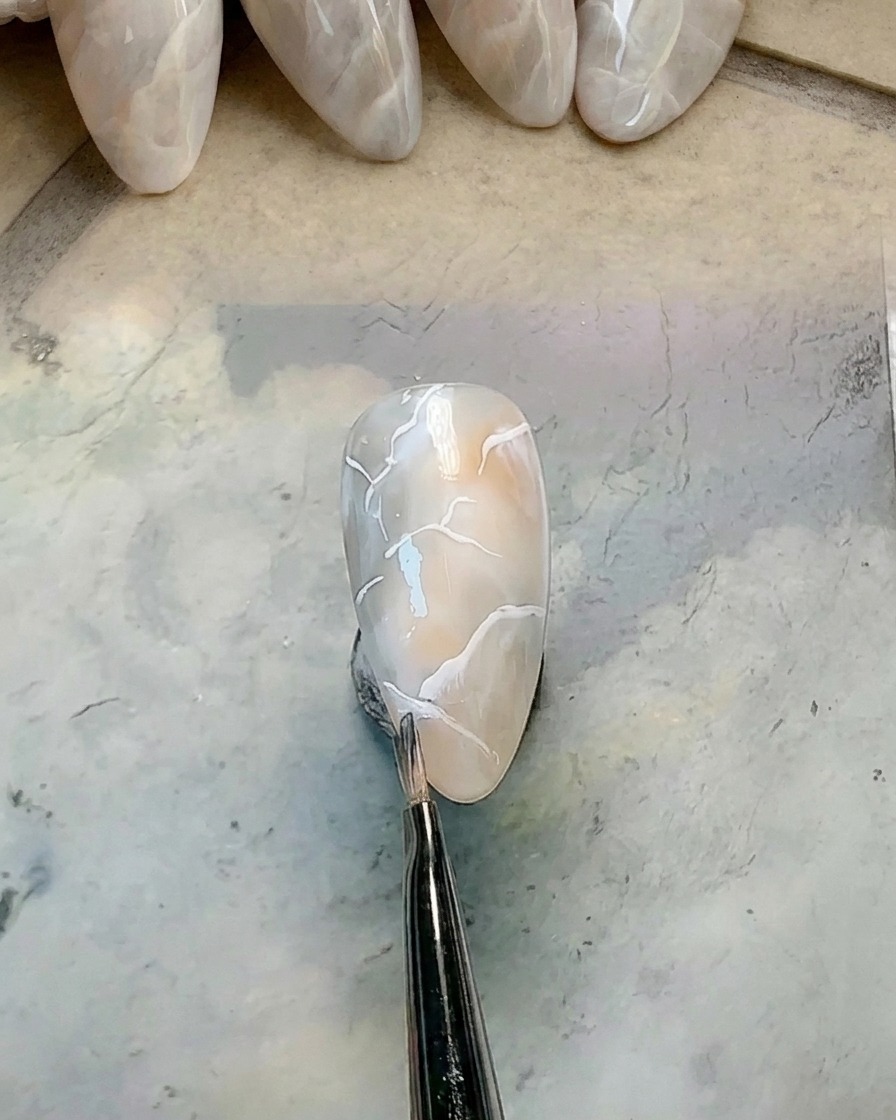
Using a small, clean round brush, gently feather out and blur one edge of the white marble lines you just created. This technique produces a soft, shadowed effect that gives the marble pattern a realistic, multidimensional appearance.
Tip: Clean your brush frequently on a lint-free wipe while blending to avoid muddying the design and to maintain a crisp edge on the opposite side of the vein. - 8Deepen the marble pattern
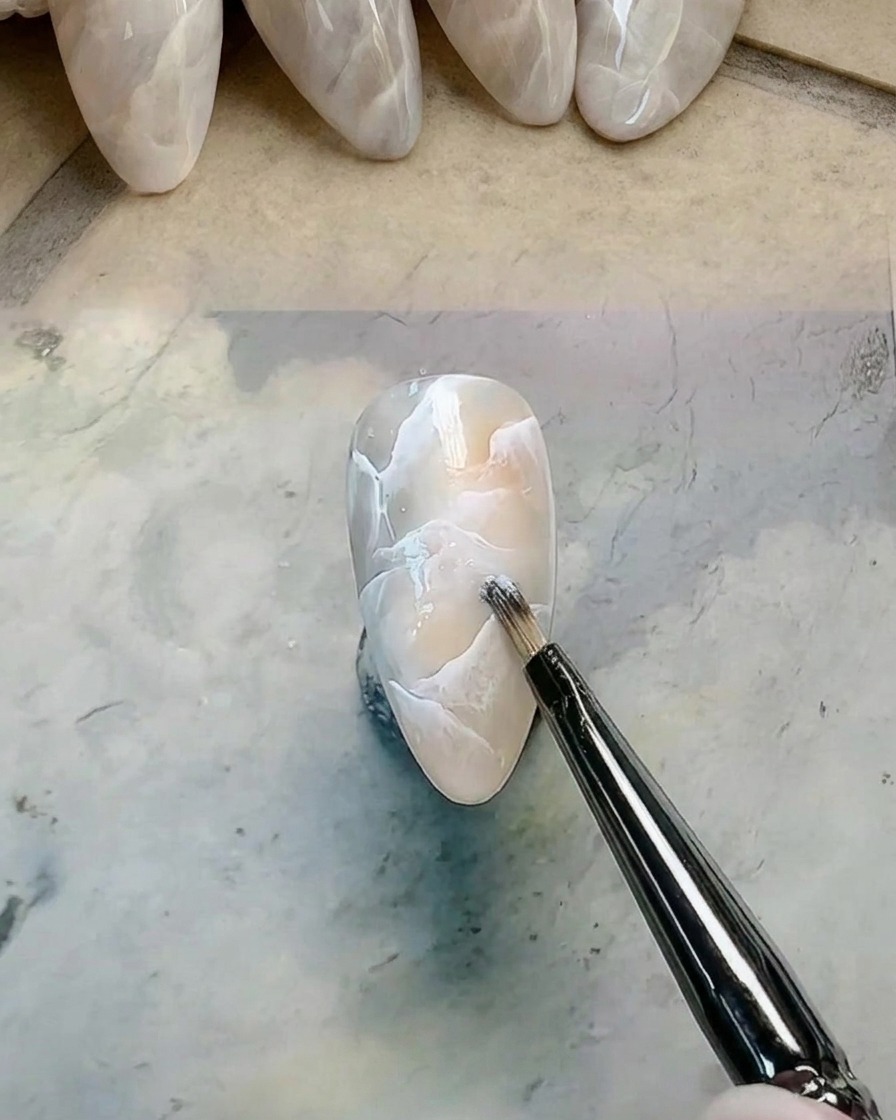
Go back in with your round brush to apply and lightly smudge additional white texture gel in select areas. Building up the white gel in layers intensifies the opacity of the veins and adds further depth to the overall marble pattern.
Tip: Work with small amounts of gel at a time. It is always easier to add more opacity than to remove excess product. - 9Encapsulate with milky white
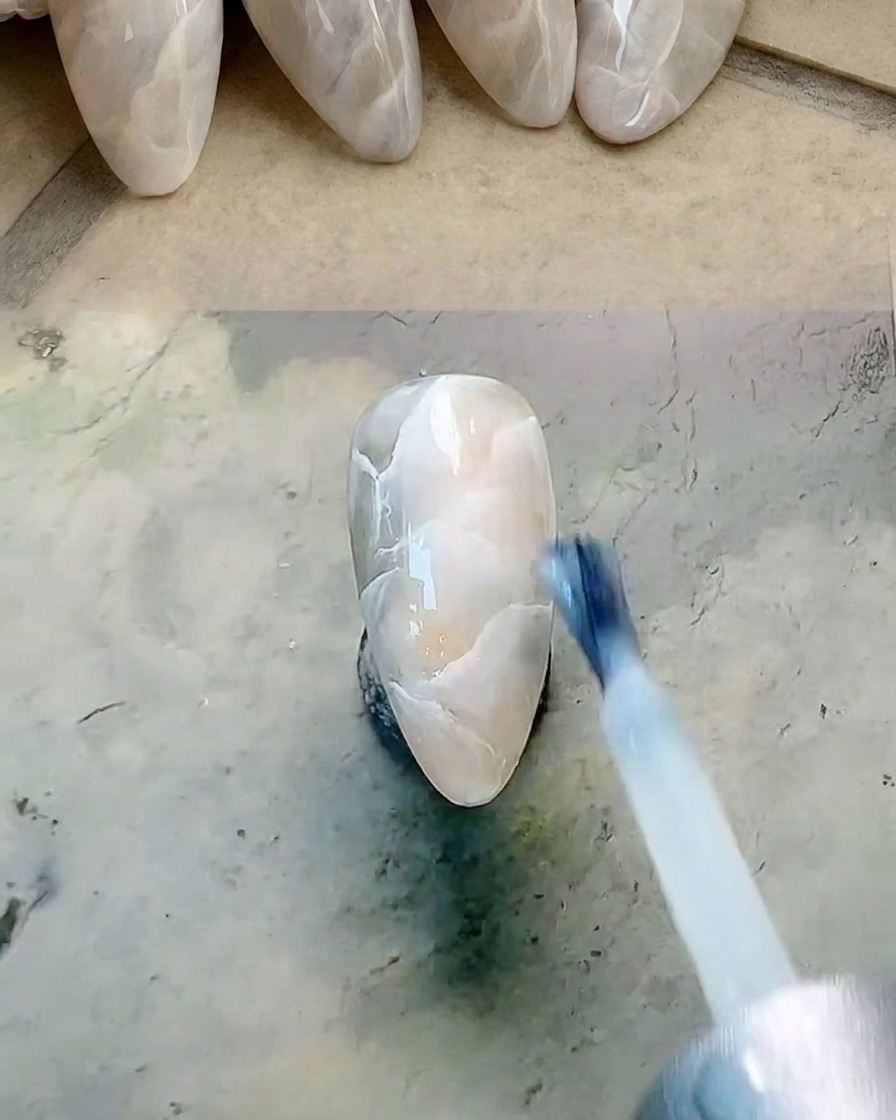
Brush a very thin, even layer of milky white gel polish over the entire nail to encapsulate the marbled design. This sheer wash pushes the lower layers of art into the background, creating the illusion of deep, natural stone. Cure the nail completely under your lamp for 30 seconds.
Tip: Ensure the milky layer is sheer enough so you do not completely hide the intricate marble lines you just blended. - 10Add crisp surface veins
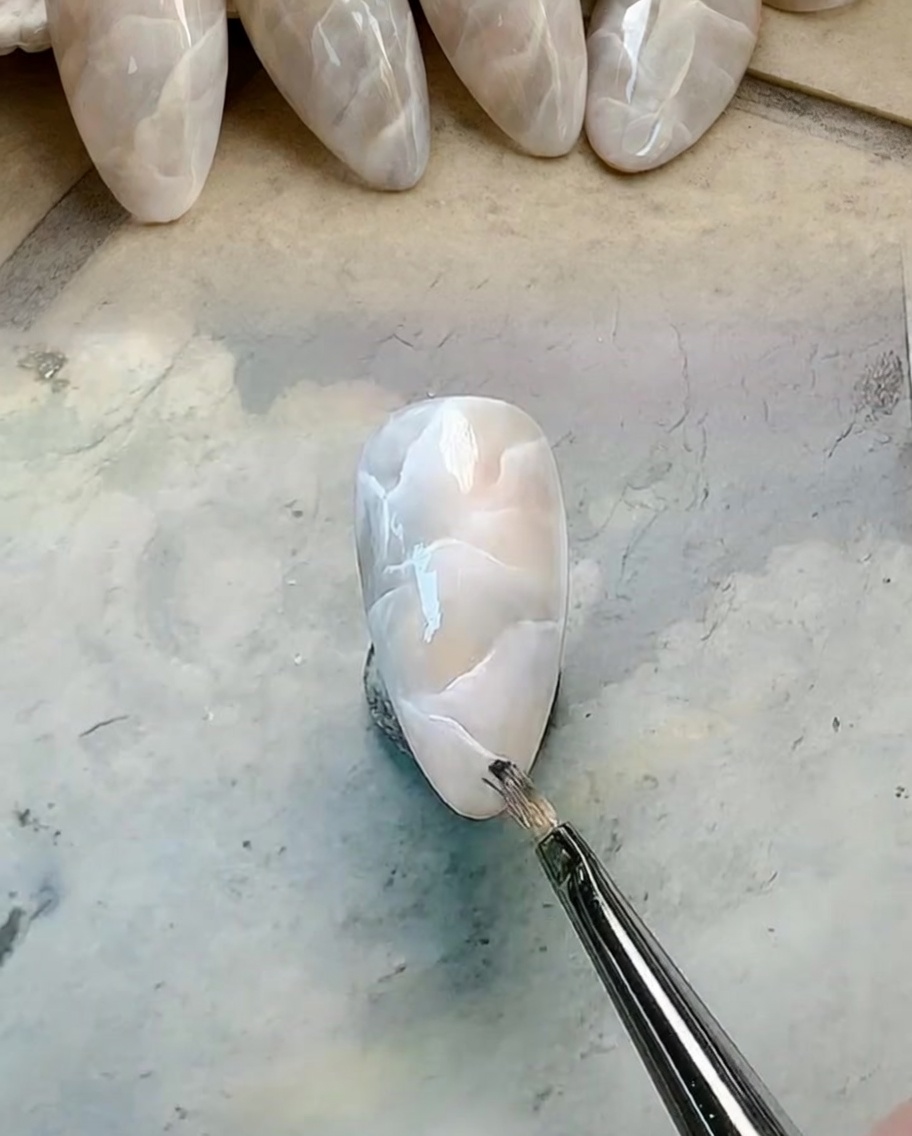
Using a fine liner brush, draw a final layer of sharp, delicate white marble veins directly on top of the cured milky wash. Softly blend parts of these new lines if needed. The contrast between these crisp surface veins and the blurred background veins makes the marble look truly authentic.
Tip: Keep these top surface veins thin and sparse to avoid overcrowding the design.