Pink and Silver Mirror Checkerboard Nail Art Tutorial
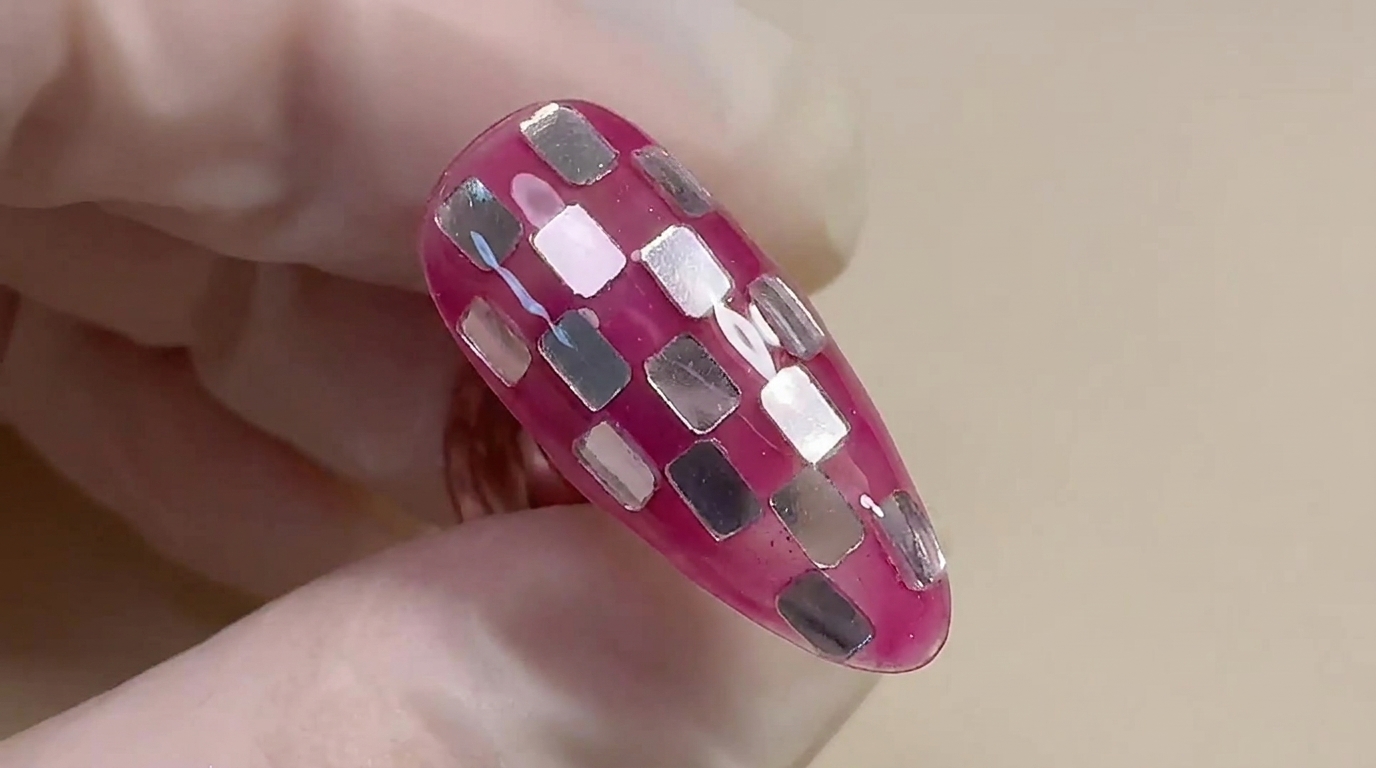
Create a sweet, spicy, and mysterious nail look with this pink and silver mirror checkerboard tutorial. Perfect for an elevated daily style that stands out.
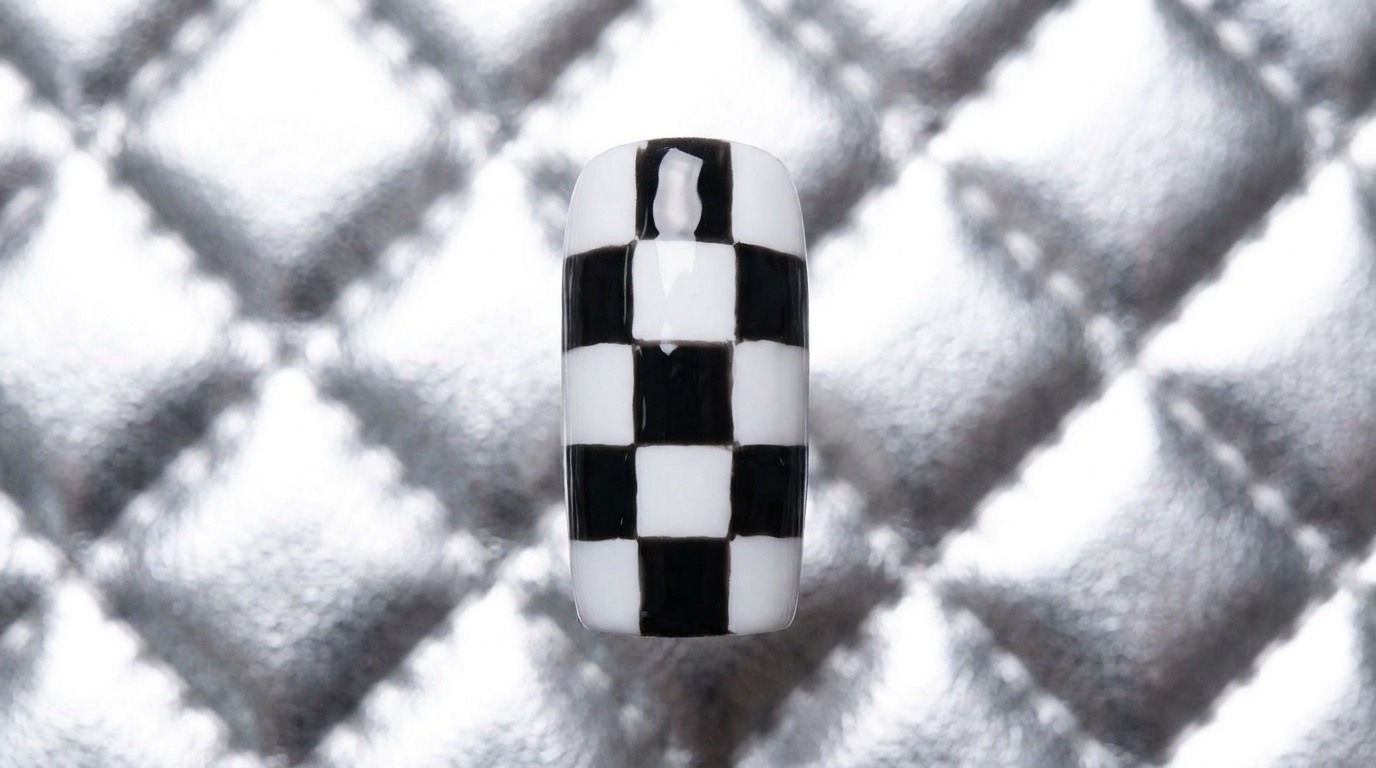
The mirror checkerboard pattern offers a stunning contrast that is both sweet and edgy. By blending a custom darkened dragon fruit red with reflective silver squares, this high-end look brings a mysterious and interesting vibe to your fingertips. It is surprisingly wearable for the office while guaranteeing your nails will not clash with anyone elses.
Steps
- 1Adjust the gel color tone
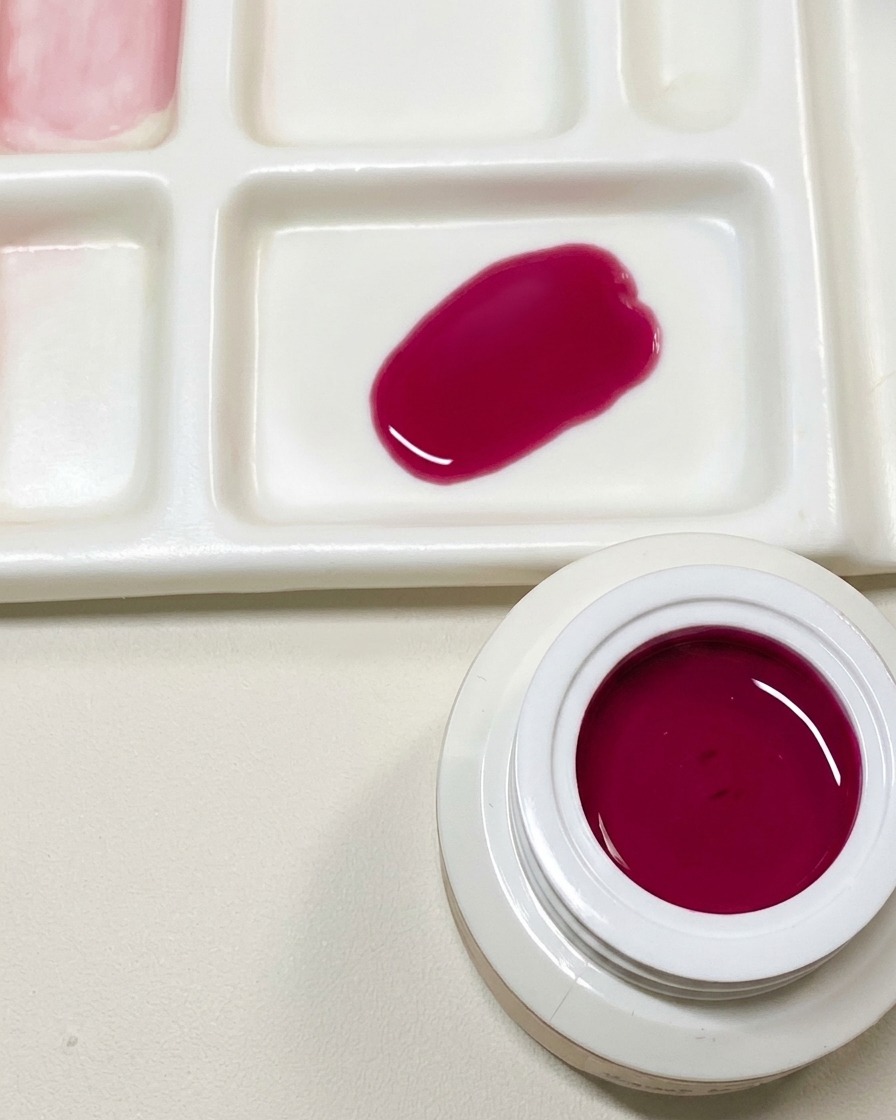
To achieve a darker, more mysterious shade, add a tiny amount of black gel to your semi-transparent dragon fruit red mixture on a palette. Mix thoroughly to lower the brightness until you reach your desired custom tone.
Tip: Add the black gel in very small increments—a little goes a long way and its easier to add more than to lighten it. - 2Apply the custom pink gel
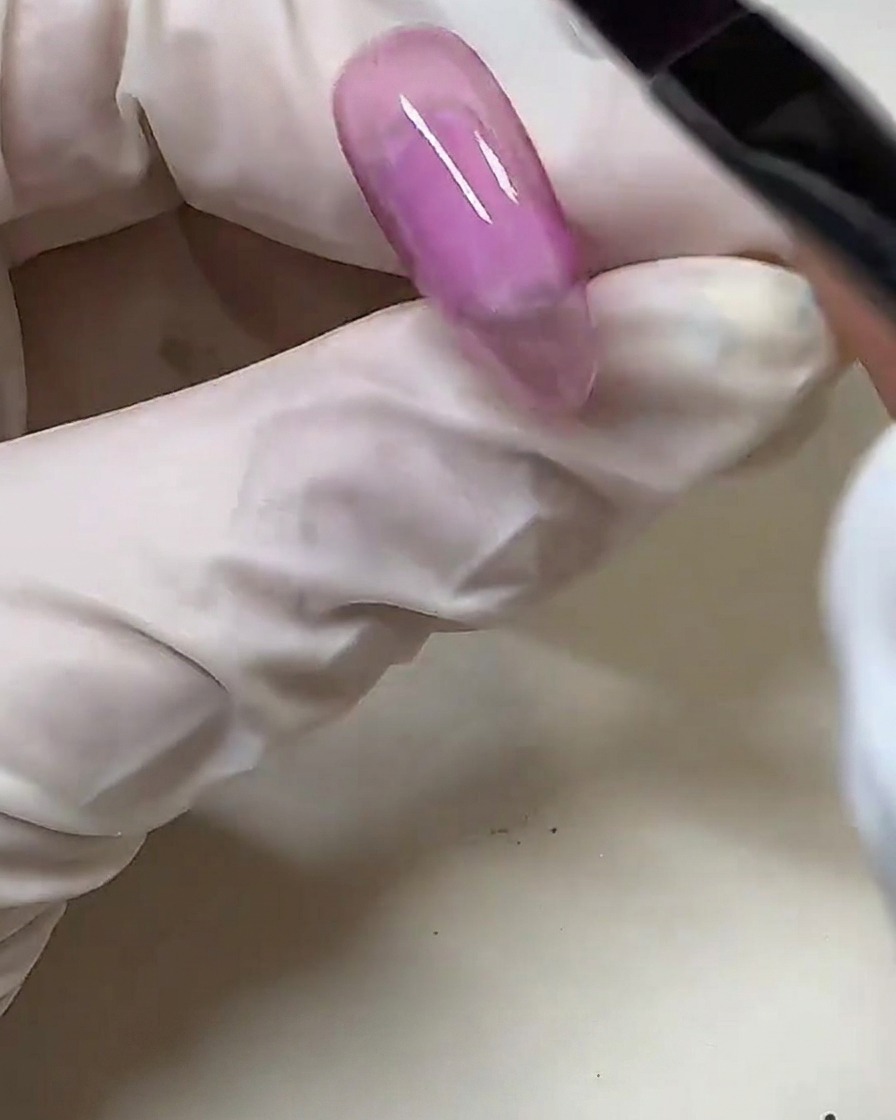
Using a gel brush, apply the custom-mixed dragon fruit red gel onto the nail plate. Use a building gel technique to ensure even coverage and smooth saturation across the entire nail. Once the application is completely even, cure it under your UV or LED lamp.
Tip: Float the brush over the gel rather than pressing down hard to avoid streaks and ensure a smooth, level surface. - 3Apply solid adhesive gel
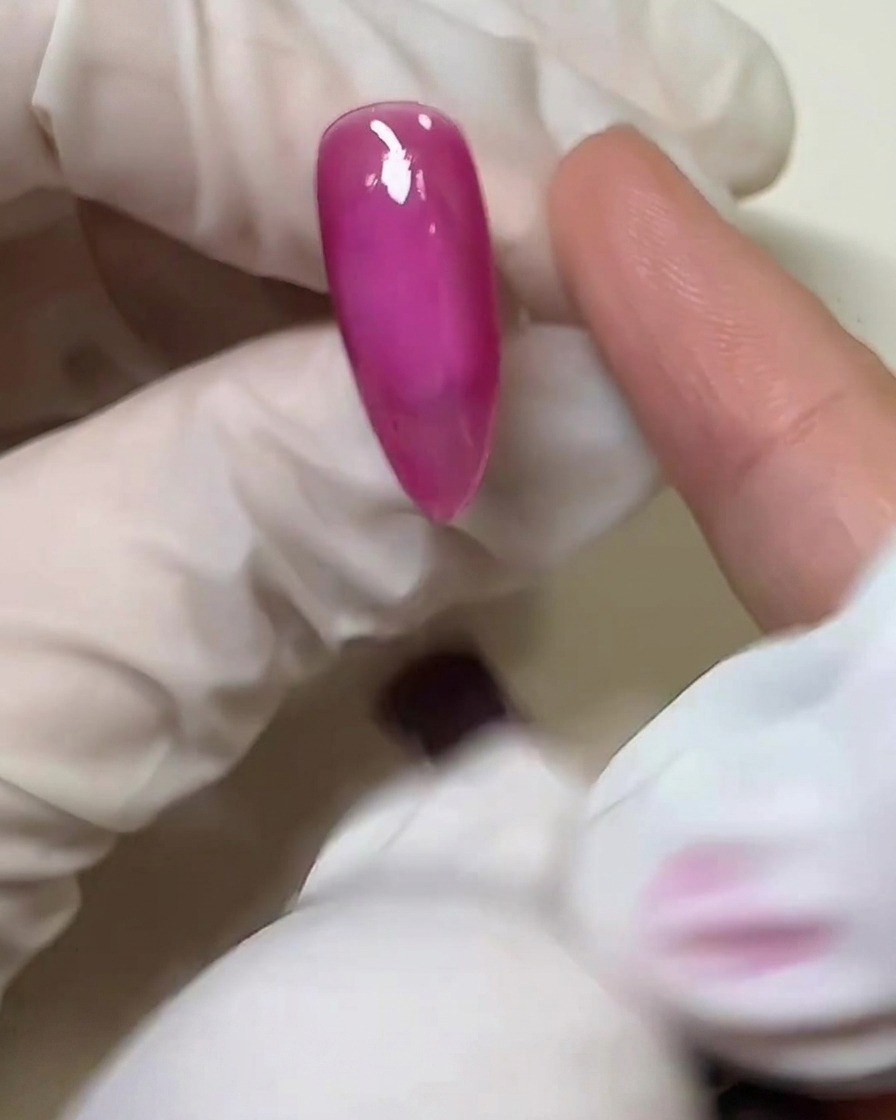
Apply a thin, even layer of solid gel glue (or gem glue) over the fully cured pink base. You can use a silicone tool or a clean gloved finger to spread the solid glue smoothly across the nail surface, preparing it for the metallic pieces.
Tip: Ensure the layer of solid glue is thin and perfectly smooth; a bumpy layer will cause your checkerboard pieces to sit unevenly. - 4Place the metallic squares
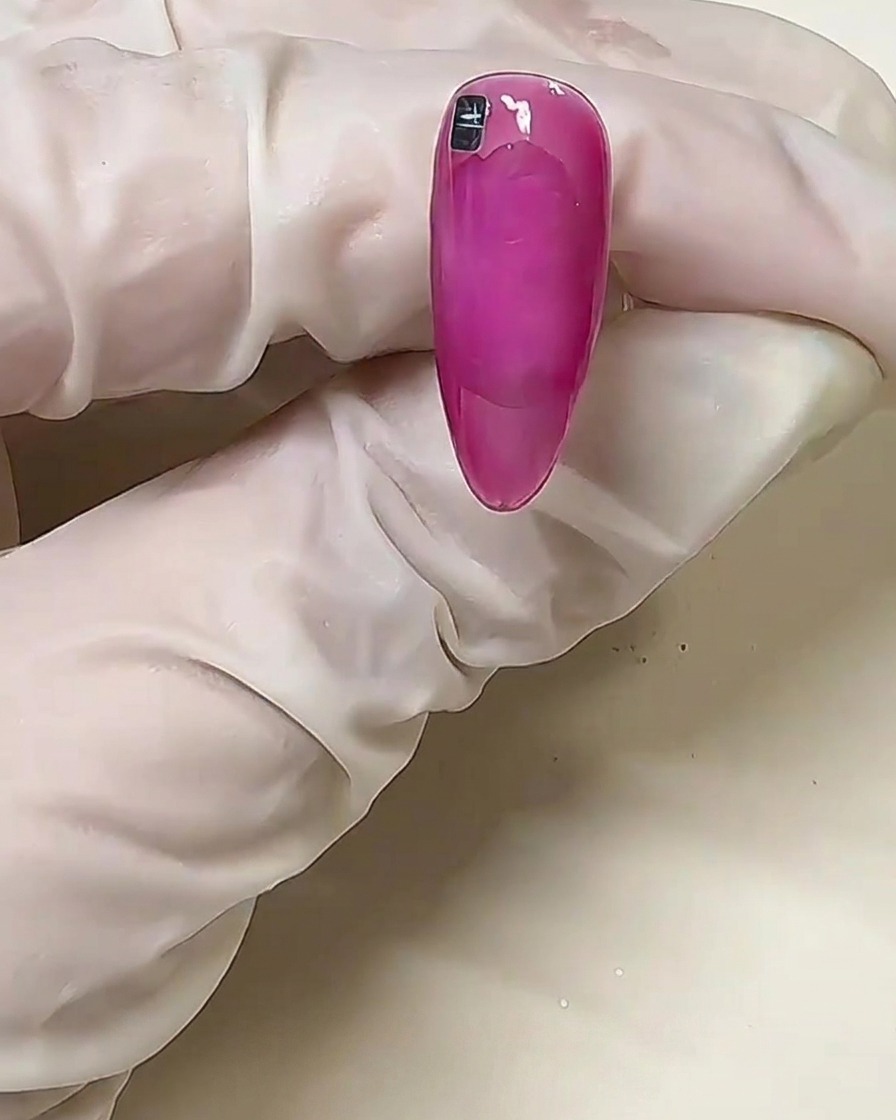
Carefully pick up the metallic silver squares and begin placing them onto the uncured solid glue. Start near the cuticle and work your way down, arranging them into a precise checkerboard pattern according to the size of the nail.
Tip: Plan your grid layout before placing the first piece to ensure the checkerboard pattern stays straight and centered. - 5Adjust the silver squares
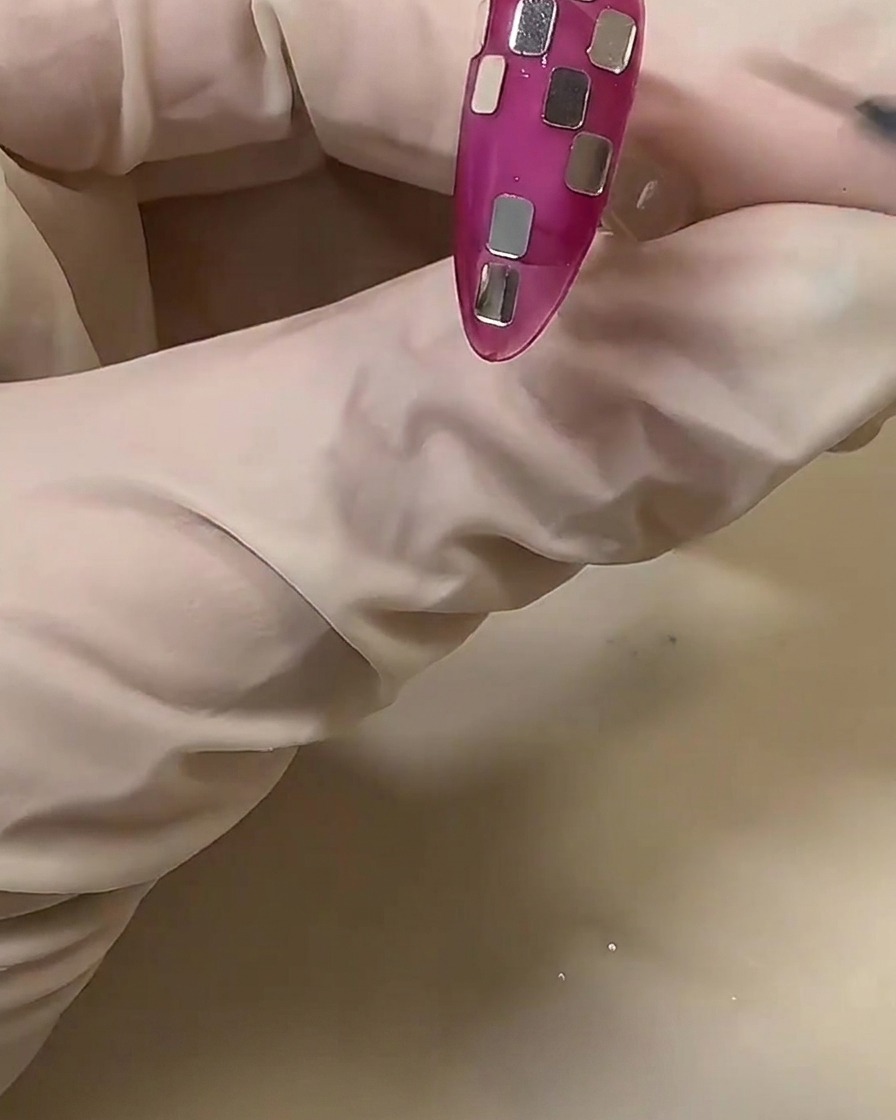
Carefully place and adjust the remaining silver mirror squares across the nail surface to complete your checkerboard grid. Ensure the spacing is as even as possible for a clean, geometric look.
Tip: Use tweezers or a fine silicone tool to gently nudge the squares into their precise positions before the underlying solid glue is completely set. - 6Apply a blending color layer
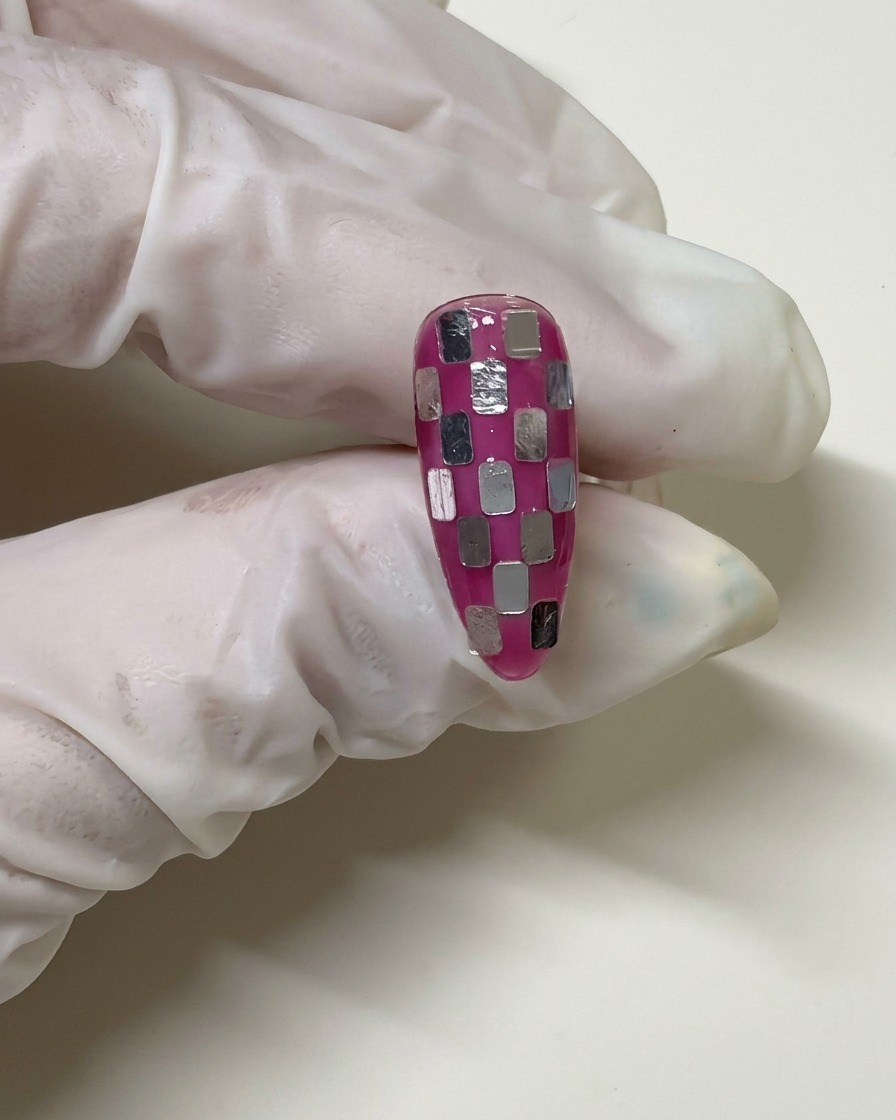
Apply a thin, translucent layer of the dragon fruit red gel directly over the entire nail, including the newly placed silver squares. This step blends the colors together and subtly tints the silver pieces, integrating the checkerboard seamlessly into the overall design.
Tip: Keep this layer thin and even so the reflective quality of the silver squares still shines vibrantly through the sheer pink tint. - 7Encapsulate with top coat
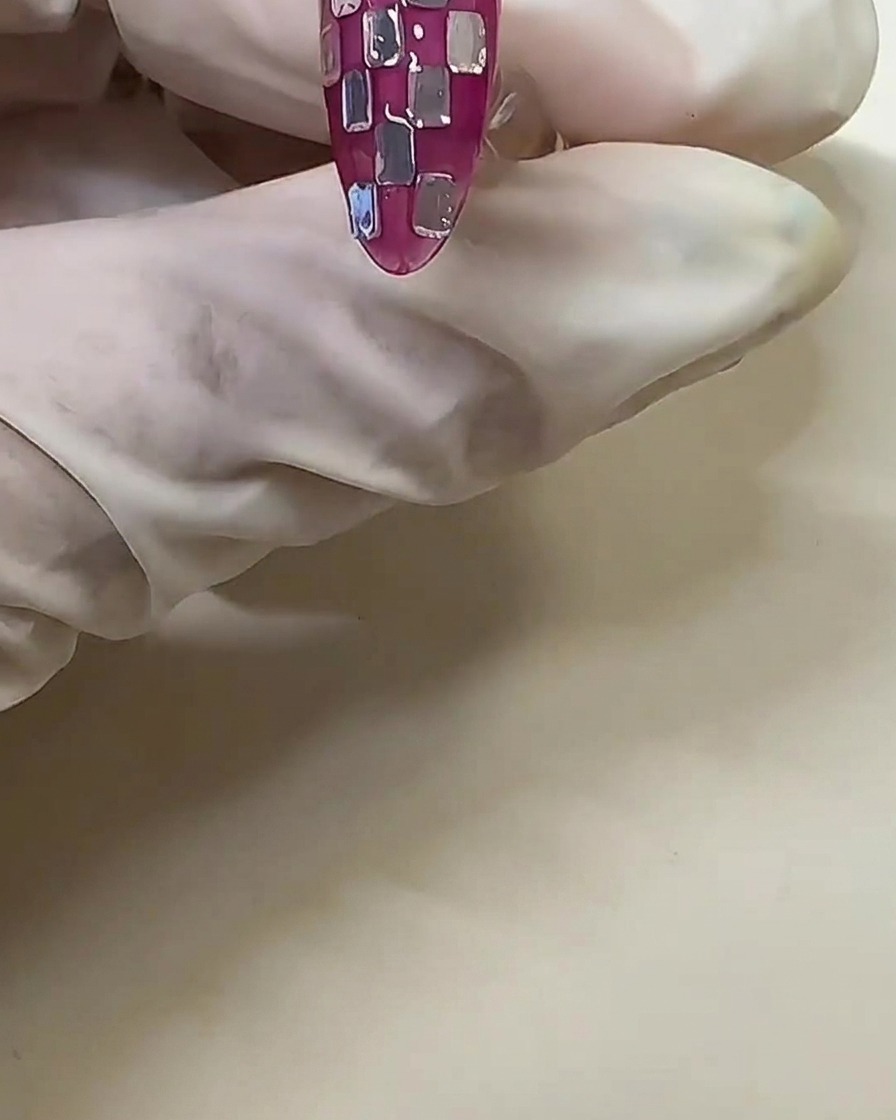
Finish the design by applying a generous layer of clear top coat over the entire nail. This encapsulates the silver foil pieces, smooths out any uneven texture from the squares, and allows the surface to self-level for a flawless, high-gloss finish. Cure the nail completely under your lamp.
Tip: If the surface still feels slightly bumpy after the first top coat, apply a second thin layer to ensure a perfectly smooth, glass-like finish.