Checkered and Nude Gradient Nails — Step-by-Step Tutorial
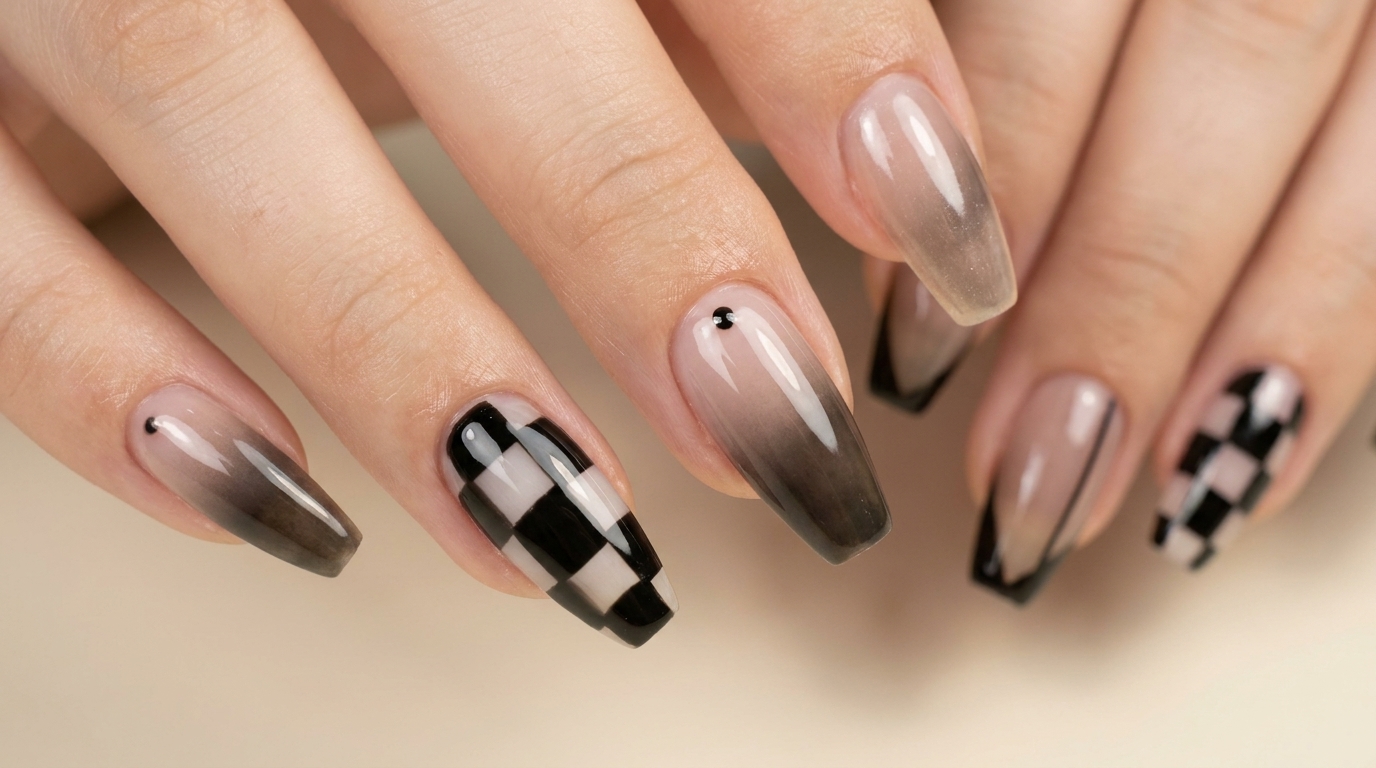
Master modern chic nail art combining crisp black-and-white checkered patterns and sophisticated smokey nude gradient designs.
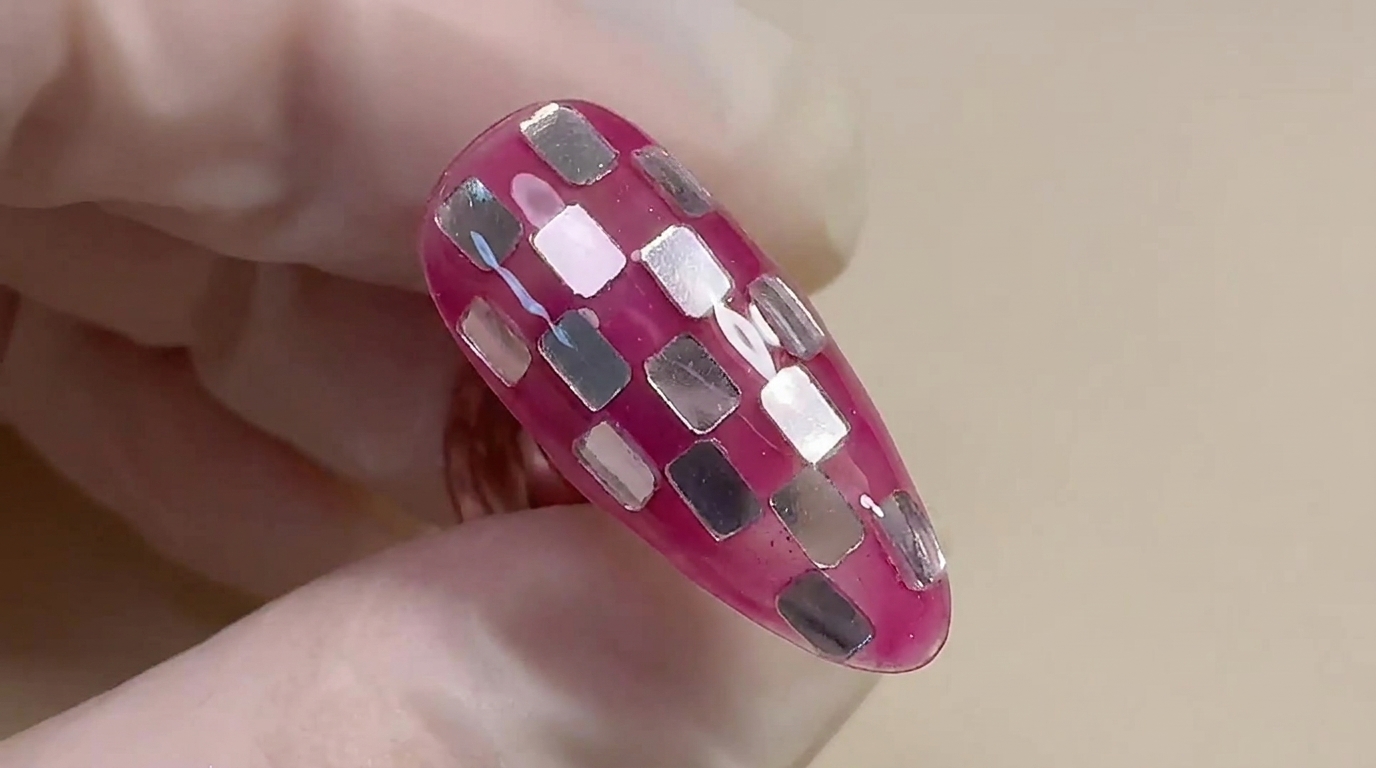
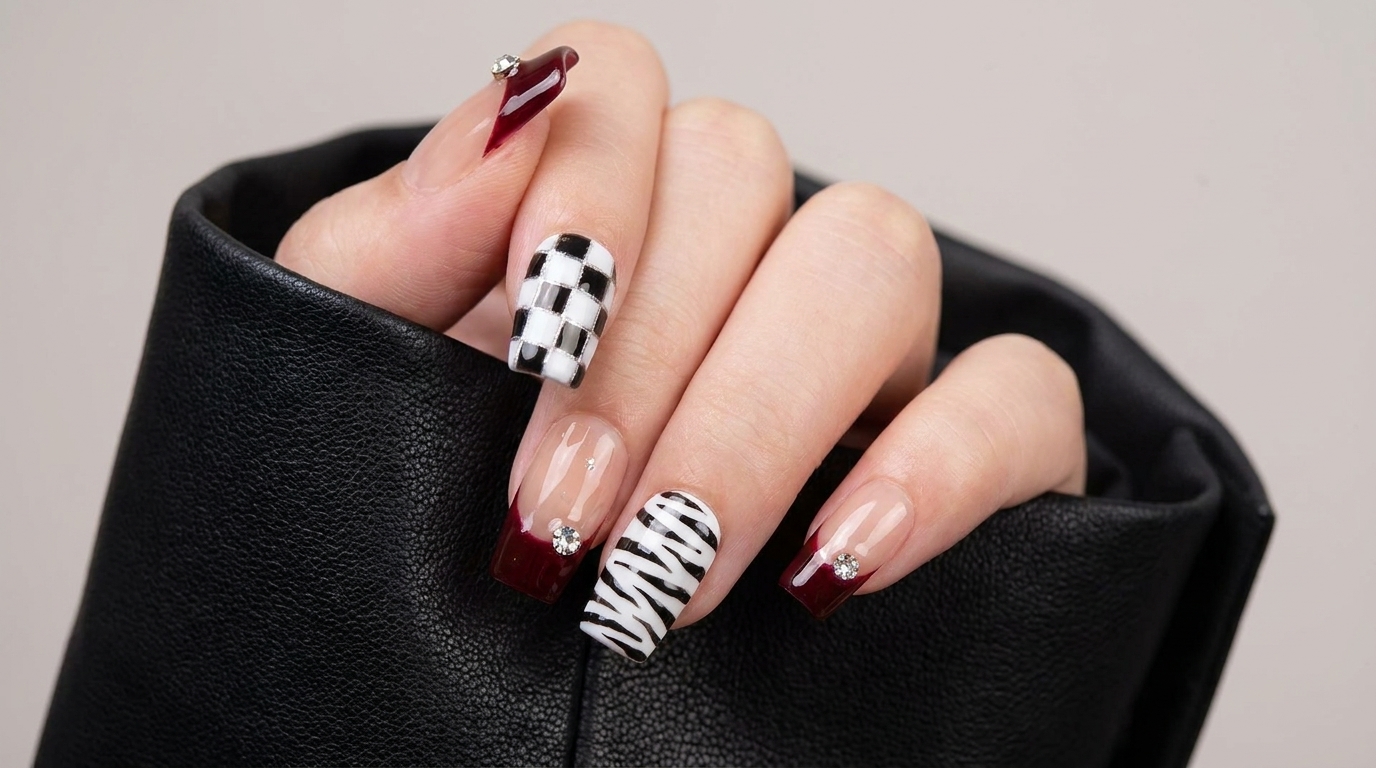
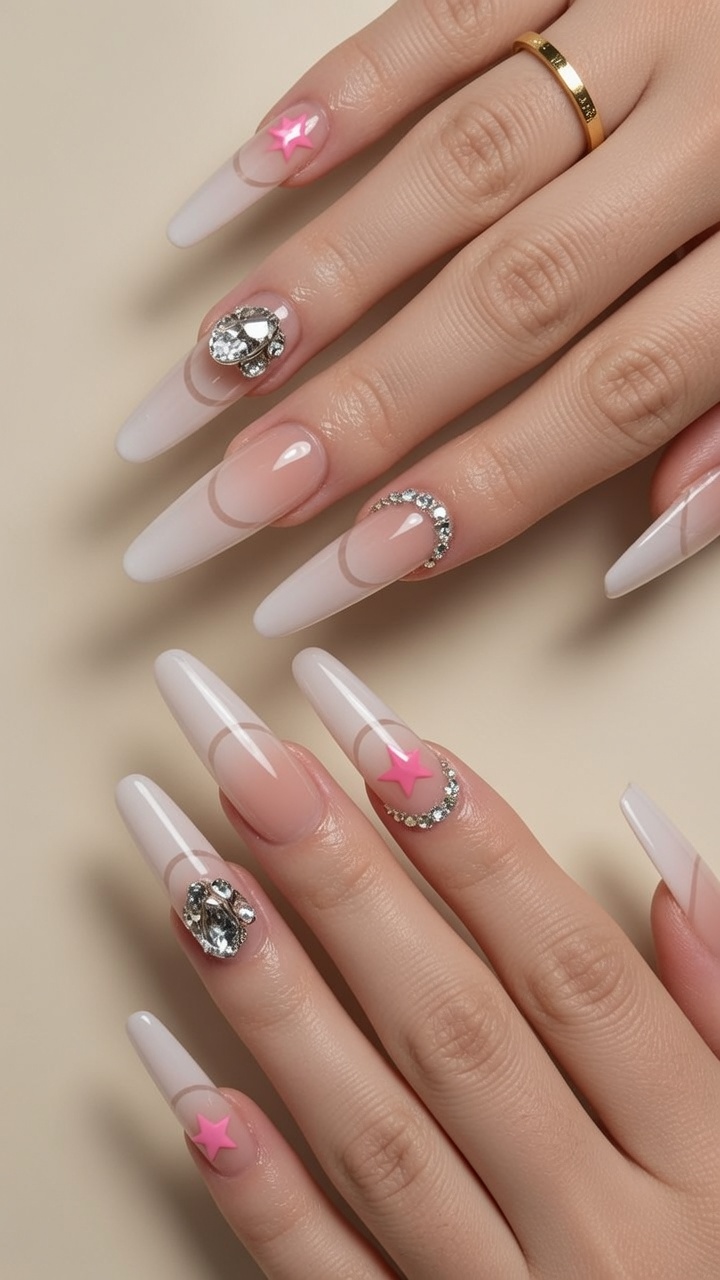
Checkered nail art paired with smokey nude gradients is the ultimate statement look for those who love modern, edgy elegance. This tutorial breaks down how to achieve crisp, clean geometric lines alongside seamless gradient blending right at home. Elevate your manicure game with these precise detailing techniques and professional finishing steps.
Steps
- 1Prepare the liner brush
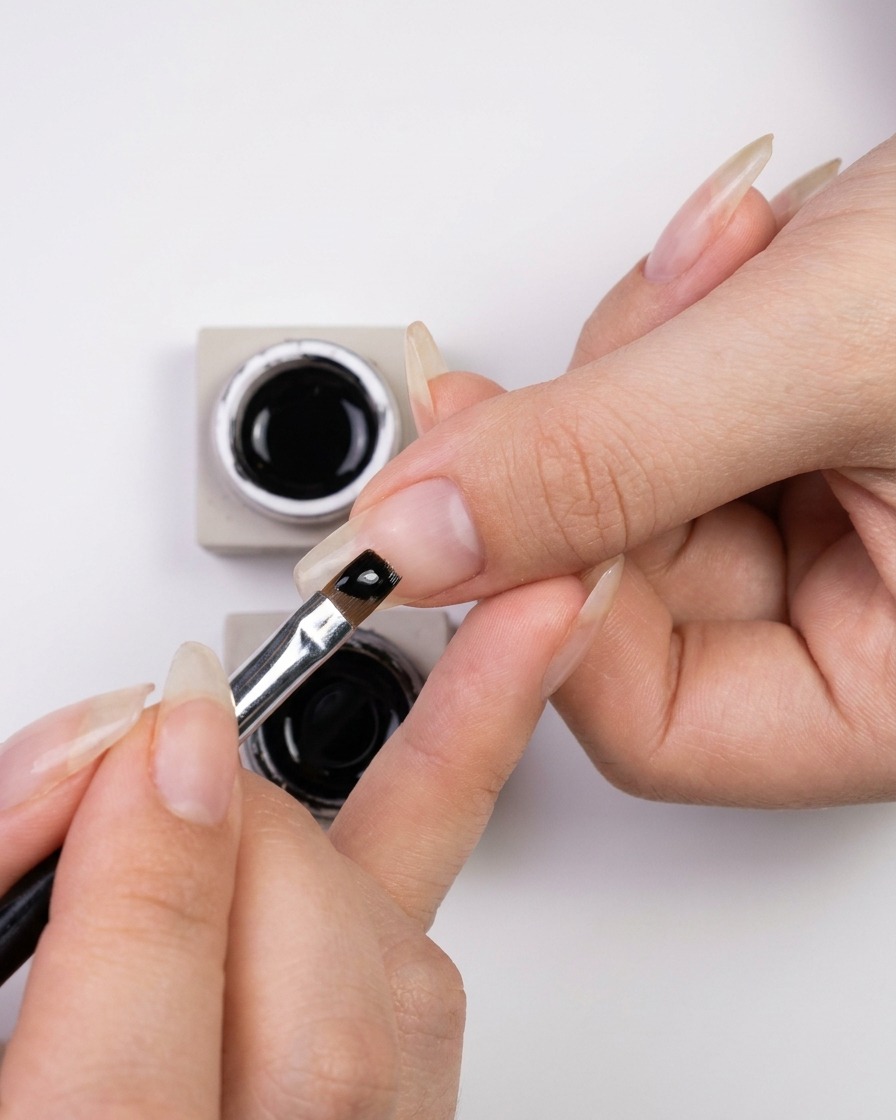
Dip your fine liner brush into a small jar of black gel polish to prepare for the nail art application. Coat the bristles evenly without overloading the brush to ensure maximum control for delicate line work.
Tip: Twirl the brush gently on the edge of the jar or a palette to remove excess polish and shape the bristles into a sharp point. - 2Paint the horizontal baseline
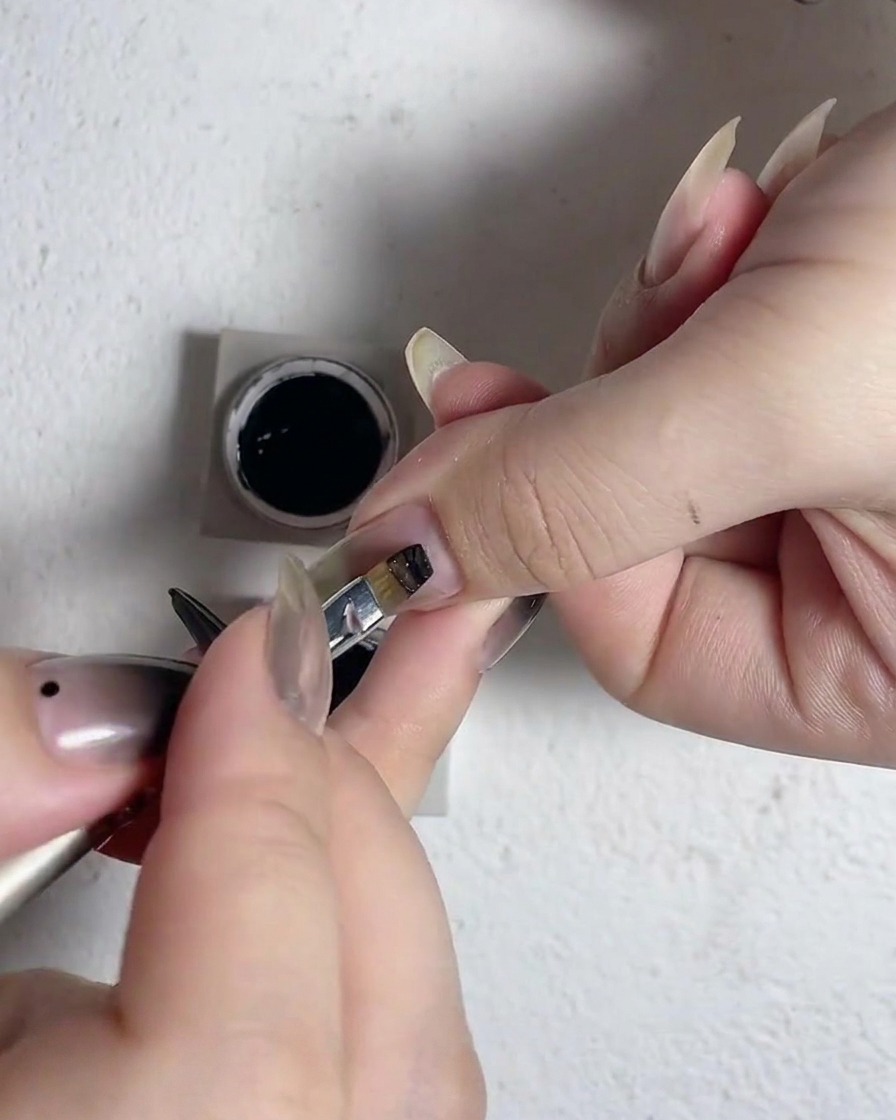
Using a gel brush, apply a horizontal black line near the cuticle area of the nail. This line acts as the foundational border for the upcoming checkered pattern, framing the design beautifully at the base.
Tip: Anchor your pinky finger against your other hand to maintain a steady grip when painting close to the delicate cuticle line. - 3Draw vertical grid lines
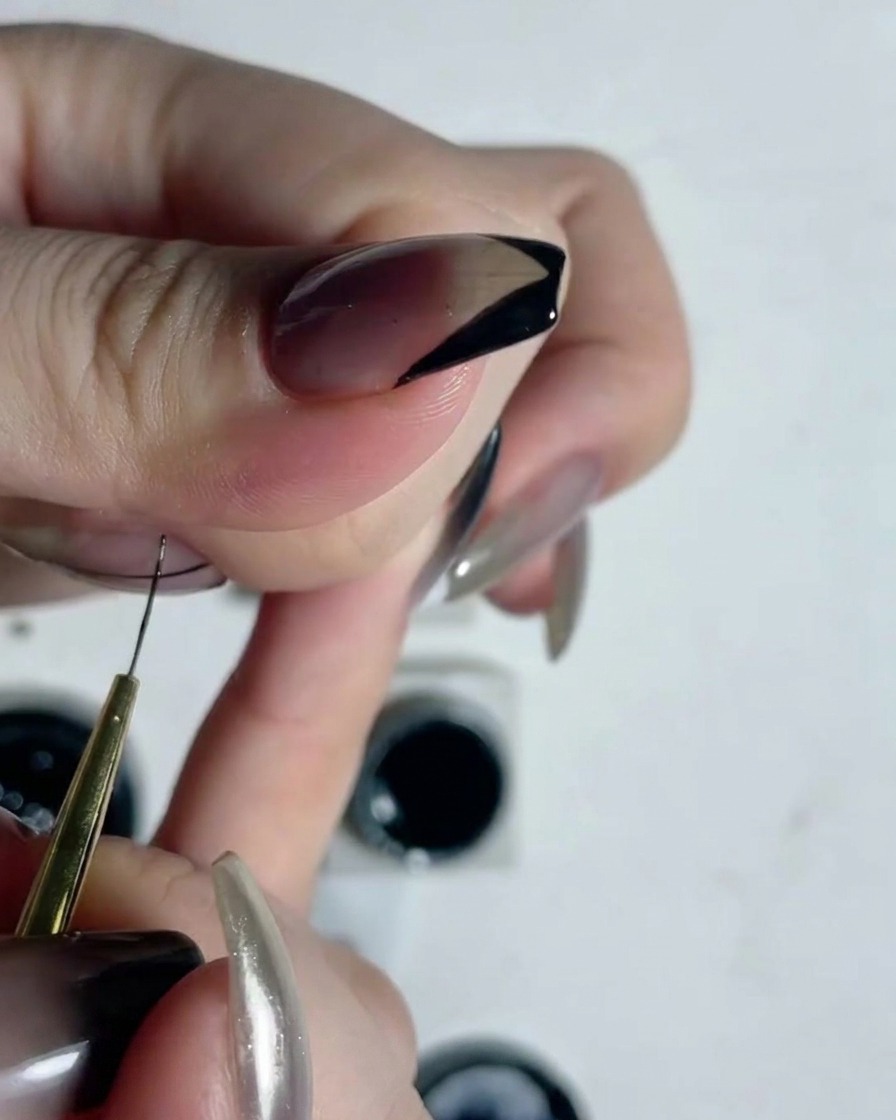
Using a fine liner brush dipped in black gel, carefully draw straight vertical grid lines down the nail surface to map out the columns for the checkered pattern layout.
Tip: Keep your hand steady and apply light pressure to maintain thin, uniform lines across the curved nail shape. - 4Complete the grid matrix
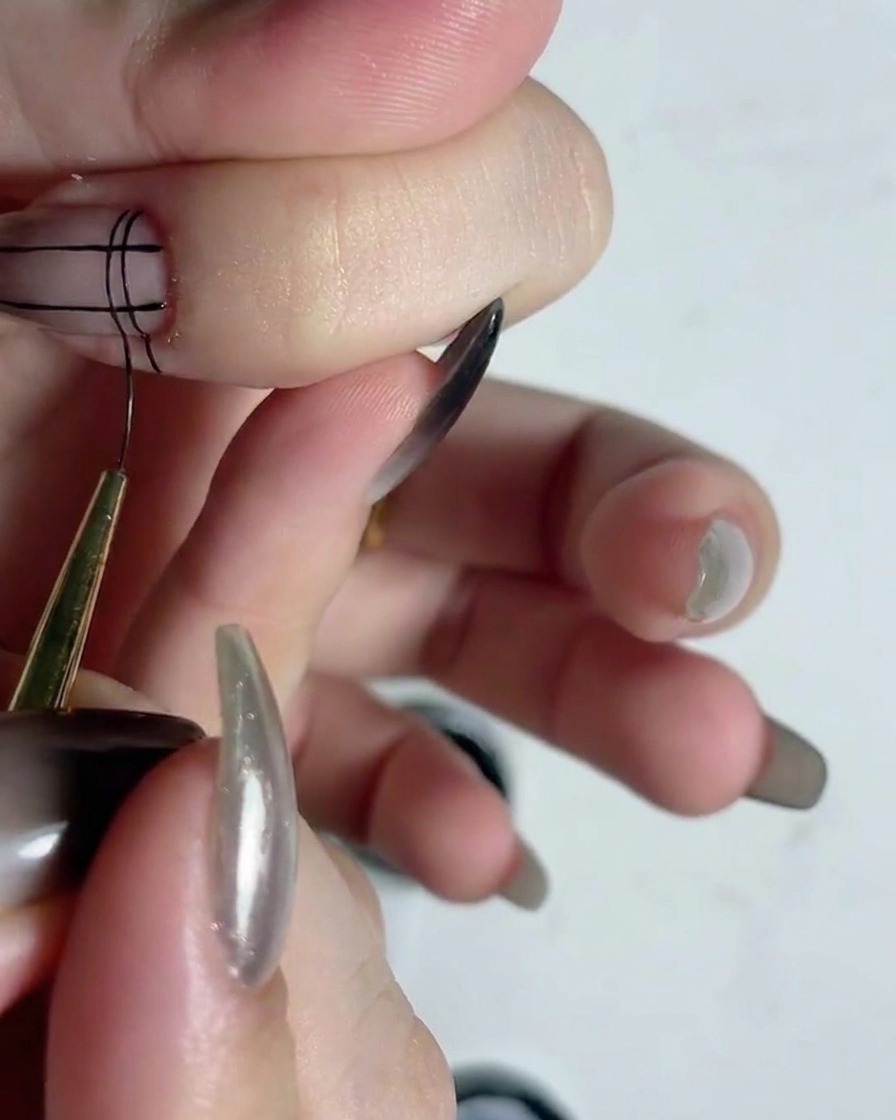
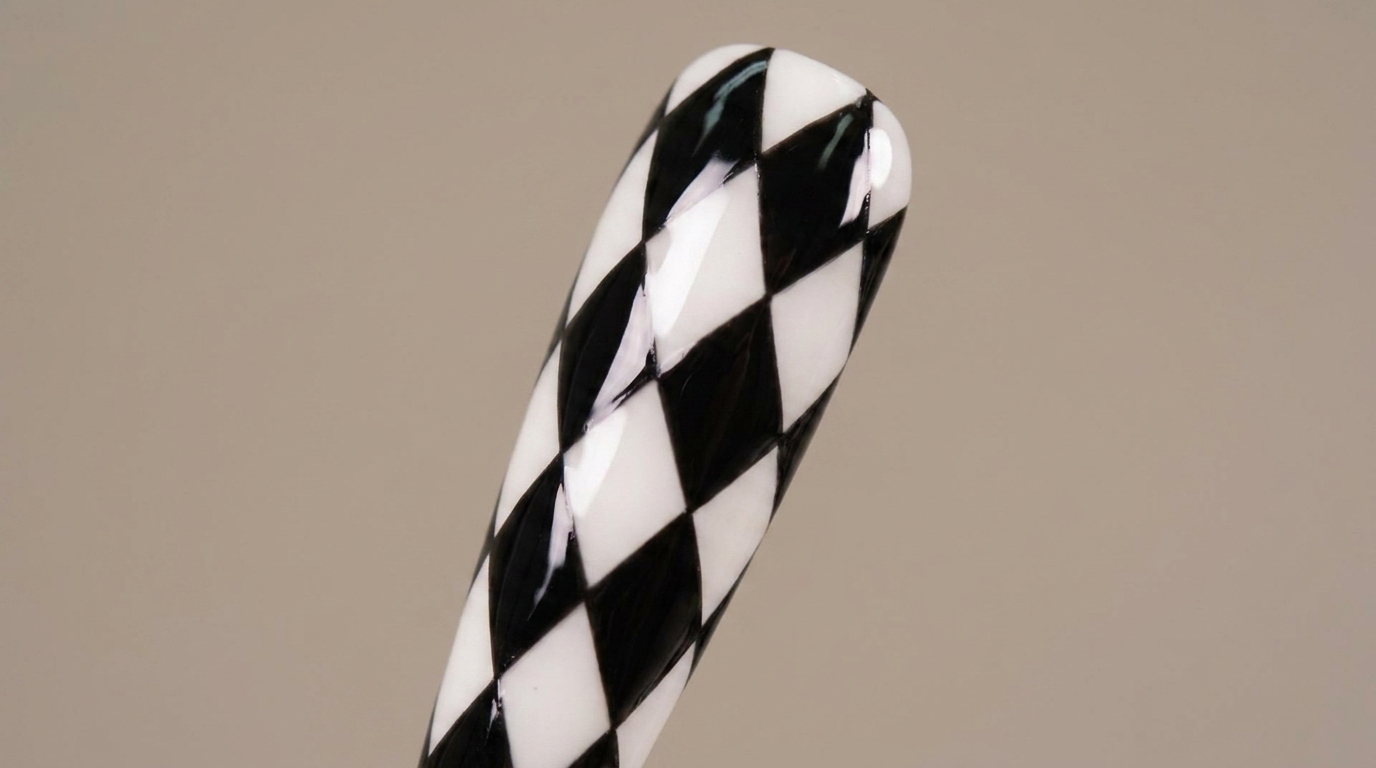
With the vertical lines in place, use your fine liner brush to draw intersecting horizontal grid lines across the nail. This completes the full matrix layout needed to start filling in your checkered design.
Tip: Flash cure the initial vertical lines for a few seconds before adding the horizontal ones to prevent the wet gel polish from bleeding at the intersections. - 5Fill in alternate squares
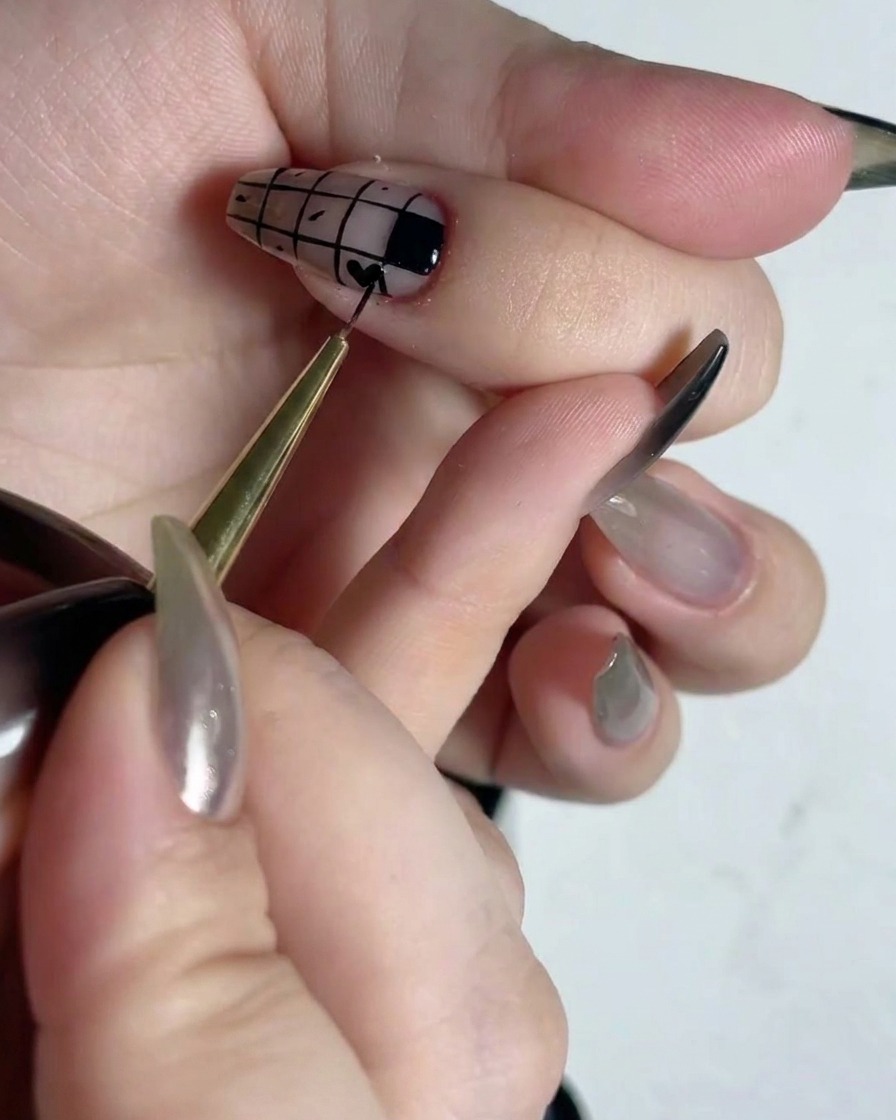
Using a fine detailing brush, begin filling in alternating squares of your grid with black gel polish. Work carefully within the lines to establish the classic contrasting checkered look.
Tip: Use a very small amount of polish on the very tip of your brush to avoid accidentally flooding outside the designated squares. - 6Refine the geometric edges
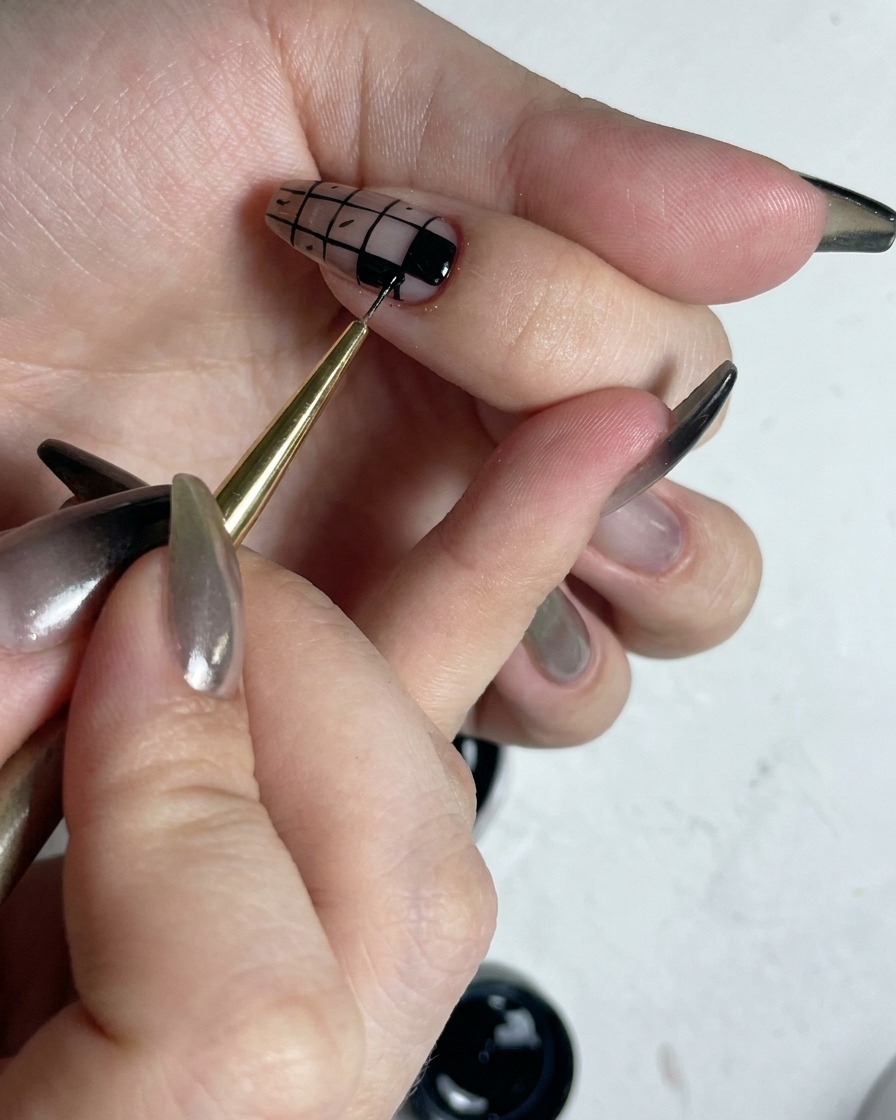
Go back over the filled squares with your fine liner brush to carefully refine the edges. Perfecting these borders ensures that the final geometric shapes remain sharp, crisp, and clean before the final cure.
Tip: If you make a tiny mistake, use a clean brush lightly dampened with isopropyl alcohol to gently wipe away the stray polish before curing. - 7Outline the checkered border
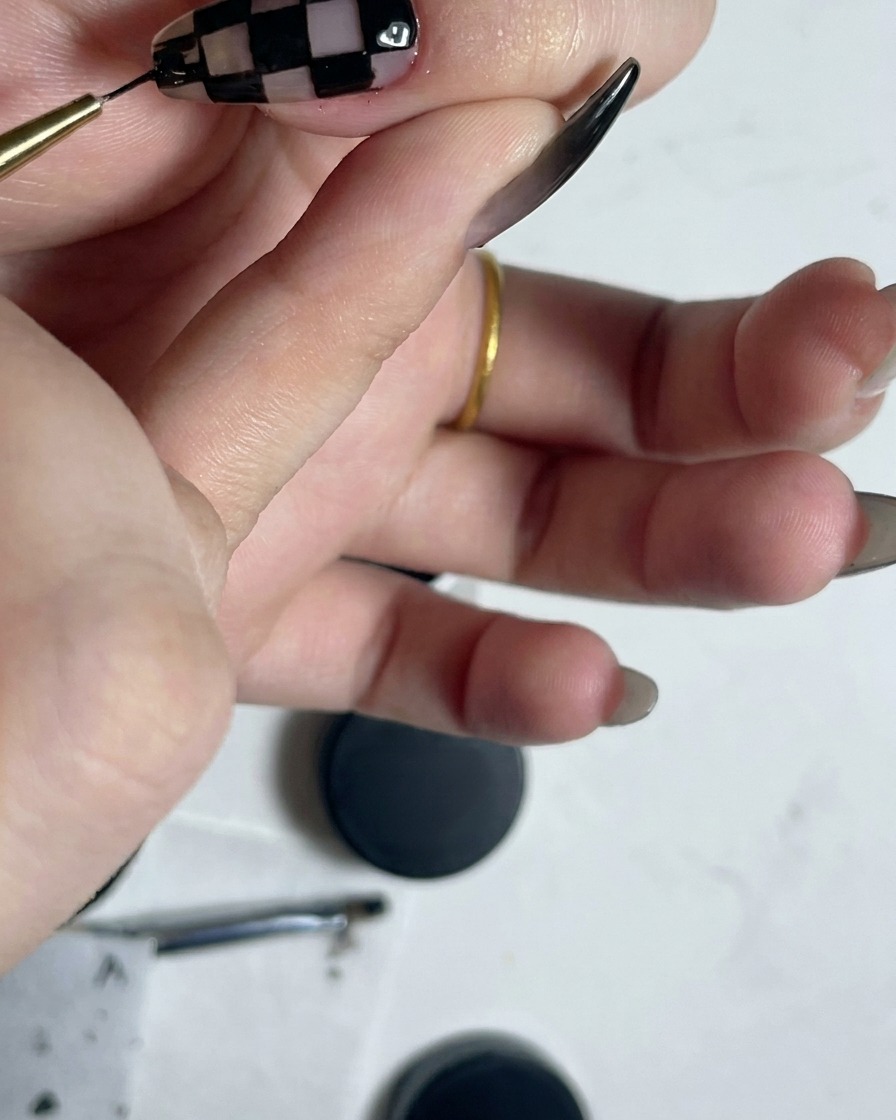
Carefully trace along the outer perimeter and free edge of the checkered design with a fine liner brush and black gel to define and sharpen the overall shape.
Tip: Take your time on the outer border to ensure crisp edges that frame the checkered blocks cleanly. - 8Add a vertical accent line
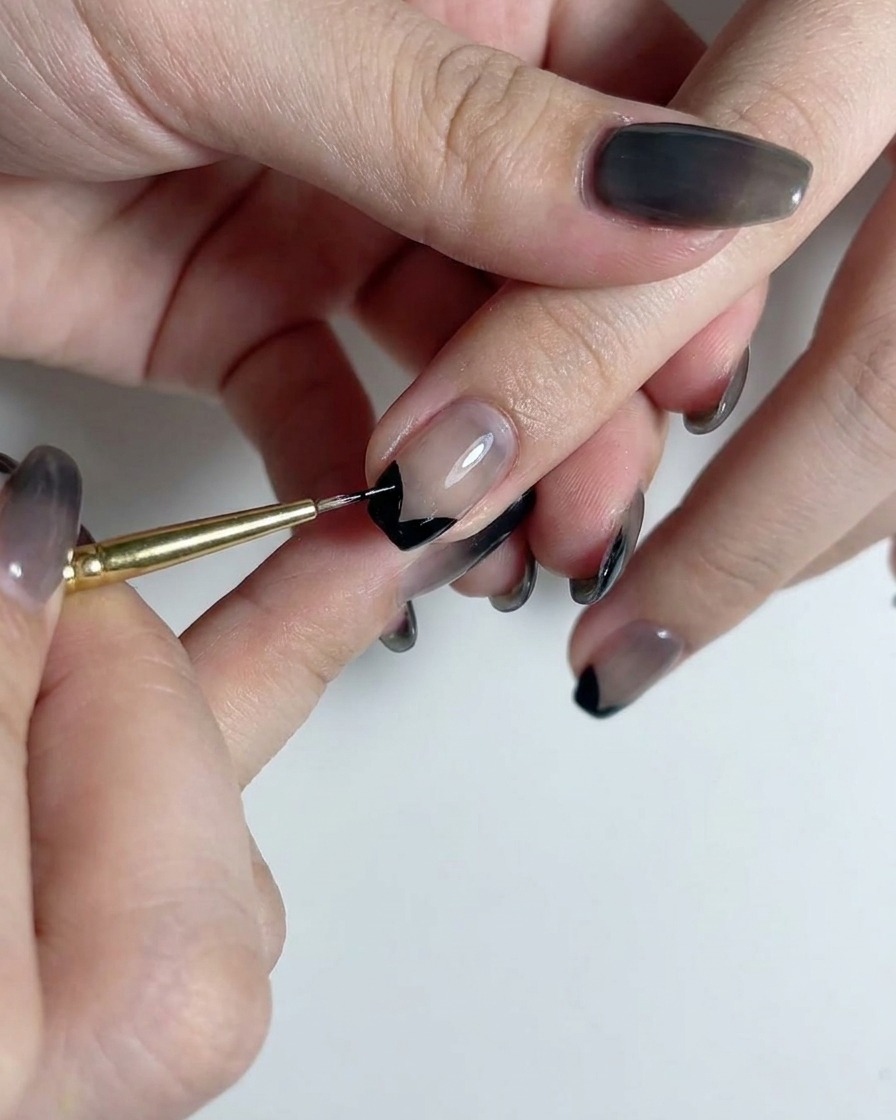
Using the fine liner brush, draw a single straight vertical line right down the center axis of an adjacent translucent gradient nail to create a minimalist accent detail.
Tip: Anchor your pinky finger on your hand for stability to ensure the vertical accent line is perfectly straight. - 9Apply clear top coat
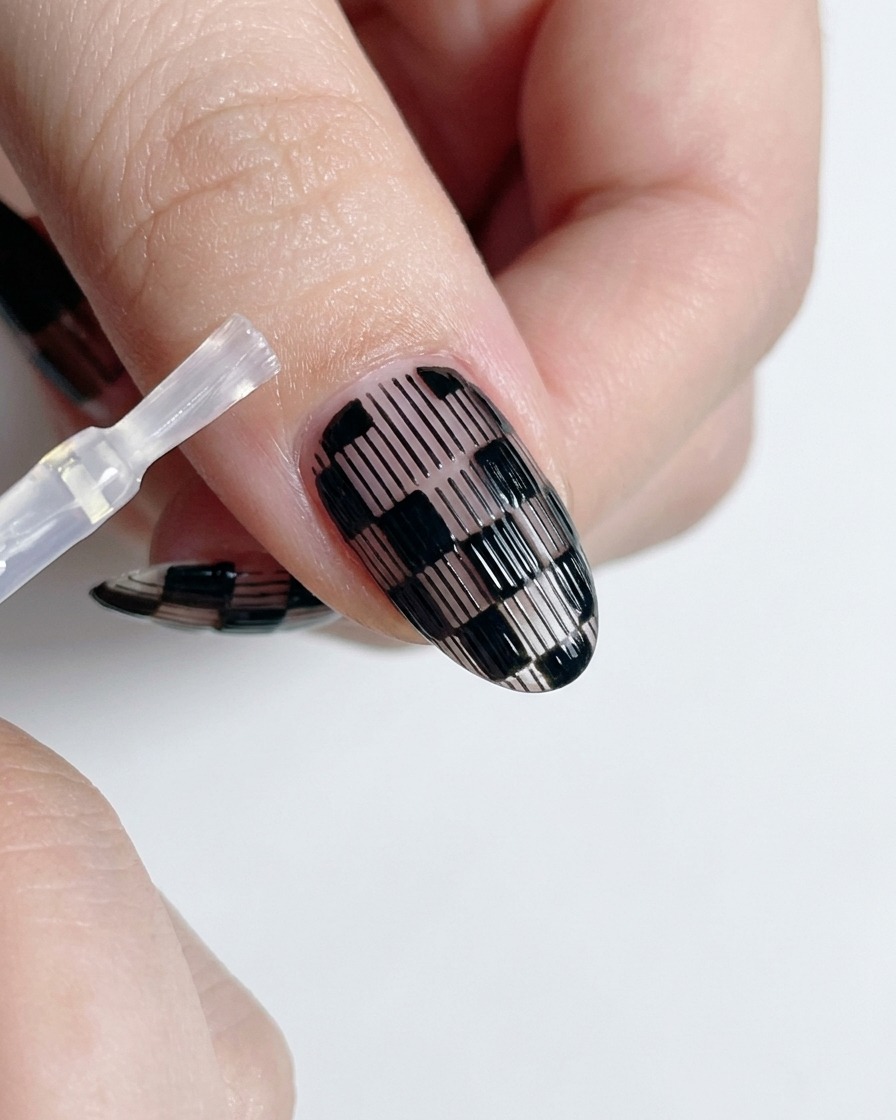
Brush an even layer of clear gel top coat directly over the completed checkered nail art surface to protect the painted design underneath.
Tip: Float the top coat brush gently over the surface so you do not smear or smudge the fresh black gel lines. - 10Smooth and seal the top coat
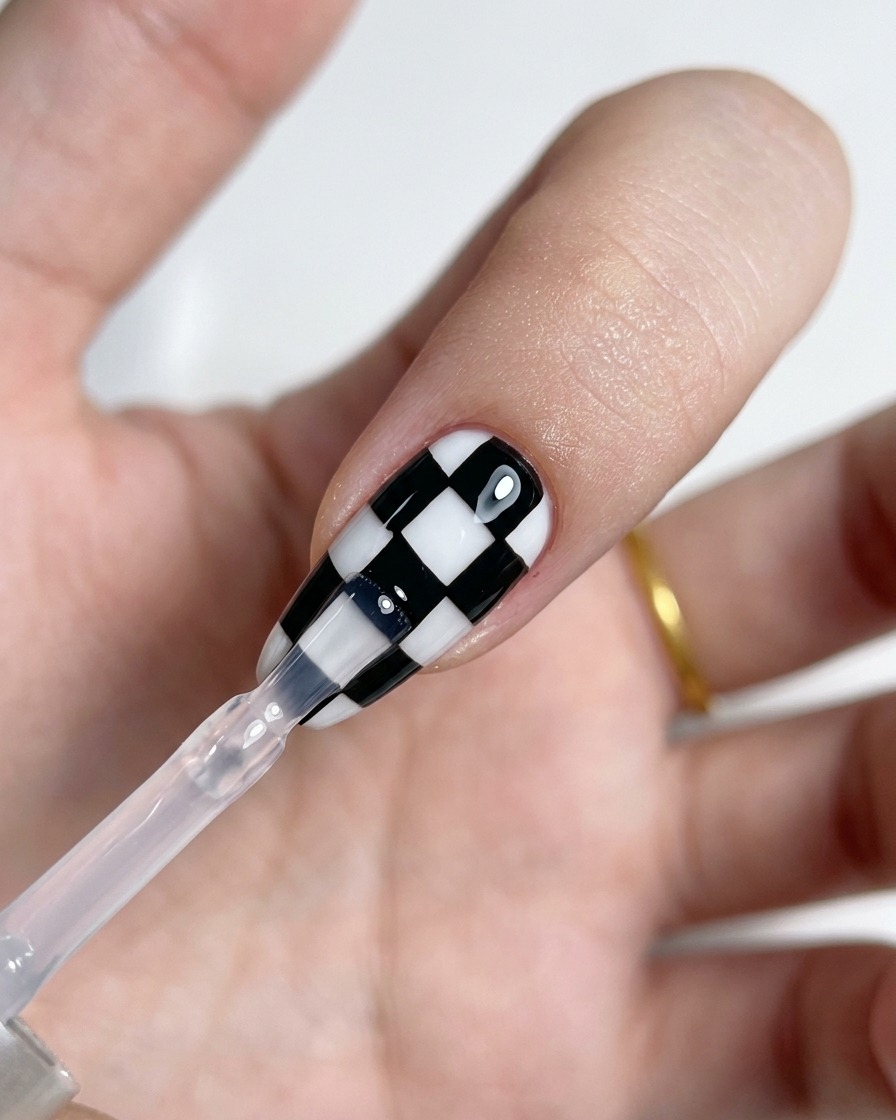
Smoothly level the clear top coat across the entire checkered pattern, ensuring every block is fully covered and sealed to prevent chipping.
Tip: Cap the free edge with top coat to lock in the manicure and extend its wear time. - 11Seal accent nails with top coat
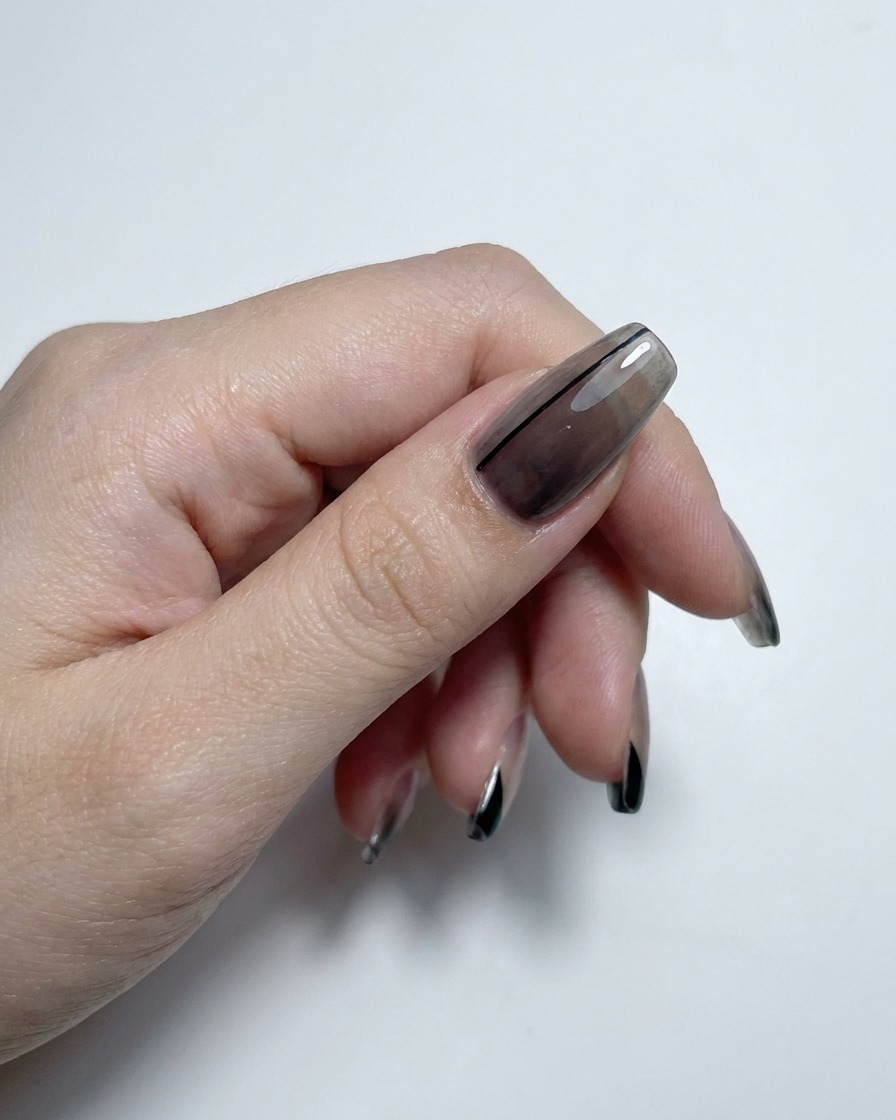
Apply a final layer of clear top coat over the smokey gradient and french-tipped accent nails, sealing all remaining fingers to create a uniform high-gloss shine.
Tip: Cure all nails under a UV or LED lamp immediately after top coat application according to product instructions.