Easy Multi-Pattern Autumn Nail Art
Stamping Decals
Master trendy autumn nail art! Learn to effortlessly apply checkerboard, zebra prints, and hollow stamping decals for a stunning multi-pattern manicure at home.
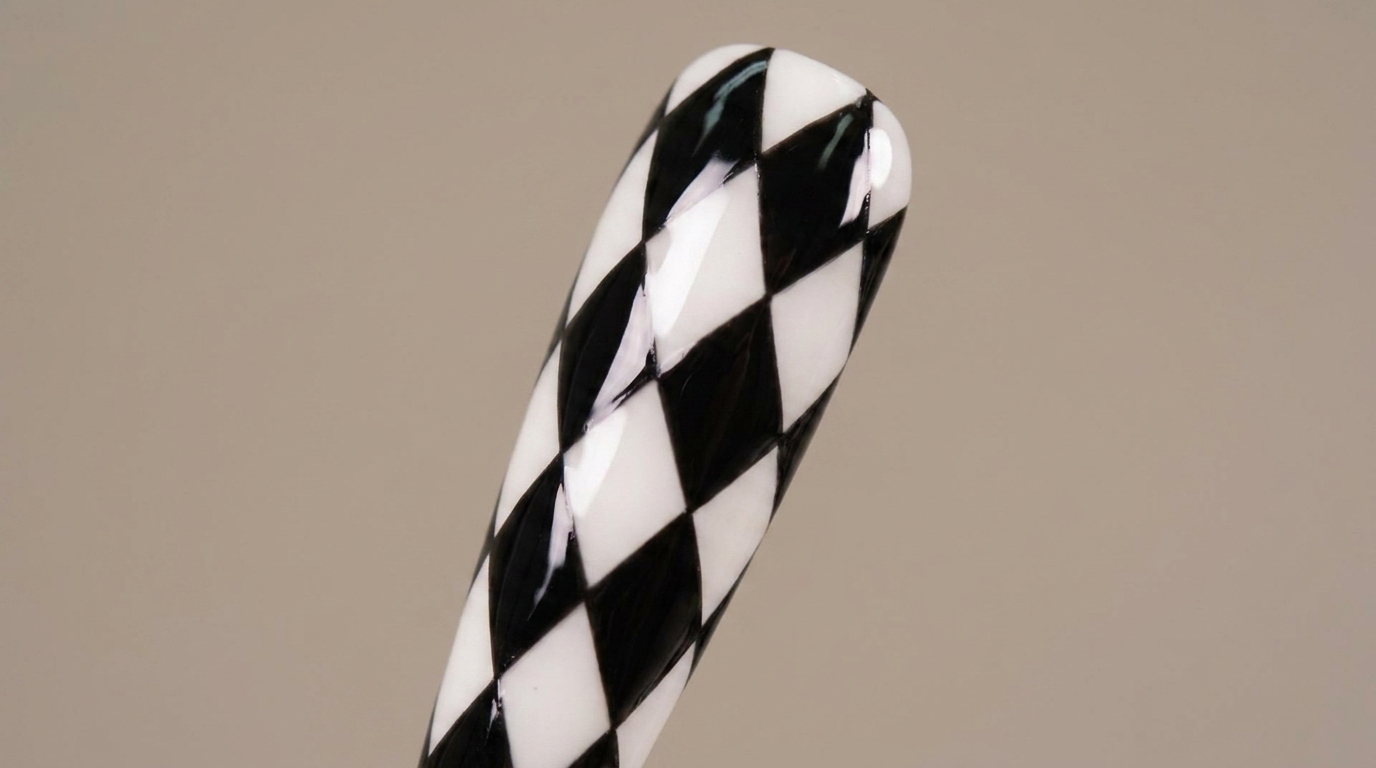
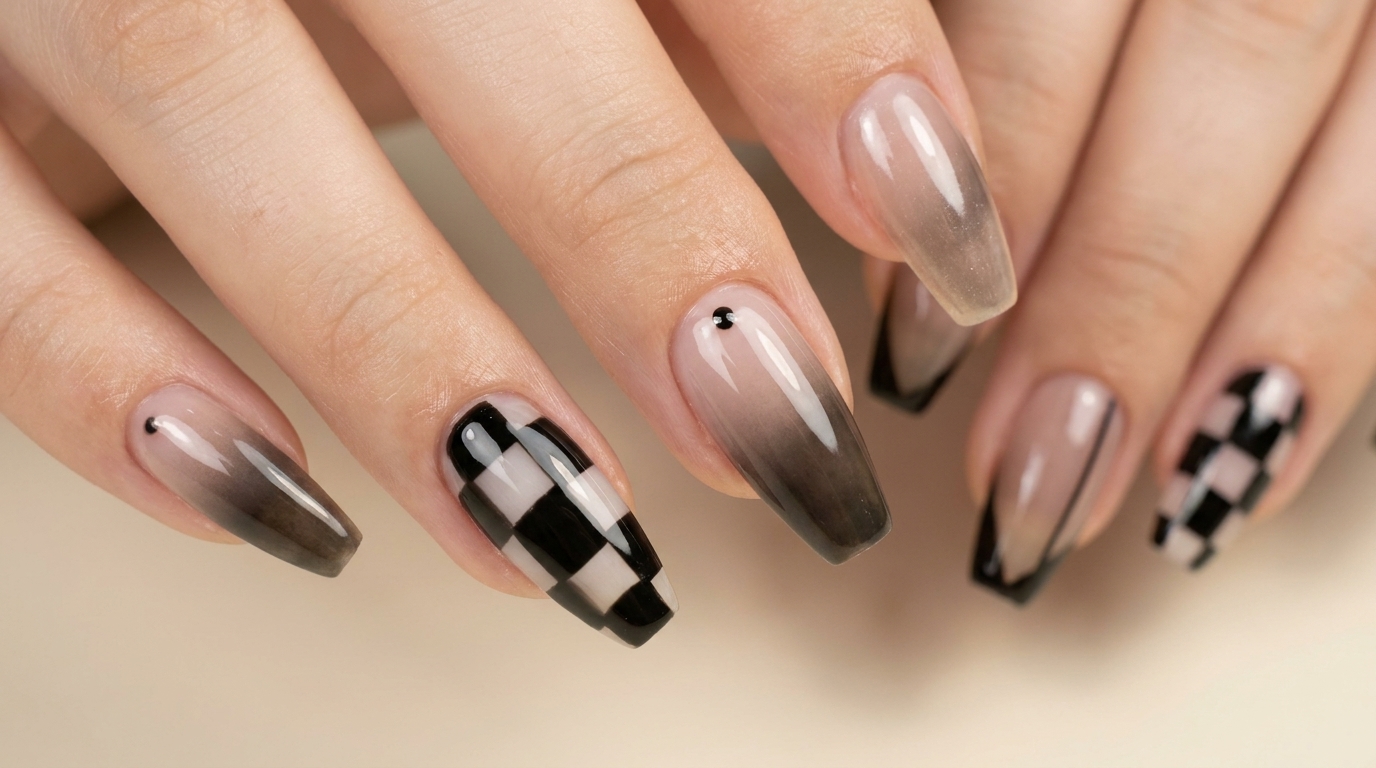
Drawing intricate geometric patterns like checkerboards or animal prints by hand can challenge even seasoned nail technicians. Fortunately, hollow stamping decals offer a foolproof shortcut to achieving these complex, editorial-worthy designs in minutes. This tutorial breaks down how to seamlessly mix different autumn-inspired fashion elements across a single set of nails. With just a bit of thick gel and the right stickers, you can easily replicate this bold, textured look without the stress of freehand painting.
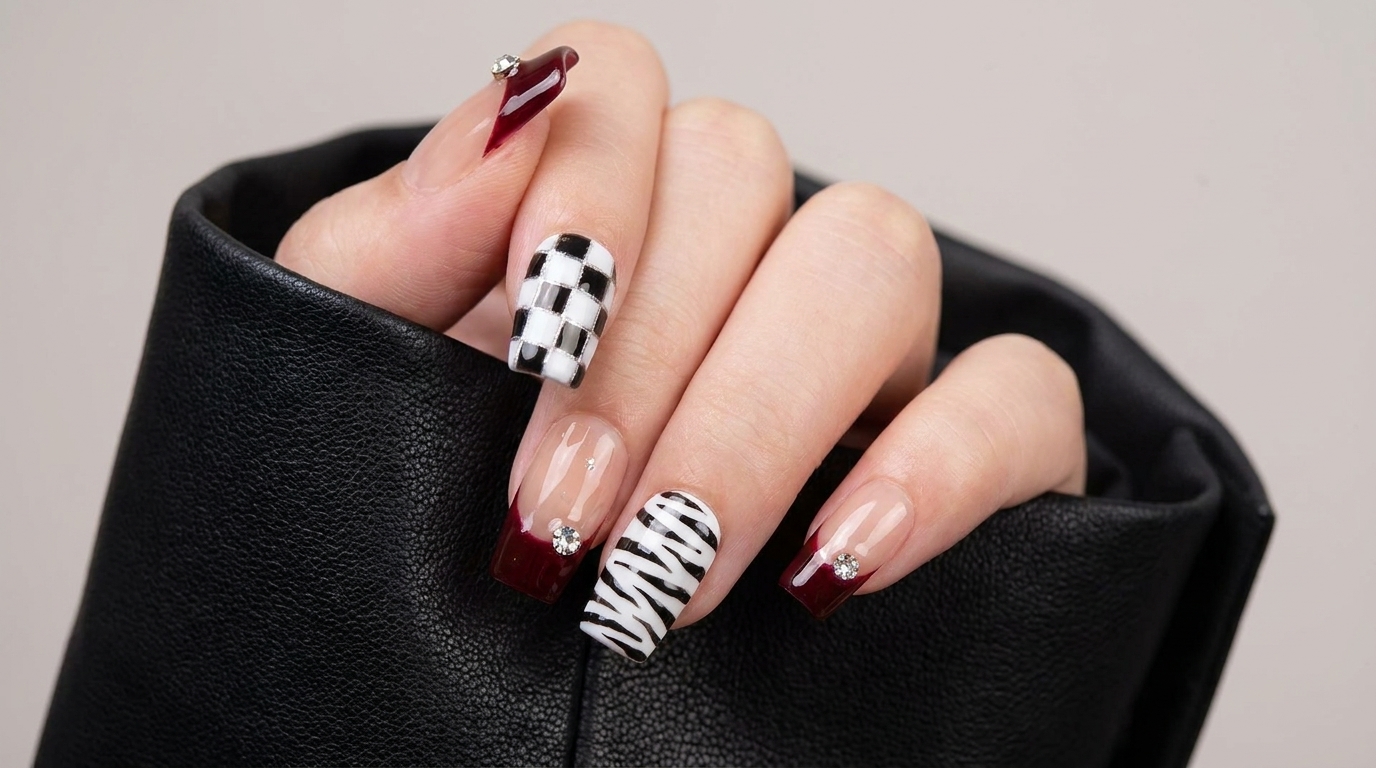
Steps
- 1Adjust the checkerboard sticker
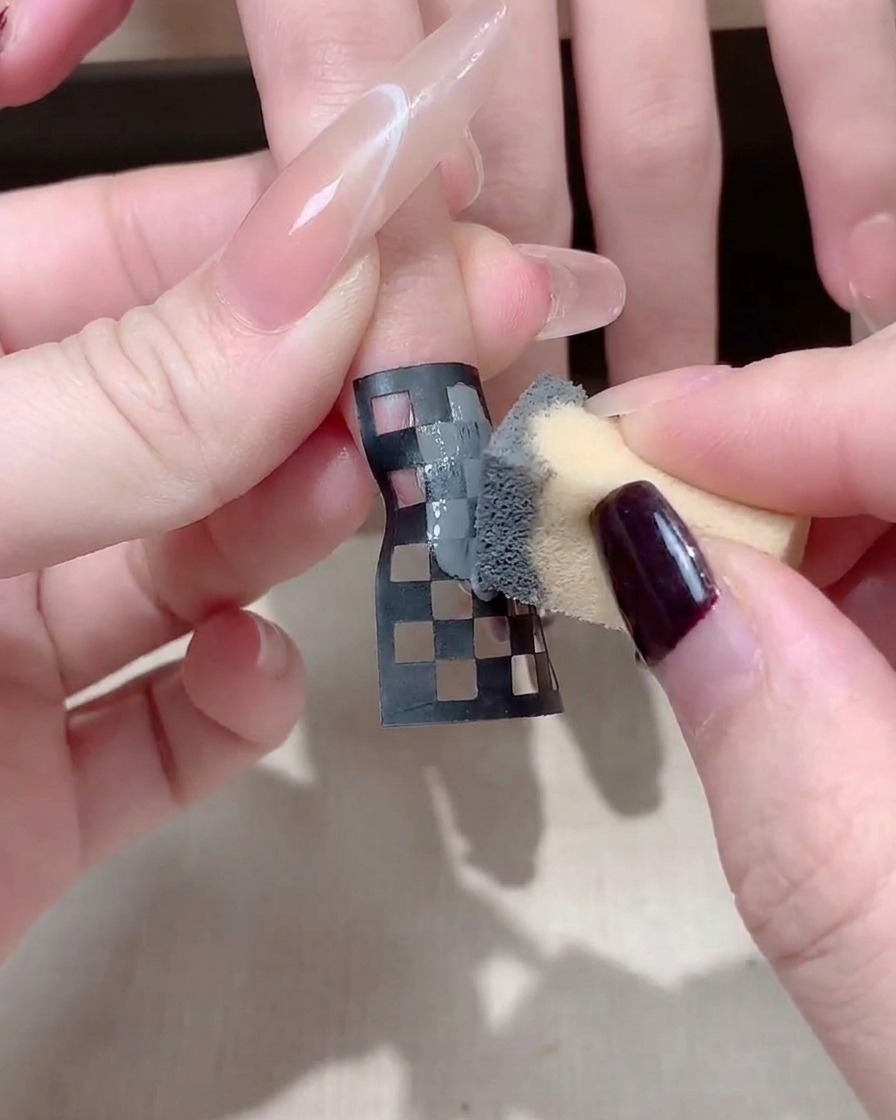
Carefully position and smooth out the black and white checkerboard nail art sticker on the long square nail surface to ensure there are no wrinkles or bubbles before application.
Tip: Make sure the sticker adheres smoothly to prevent gel from bleeding underneath the edges. - 2Apply sealing top coat
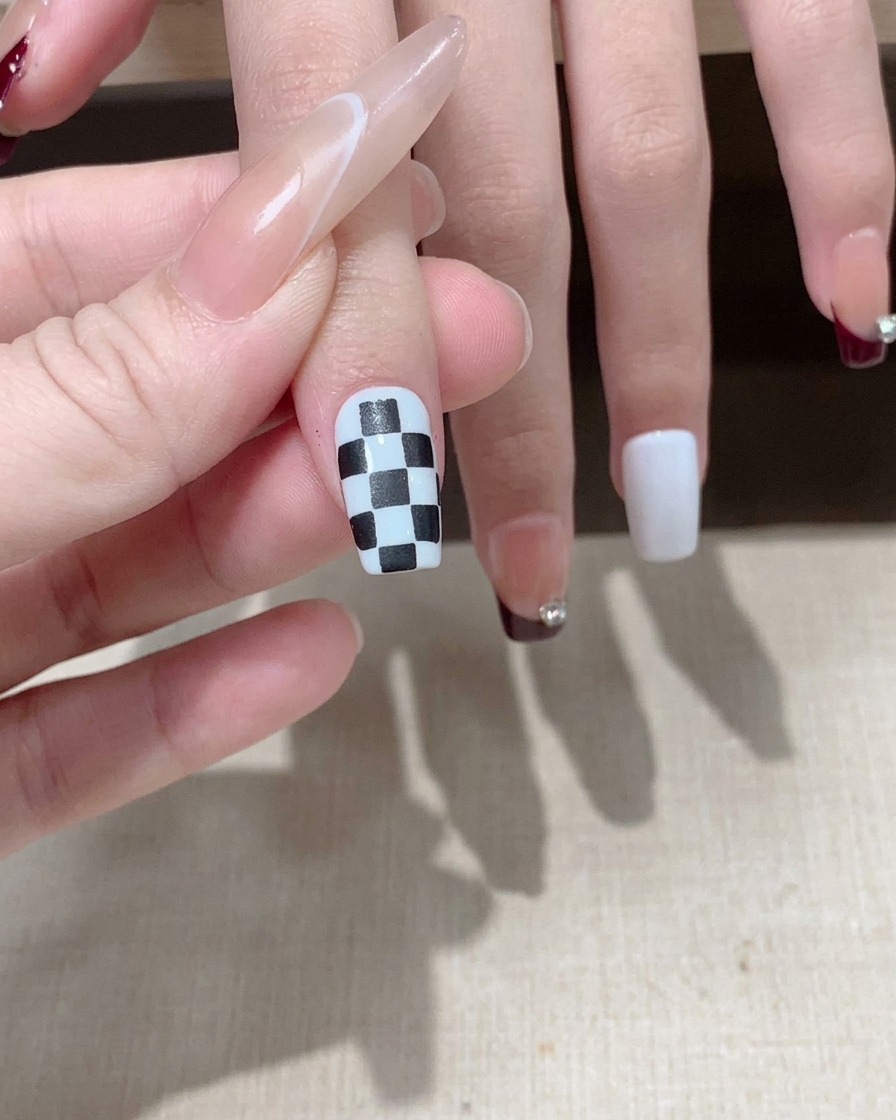
Apply a generous layer of top coat or sealing gel over the finished checkerboard nail design using a brush to protect the pattern and add a glossy finish.
Tip: Seal the free edge completely to prevent chipping and ensure longevity. - 3Select and place hollow mesh sticker
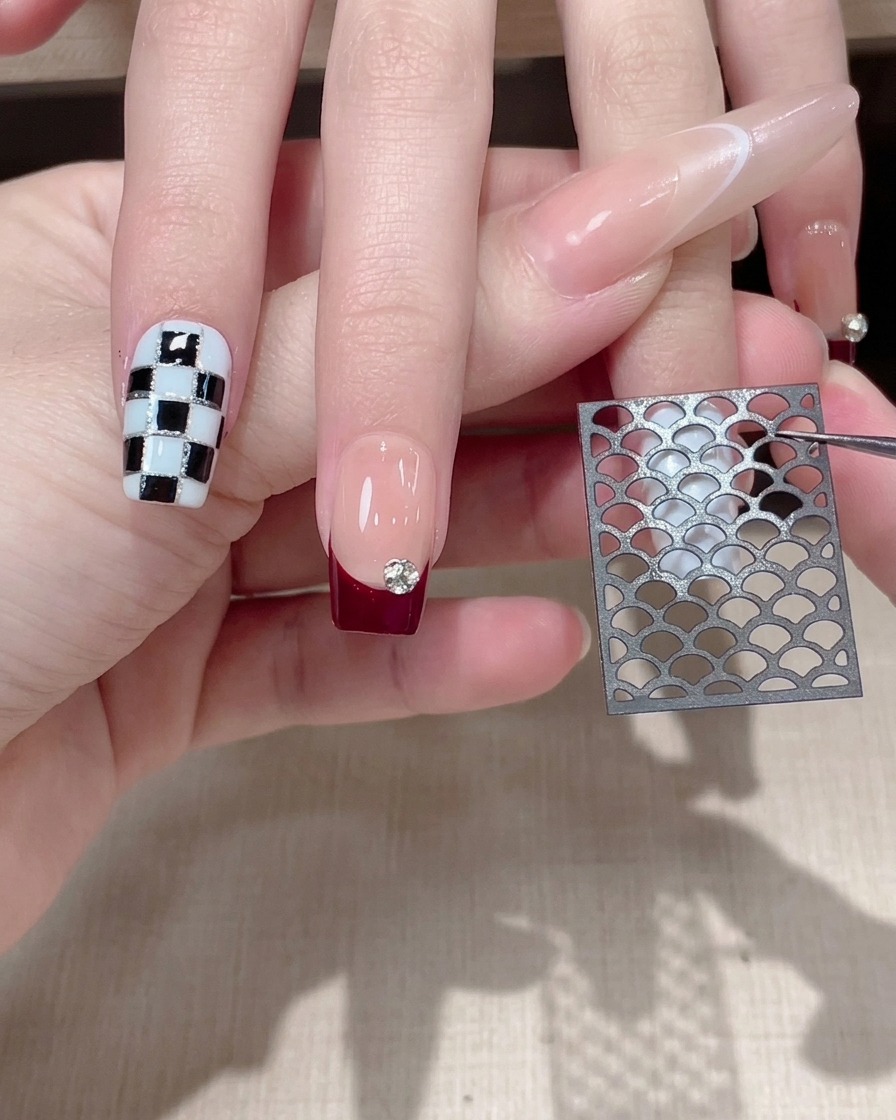
Select a hollow black mesh stamping sticker using tweezers and precisely place it onto the surface of a nude and burgundy French-tipped nail.
Tip: Use tweezers for precise placement without touching the adhesive backing with your fingers. - 4Apply thick gel over mesh sticker
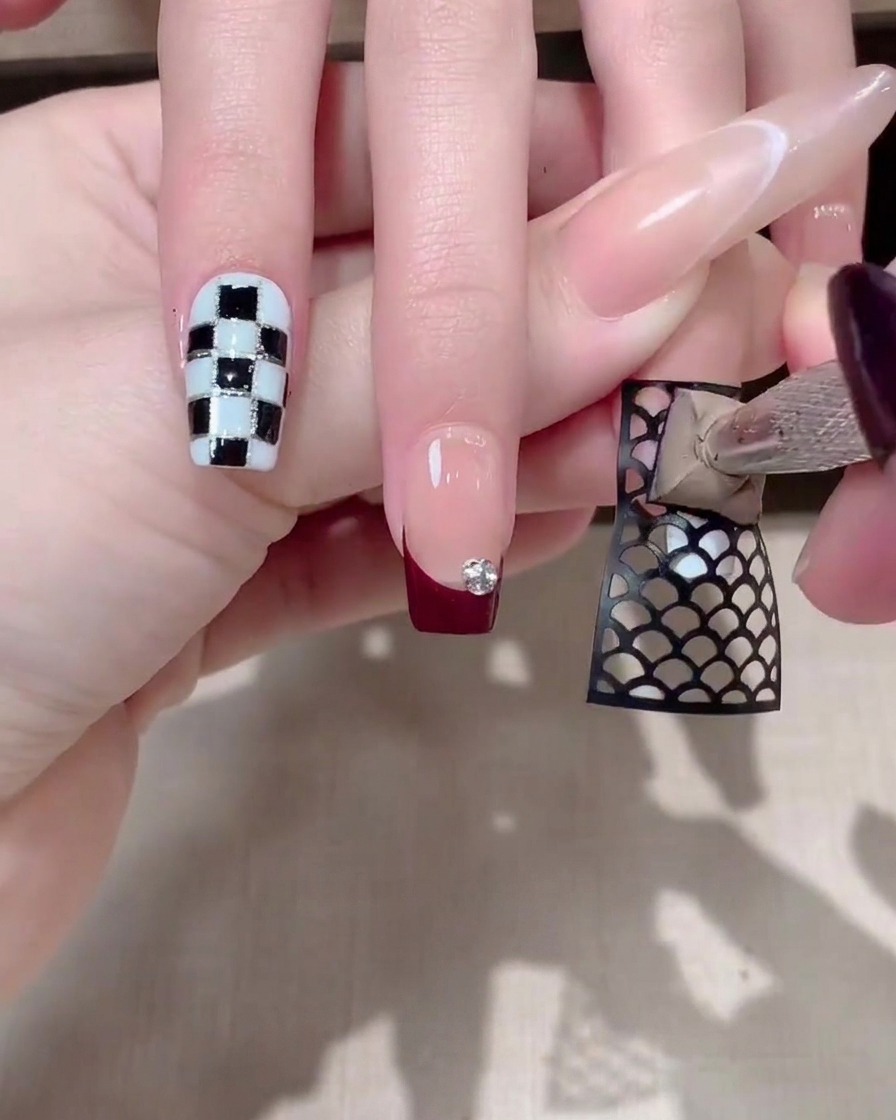
Take a thick consistency gel on a sponge or specialized tool and dab it evenly over the hollow mesh sticker placed on the nail to create the textured pattern.
Tip: Dab lightly and evenly to ensure the gel fills the hollow design without overflowing. - 5Peel off mesh sticker
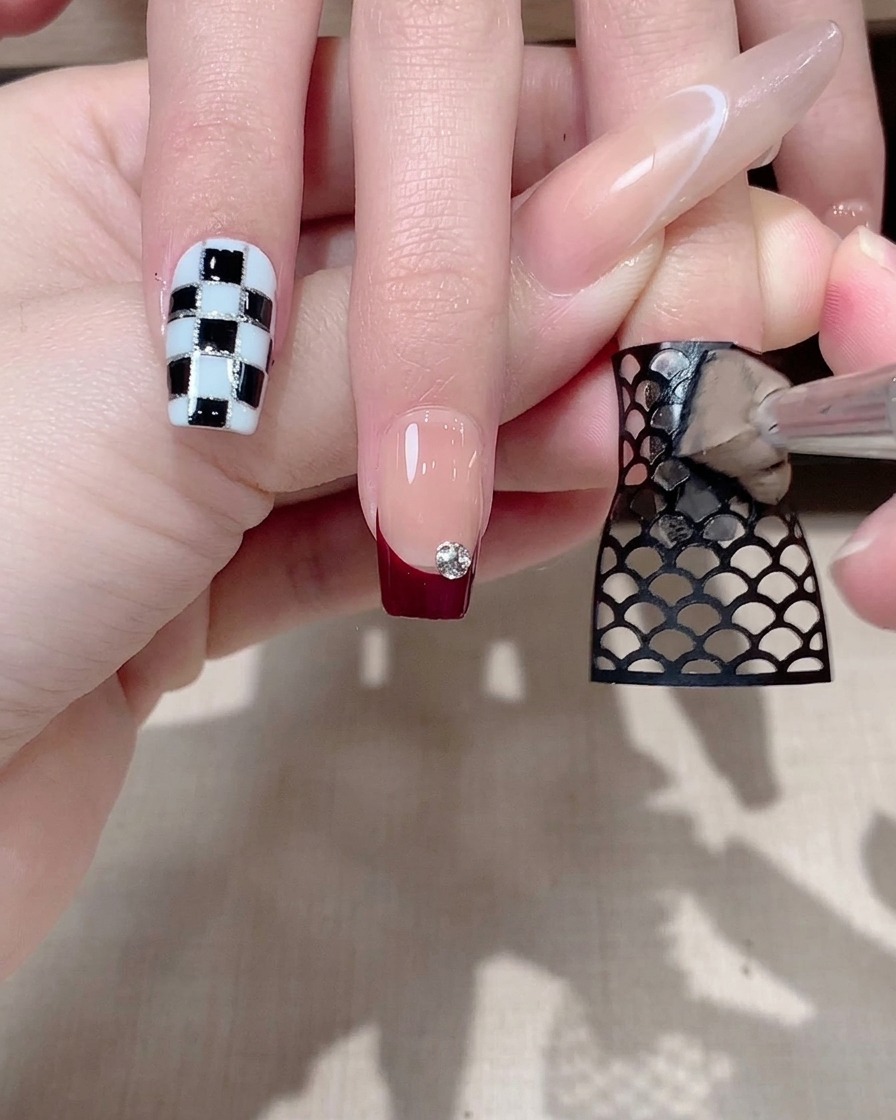
Gently peel off the mesh sticker using tweezers to reveal the crisp pattern left behind on the nail surface.
Tip: Pull the sticker away slowly and steadily at a low angle to avoid disturbing the wet gel pattern. - 6Save used sticker sheet
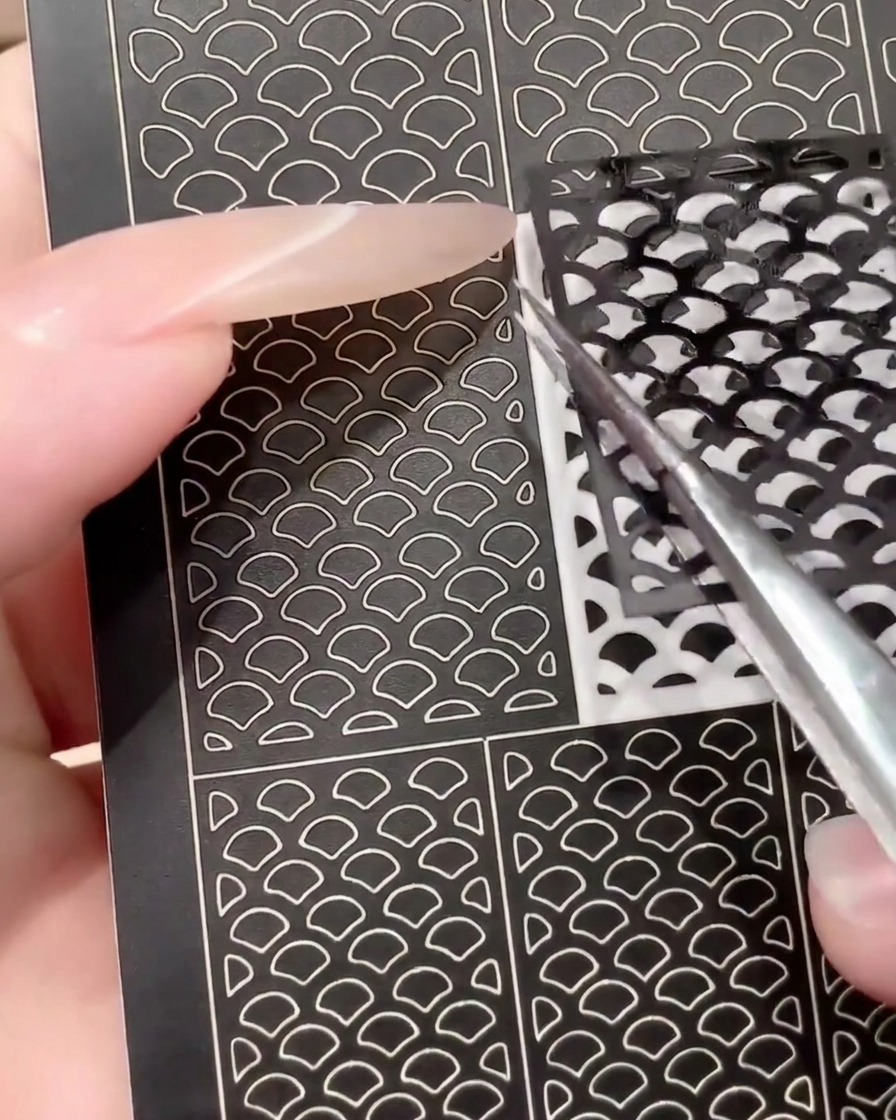
Carefully set aside the used sticker sheet, as it can be gently cleaned and kept for secondary use on future manicures rather than throwing it away.
Tip: Store used stickers flat on their backing sheet to preserve their adhesive quality for reuse. - 7Apply hollow pattern sticker
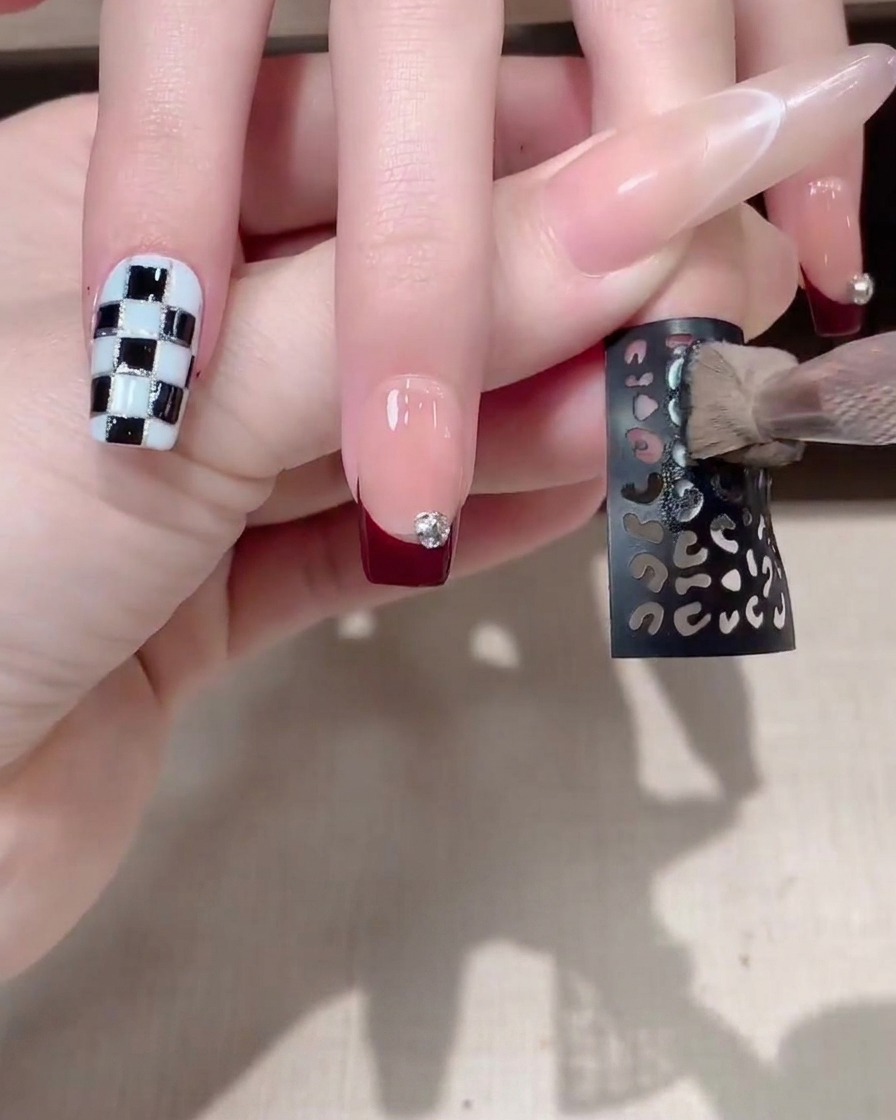
Take a different hollow pattern sticker and carefully place it onto another prepared nail. Ensure the sticker lies flat against the nail surface without any lifting edges to create a clean geometric or patterned design style.
Tip: Press down firmly along the edges of the sticker to prevent gel from bleeding underneath during application. - 8Apply zebra print or line sticker
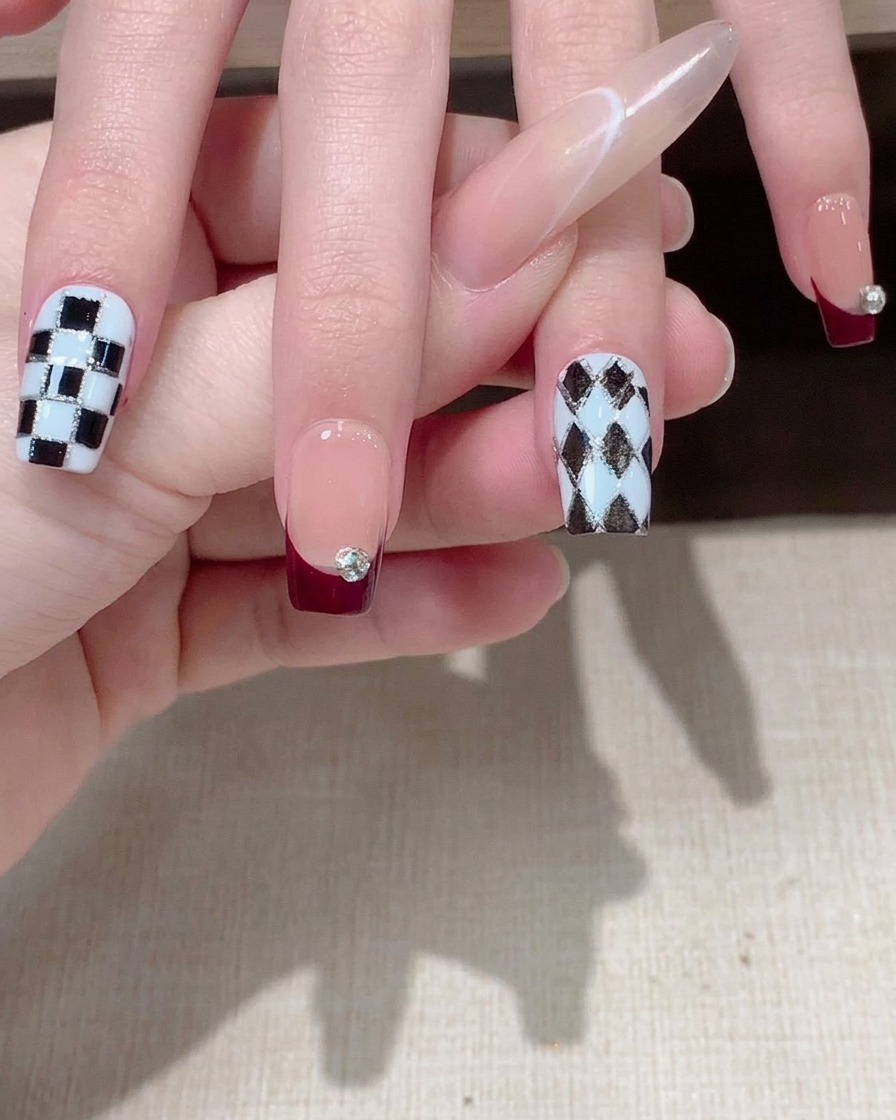
Select a zebra print or geometric line sticker and smooth it securely down onto the nail surface. Press gently across the entire design to ensure complete contact with the base layer before proceeding with gel application.
Tip: Smooth out any air bubbles or wrinkles under the sticker for a crisp transfer.