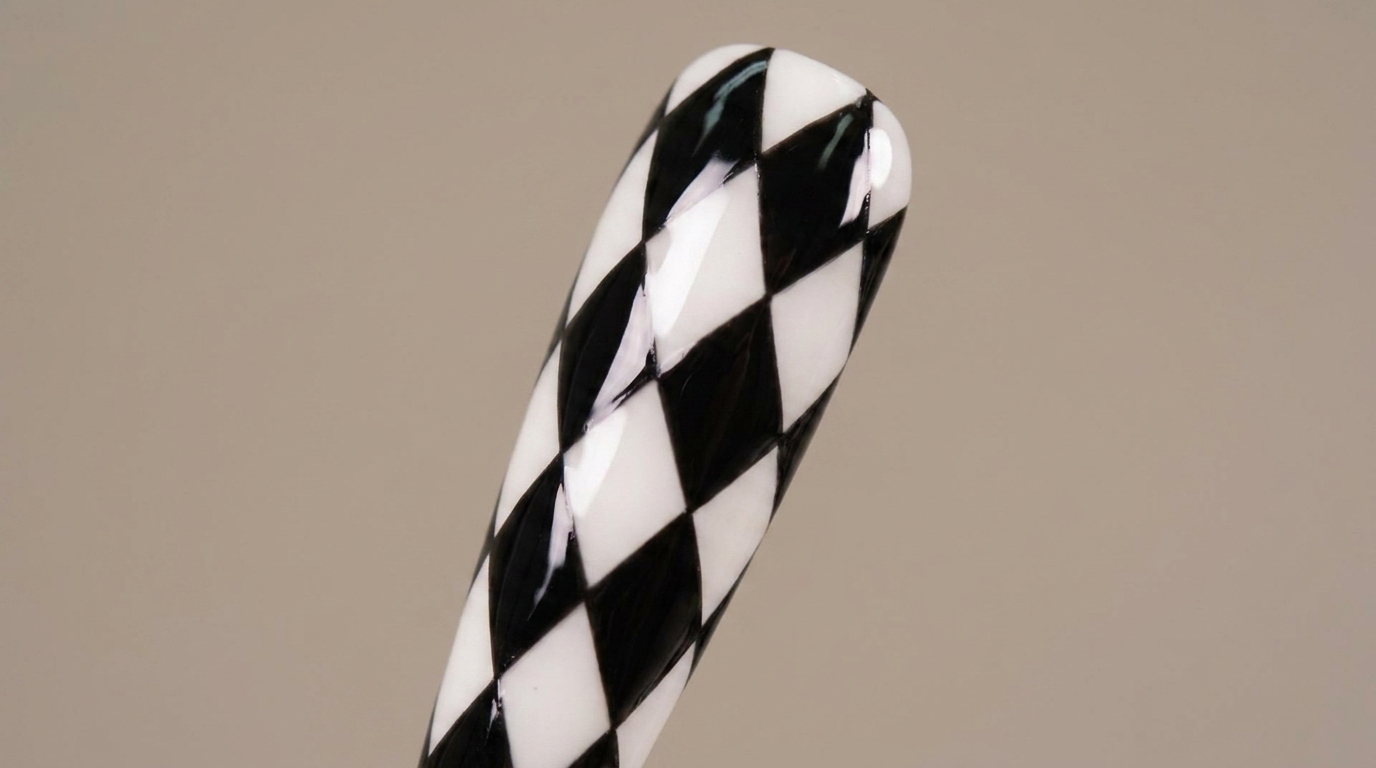
Black and Beige Checkerboard and Argyle Pattern Nail Art — Step-by-Step Tutorial
Master intricate geometric nail art with this detailed tutorial on creating sleek black-and-beige checkerboard and argyle patterns using a fine liner brush.
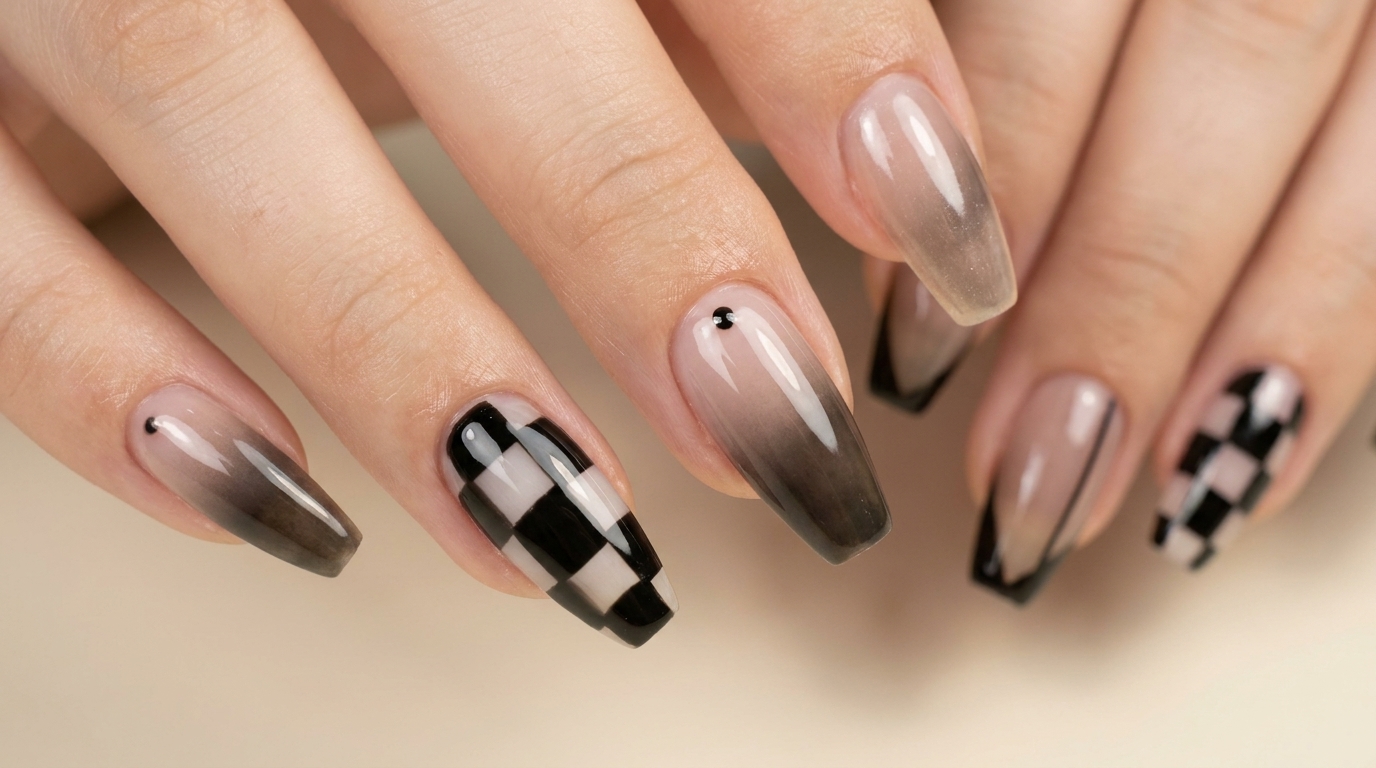
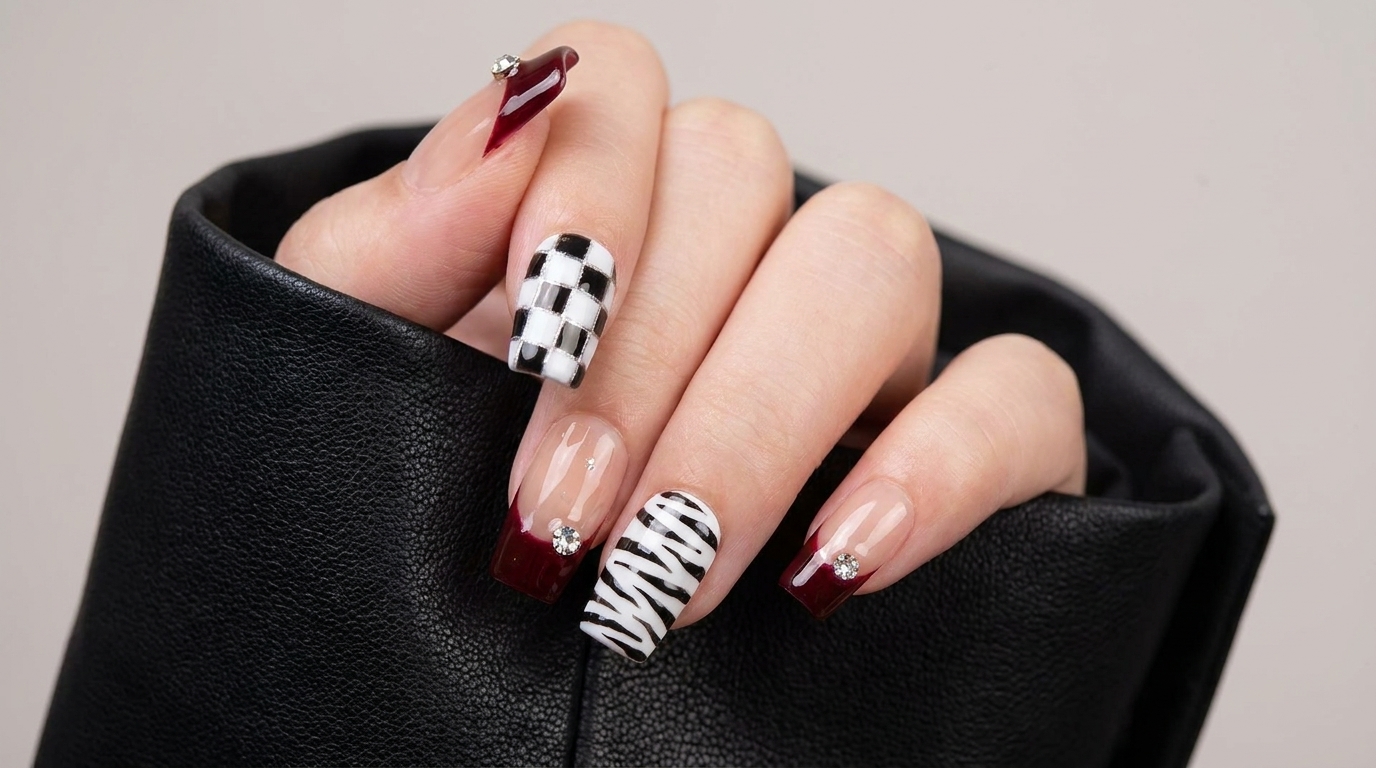
Geometric nail art like checkerboards and argyle patterns offer a stunning, high-fashion statement that combines precision with classic monochromatic style. Achieving crisp lines and perfectly proportioned blocks requires patience, steady hands, and a reliable fine liner brush. This tutorial walks you through the step-by-step grid mapping techniques needed to create flawless graphic designs on your nails.
Steps
- 1Display the liner brush
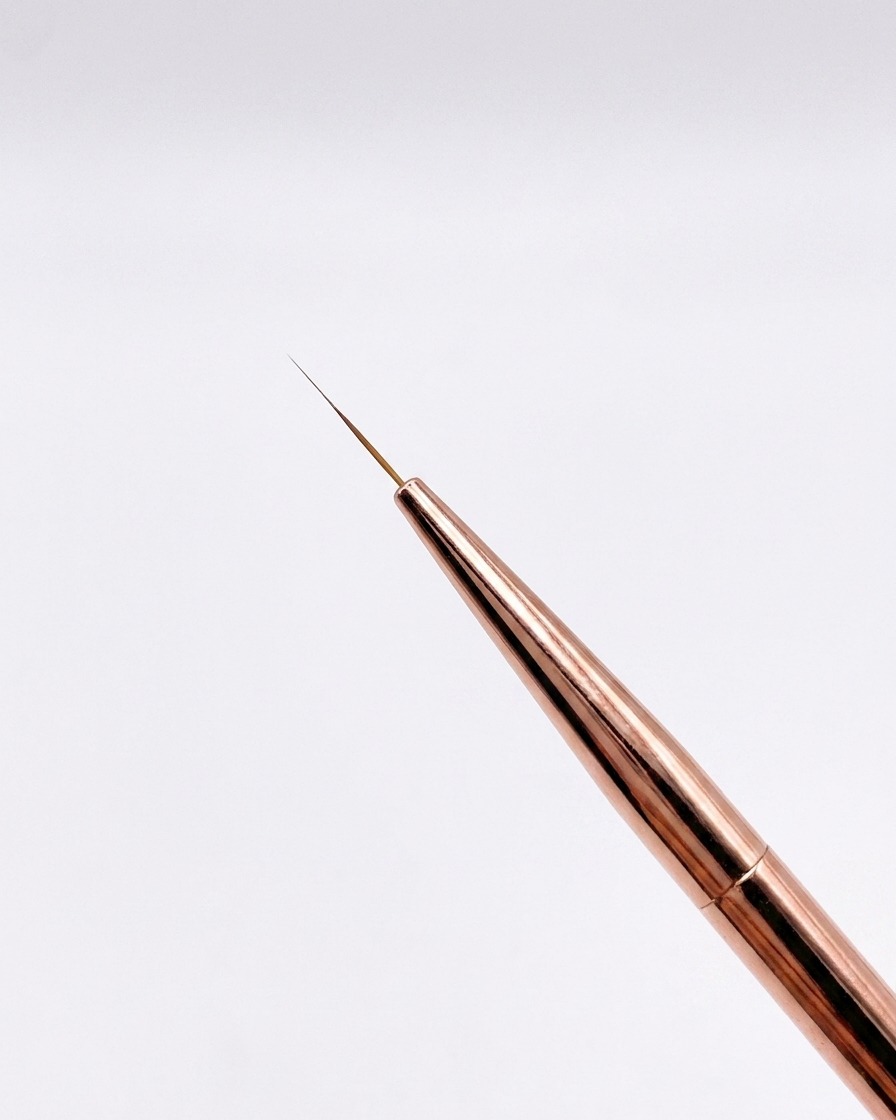
Present a fine 12-millimeter liner brush before starting the design process. This specialized tool is essential for creating precise, straight lines and detailed patterns on the nail surface.
Tip: Ensure the brush bristles are clean and neatly aligned before dipping them into the gel or polish. - 2Mark center points on the nail
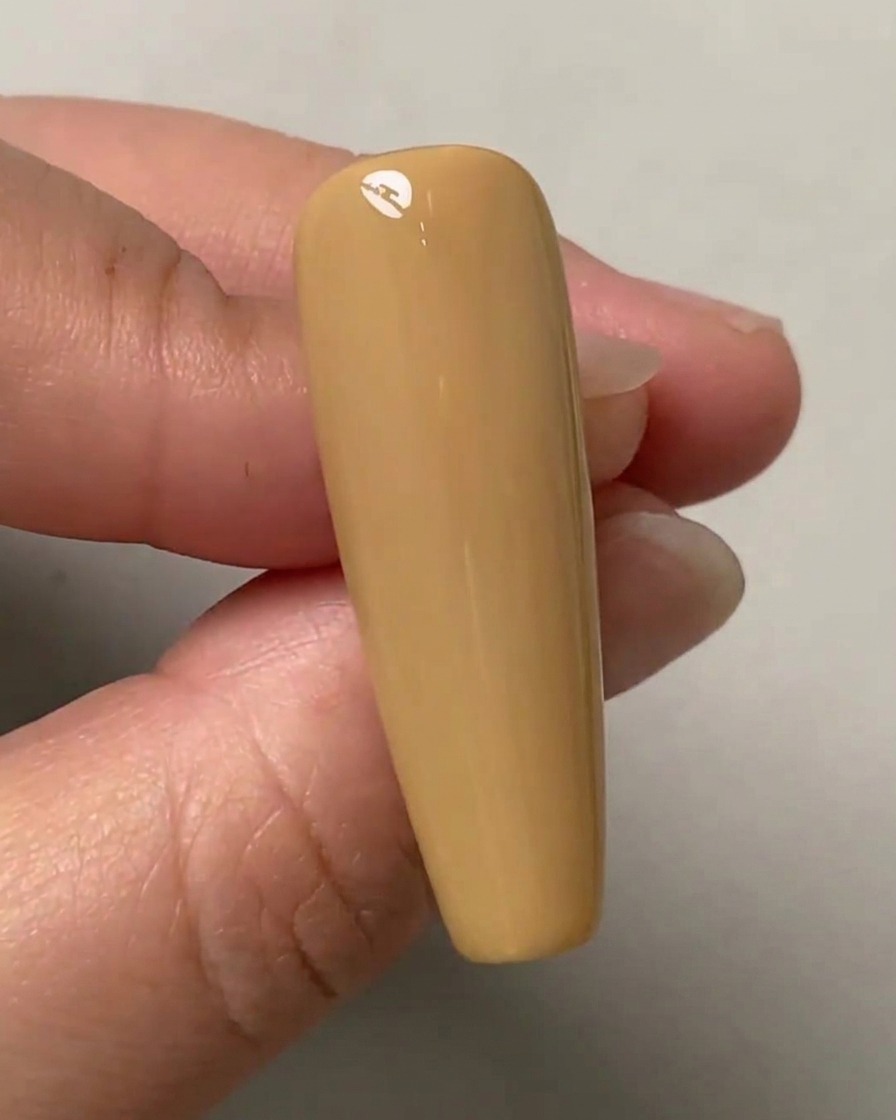
Using a 12-millimeter liner brush, mark three points along the center of the nude-colored nail—top, middle, and bottom. These points serve as the structural guide for drawing straight lines.
Tip: Keep the dots small and subtle so they can be easily covered or integrated into the final lines. - 3Draw the center guideline
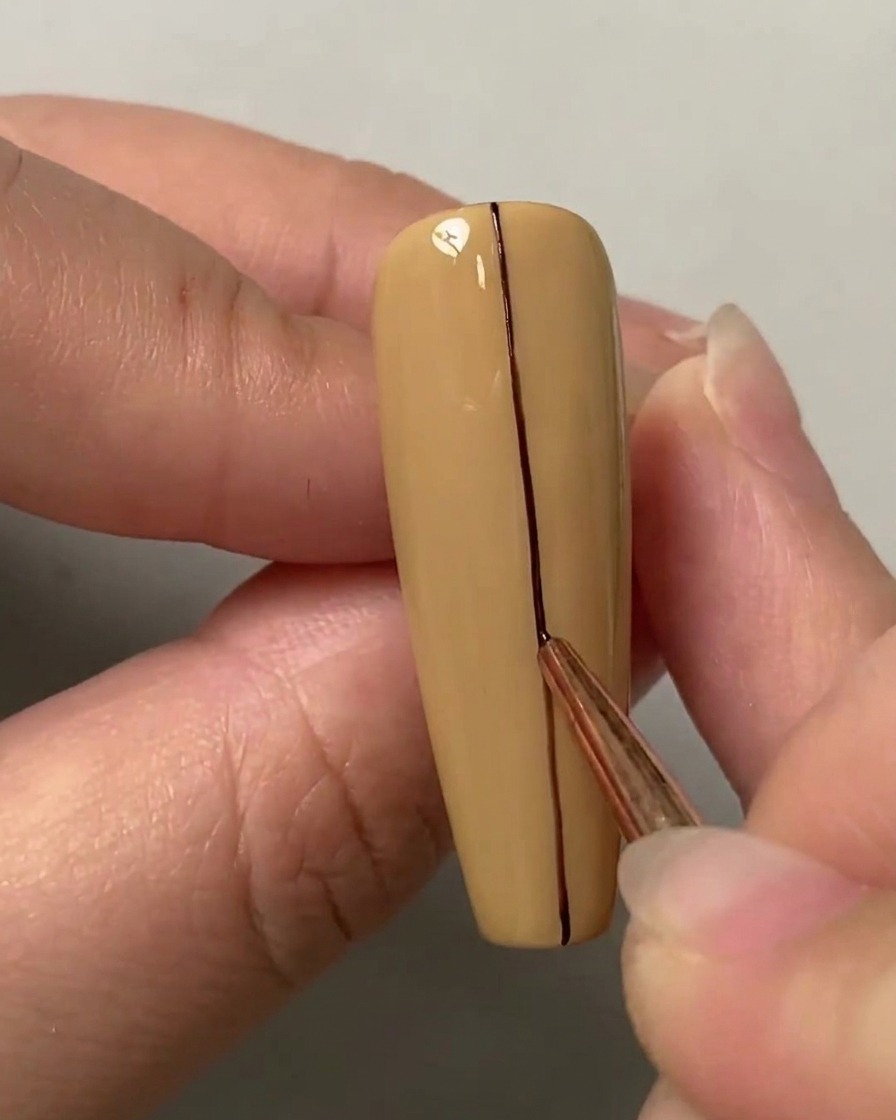
Connect the three marked points into a straight line and pull it down the length of the nail. This creates the primary vertical axis for the grid design.
Tip: Take a deep breath and keep a steady hand while pulling the line down to ensure it remains straight. - 4Draw the left vertical line
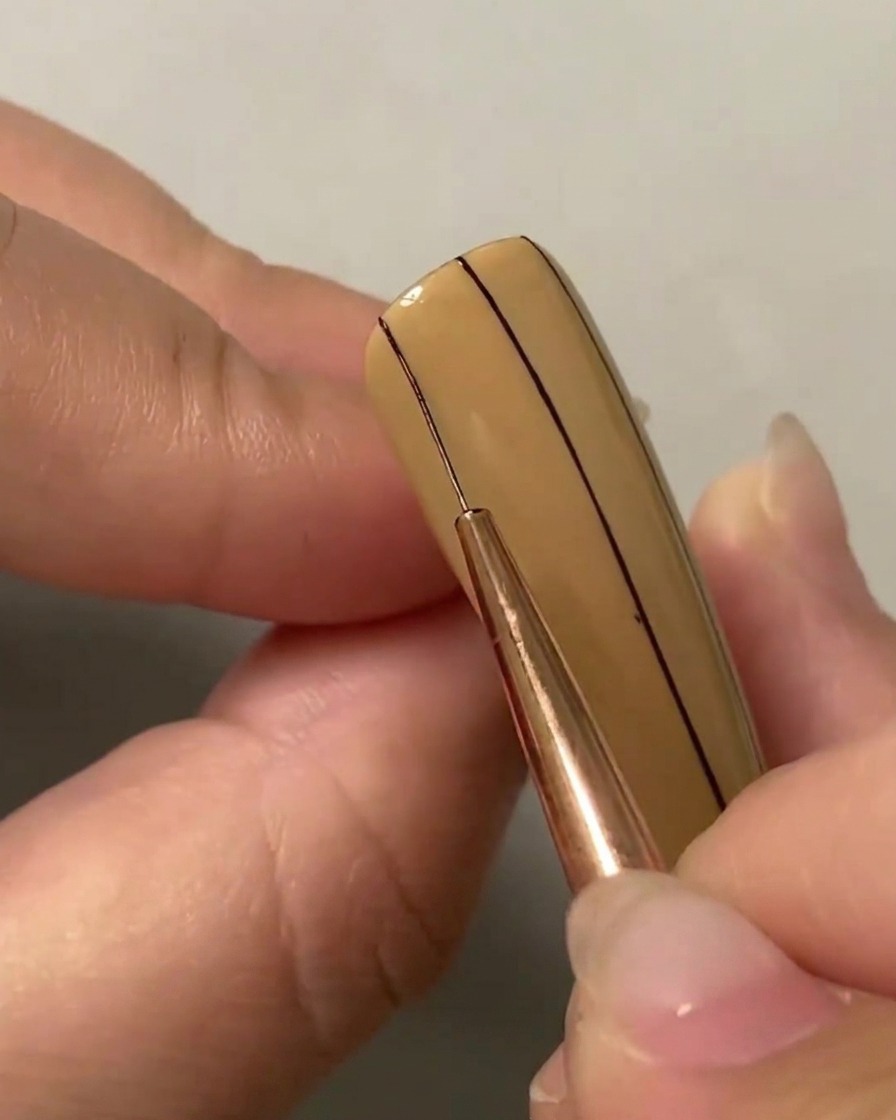
Divide both sides of the center line into equal parts, then draw another straight line down on the left side parallel to the center axis.
Tip: Measure the distance carefully from the center line to maintain symmetry across the nail surface. - 5Draw the Third Vertical Line
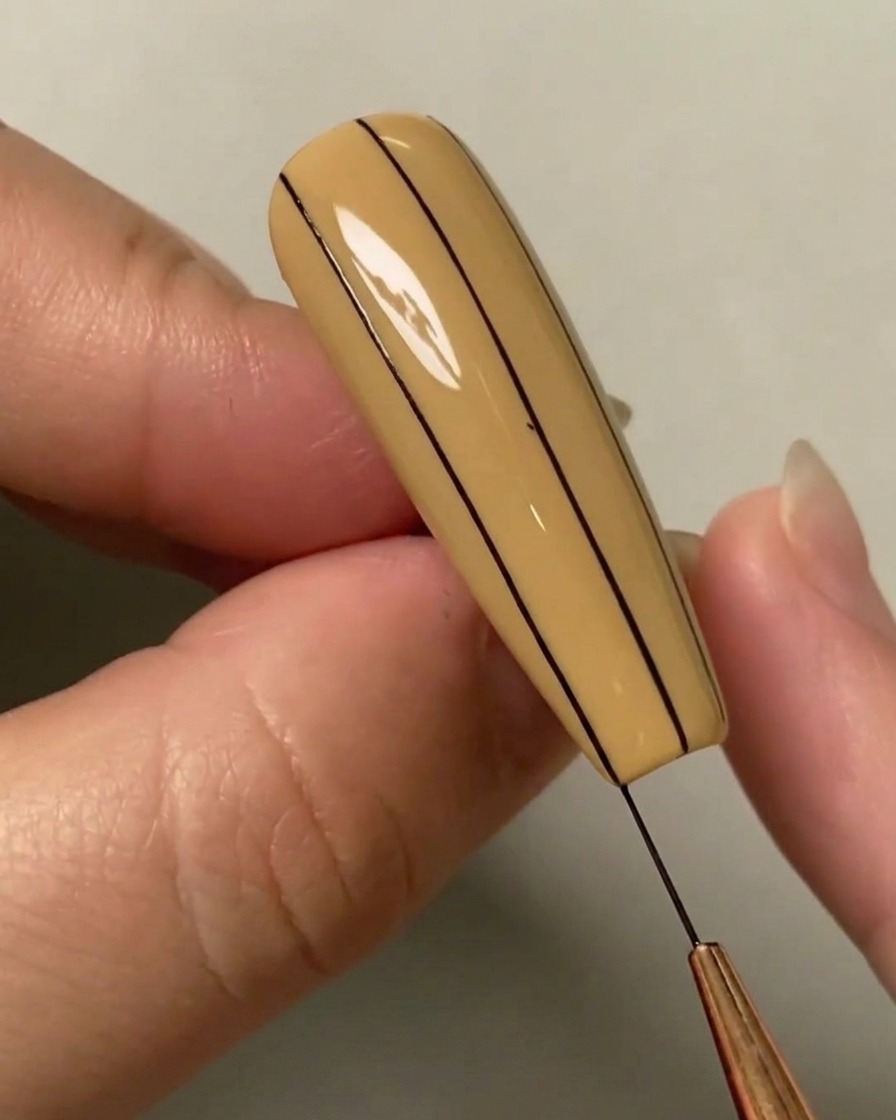
Divide the right side of the center line into two equal parts, then draw another straight line down using your 12-millimeter liner brush. Remember to breathe as you pull the line down to keep your hand steady.
Tip: Resting your pinky on your other hand provides an anchor, helping you pull long, straight lines without shaking. - 6Draw the middle horizontal line
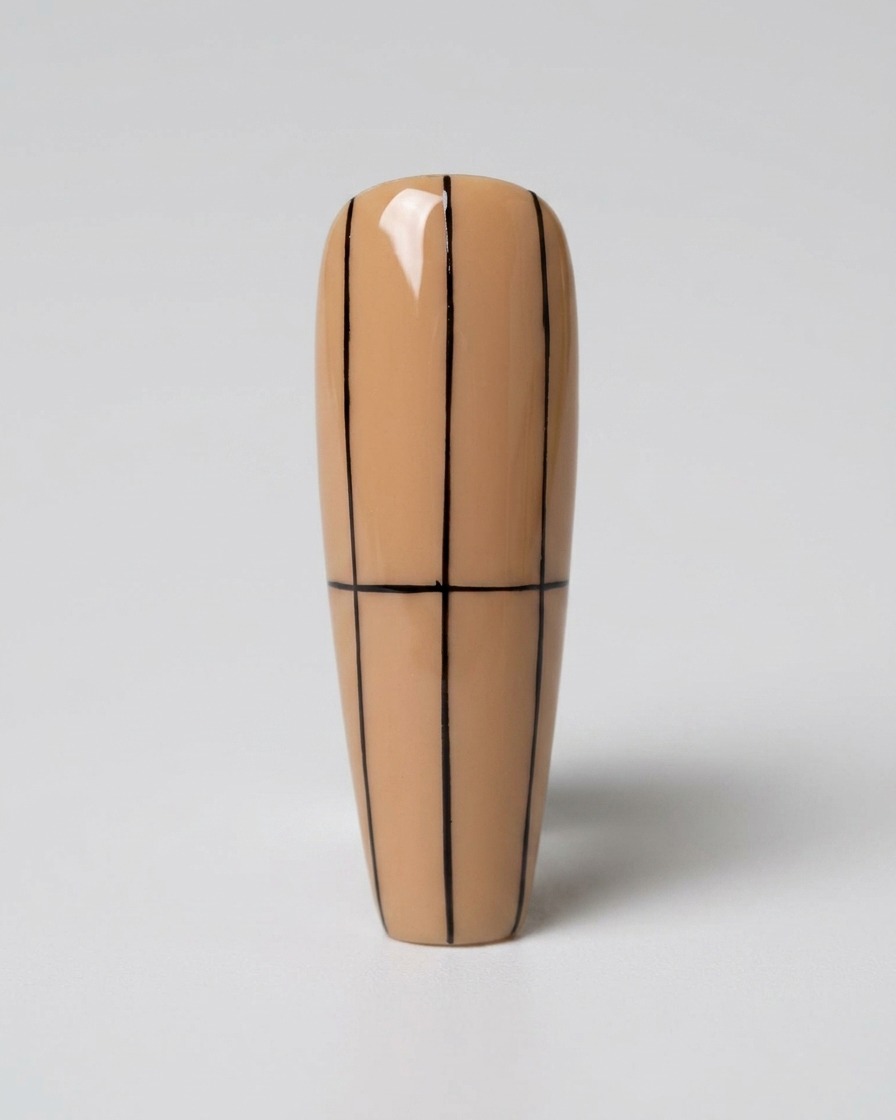
Next, draw a horizontal line at the halfway center point across the vertical lines. This forms the initial grid intersections necessary for the geometric pattern.
Tip: Ensure the horizontal line intersects squarely at a ninety-degree angle with the vertical center line. - 7Divide the Upper Section
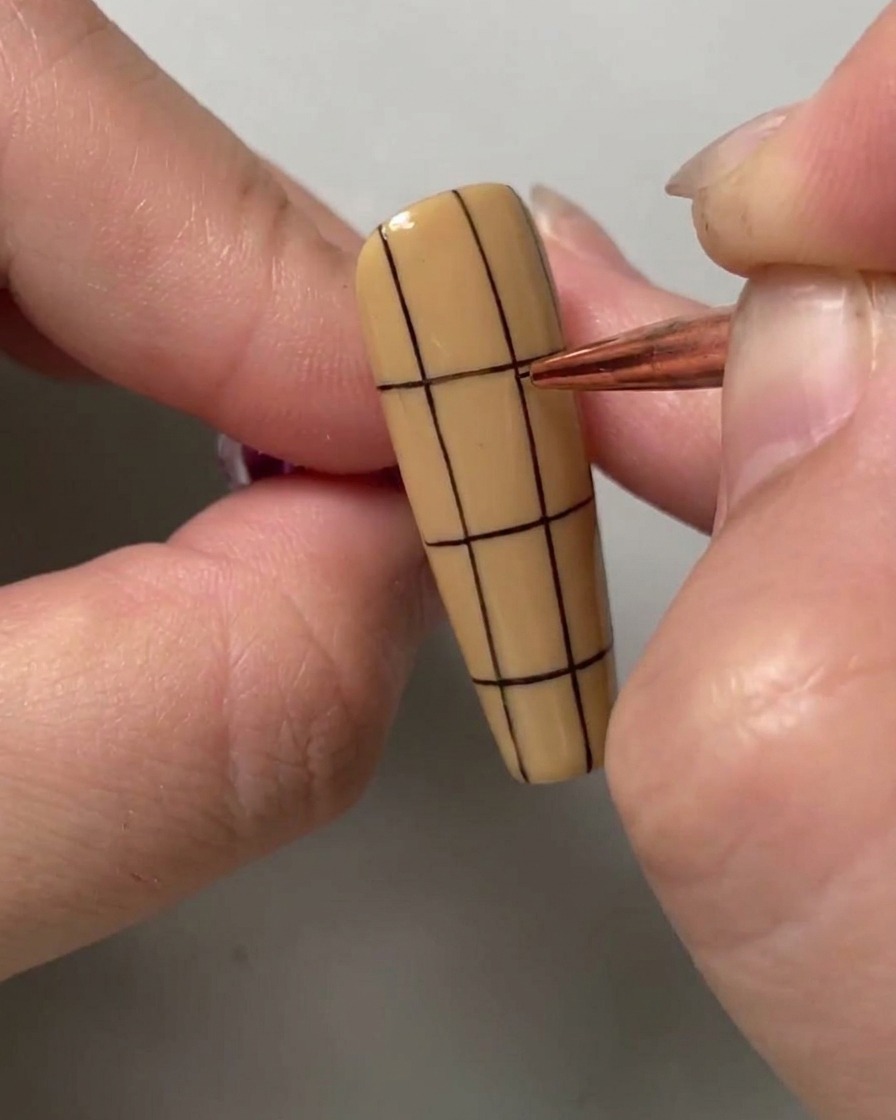
After establishing your halfway center line, divide the top section of the nail equally. Draw a horizontal line across this upper section to begin mapping out your grid.
Tip: Keep your brush pressure light and consistent so your horizontal lines match the thickness of your vertical ones. - 8Divide the Lower Section
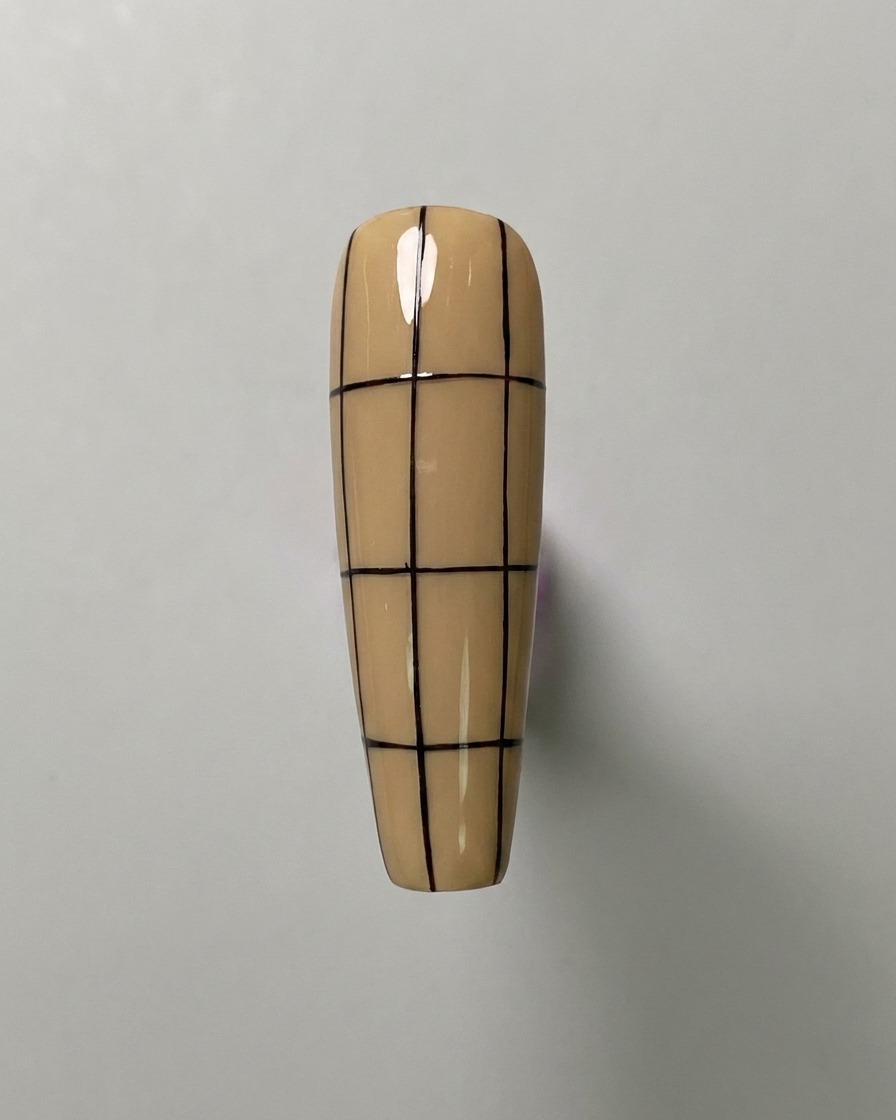
Next, divide the bottom section of the nail equally. Draw another horizontal line straight across the lower half to match the spacing of the top section, keeping the framework uniform.
Tip: Check the nail from multiple angles to ensure your horizontal lines are parallel to each other. - 9Create Smaller Squares
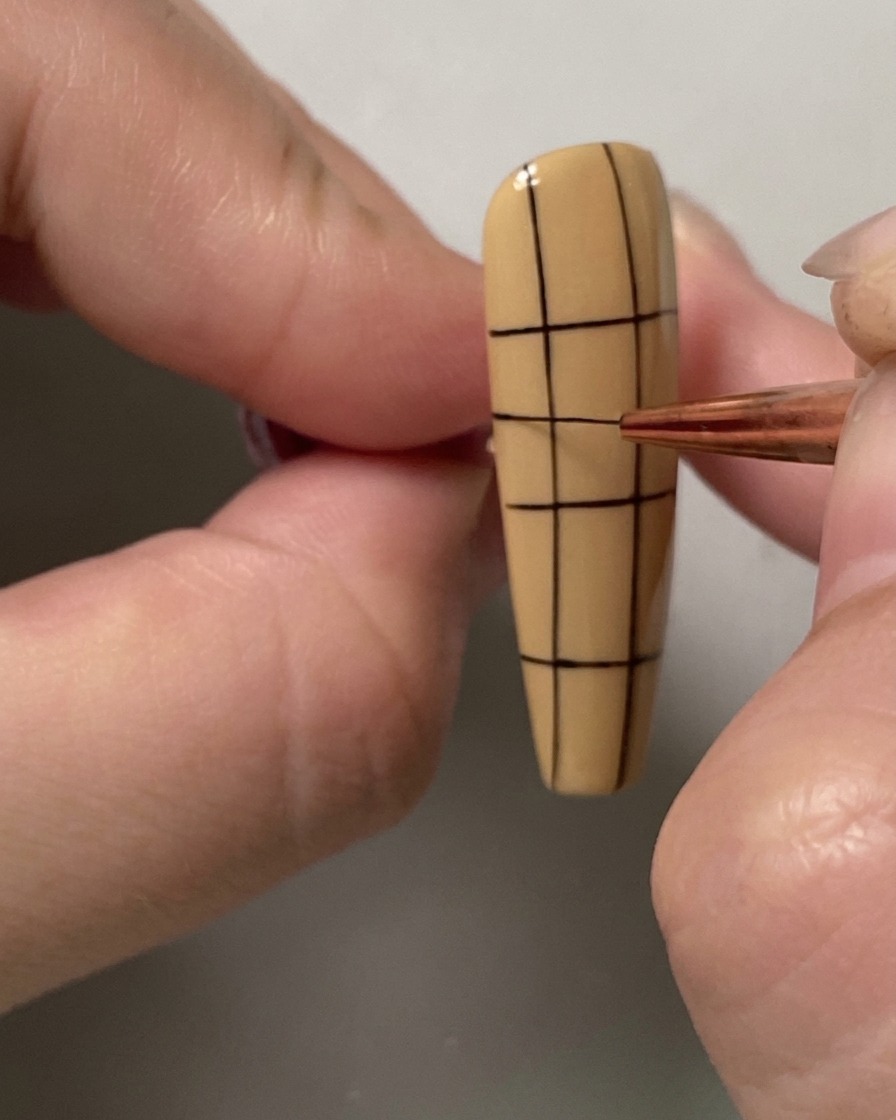
Continue breaking the design down by inserting another horizontal line in the middle of the top sections. This will turn the larger rectangles into smaller, equal squares.
Tip: Always aim for the visual center of the existing blocks when dividing them further. - 10Complete the Grid Pattern
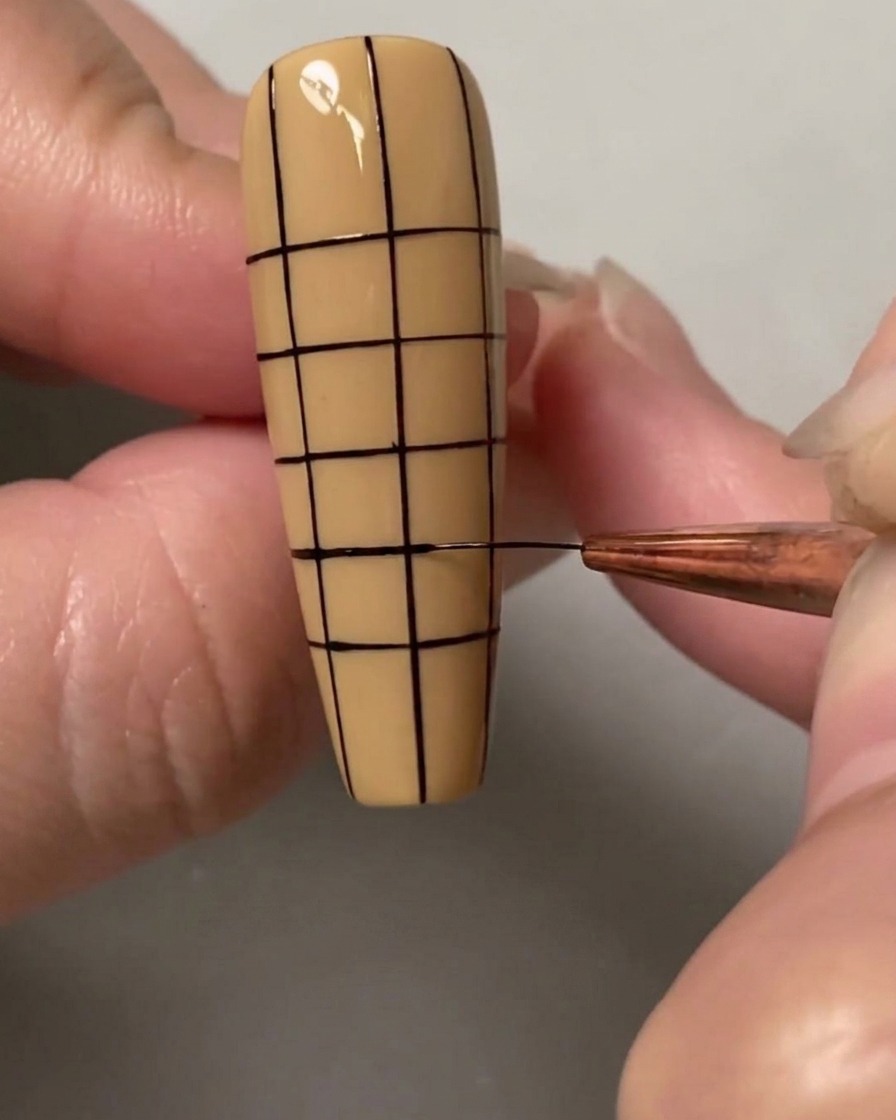
Keep inserting horizontal lines in the middle of each equal section as you work your way down the nail. Continue this process until every block in the grid is a small square. Dont worry, just take your time!
Tip: If a square isnt perfectly even, dont stress—the overall finished pattern will still look cohesive and striking. - 11Map Out the Pattern with Dots
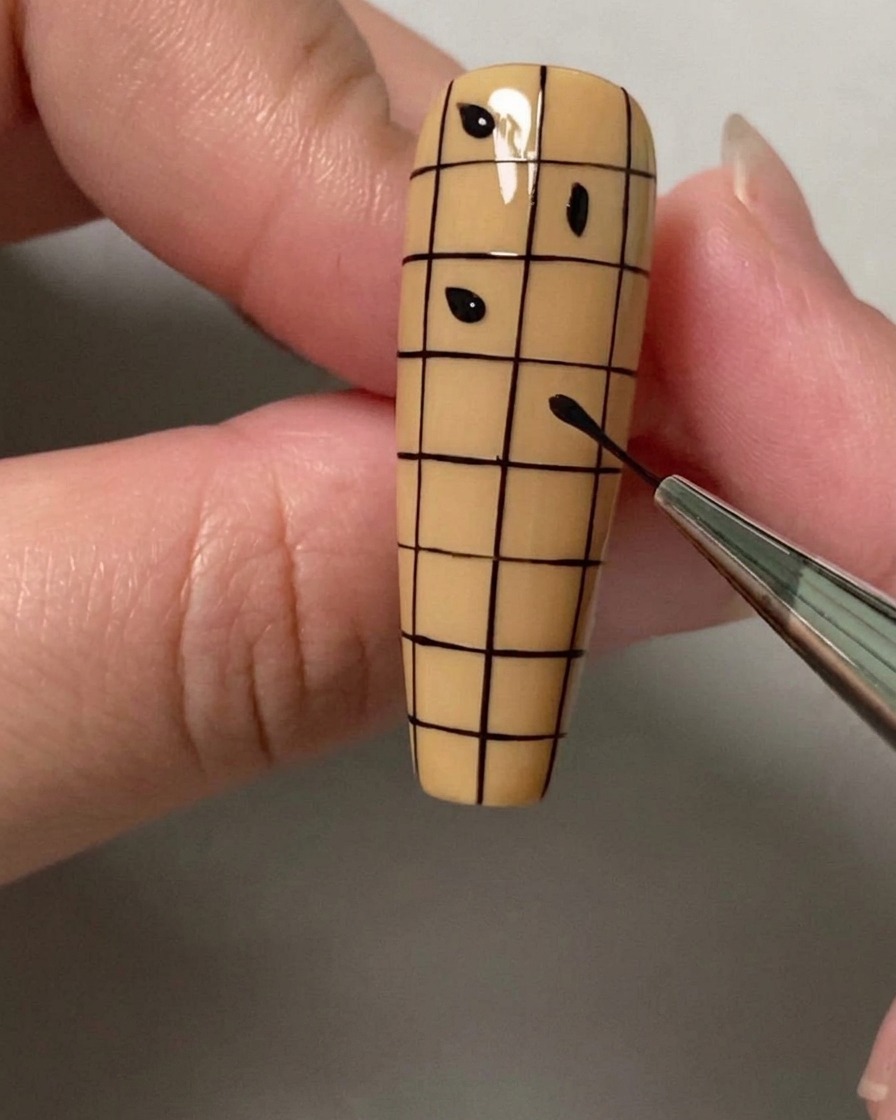
Once the grid is drawn, mark the blocks you want to color by placing small dots inside them. Make sure there is an empty space between each marked block to plan out a perfect alternating pattern.
Tip: Mapping your design with dots before you start coloring helps prevent mistakes and keeps the pattern accurate. - 12Mark Alternating Grid Squares
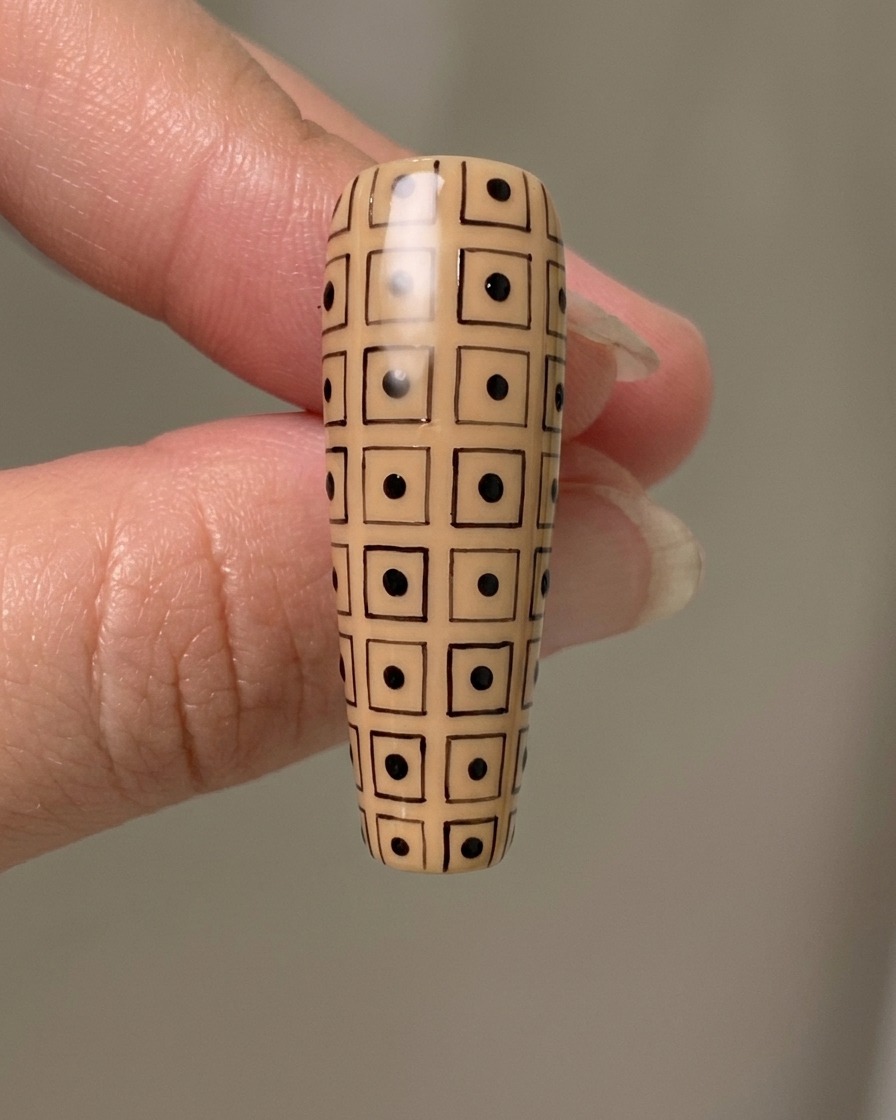
Identify the squares you want to fill with color and mark them with a small dot. Be sure to leave an empty space between each marked block to establish the checkerboard pattern structure.
Tip: Mapping out the pattern with dots prevents confusion and mistakes when you begin filling in the color. - 13Begin Filling the Checkerboard
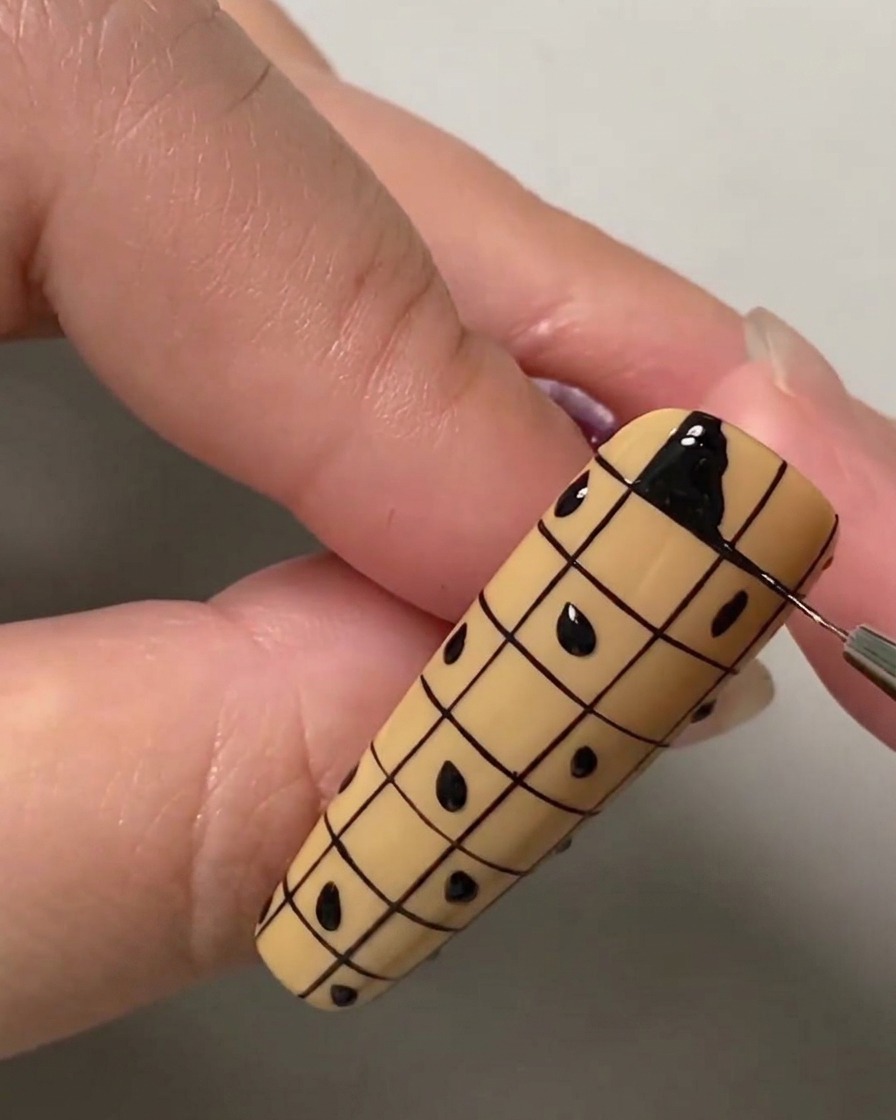
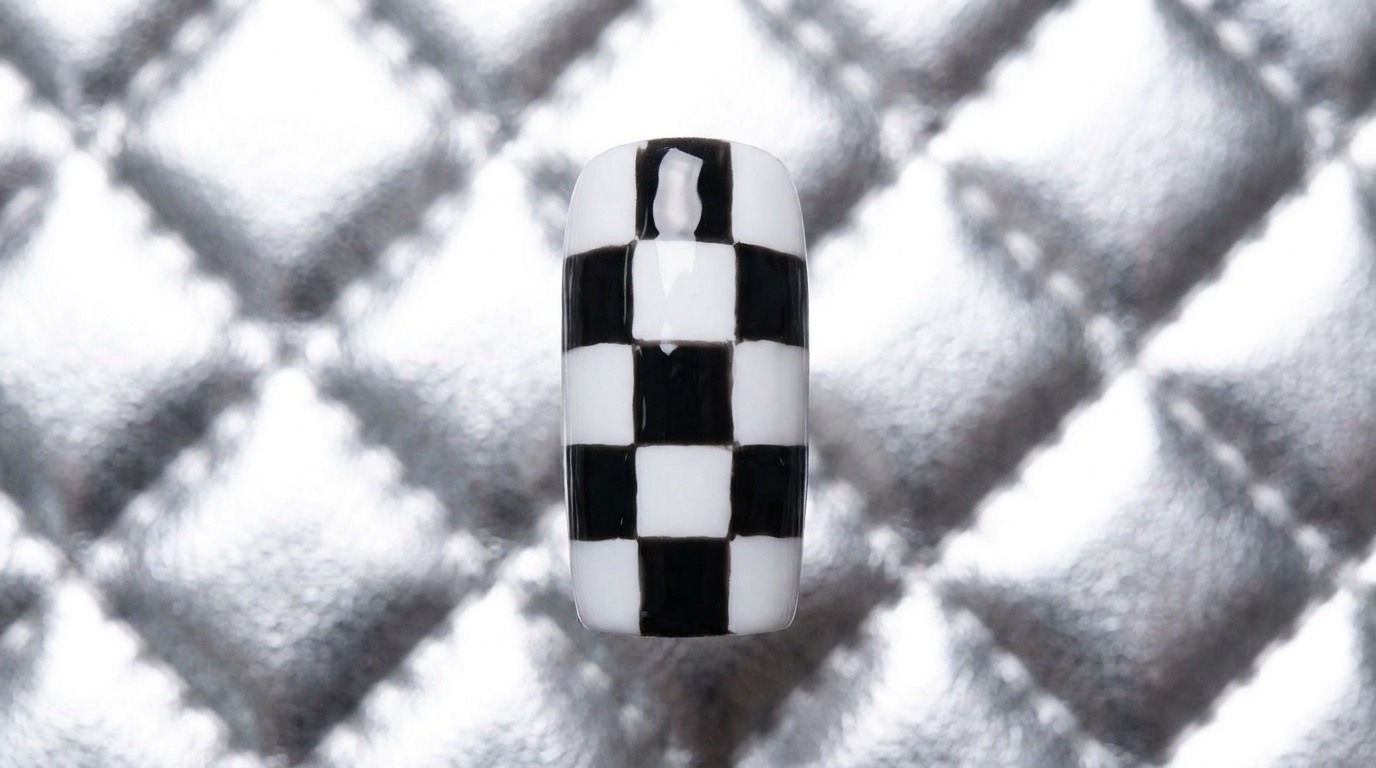
Using a fine liner brush and black gel polish, begin filling in the marked squares. Start with the top left square, carefully painting within the established grid lines to keep the edges crisp.
Tip: Keep a steady hand and use a minimal amount of polish on your brush to avoid flooding the grid lines. - 14Fill the squares
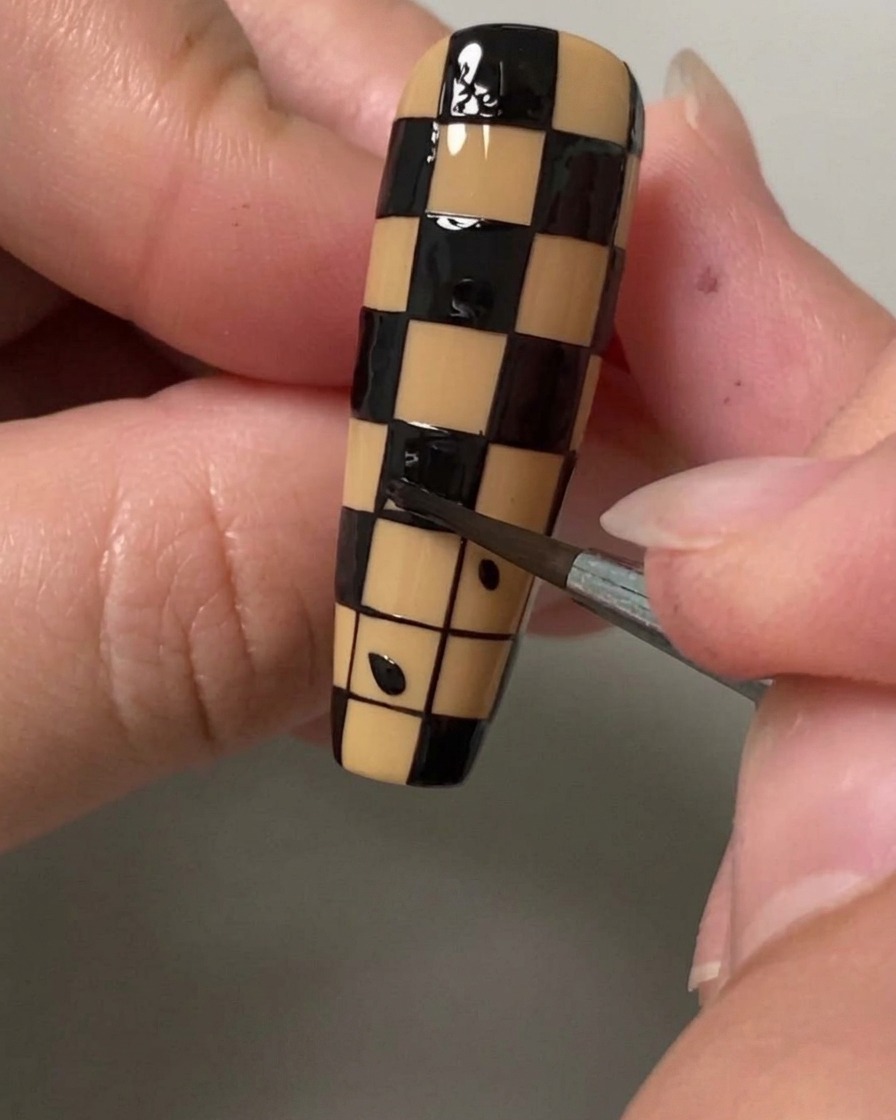
Once your grid is mapped out, mark the blocks you want to color with small dots. Ensure there is an empty space between each marked block, then carefully fill in each designated square with black gel polish to create your checkerboard pattern.
Tip: Work with a highly pigmented gel polish so you only need one thin layer for full opacity, which keeps the nail surface even. - 15Complete the Checkerboard Pattern
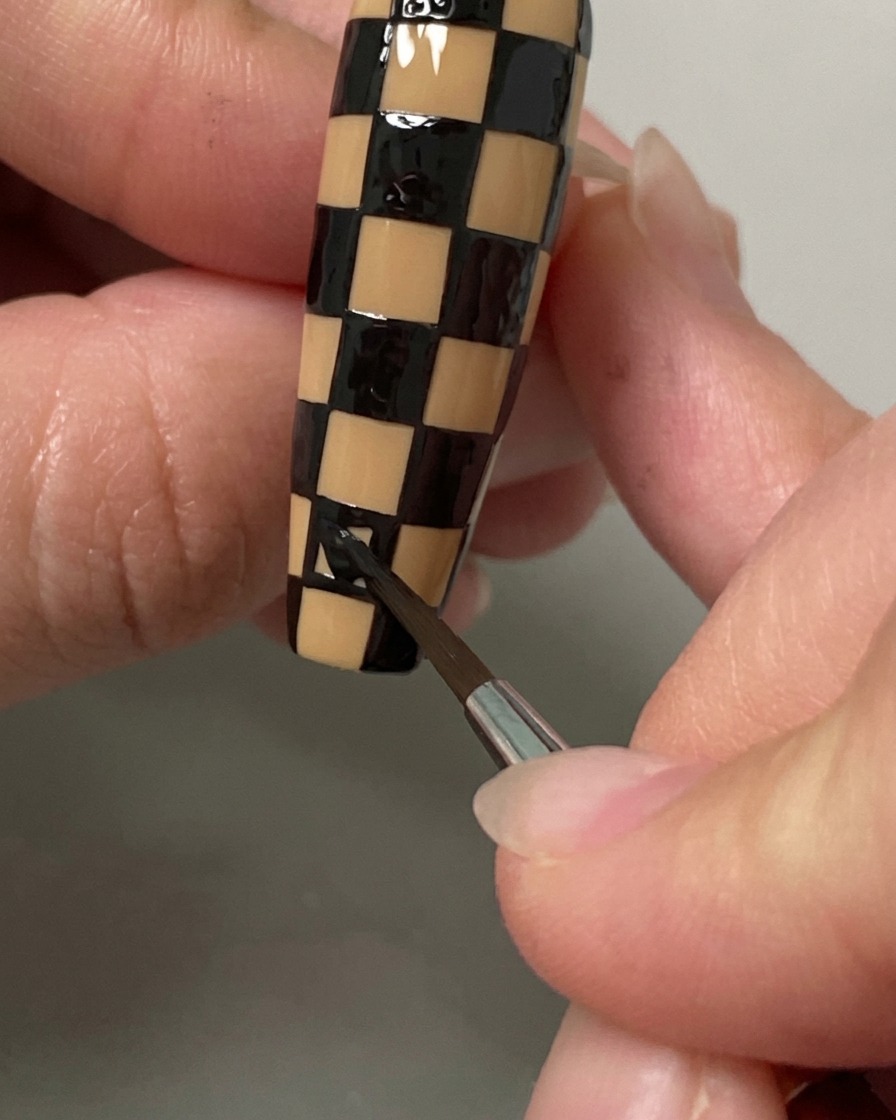
Continue filling in the remaining marked squares evenly with black gel polish. Take your time to ensure the color is opaque inside each designated block and the overall pattern is uniform.
Tip: If a line becomes uneven, you can carefully clean it up with a clean brush dipped in a tiny amount of alcohol before curing. - 16Map Out the Argyle Pattern
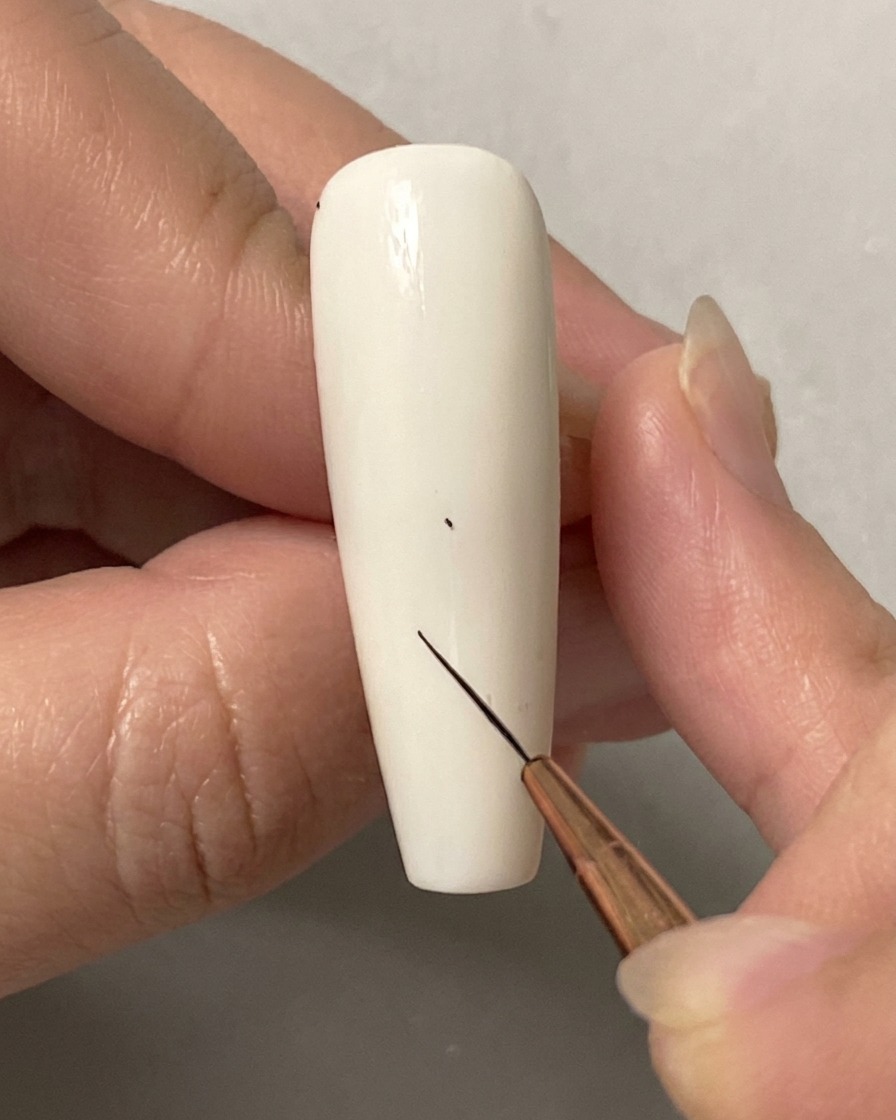
Working on a fresh white nail, use a liner brush to mark tiny guide dots at the center and diagonal corners. This will map out the dimensions for your argyle design.
Tip: Placing guide dots ensures your diamond shapes will be symmetrical and properly spaced. - 17Connect the Argyle Guide Dots
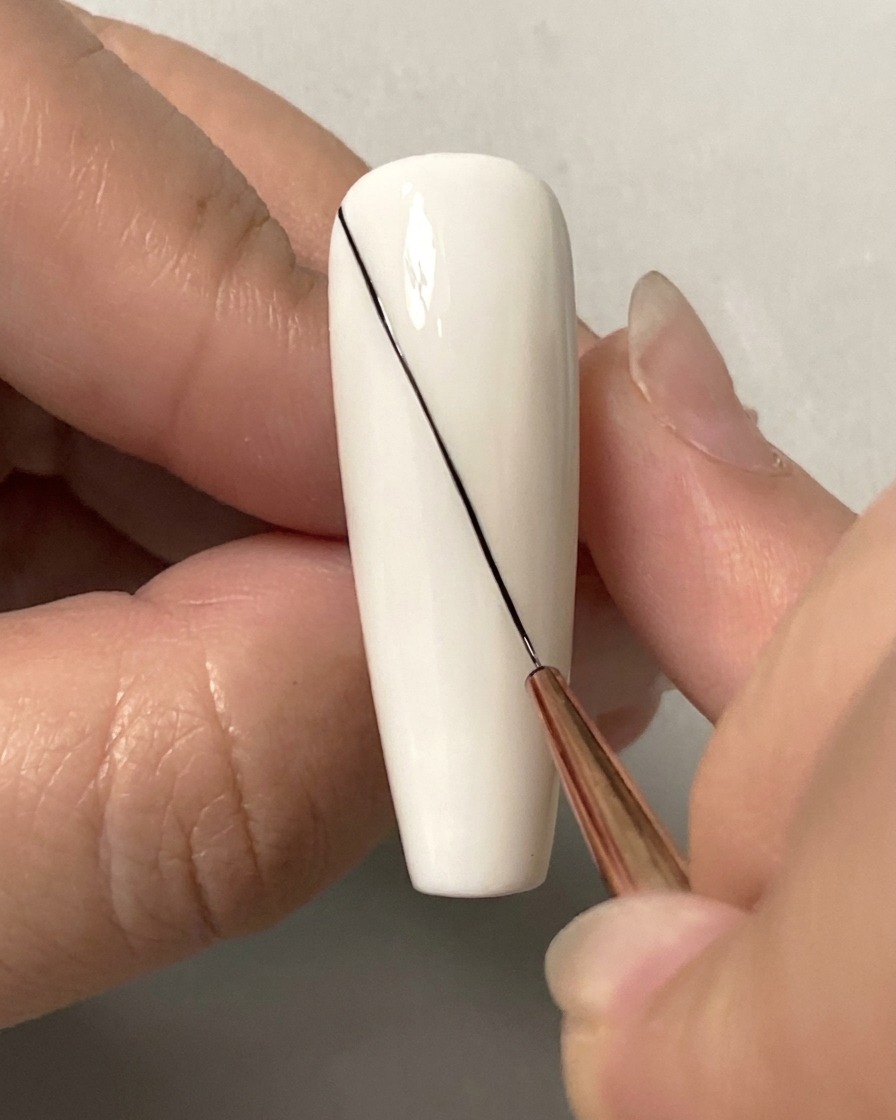
Draw a straight, diagonal line connecting the dots from the top left down toward the right side of the nail. Use very light pressure to create a thin, crisp line.
Tip: Remember to breathe while drawing long straight lines to help maintain a steady hand and smooth application. - 18Mark spacing dots on the upper right section
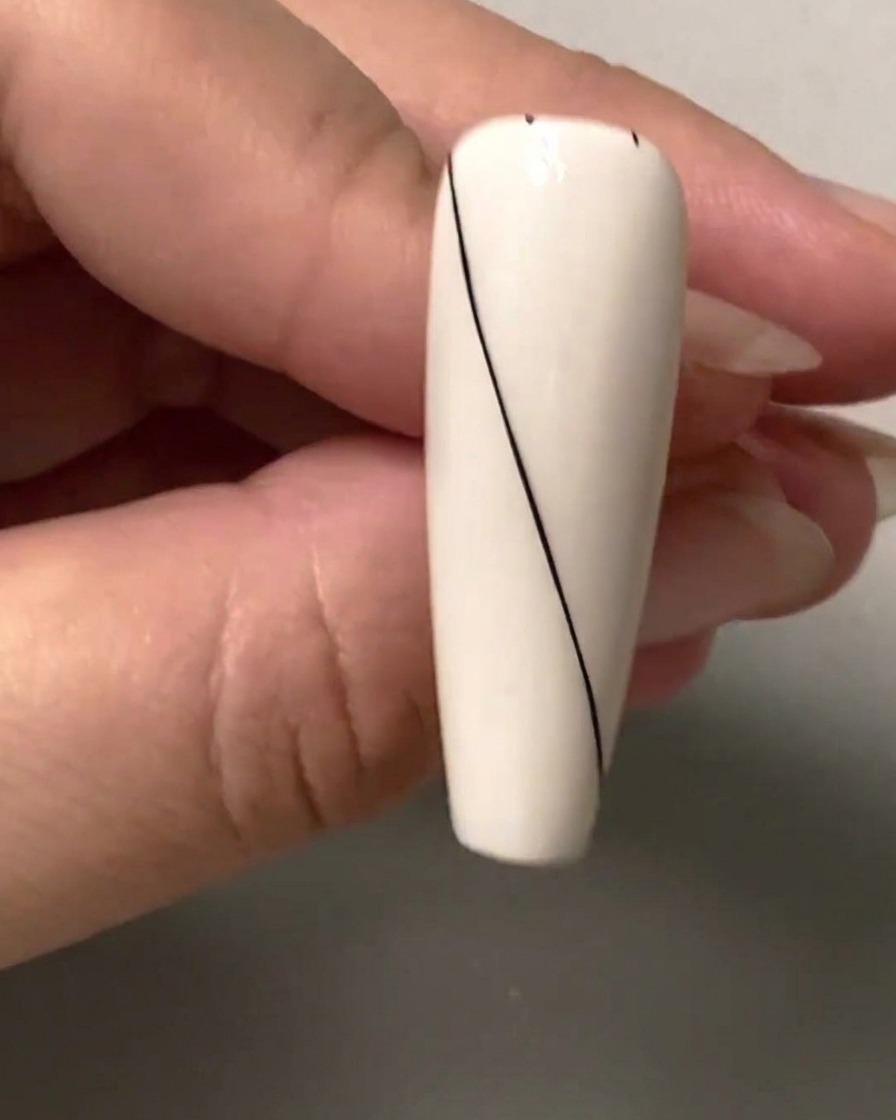
Using your liner brush, mark spacing dots along the upper right blank section of the nail to guide your next diagonal lines. Ensure the spacing is even to maintain a symmetrical diamond grid pattern across the surface.
Tip: Keep your hand steady and use a light touch to ensure the dots are small and precise. - 19Draw the second parallel line
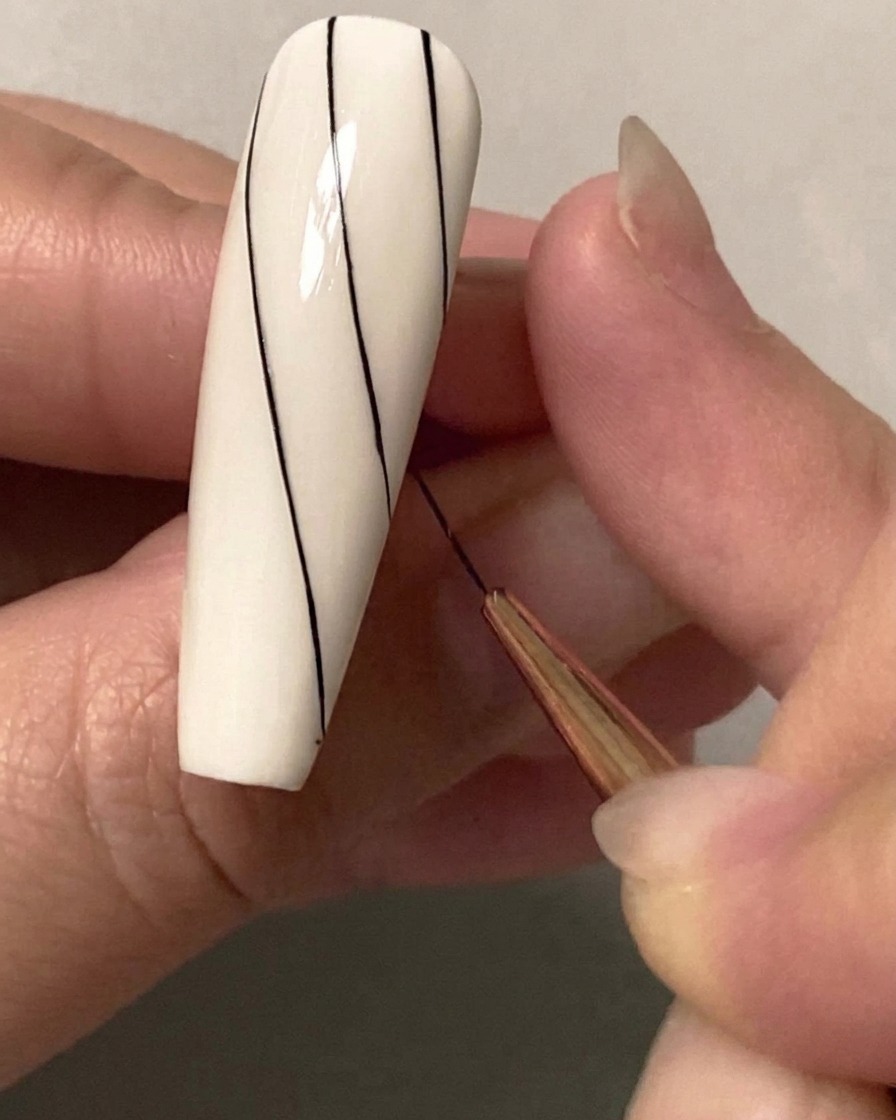
Divide the blank space evenly to maintain consistent spacing, then use your liner brush to draw a second diagonal line parallel to the first one on the upper half of the nail.
Tip: Remember to breathe! Holding your breath can sometimes cause your hand to tense up and shake. - 20Add the third parallel line
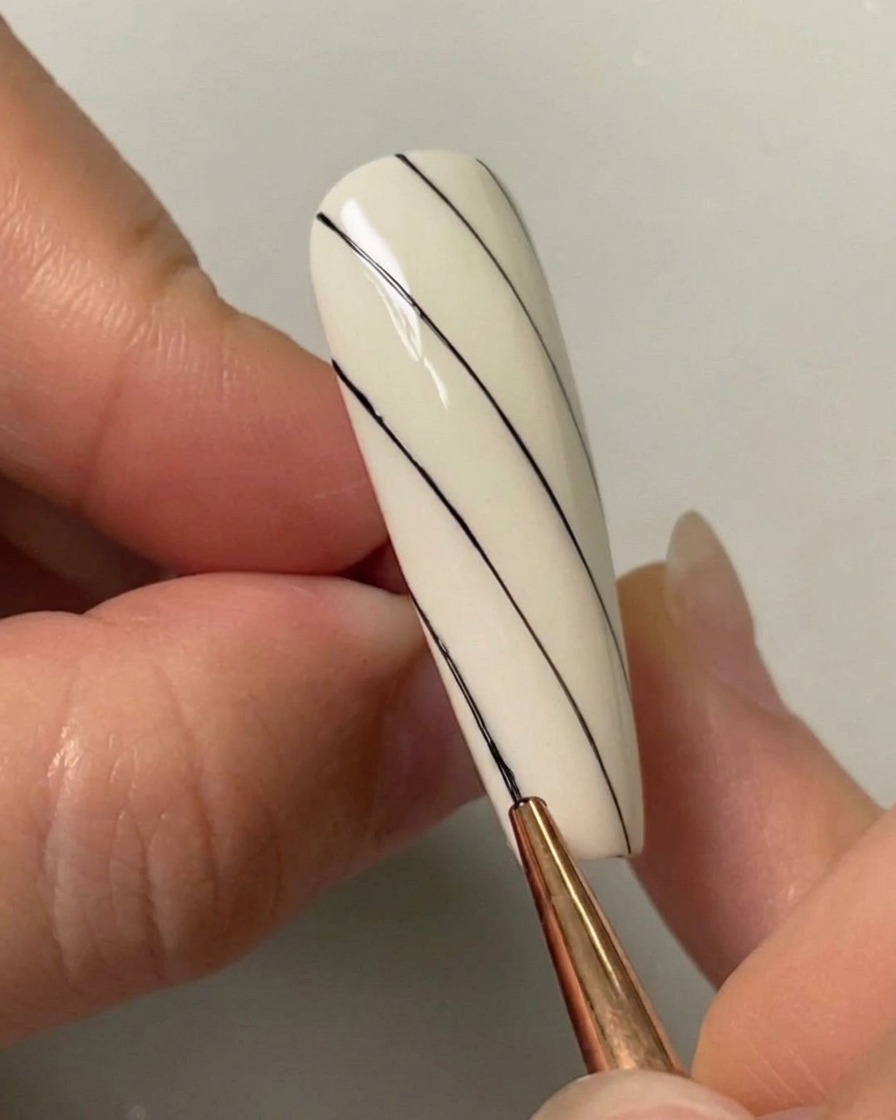
Continue the layout by drawing a third parallel diagonal line down the left side of the nail. Make sure the spacing matches the upper sections so the resulting grid shapes are equal in size.
Tip: Pull the brush down in one smooth, continuous motion rather than sketching it in short strokes. - 21Draw the intersecting lines
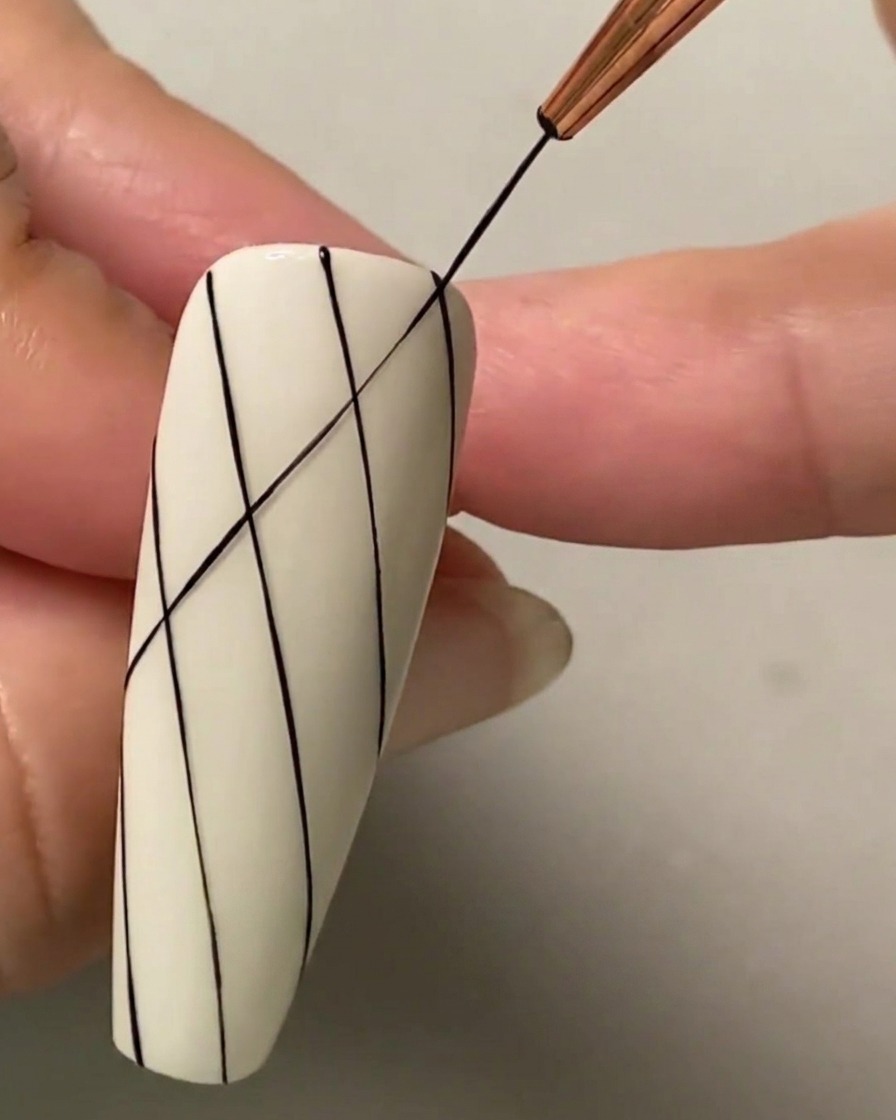
Connect the starting point of the bottom line to the starting point of the top line. Pull the line diagonally to cross over your previous lines, which begins the diamond grid structure across the nail.
Tip: Use very light pressure; pressing too hard will cause the brush bristles to splay and create a thick or wobbly line. - 22Mark spacing dots on the bottom section
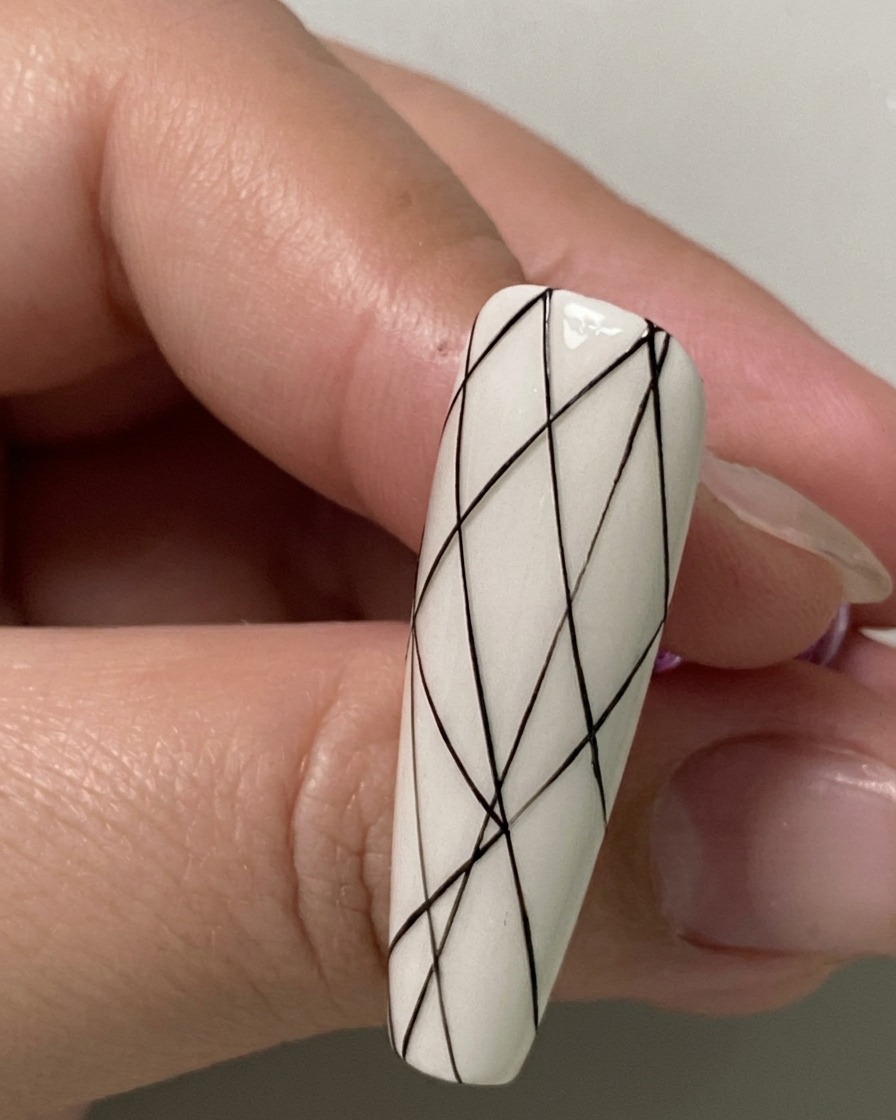
Place spacing dots along the bottom blank section of the nail to prepare for the intersecting lines. This ensures the geometric pattern remains balanced and properly aligned as you work your way down the nail.
Tip: Take a breath and double-check your spacing before drawing lines to avoid uneven sections. - 23Mark spacing dots on the top section
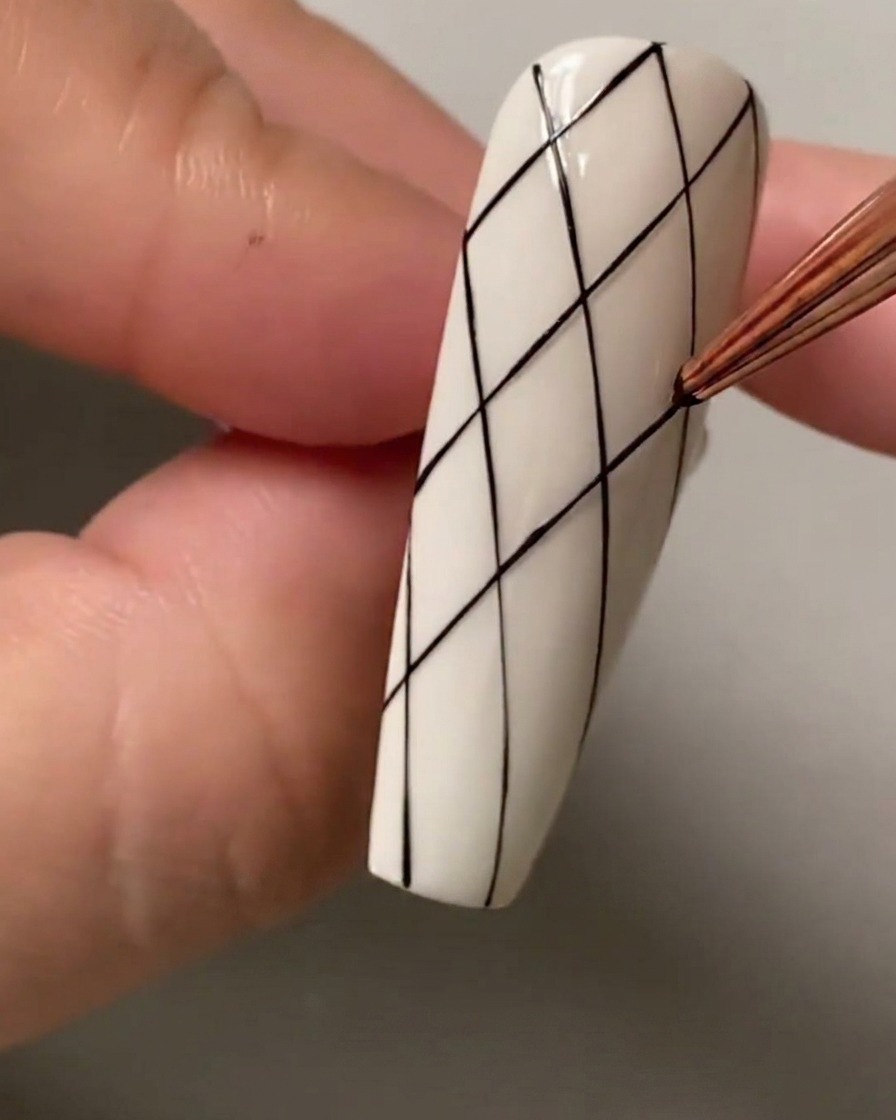
Continue by marking spacing dots on the top blank section of the nail. These points serve as anchors for connecting subsequent lines to complete the argyle framework.
Tip: Work carefully near the cuticle area to keep your reference dots clean and well-positioned. - 24Draw intersecting diagonal line on the lower half
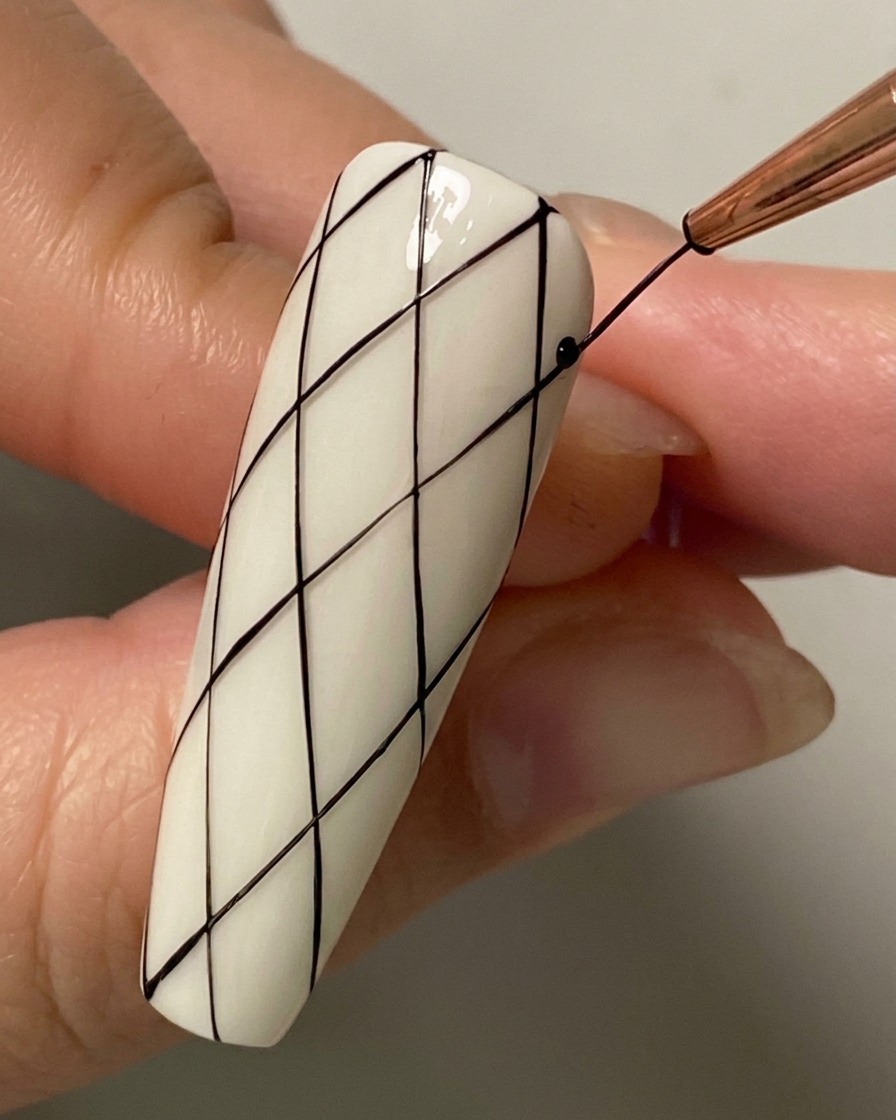
Using your liner brush, draw another diagonal line that intersects the previous lines on the lower half of the nail. This builds out the multi-directional grid structure required for the diamond pattern.
Tip: Pull the brush smoothly from point to point to create clean, straight lines without wobbling. - 25Complete the diamond grid with a final parallel line
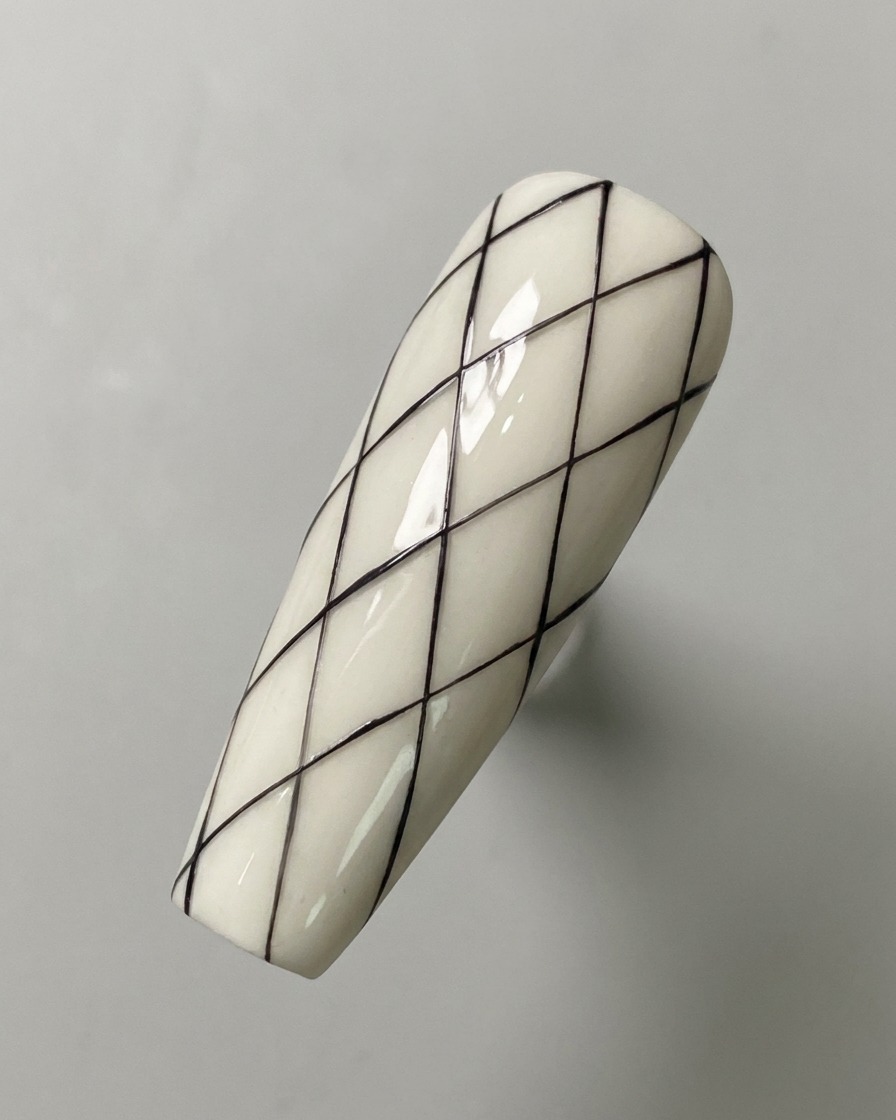
Draw a final parallel diagonal line across the nail to fully complete the diamond grid structure. Check that all intersecting lines form uniform diamond shapes from top to bottom.
Tip: Ensure the lines cross cleanly to form distinct, enclosed geometric shapes ready for coloring. - 26Mark alternating shapes for coloring
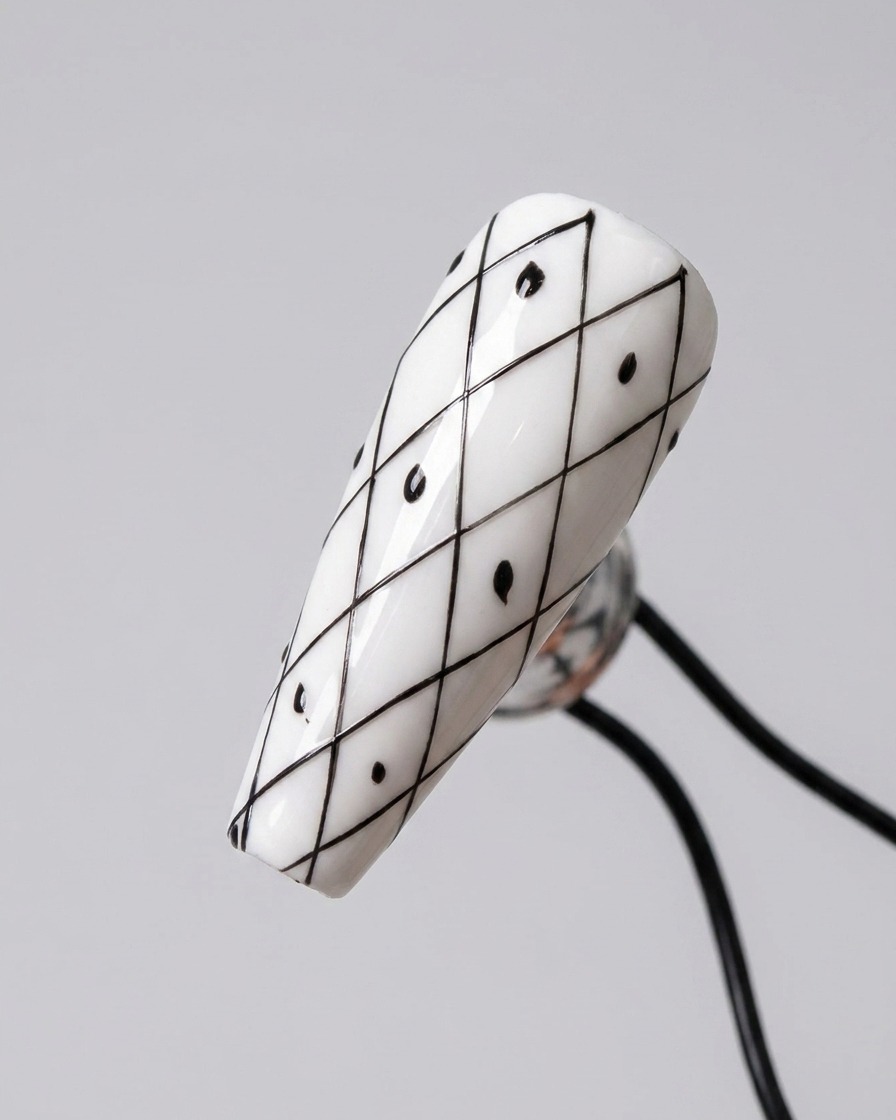
Place small black dots inside alternating diamond shapes across the grid to serve as placement markers for your color blocks. Remember to leave an empty space between each marked block for a clean checkerboard or argyle effect.
Tip: Double-check your pattern layout to ensure alternating spacing is consistent before you begin filling them in. - 27Fill the top diamond shape
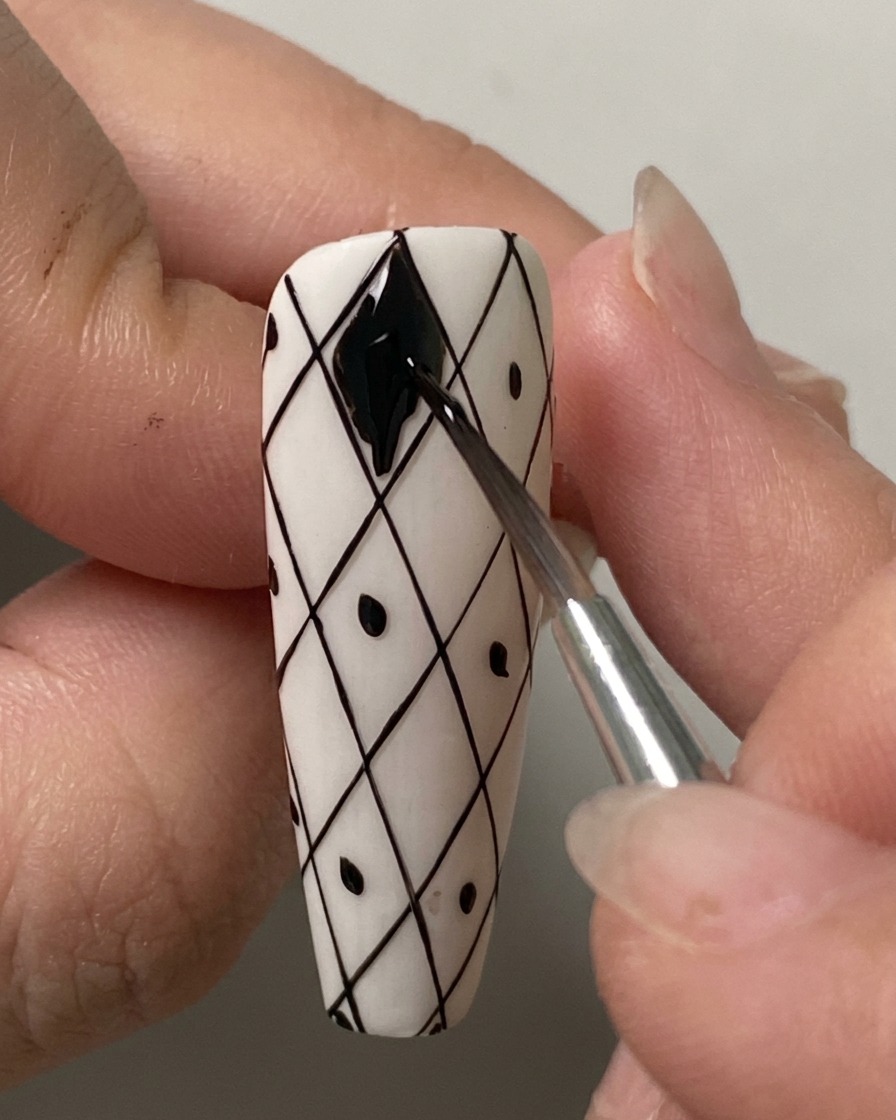
Using your fine liner brush and black gel polish, carefully fill in the top marked diamond shape completely. Ensure the black pigment reaches the grid lines cleanly without bleeding over into adjacent uncolored sections. Take your time to get crisp edges along the boundary lines.
Tip: Keep a small clean-up brush dipped in rubbing alcohol nearby to quickly fix any minor slips before curing. - 28Fill remaining diamond shapes
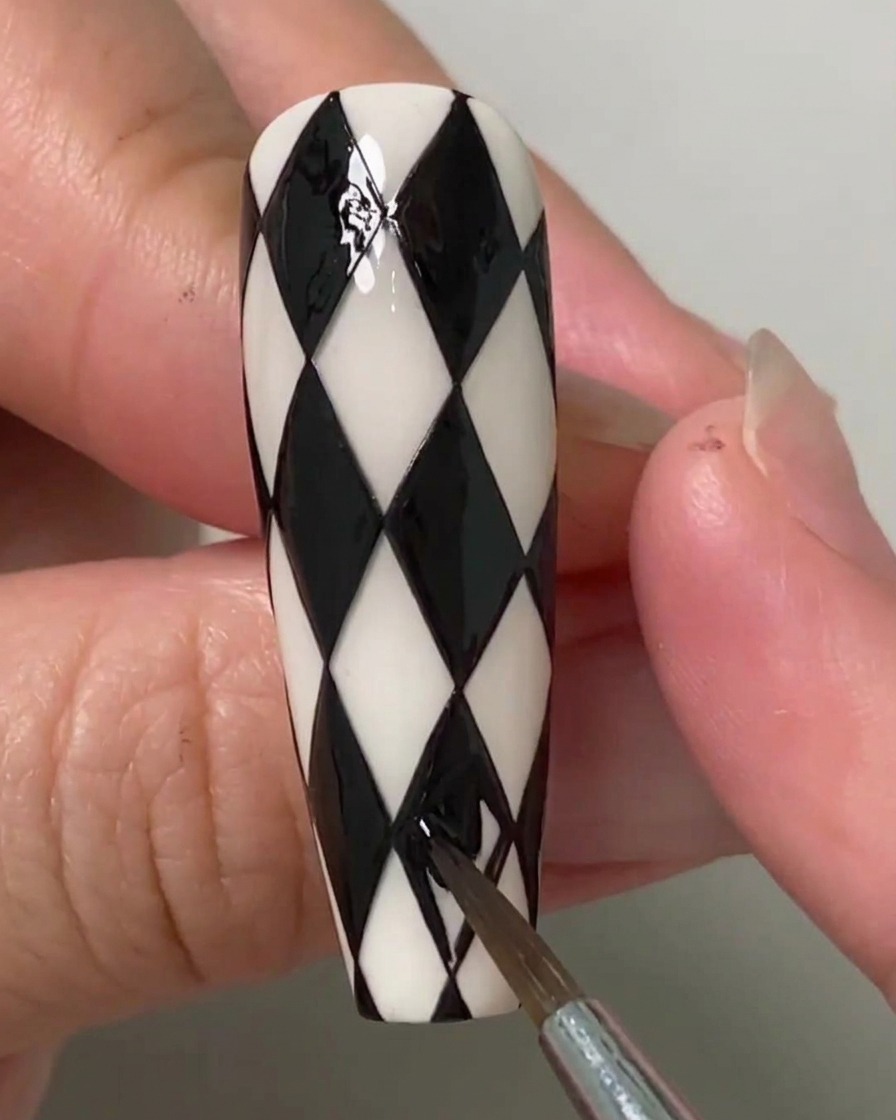
Continue filling in all the remaining pre-marked diamond shapes across the nail with black gel polish. Follow the alternating pattern carefully to maintain the classic checkerboard or argyle structure. Once all marked spaces are filled and even, cure the entire design under your UV or LED lamp to set the gel.
Tip: Double-check that you are filling only the alternating marked spots to preserve the signature argyle pattern symmetry.