Black and White Checkerboard Nail Art — Modern Grid Design Tutorial
Master clean lines and high-contrast style with this beginner-friendly black and white checkerboard nail art tutorial.
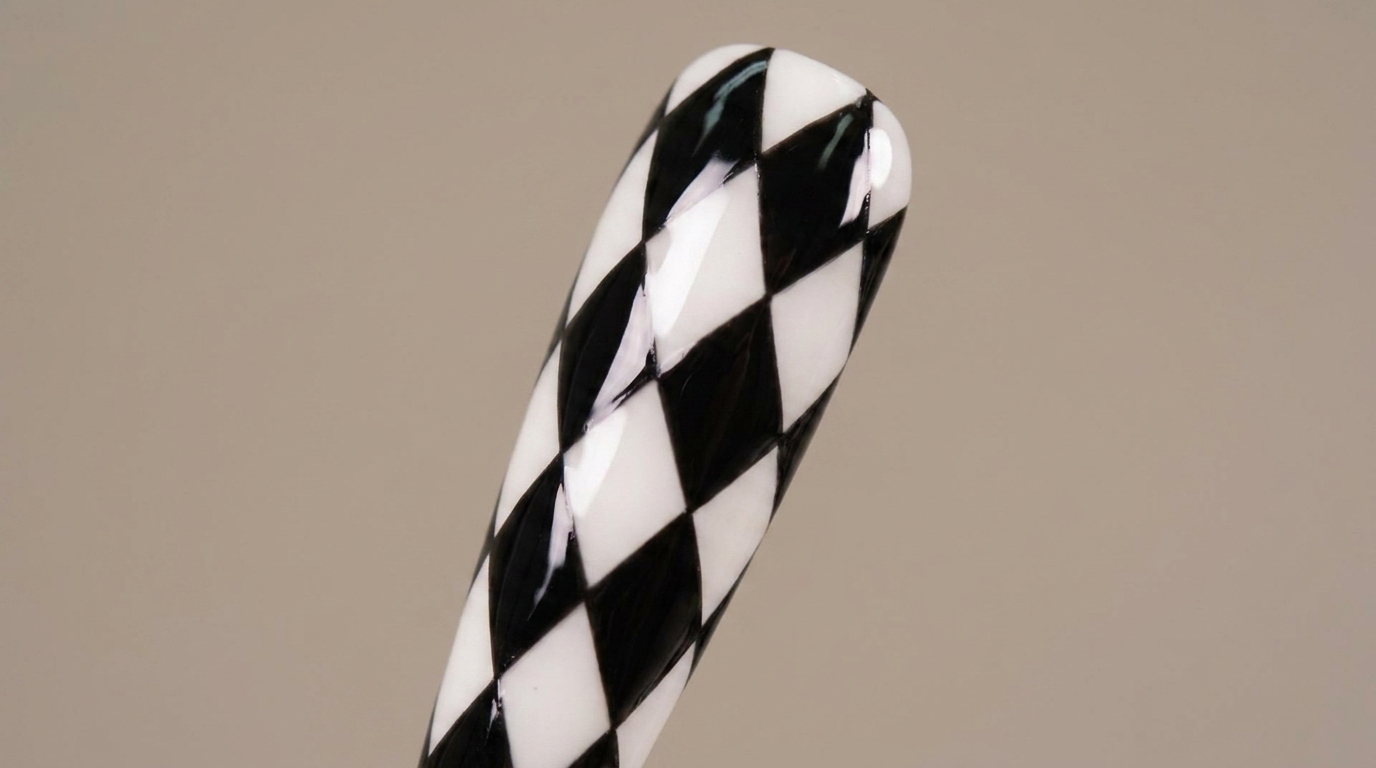
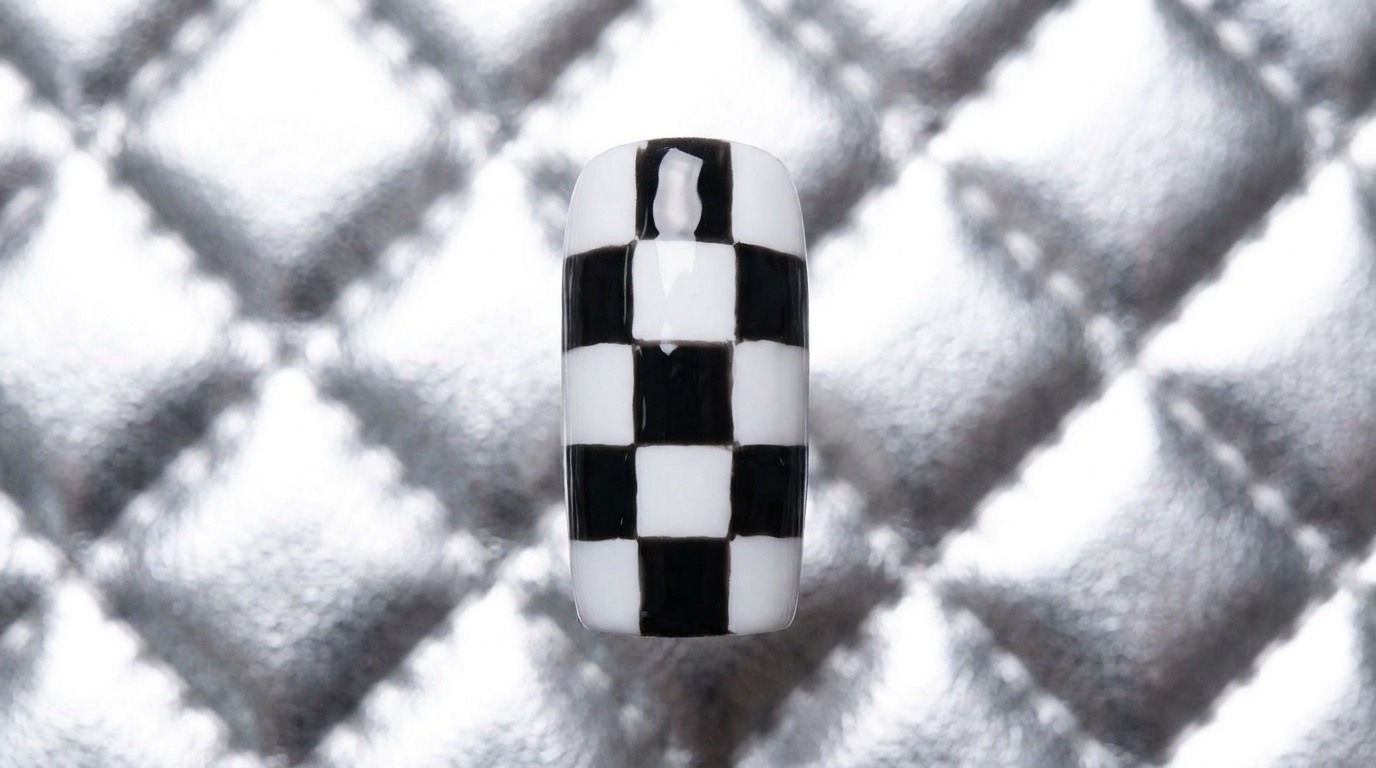
Checkerboard print has established itself as a timeless, graphic staple in modern nail design. This detailed tutorial walks you through mapping a precise grid structure and filling alternating squares for a flawless salon-quality finish.
Steps
- 1Draw Vertical Guide Lines
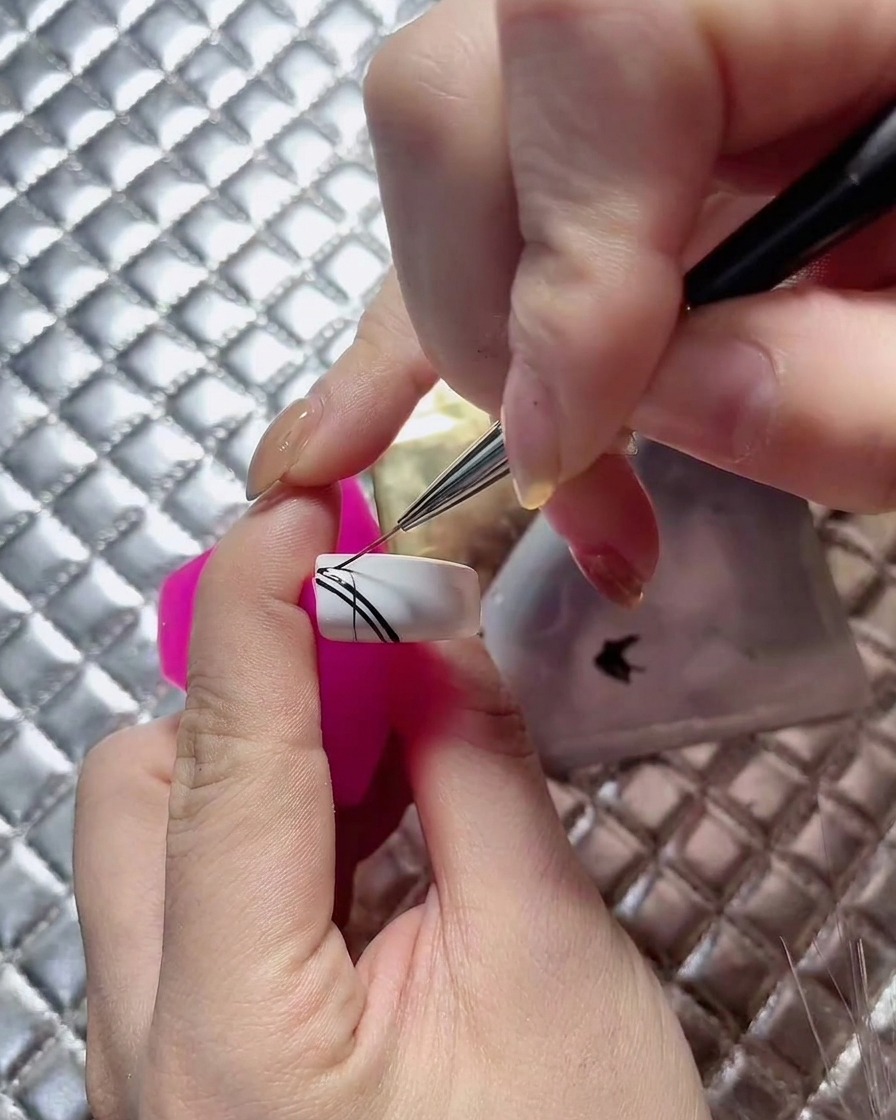
Using a fine liner brush loaded with black gel, carefully draw thin vertical guide lines across the white nail surface to establish the foundation of the checkerboard grid structure.
Tip: Keep your hand steady and use light pressure to ensure the guide lines are thin and crisp. - 2Draw Horizontal Grid Lines
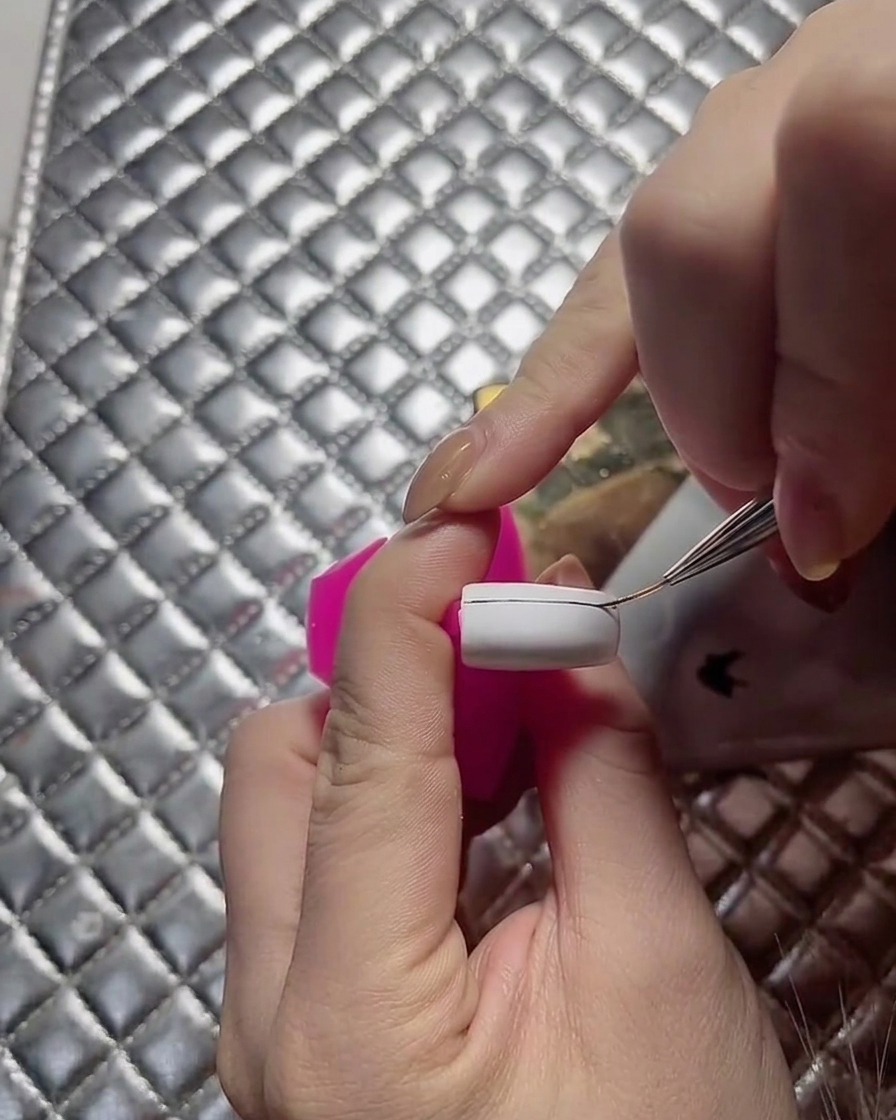
Draw horizontal lines across the nail intersecting the vertical lines at equal intervals to create a uniform grid of square boxes for your checkerboard layout.
Tip: Maintain equal spacing between your lines to keep the squares uniform. - 3Refine and Extend the Grid
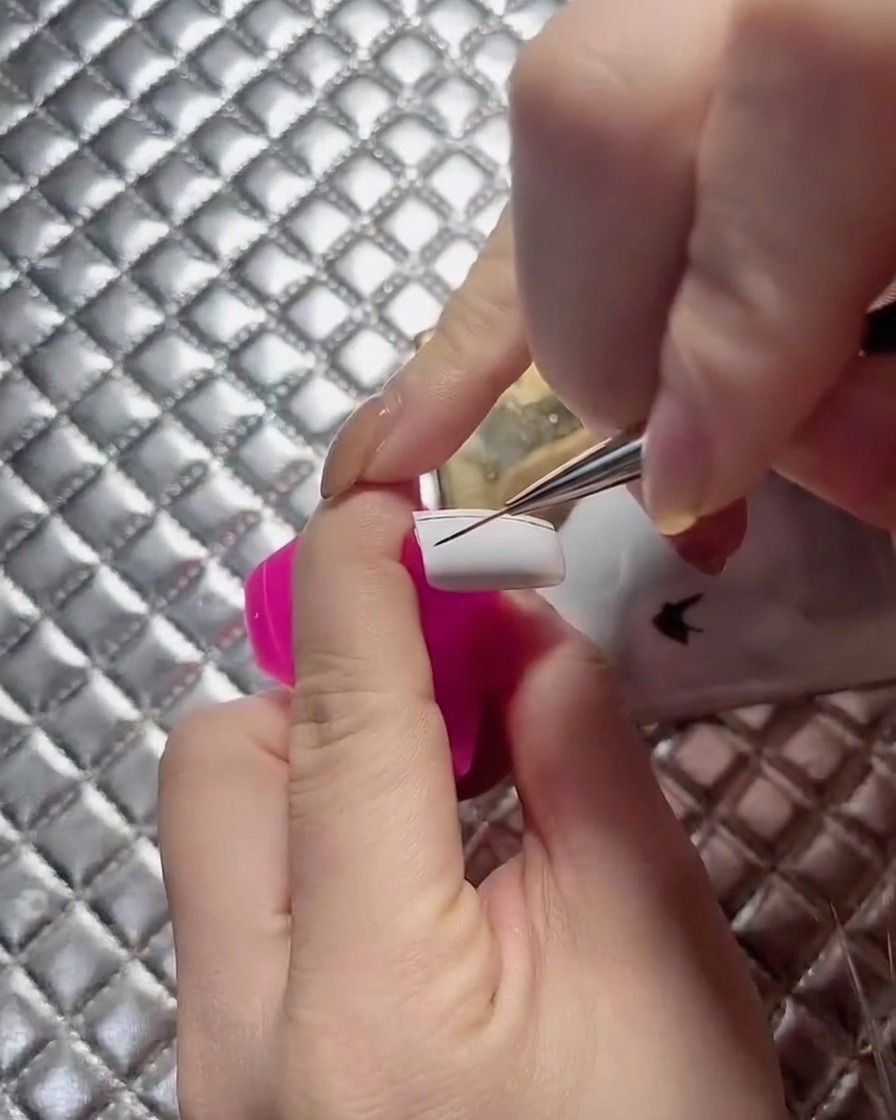
Extend and refine the grid lines across the entire nail plate, making sure all individual squares are evenly proportioned before adding color.
Tip: Double-check your lines before filling in color to avoid asymmetry. - 4Fill in the First Corner Square
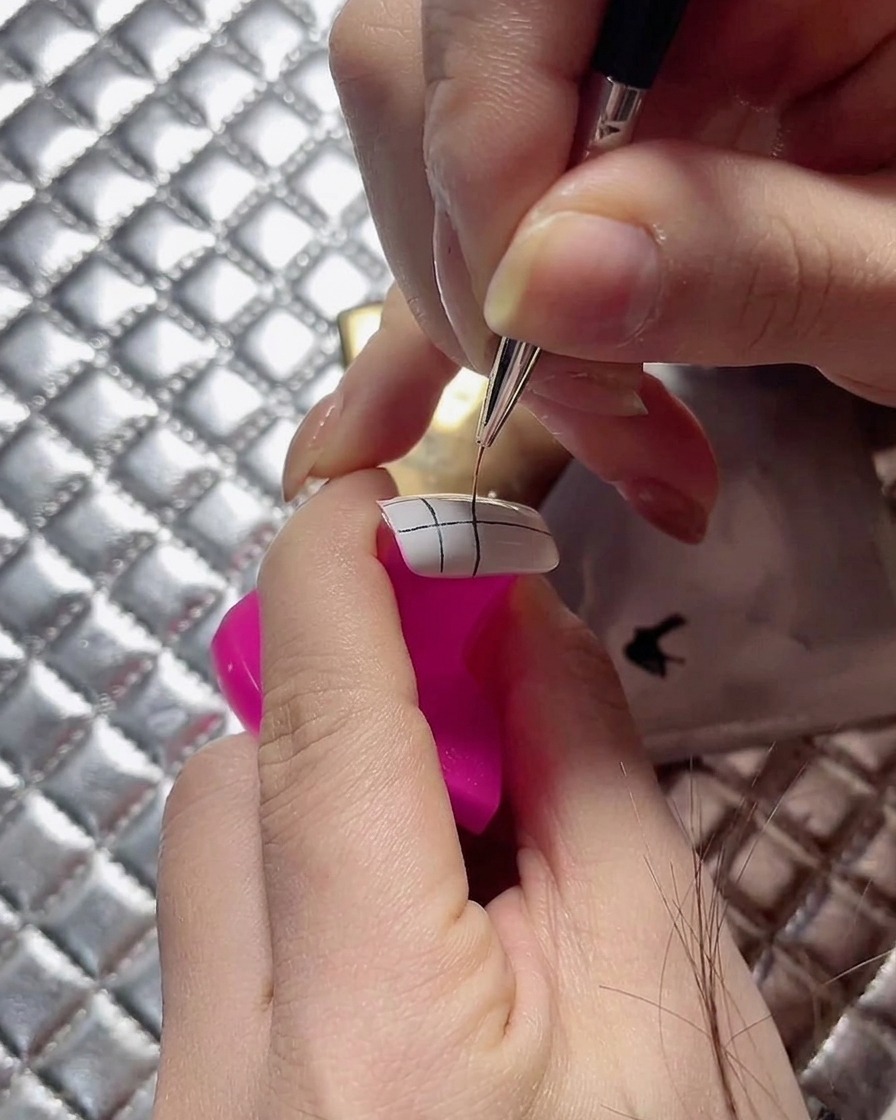
Begin filling in the first checkerboard square at the top corner using a rich, highly saturated black gel.
Tip: Load just enough gel on your brush tip to fill the square without pooling. - 5Fill Alternating Squares
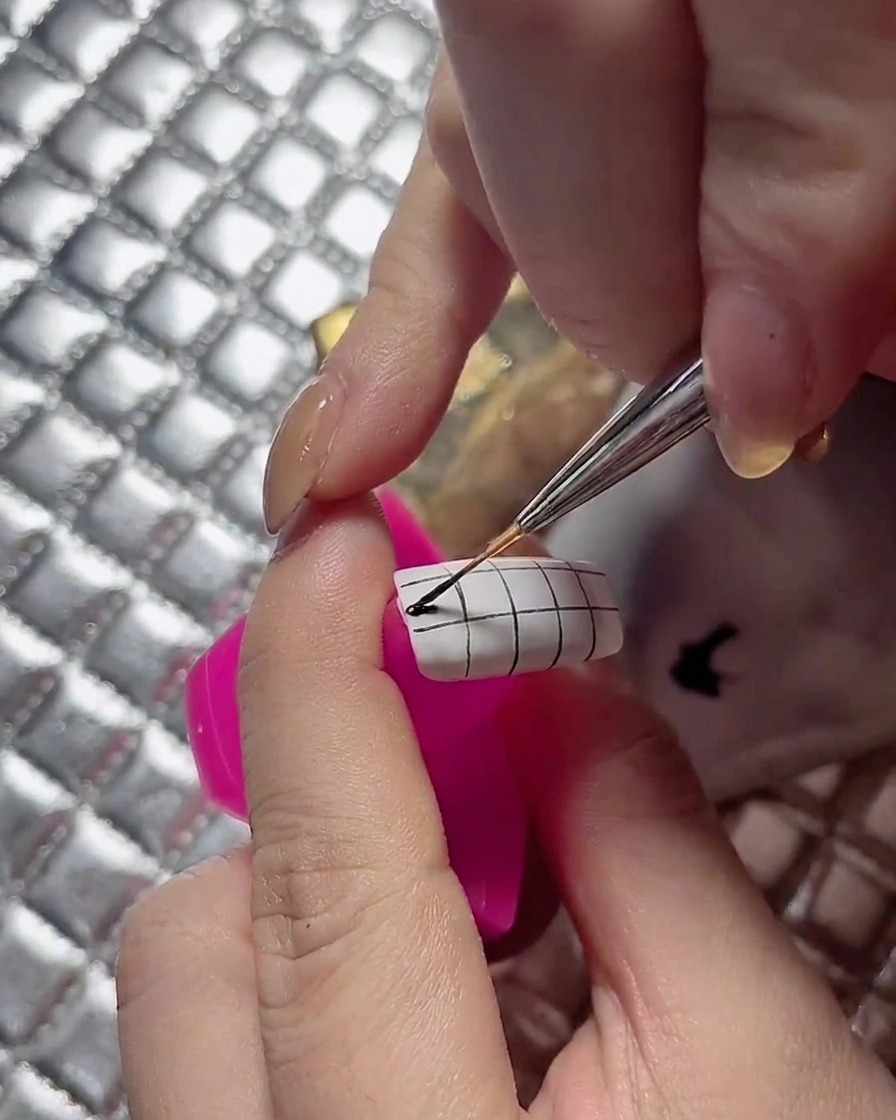
Carefully fill in alternating squares with black gel using a fine detail brush, ensuring you stay neatly within the established grid boundaries.
Tip: Work methodically row by row to prevent missing a square or filling the wrong one. - 6Continue Filling Remaining Squares
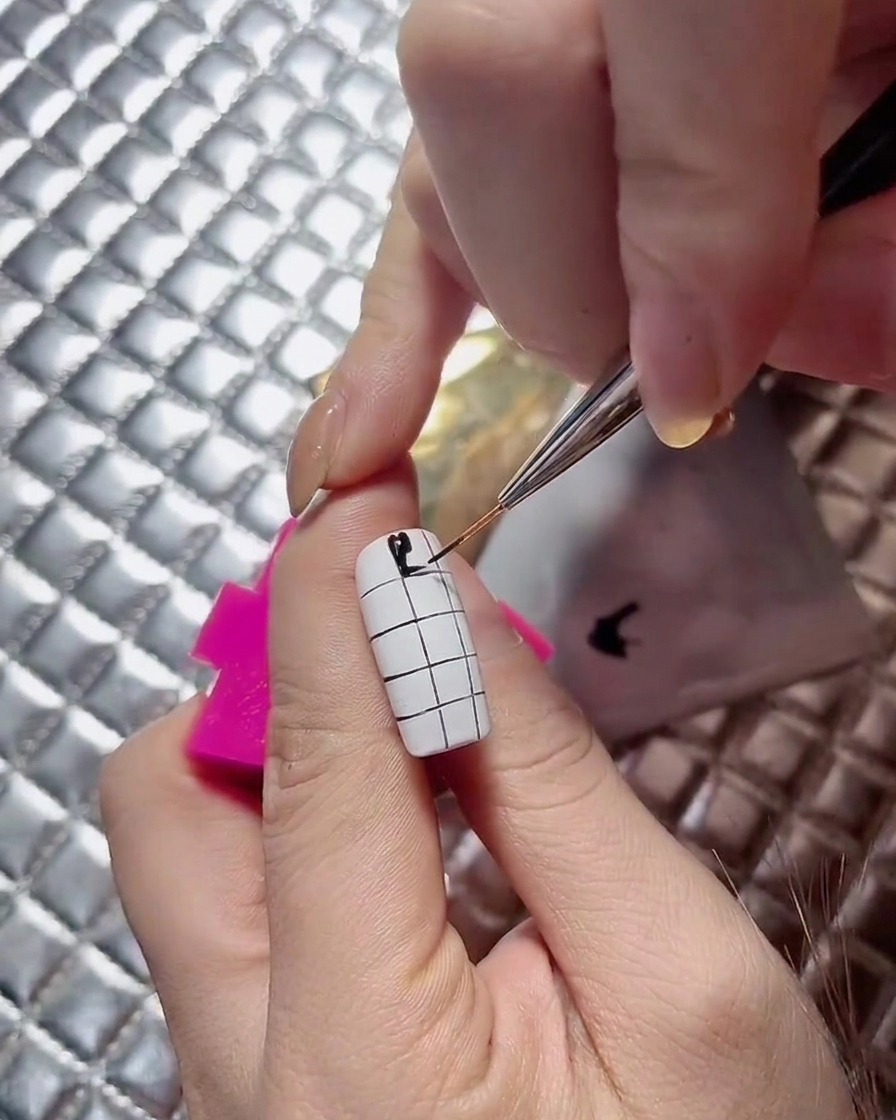
Continue filling in the remaining alternating black squares down the length of the nail surface until the full pattern is established.
Tip: Flash cure between sections if needed to prevent the gel from running into adjacent squares. - 7Touch Up and Refine Lines
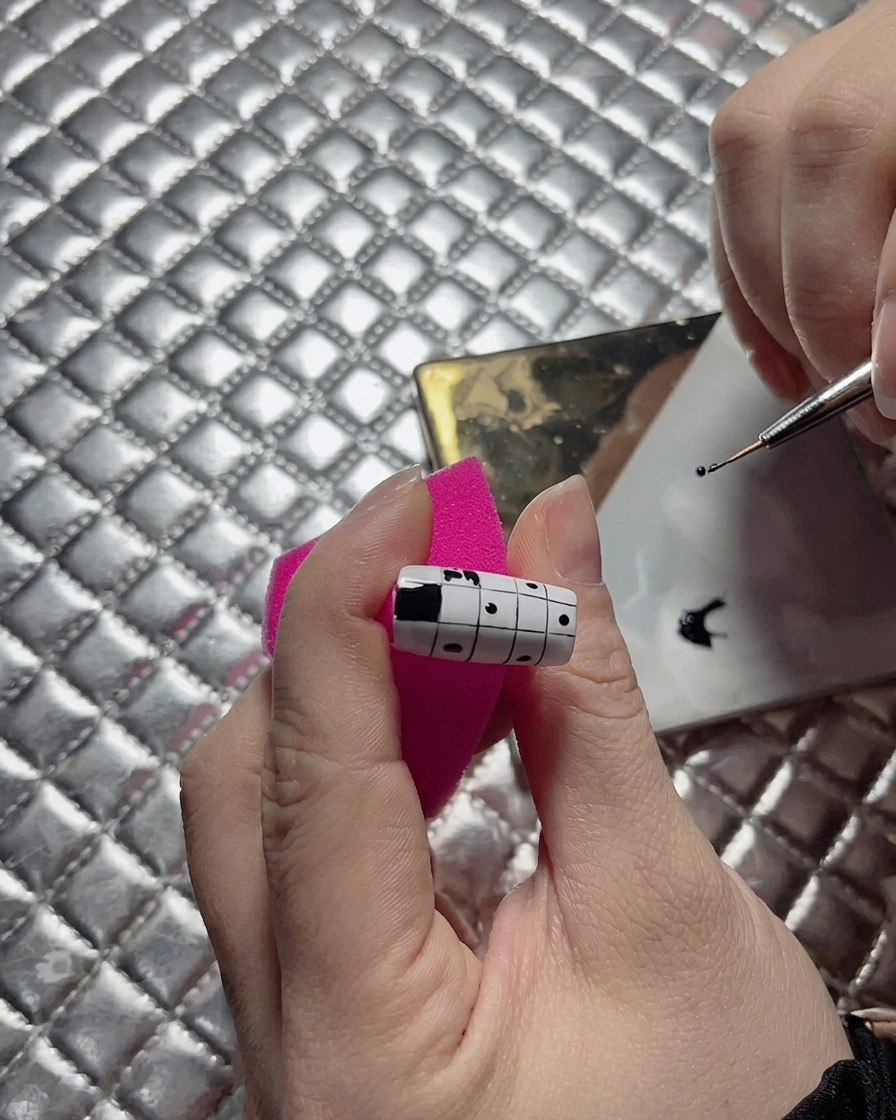
Carefully inspect your checkerboard pattern, using a fine detail brush to sharpen edges and straighten boundaries for a clean, professional finish.
Tip: Hold your breath or anchor your pinky finger against your other hand for maximum stability when making precision touch-ups.