Summer Marble Nail Art — Step-by-Step Tutorial
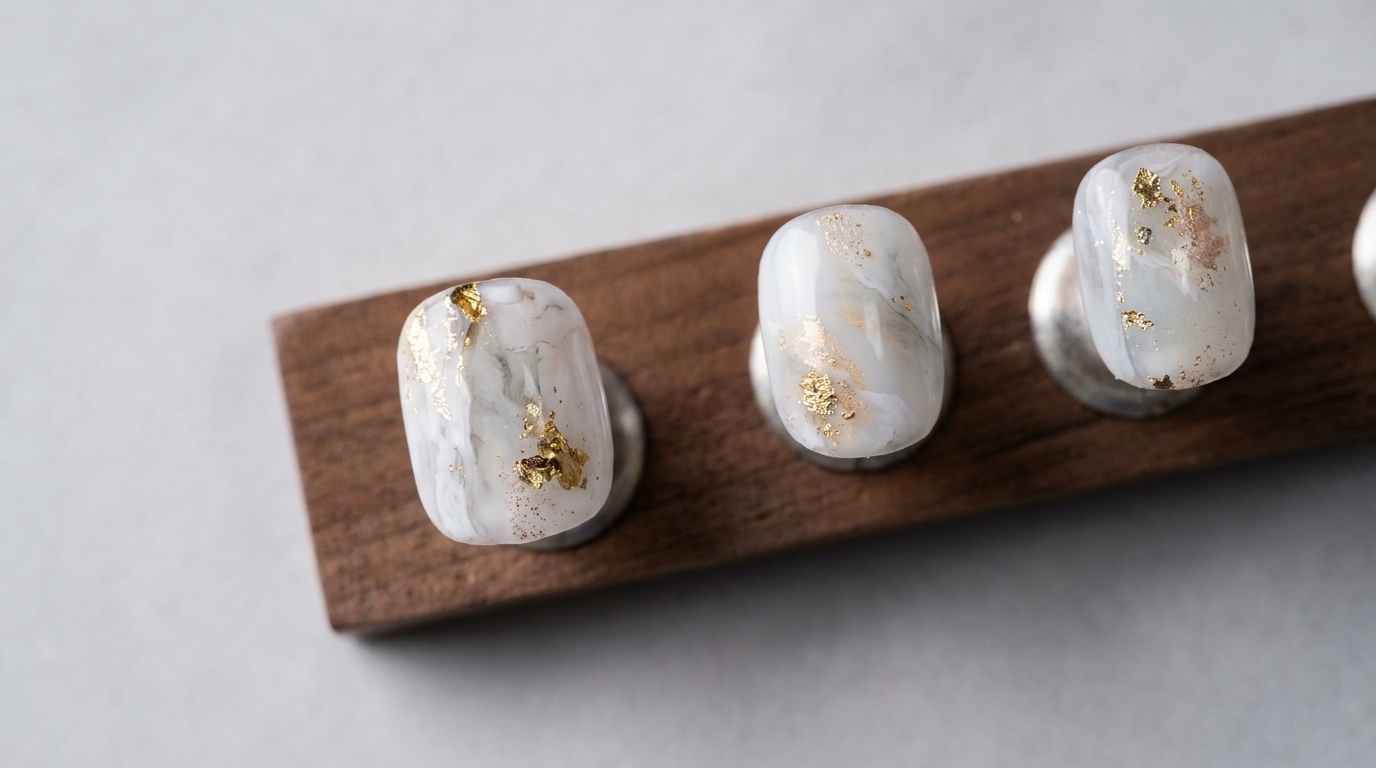
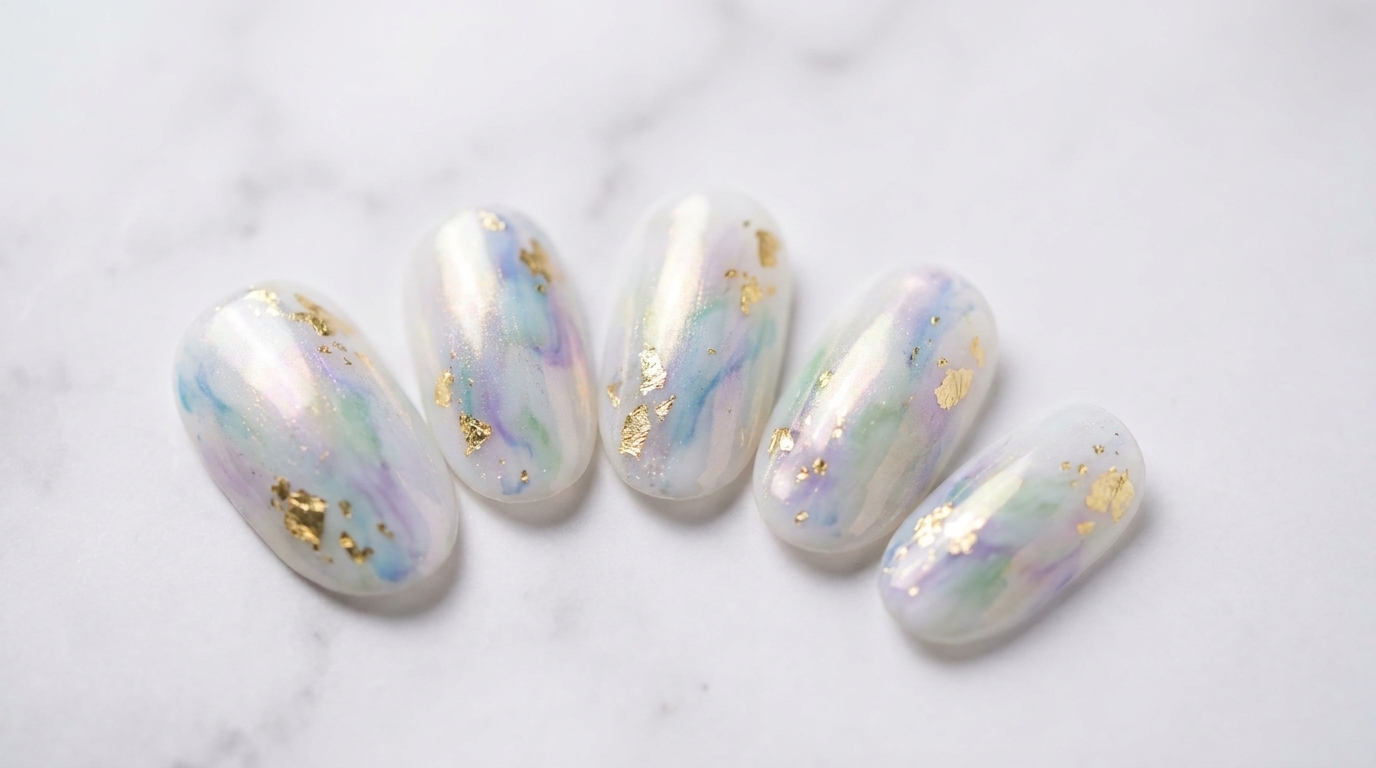
Create a stunning summer marble nail design featuring pastel blue, green, and purple blends accented with shimmering aurora powder and delicate gold foil.
This summer marble nail art captures the dreamy, ethereal vibe of the season by layering soft pastel gel colors over a luminous aurora powder base. Gold foil accents and iridescent shell flakes add beautiful texture and dimension, making it a perfect standout look. Follow along with Eris technique for flawlessly blending the colors while maintaining a clean, structured finish.
Steps
- 1Apply base gel
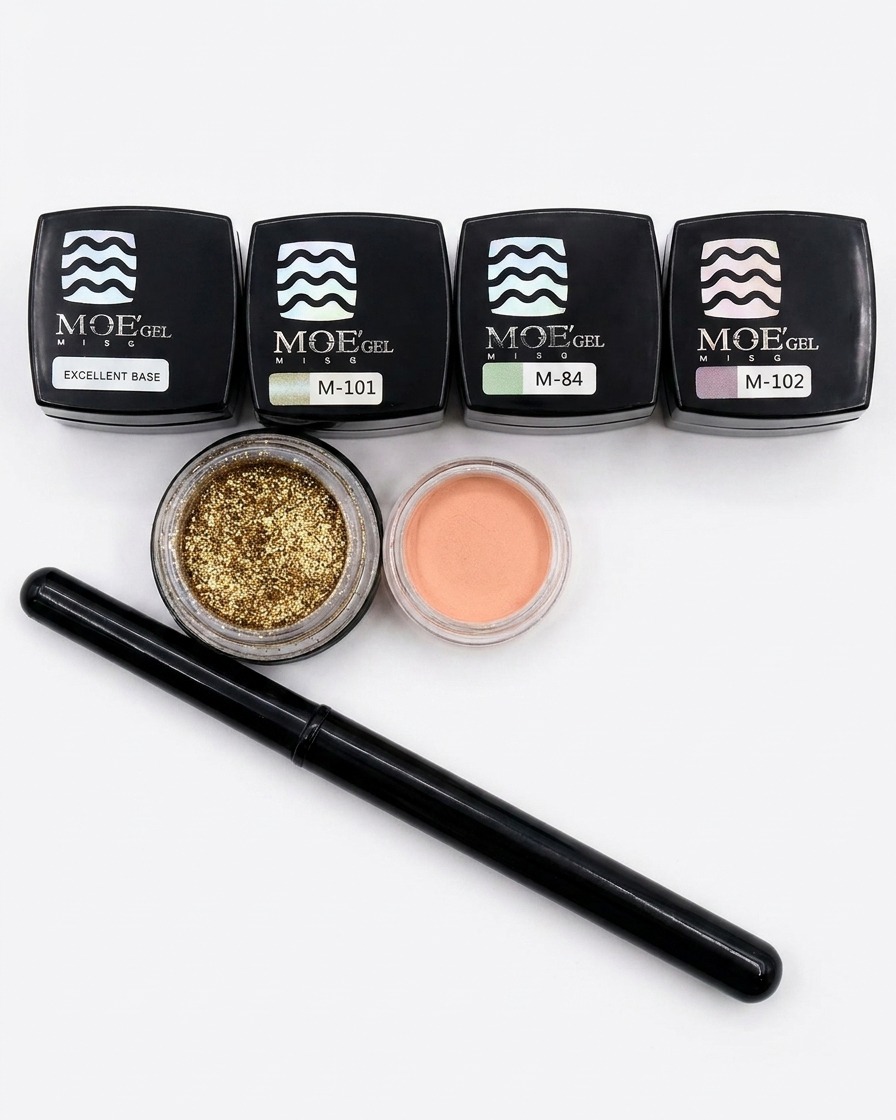
Apply a layer of MOE base gel to the nail tip. This provides a foundation for the nail design and ensures proper adhesion for the subsequent layers of gel and decoration.
Tip: Ensure the layer is even to provide a smooth base. - 2Cure the base gel
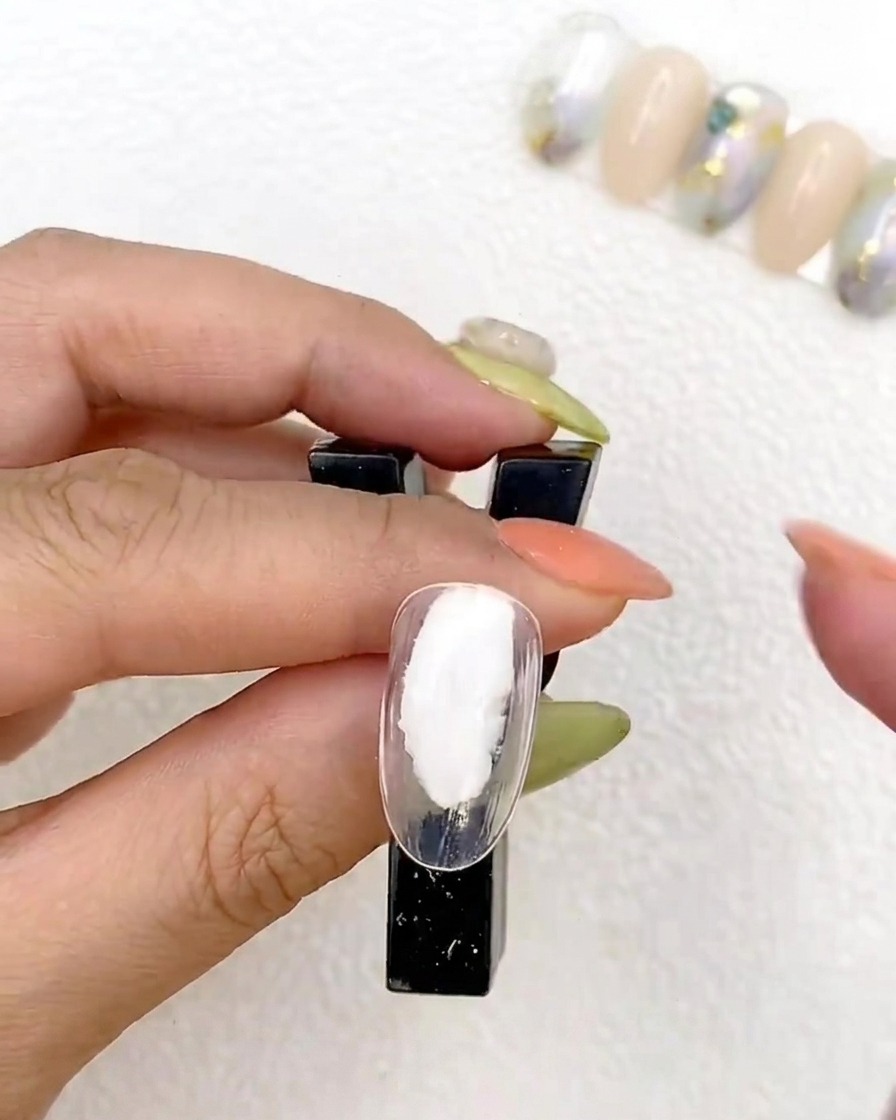
Place the nail under a UV lamp to cure the base gel. Follow the recommended curing time for your specific gel product to ensure it sets properly.
Tip: Do not touch the surface immediately after curing. - 3Place gold foil
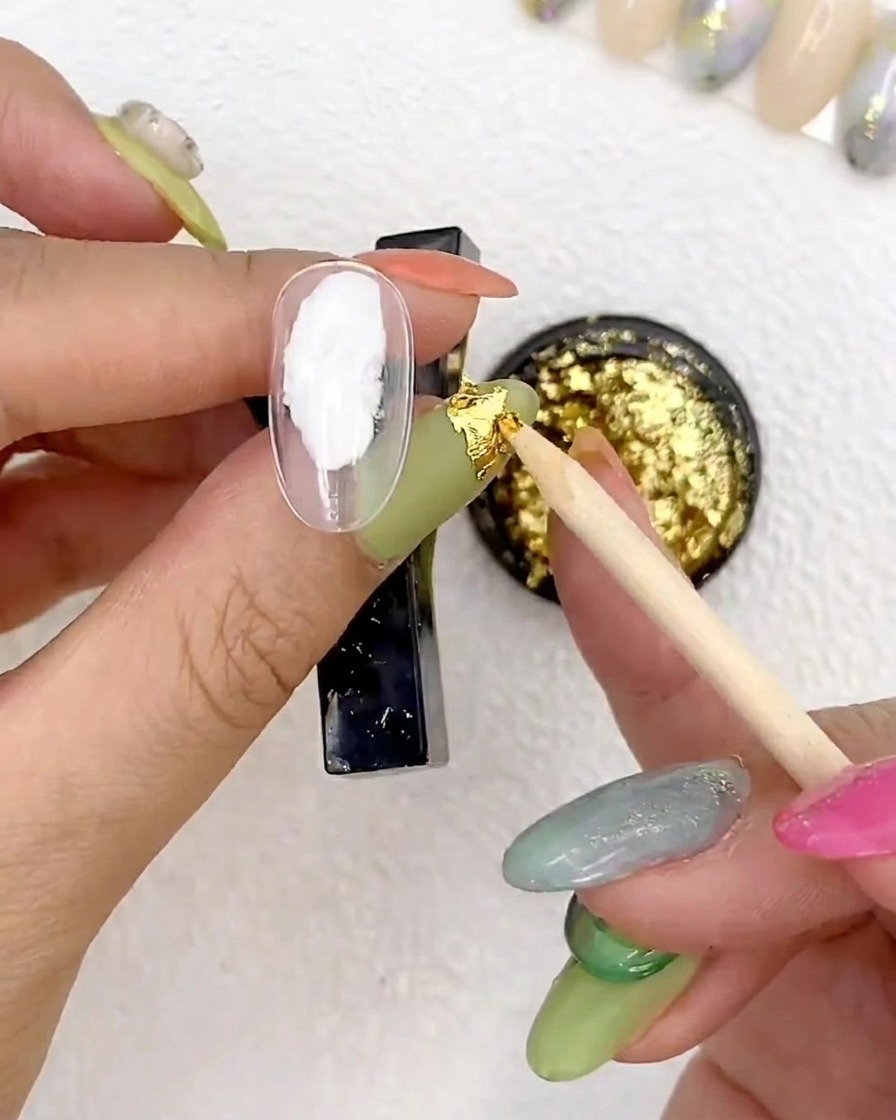
Using a wooden stick, carefully place pieces of gold foil onto the nail in a < shape. This adds a decorative element to the summer-style marble design.
Tip: The < shape creates a trendy, geometric focal point. - 4Apply top coat
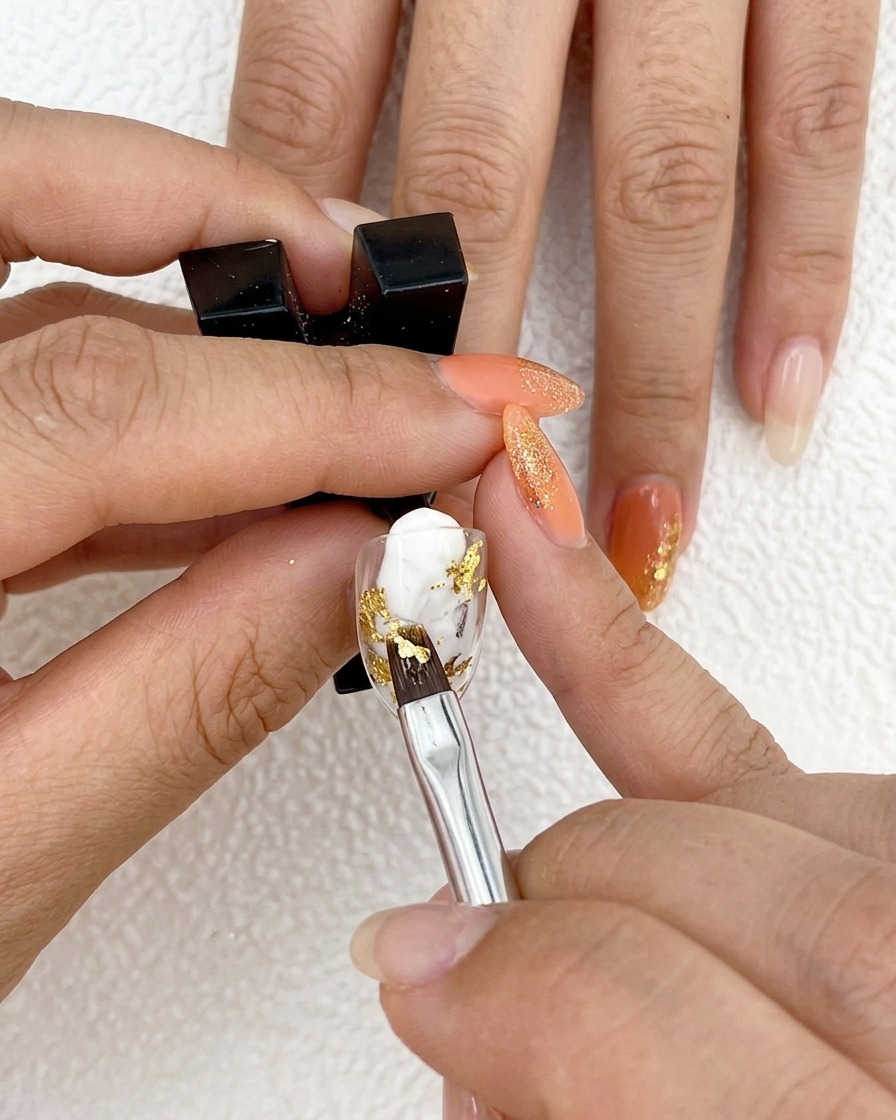
Apply a clear layer of MOE top gel over the gold foil. This encapsulates the foil, creating a perfectly smooth surface for the upcoming aurora powder application.
Tip: Apply a smooth layer to encapsulate the foil. - 5Cure the top coat
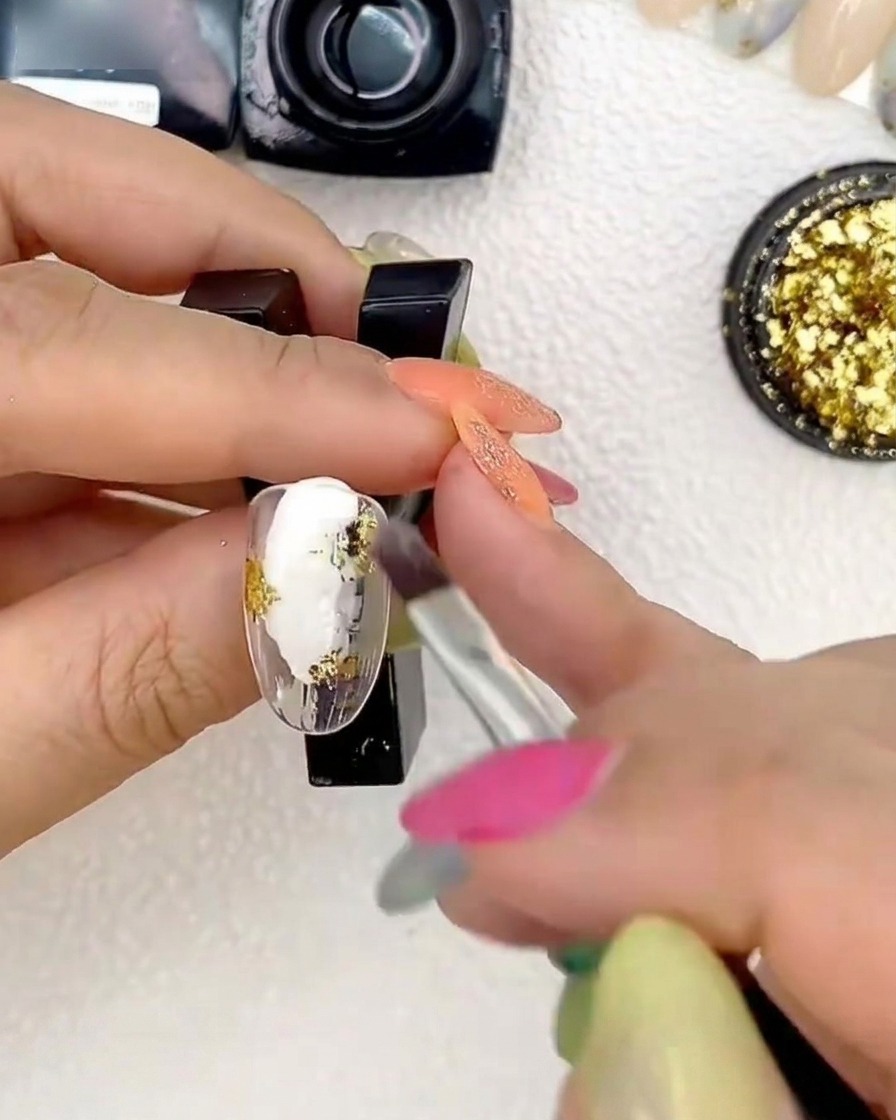
Place the nail back under the UV lamp to cure the top coat applied over the gold foil. This ensures the design is stable.
Tip: Ensure full coverage under the light for an even cure. - 6Apply aurora powder
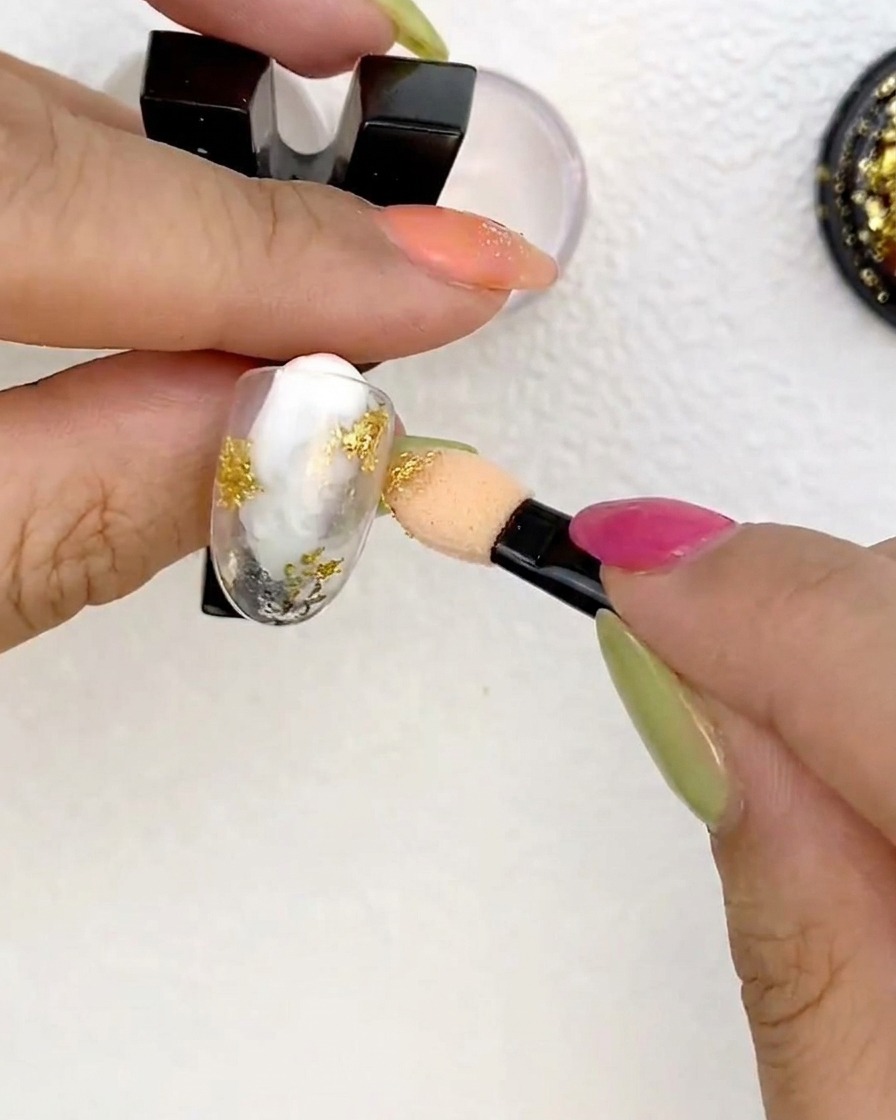
Use an eyeshadow sponge to rub aurora powder onto the nail. This will add a shimmering, pearlescent effect to your marble nail design.
Tip: Gently buff the powder into the surface for a smooth finish. - 7Apply blue gel
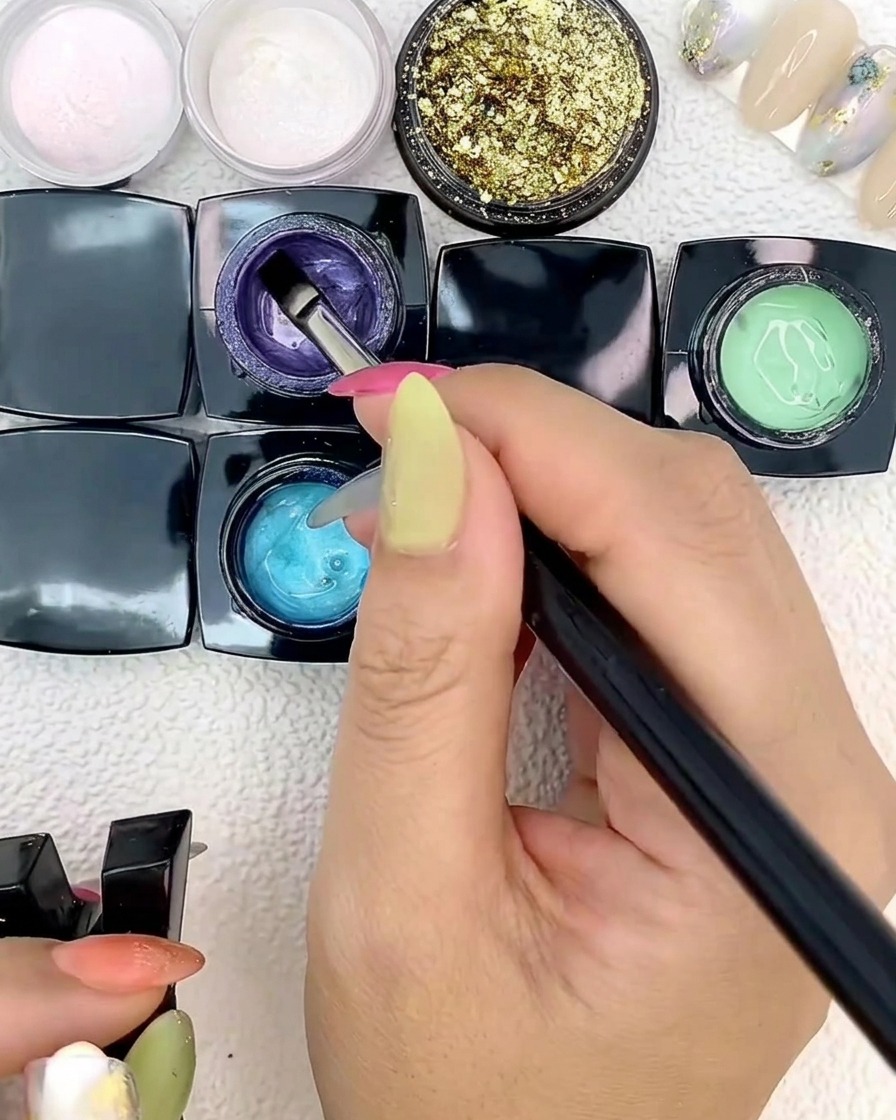
Using a flat brush, randomly dab patches of M-101 blue gel onto the nail. Do not cover the entire surface; leave open spaces for the other colors to create the marble effect.
Tip: Keep the gel application relatively thin to prevent a bulky nail once all colors are layered. - 8Add green gel
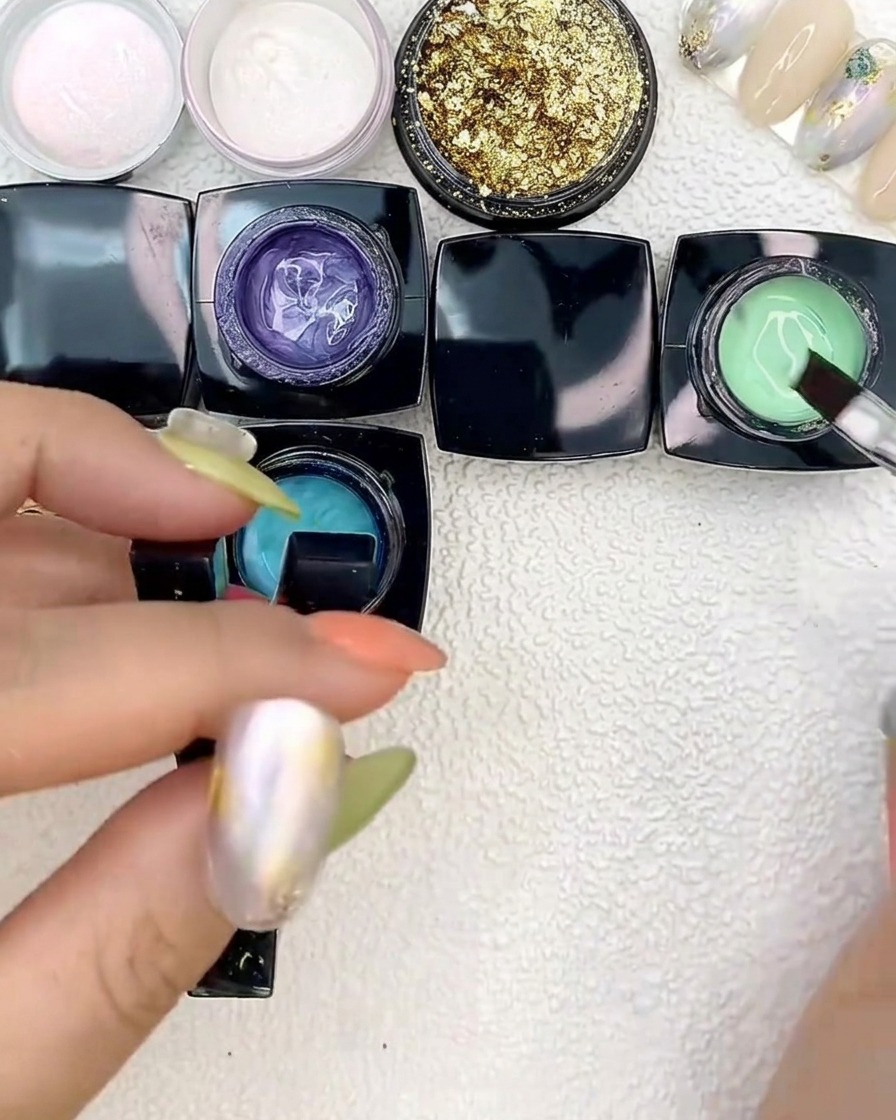
Next, take the M-84 green gel and apply it in random patches next to the blue gel. Keep the placement organic and uneven to build the summer marble texture.
Tip: Wipe your brush lightly between colors if you want to keep the green completely distinct from the blue. - 9Incorporate purple gel
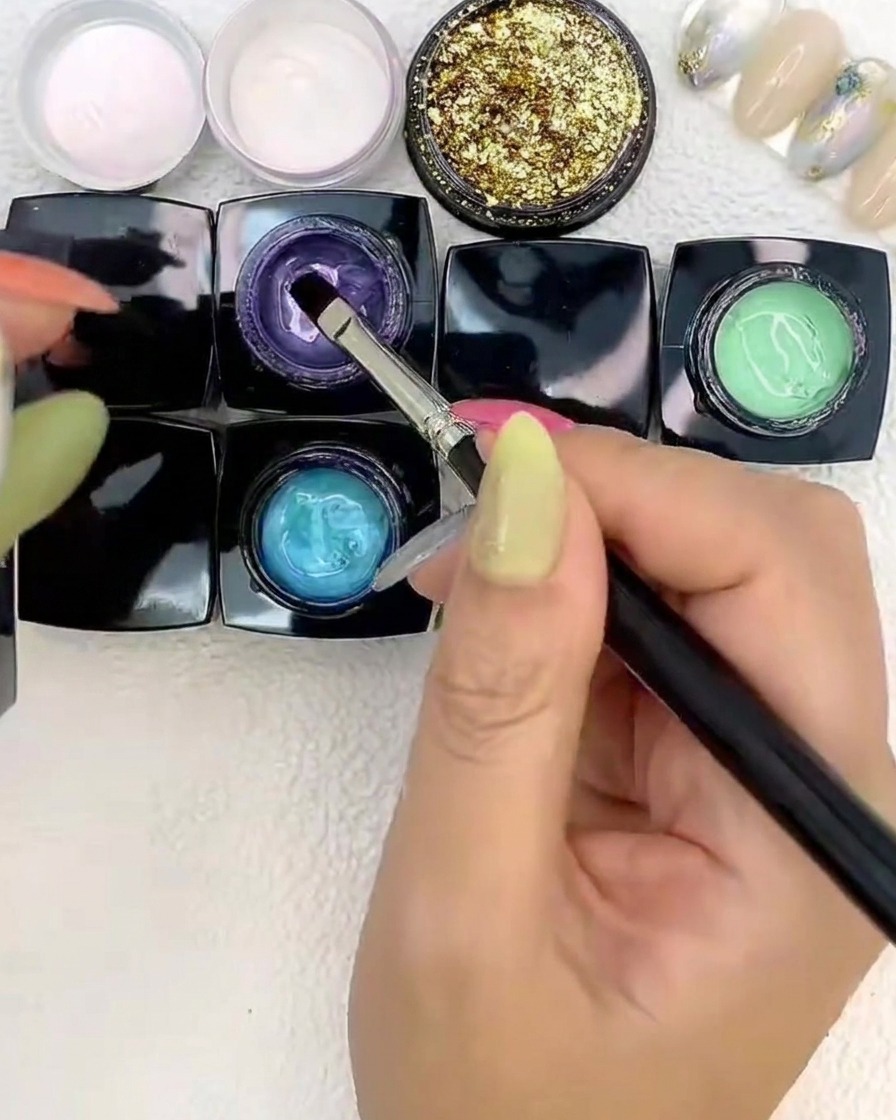
Fill in the remaining empty spaces on the nail with the purple color gel. Allow the edges of the blue, green, and purple patches to touch slightly for a blended marble look.
Tip: If you want a softer marble, you can lightly tap the borders where the colors meet to blend them together before curing. - 10Cure the color gel
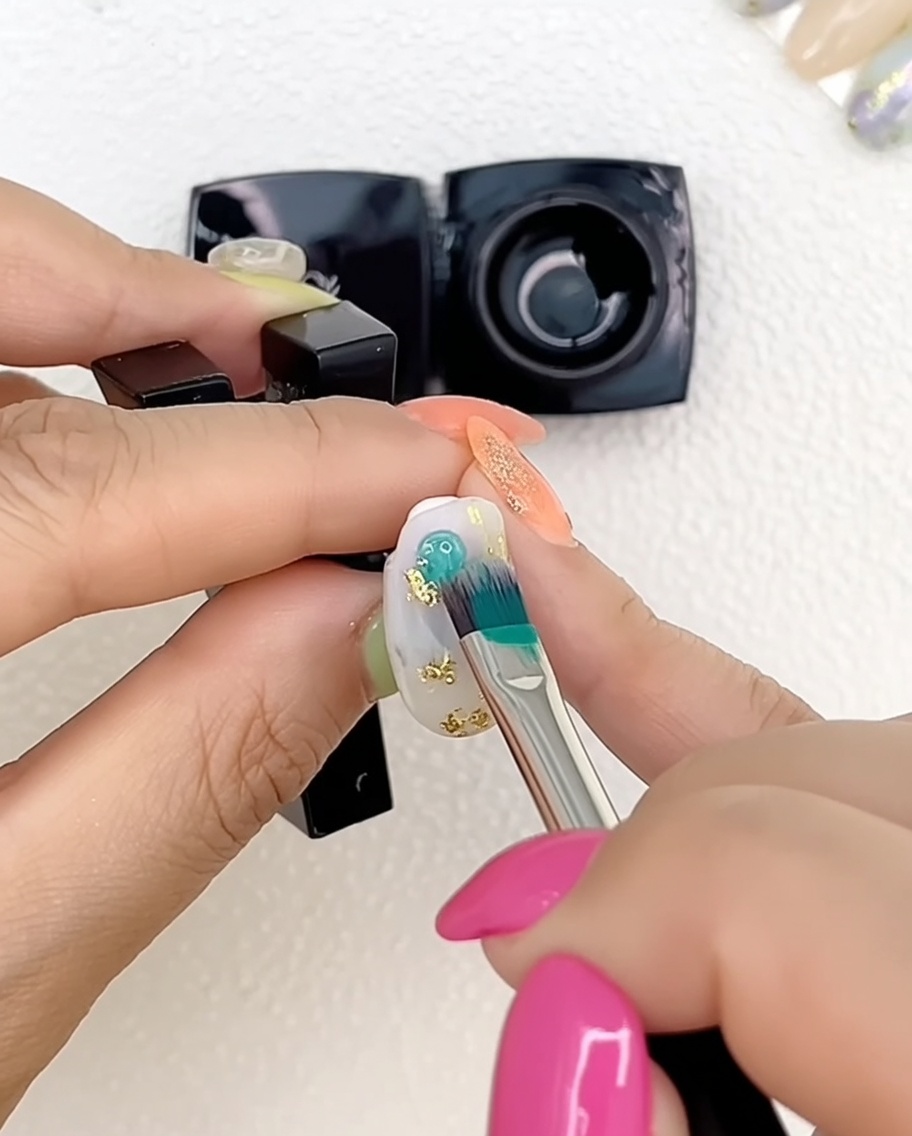
Place your nails under the UV or LED lamp to cure the applied color gels. Curing is essential to set the gel and ensure the color blends are locked in place before moving on to the final steps.
Tip: Make sure your fingers are positioned correctly under the lamp lights for an even cure. - 11Add gold foil detail
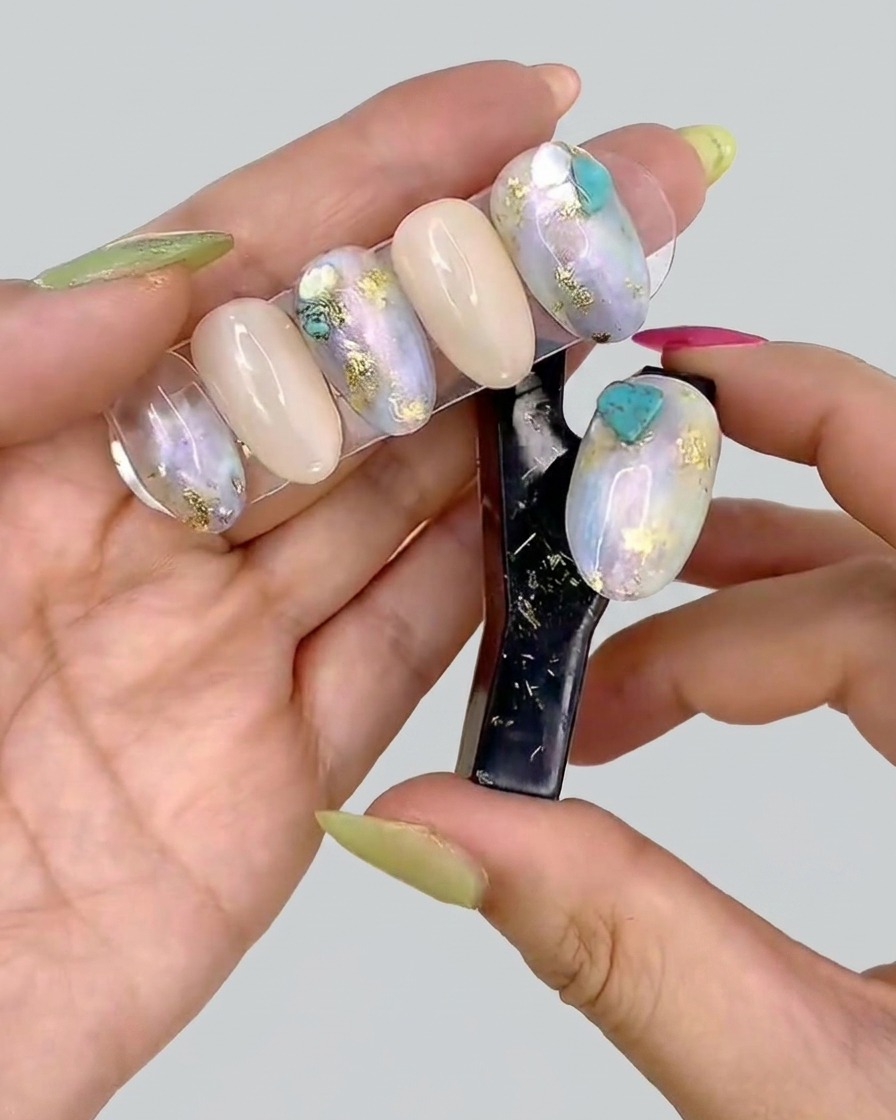
Using tweezers or a fine brush, carefully place additional pieces of gold foil onto the nail. Position them slightly offset from the initial foil layer underneath the color to create a stunning, multi-dimensional effect.
Tip: Apply the foil to the sticky inhibition layer of the cured gel so it adheres properly without needing extra adhesive. - 12Apply top coat
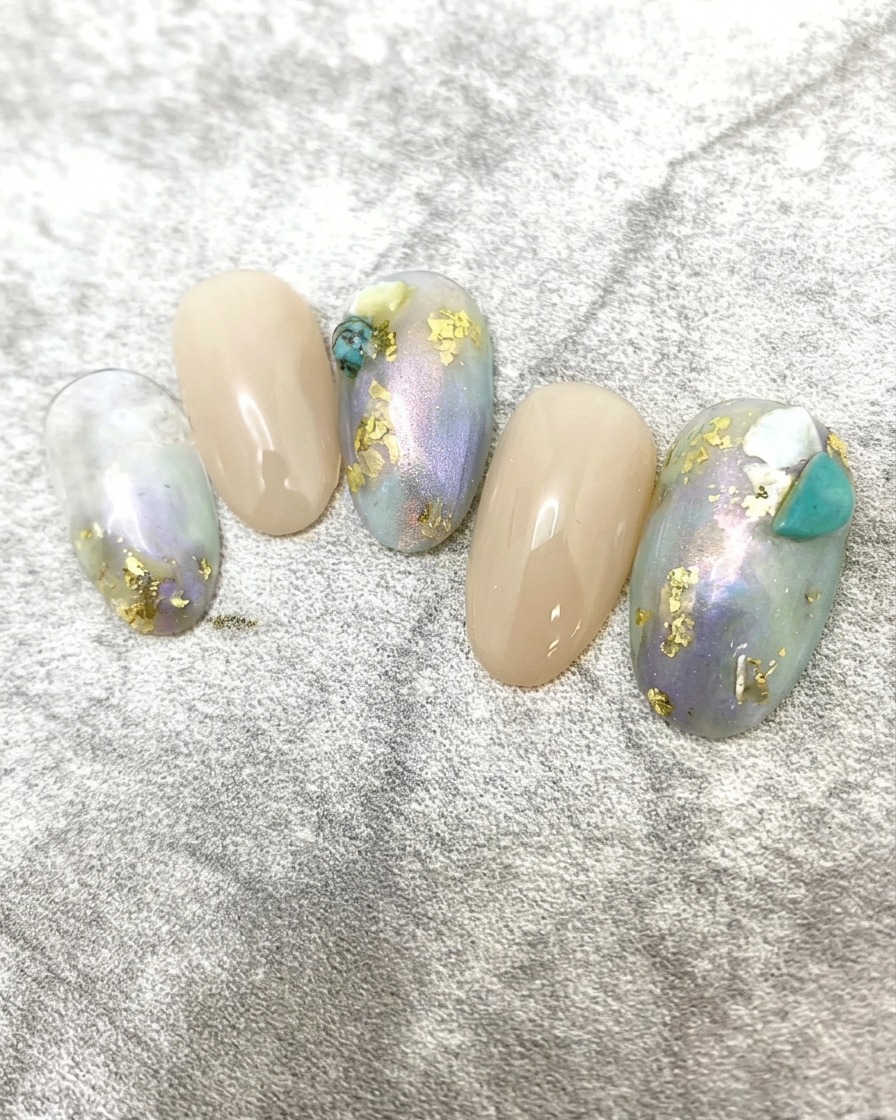
Apply a final layer of clear top coat over the entire nail to seal the design, gold foil, and any other decorations. Ensure you cap the free edge for a long-lasting, glossy finish.
Tip: Use a generous amount of top coat to ensure the surface is smooth and the textured elements like the gold foil are fully encased. - 13Place turquoise stone
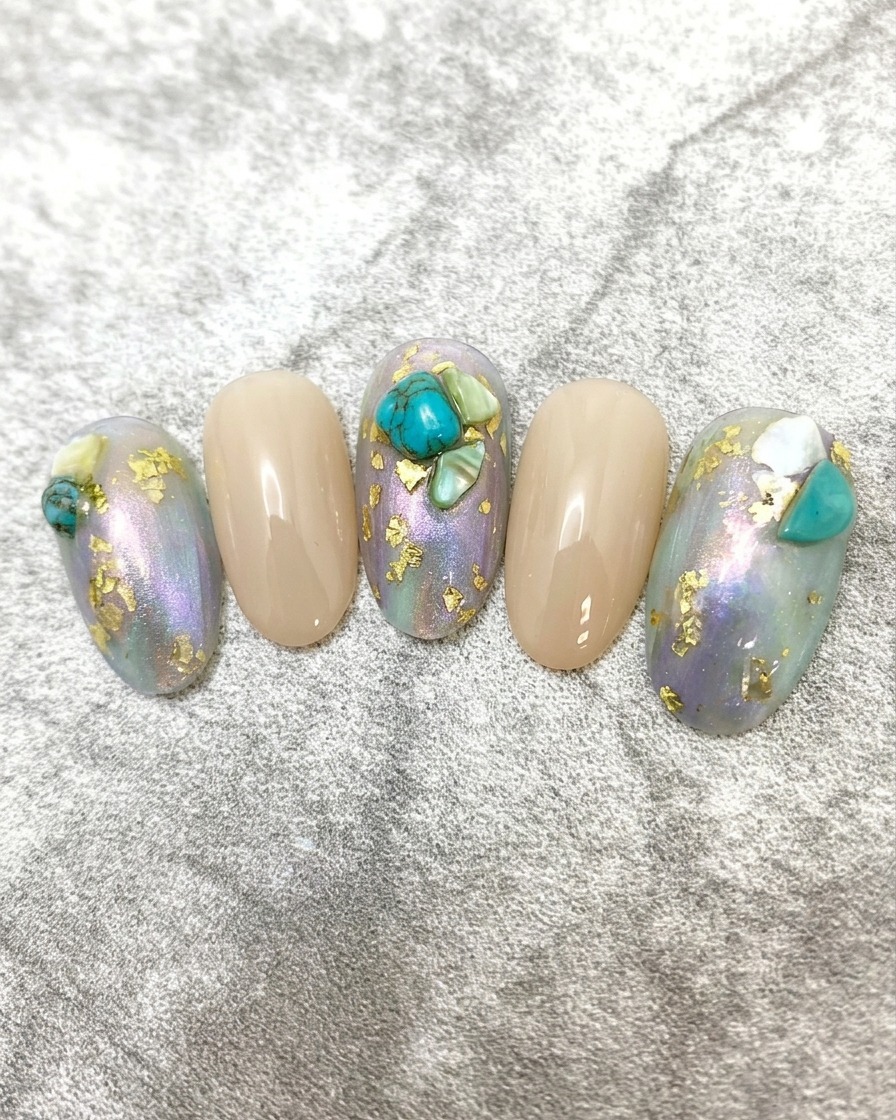
Carefully place a small turquoise stone decoration onto the nail. You can secure it using a small amount of clear builder gel or thick top coat before curing it into place.
Tip: Press the stone gently into the gel to ensure it sits flush and is well-supported by the base layer. - 14Add shell flakes
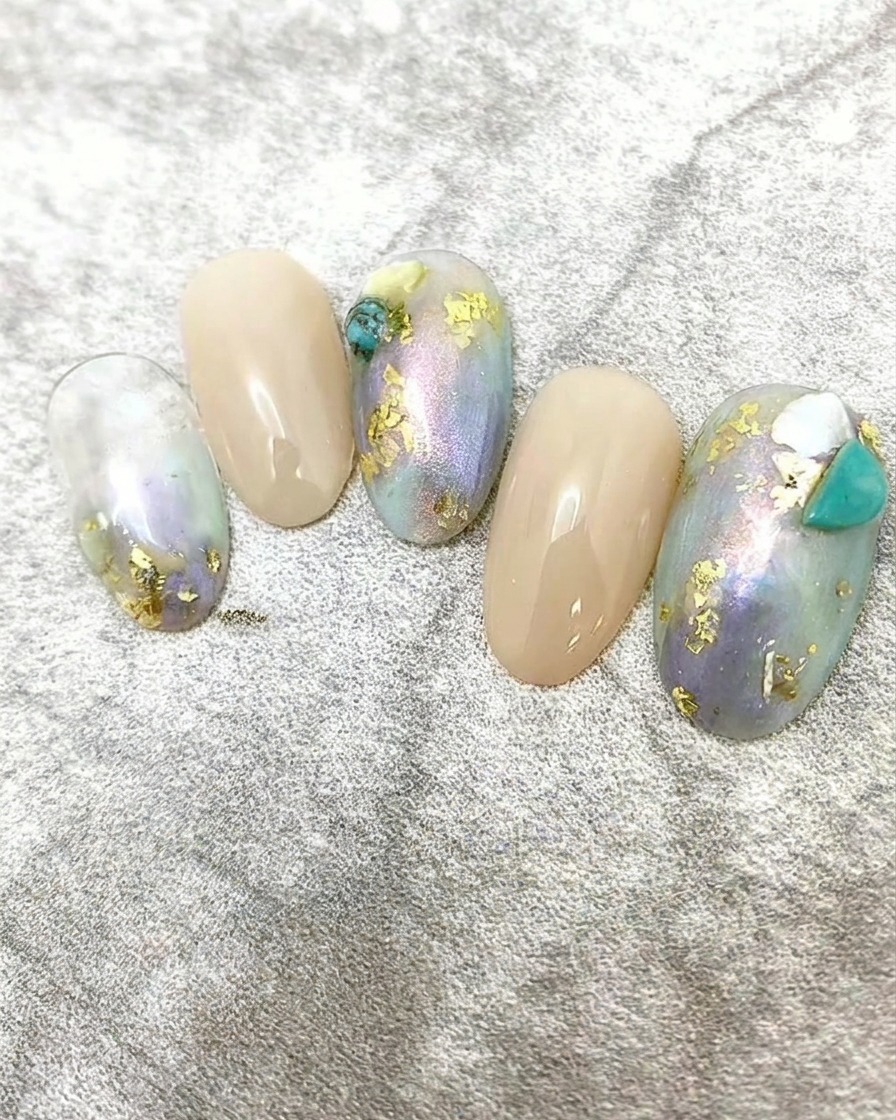
Gently apply iridescent shell flakes onto the nail surface. Arrange them around the stone or as accents to add natural, shimmering texture to the marble-style design.
Tip: Use a damp brush or a dotting tool to easily pick up and place the delicate shell flakes. - 15Cure the final design
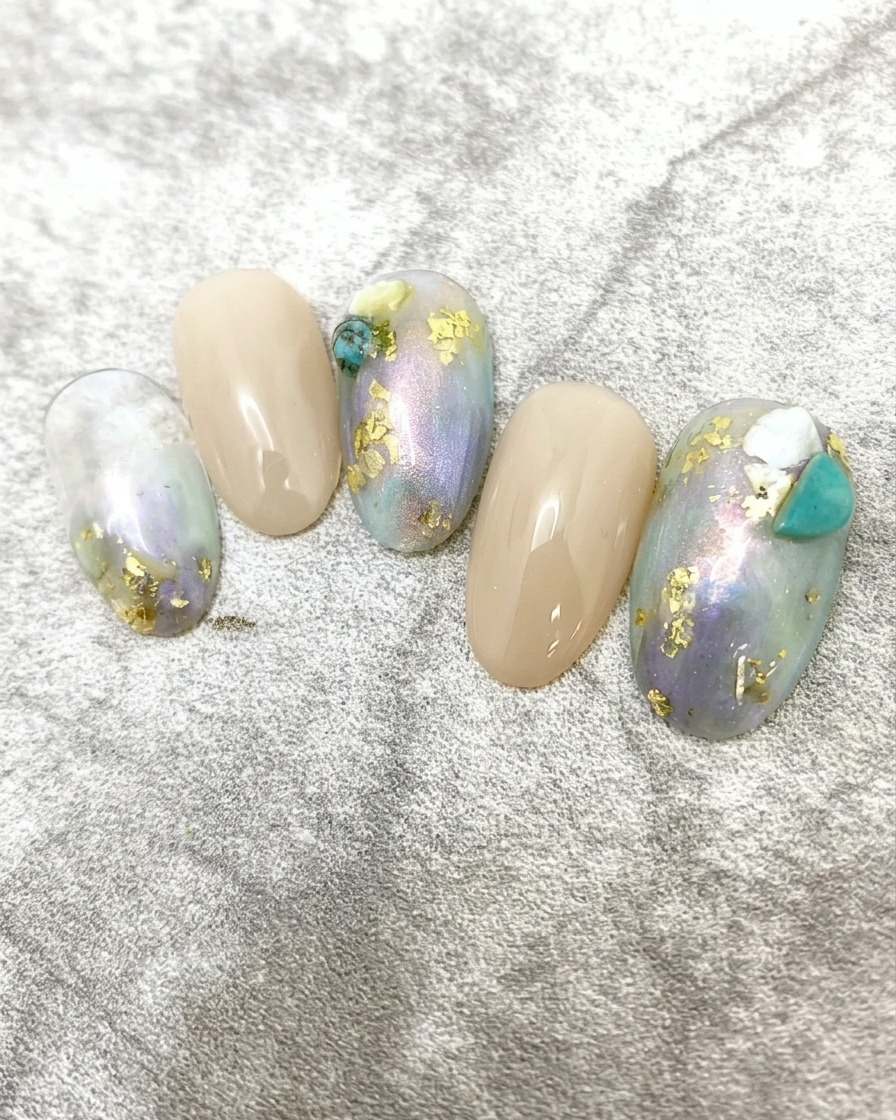
After applying the final layer of top coat to secure the gold foil and marble design, place your hand into the UV/LED lamp. Cure for the full duration recommended by the MOE gel system to ensure a durable, long-lasting, and high-gloss finish.
Tip: Make sure your fingers are positioned flat inside the lamp to ensure even curing across the entire nail surface, especially over the textured gold foil.