Pink Marble Nail Art — Blooming Gel
Watercolor Step-by-Step Tutorial
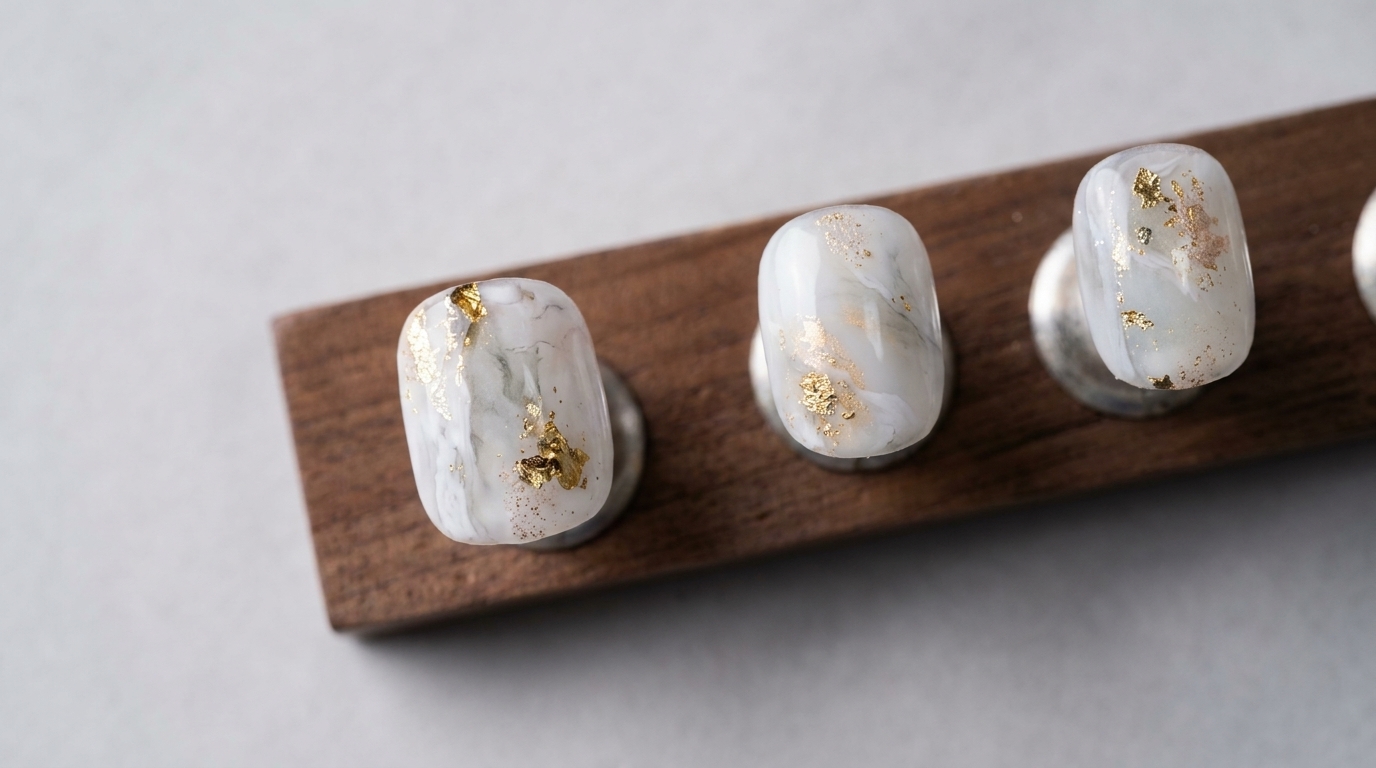
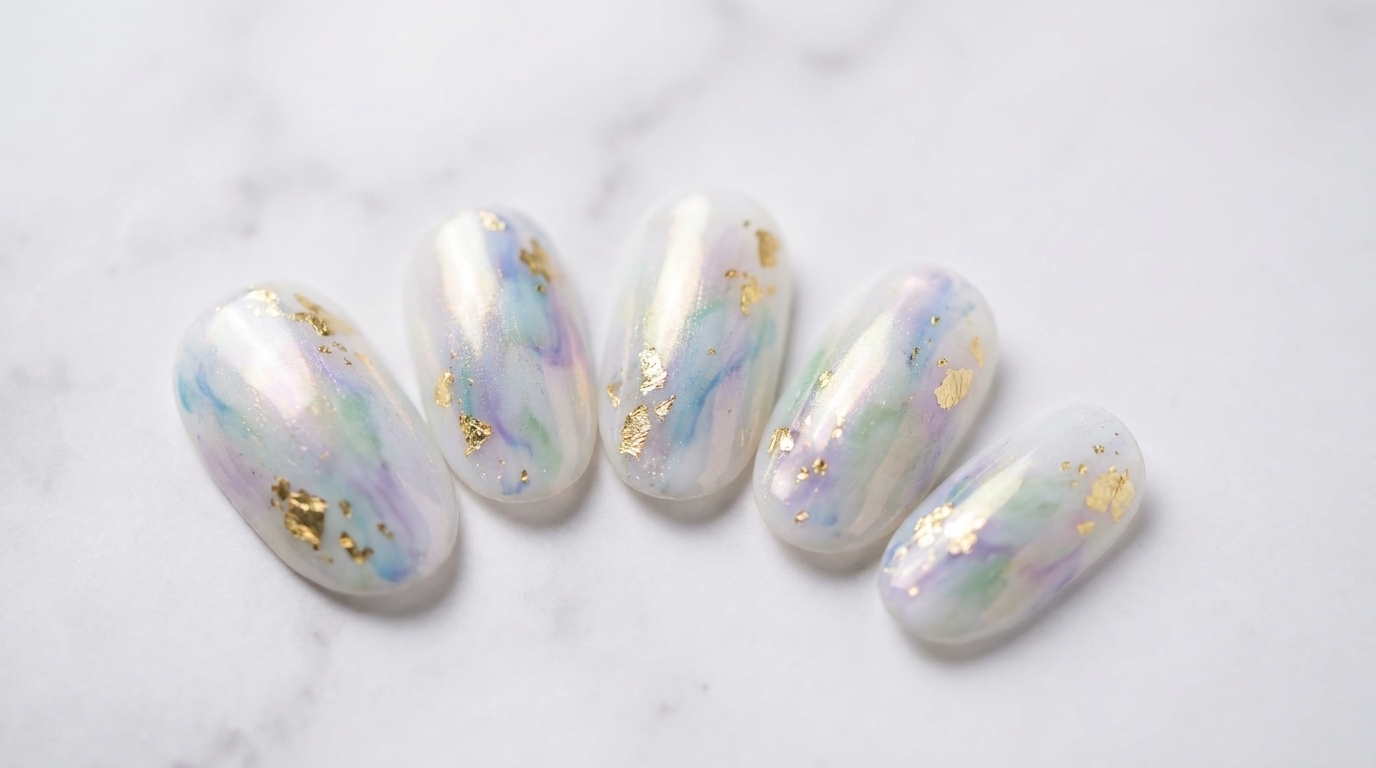
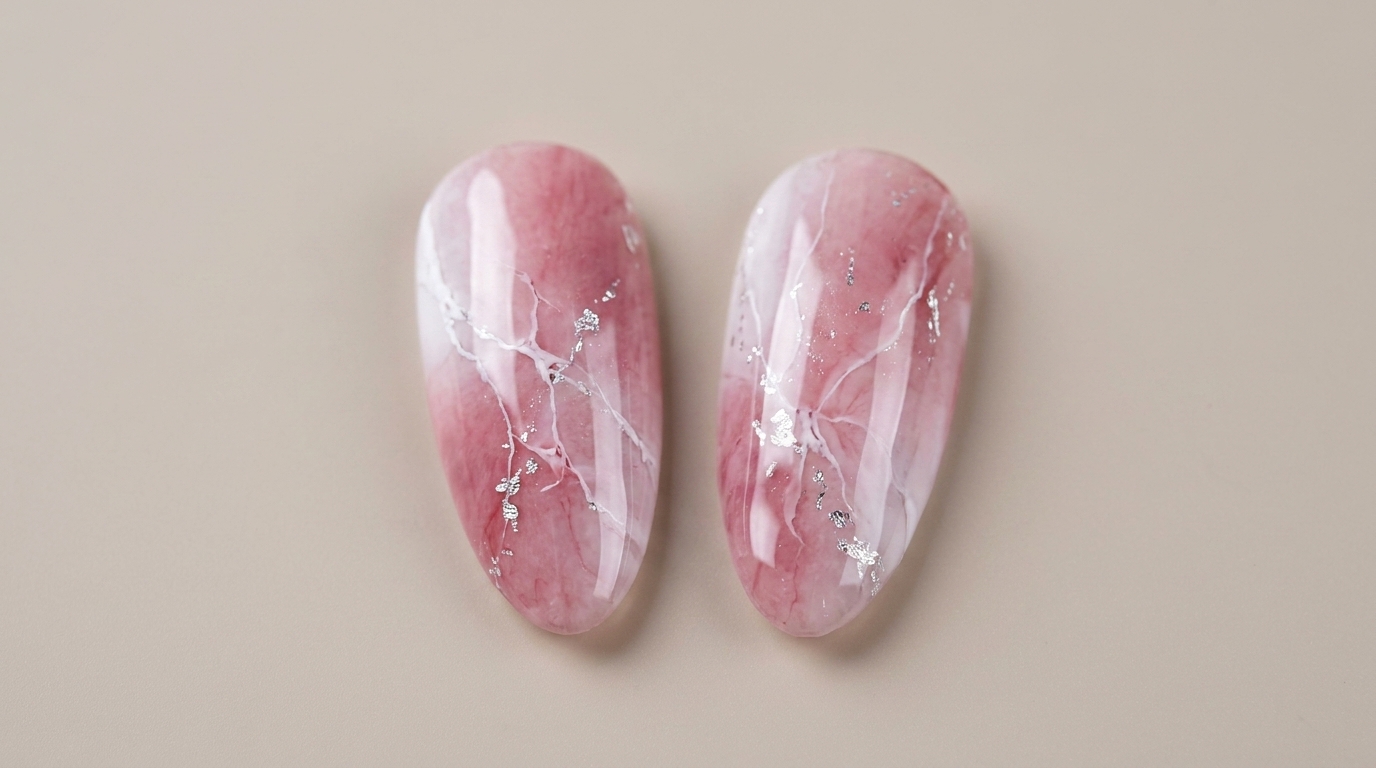
Master two stunning techniques for creating delicate pink and white marble nails. Learn how to use blooming gel and watercolors to achieve a realistic, stone-like finish with delicate silver accents.
Marble nail art remains a timeless and highly requested salon look, offering a sophisticated touch to any manicure. This tutorial breaks down two distinct professional methods to achieve that flawless, natural stone effect. Whether you prefer the fluidity of blooming gel or the delicate layering of watercolors, you will learn how to create depth, translucent veining, and realistic texture.
Steps
- 1Apply blooming gel
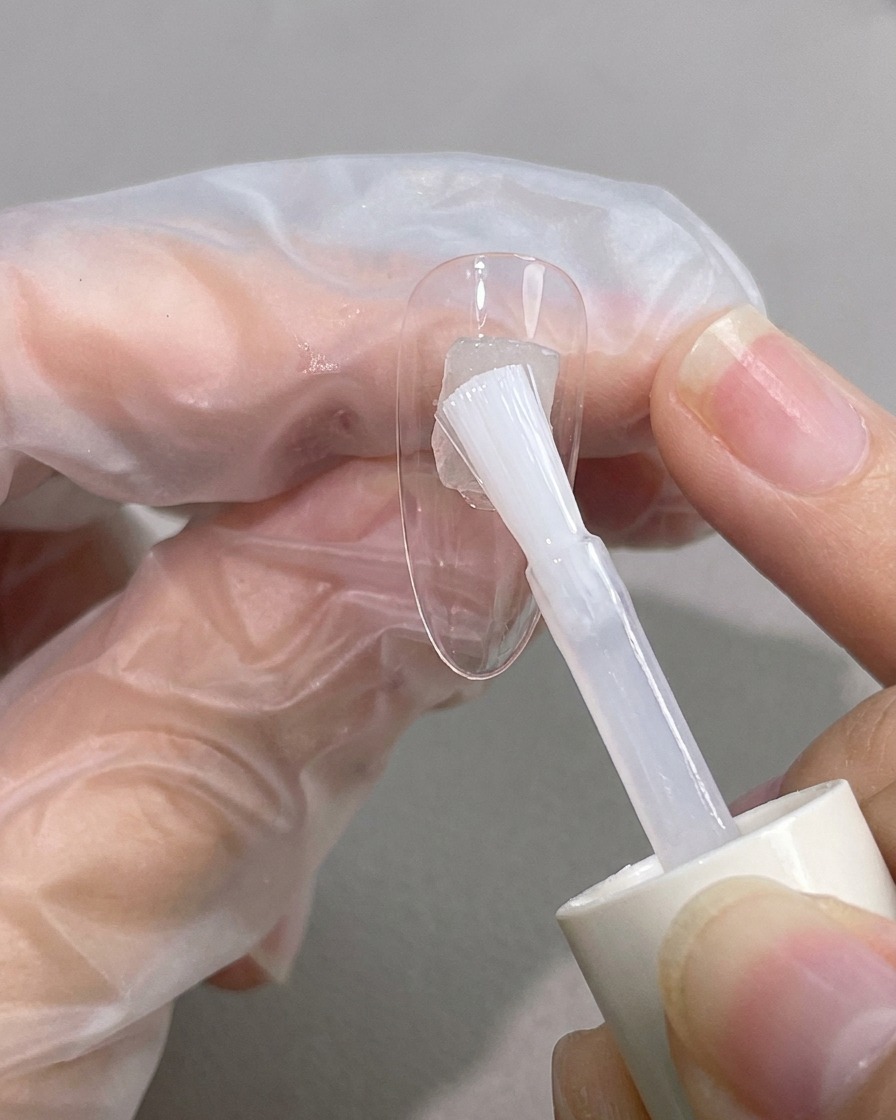
Apply a coat of clear blooming gel diagonally across the nail surface. This specialized gel will allow the subsequent colors to spread and create the marble effect.
Tip: Apply a thin, even layer; too much product can cause the marble effect to become messy. - 2Diffuse the blooming gel
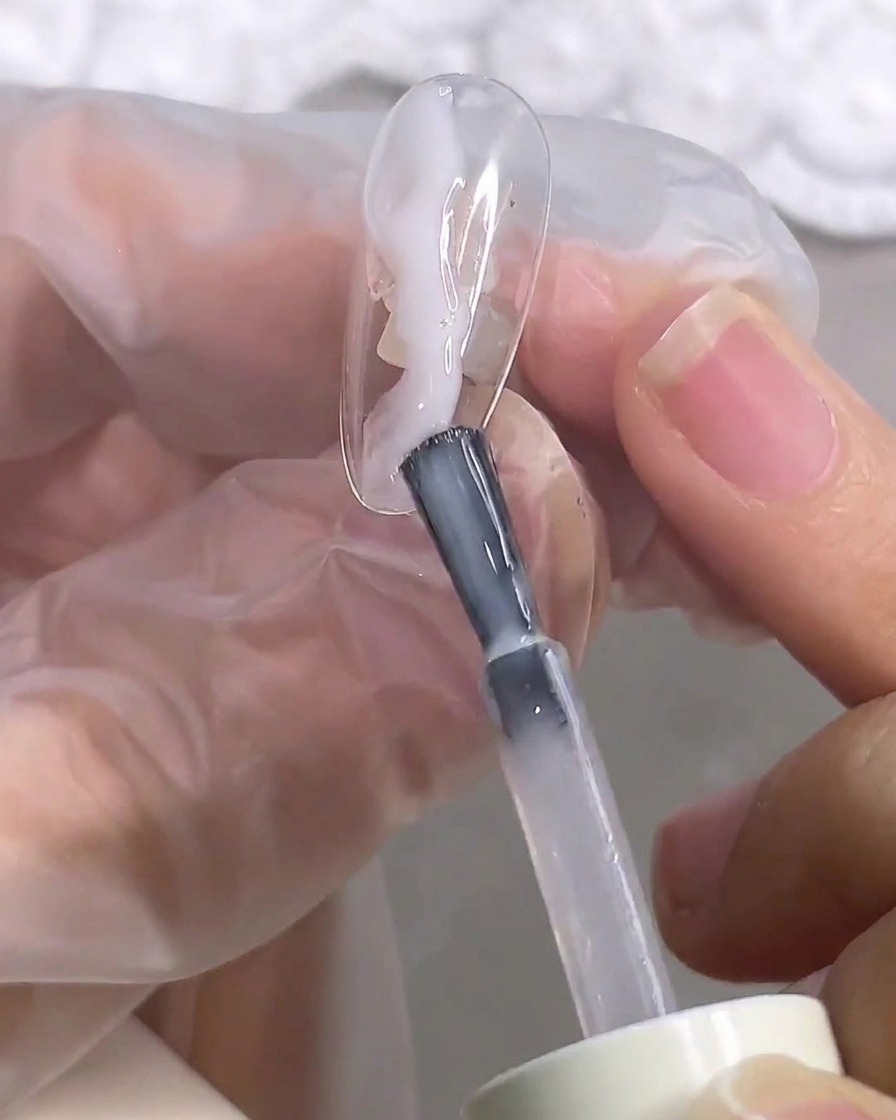
Using a clean nail art brush, gently blend the applied blooming gel to ensure a smooth and even distribution across the nail surface, preparing it for the marble design.
Tip: Keep the strokes light to maintain the integrity of the blooming gel layer. - 3Apply semi-transparent white gel
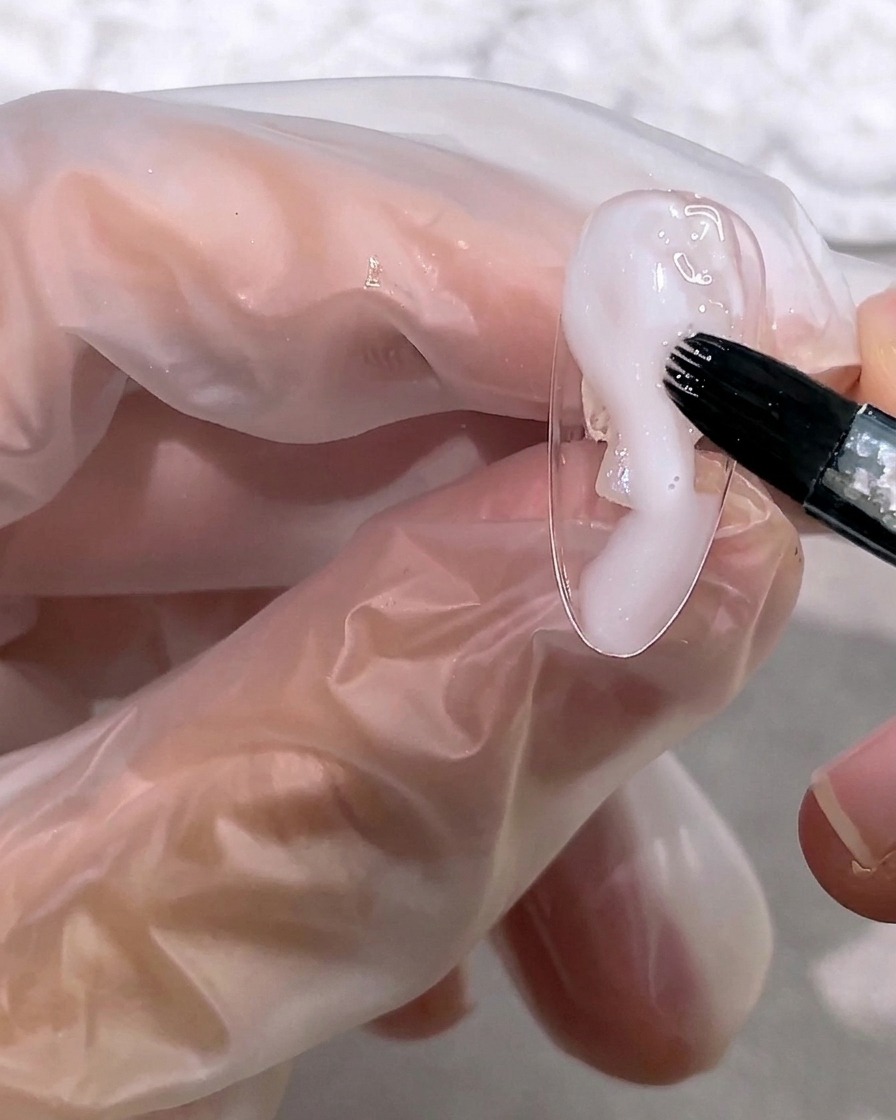
Carefully apply a small amount of semi-transparent white gel onto the nail tip. Because of the underlying blooming gel, the white will begin to expand and soften automatically.
Tip: Use a light touch to control how much the white gel spreads. - 4Blend for translucency
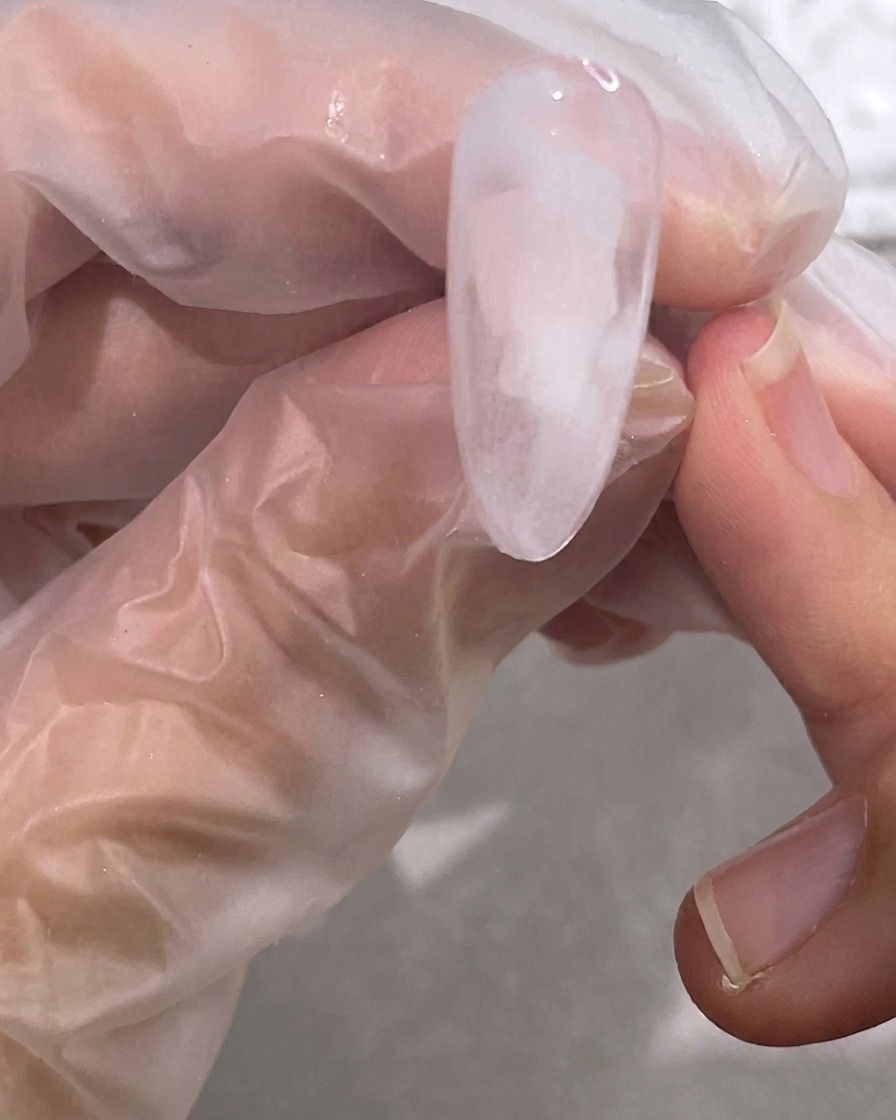
Continue to blend the white gel, pulling it slightly into the clear areas to achieve a soft, translucent, and marbled aesthetic.
Tip: Wipe your brush frequently to keep the blending clean. - 5Add silver glitter
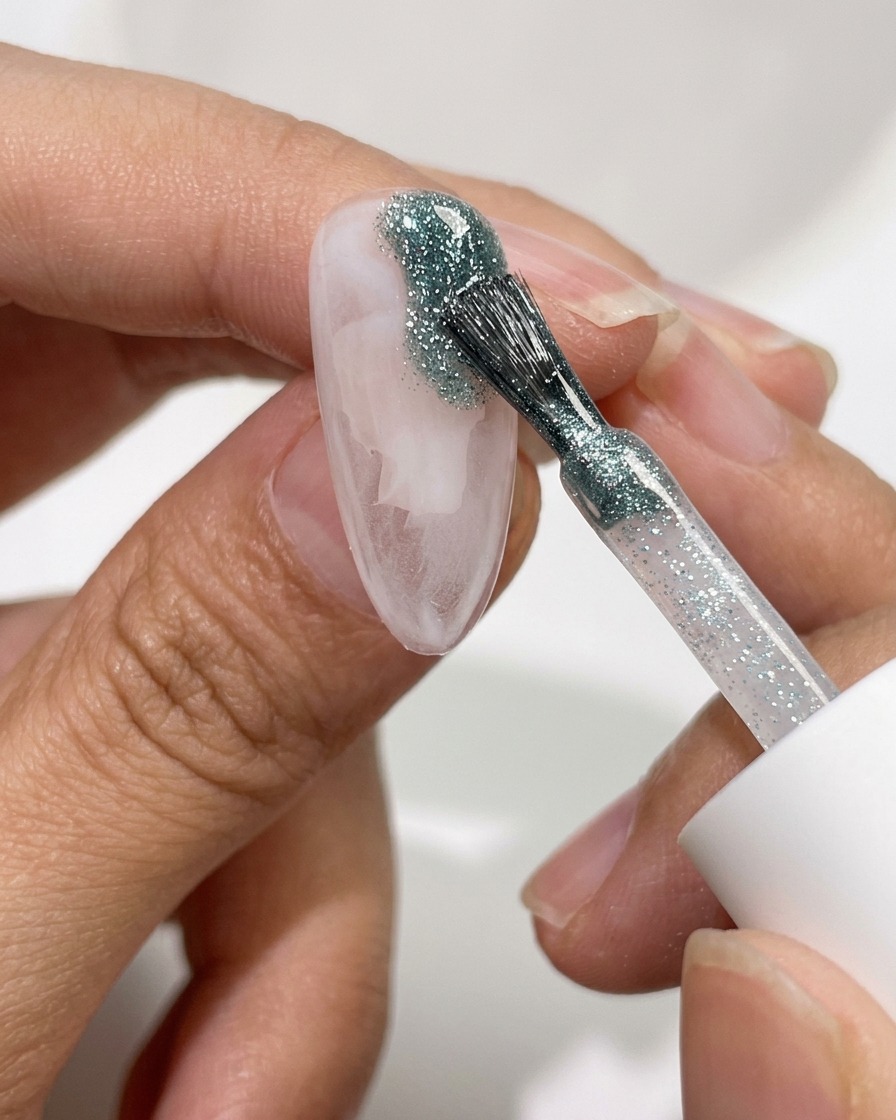
Apply silver glitter gel to the remaining clear portions of the nail. The glitter adds depth and contrast to the marbled base.
Tip: Focus the glitter in the gaps to highlight the marble patterns. - 6Apply silver foil
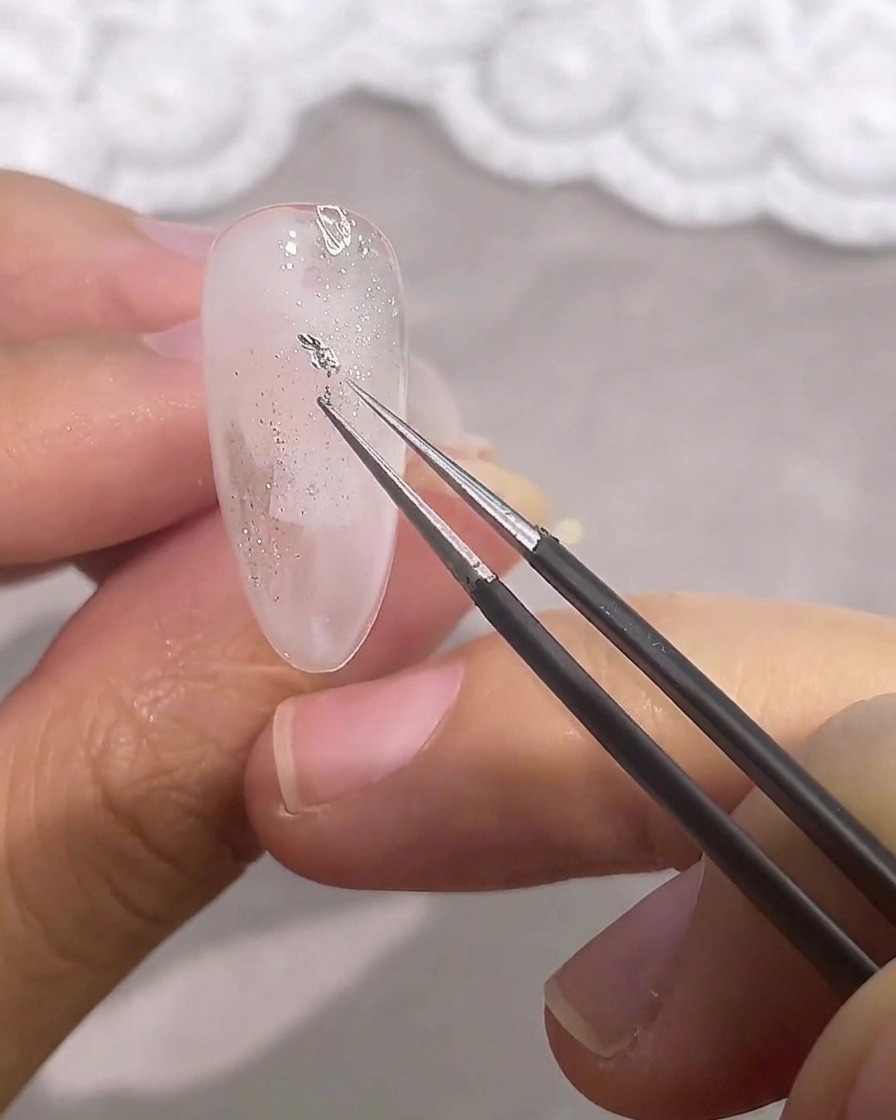
Using tweezers, carefully place small flakes of silver foil onto the wet glitter gel layer. This will add extra texture and dimension to the design.
Tip: Press the foil down gently so it lays flat against the nail surface. - 7Apply translucent pink gel
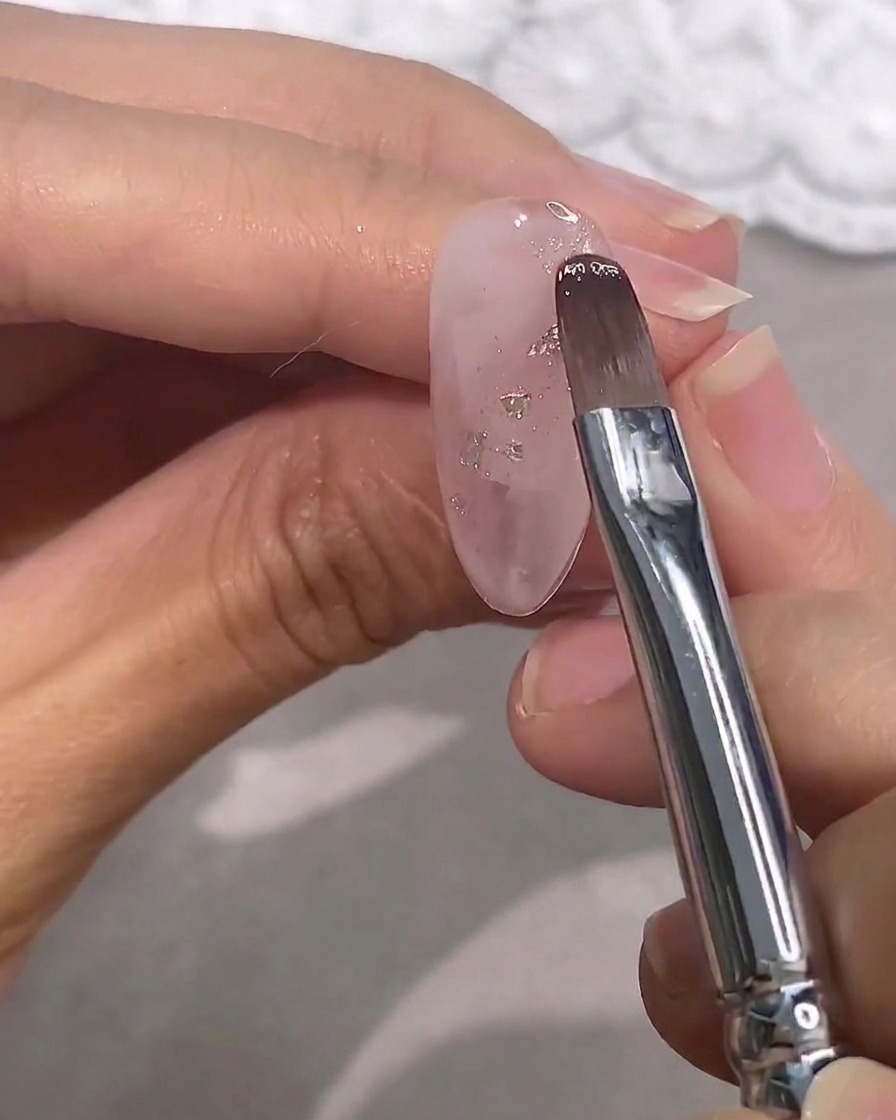
Using a gel brush, apply a thin layer of translucent pink gel over the nail. Gently dab and blend the color over the silver foil and glitter elements, allowing them to peek through the polish for a delicate, dimensional effect.
Tip: Work with thin layers to maintain the transparency of the pink gel, building up the color gradually. - 8Layer and blend the pink gel
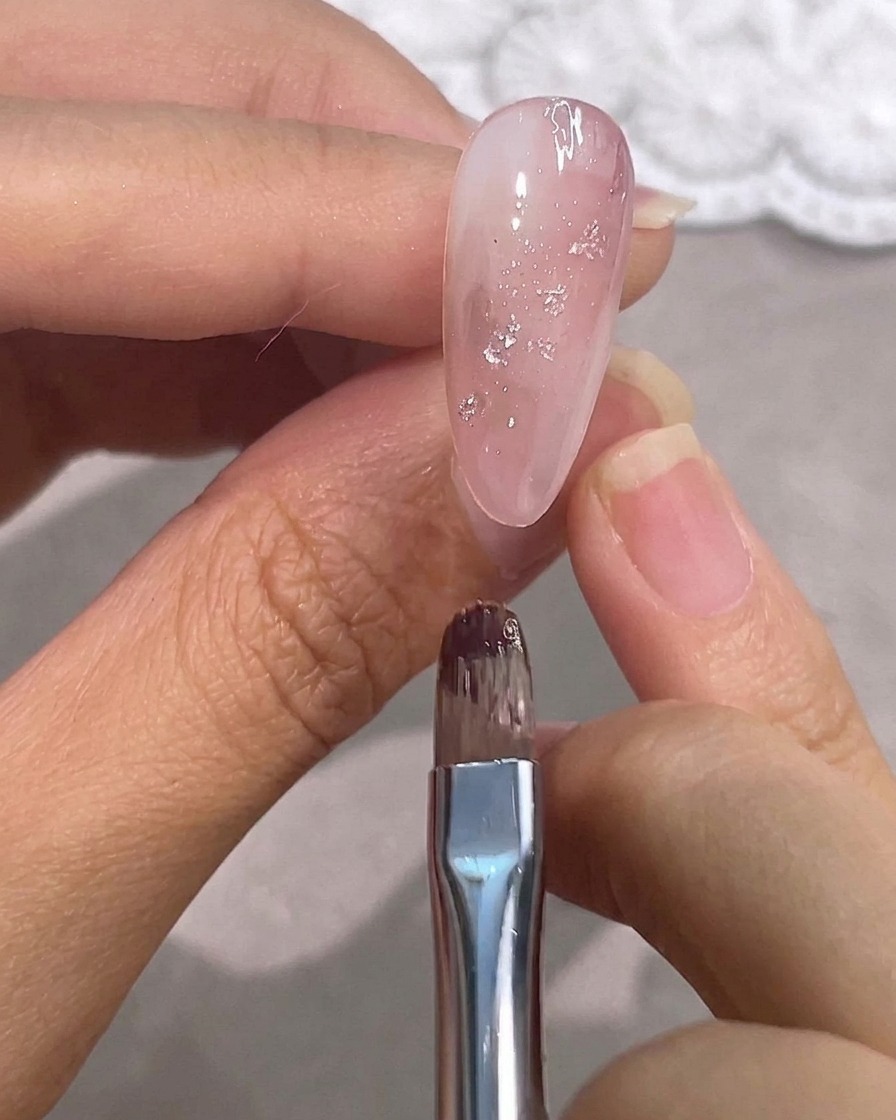
Continue applying the translucent pink gel, layering it multiple times to build depth. Use gentle sweeping motions to blend the color, ensuring a smooth, semi-transparent finish that mimics the look of natural rose quartz stone.
Tip: Blending the gel while it is still wet helps avoid harsh lines and creates a softer, more realistic stone texture. - 9Draw fine marble veins
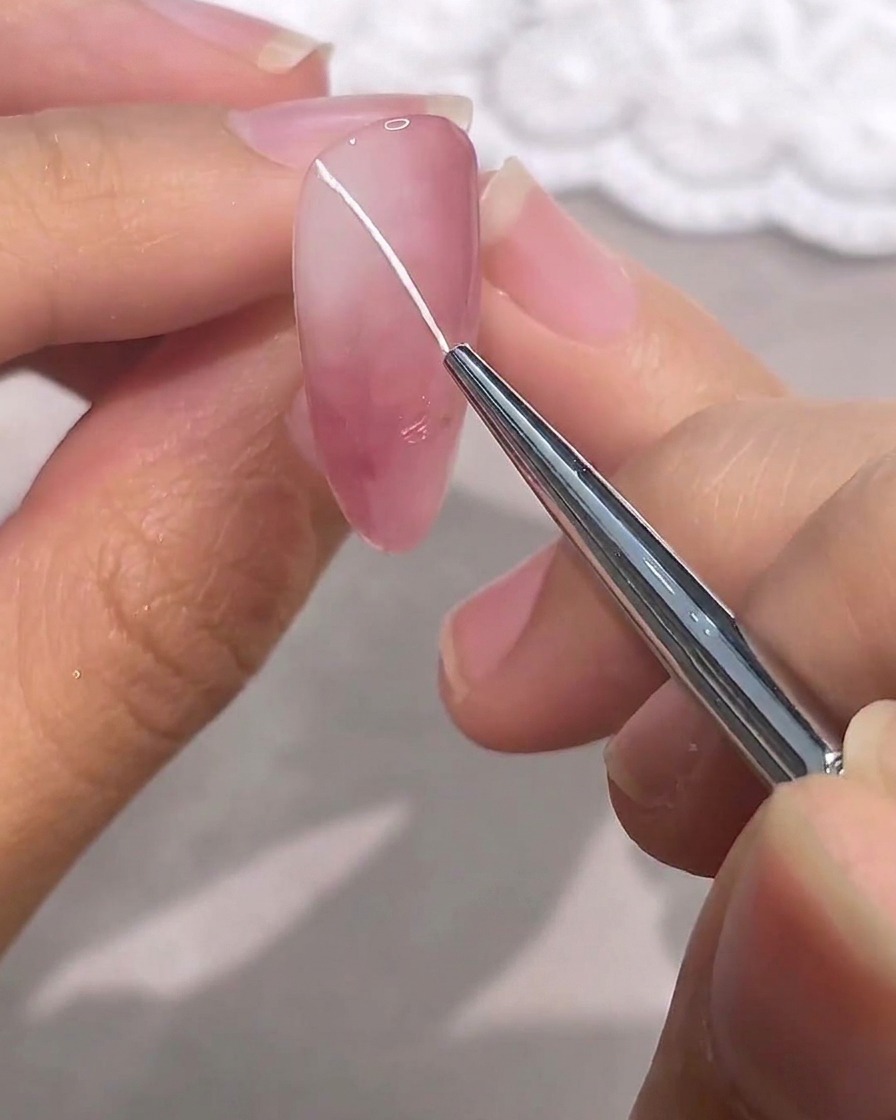
Dip a fine liner brush into opaque white gel and begin drawing delicate, intersecting lines across the nail. Focus on creating small cross patterns and organic, squiggly shapes that resemble natural marble veining.
Tip: Keep a light hand when drawing the lines to ensure they stay crisp and thin. - 10Soften the white marble lines
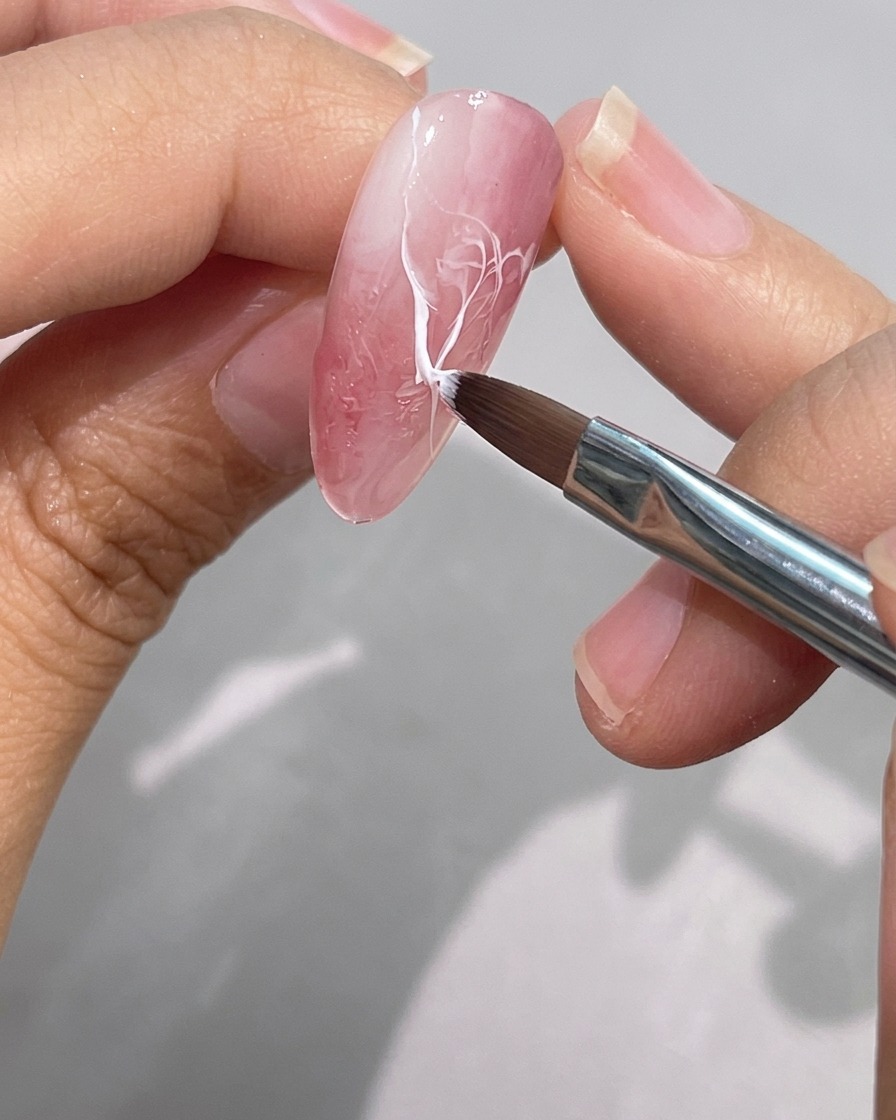
Using a clean brush lightly moistened with clear base gel, gently blur and diffuse one edge of the white lines you just painted. This softening technique melts the harsh lines into the translucent pink background, creating a realistic, smoky marble effect rather than solid stripes.
Tip: Keep a very light hand and only blur one side of the line, leaving the other side crisp for depth and dimension. - 11Add secondary veins
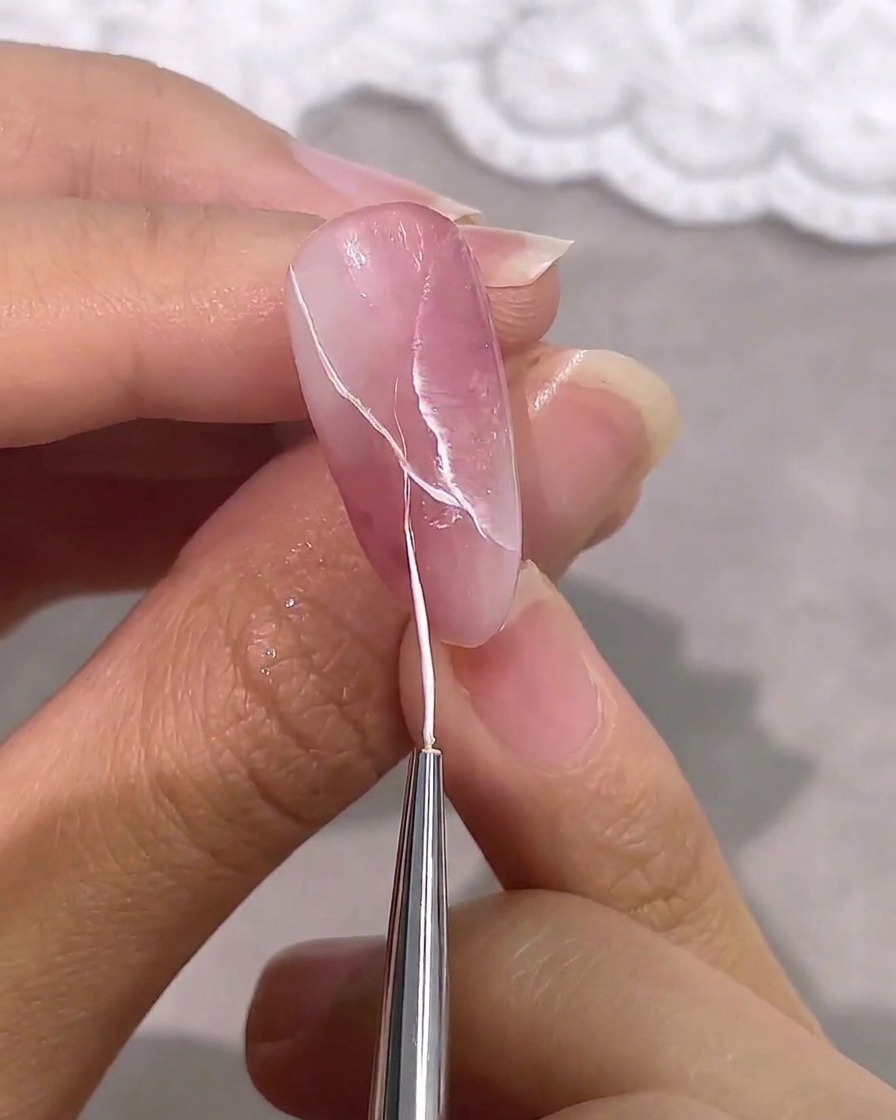
Using the fine liner brush, add more delicate white lines branching off from the main veins to complete the marble pattern. Continue the technique of drawing and lightly blending to add complexity and detail to the overall design.
Tip: Less is more; avoid adding too many thick lines so the beautiful pink background and silver foils remain clearly visible. - 12Seal with top coat
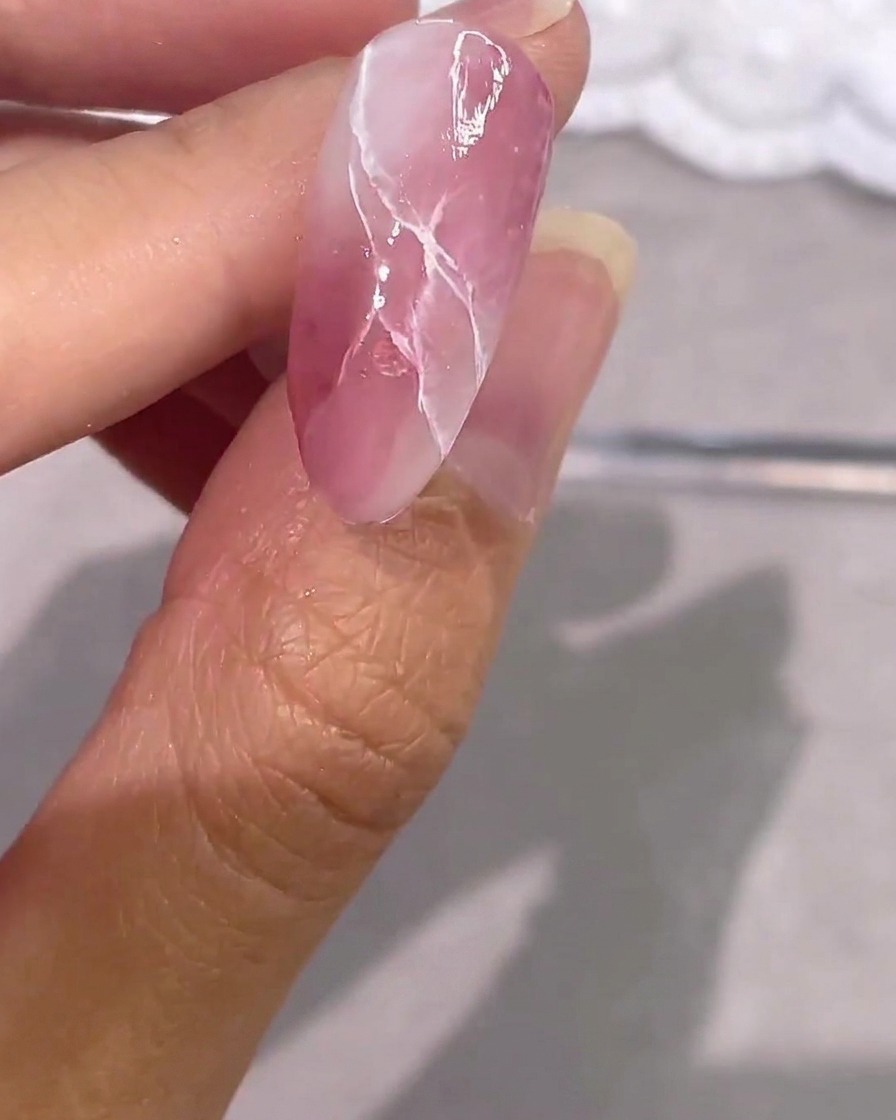
Once the marble design is fully drawn and cured, apply a final layer of glossy top coat over the entire nail. This protects the delicate line work, smooths out any texture, and gives the completed marble design a beautiful glass-like finish.
Tip: Make sure to cap the free edge of the nail with the top coat to prevent chipping and ensure longevity. - 13Apply a matte top coat
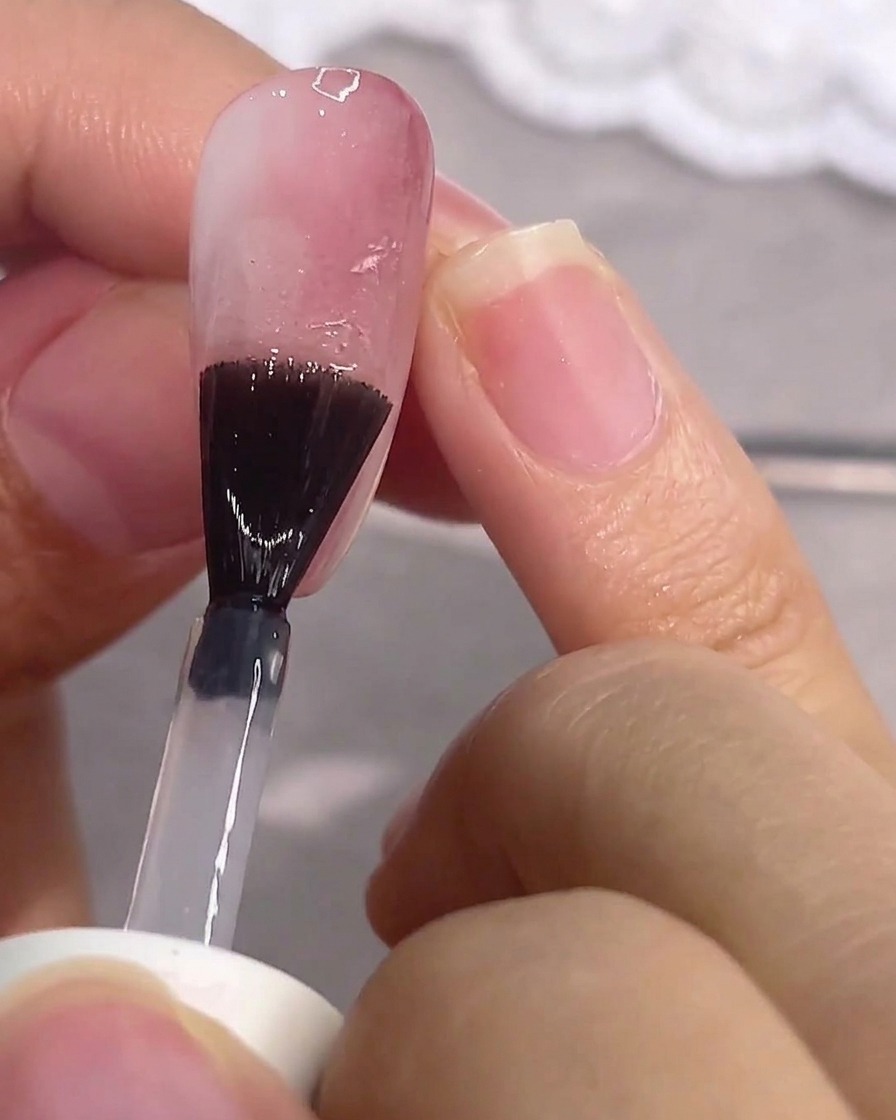
To prepare for the watercolor method, apply an even layer of matte top coat over the entire nail surface and cure it completely. A matte finish provides the necessary texture and grip, allowing the watercolor paints to adhere properly and blend smoothly without slipping off a glossy surface.
Tip: Ensure the matte top coat is fully cured and any sticky residue is wiped away, as a tacky surface will ruin the watercolor application. - 14Prepare watercolor paint
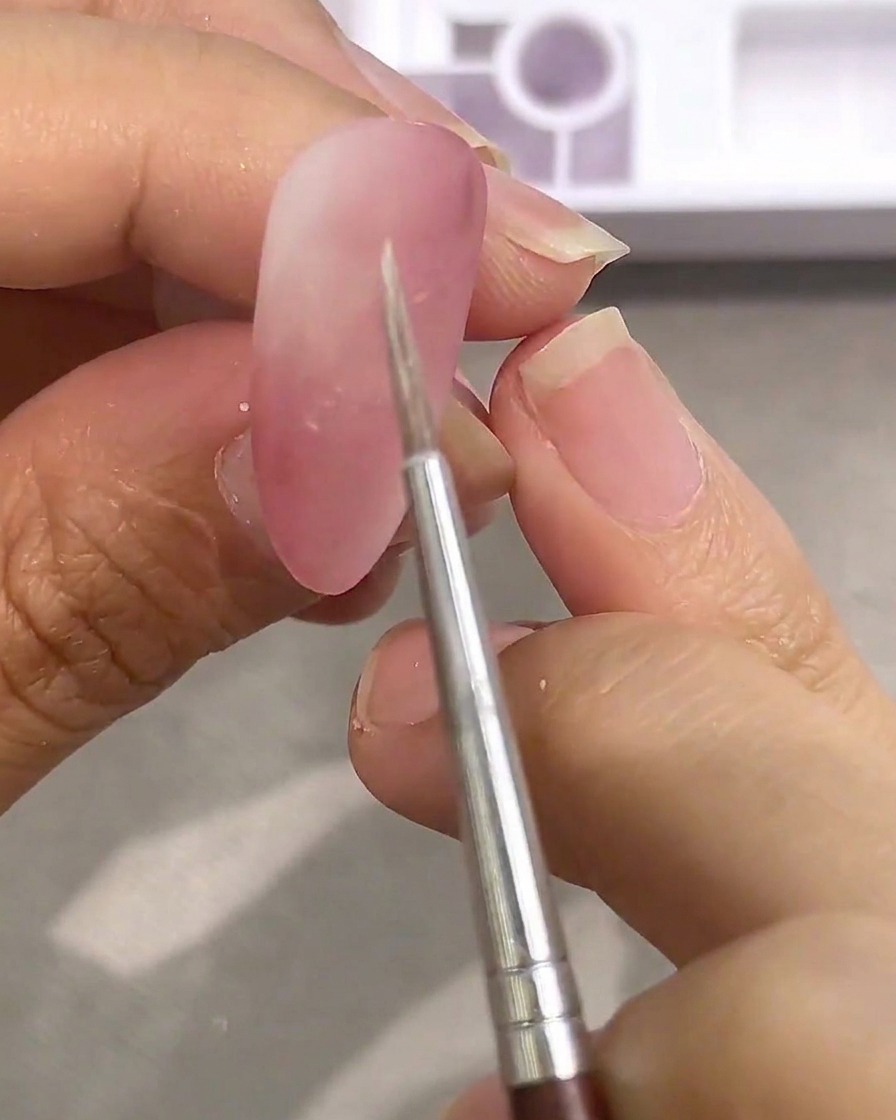
Using a fine detail brush, pick up a small amount of white watercolor paint from your palette. Ensure your brush is clean and slightly damp to allow for smooth application and blending on the nail surface.
Tip: A damp brush helps the watercolor glide easily over the matte top coat. - 15Apply watercolor blocks
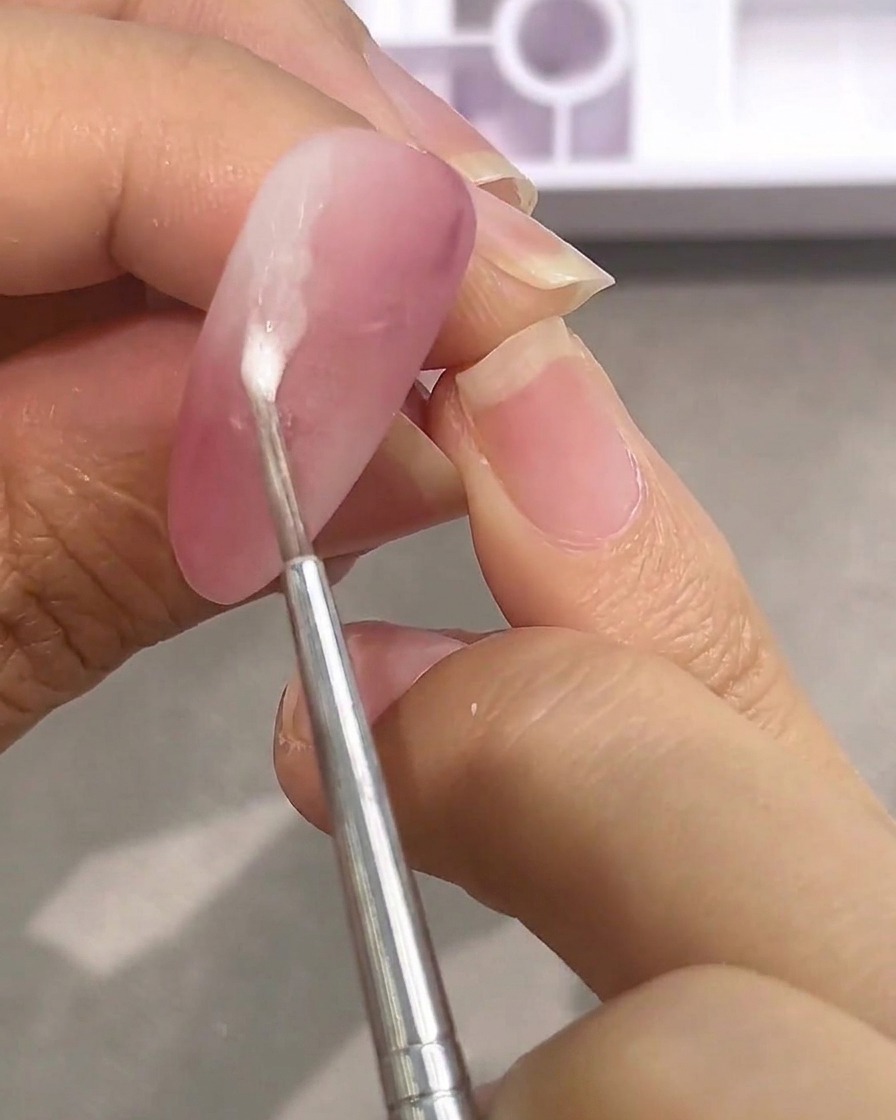
Using a fine brush or dotting tool, dab small blocks of wet white watercolor paint onto the matte nail. Place these concentrated areas of color where you want the thickest parts of your marble veining to appear. The watery consistency will naturally pool and spread slightly on the nail.
Tip: Work quickly while the watercolor is still wet so you have enough time to manipulate and blend the edges in the next step. - 16Diffuse edges with water
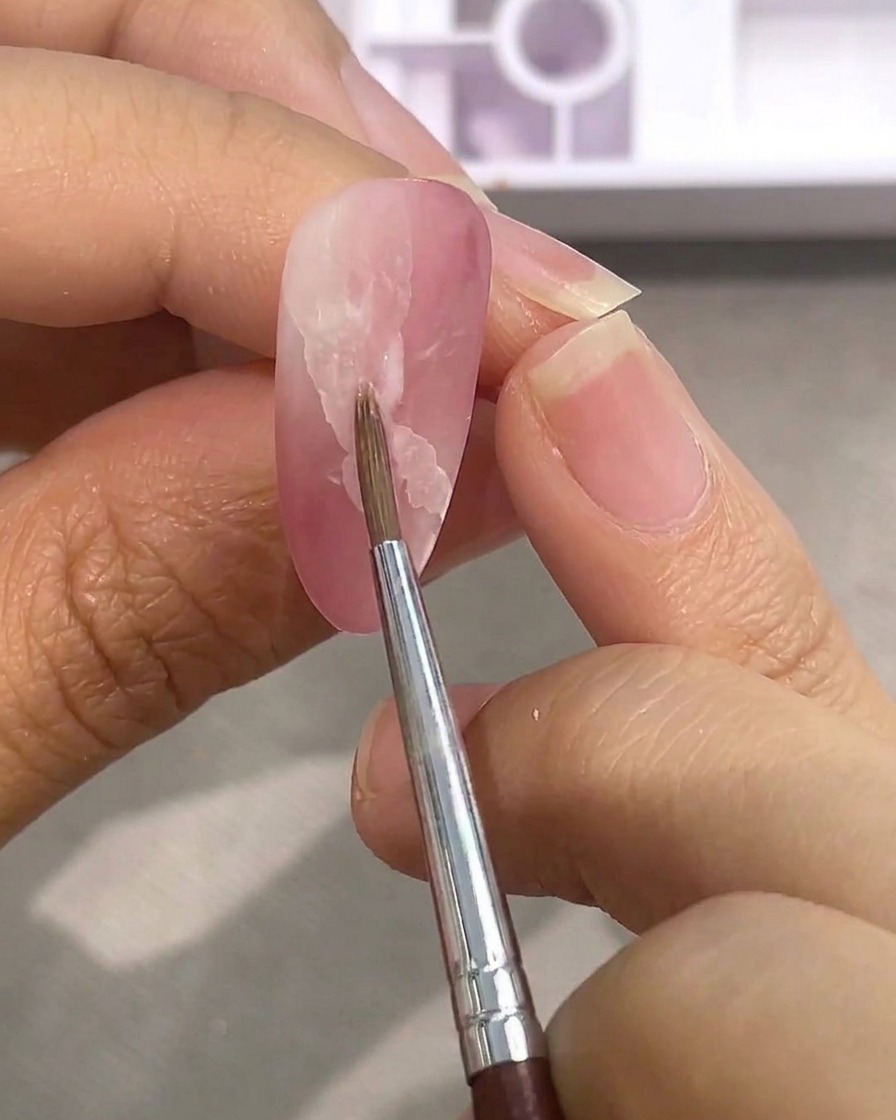
Clean your brush and dampen it with plain water. Gently run the wet brush along the outer edges of the white watercolor blocks to pull and diffuse the paint. This technique softens the harsh borders, creating a faded, cloudy gradient that mimics the natural veining of real stone.
Tip: Blot your wet brush gently on a paper towel before blending to ensure you dont flood the nail with too much water. - 17Layer watercolor for intensity
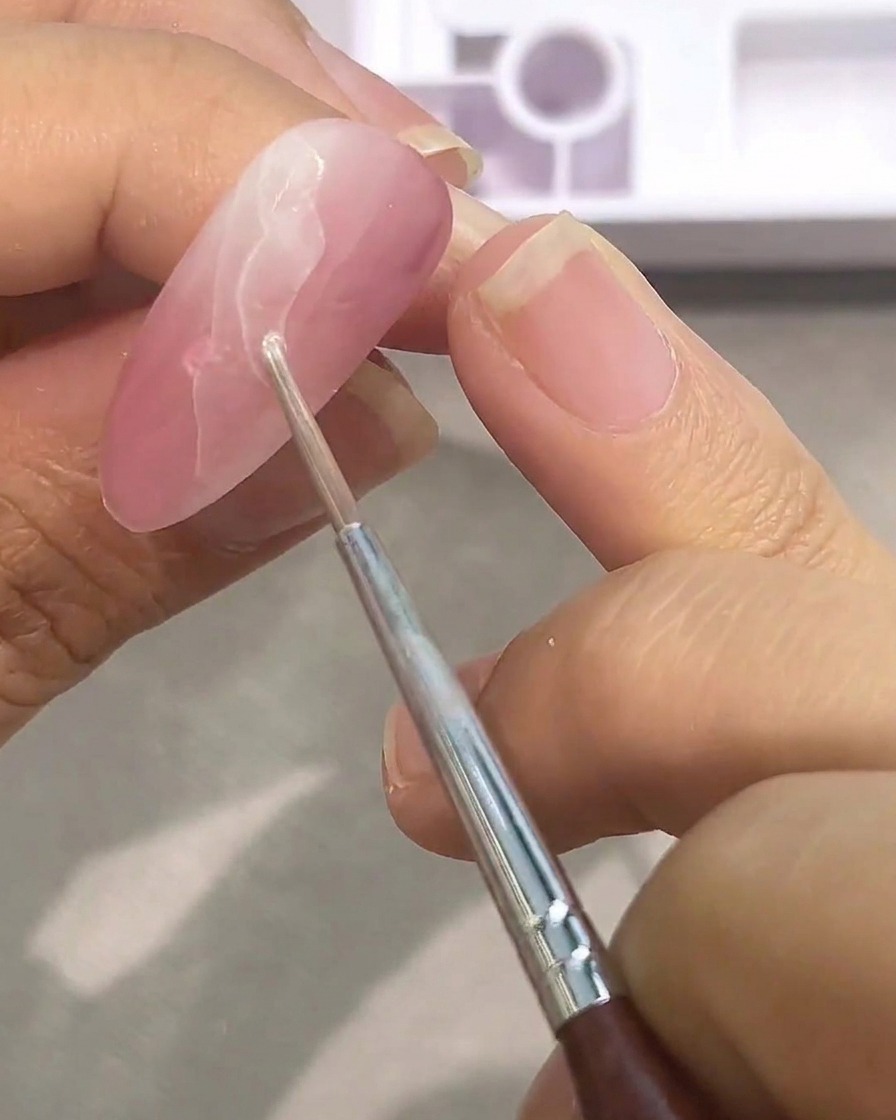
Apply additional white watercolor paint in thin strokes to build up intensity. Once dry, use your fine detail brush to draw crisp, thin lines connecting the blended areas. Finish the watercolor design with a glossy top coat to seal and protect your work.
Tip: Layering gradually ensures the marble design remains delicate and avoids messy color saturation.