Gradient French Manicure
Star Art and Rhinestones — Step-by-Step Tutorial
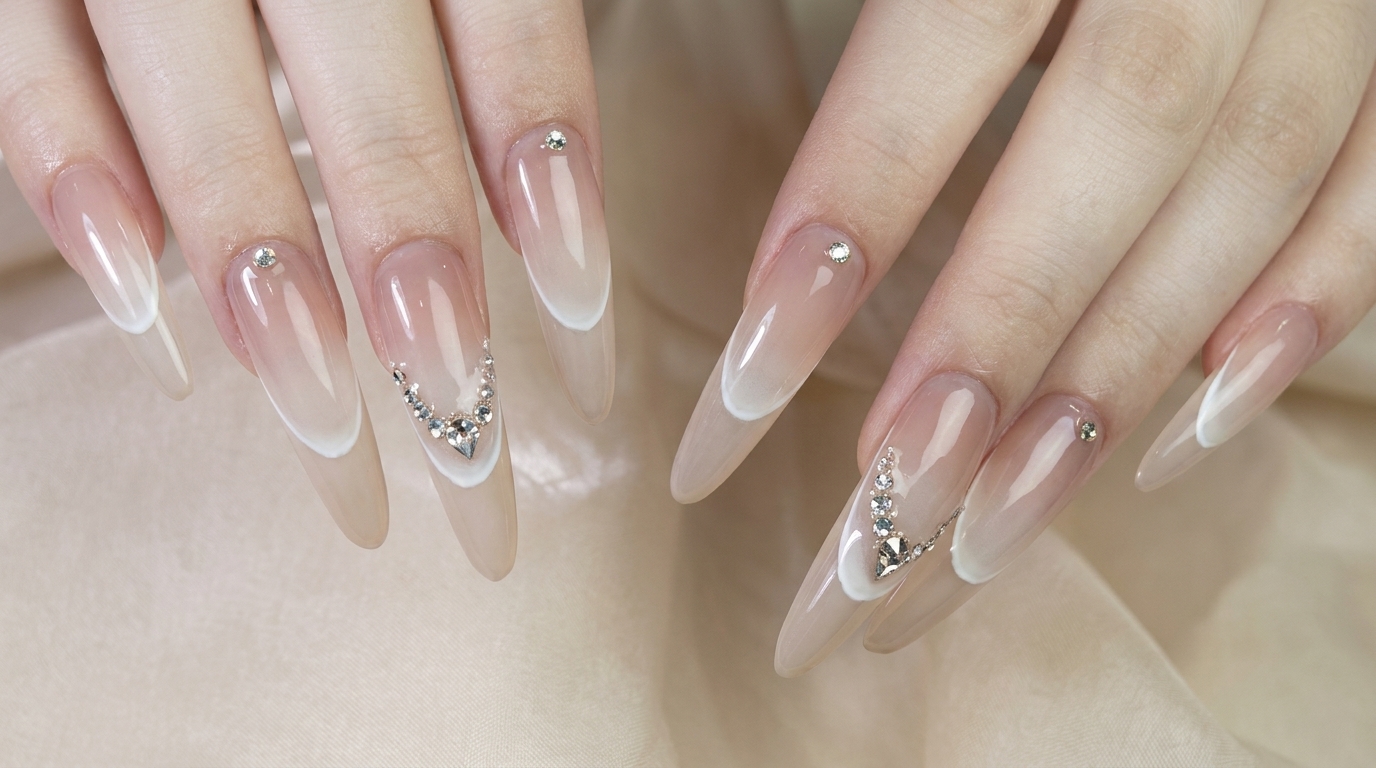
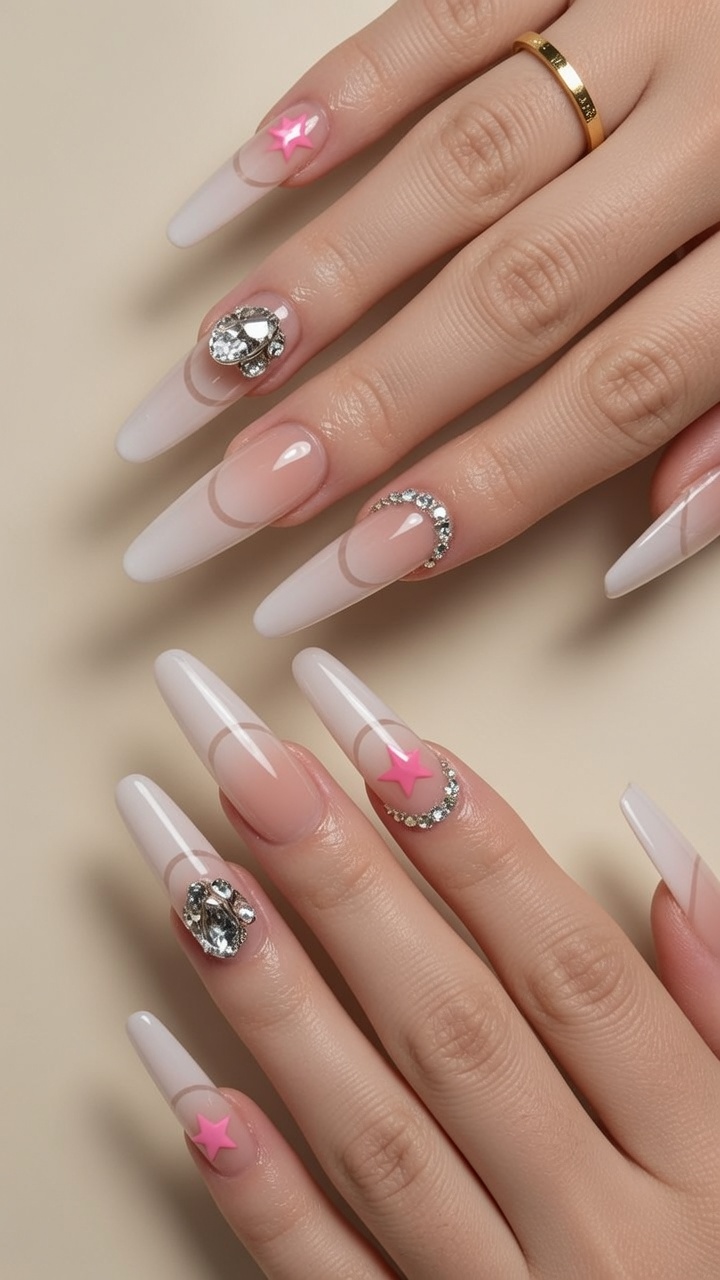
Elevate your nail game with a stunning gradient French manicure featuring playful pink star accents, delicate lining tape, and dazzling rhinestone clusters.
Combining the timeless elegance of a French fade with edgy geometric details and sparkling embellishments creates a truly modern statement look. This tutorial guides you through precise gel application, intricate stone placement, and flawless finishing touches to achieve professional results at home.
Steps
- 1Smooth and refine gel application
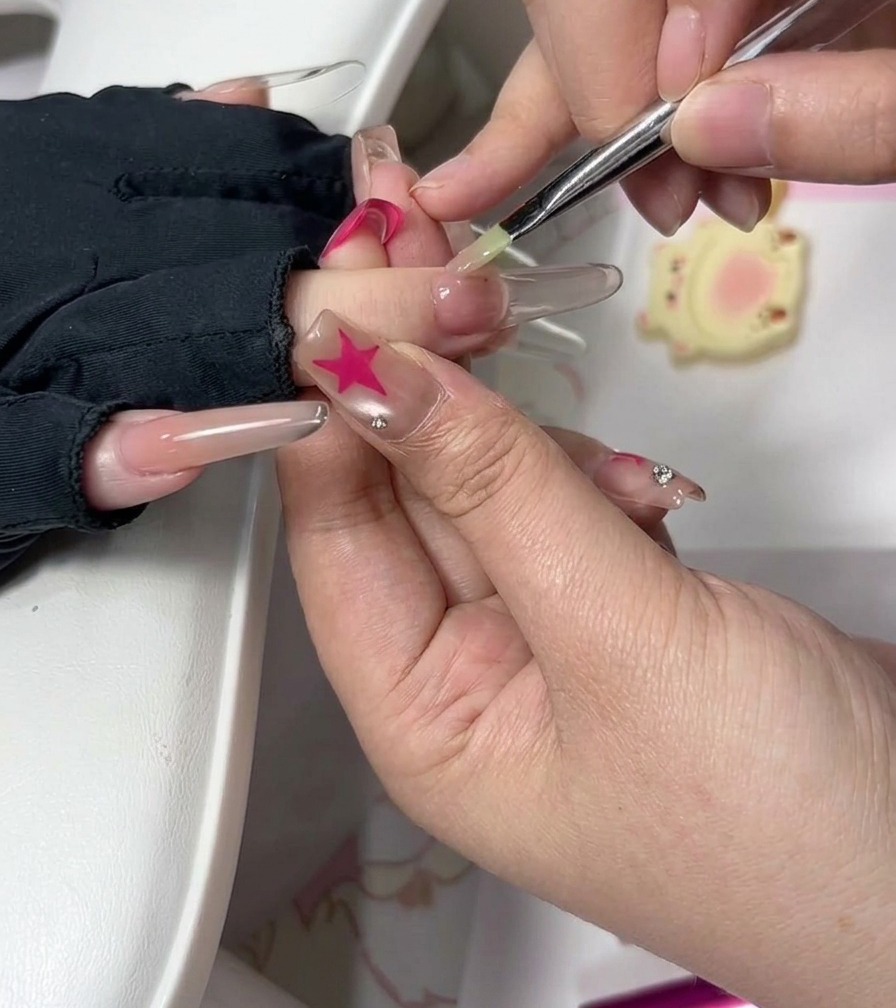
Using a fine detailing brush, gently smooth and refine the gel product around the cuticle area and along the nail plate to ensure an even, flawless contour. Take your time to feather the edges so there are no hard lines or bumps before curing.
Tip: Keep your brush strokes light and flat against the nail surface to avoid creating ridges in the wet gel layer. - 2Clean around the nail edges
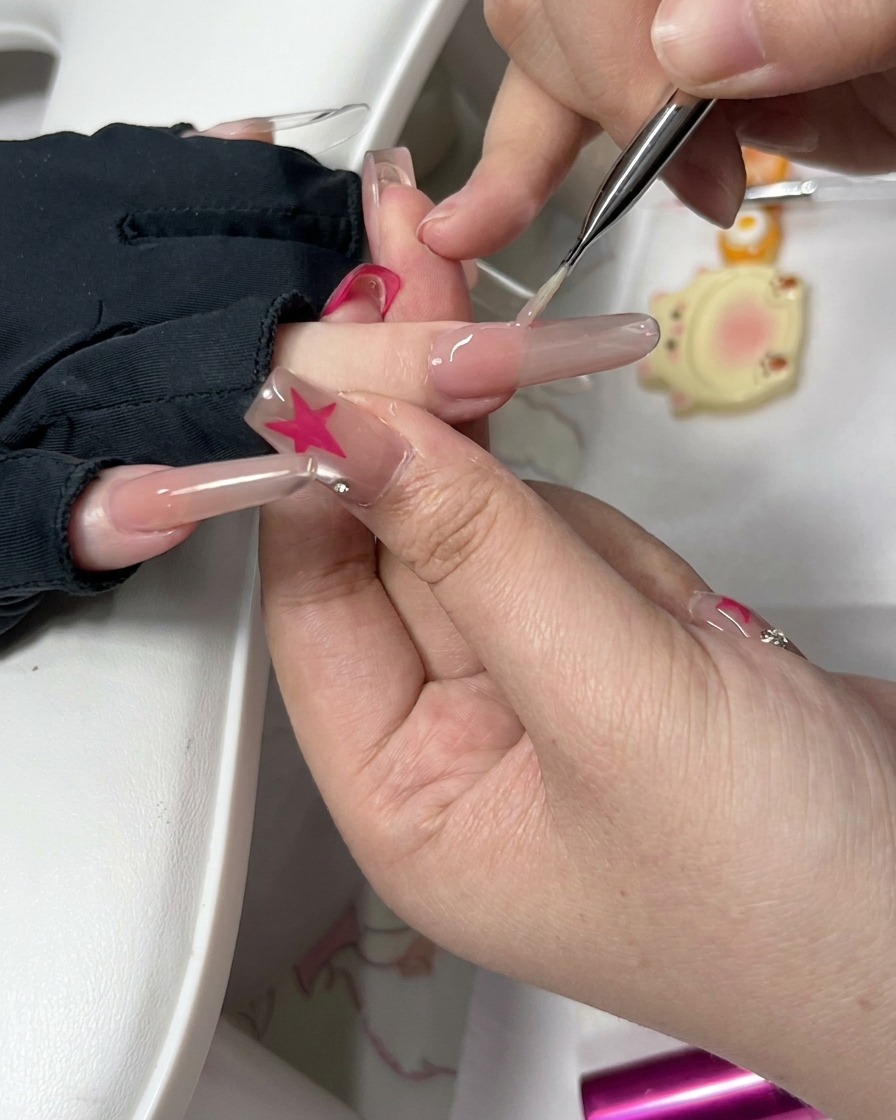
Using a small cleansing sponge and detailing tool, carefully wipe and clean any excess product or debris from around the nail edge and finger side. This step ensures clean lines, prevents accidental curing on the skin, and prepares the surface for subsequent embellishments.
Tip: Always clean up any uncured gel from the surrounding skin before curing to avoid skin irritation or premature lifting. - 3Apply geometric lining tape
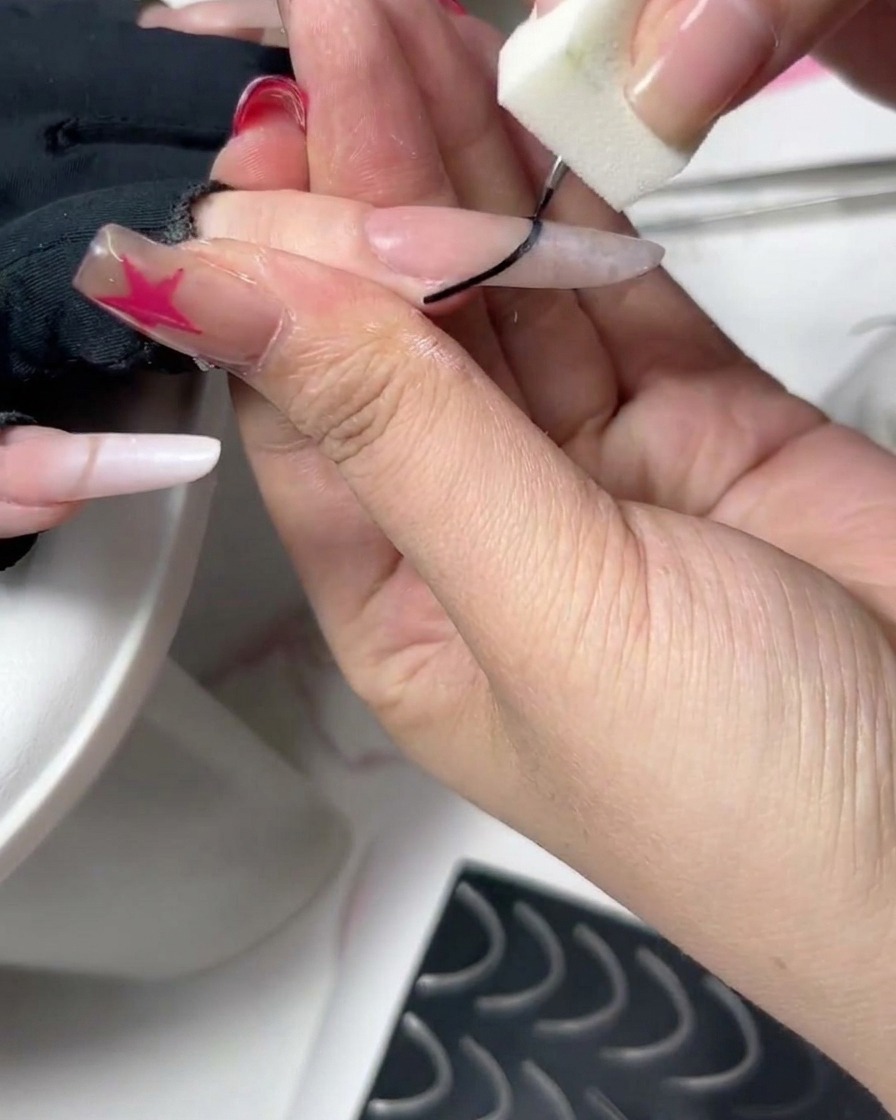
Carefully place a thin strip of lining tape across the curved surface of the nail to map out clean geometric sections or accent lines. Press down firmly along the entire strip to ensure it adheres smoothly without lifting at the edges.
Tip: Trim the tape slightly short of the actual edge of the nail so it can be completely sealed under the top coat. - 4Apply clear top coat or gel base
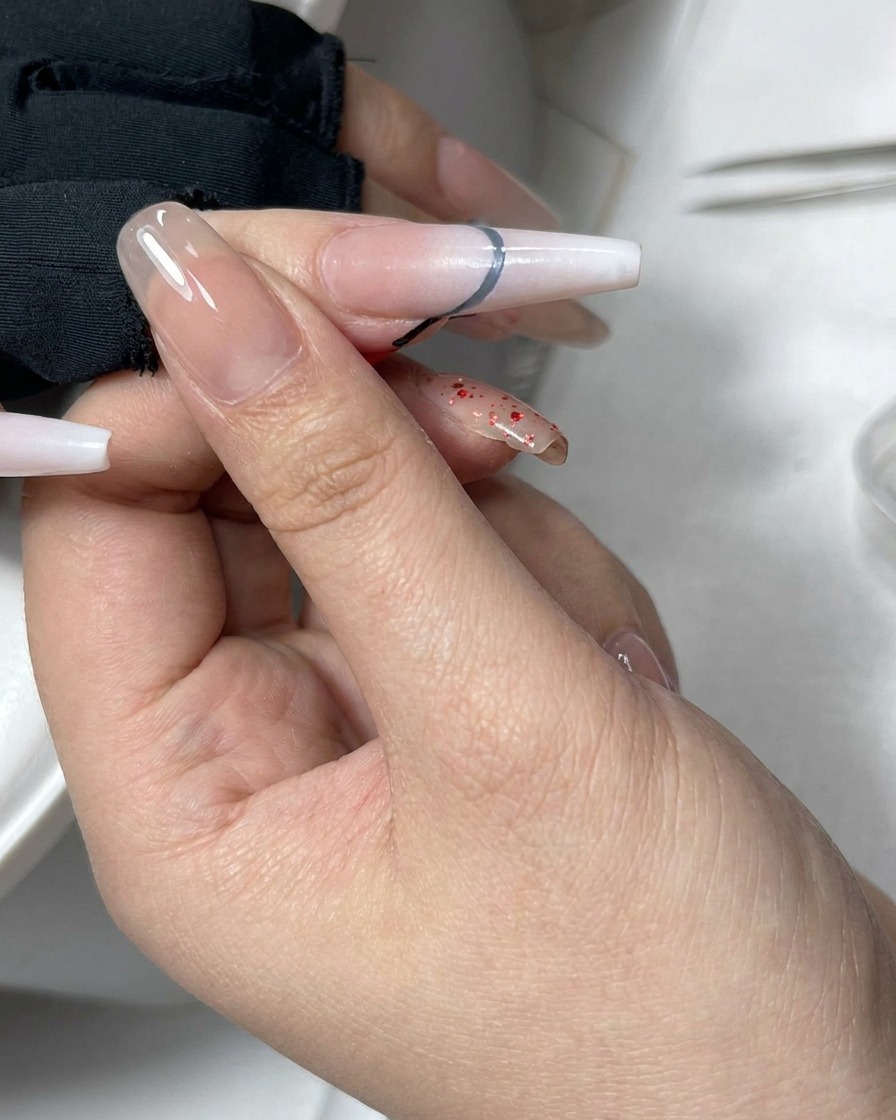
Brush a smooth, even layer of clear top coat over the entire nail surface, making sure to completely seal any embedded decorations, lines, or stickers. Cap the free edge to lock in the product and protect against chipping.
Tip: Ensure the top coat covers all decorative elements evenly to create a uniform, glass-like shine after curing. - 5Place central rhinestone jewel
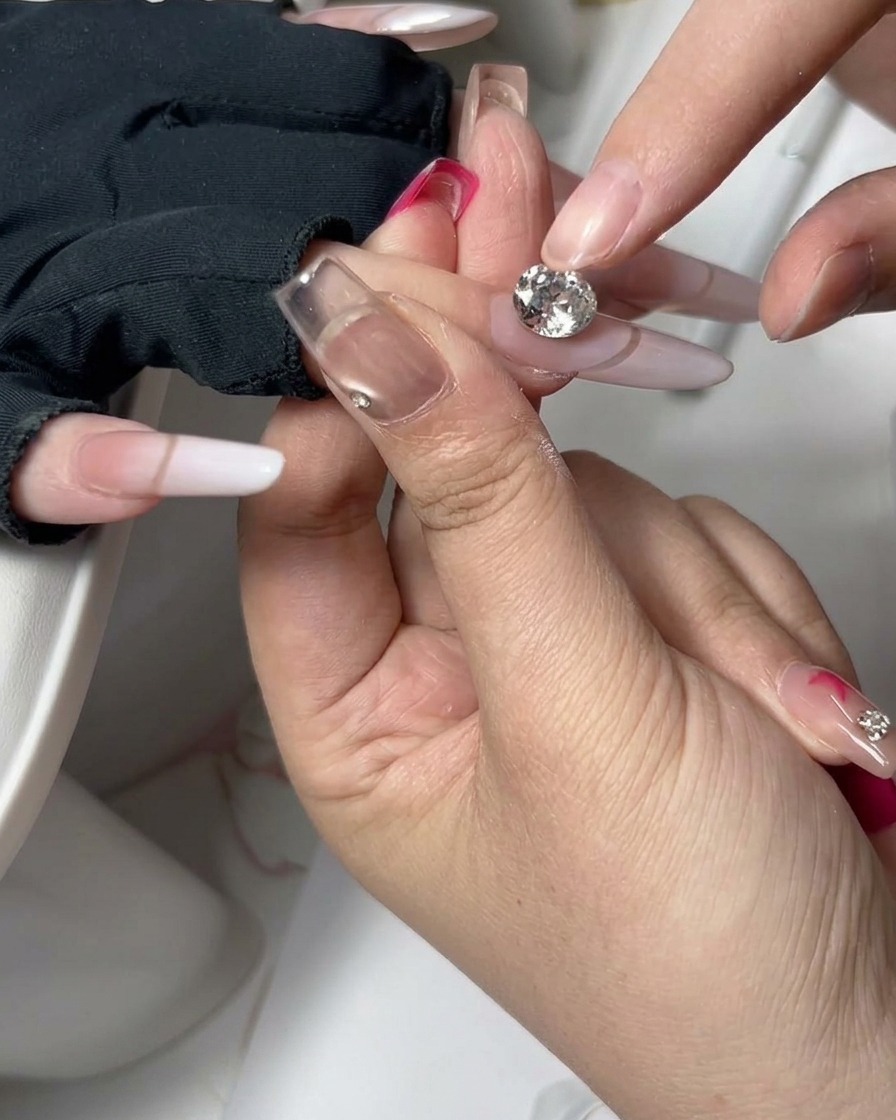
Pick up a large faceted rhinestone using a wax pencil or pickup tool and carefully set it into the wet gel adhesive at the center of the nail. Press down lightly to anchor the jewel securely into position before curing.
Tip: Use a dab of thick builder gel or rhinestone glue underneath the gem to ensure it stays firmly attached and doesnt snag. - 6Press and secure rhinestone
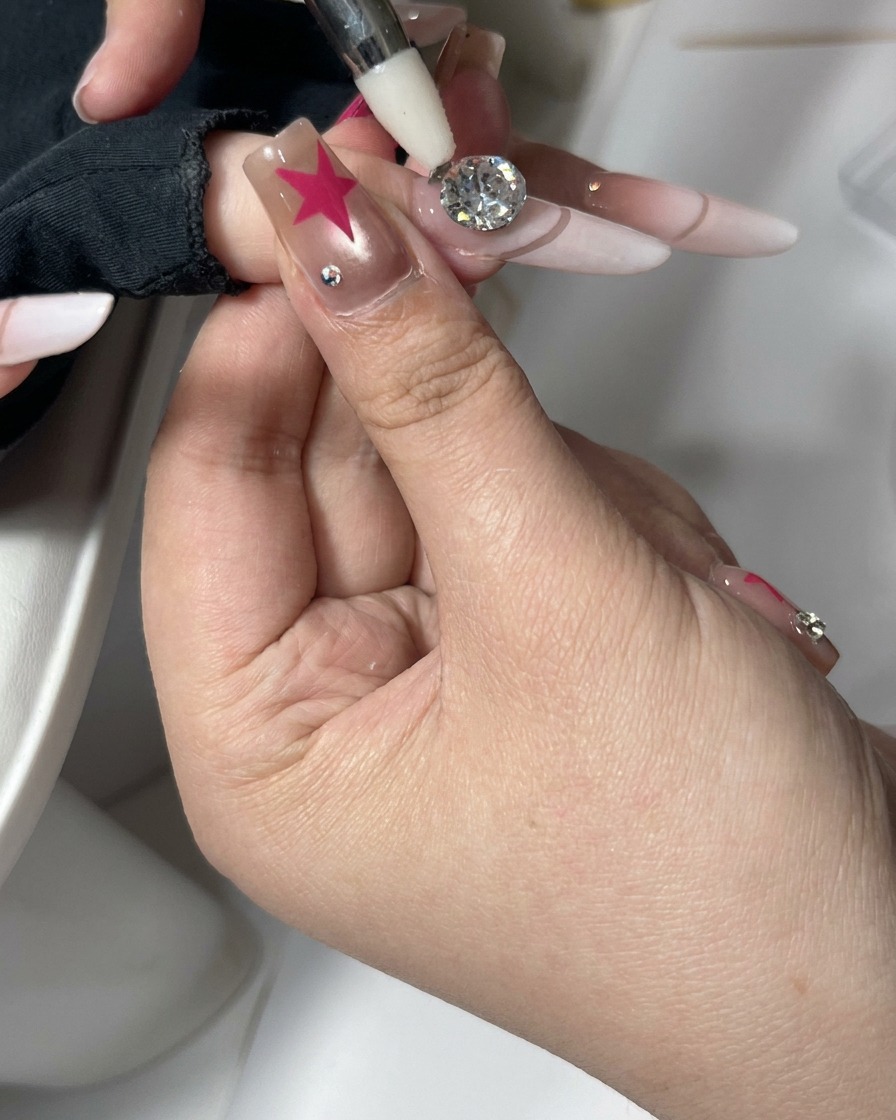
Place the large rhinestone onto the uncured or sticky nail gel surface, then use a silicone tip pen tool to gently adjust and press it down securely. The silicone tip provides a non-slip grip that allows you to position the stone precisely without scratching its facets or shifting it out of place.
Tip: Press firmly enough to bed the rhinestone into the gel base so it wont pop off easily after curing. - 7Arrange metallic charms and studs
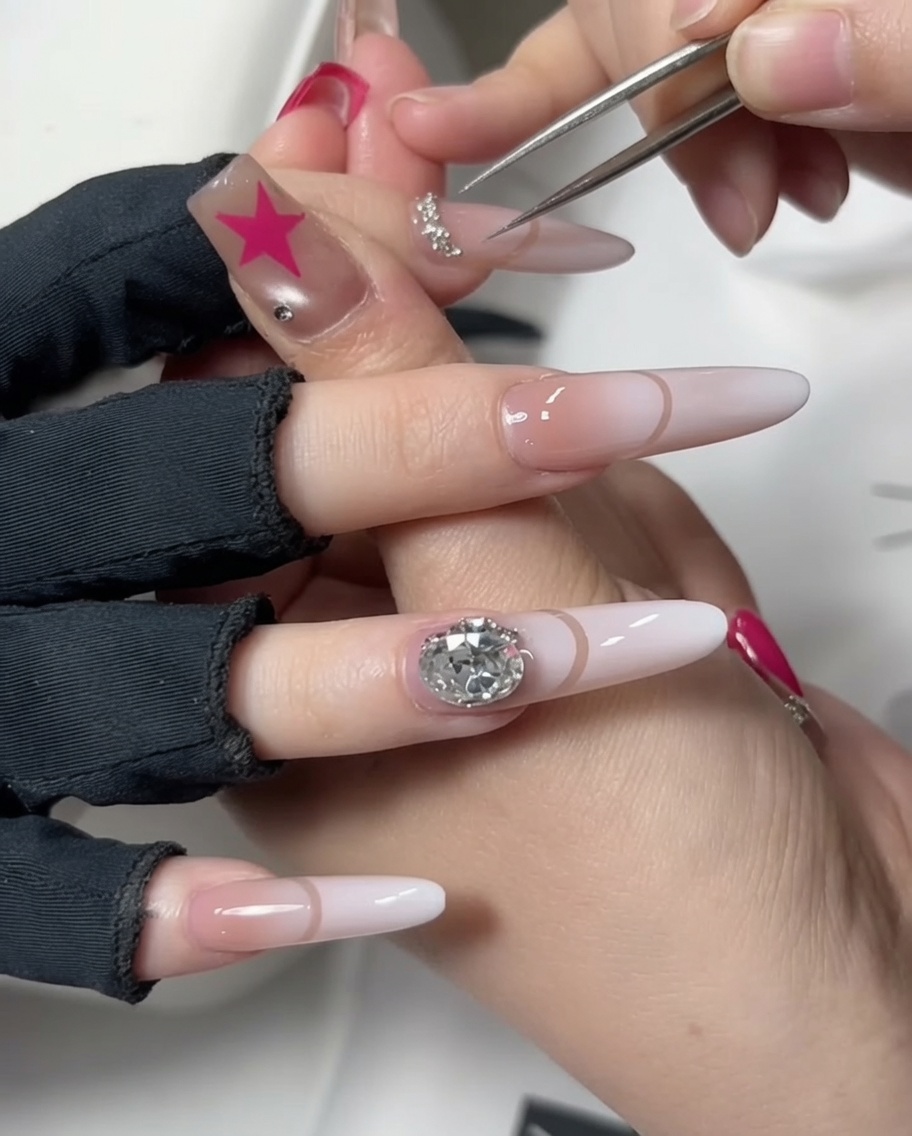
Using fine precision tweezers, carefully pick up and arrange small silver metal charms and curved studs along the nail base. Position them neatly to complement the larger centerpiece gem and create a balanced, detailed nail art layout.
Tip: Work over a silicone mat or tray to catch any tiny metal charms that might slip out of the tweezers. - 8Cure under UV/LED lamp
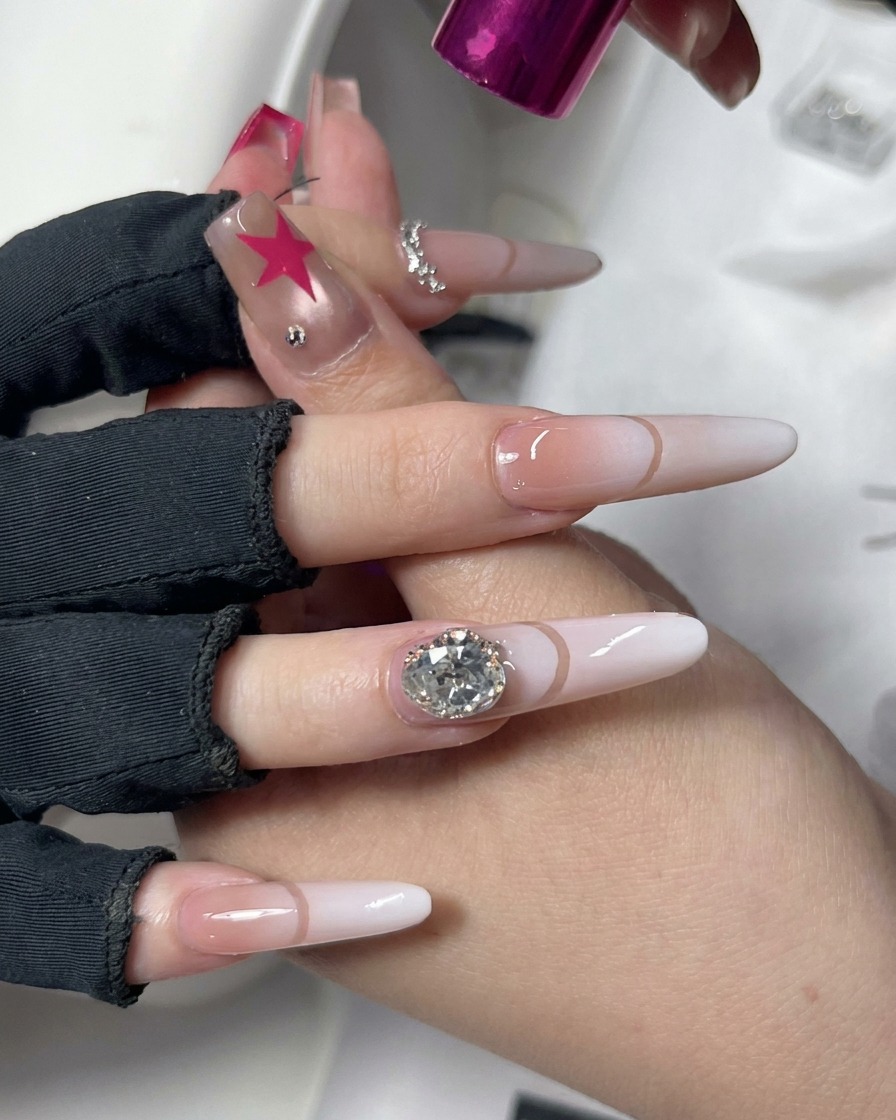
Place the hand under a portable pink UV/LED nail lamp to fully cure the gel adhesive and lock all the rhinestones and metal charms into place. Ensure the hand is positioned correctly so every nail receives adequate light exposure.
Tip: Flash cure embellishments for 5 to 10 seconds first to prevent them from sliding before doing a full cure.