Sparkling Silver Cat-Eye
Chrome Gradient Nail Tutorial
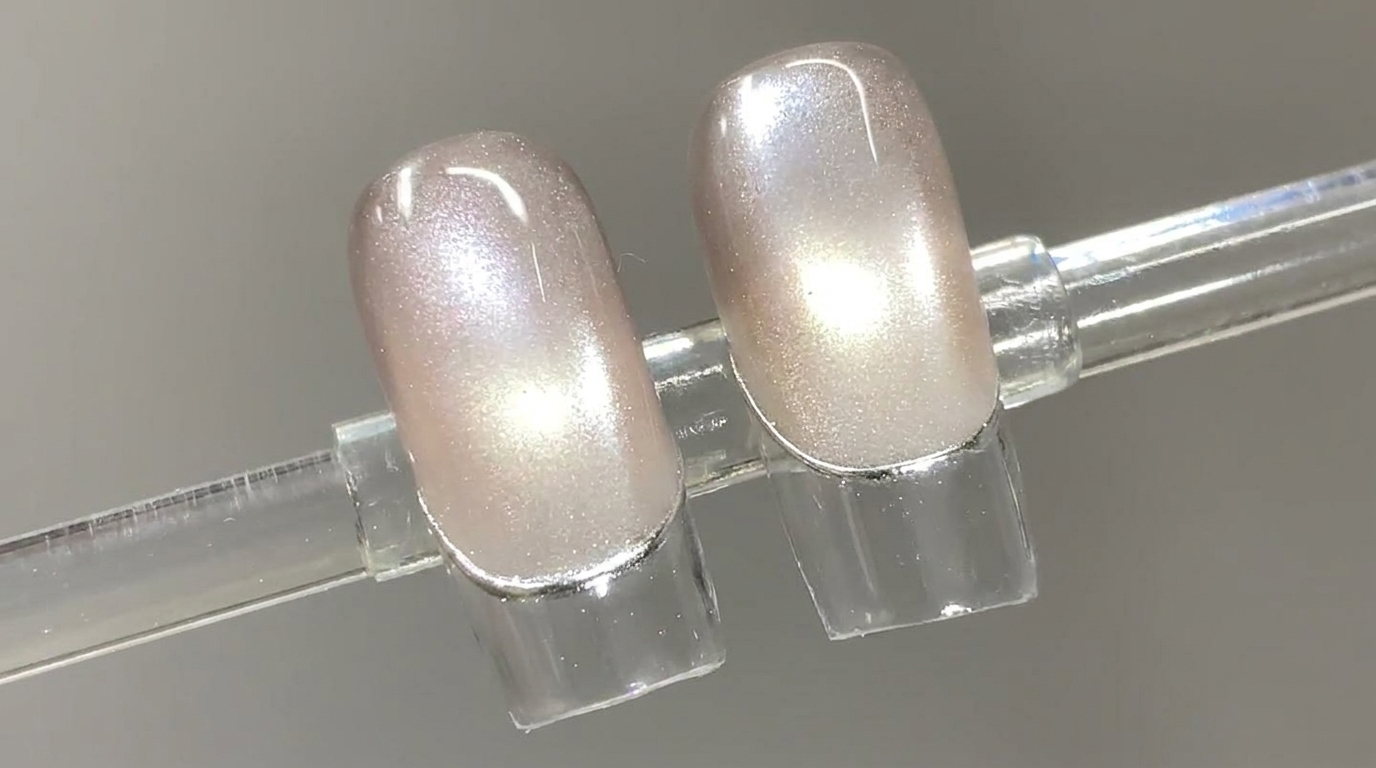
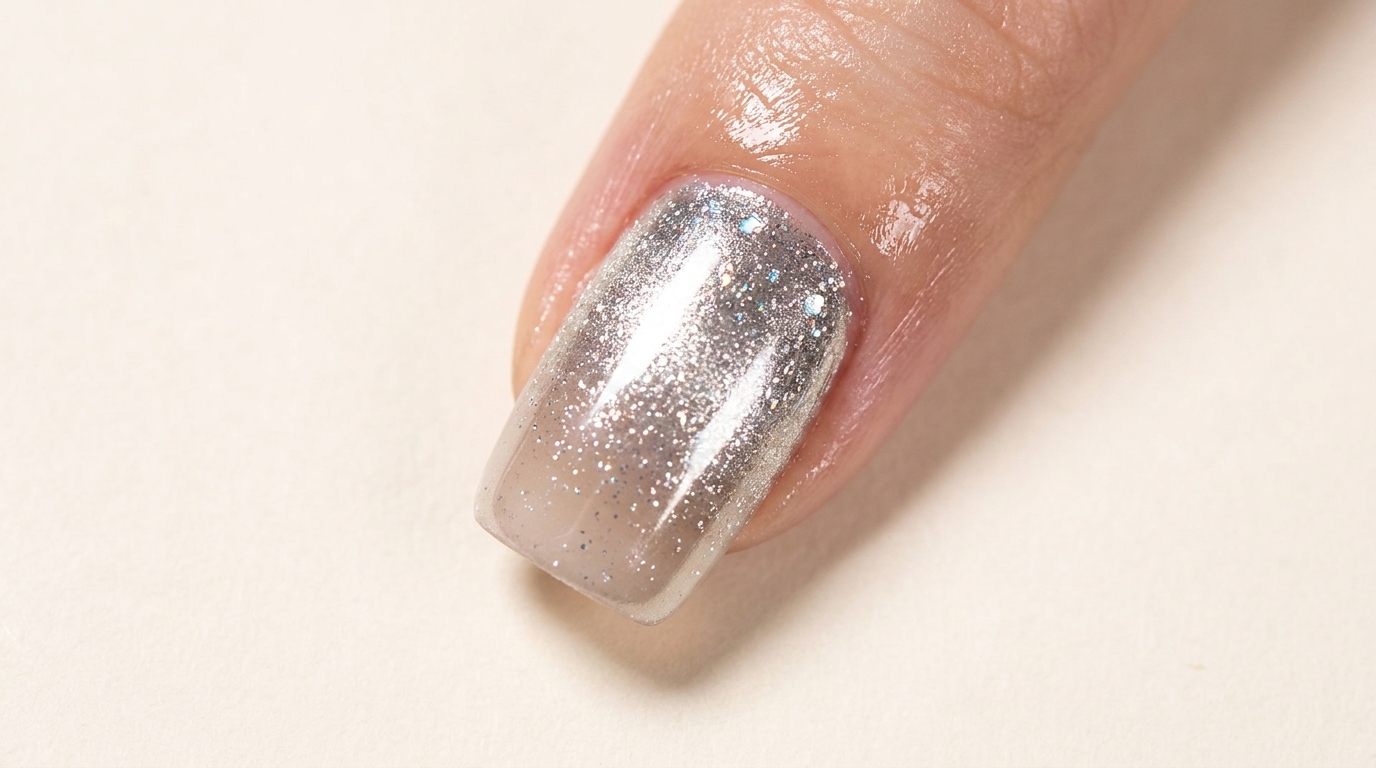
Create a dazzling silver nail with a flawless mirror chrome tip and magnetic cat-eye shimmer. This step-by-step tutorial guides you through the ultimate mixed-media metallic look.
Silver metallics and mixed textures are taking center stage in nail art right now. This look beautifully combines three striking effects—a crushed diamond glitter gradient, a seamless magic mirror chrome tip, and a dimensional cat-eye shimmer—into one cohesive, high-shine design. While it utilizes several layering techniques, following these specific encapsulation steps ensures a flexible, durable, and highly wear-resistant finish.
Steps
- 1Apply crushed diamond gel gradient
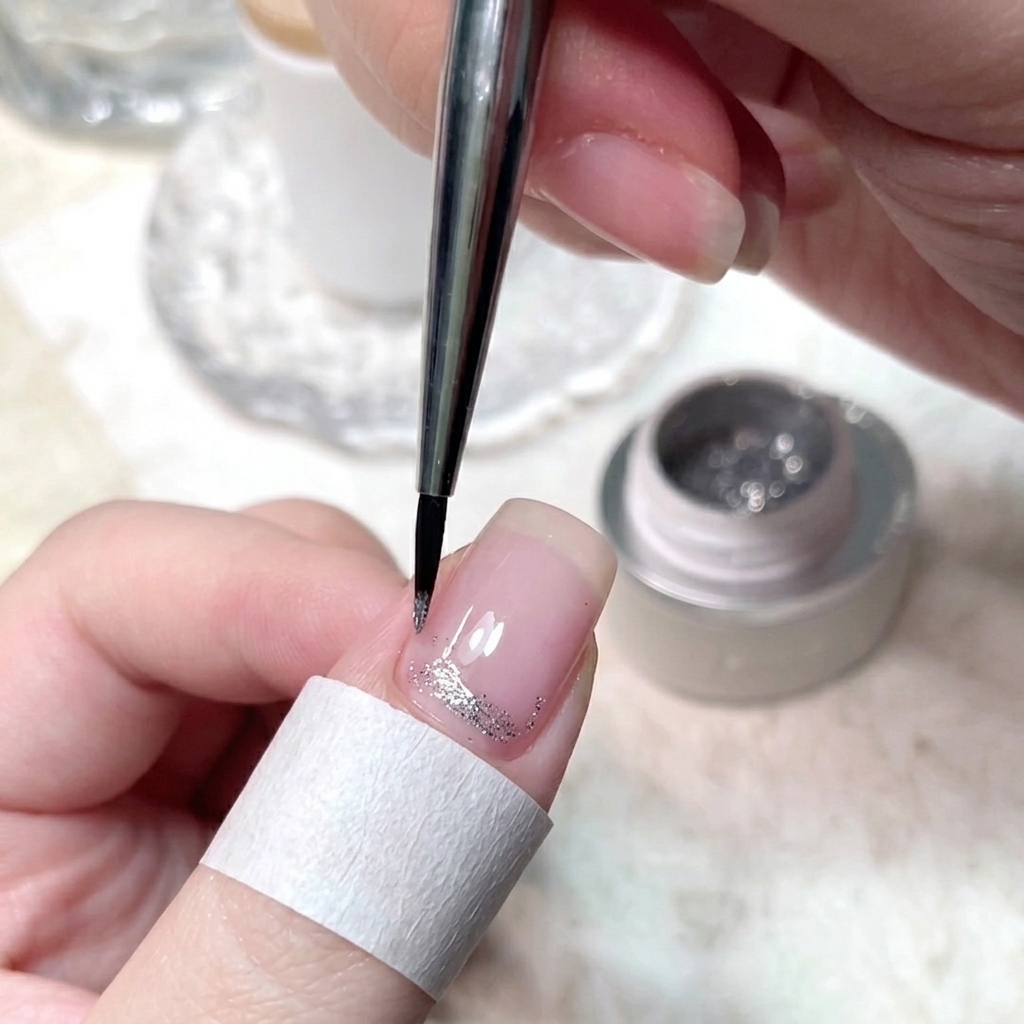
Using a fine liner brush, carefully brush crushed diamond glitter gel onto the lower portion of the nail to begin creating a sparkling gradient effect. Keep the application concentrated near the base area while pulling a few stray glitters upward. Ensure the layer is smooth and even before proceeding.
Tip: A fine liner brush gives you maximum control over glitter placement so you can fade it out gradually. - 2Apply non-wipe top coat
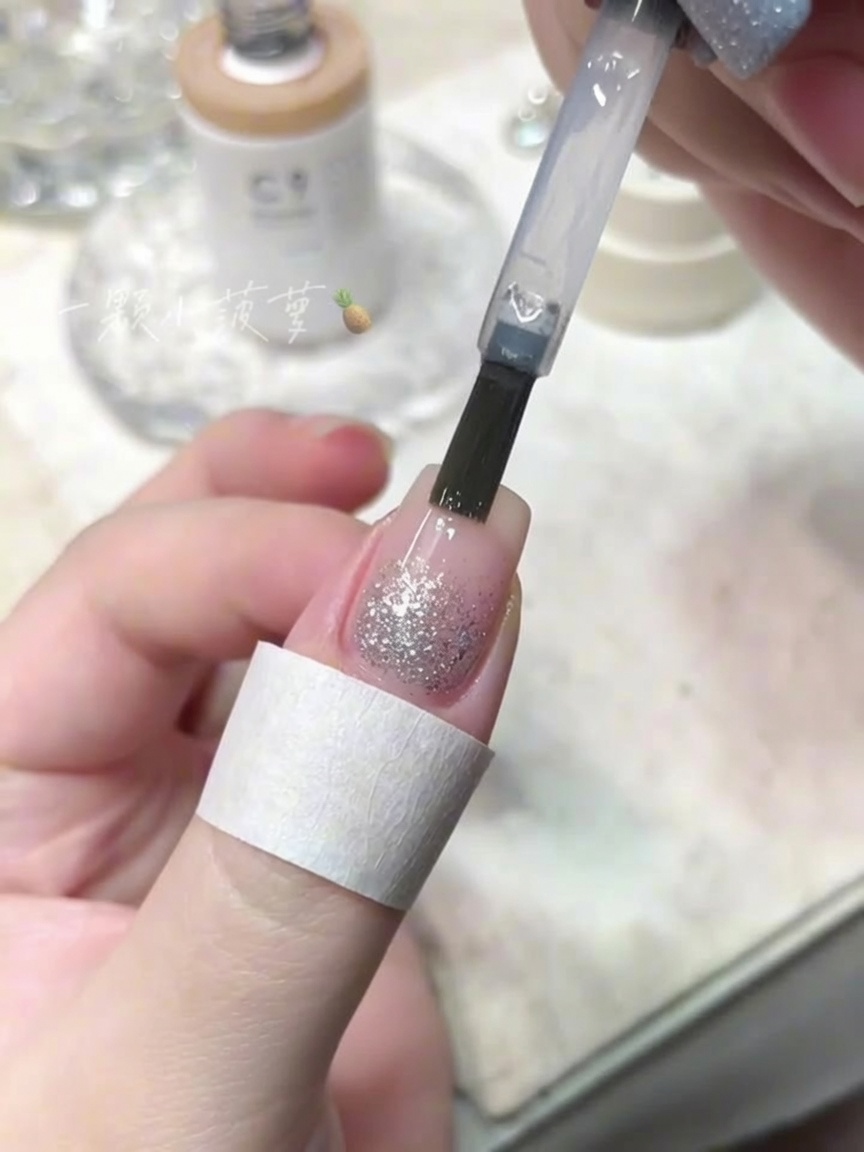
Apply a layer of clear non-wipe top coat over the entire nail using the bottle brush. Choose a top coat with a medium consistency that levels well, as this creates a smooth foundation for rubbing powder. Make sure to cover the glitter gradient completely.
Tip: A top coat with good self-leveling properties ensures a completely smooth surface for chrome powder application. - 3Cure top coat with mini lamp
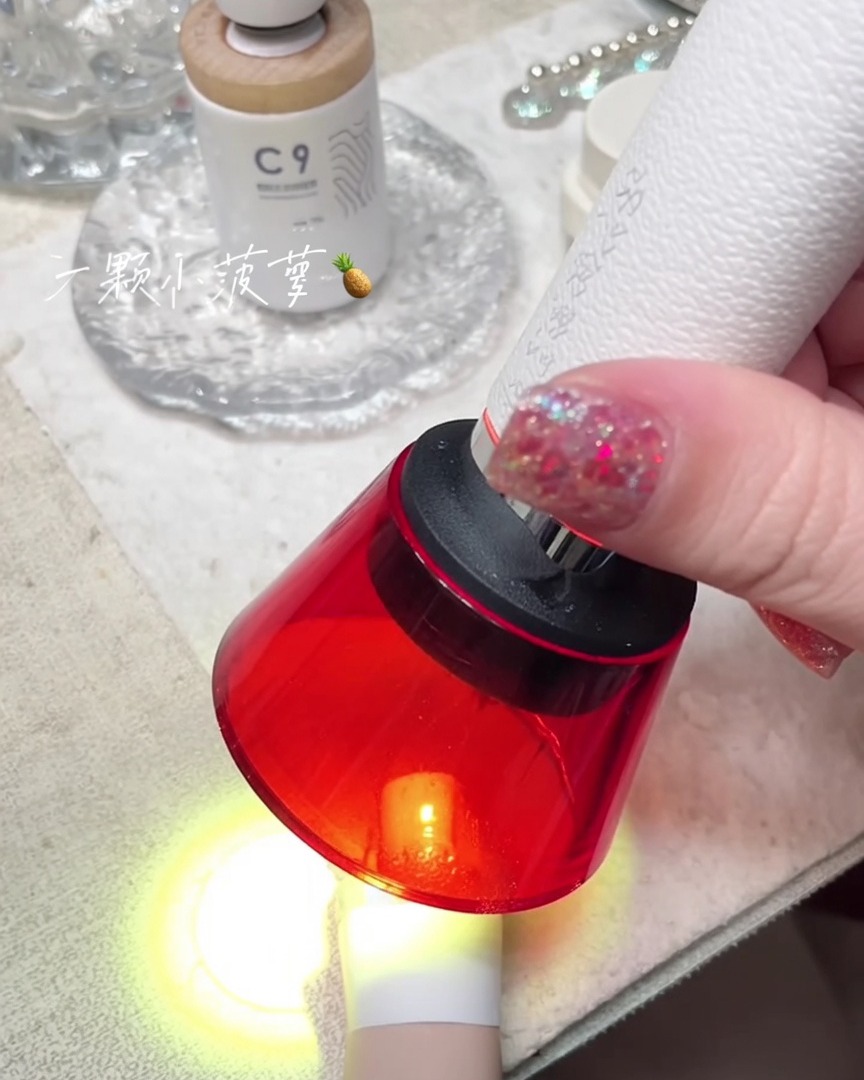
Place the finger under a handheld red mini UV/LED lamp to cure the top coat. Hold the lamp steady over the nail for the required curing time to ensure the surface is completely set. Proper curing is essential before applying any mirror powder.
Tip: Ensure your hand remains steady under the portable mini lamp to prevent shifting during the cure. - 4Apply silver magic mirror powder
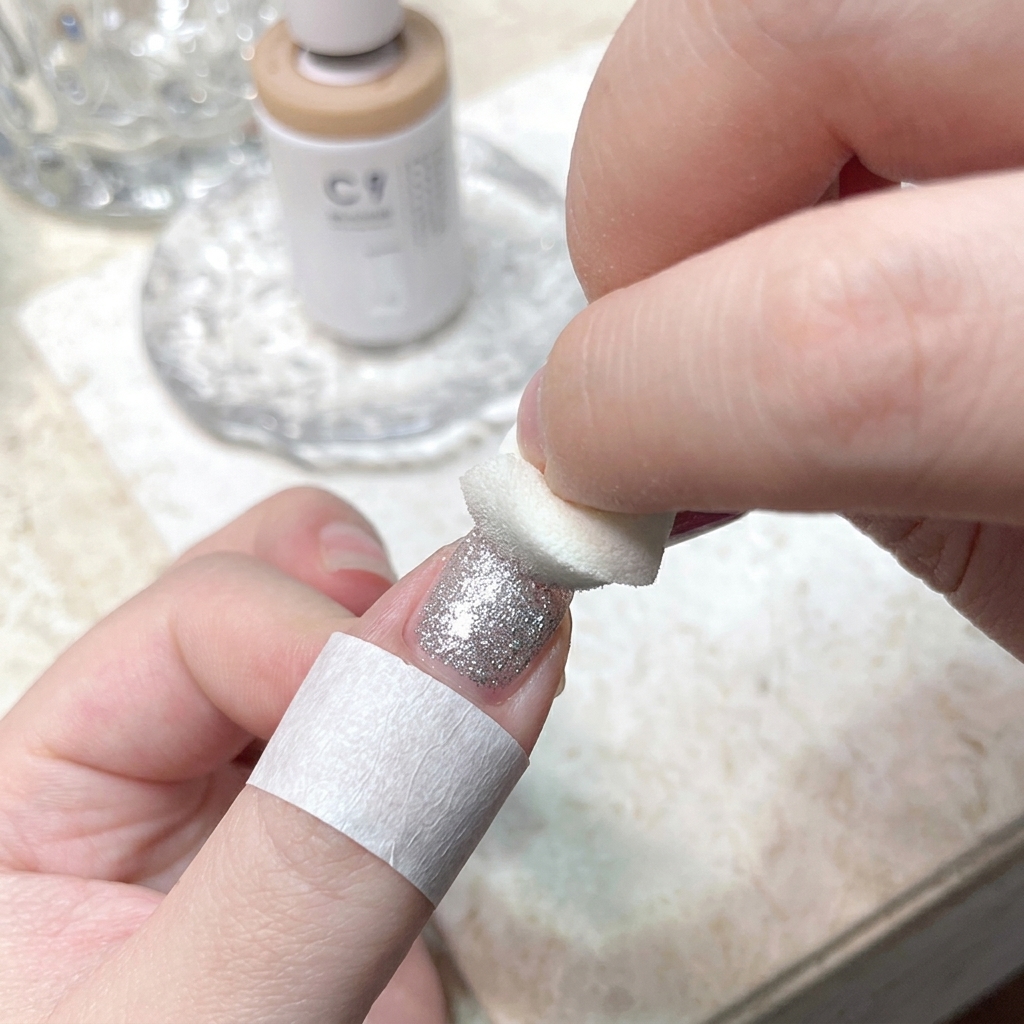
Using a white sponge applicator, rub silver magic mirror chrome powder onto the nail tip. Blend the powder backward from the tip toward the cuticle to create a seamless gradient effect that transitions into the glitter below.
Tip: Rub gently with the sponge applicator to achieve a smooth, high-shine chrome finish without patchy spots. - 5Clean up excess powder
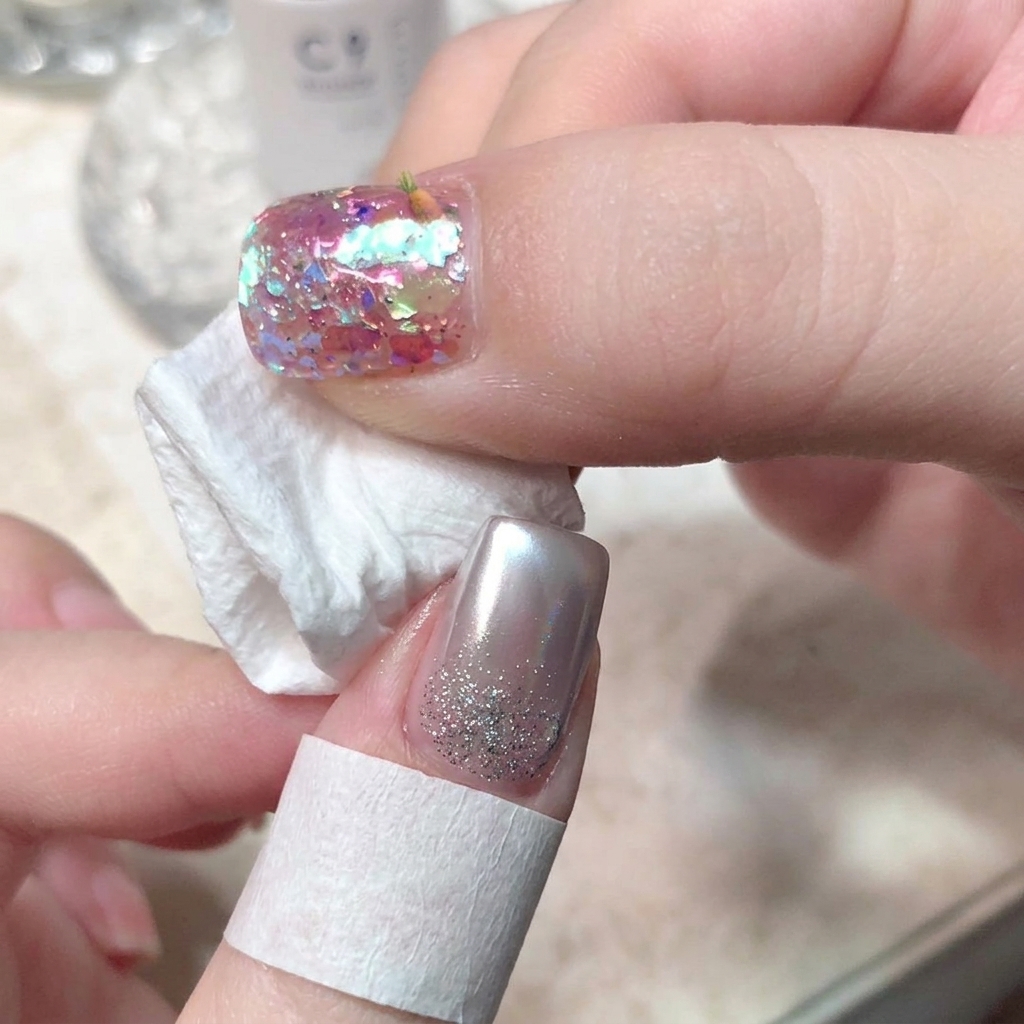
Wipe the three edges and side walls of the nail using an alcohol pad or a lint-free wipe soaked in alcohol. This removes any stray chrome powder particles settled around the skin and edges. Clean edges ensure a neat and professional final look.
Tip: Always wipe away excess powder before sealing to keep the surrounding skin clean and prevent powder contamination. - 6Encapsulate chrome powder with base gel
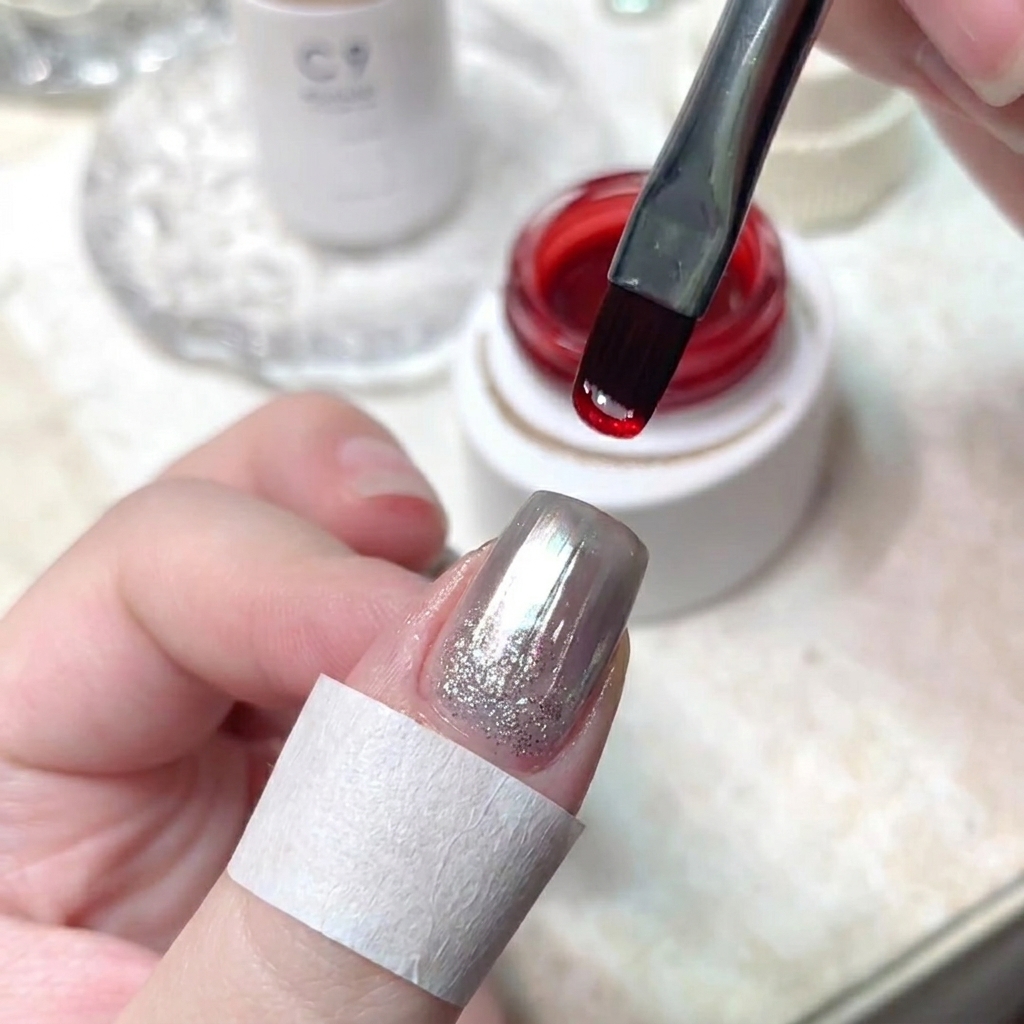
Apply a layer of clear base gel using a flat gel brush to thoroughly encapsulate the chrome powder. This sealing step protects the mirror finish from chipping or wearing off. Cover the entire nail surface evenly before curing.
Tip: Encapsulating chrome powder with a base gel prevents the top coat from peeling or dulling the chrome shine. - 7Mix builder and cat-eye gel
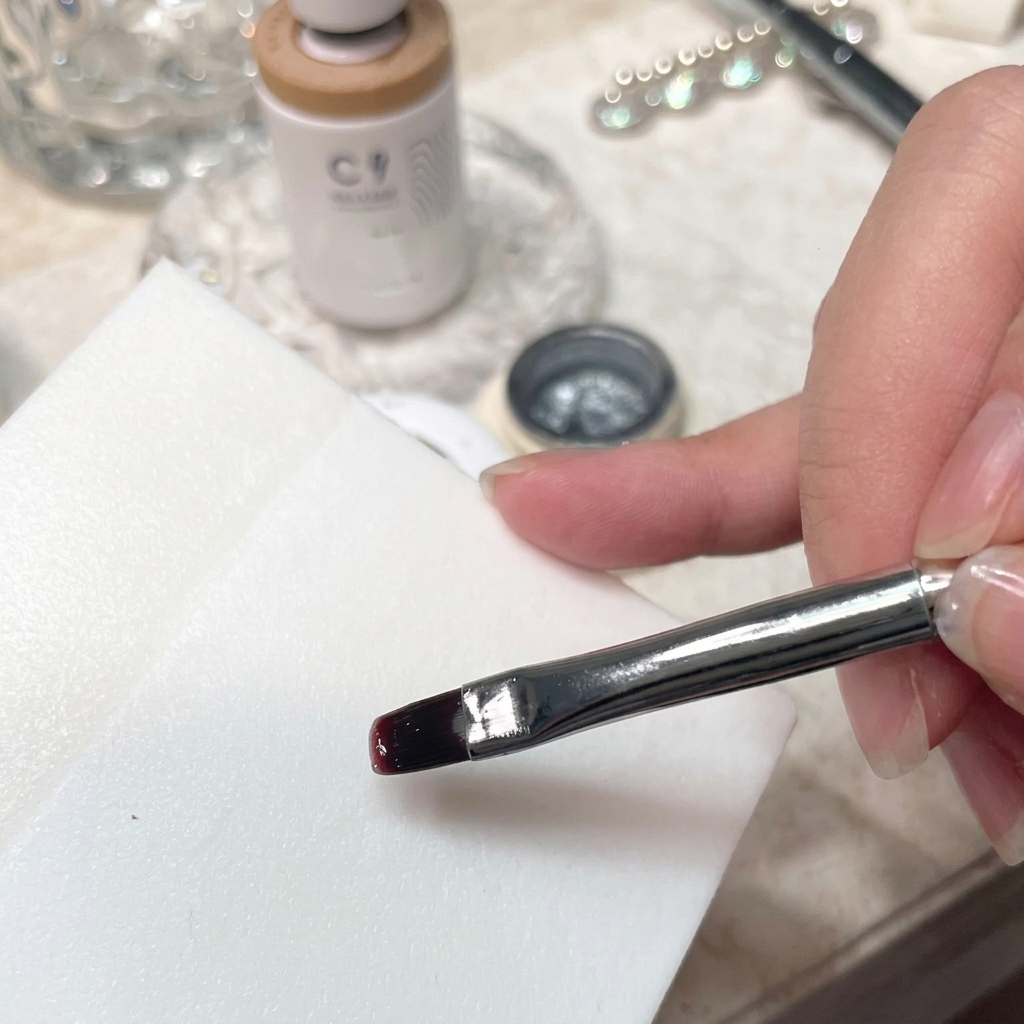
Using a fine brush on a white palette, thoroughly blend together builder gel and cat-eye gel to dilute the color and adjust its consistency for application.
Tip: Ensure the mixture is well-blended to achieve an even dilution before applying it to the nail. - 8Apply cat-eye gel mixture
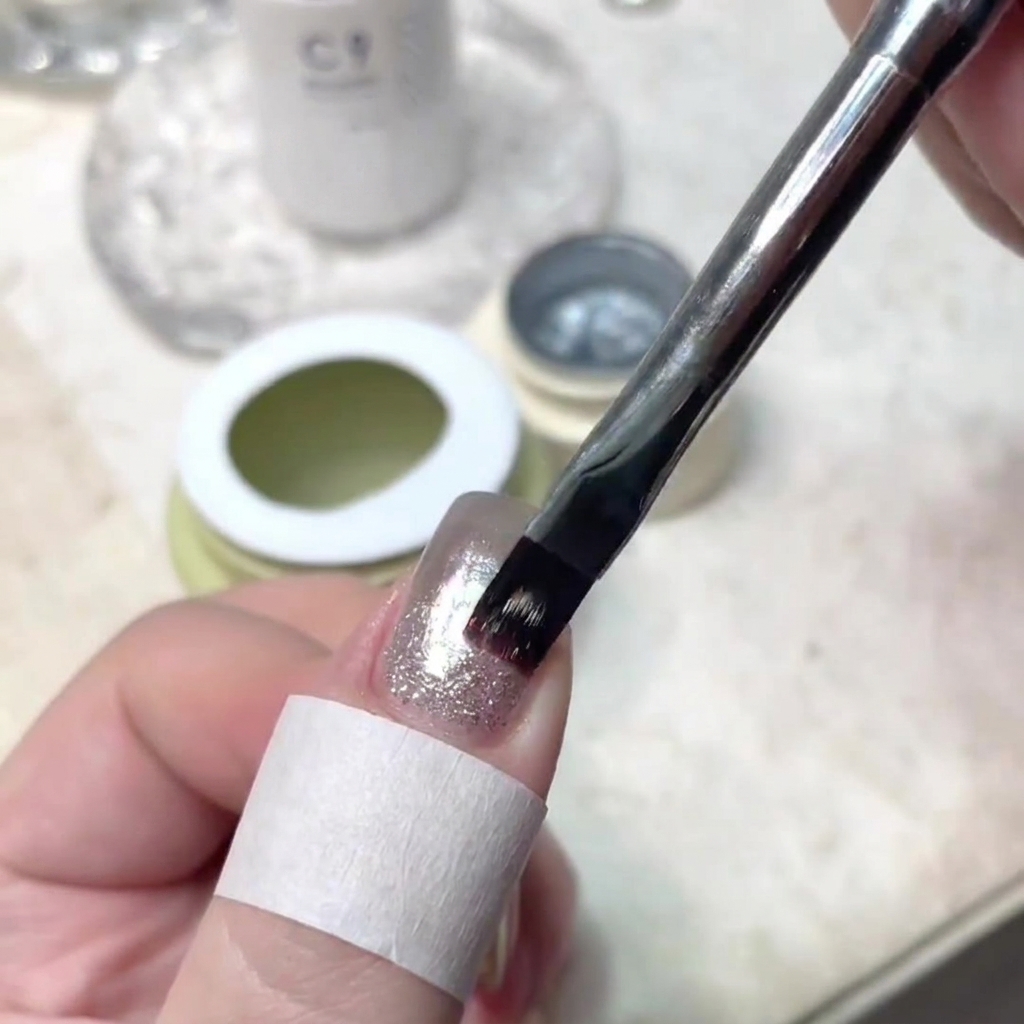
Take a small amount of the custom-mixed cat-eye gel and apply a thin layer down the center portion of the prepared nail plate.
Tip: Keep the layer thin to prevent pooling around the cuticles and ensure a controlled magnetic effect. - 9Activate cat-eye magnetic shimmer
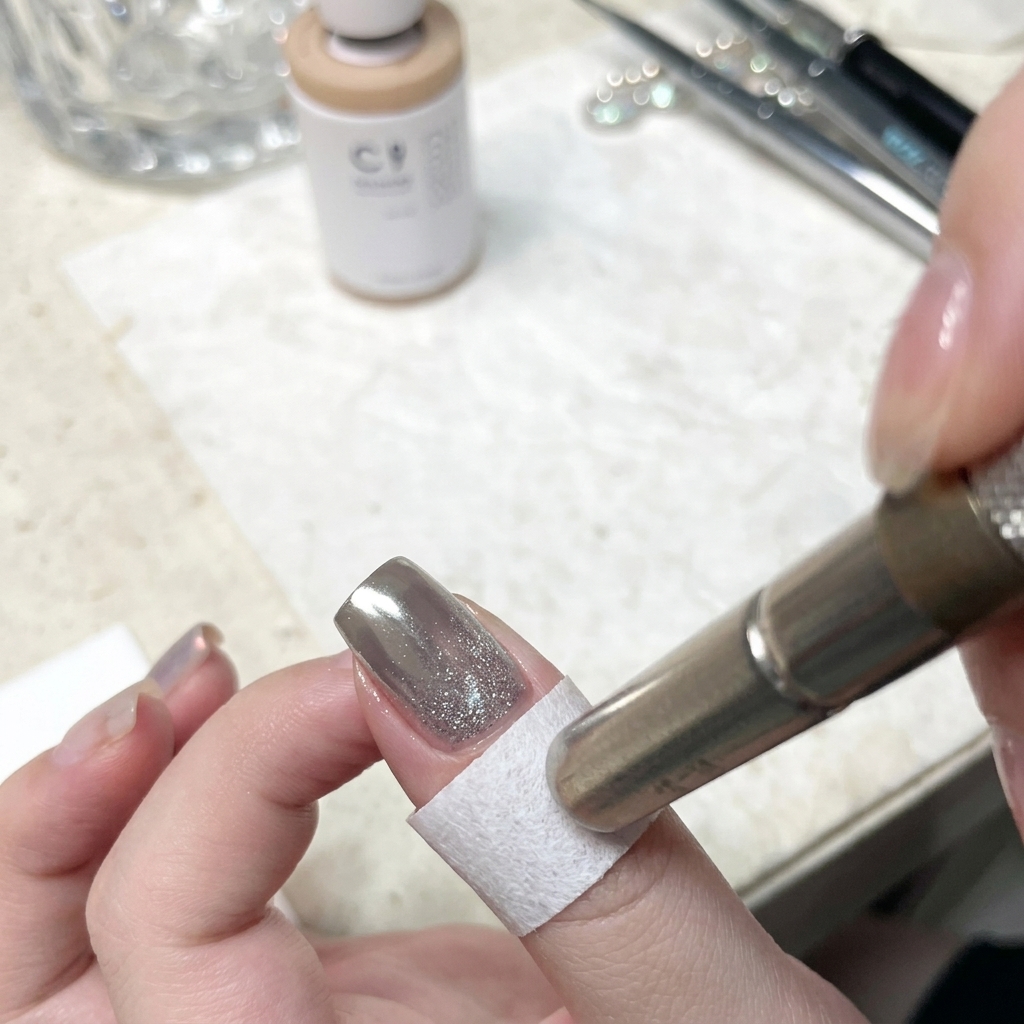
Hover a cylindrical magnet closely over the wet cat-eye gel, moving it in circular motions to draw out the magnetic particles and create a dimensional light effect.
Tip: Do not touch the wet gel surface with the magnet; keep a steady, close distance to shape the shimmer precisely. - 10Cure with mini UV/LED lamp
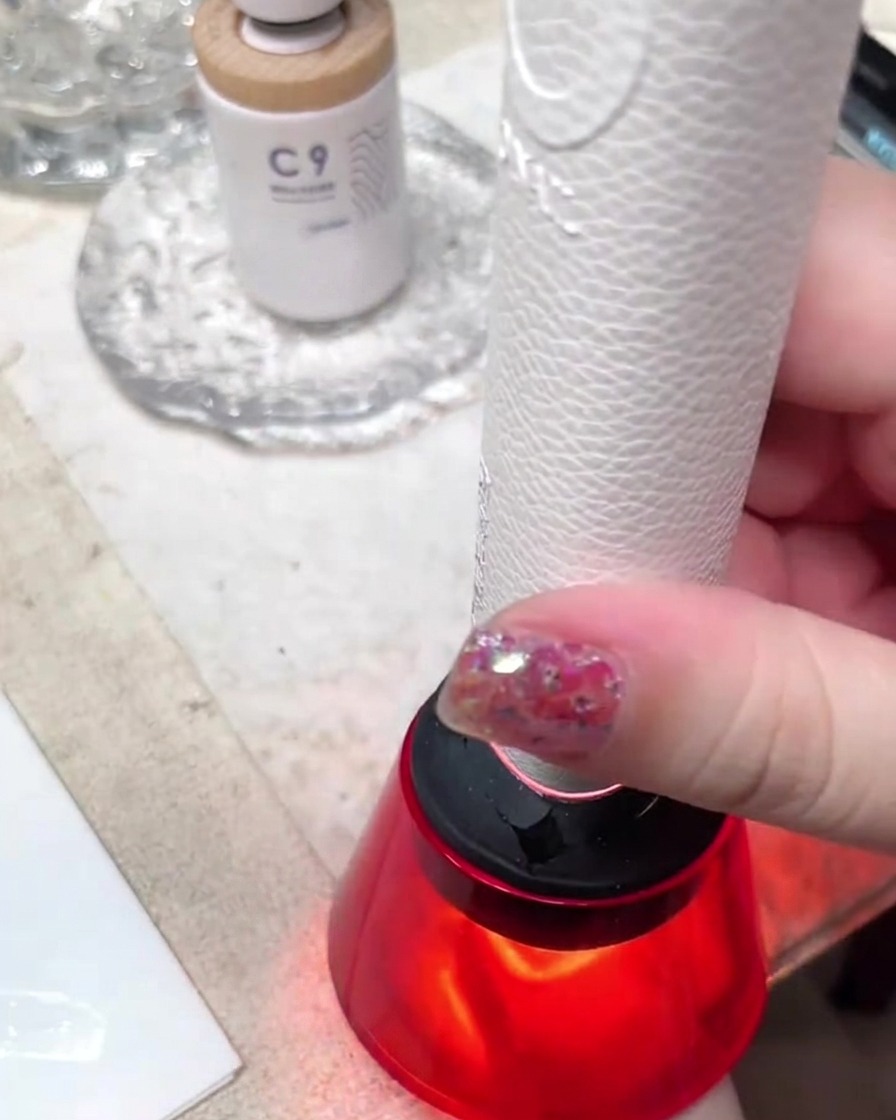
Place the nail under a handheld red mini UV/LED lamp to cure the freshly applied layer and lock in the magnetic shimmer design.
Tip: Hold the portable lamp steady over the finger to ensure complete and even curing across the entire nail surface. - 11Seal with final top coat
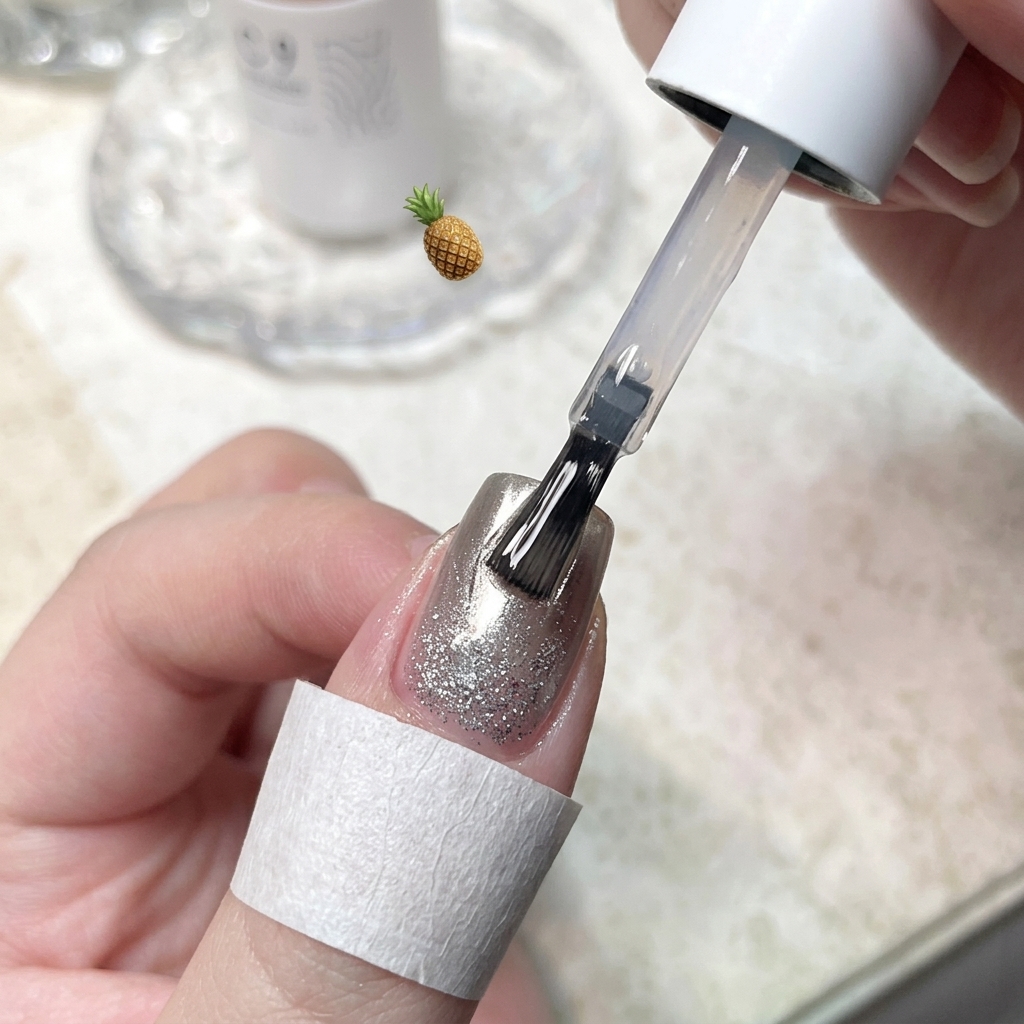
Apply a final layer of clear top coat over the entire nail surface, sealing the edges completely to protect the design and provide high-gloss durability.
Tip: Cap the free edge with the top coat to prevent chipping and extend the lifespan of the manicure.