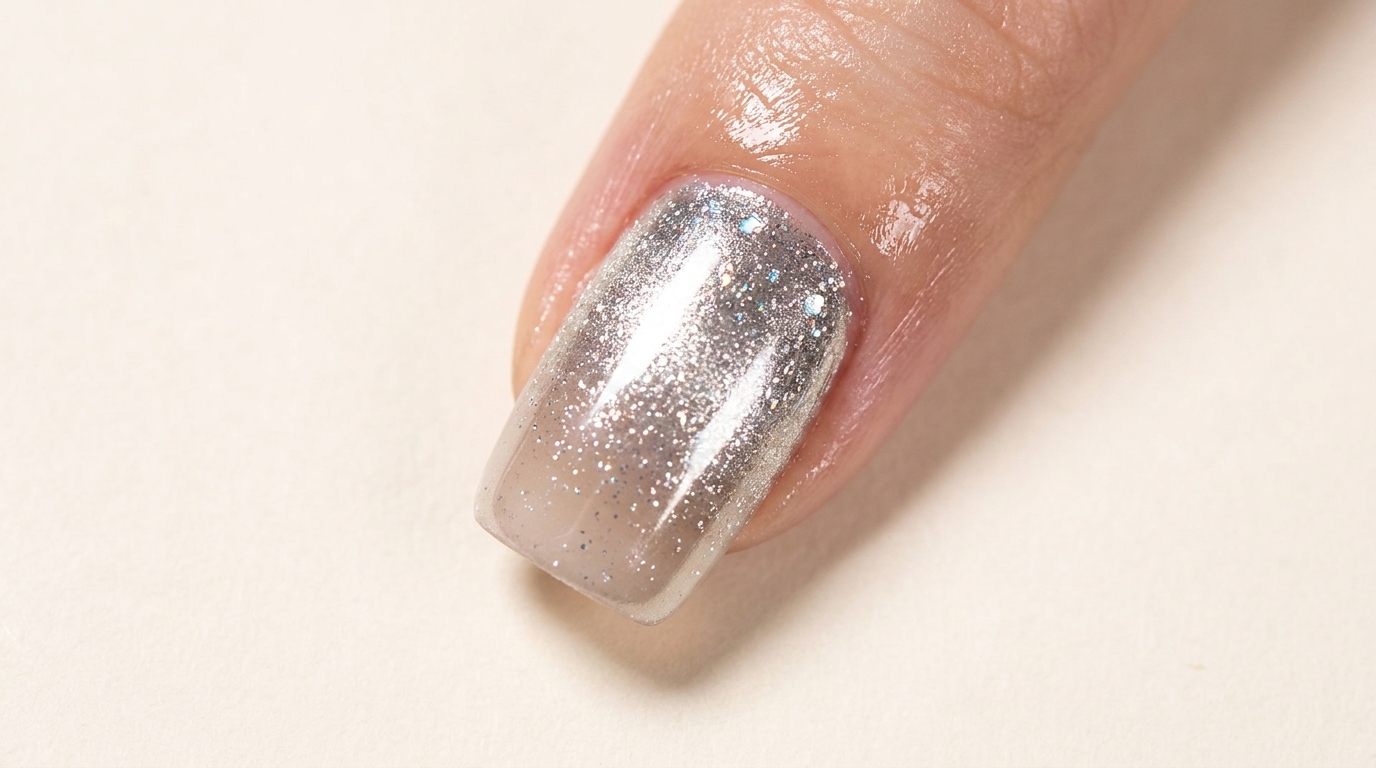
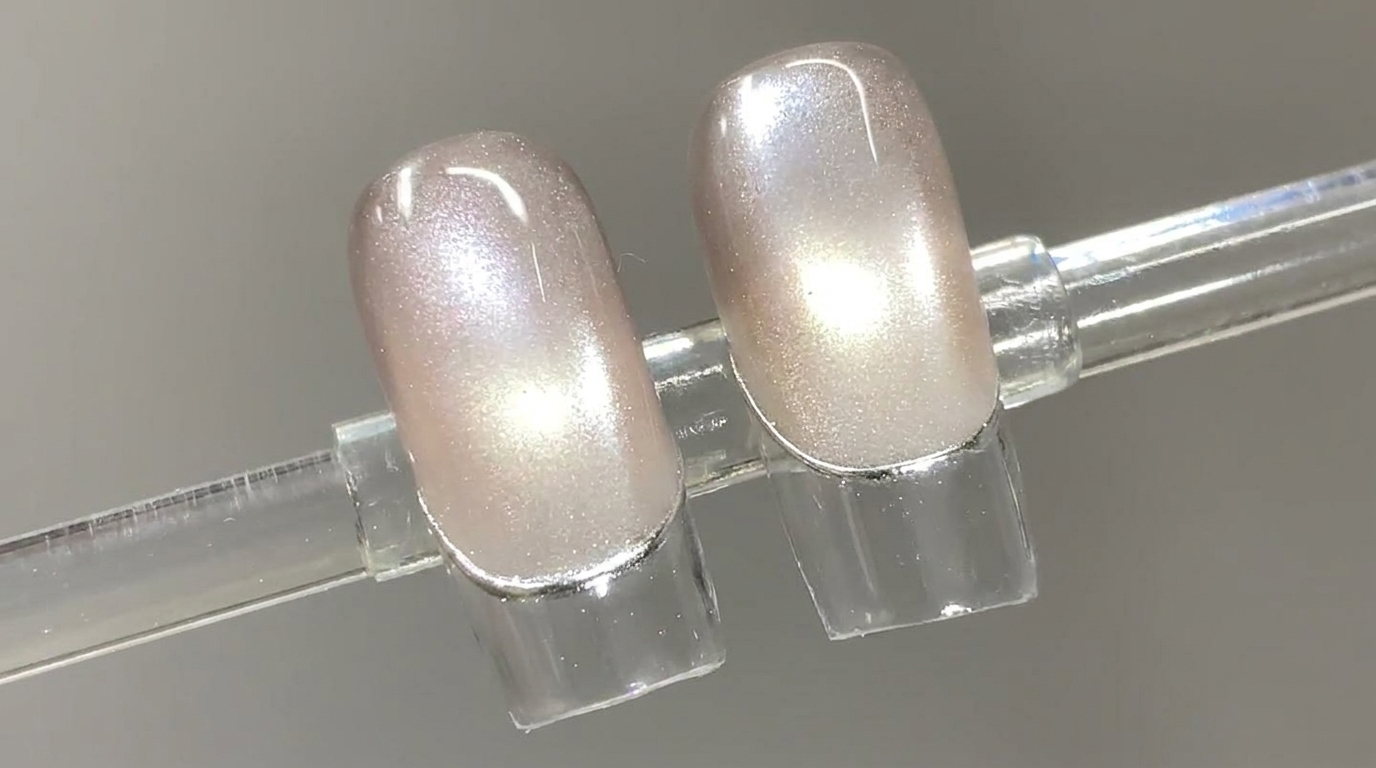
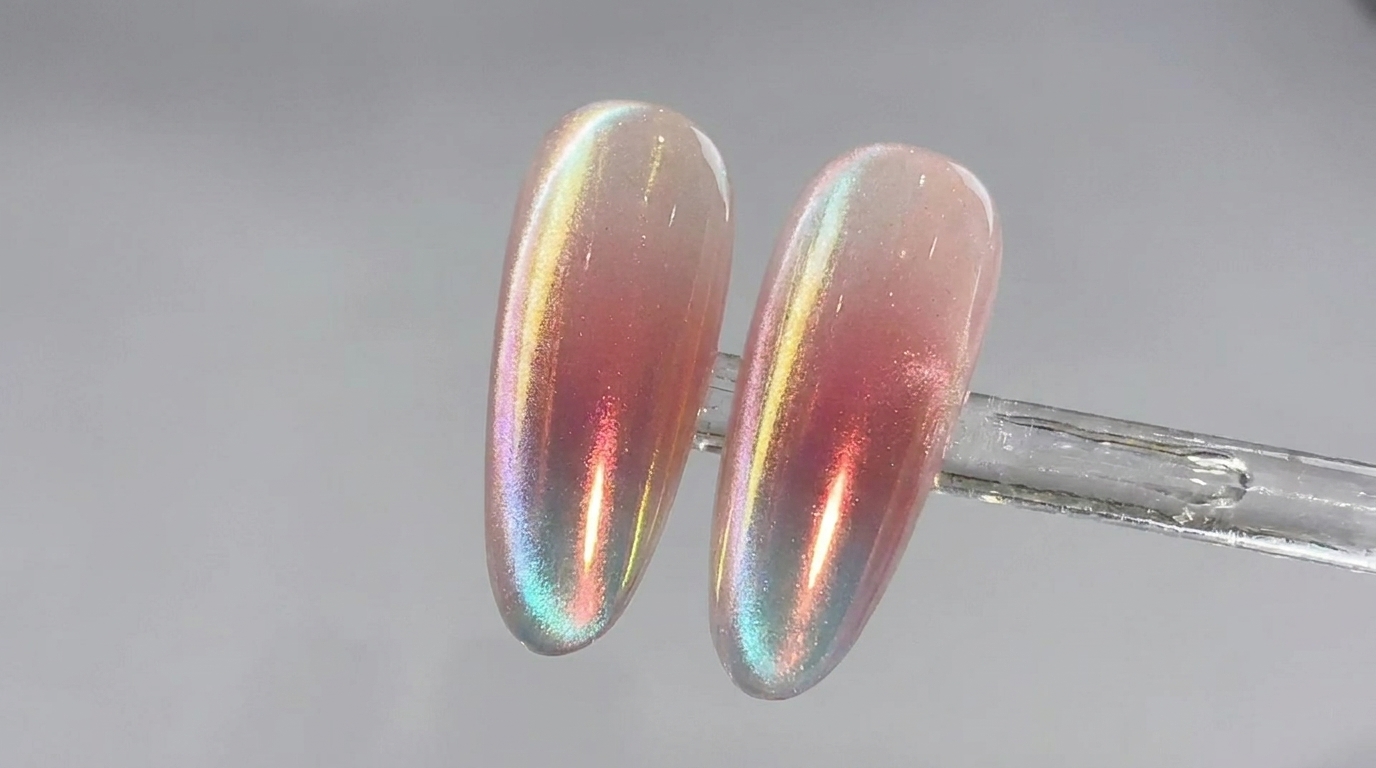
Ethereal French Gradient Nails
Gold Foil and Glitter — Step-by-Step Tutorial
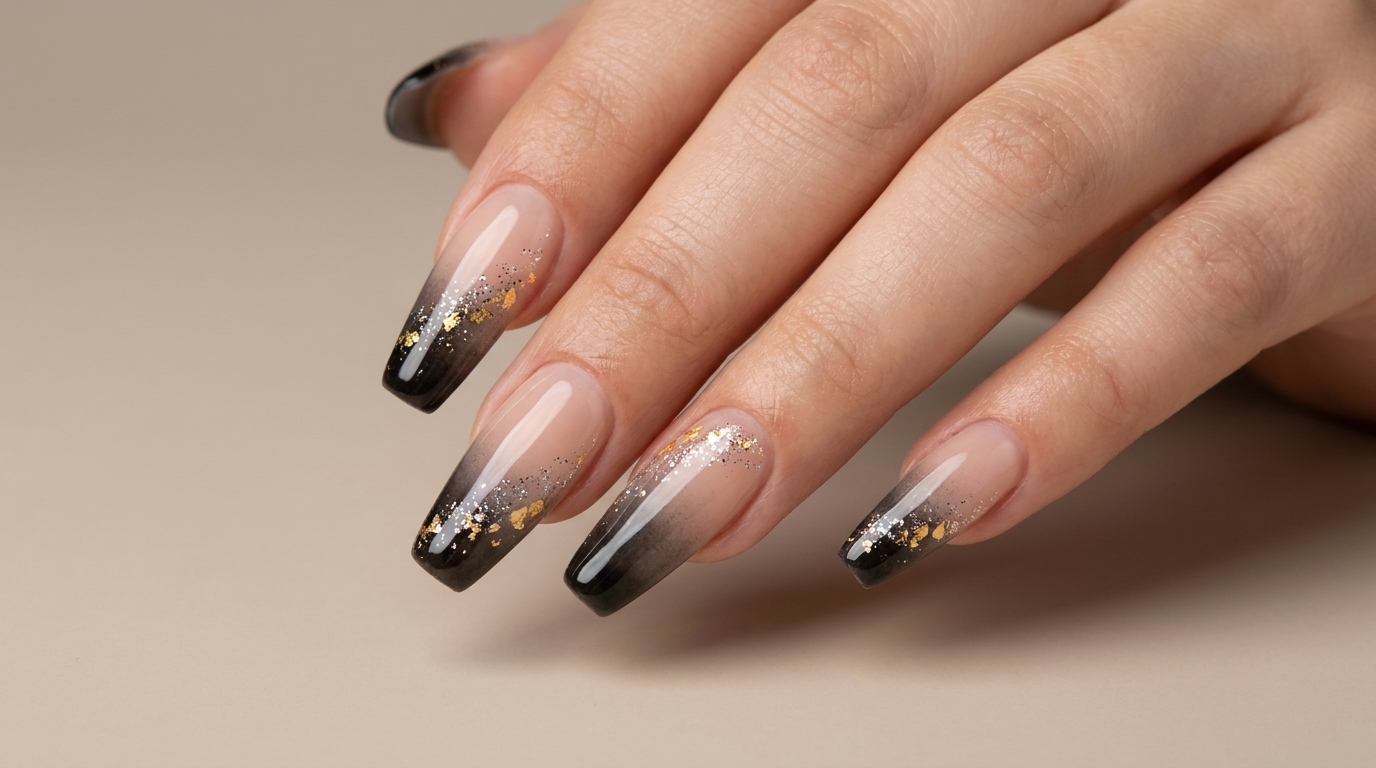
Discover how to create dreamy ethereal French gradient nails featuring sheer nude bases, sparkling silver glitter, gold foil accents, and smoky black gradient tips.
Ethereal nail art combines delicate textures and soft gradient transitions to give your fingertips a magical, dreamlike quality. This tutorial walks you through blending sheer nude bases, glittering silver accents, luxurious gold foil flakes, and a sleek sponge-dabbed French tip technique for a truly extraordinary finish.
Steps
- 1Apply nude sheer base color
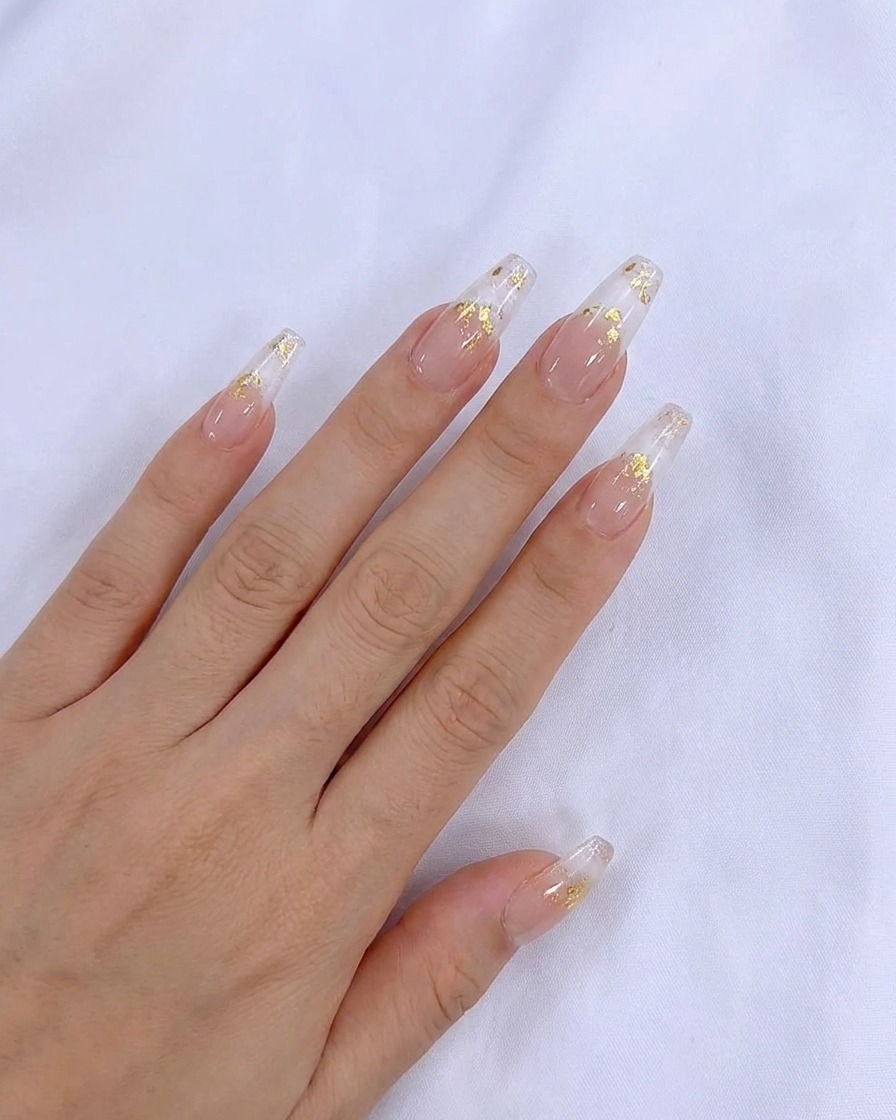
Apply a coat of nude sheer base color evenly across the nail plate, ensuring smooth coverage from the cuticle to the free edge. This provides a clean, neutral foundation for the subsequent nail art layers and helps create a subtle, natural look.
Tip: Keep the layer thin to prevent pooling around the cuticles and ensure even color distribution. - 2Apply uncured silver glitter
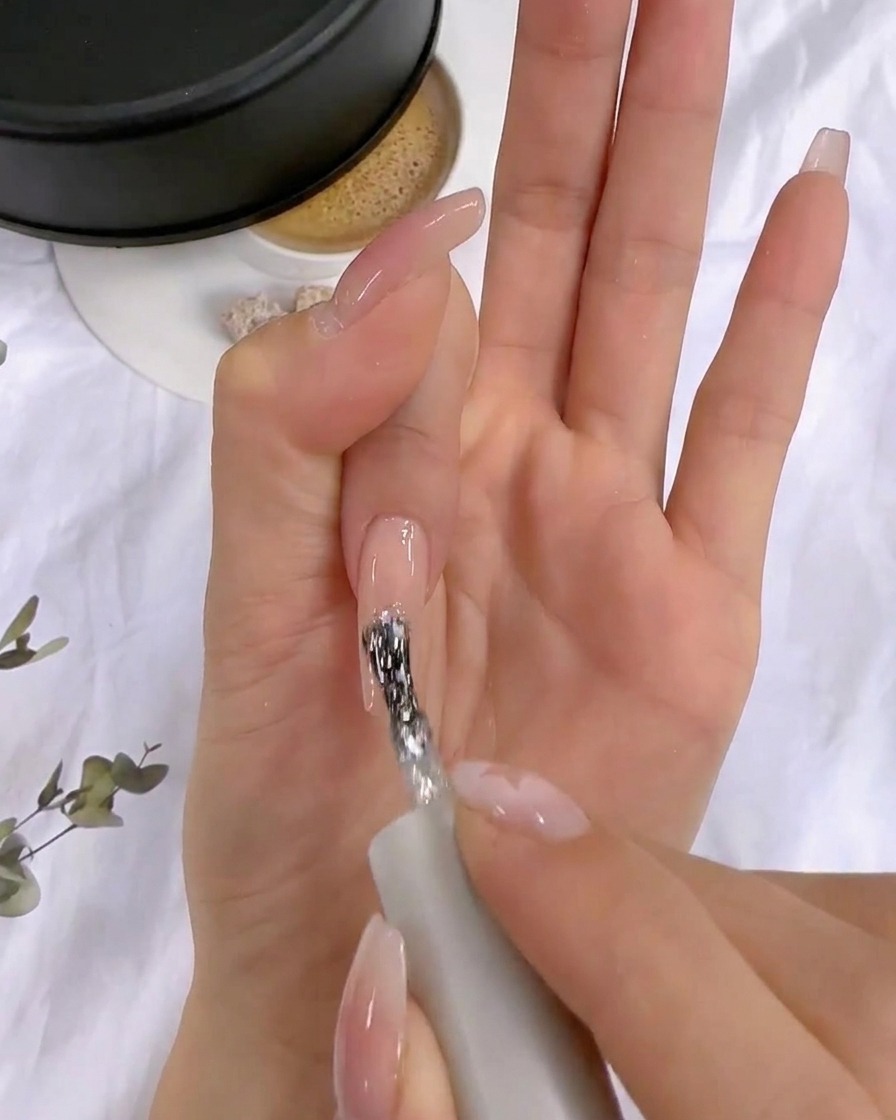
Pick up a small amount of silver glitter polish using the brush and dab it onto the desired areas of the nail surface without curing it yet. Leaving the layer uncured allows you to seamlessly blend and embed additional elements like gold foil into the wet surface.
Tip: Do not cure this layer so that subsequent foil pieces can adhere securely into the wet gel texture. - 3Add gold foil flakes
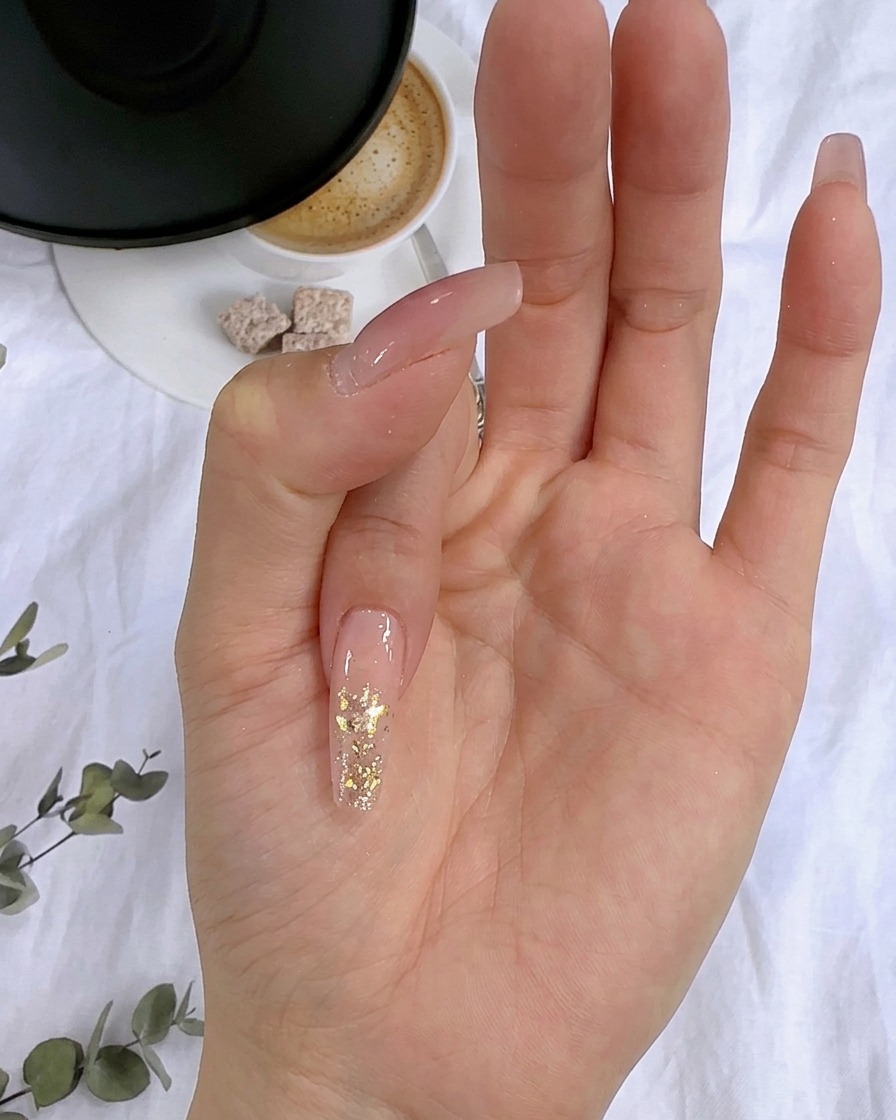
Carefully pick up a small amount of gold foil flakes and place them onto the uncured glitter layer on the nail surface. Press them lightly so they embed into the wet gel base for a multidimensional, metallic effect.
Tip: Use a fine detail tool or tweezers to place individual foil flakes precisely where you want them. - 4Apply reinforcing gel
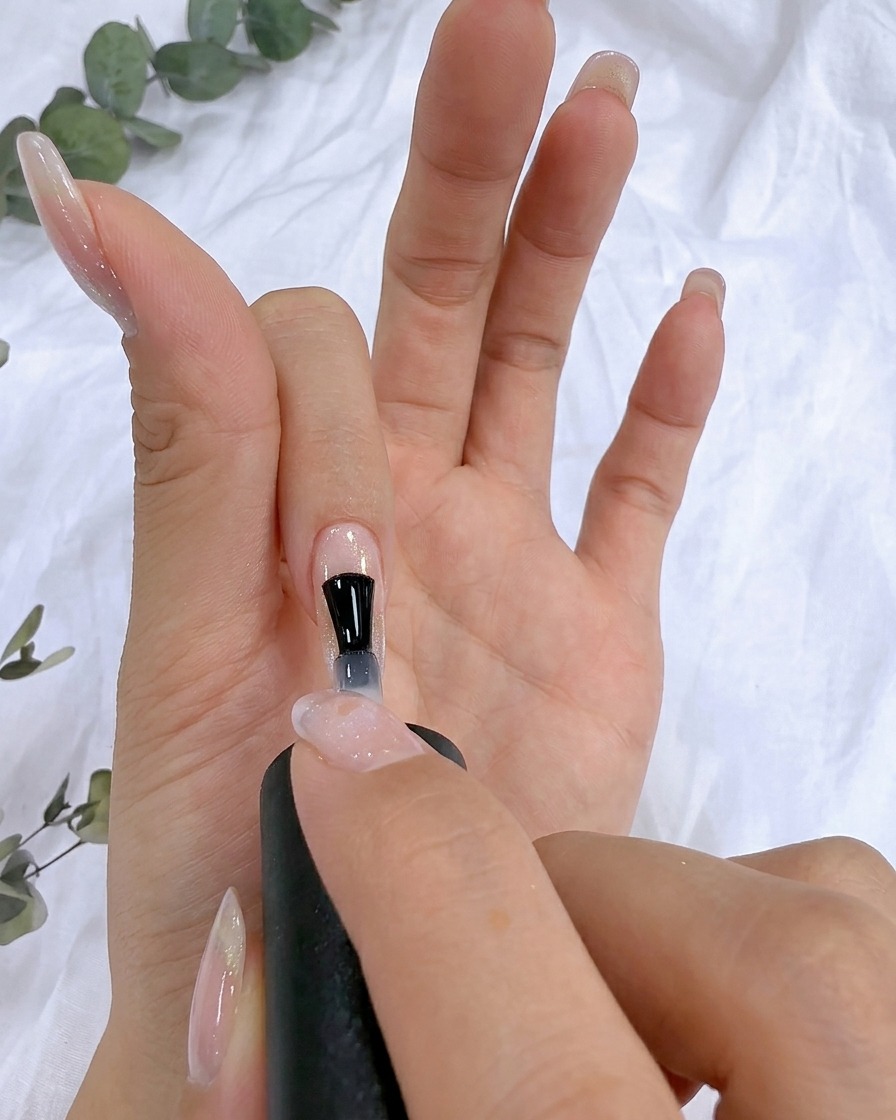
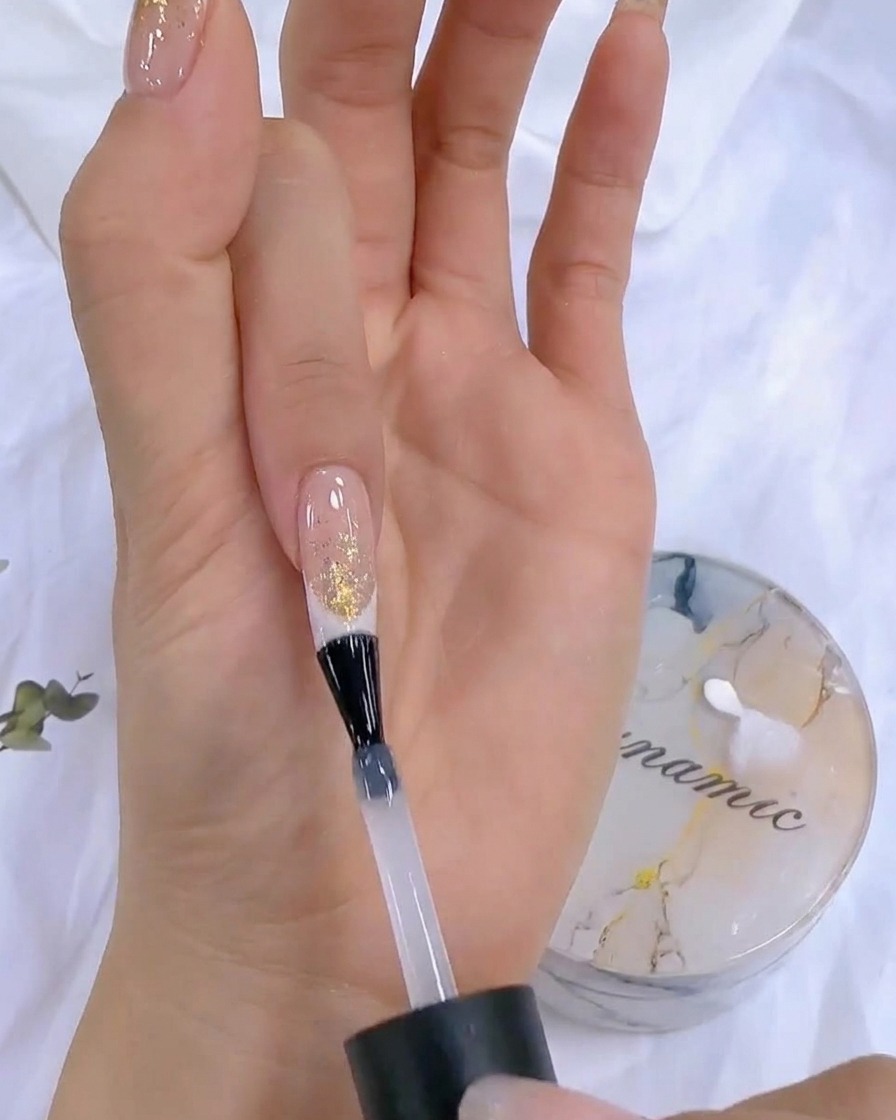
Apply a layer of reinforcing gel to level the nail surface and strengthen the manicure structure, then cure under the lamp.
Tip: Reinforcing gel helps build proper apex thickness and provides a smooth foundation for subsequent steps. - 5Clean surface float oil
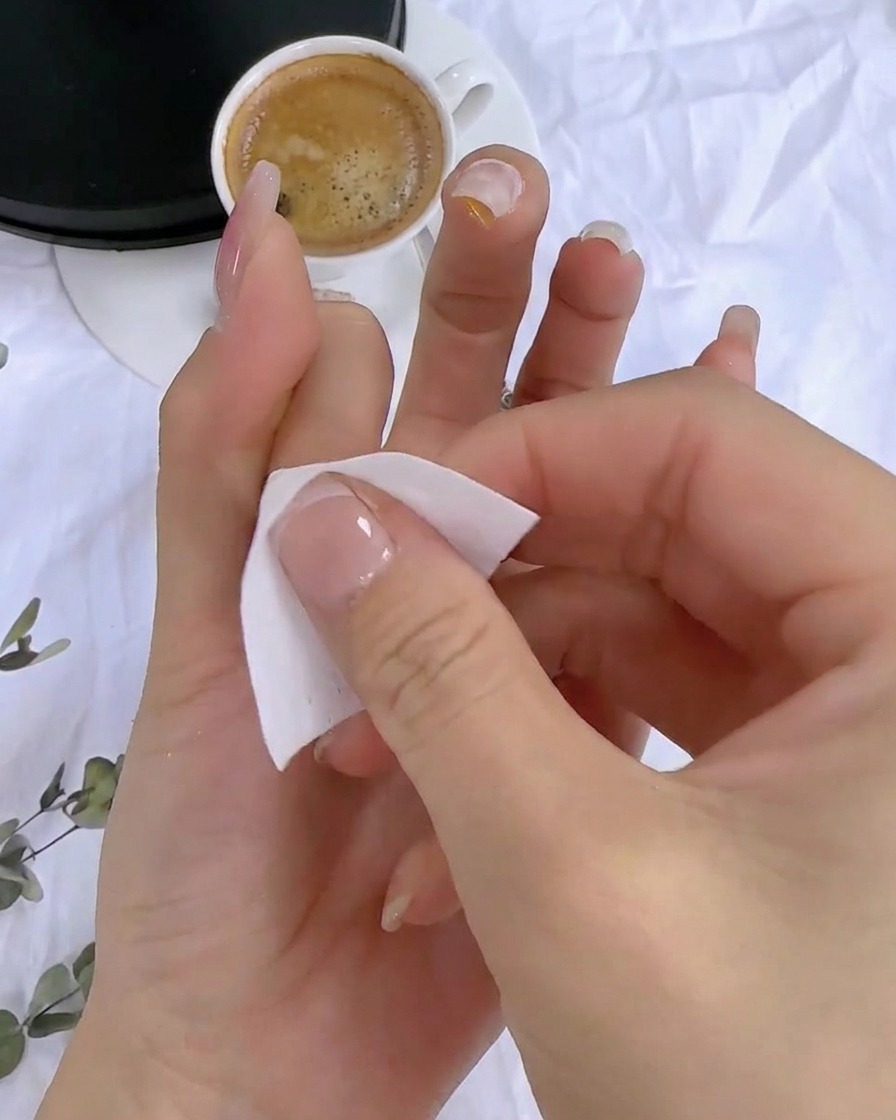
Take a lint-free wipe saturated with cleanser and thoroughly clean the nail surface to remove any sticky inhibition layer or float oil. This creates a clean, dry canvas necessary for applying subsequent stickers or top layers smoothly.
Tip: Ensure the nail surface is completely dry and oil-free before applying stickers so they adhere properly without lifting. - 6Apply French guide sticker
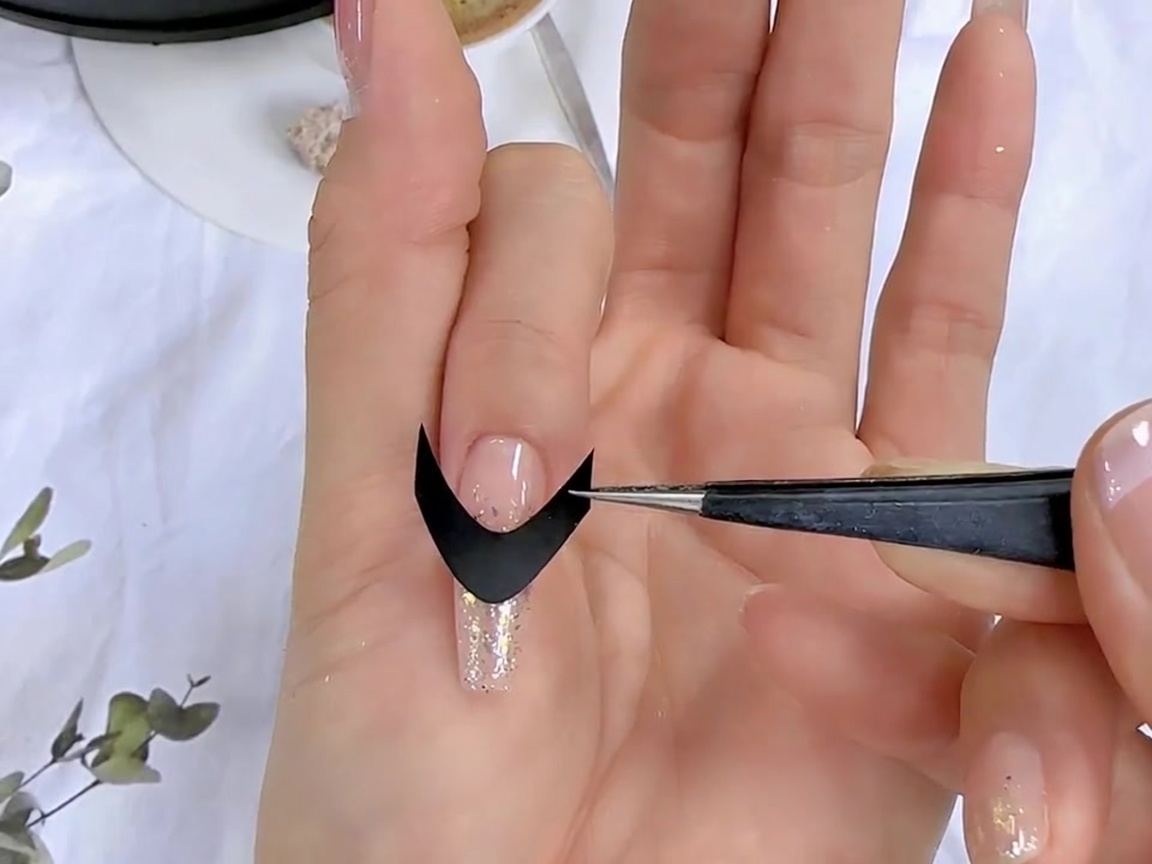
Take a black French guide sticker and carefully apply it onto the nail surface using tweezers. Align the curve of the sticker to match your desired French smile line position, ensuring it is centered properly.
Tip: Press down firmly along the edges of the guide sticker to prevent any color gel from bleeding underneath during the dabbing process. - 7Secure the French sticker
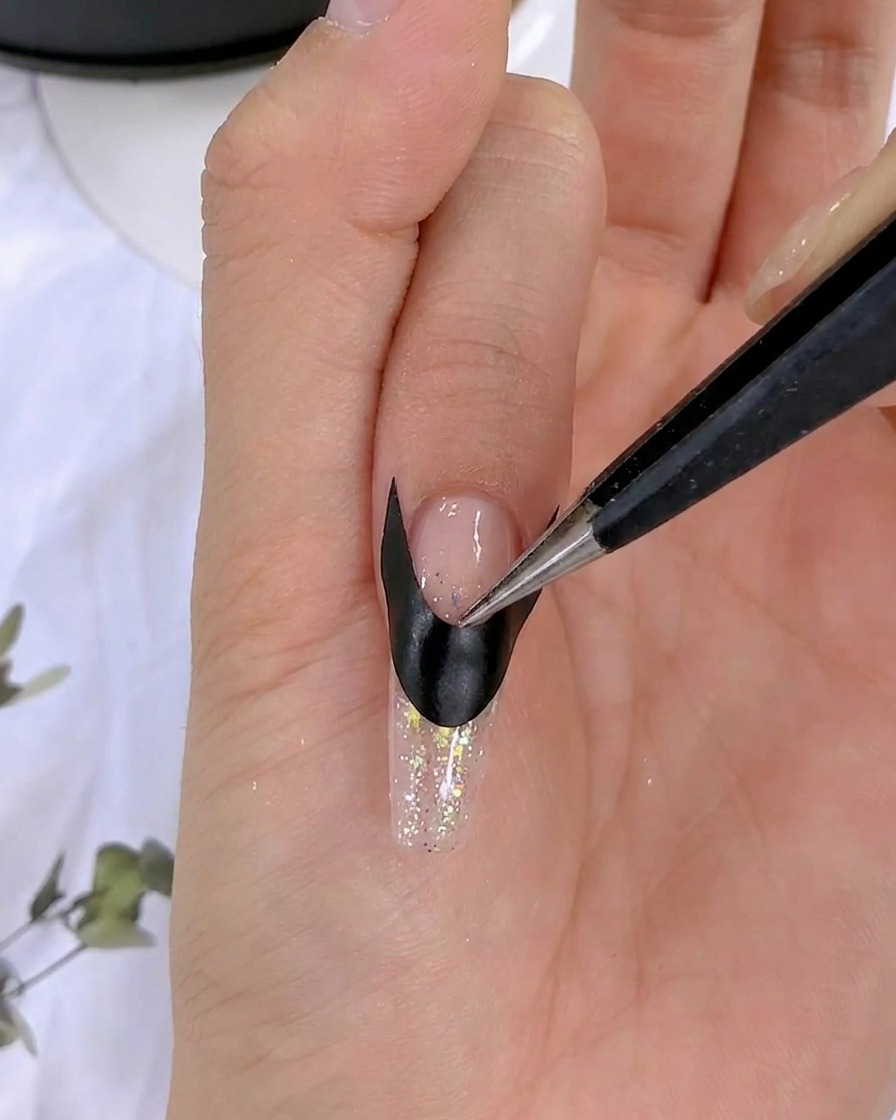
Press and smooth down the French sticker firmly against the nail surface to eliminate air bubbles and secure it in place.
Tip: Use tweezers or a silicone tool to firmly press the edges down for clean lines. - 8Prep color gel on palette
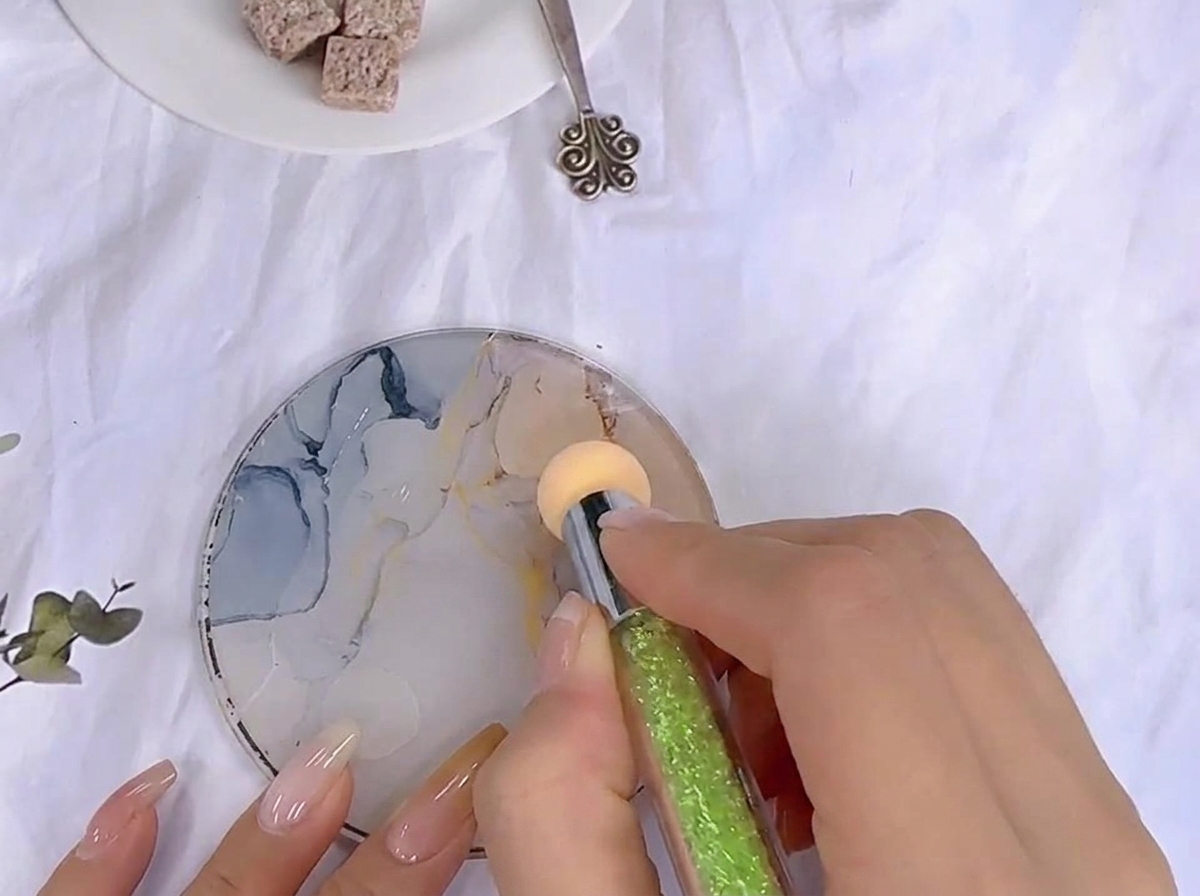
Dispense a small dollop of color gel onto a smooth glass palette and use a tool to spread it out into a thin layer. This prepares an even amount of product for the sponge dabbing technique.
Tip: Spreading the gel thinly on the palette helps avoid overloading the sponge with too much product, ensuring a smooth gradient. - 9Dab color gel for gradient
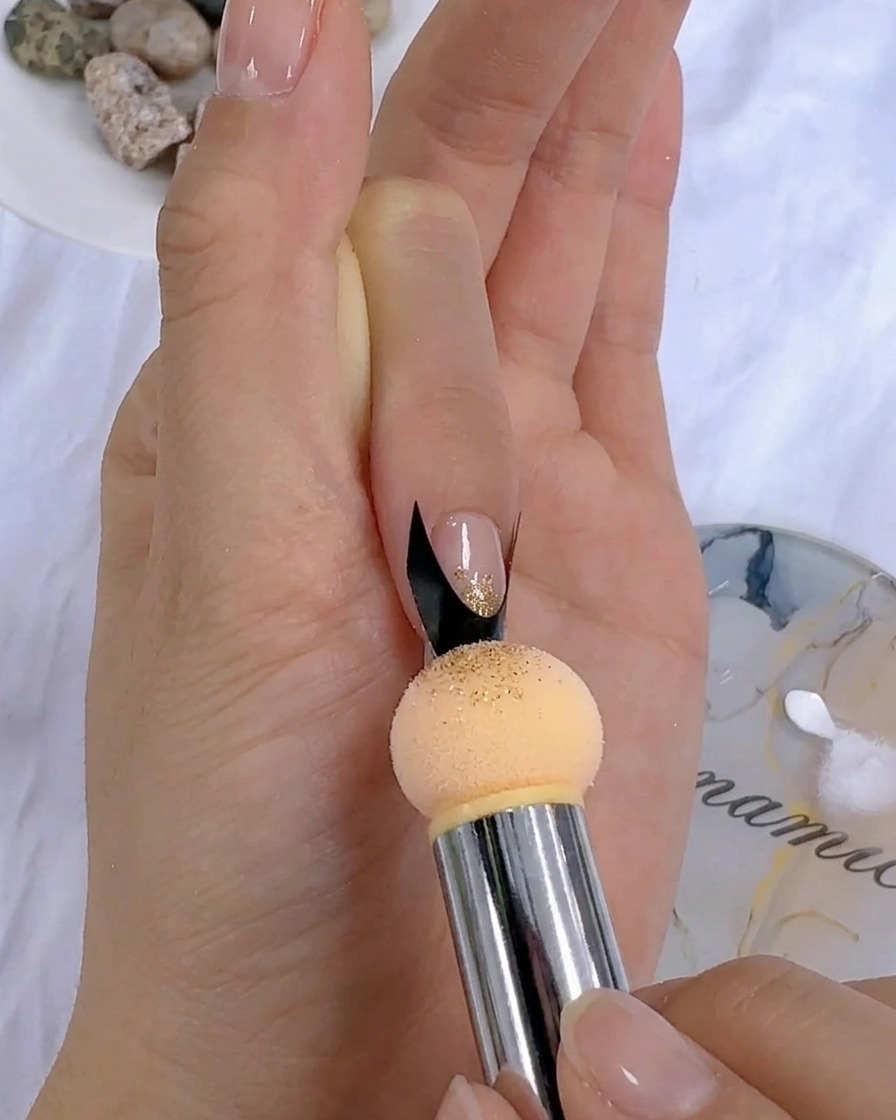
Take a makeup sponge and gently dab the color gel onto the nail near the French sticker to create a soft gradient effect.
Tip: Keep the dabbing motion light and controlled to achieve an even fade. - 10Cure under UV/LED lamp
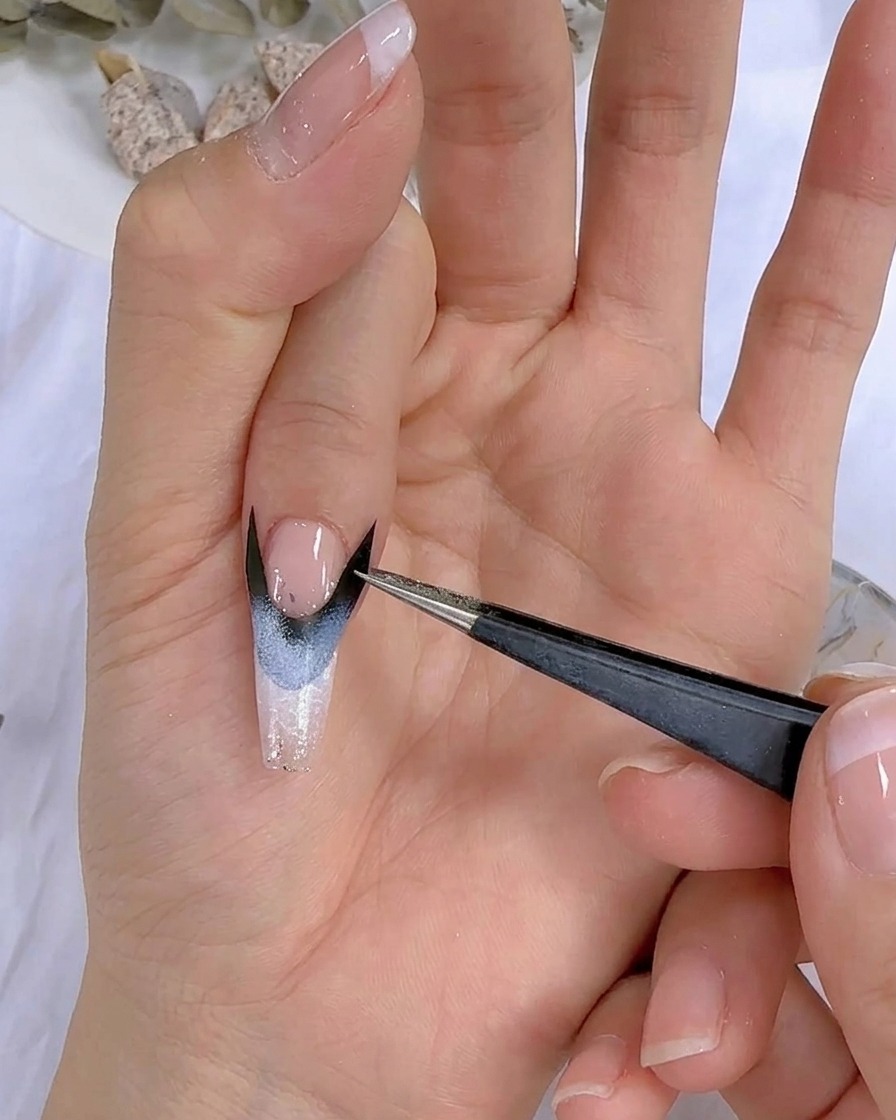
Place your hand under the UV/LED lamp and cure the gel for 60 seconds to set the gradient design.
Tip: Ensure your hand is positioned correctly inside the lamp for uniform curing. - 11Remove French guide sticker
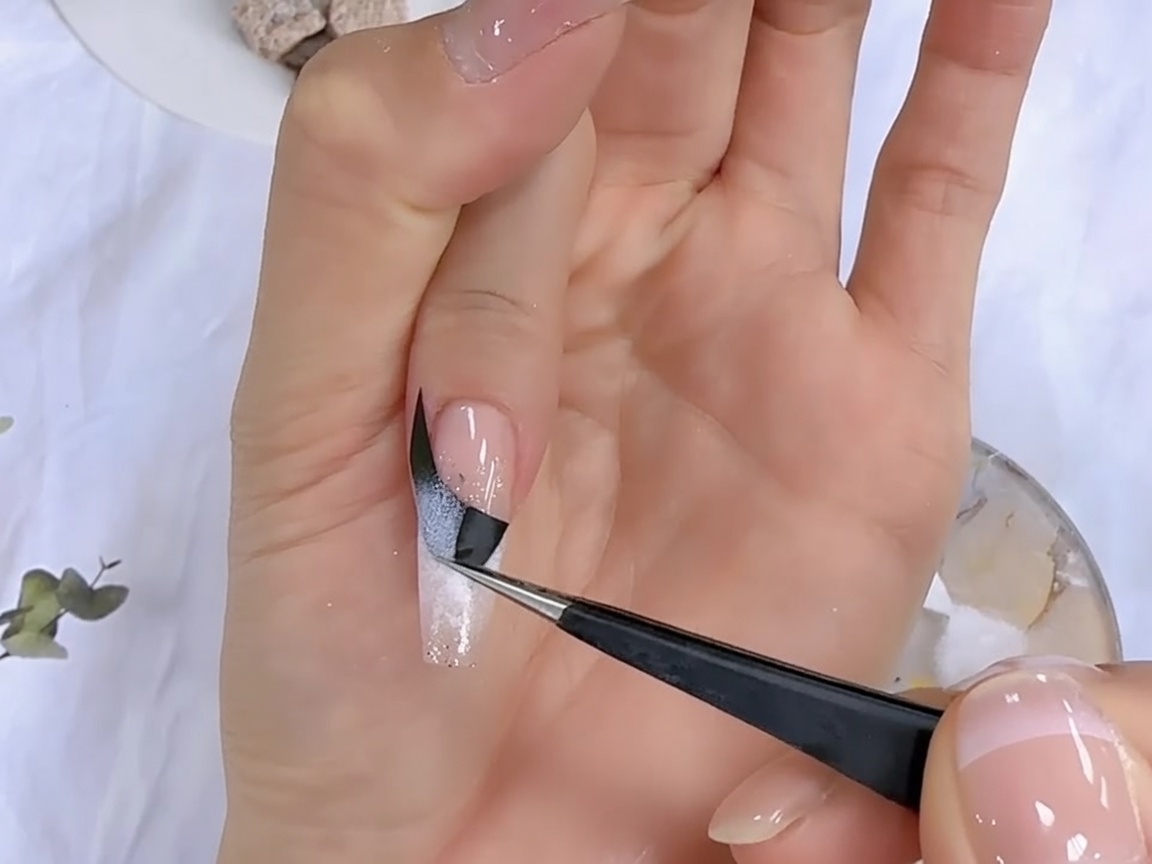
Using a pair of tweezers, gently and carefully peel off the black French guide sticker from the nail. Pull it away slowly at a low angle to reveal a sharp, clean line.
Tip: Peel the sticker off while the gel is still uncured and immediately after dabbing to maintain a crisp edge without pulling the cured product. - 12Apply protective top coat
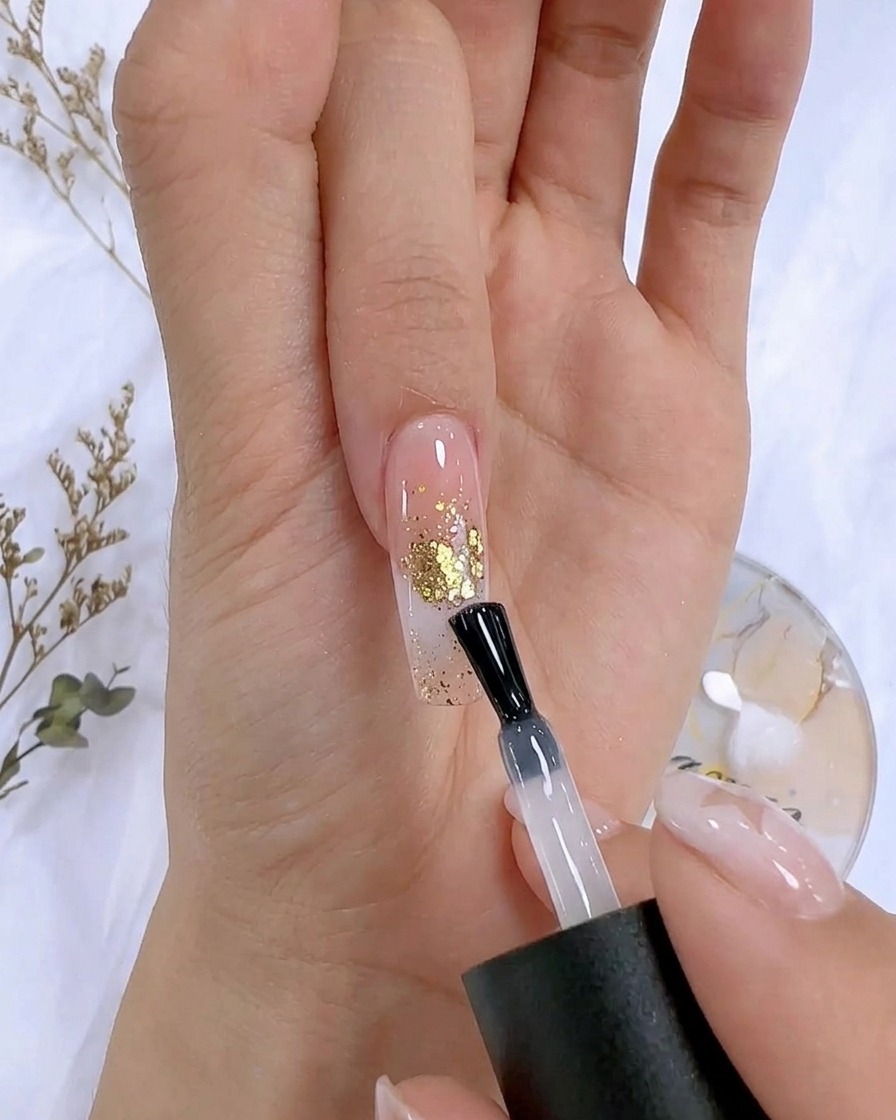
Apply a generous, even layer of top coat over the entire nail surface, covering the nail art design completely. Cap the free edge to seal the manicure and protect it from chipping.
Tip: Ensure the top coat covers all edges and encapsulated elements thoroughly to prevent lifting and maintain long-lasting shine. - 13Cure top coat under lamp
Place the hand under a UV or LED lamp and cure the top coat for 120 seconds. This locks in the shine, hardens the protective layer, and completes the final manicure process.
Tip: Do not remove your hand early from the lamp to ensure the top coat cures completely and retains its high-gloss mirror finish.