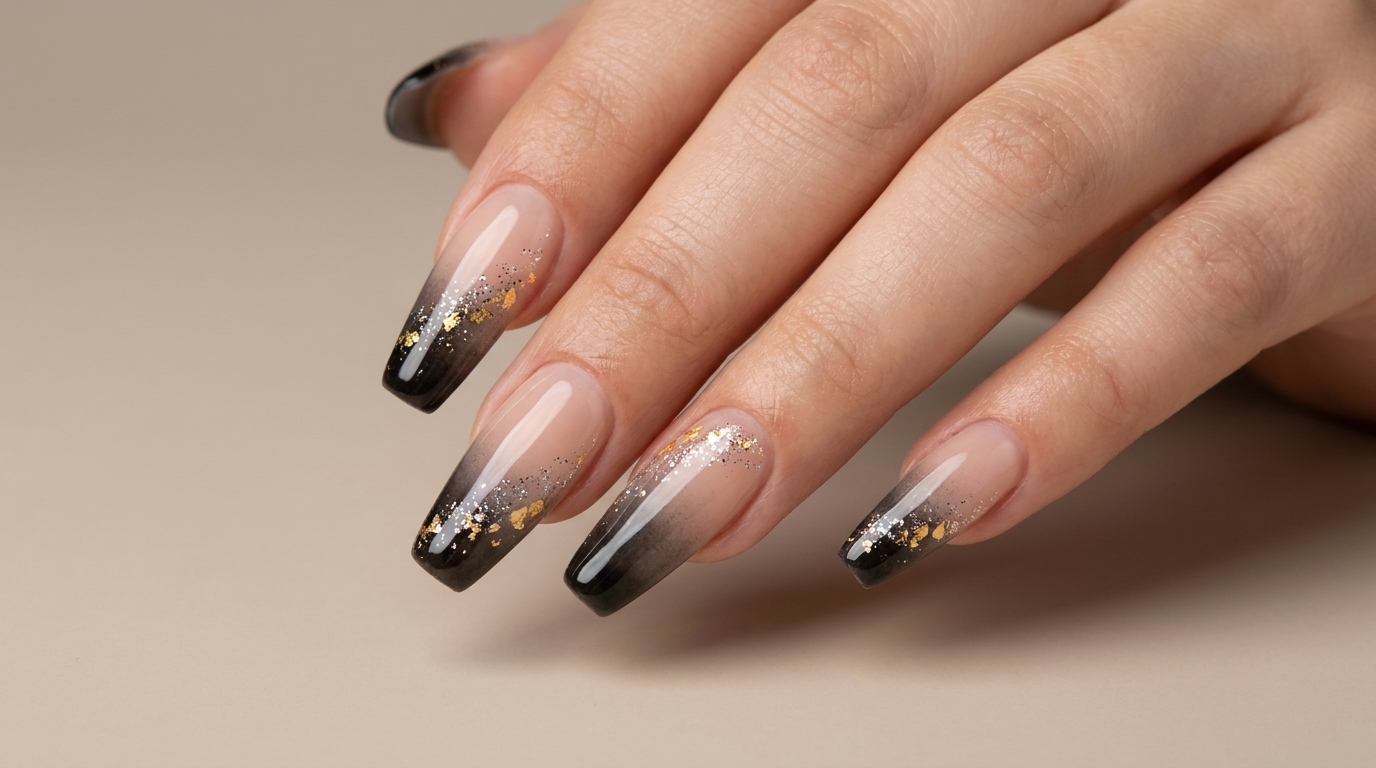
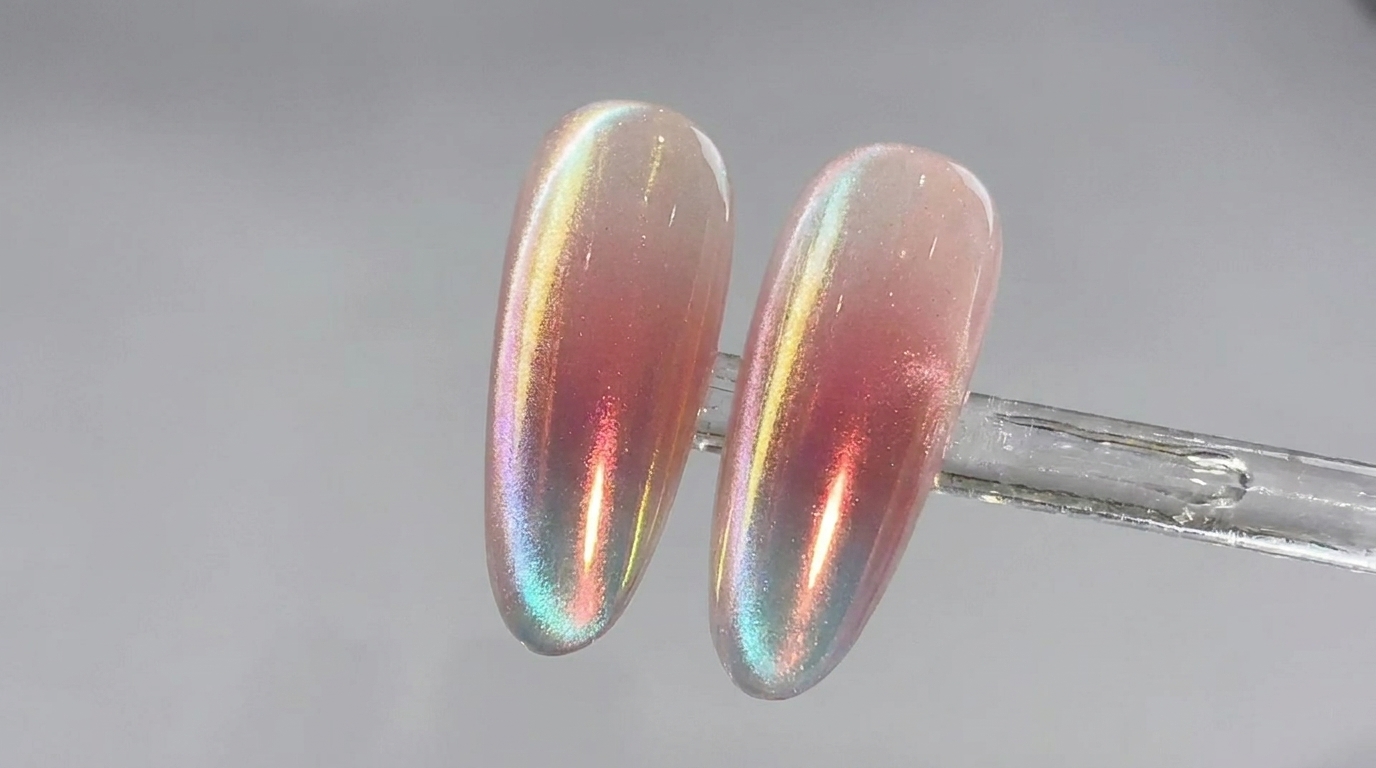
Silver Gradient Cat-Eye Nails
Sequins — Step-by-Step Tutorial
Create a mesmerizing, celestial look combining iridescent chunky sequins with a shifting, reflective silver cat-eye gel finish.
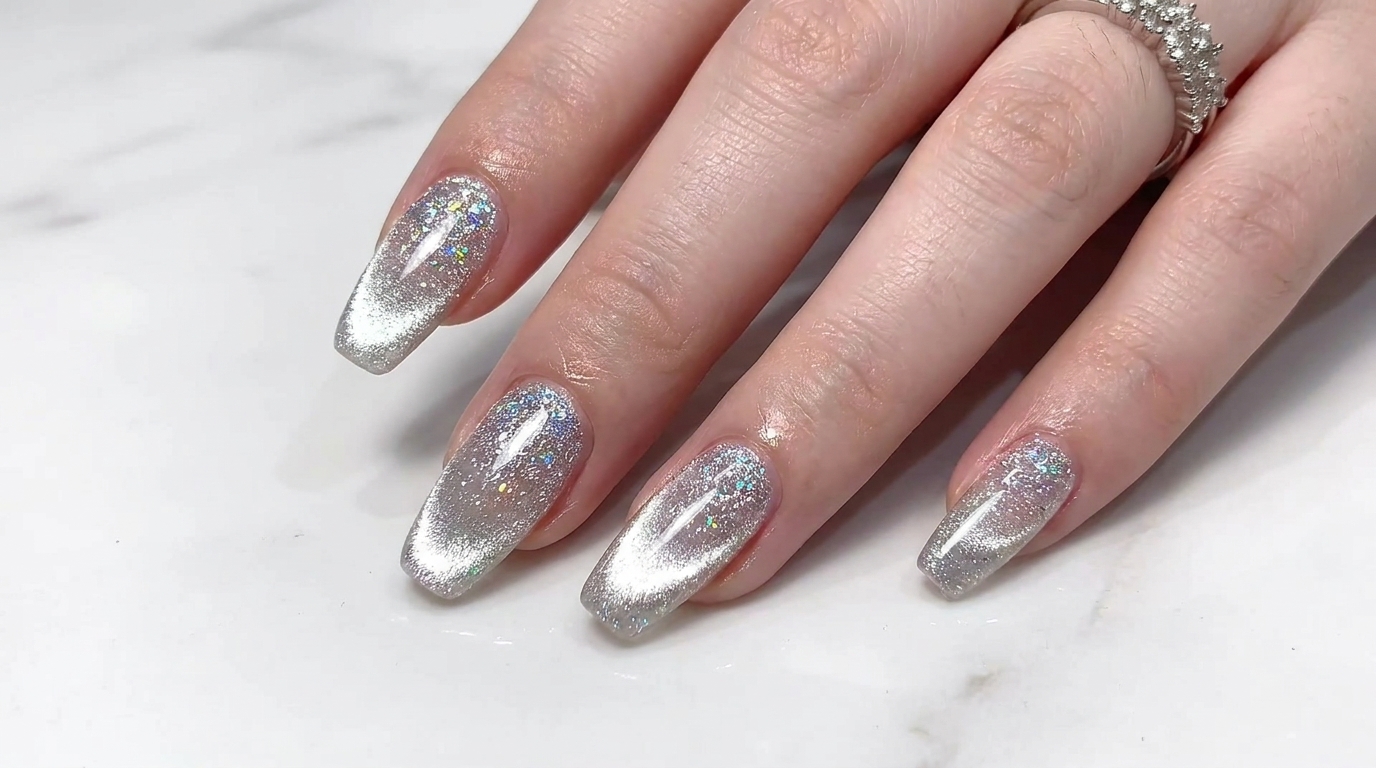
Merging textural depth with futuristic shine, this silver gradient cat-eye look offers a stunning multi-dimensional effect. By layering iridescent sequins at the base and encapsulating them before applying a magnetic cat-eye polish, you achieve a sophisticated finish that catches the light from every angle.
Steps
- 1Apply sequin gel to the base
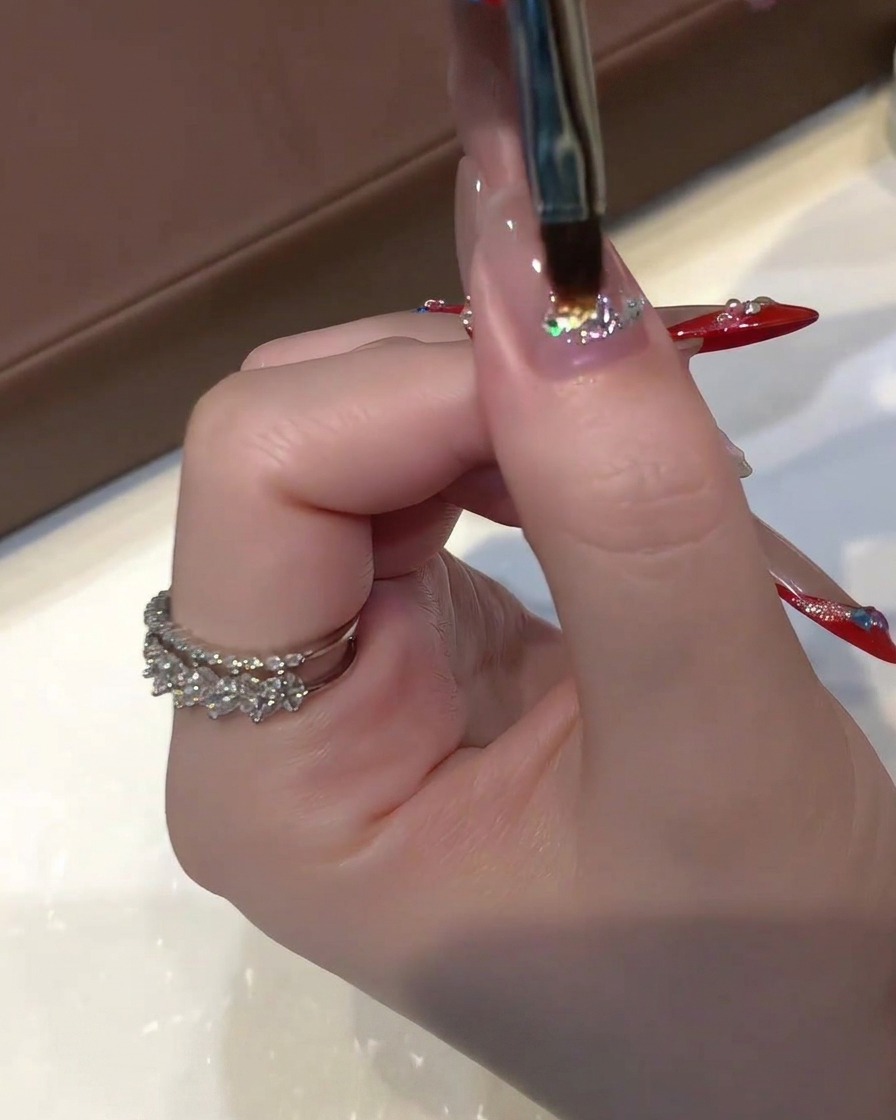
Using a thin detailing brush, apply an iridescent chunky sequin gel near the cuticle area of the nail. Concentrate the product at the base to prepare for a gradient effect.
Tip: Pick up small amounts of the chunky sequin gel to maintain control and avoid flooding the cuticle line. - 2Create a sequin gradient
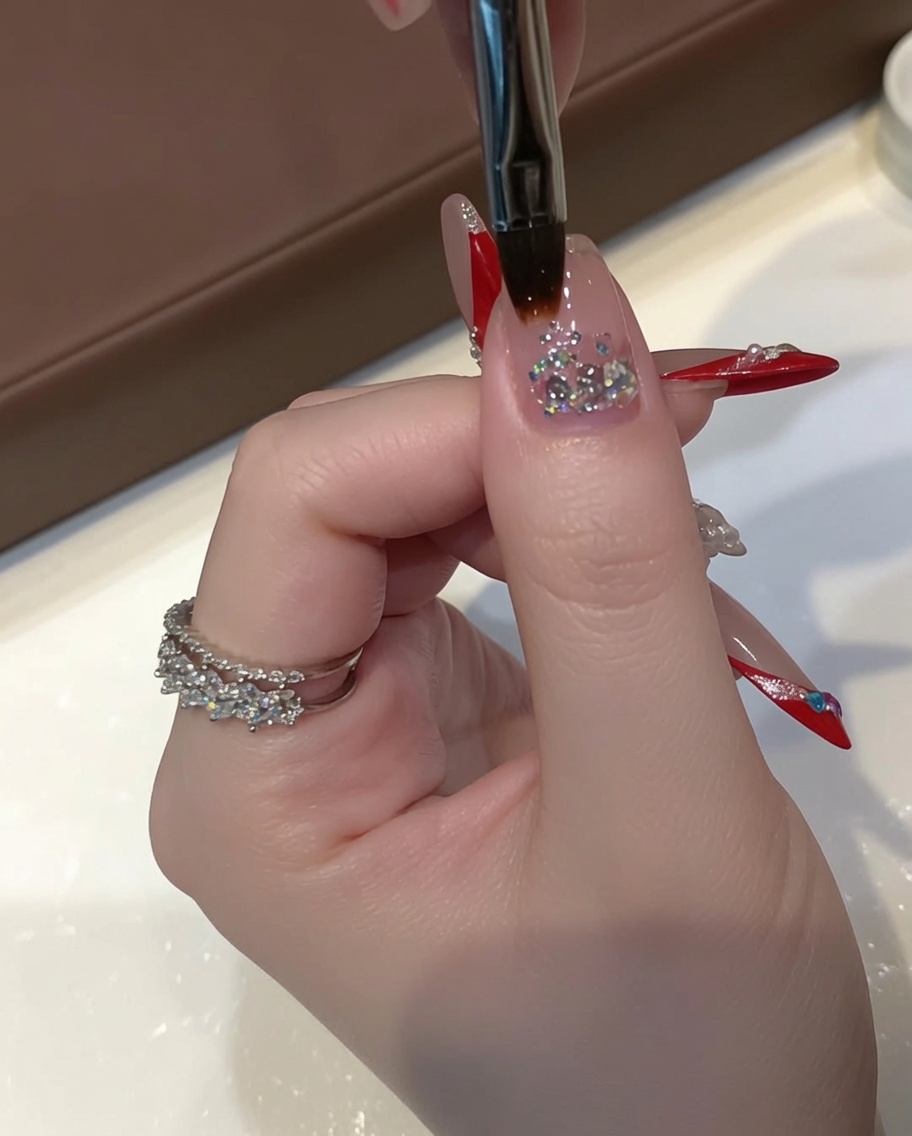
With the same thin brush, gently drag the iridescent sequin gel downwards toward the middle of the nail. Disperse the glitter particles naturally to create a seamless, fading gradient effect from the base.
Tip: Wipe your brush occasionally to prevent dragging too much product at once, keeping the fade smooth and airy. - 3Blend and flatten with a sponge
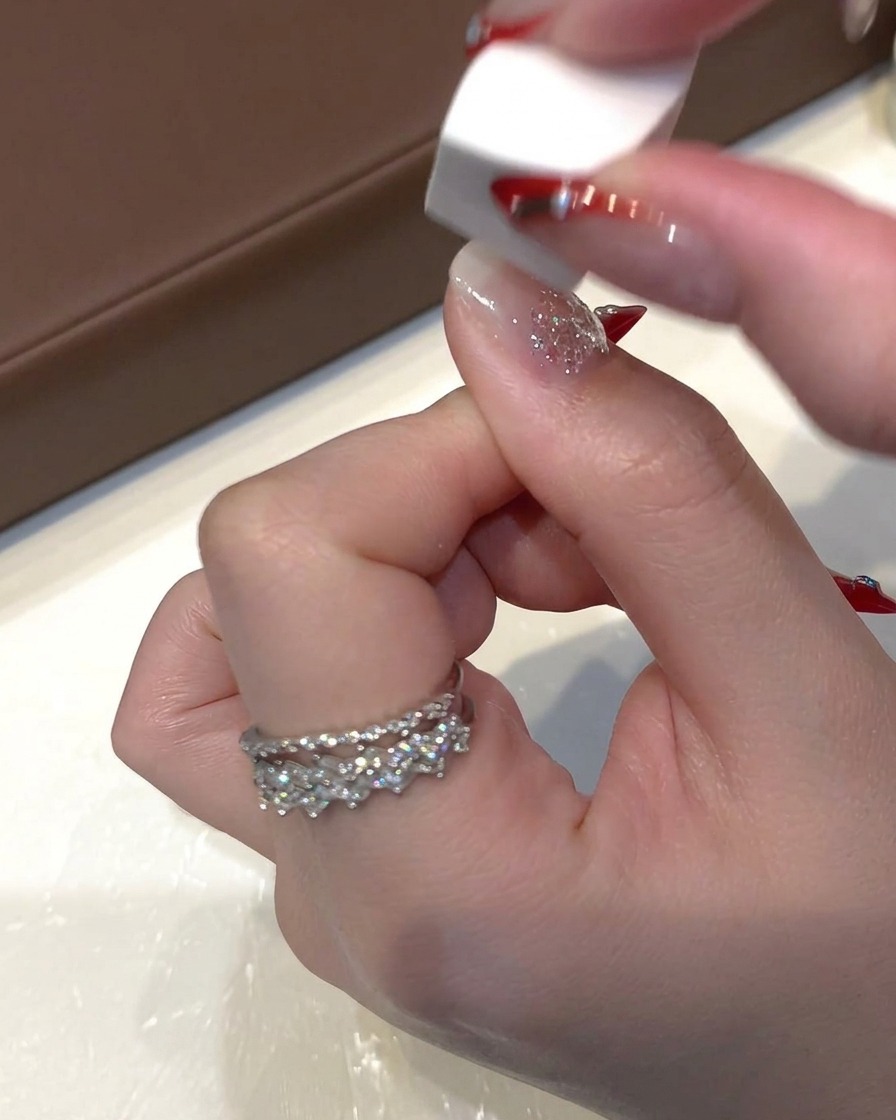
Take a small white rectangular makeup sponge and lightly tap it over the glitter area. This technique blends the sequins, absorbs excess gel, and presses the particles flat against the nail for a refined texture.
Tip: Use a light, repetitive tapping motion so you dont accidentally lift or completely remove the sequins. - 4Cure the sequin gel layer
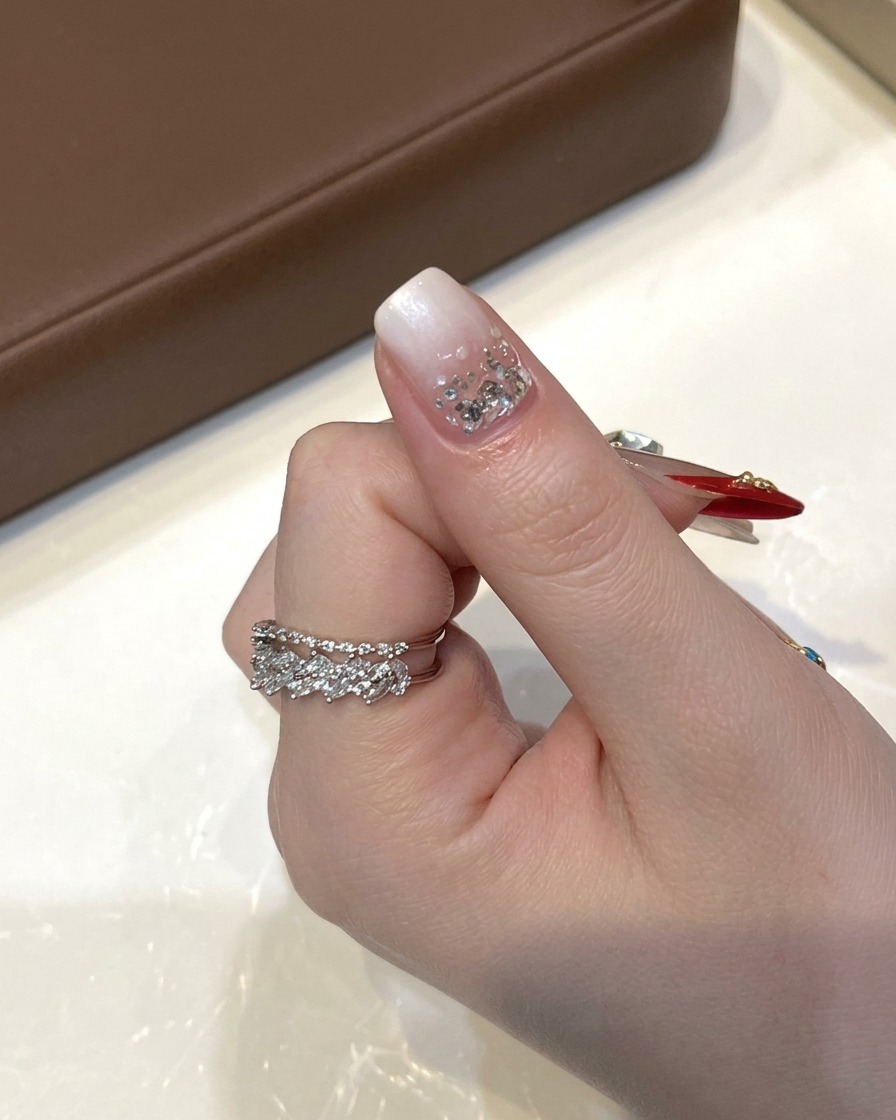
Hold the mini green handheld UV/LED lamp directly over the thumb nail to cure the blended iridescent sequin gel. Ensure the light covers the entire front half of the nail evenly so the gel sets completely before moving on to the next step.
Tip: Keep the handheld lamp steady and close to the nail surface to prevent the gel from shifting during the initial cure. - 5Encapsulate with builder gel
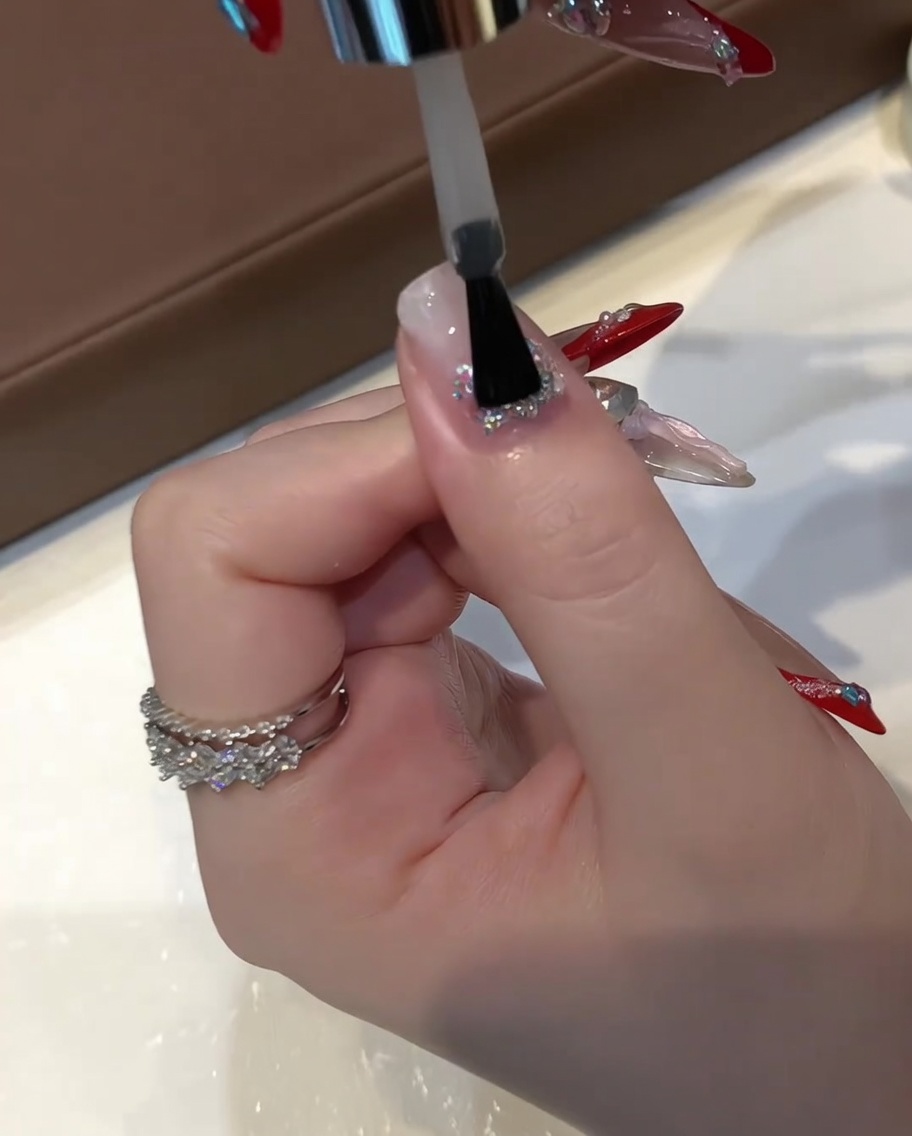
Apply a generous layer of clear leveling builder gel over the entire nail plate. This crucial step encapsulates the chunky sequins and levels out the nail surface, providing a perfectly smooth canvas for the cat-eye polish.
Tip: Flip the finger upside down for a few seconds before curing to let gravity help center the gel and build a natural apex. - 6Apply cat-eye polish
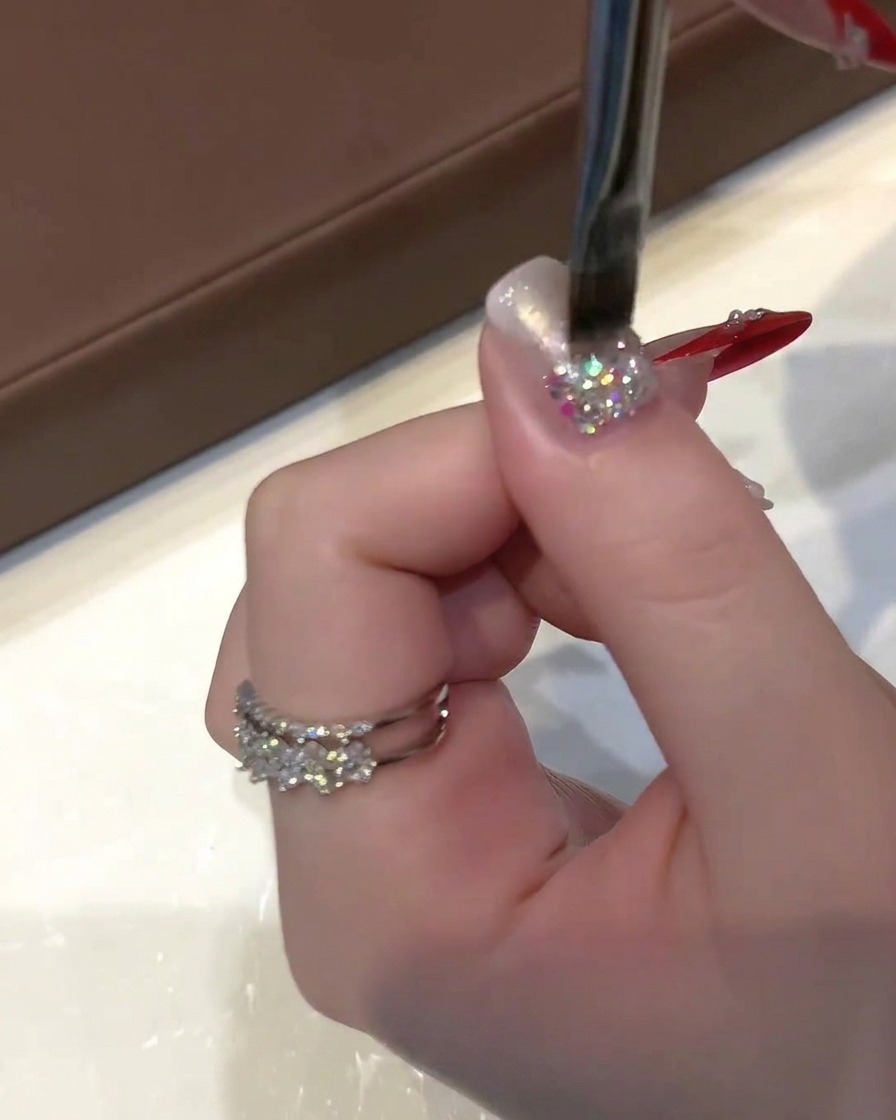
Using a flat gel brush, apply an even layer of sheer golden-silver cat-eye polish over the entire leveled nail. Make sure to cover the whole surface uniformly to prepare for the magnetic effect.
Tip: Apply the polish smoothly without pressing too hard to ensure a consistent layer of magnetic particles. - 7Create the cat-eye magnetic effect
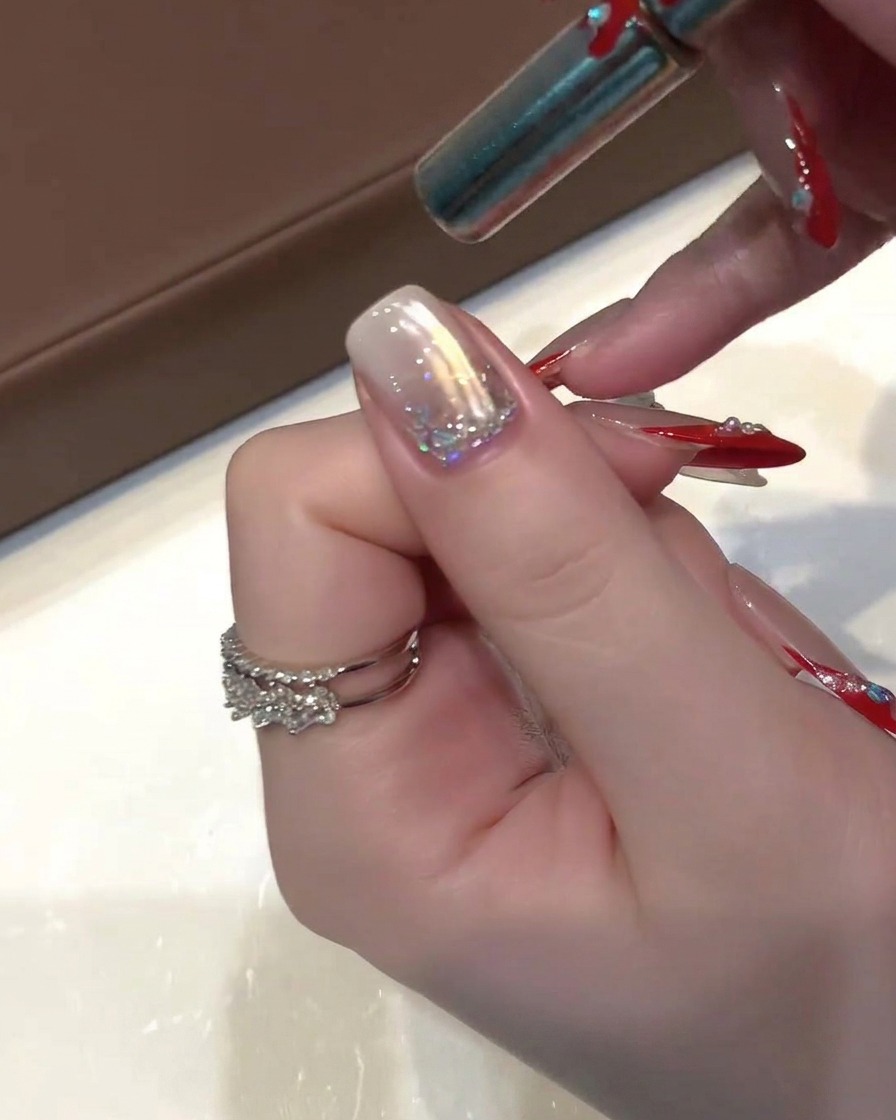
Hover a cylindrical magnet closely along the side edges of the wet golden cat-eye gel to activate the magnetic particles. Pull the bright particles forward toward the center and tip to form a sharp, reflective cat-eye beam before curing.
Tip: Do not touch the wet gel surface with the magnet. Maintain a consistent distance from the sidewalls for an even, glowing line. - 8Cure the cat-eye design
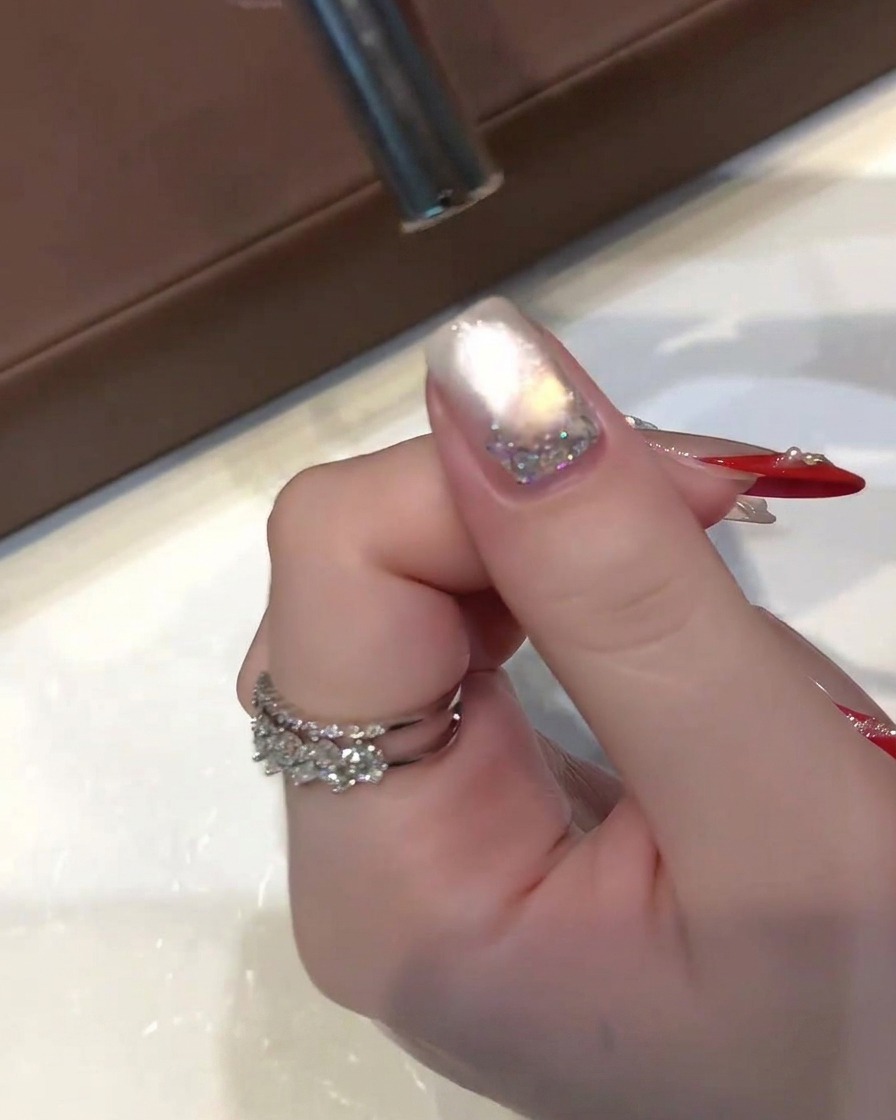
Hold the mini green handheld UV/LED lamp directly over the nail once more to lock in the finalized golden cat-eye design. This final intermediate cure secures the magnetic particles in place before the top coat application.
Tip: Double-check the angle of the light to ensure the entire cat-eye reflection is fully set and free of any soft spots.