Moonlight Cat-Eye Nails
Crystal Rhinestones — Step-by-Step Tutorial
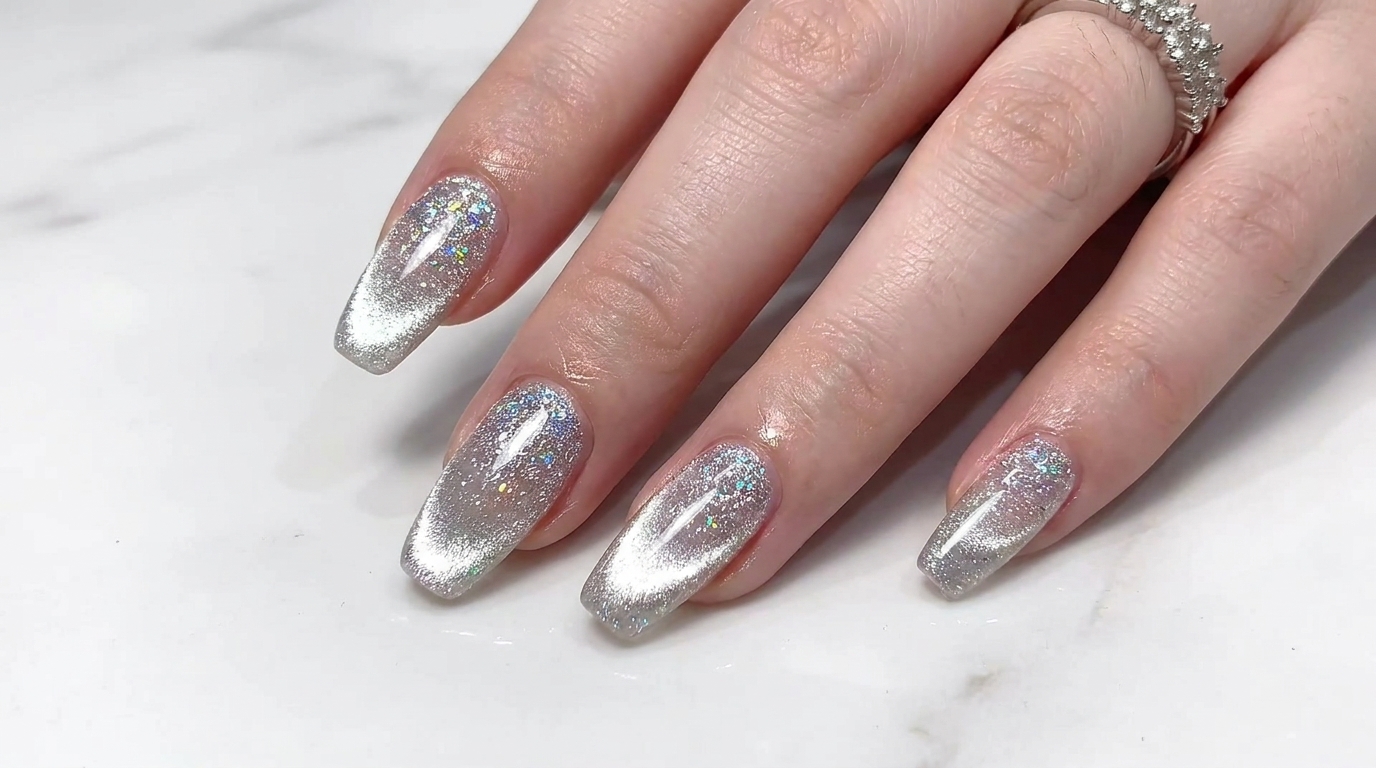
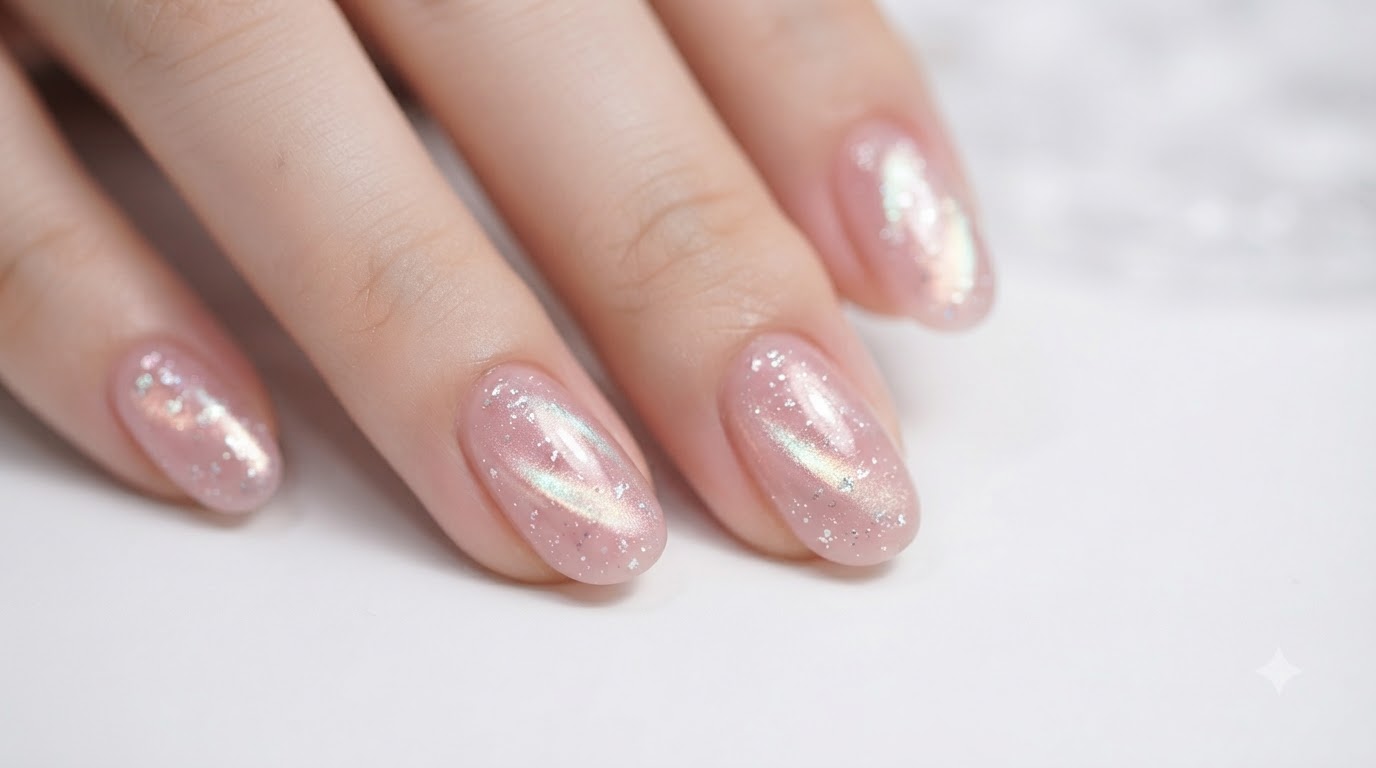
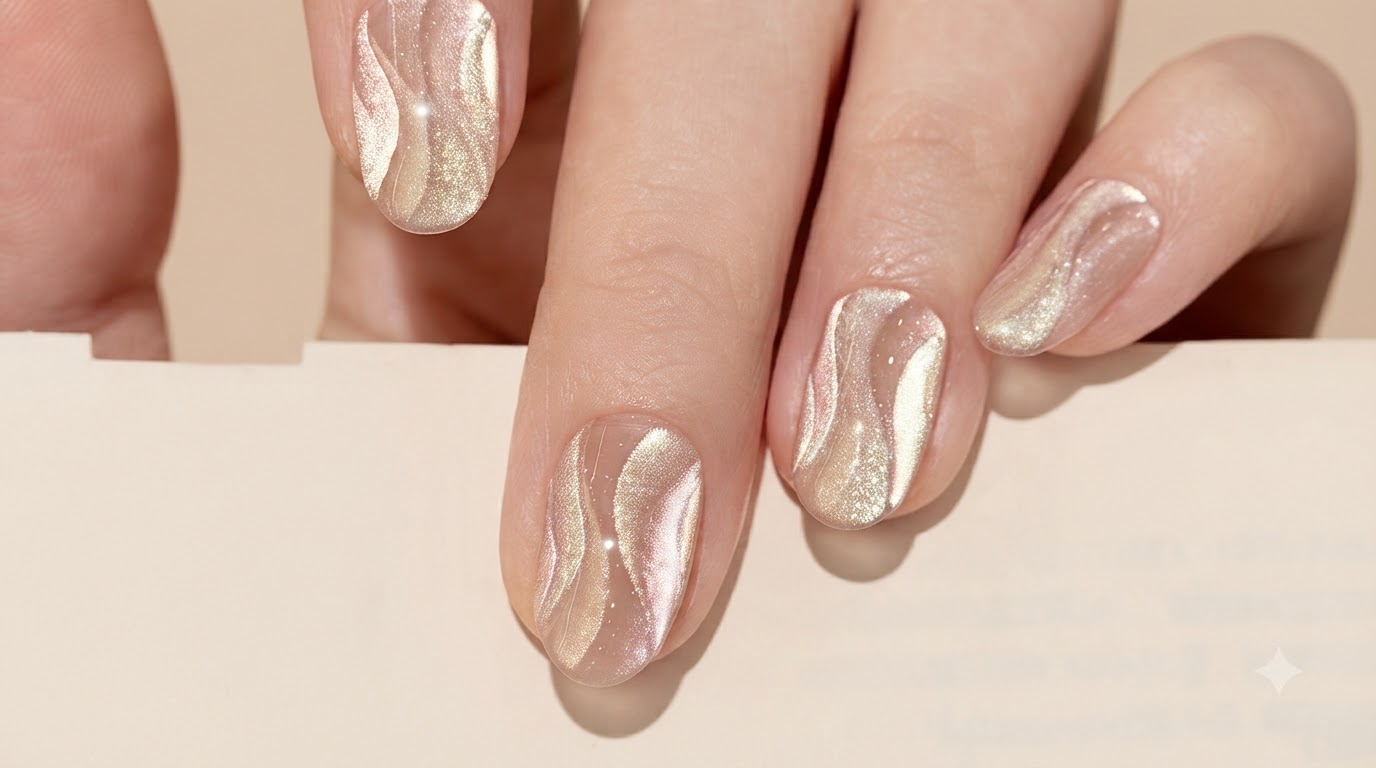
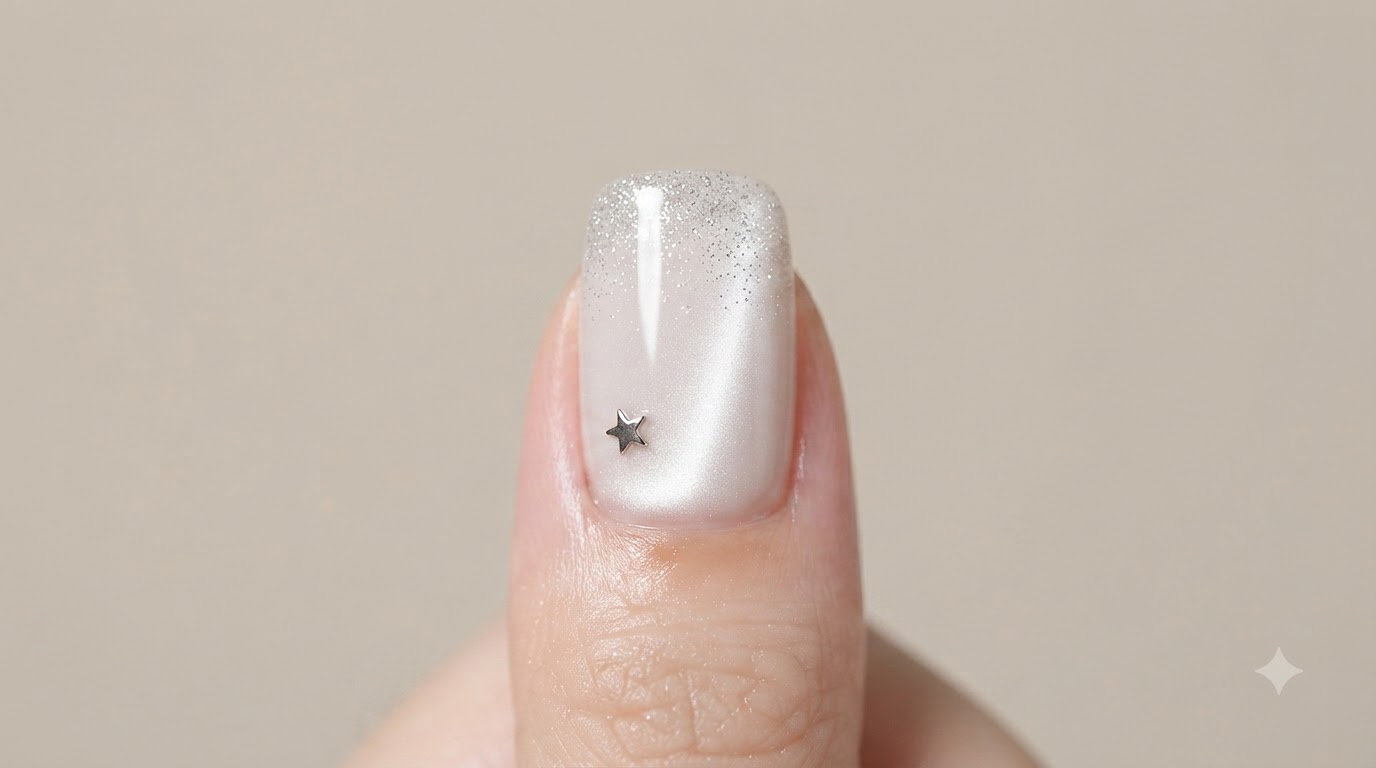
Elevate your manicure with shimmering moonlight silver cat-eye gel and dazzling crystal rhinestone clusters for an ultra-polished, luxurious finish.
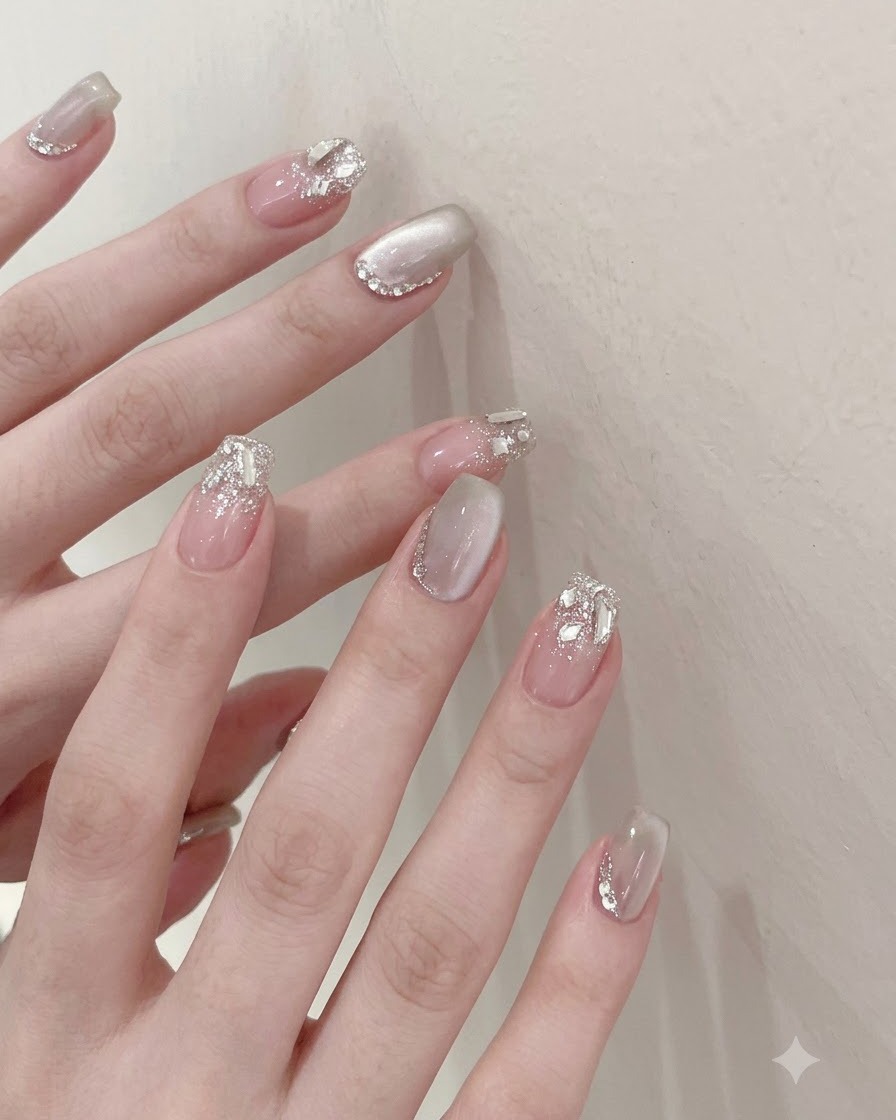
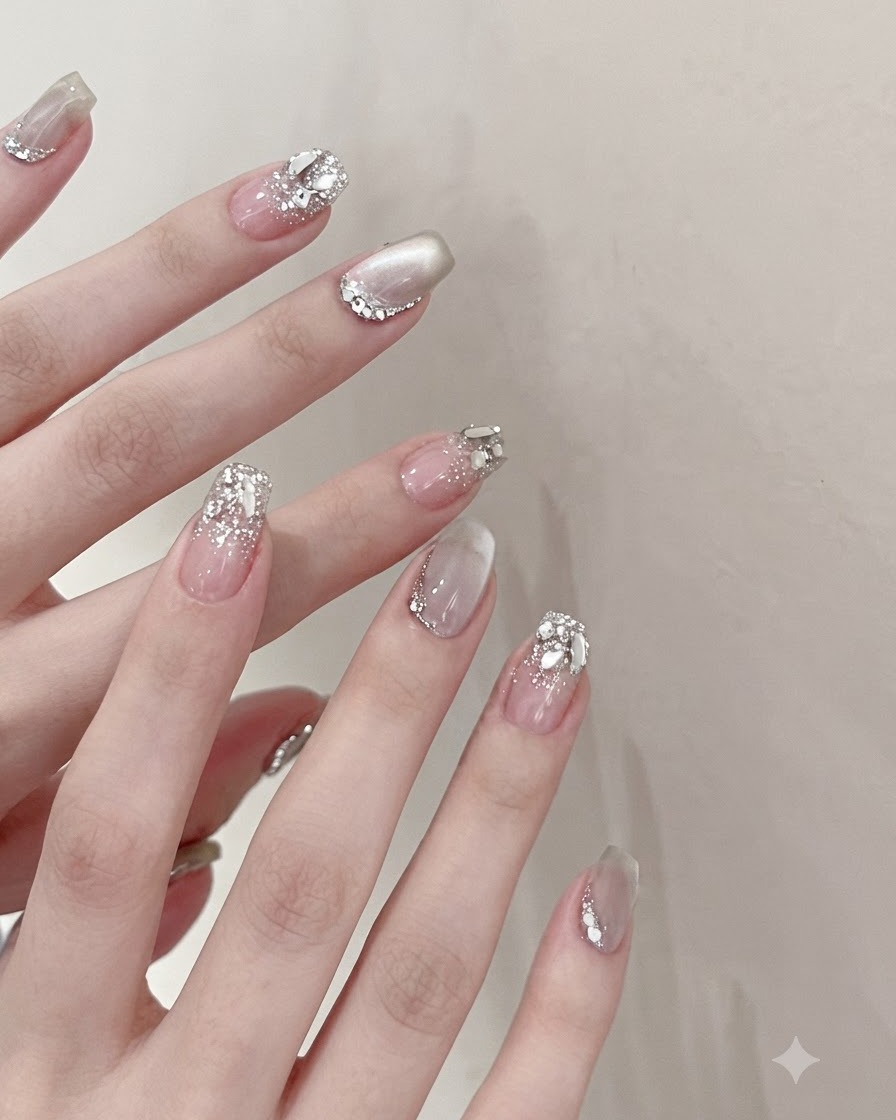
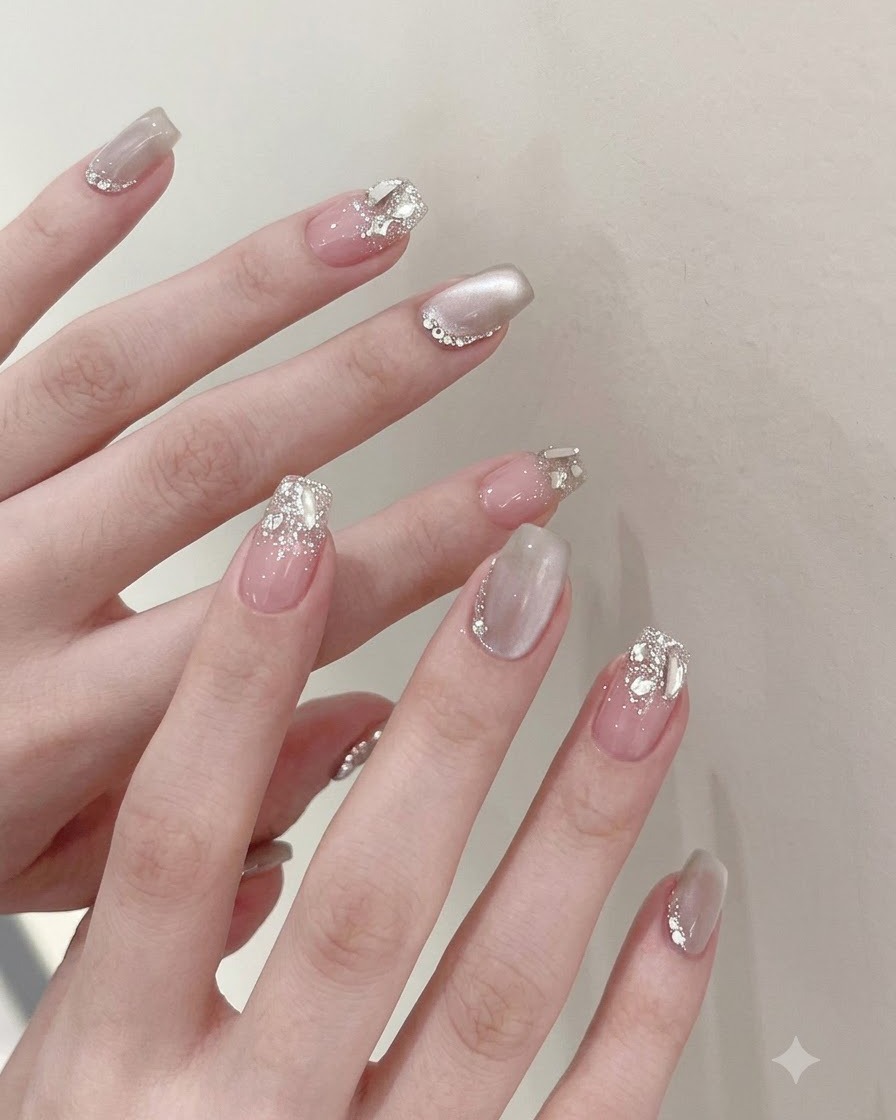
Cat-eye nails continue to dominate nail art trends with their mesmerizing depth and luminous shifting light. Paired here with an ornate arrangement of crystal rhinestones and silver micro-beads on a sleek square shape, this look offers a sophisticated balance of futuristic shine and classic glamour that is surprisingly approachable to achieve at home.
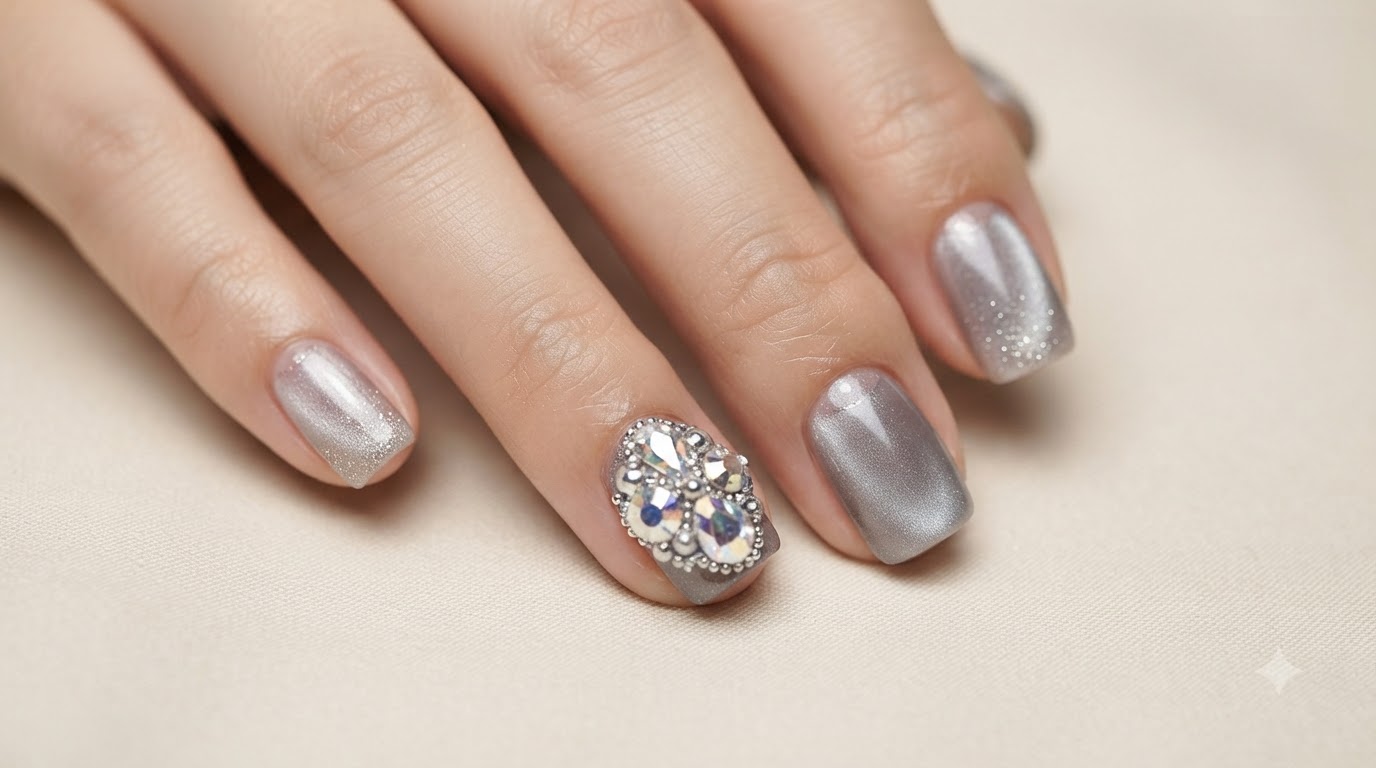
Steps
- 1Apply base coat
Apply a thin, even layer of base coat across the clean nail plates to ensure strong adhesion for the subsequent layers. Cap the free edge and cure under a UV or LED lamp as specified.
Tip: Keep the layer thin to prevent pooling around the cuticles. - 2Apply first coat of moonlight cat-eye gel
Apply an even layer of moonlight cat-eye gel polish across the entire nail surface, ensuring smooth coverage from the cuticle down to the free edge. Cap the free edge to prevent chipping and seal the product properly before activating the magnetic particles.
Tip: Keep the layer thin and consistent to allow the magnetic particles to shift freely when the magnet is applied. - 3Create the cat-eye highlight effect
Hold the specialized magnetic tool closely over the uncured gel surface without touching it. Keep it steady for a few seconds to draw the metallic particles together, forming a bright, luminous beam that mimics the look of moonlight across the nail.
Tip: Do not let the magnet touch the wet gel surface, as this will leave dents and ruin the smooth finish. - 4Cure the cat-eye gel layer
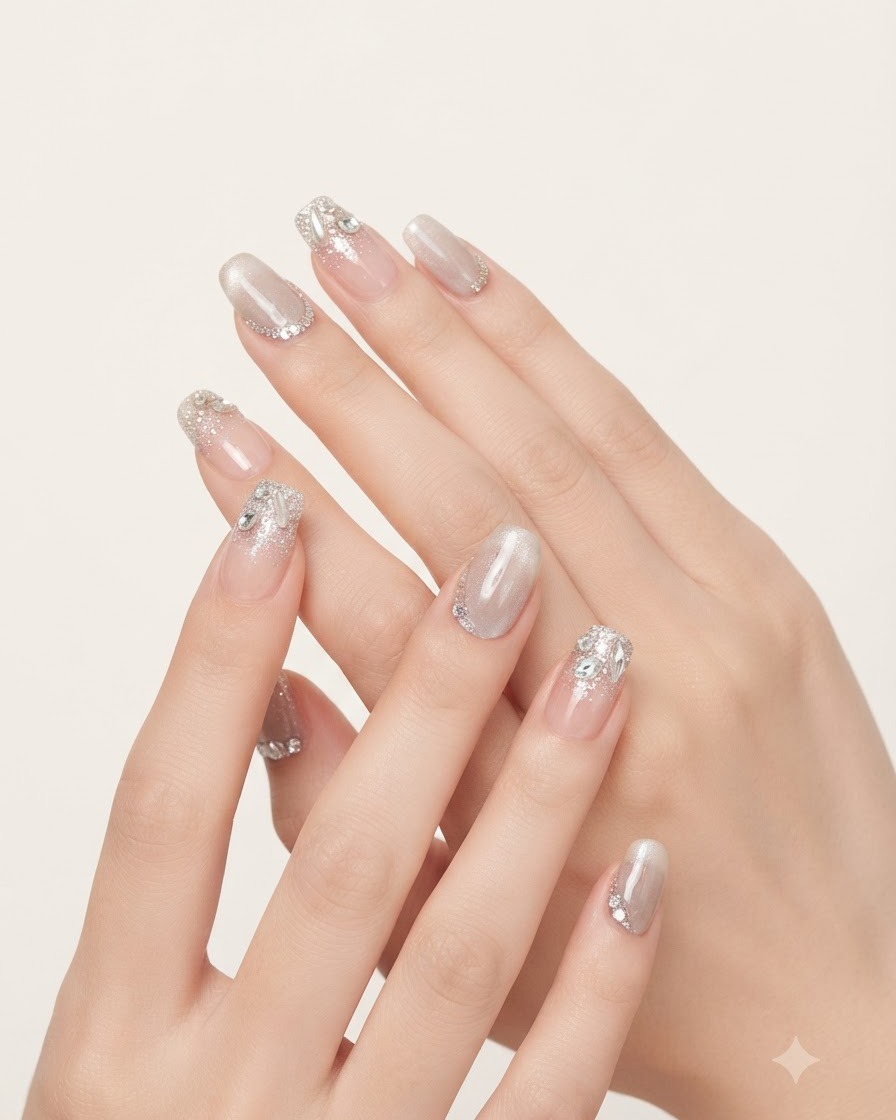
Place your hand inside the UV or LED lamp immediately after achieving the desired cat-eye effect to lock the magnetic particles in place. Cure for the full recommended time specified by the gel polish manufacturer.
Tip: Cure fingers individually or position the hand carefully so the magnetic line does not disperse before it sets. - 5Apply glue for embellishments
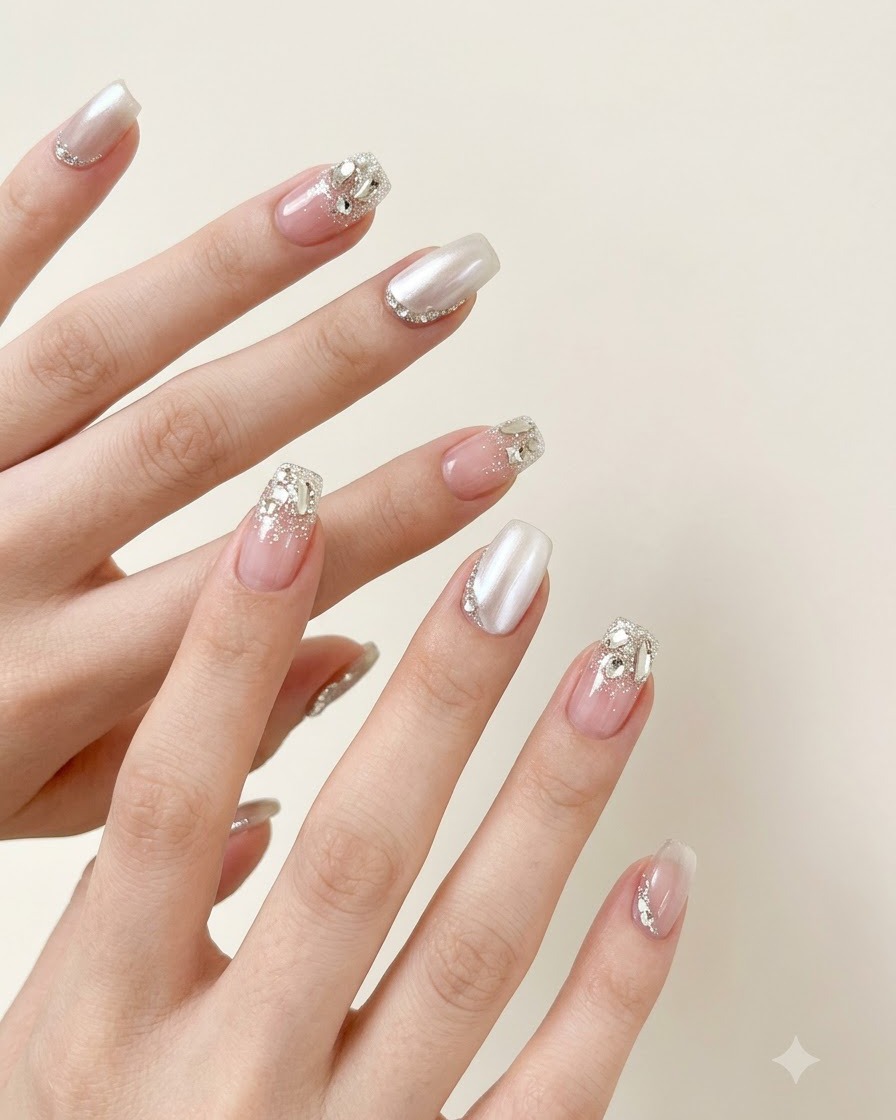
Apply a small, precise dab of clear builder gel or specialized rhinestone glue directly onto the base of the nail where the crystals will sit. This creates a secure anchoring bed that will firmly hold the heavy stones in place.
Tip: Use a fine detail brush or dotting tool to control the exact amount of glue so it does not spill over the edges. - 6Place the large crystal rhinestone
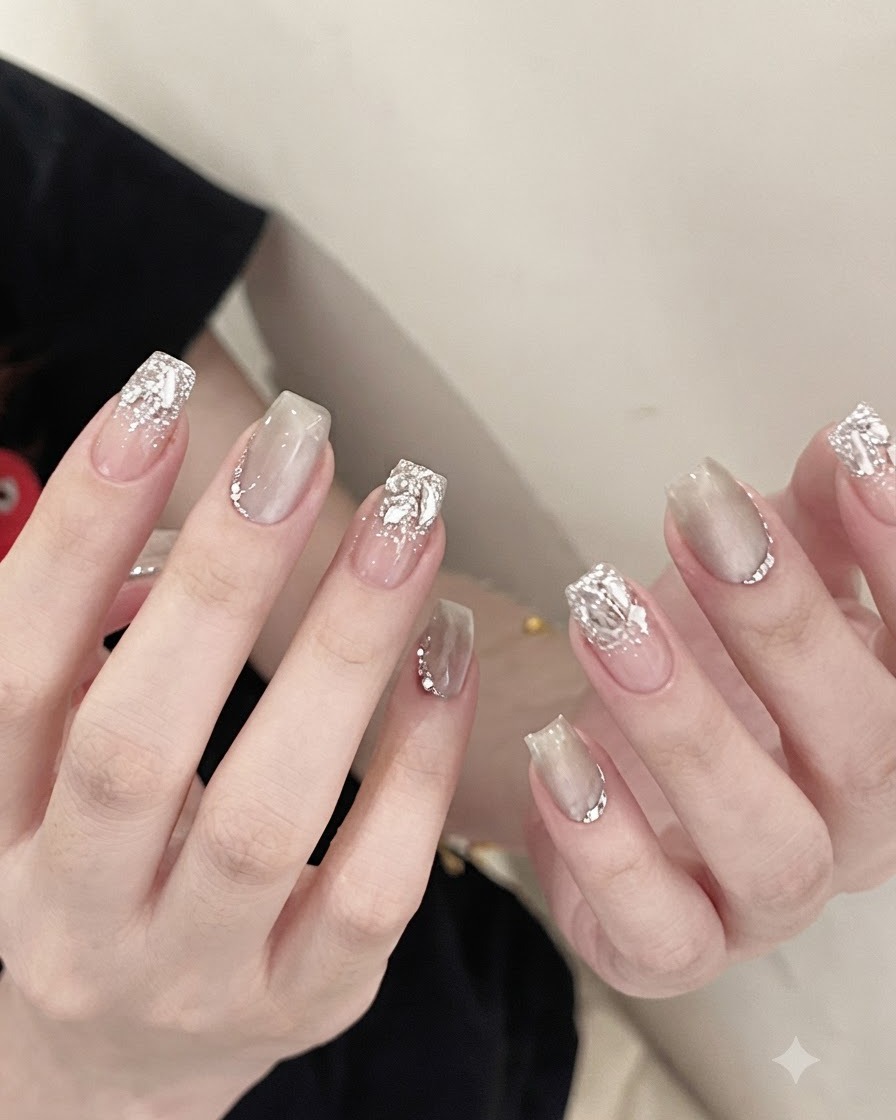
Carefully pick up a large crystal rhinestone using precision tweezers and press it gently into the wet builder gel or glue bed at the nail base. Position it securely to anchor the center of the rhinestone cluster design.
Tip: Press down slightly so the rhinestone embeds firmly into the gel base without sinking completely or losing its facets. - 7Arrange silver micro-beads
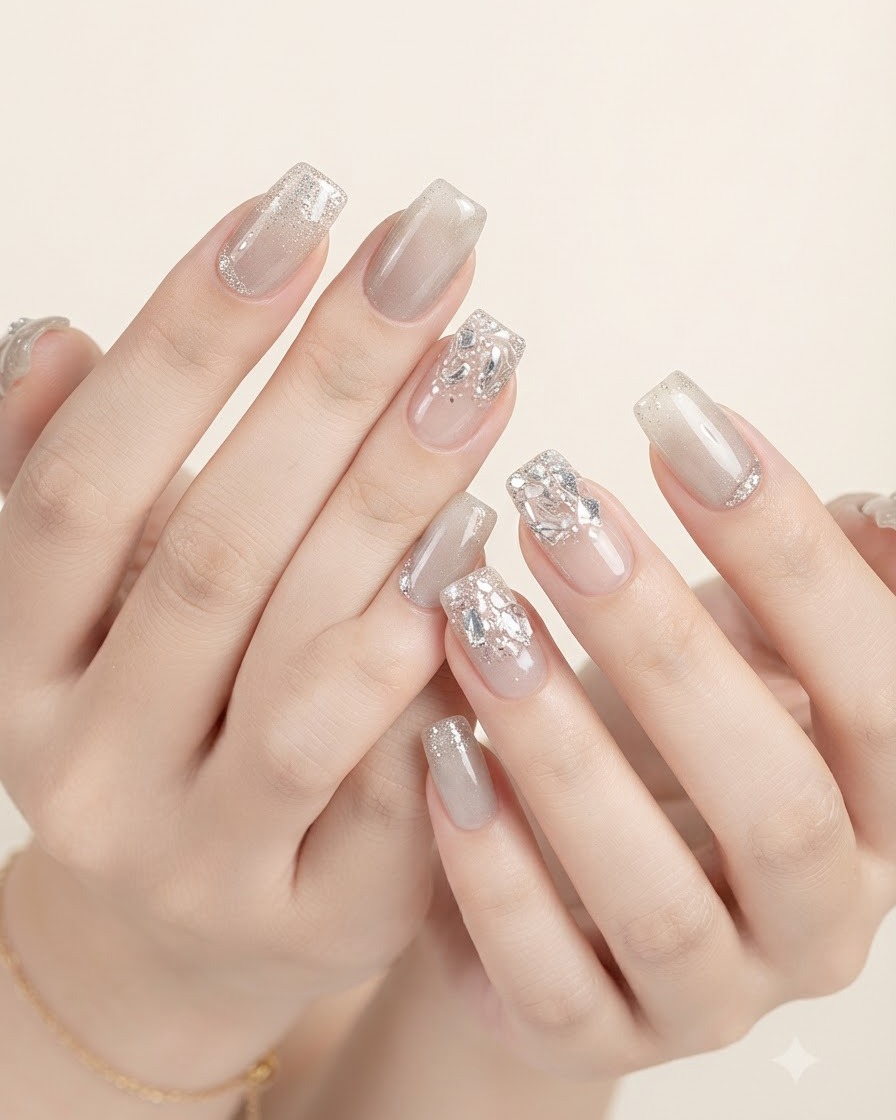
Use a wax picker pencil or fine dotting tool to pick up small silver micro-beads and arrange them neatly around the base of the large crystal rhinestone. Fill in the gaps to create a balanced, professional, and ornate cluster look.
Tip: Work quickly before the glue sets, and check the arrangement from multiple angles to ensure symmetry. - 8Cure rhinestones under lamp
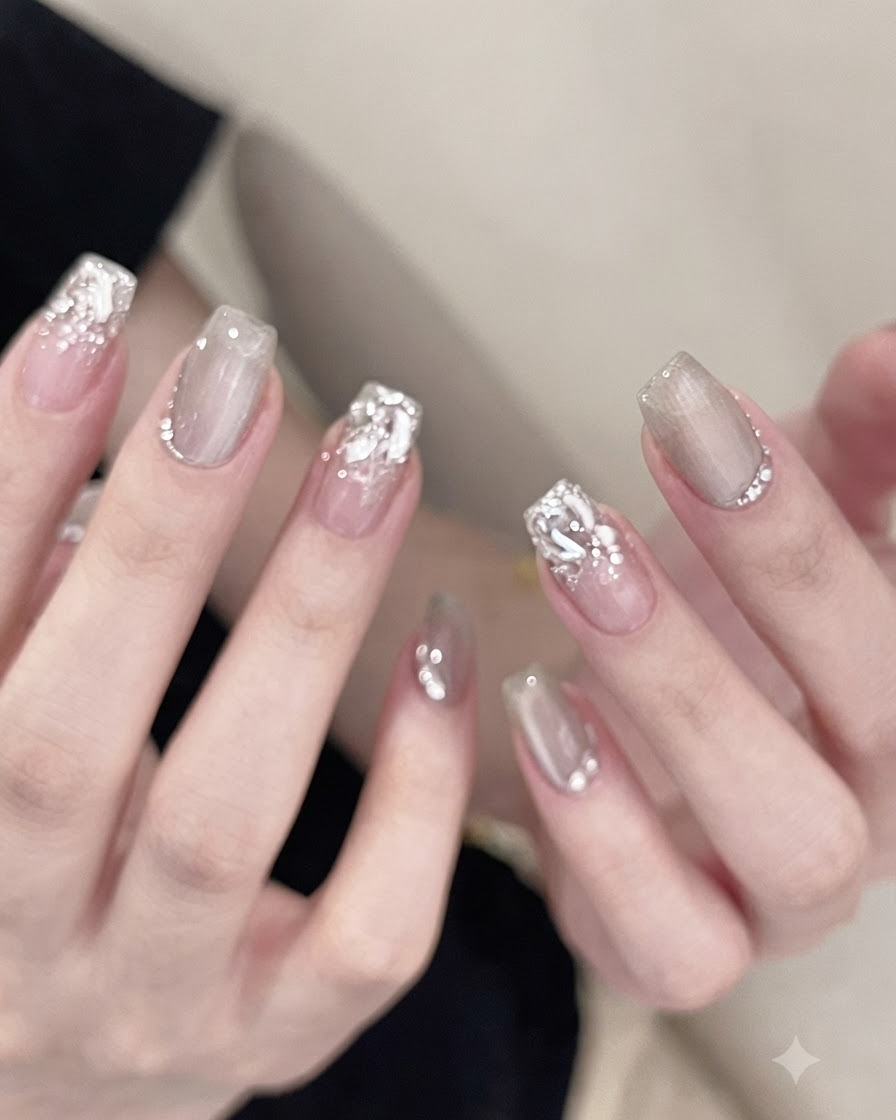
Place the hand under your UV or LED lamp to fully cure the adhesive gel securing the rhinestones. Ensure the light hits the stones and surrounding glue evenly to lock the embellishments firmly in place and prevent them from shifting or falling off.
Tip: If using a thick rhinestone gel, cure for an extra 10 to 15 seconds to ensure complete polymerization underneath the stones. - 9Apply high-gloss top coat
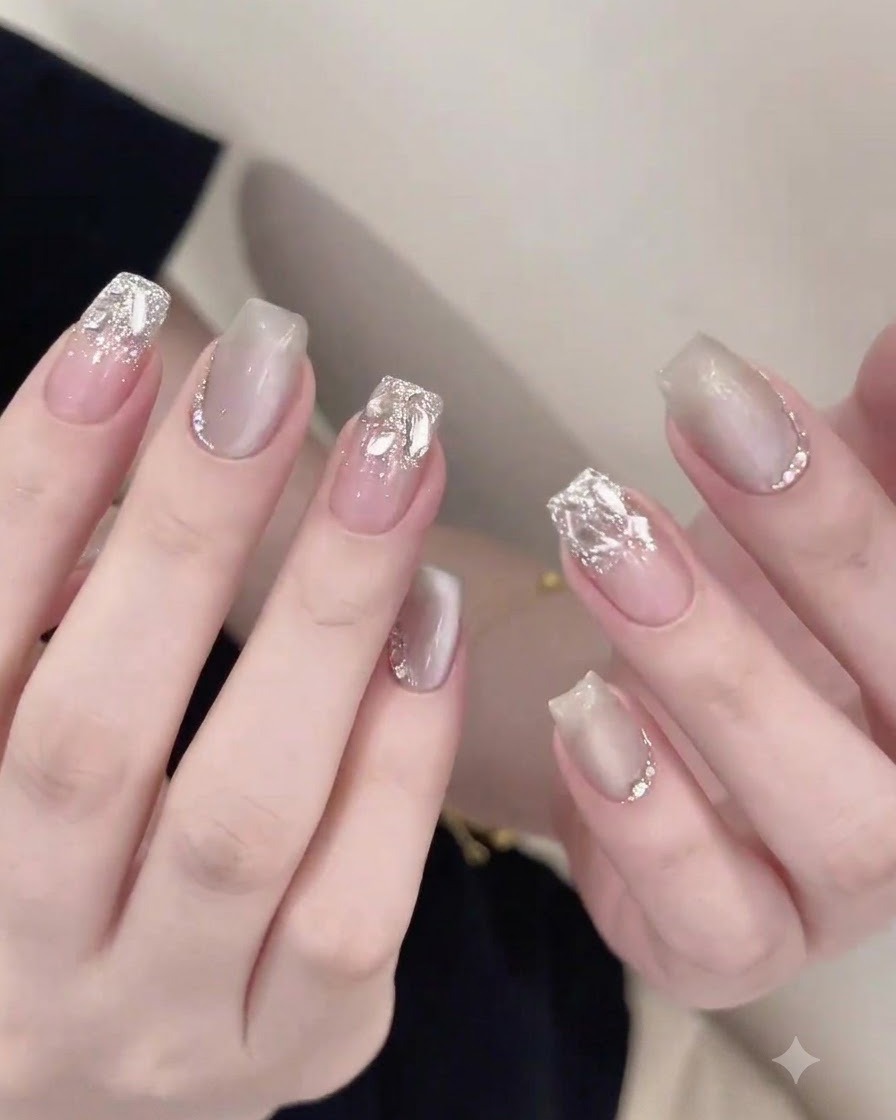
Carefully brush a layer of high-gloss top coat over the entire nail surface to seal the manicure and add a brilliant shine. Take care to paint around the rhinestones rather than covering them directly, as coating over the stones can dull their sparkle and facets.
Tip: Use a fine detail brush dipped in top coat to seal tightly around the base of each rhinestone without flooding the top facets.