Silk Cat Eye Nail Art — Step-by-Step Dimensional Ribbon Tutorial
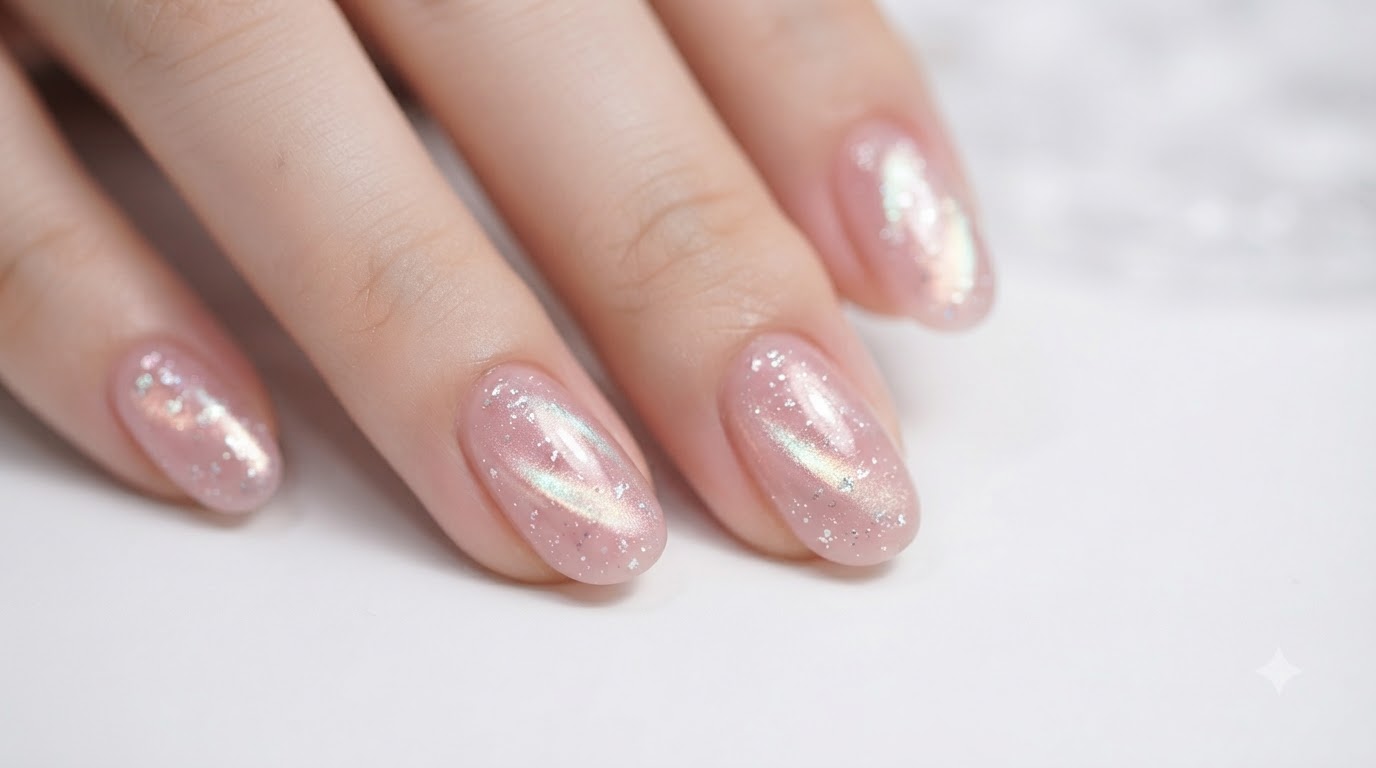
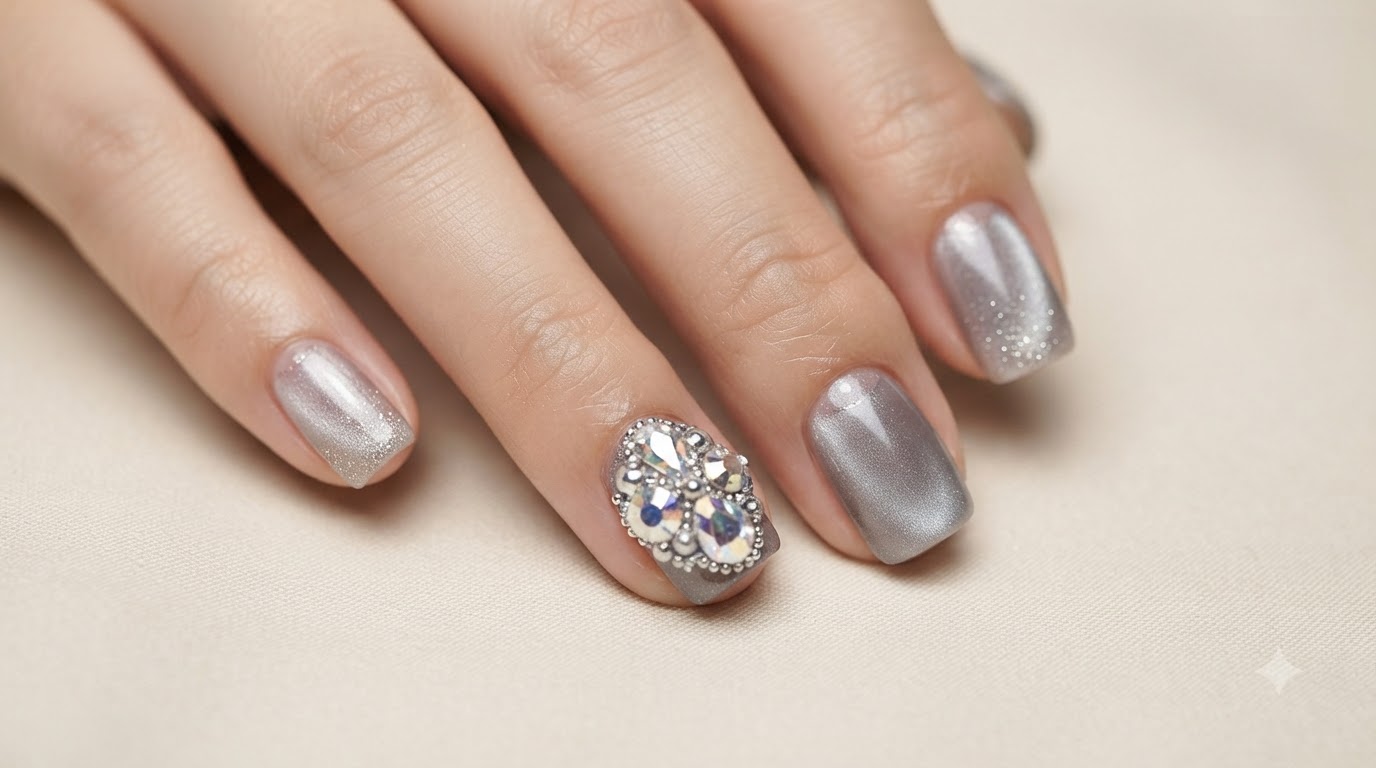
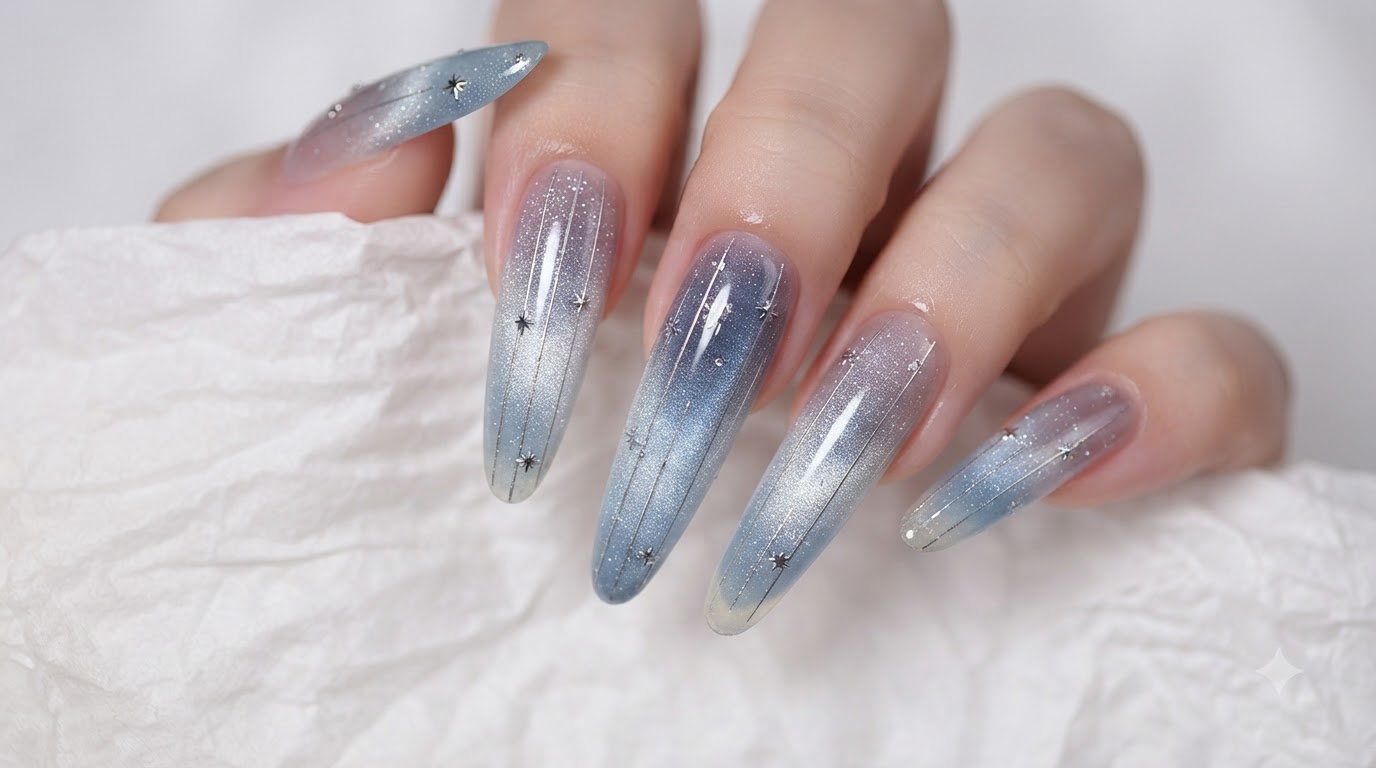
Create stunning, luminous silk cat eye nails featuring glowing flowing ribbons in silver, gold, and pink with this easy-to-follow guide.
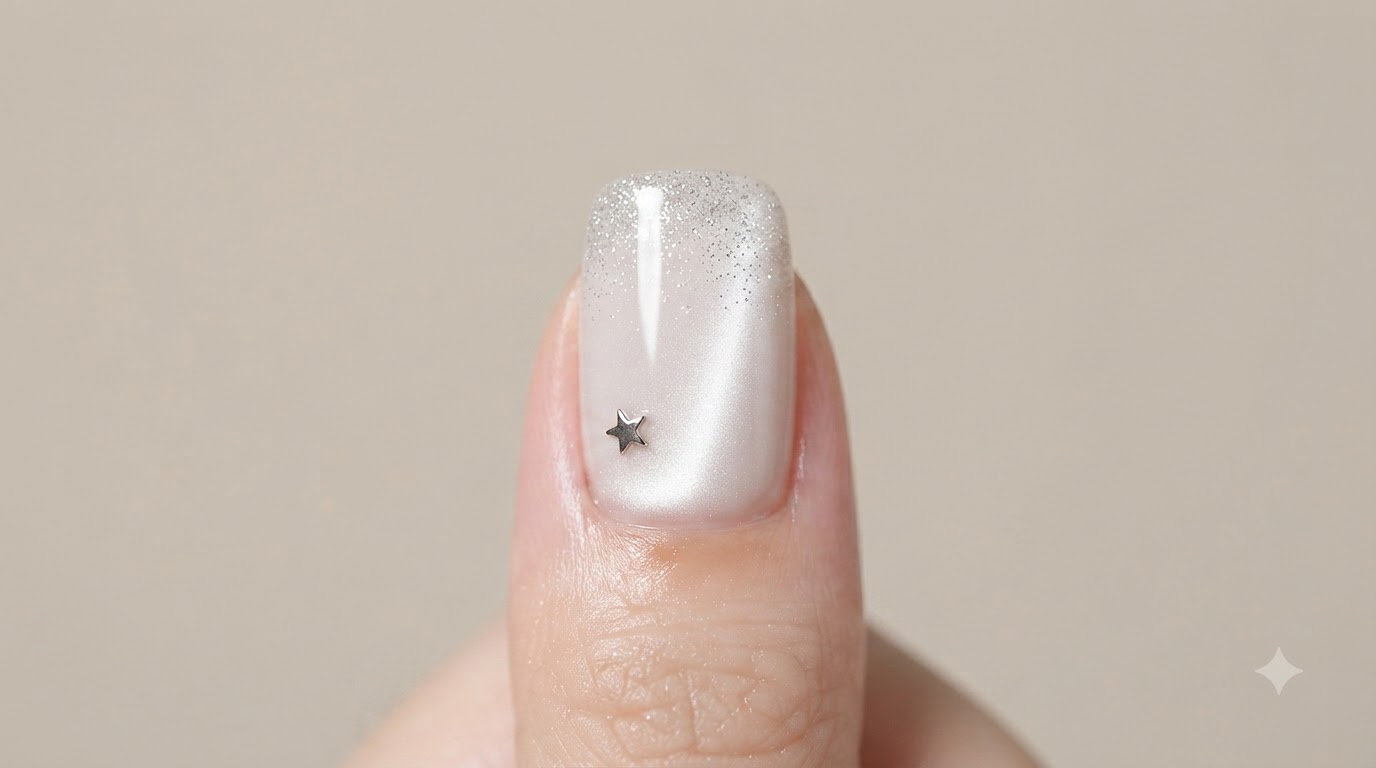
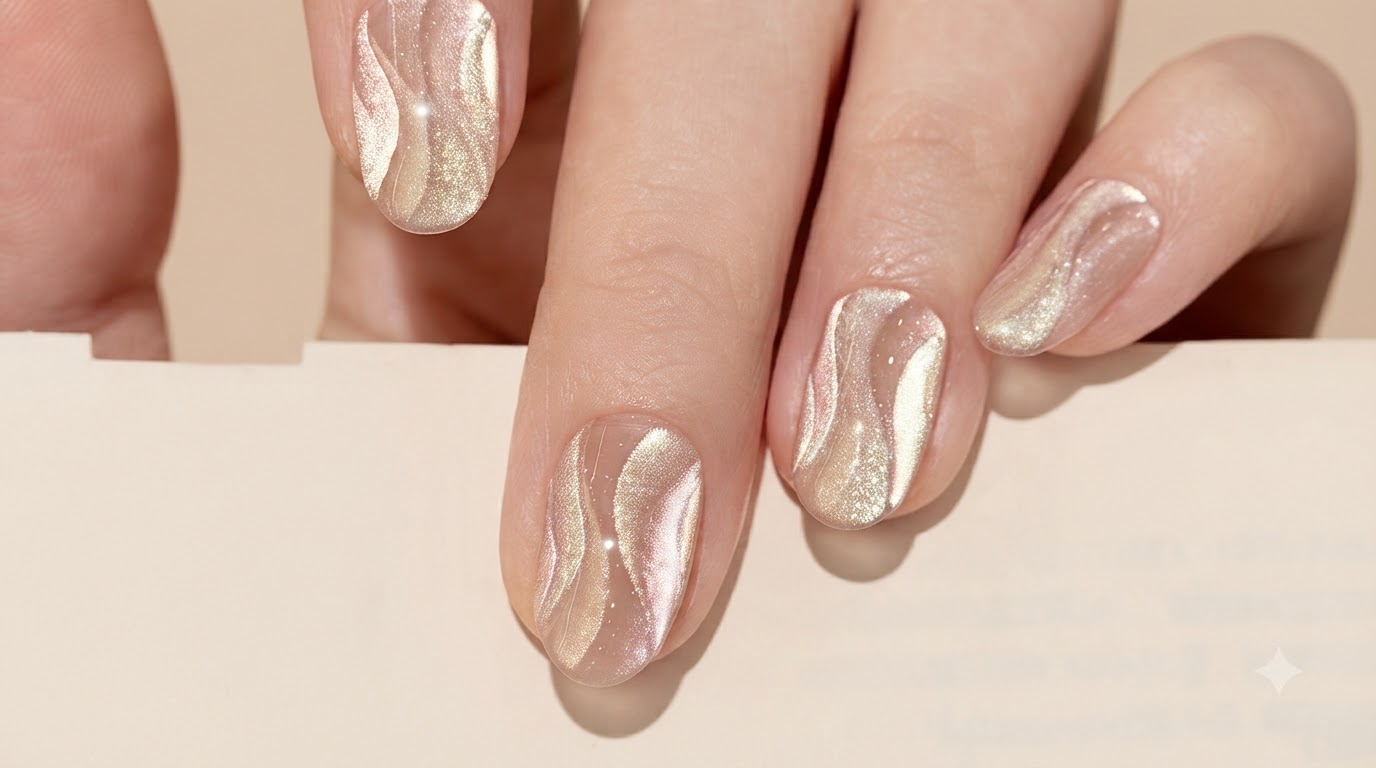
Silk cat eye nail art creates a mesmerizing velvet illusion that captures the light from every angle. By using transparent cat eye gels and carefully layering ribbon-like strokes with a fine liner brush, you can achieve a sophisticated multidimensional finish without looking dull or gray.
Steps
- 1Apply nude base coat
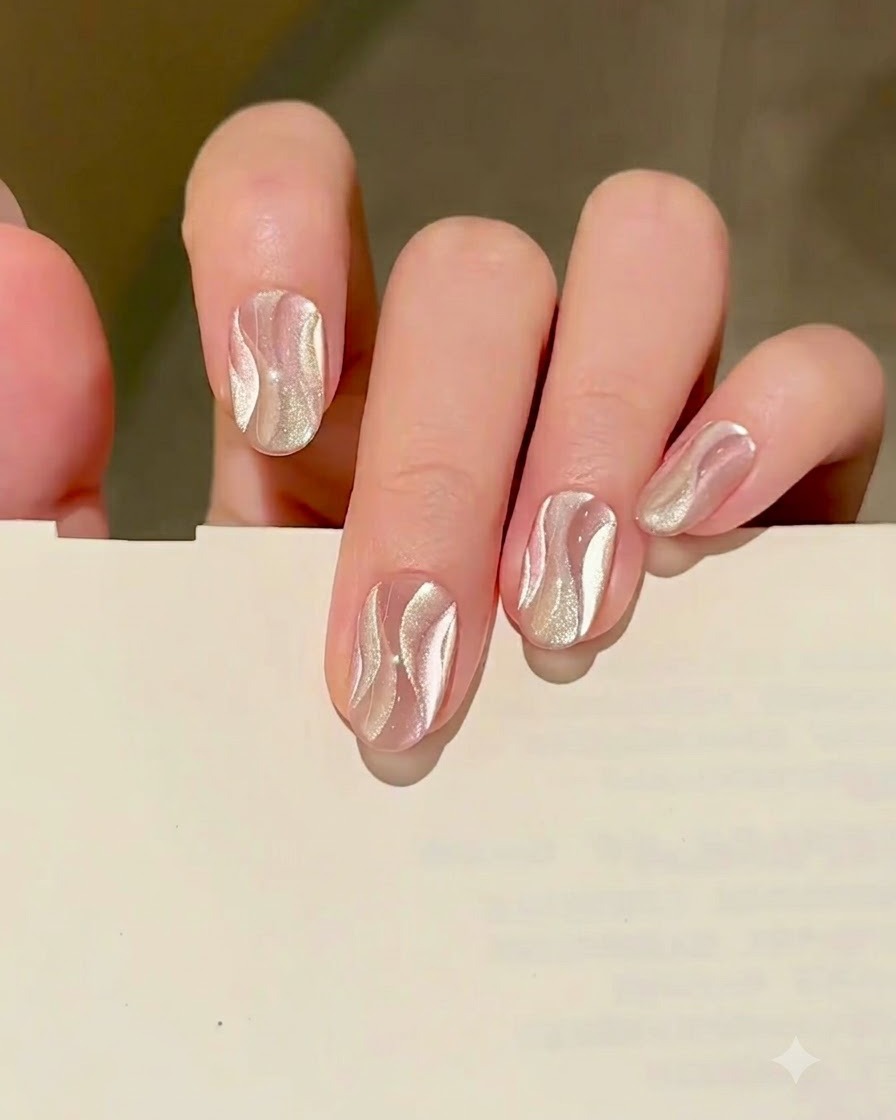
Apply a thin, even layer of nude gel polish across the prepped nail to serve as the base for your design. Ensure the polish is applied smoothly without pooling around the edges or cuticles, and cure under a UV or LED lamp as required.
Tip: Keep this base layer thin to prevent wrinkling during curing and to ensure proper adhesion for the subsequent cat eye layers. - 2Load silver cat eye gel
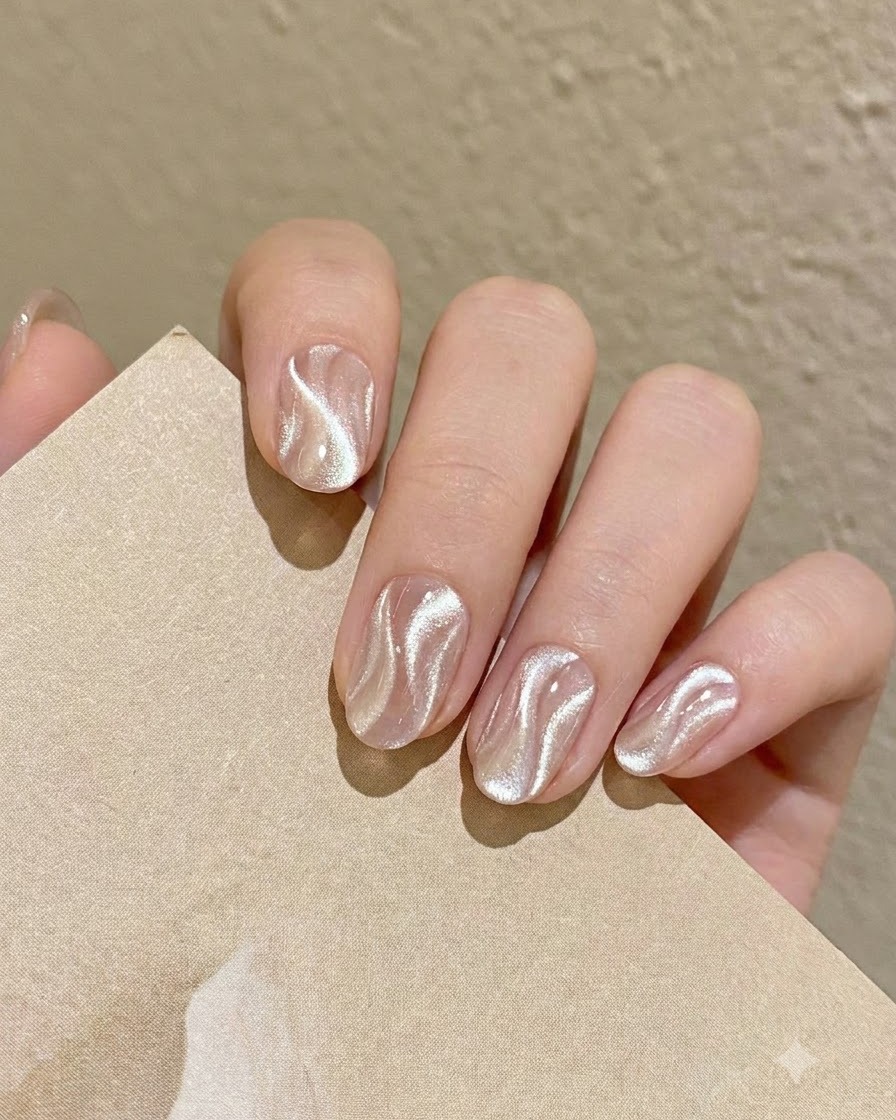
Dip a fine liner brush into the transparent silver cat eye gel, making sure to load a controlled amount onto the tip of the brush. Using a transparent formulation prevents the final design from looking dull or gray.
Tip: Wipe excess gel from the side of the brush to maintain a sharp, precise point for drawing clean lines. - 3Paint cat eye ribbons
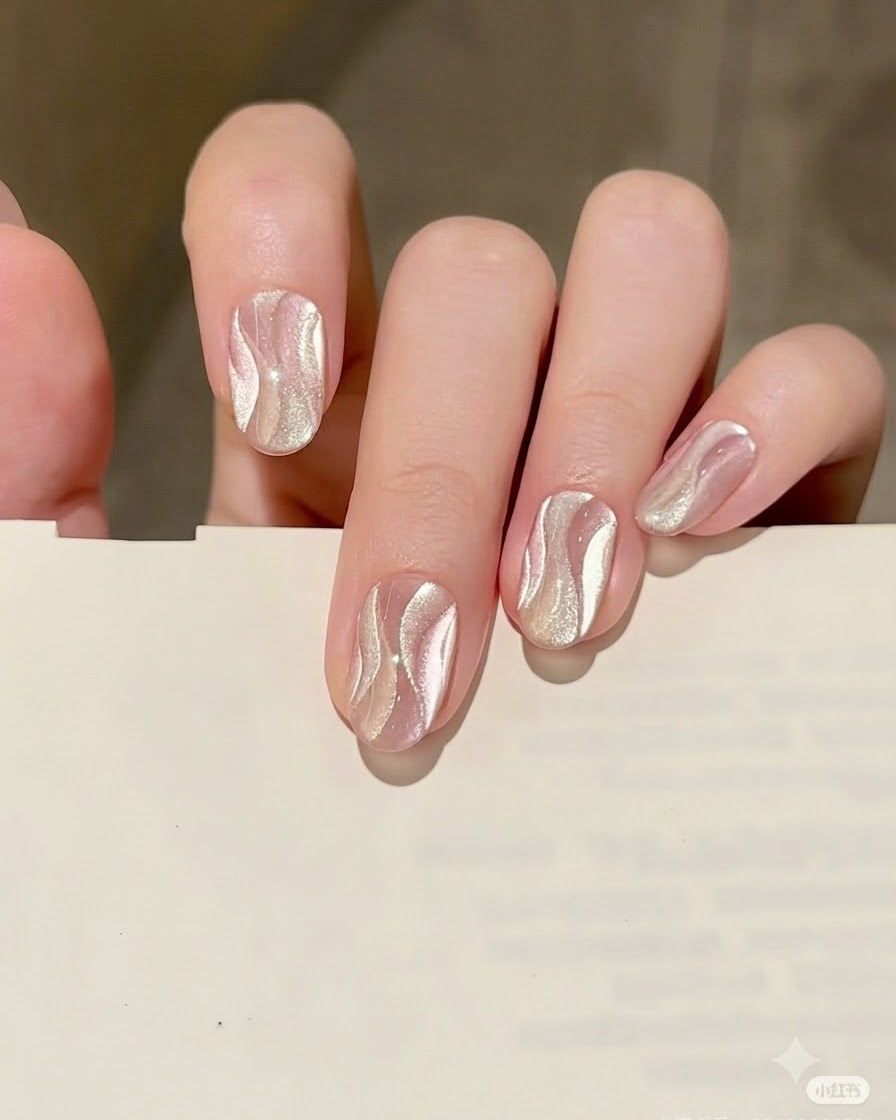
Using the fine liner brush, draw flowing, elegant ribbon shapes across the nail surface with the cat eye gel. Vary the sizes and allow different ribbon strokes to slightly overlap each other for a dynamic, multi-dimensional look.
Tip: Varying the width and curves of each ribbon helps create depth and visual flow across the nail. - 4Activate cat eye magnetic shimmer
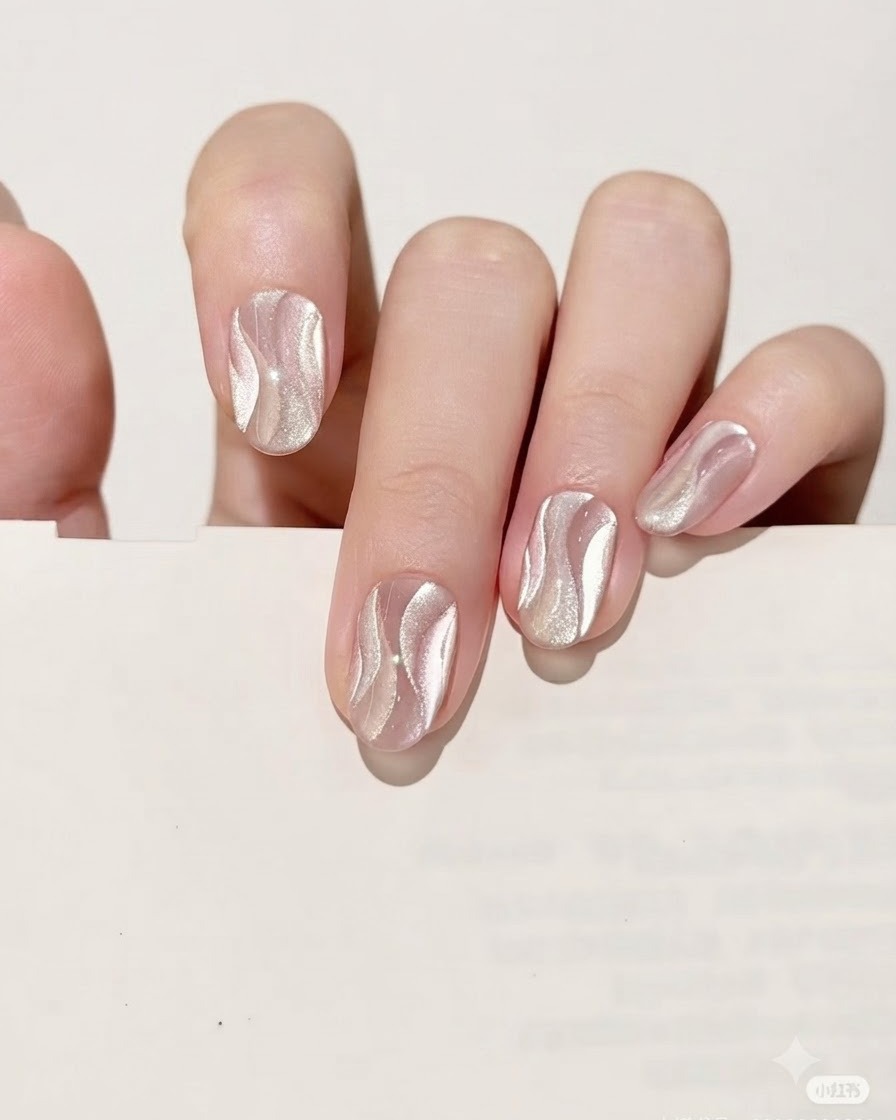
Hold a magnetic tool close to the wet cat eye gel lines to draw the metallic particles together into a bright, concentrated shimmer line. Move the magnet carefully until the desired glowing effect appears.
Tip: Hold the magnet steady for a few seconds close to the gel surface to achieve the sharpest and brightest light reflection. - 5Cure cat eye layer
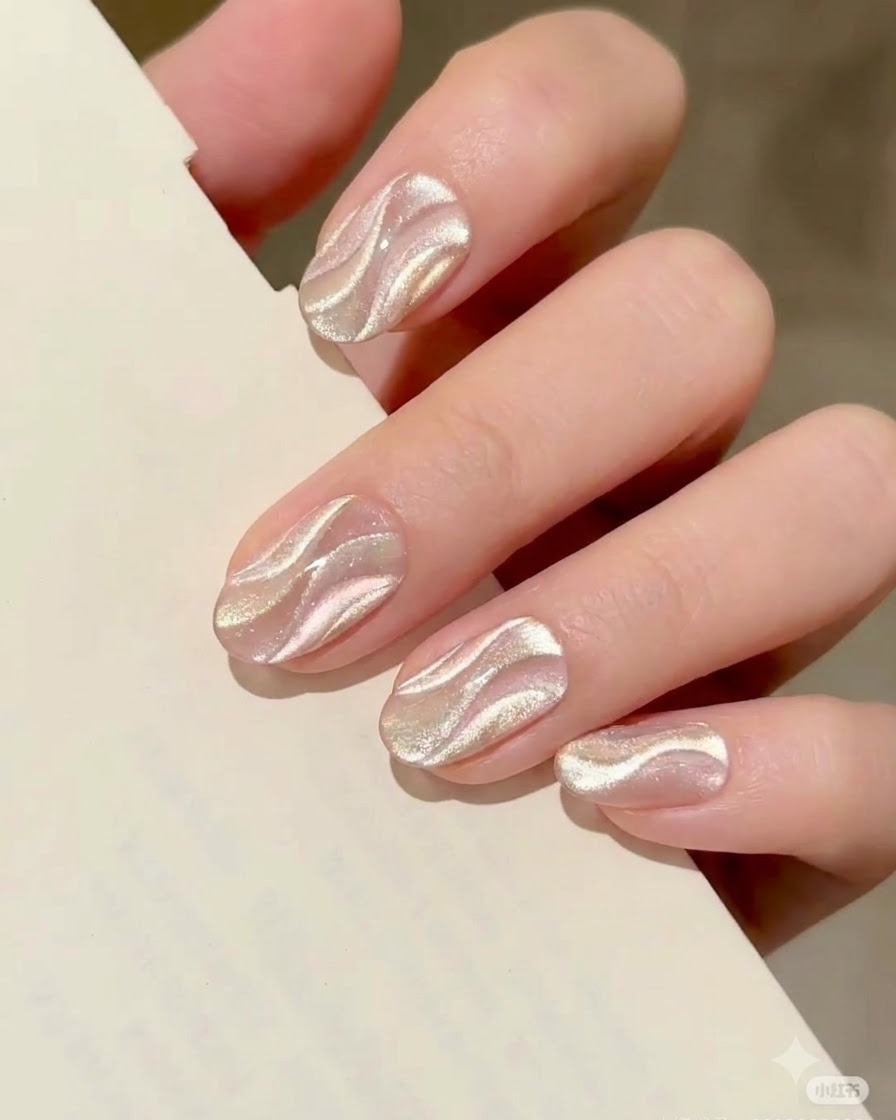
Place the hand inside a UV or LED lamp to cure the freshly magnetized cat eye ribbon layer. Curing each line individually locks the magnetic effect in place before you add more elements.
Tip: Always cure after each drawn line to prevent the magnetic shimmer from spreading or shifting out of place. - 6Add gold cat eye ribbon
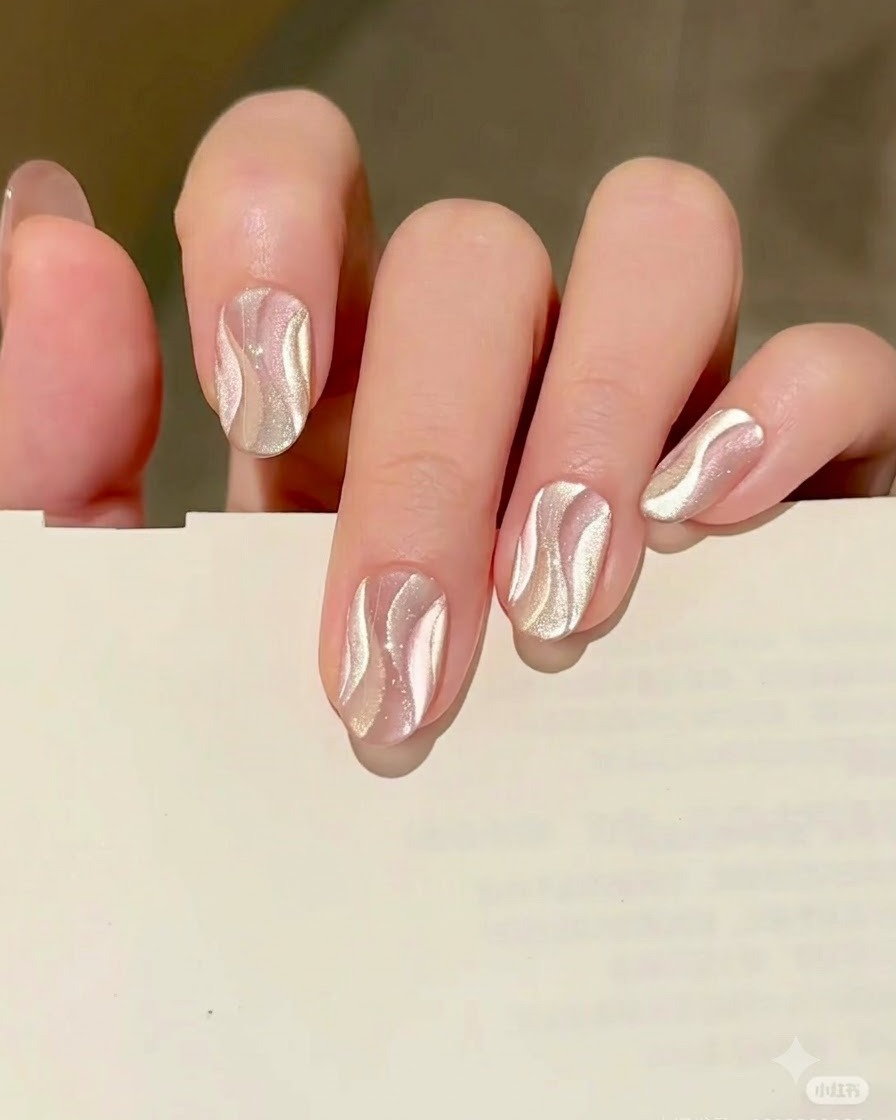
Take gold cat eye gel on your fine liner brush and paint a second ribbon shape adjacent to the first one. Let the gold and silver ribbons interweave and overlap gracefully across the nail surfacecite: 1.
Tip: Ensure the gold cat eye gel is also transparent so it maintains a clean, luminous finish alongside the silver. - 7Highlight the second ribbon line with a magnet
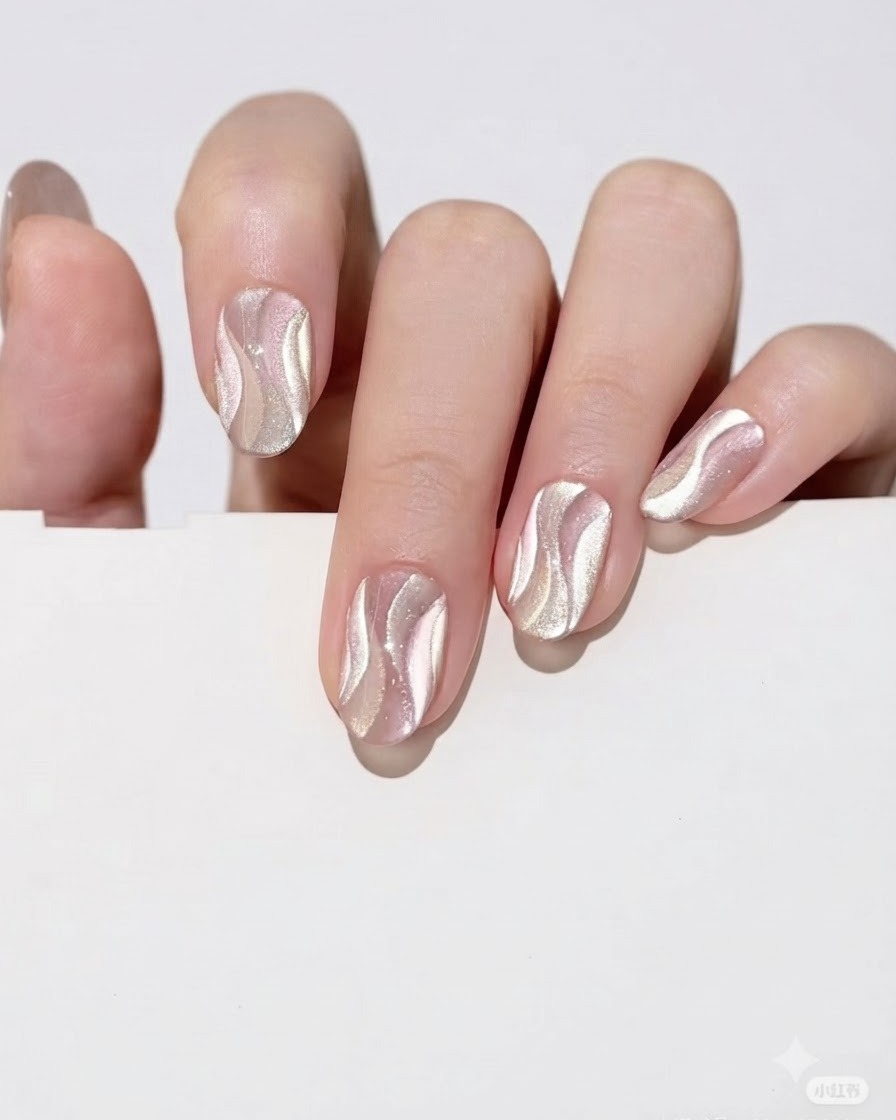
Hold the magnetic tool closely over the newly drawn second ribbon line to activate the magnetic particles within the cat eye gel. Adjust the magnet angle until the shimmering strip catches the light brightly, creating a dimensional velvet effect.
Tip: Keep the magnet steady and close to the nail without touching the wet gel surface to get a sharp, focused reflection line. - 8Cure the second ribbon line
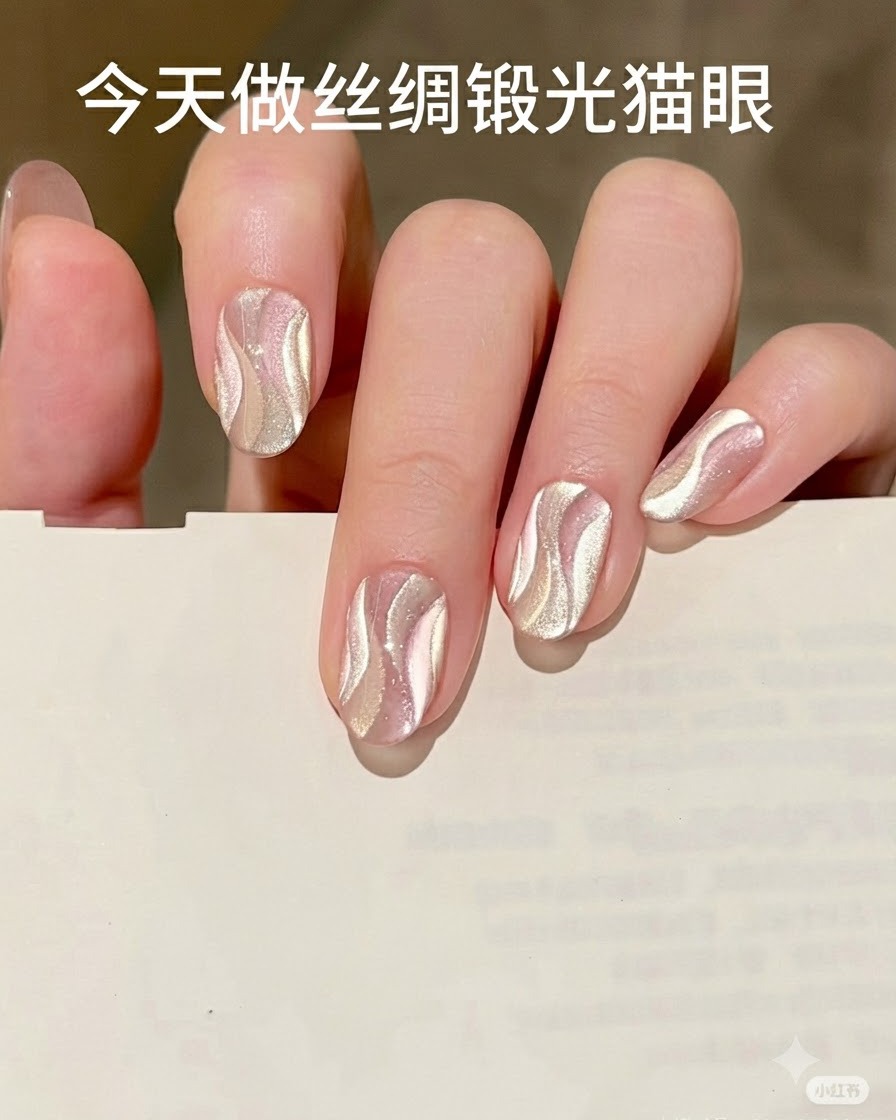
Place the hand inside the UV or LED lamp to cure the freshly magnetized second ribbon line. Curing immediately after magnetizing locks the shimmering cat eye effect in place so it will not disperse before the next step.
Tip: Ensure the hand is placed flat inside the lamp to cure all treated nails evenly. - 9Paint the third pink cat eye ribbon
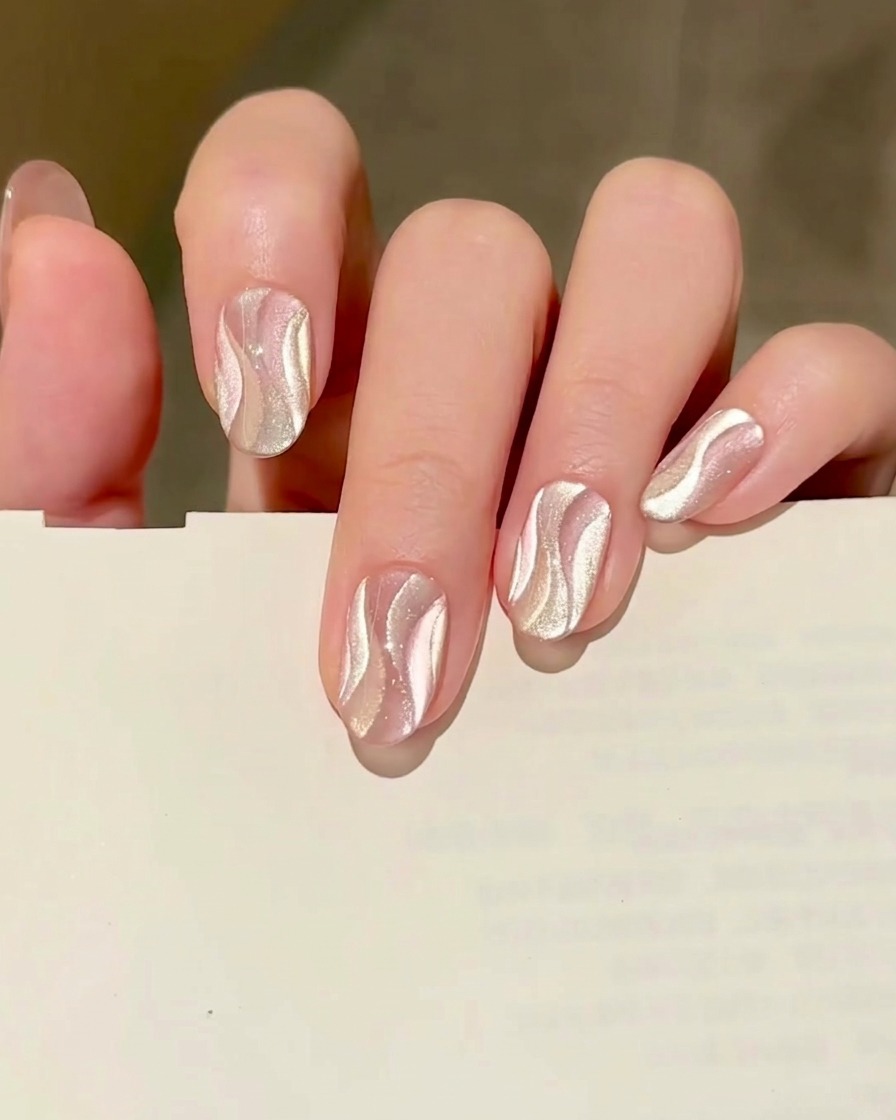
Using a fine detail brush and pink cat eye gel, paint a third wavy ribbon line across the nail surface. Allow this line to slightly overlap the previous ribbons to build a rich, multi-layered flowing texture.
Tip: Vary the width and curve of each line slightly to make the overlapping ribbons look dynamic and natural. - 10Magnetize the third ribbon line
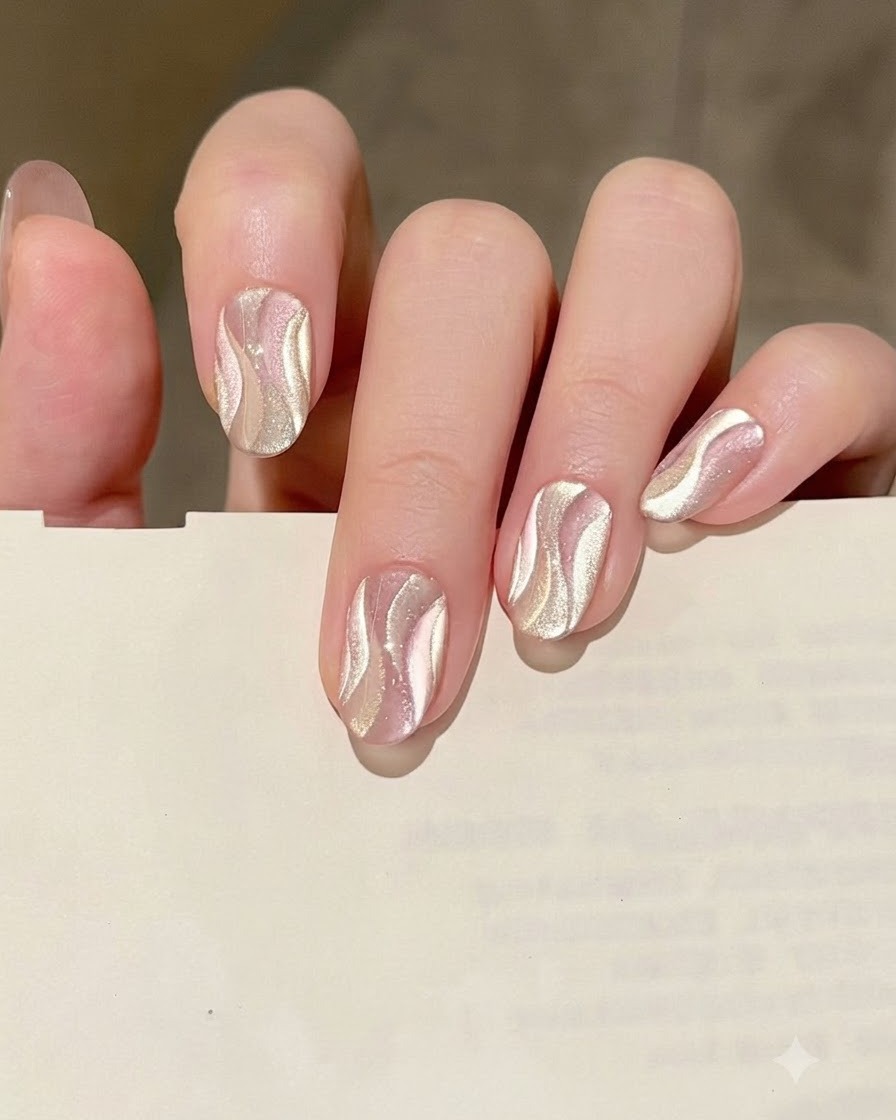
Bring the magnetic tool back over the third pink ribbon line to pull the reflective particles into a sharp glowing band. Check that the light reflects cleanly along the curve before moving forward.
Tip: Perform this step quickly after painting so the gel remains fluid enough for the particles to shift easily. - 11Cure the third ribbon line
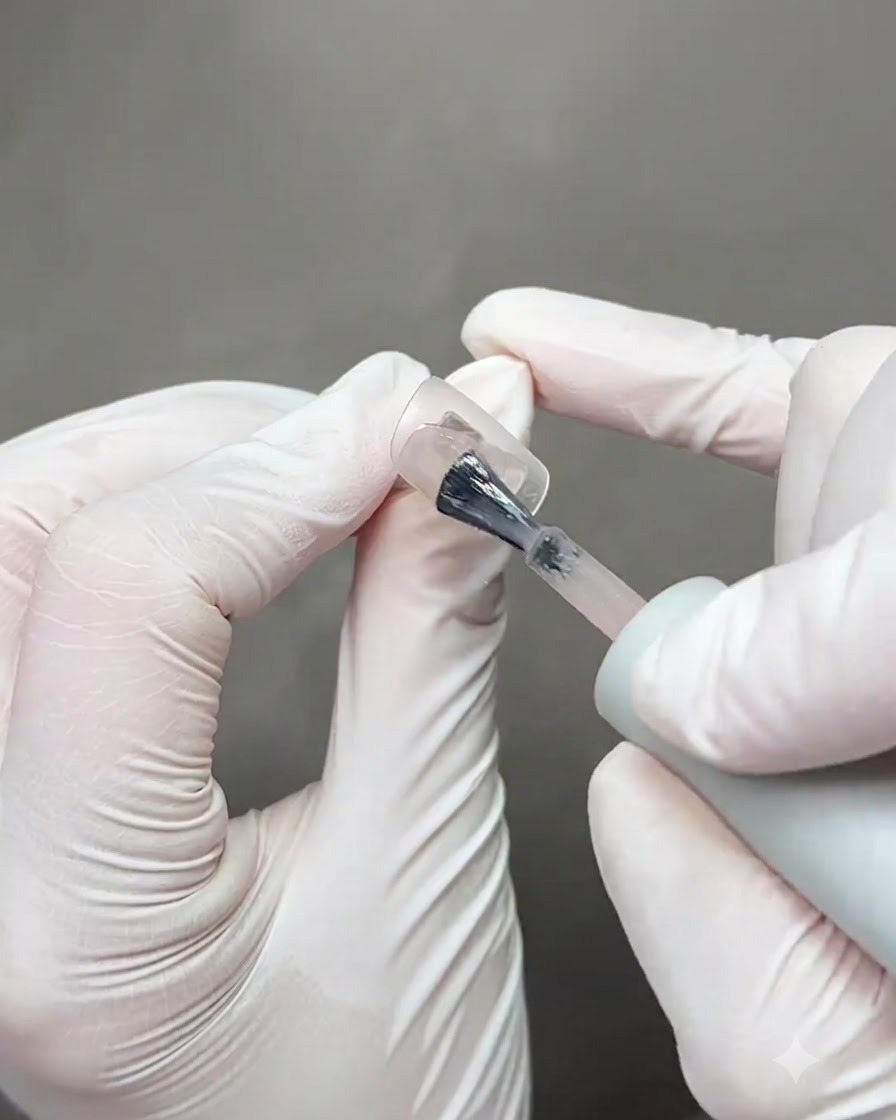
Cure the newly magnetized third ribbon line under the UV or LED lamp to set the product completely. This secures the design structure before the final encapsulation layer is added.
Tip: Follow standard curing times to prevent any uncured product underneath the subsequent top coat. - 12Apply a thick top coat and level
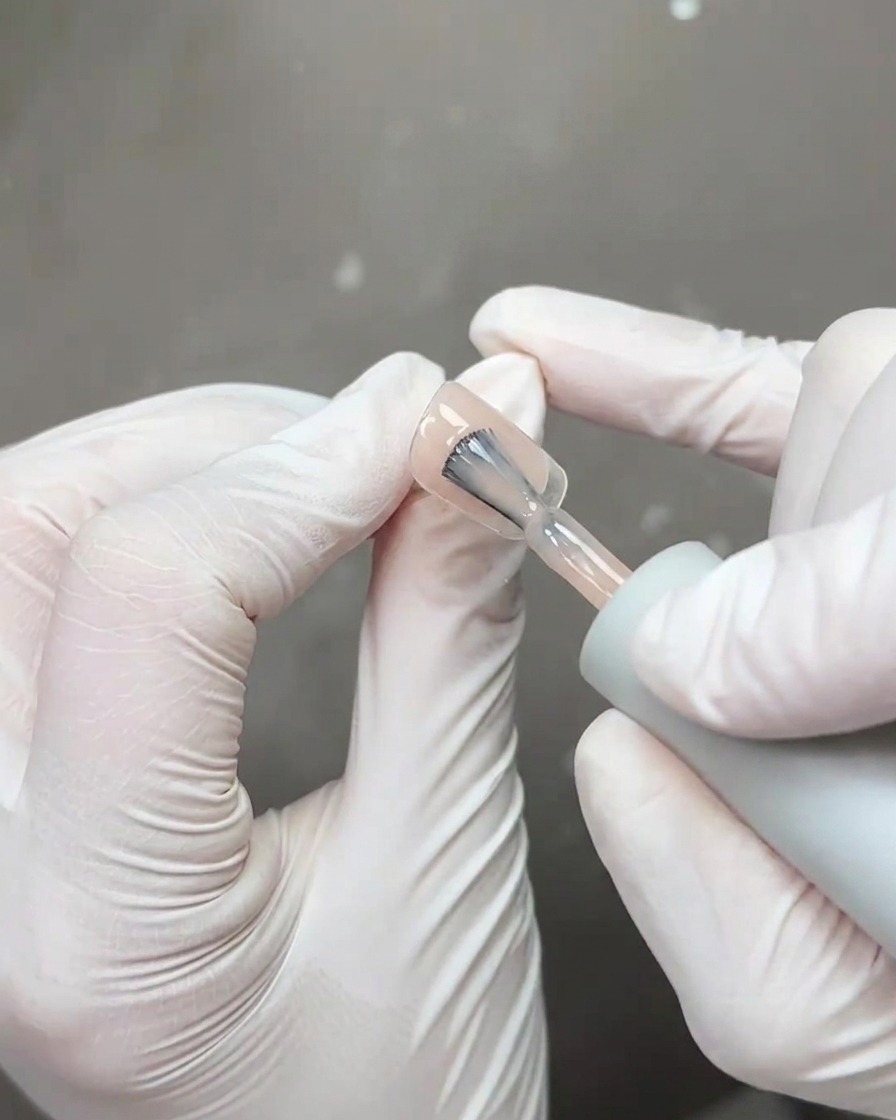
Apply a generous, thick layer of top coat across the entire nail surface to smooth out any texture from the layered ribbon lines. Turn the nail upside down briefly before curing to allow the self-leveling top coat to create a plump, perfectly smooth apex.
Tip: Turning the hand upside down uses gravity to pull the top coat into an even, glossy dome shape.