Glitter Gradient White Cat Eye Nails — Elegant Step-by-Step Tutorial
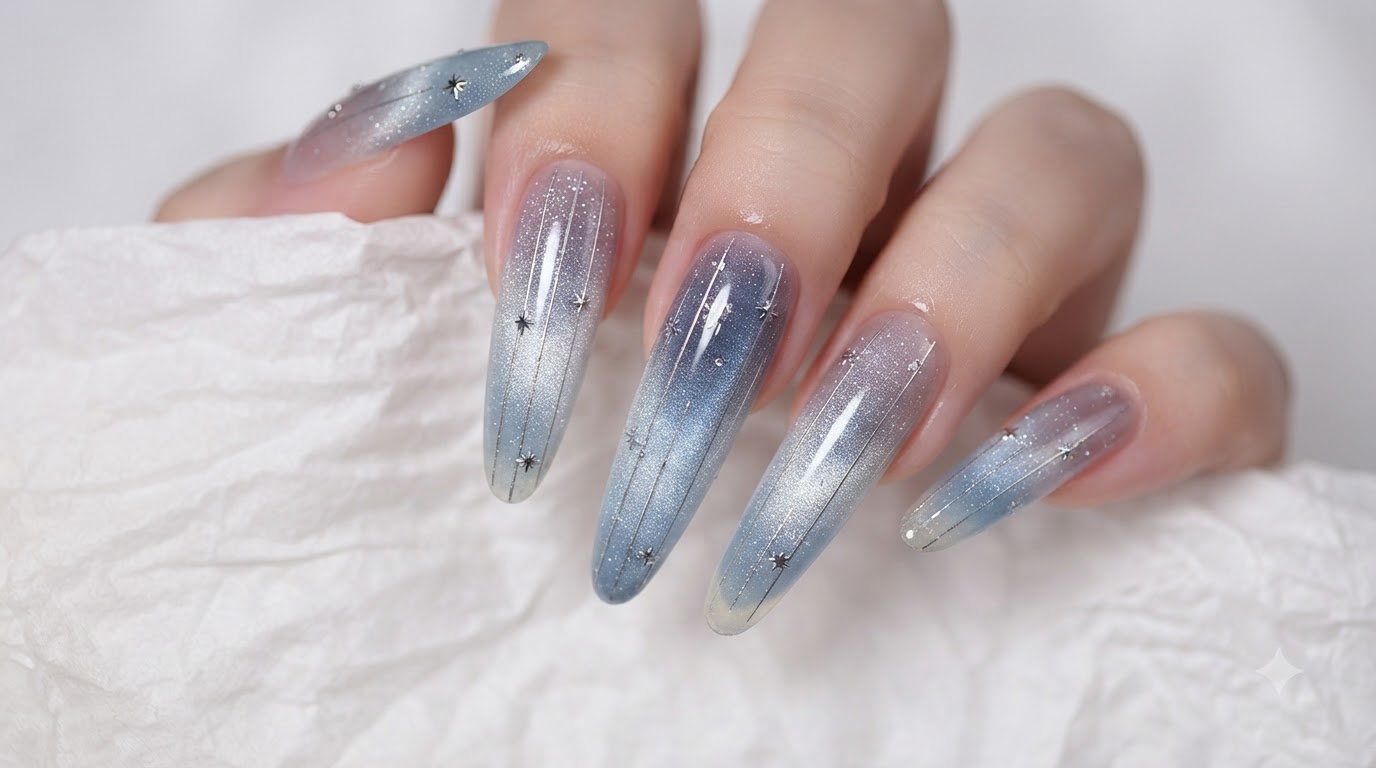
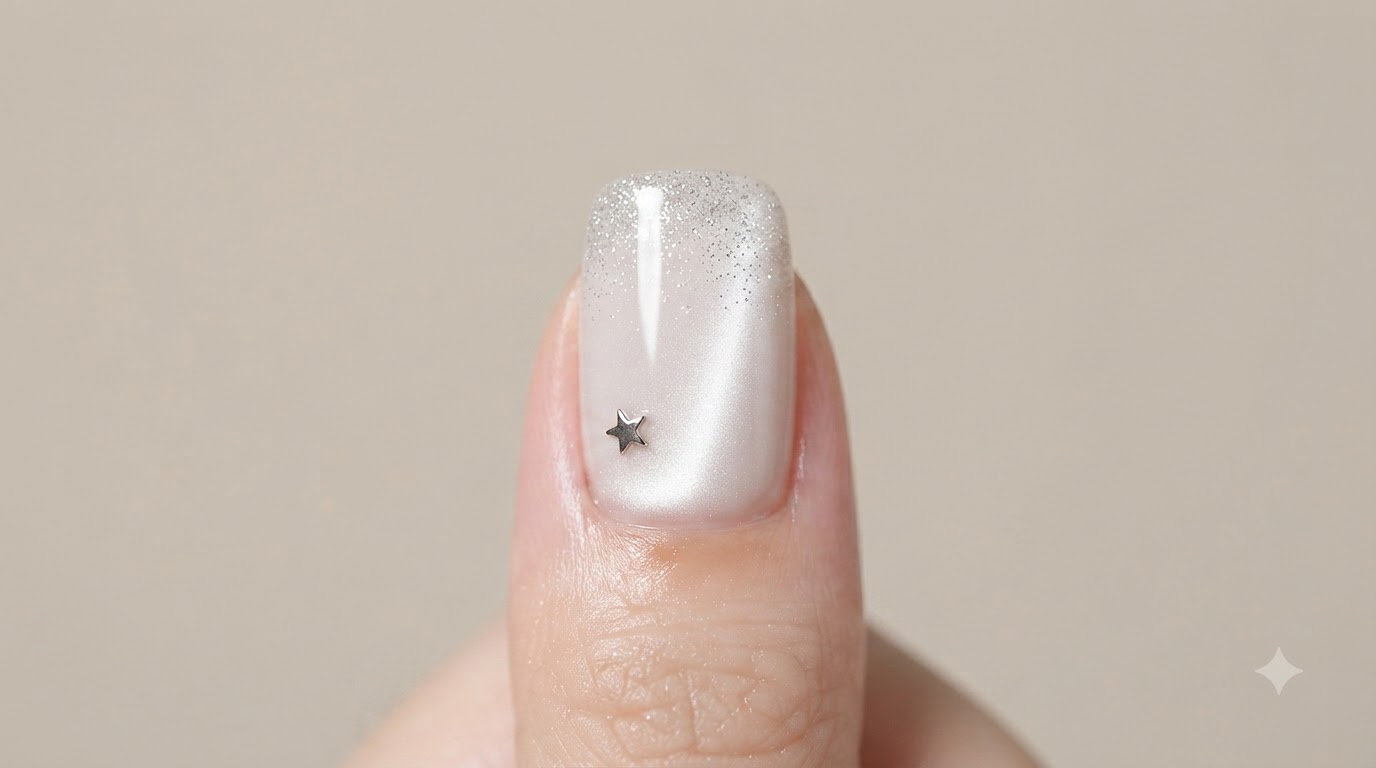
Discover how to create a dreamy, minimalist white cat eye manicure featuring a delicate silver glitter gradient tip and subtle star embellishments.
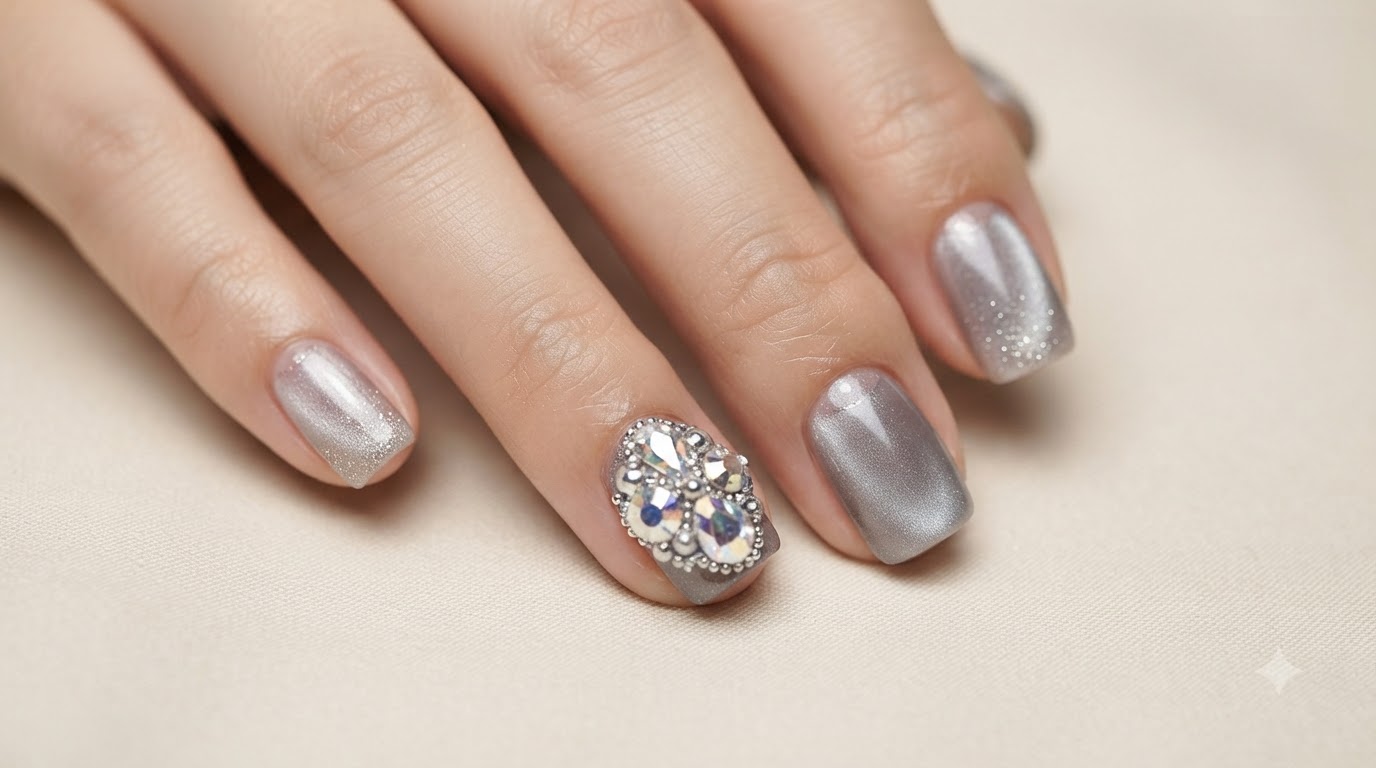
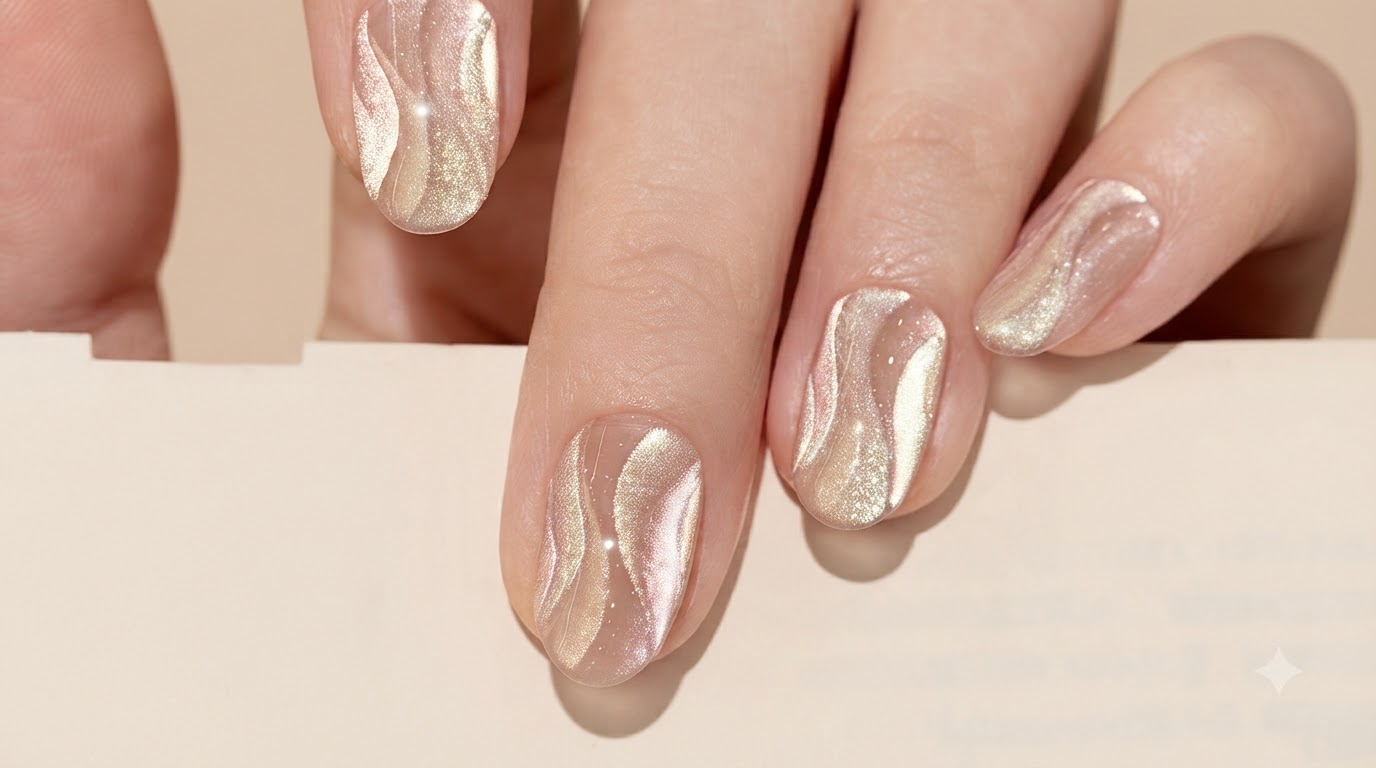
Cat eye nail art continues to dominate trends with its mesmerizing, gemstone-like light shift. This look combines a clean sheer white magnetic base with a sparkling silver glitter gradient and dainty star accents, making it an exquisite choice for fair complexions and elegant everyday wear.
Steps
- 1Apply clear base coat
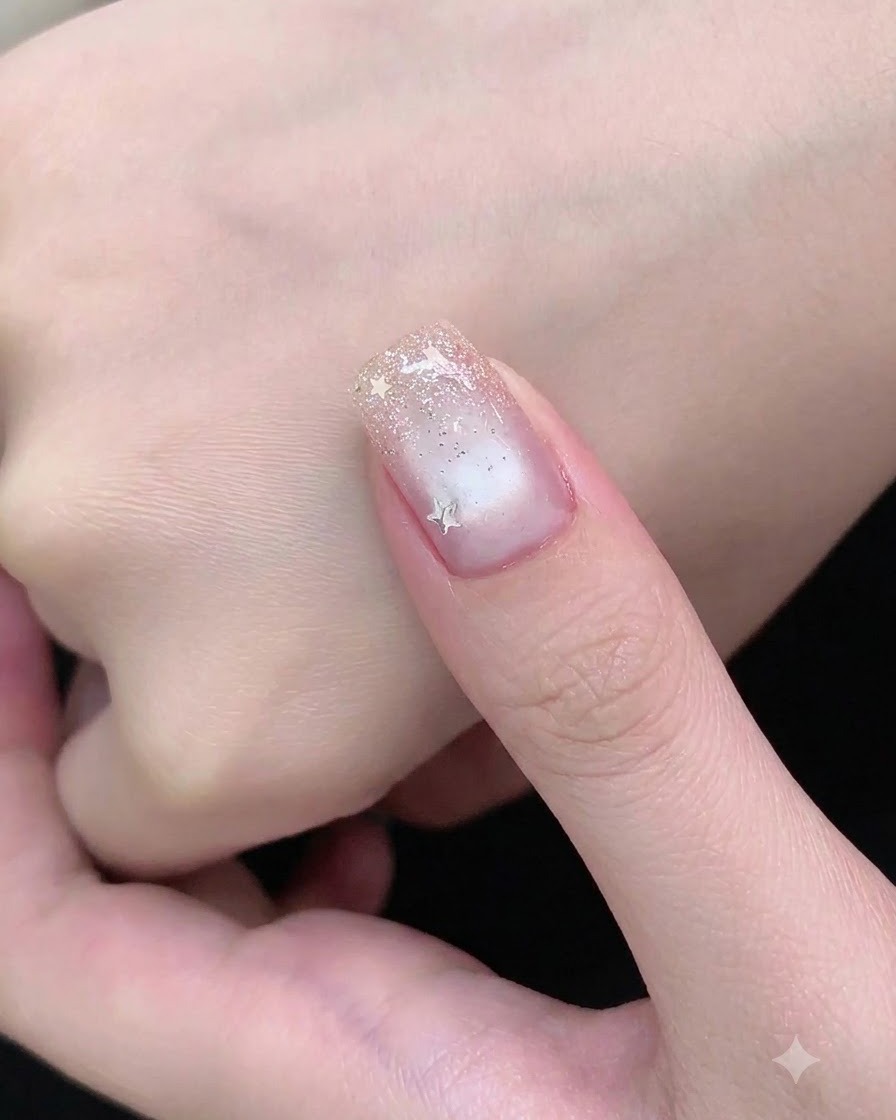
Apply a thin layer of clear base coat evenly across the prepped nail plate to ensure proper adhesion for the upcoming gel layers. Make sure to cap the free edge and avoid flooding the cuticles. Cure thoroughly under a UV or LED lamp.
Tip: Applying a thin, even coat prevents lifting and ensures the base cures completely. - 2Apply sheer white cat-eye gel
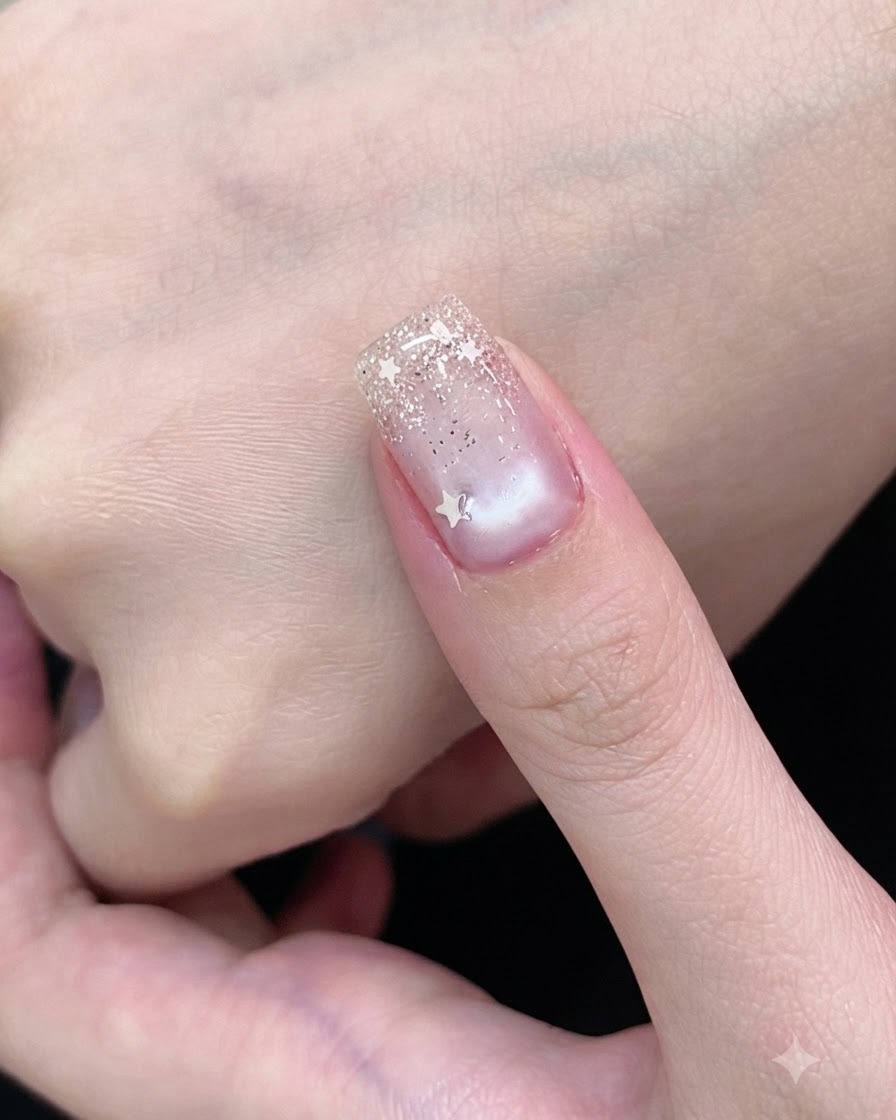
Apply a uniform coat of sheer, non-yellowing white cat-eye gel polish over the entire nail surface. This translucent coat provides the base for the magnetic light effect without needing a heavy colored background. Do not cure yet.
Tip: Keep the layer smooth and consistent to ensure the cat-eye magnetic particles move freely. - 3Manipulate cat-eye particles with a magnet
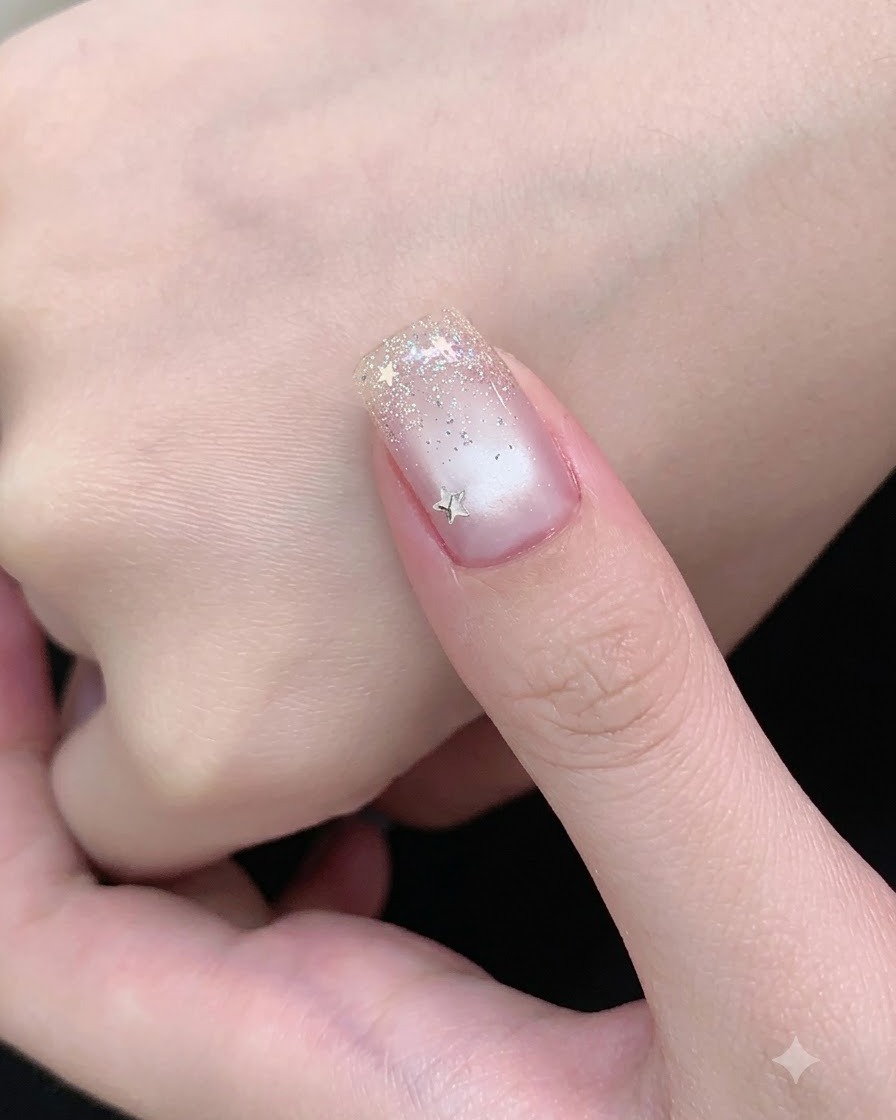
Hover a bar magnet closely around the sides and top of the wet gel polish, moving it back and forth. This motion pushes and guides the metallic particles within the polish to shift into place before they are locked down.
Tip: Keep the magnet close to the nail without touching the wet surface to achieve a sharp magnetic shift. - 4Gather light down the center
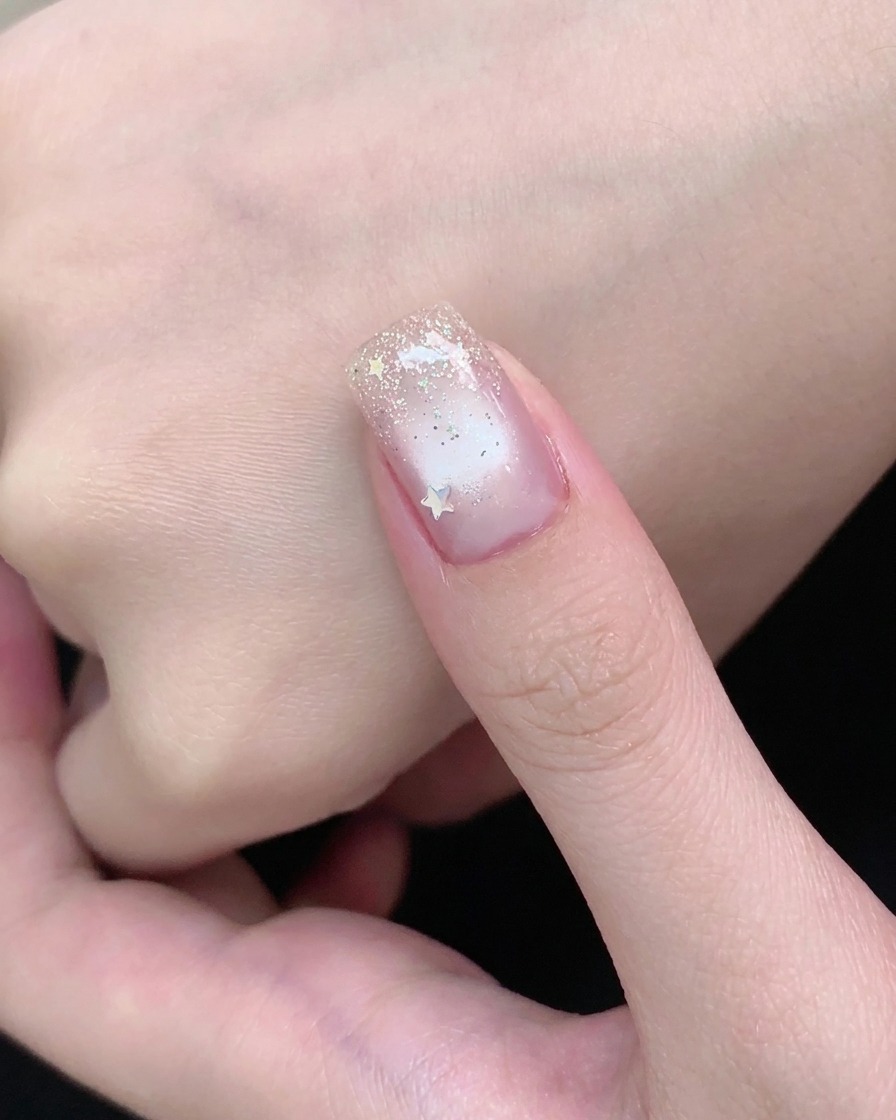
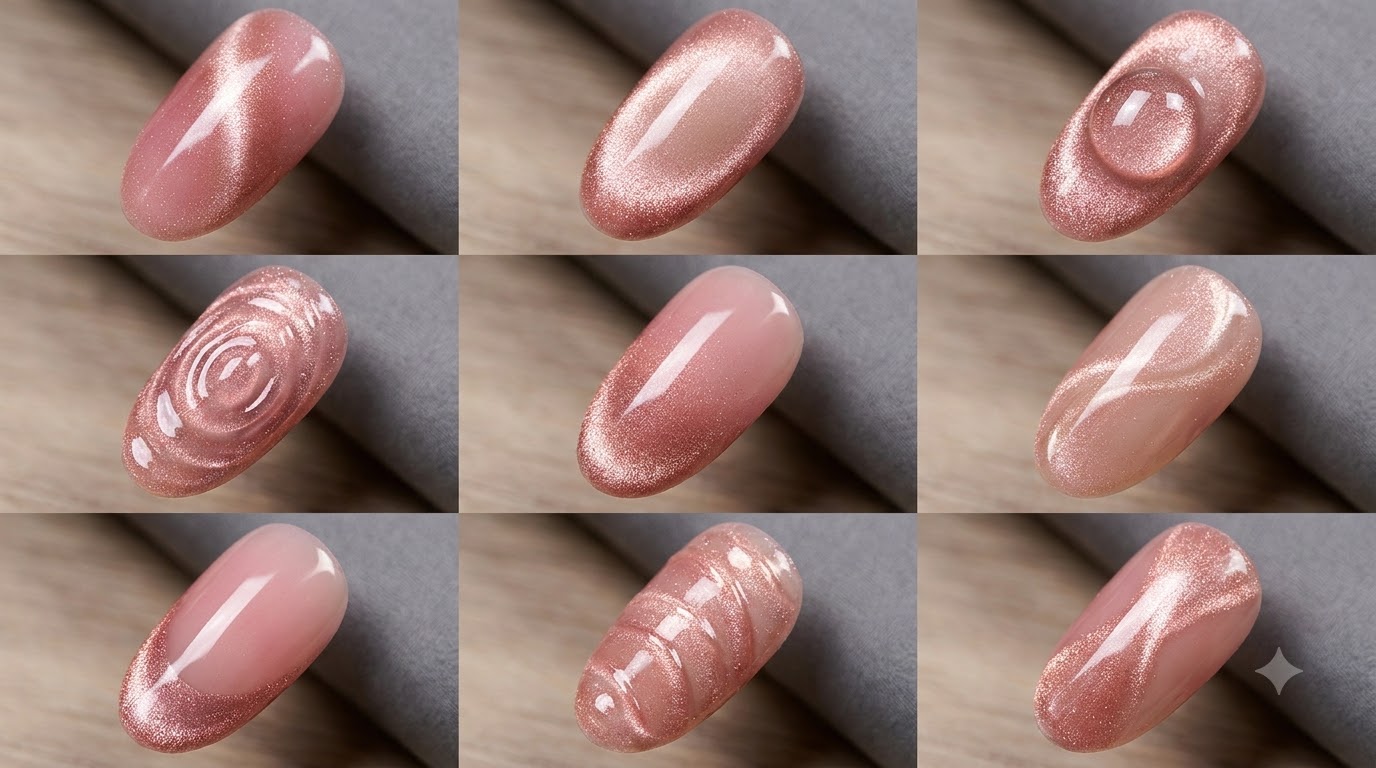
Position the magnet to concentrate the cat-eye shimmer into a sharp, bright beam running straight down the center of the nail. This creates the signature cat-eye optical illusion that mimics a gemstone line.
Tip: Hold the magnet steady for a few seconds once the line is formed to prevent the particles from drifting. - 5Cure the cat-eye gel
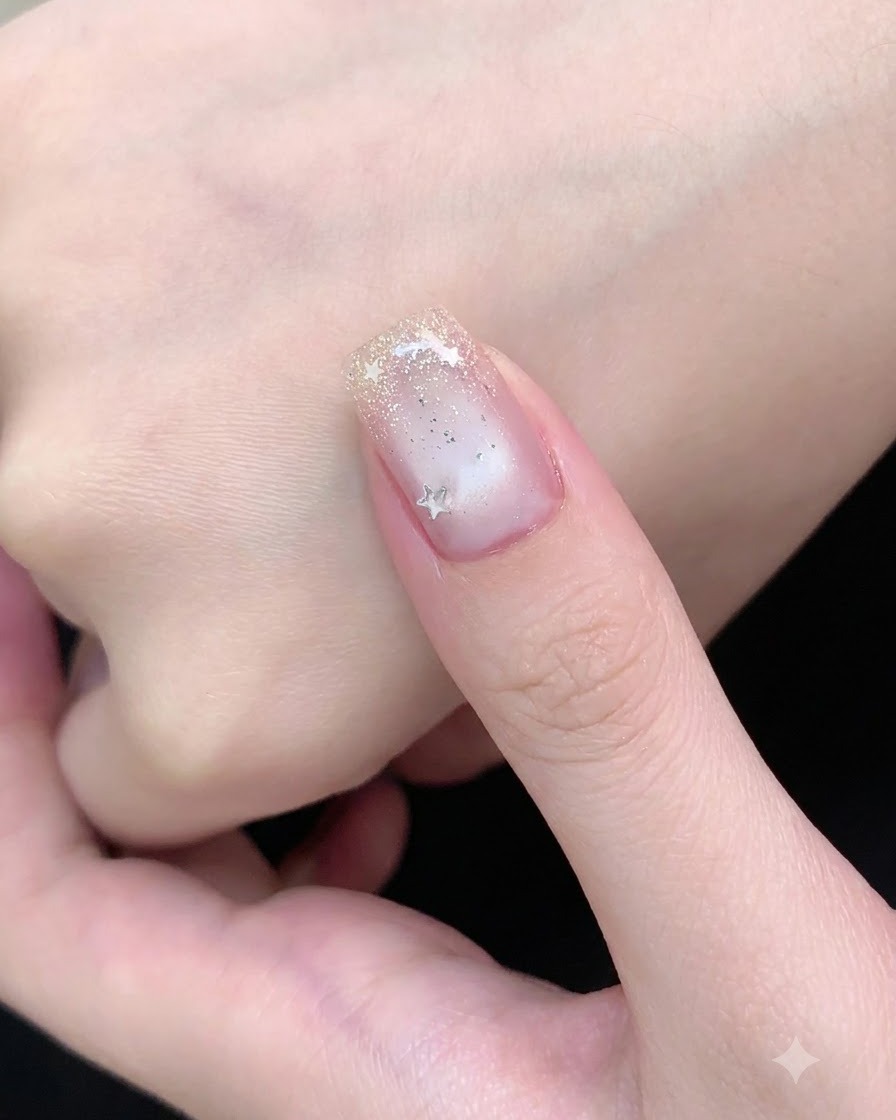
Place the hand immediately into the UV or LED nail lamp to cure the cat-eye polish and lock the centralized shimmer in place. Cure for the recommended manufacturer duration.
Tip: Check that the shimmer line hasnt shifted before putting the hand into the lamp. - 6Apply silver glitter tip gradient
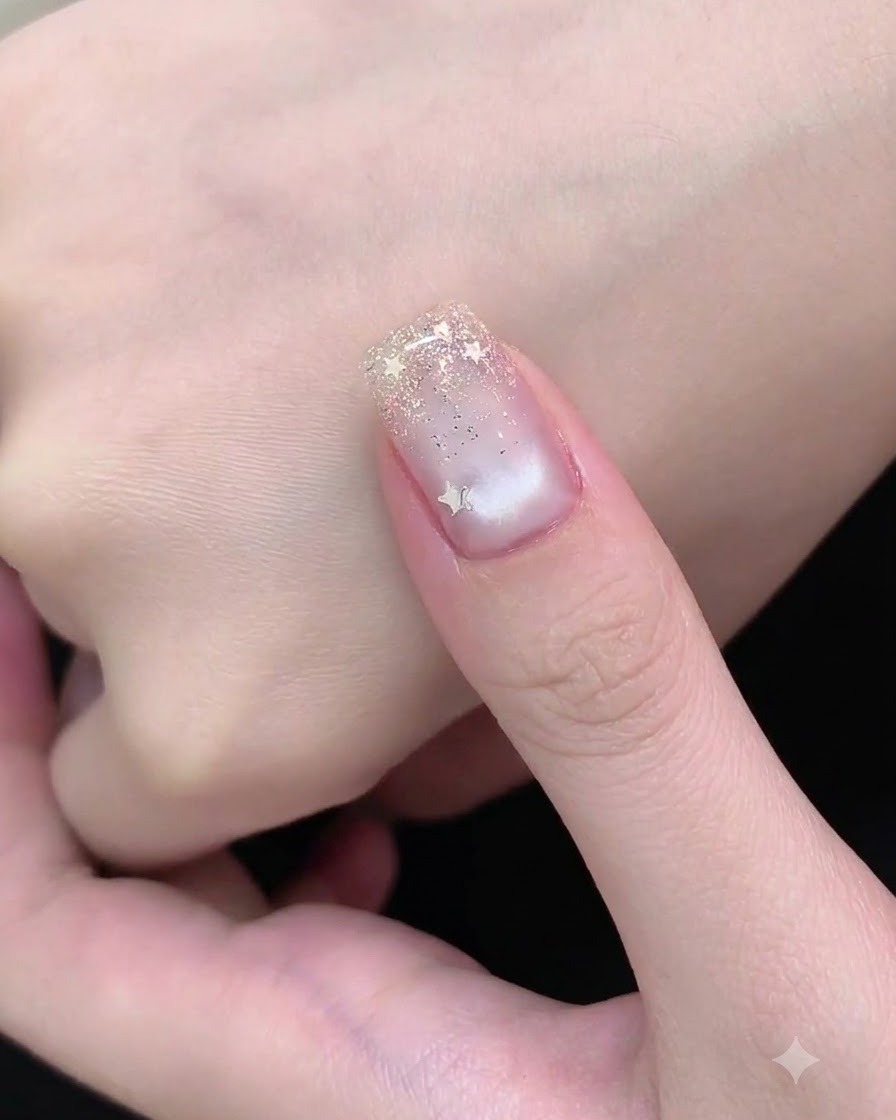
Take a small amount of fine silver glitter gel on a fine brush and dab it softly onto the tip of the nail. Fade the glitter downward toward the center to create a delicate, sparkling gradient effect.
Tip: Tap lightly with the brush tip to distribute individual glitter specks evenly without clumping. - 7Blend the glitter gel
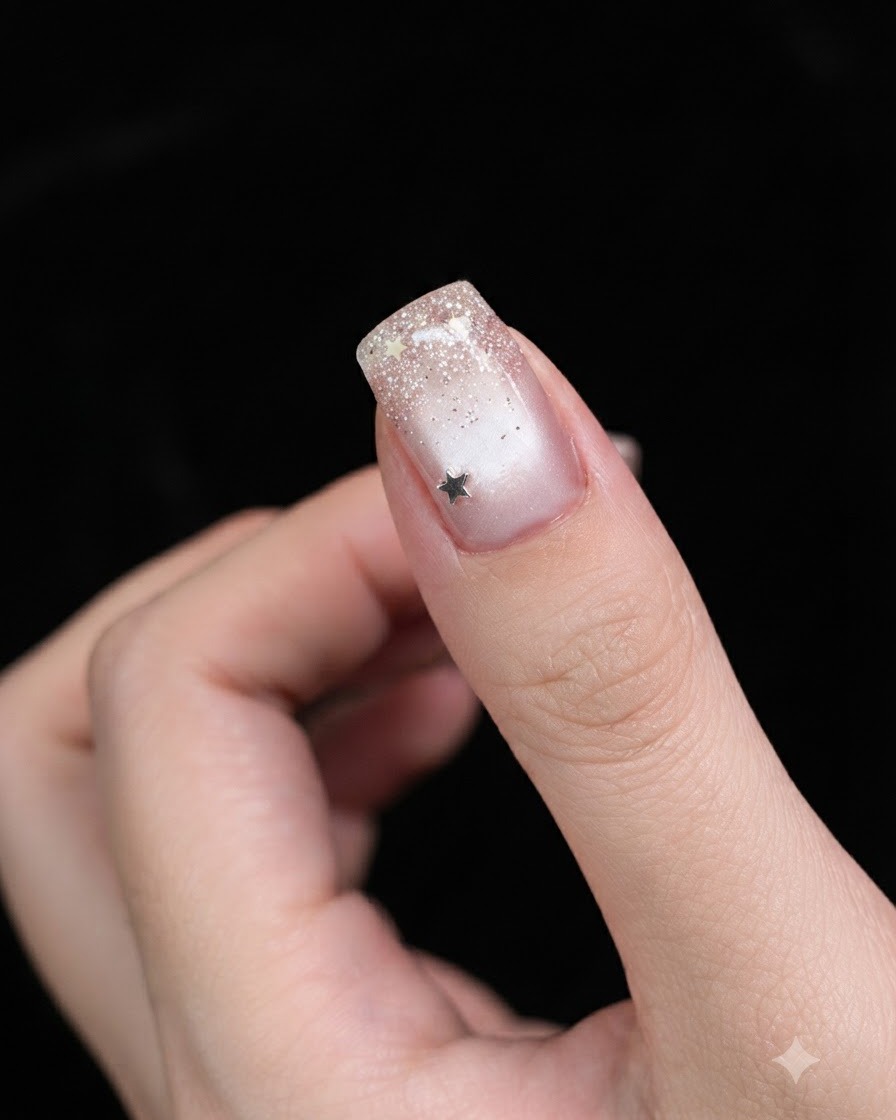
Gently dab and blend the small amount of silver glitter gel downward towards the center of the nail, creating a seamless gradient effect from the tip. Ensure the glitter is evenly distributed before moving on to adding embellishments.
Tip: Keep the glitter concentration heaviest at the tip and fade it out smoothly toward the middle for a natural gradient look. - 8Place silver star glitter
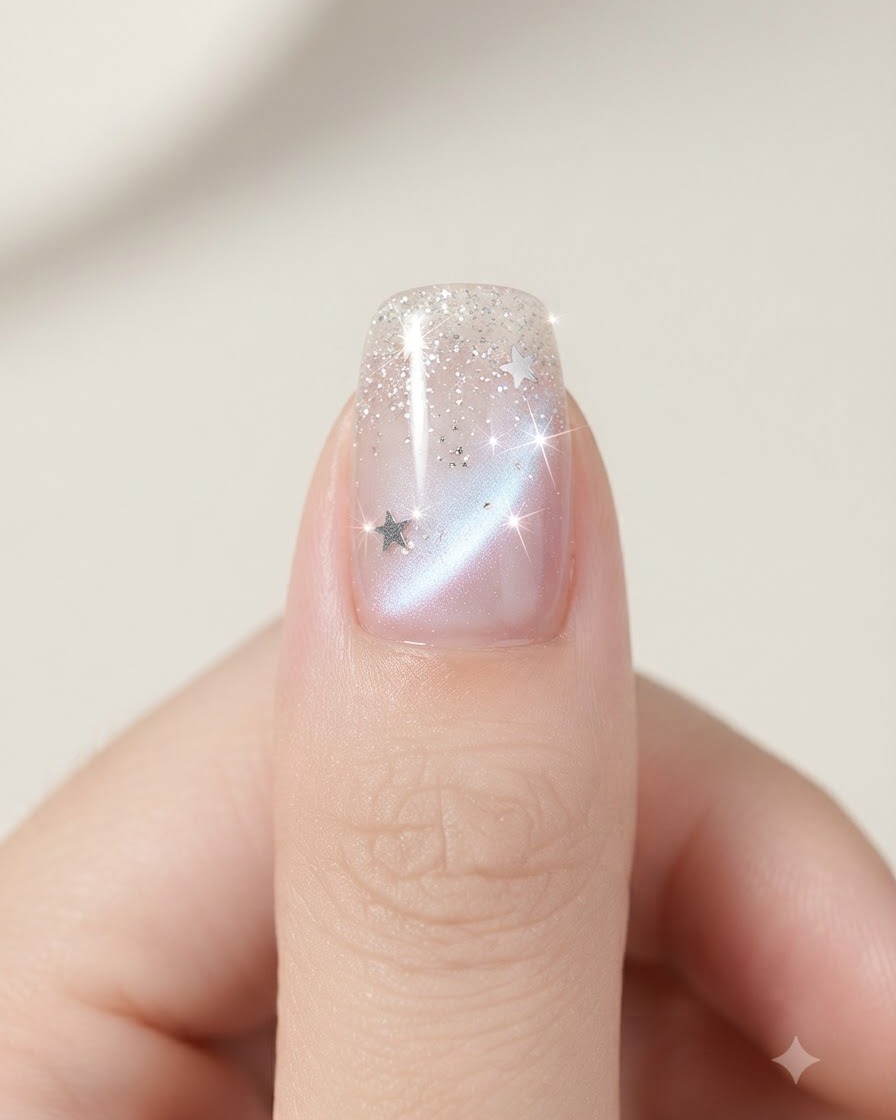
Using a pair of fine tweezers, carefully pick up silver star-shaped glitter pieces and place them onto the nail tip and near the cuticle area as desired. Press them gently into the uncured gel layer so they adhere securely.
Tip: Dip your tweezers into a tiny bit of base coat or clear gel if the star pieces are difficult to pick up and position. - 9Apply final top coat
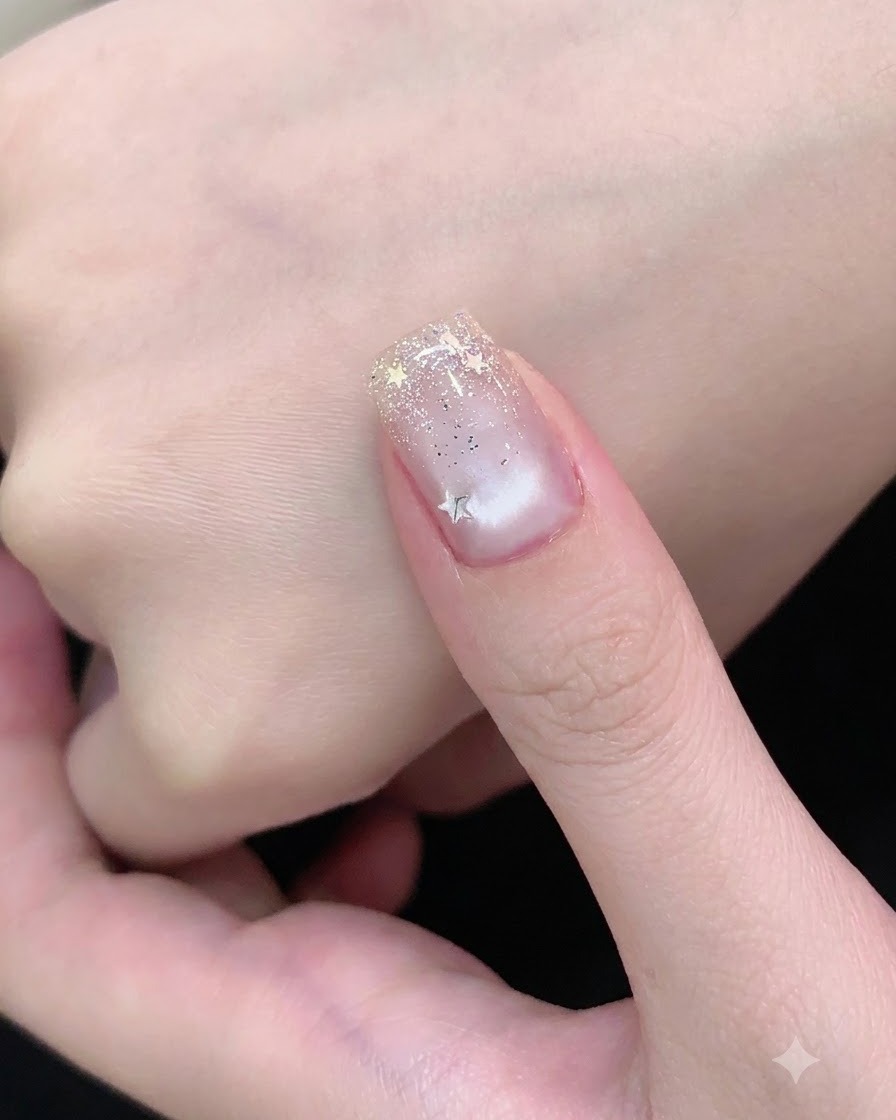
Apply a final clear top coat evenly over the entire nail surface, making sure to seal the free edge completely. This protects the glitter and star decorations from chipping and gives the manicure a high-gloss finish.
Tip: Always cap the free edge with top coat to prevent lifting and protect your nail art design from daily wear and tear. - 10Cure the nail
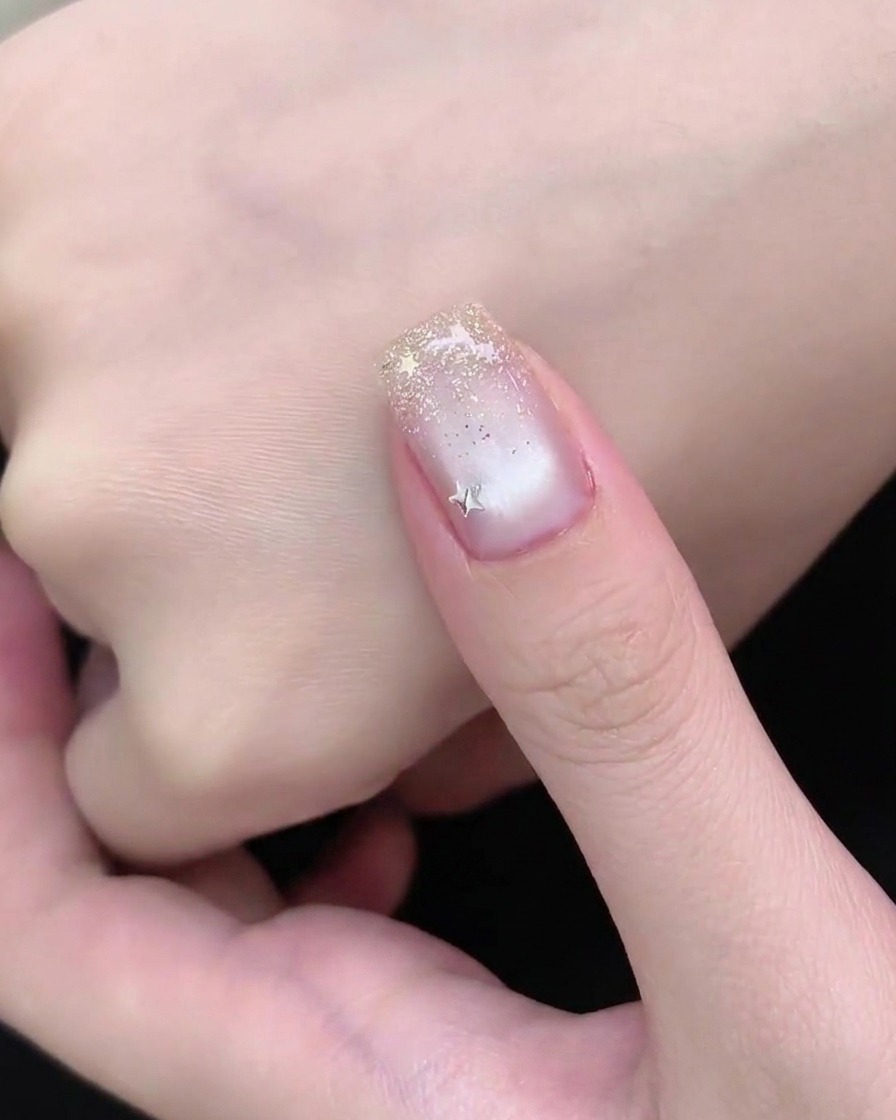
Place the hand under your UV or LED lamp and cure the final top coat completely according to your lamp manufacturers instructions. Once cured, wipe away any inhibition layer if necessary to reveal the finished, glossy look.
Tip: Ensure proper curing time for the top coat to lock in the glitter pieces and prevent a tacky or dull surface.