Multi-Style Cat Eye Nail Art — Comprehensive Magnet Techniques Tutorial
Master 9 stunning magnetic cat eye gel nail effects using different magnet techniques from side-light and wide-light to water-ripple and glass-ball finishes.
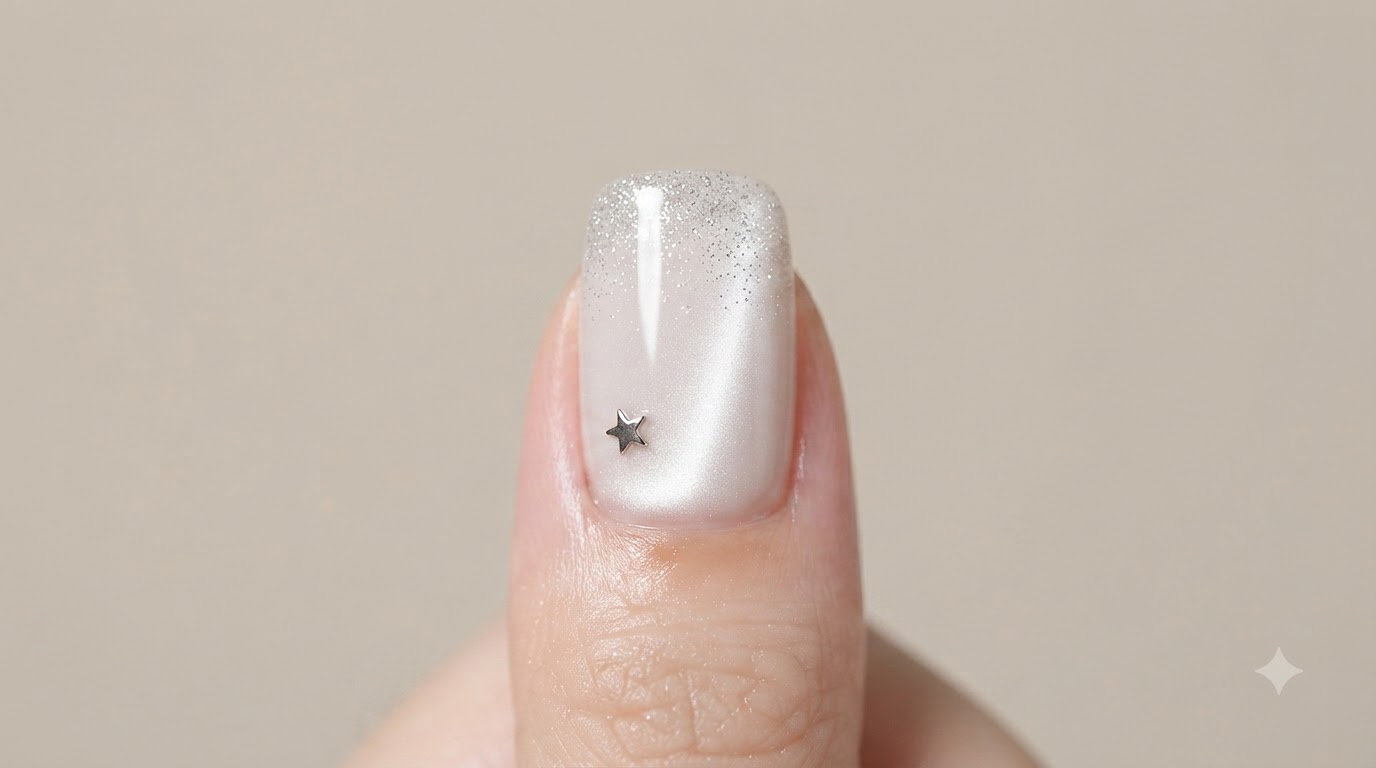
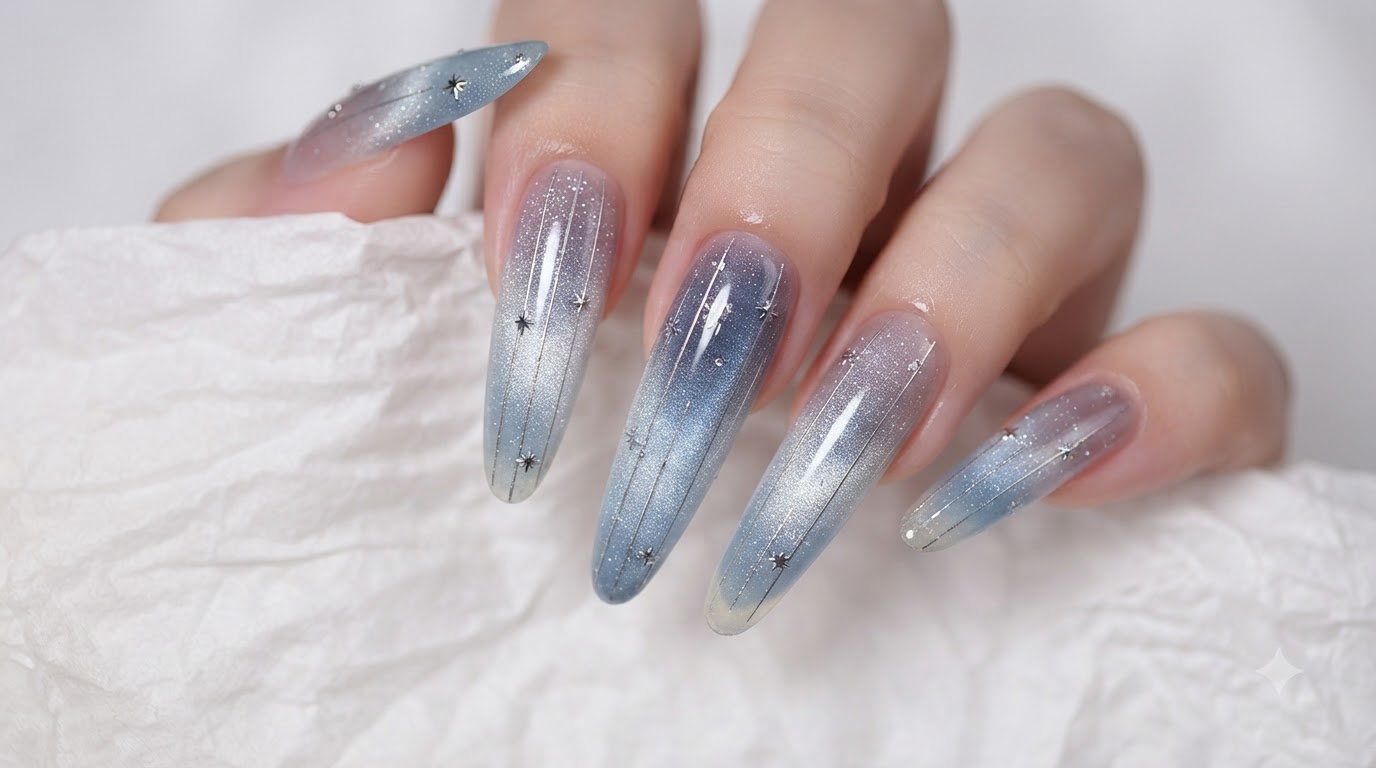
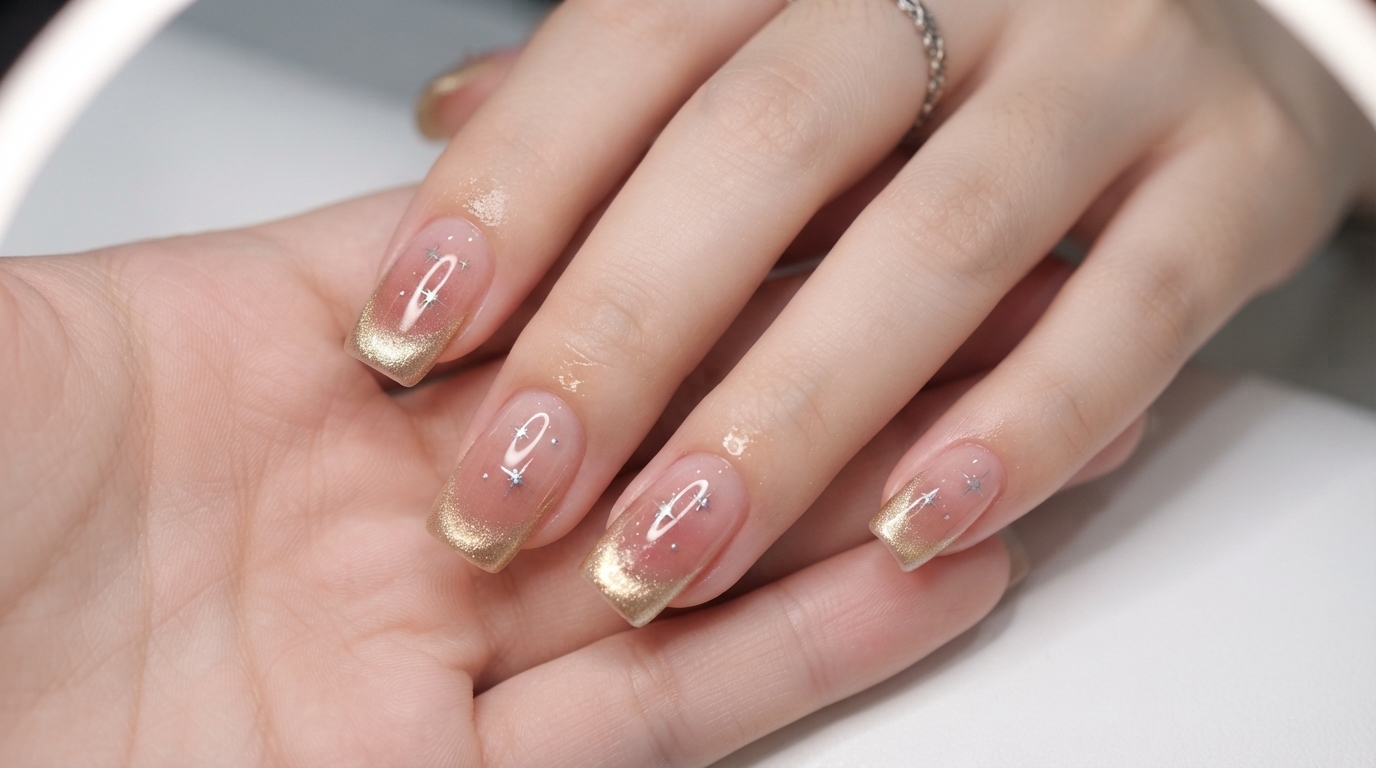
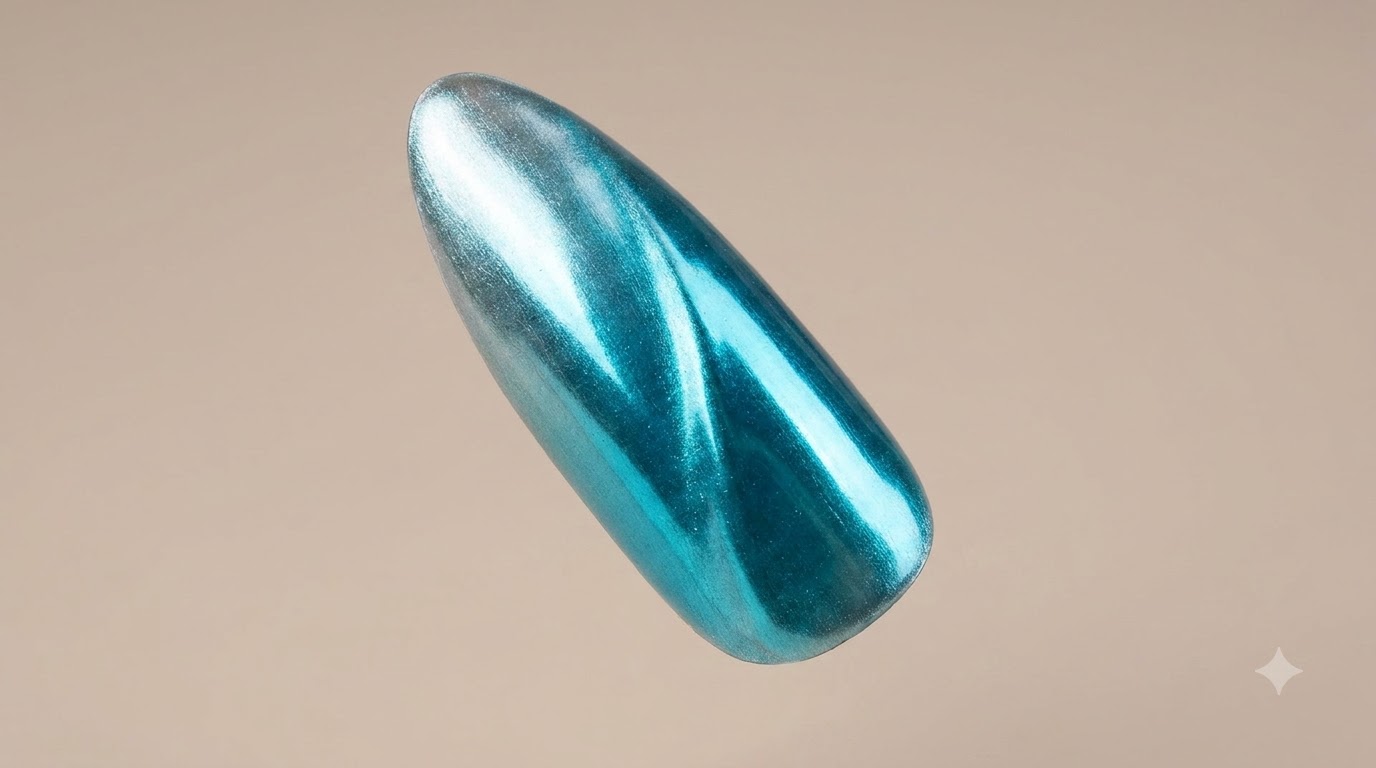
Cat eye gel nail art continues to captivate nail enthusiasts with its dynamic, light-shifting metallic particles. By utilizing different magnet shapes, angles, and movements, you can completely transform a single floating-light cat eye polish into an array of mesmerizing optical designs like gradients, French smile lines, and water ripples.
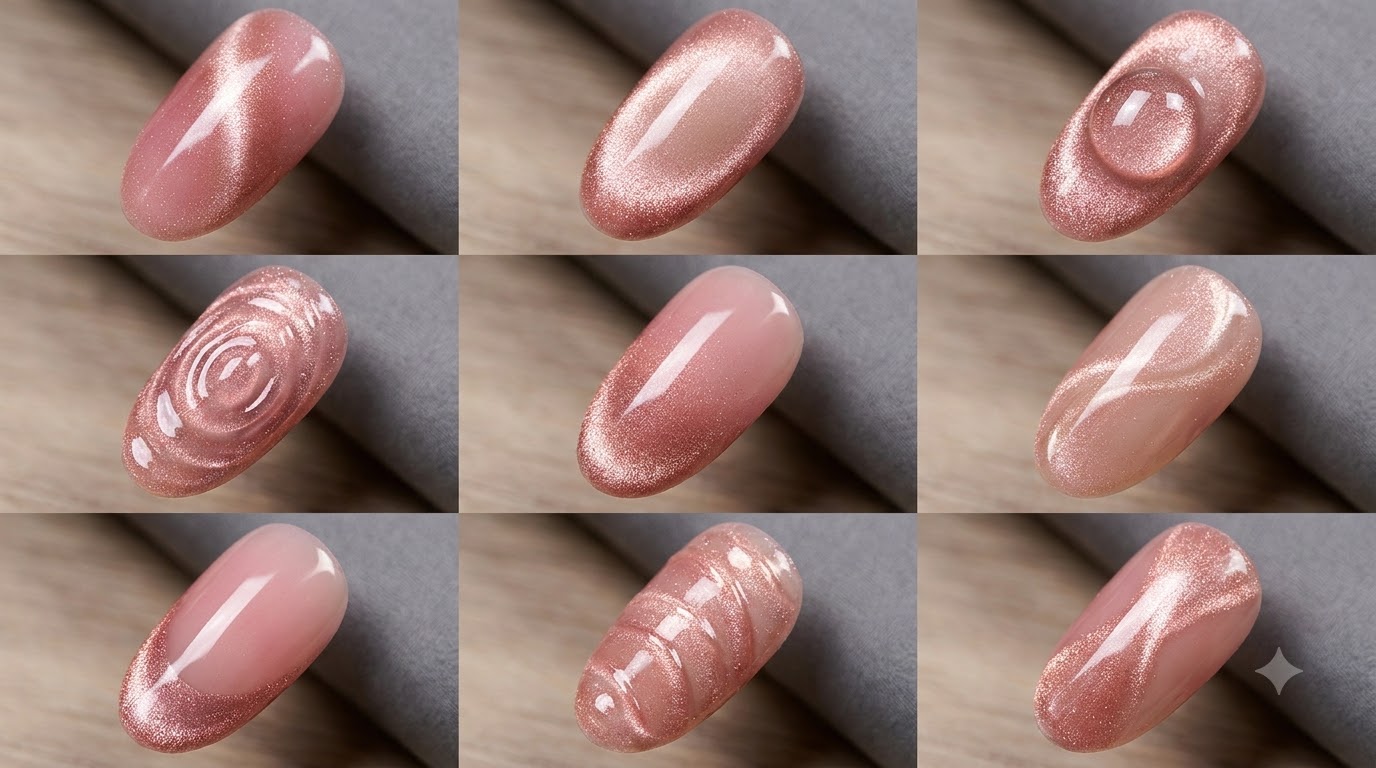
Steps
- 1Apply base layer of cat-eye gel
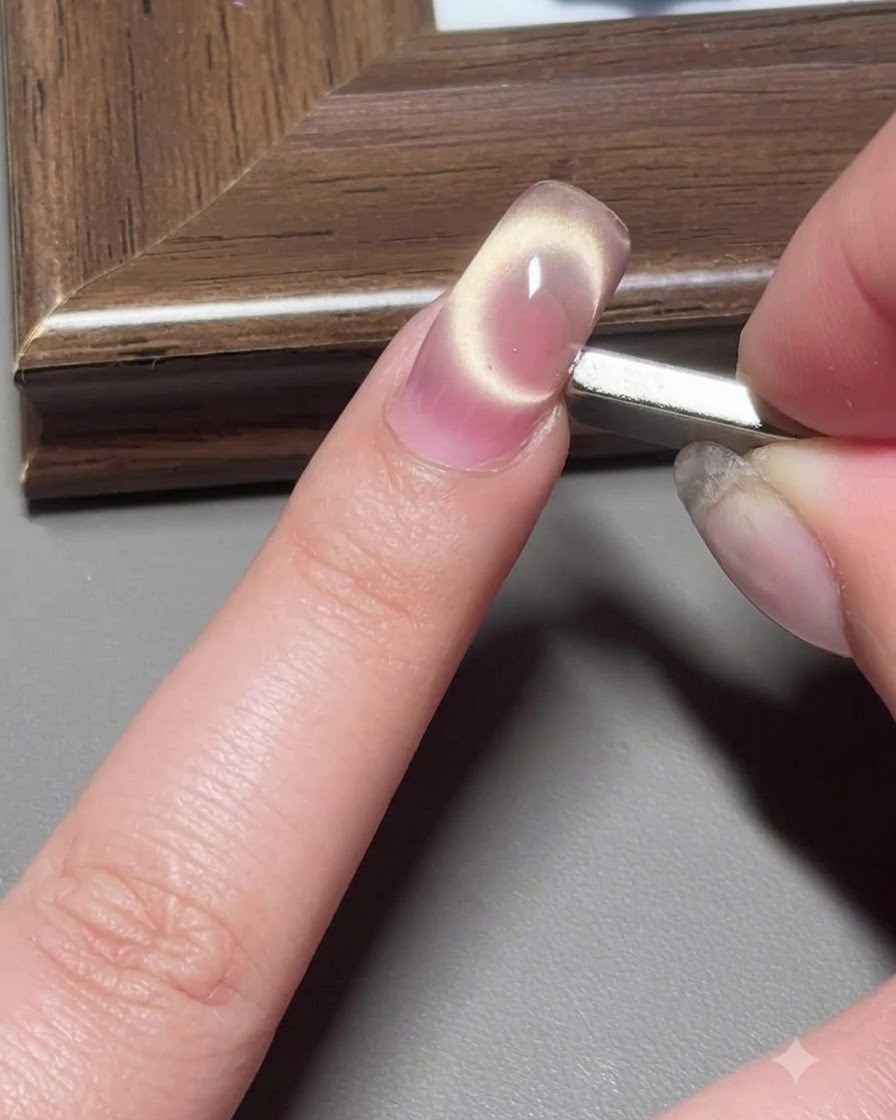
Apply a base layer of cat-eye gel evenly to the nail surface using a brush. Ensure smooth coverage and a uniform layer across the nail before proceeding with the magnet tool effects.
Tip: Keep the layer even to allow the magnetic particles to move smoothly. - 2Create a side-light cat-eye effect
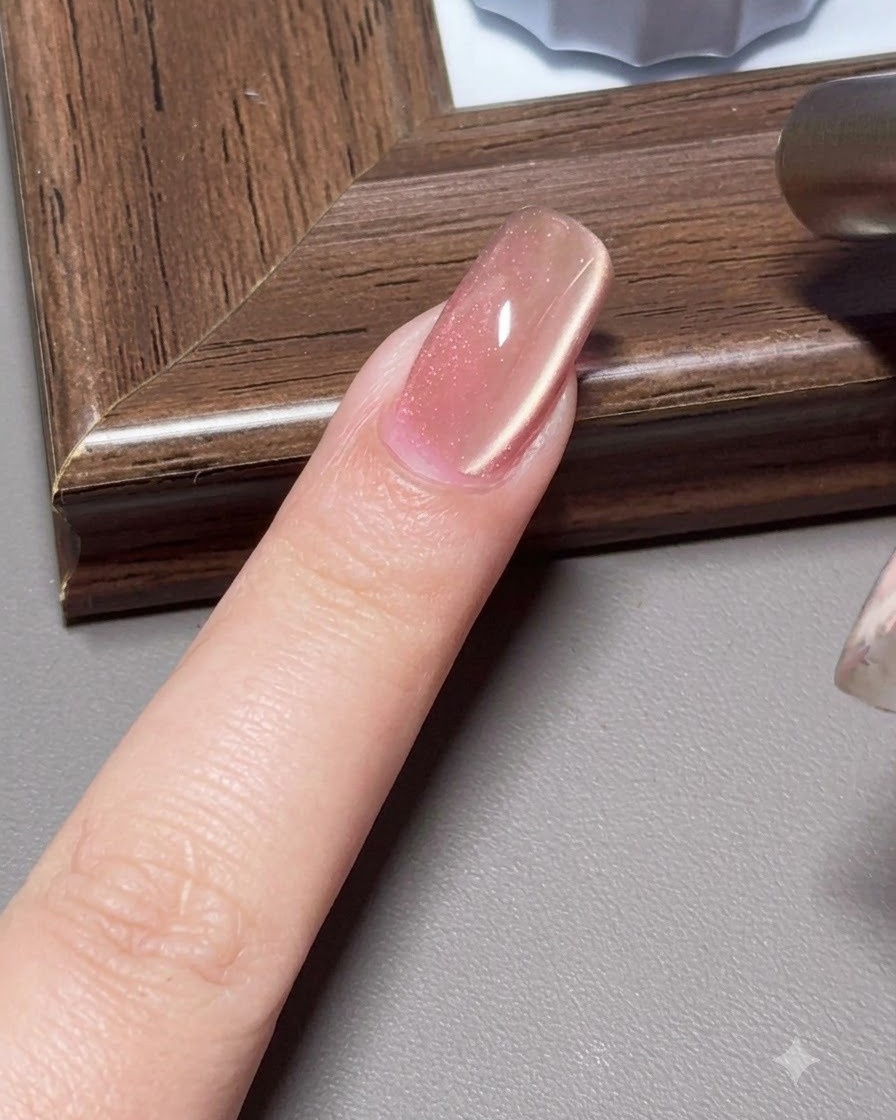
Take a standard cylindrical magnet and sweep it gently along the side of the nail. This action draws the magnetic particles to one side, forming a distinct side-light reflection effect.
Tip: Hold the magnet close to the gel without touching the wet surface. - 3Create a wide-light effect
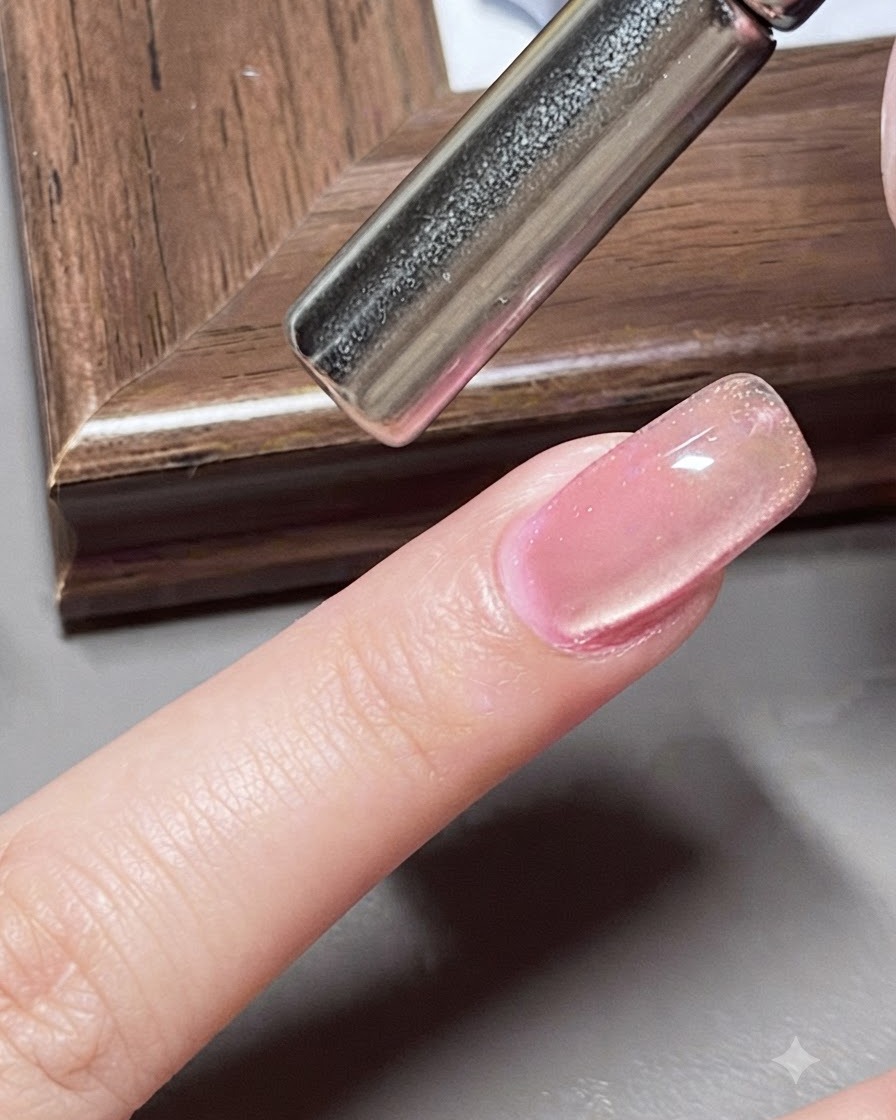
Lift your hand and sweep the magnet along both sides of the nail. This technique disperses the magnetic particles toward the edges, creating a broader, wide-light illumination across the center.
Tip: Keep your movements steady and symmetrical for an even wide-light distribution. - 4Create a vertical gradient effect
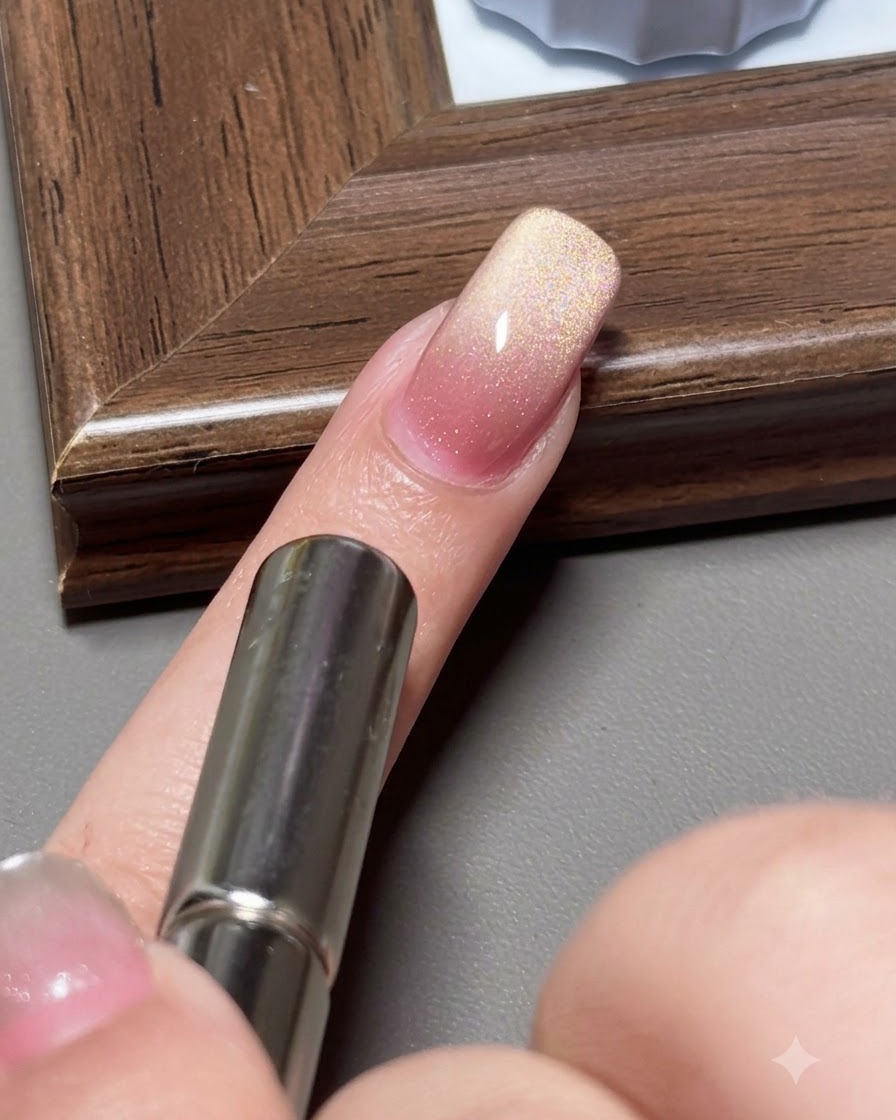
Position the magnet at the back of the nail and push it forward toward the tip. This movement shifts the concentration of magnetic powder, resulting in a smooth vertical gradient look.
Tip: Push slowly to maintain a seamless gradient transition. - 5Create a smile-line French tip effect
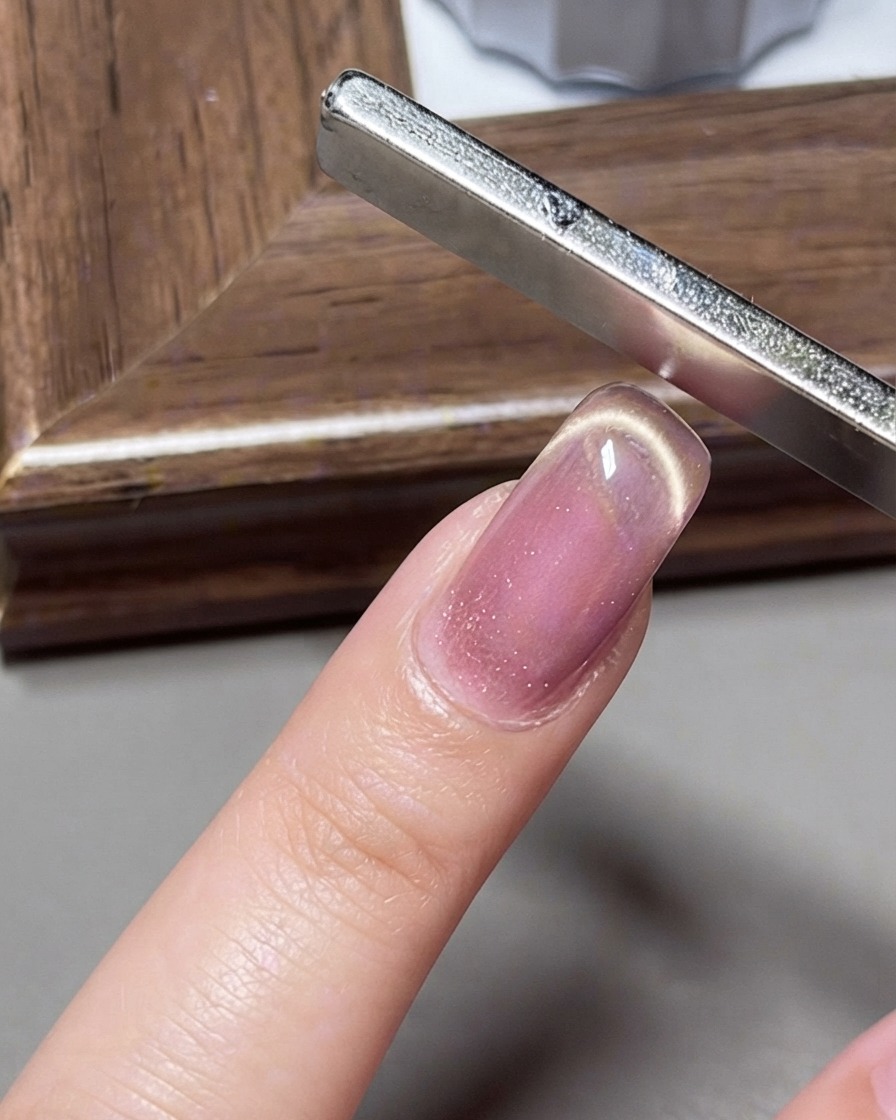
Swap to a wider magnet and push it from the front tip toward the base of the nail. This forms a curved reflection line resembling a classic smile-line French manicure.
Tip: Align the wider magnet parallel to the tip for a clean curve. - 6Create a shrimp-line effect
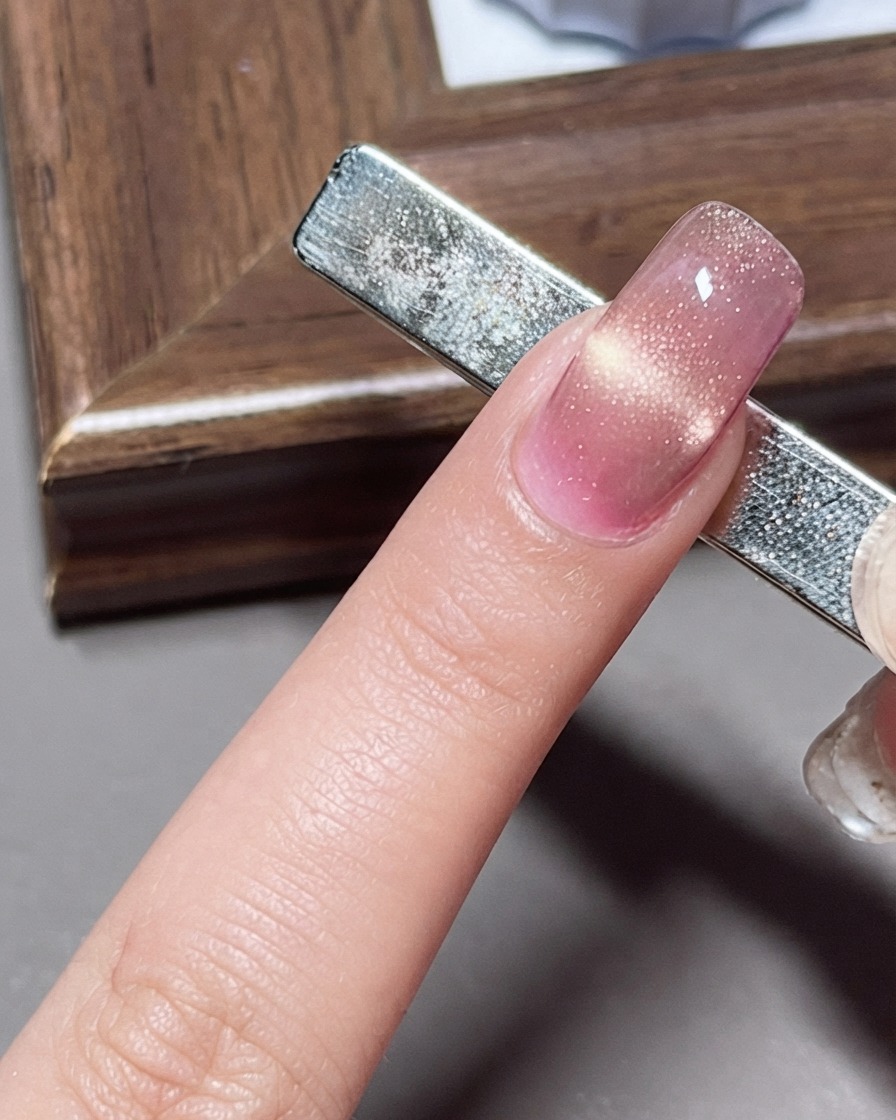
Place the wide magnet directly underneath the nail tip. The magnetic field from below reshapes the particles into a centered, curved line known as the shrimp-line effect.
Tip: Keep the finger steady while holding the magnet underneath. - 7Create a floating cat eye pattern
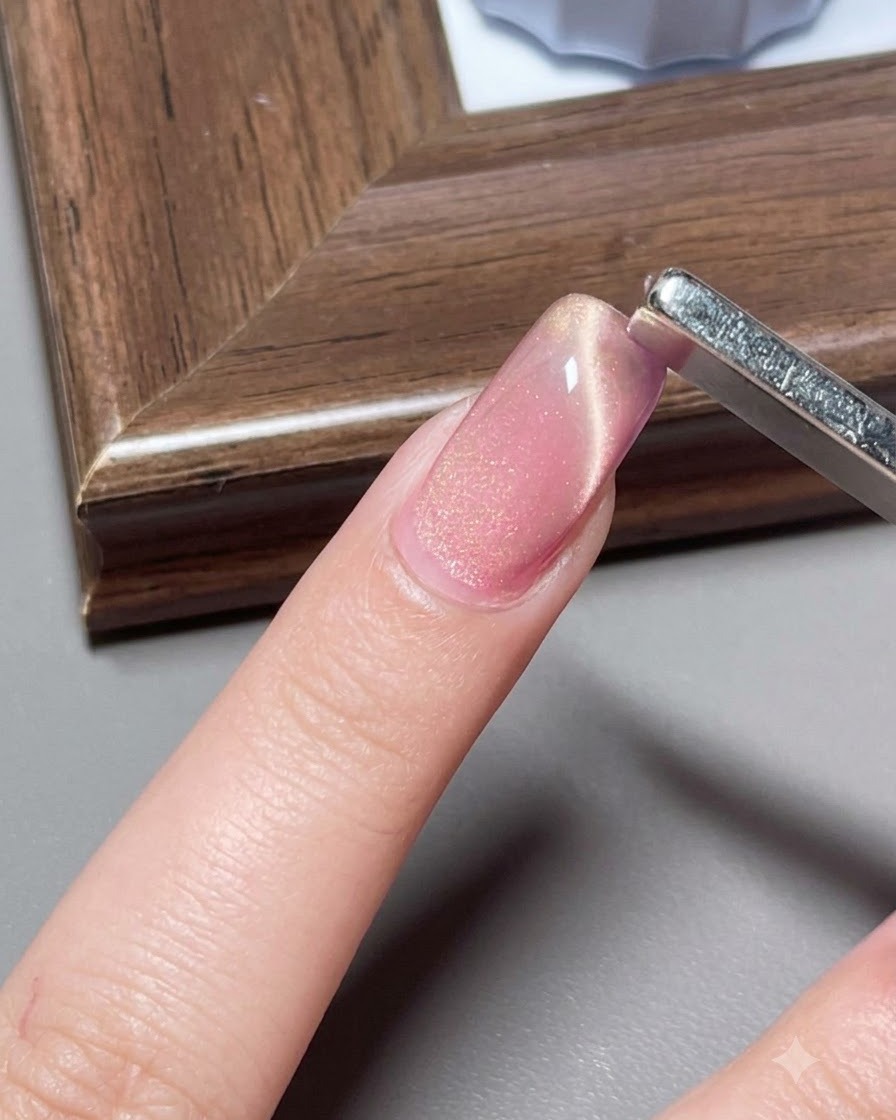
Hold the wide magnet upright and gently move it across the nail surface to gather the magnetic particles into a floating-cat-eye line. Keep the magnet close to the gel without touching the uncured surface. Once the desired light reflection appears, cure immediately under your lamp.
Tip: Maintain a steady hand and consistent distance from the nail to ensure an even and clean light path. - 8Create a glass-ball cat eye effect
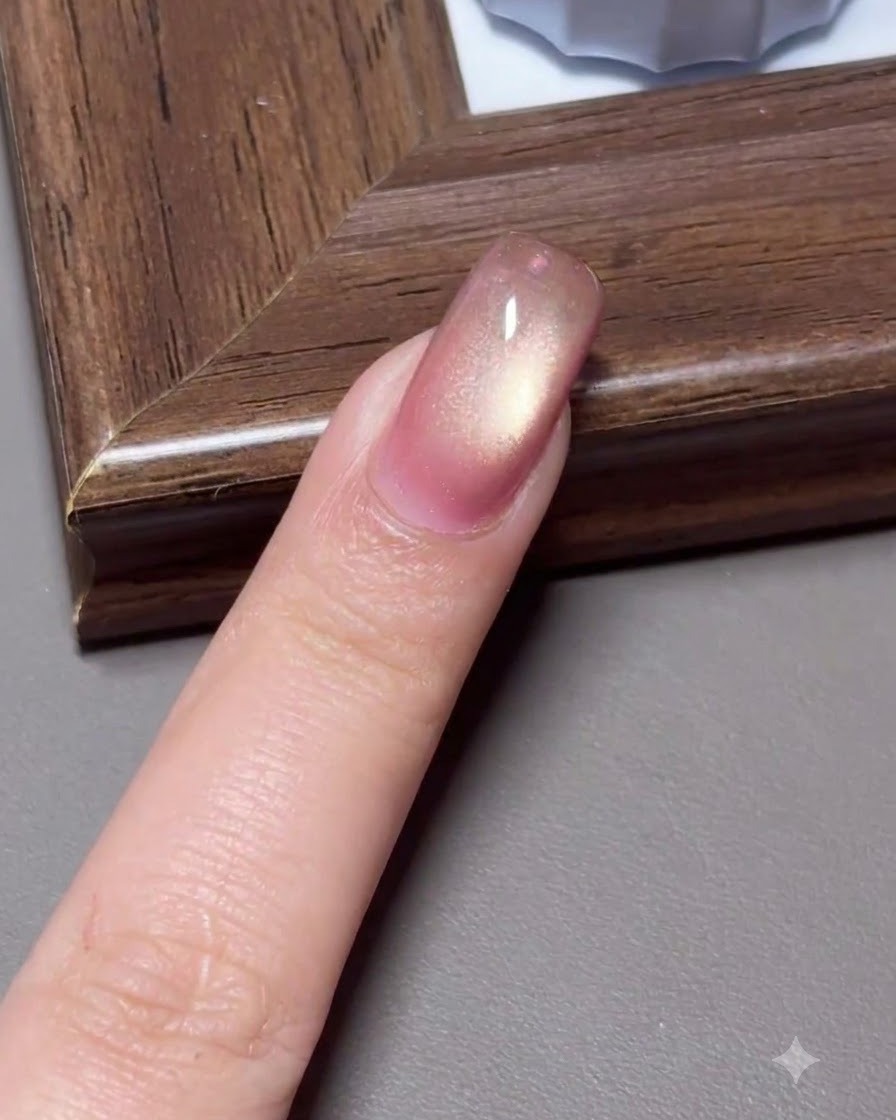
Circle the magnet smoothly around the outer surface of the nail to disperse the magnetic particles toward the edges, forming a luminous sphere look. This circular motion creates a three-dimensional glass-ball reflection in the center. Flash cure immediately to lock the effect in place.
Tip: Move the magnet in a fluid circular motion around the nail perimeter to evenly gather light toward the center. - 9Create a water-ripple effect
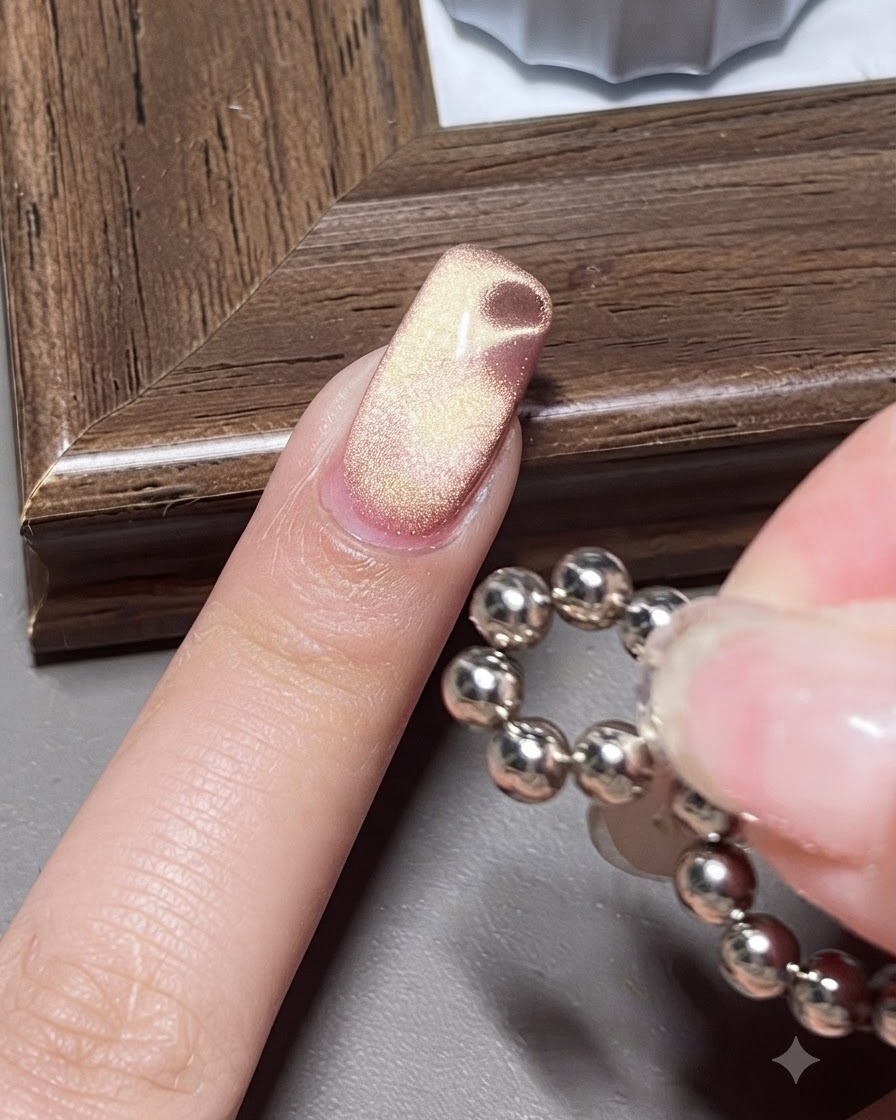
Approach the uncured gel surface with a spherical bead magnet to pull the magnetic particles into localized circular depressions, creating a water-ripple pattern. Hold the sphere close enough to displace the particles without touching the wet gel layer. Cure promptly to preserve the ripple design.
Tip: Gently tap or hover the sphere magnet close to specific spots to create distinct, organic ripple indentations. - 10Create a light-wave cat eye effect
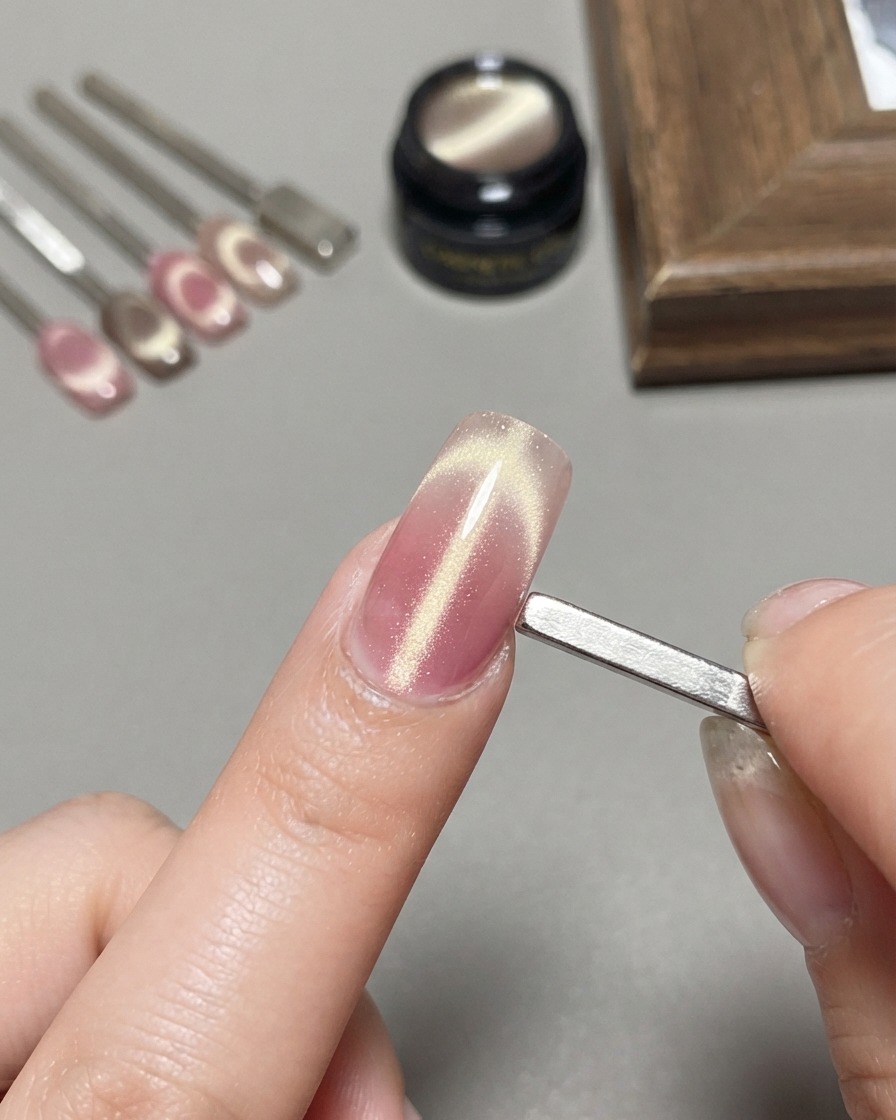
Position the wide magnet upright and tightly against the side of the nail to push the magnetic particles into a striking light-wave beam across the surface. This technique creates a distinct, sharp wave of light running lengthwise. Cure immediately under the UV or LED lamp.
Tip: Keep the wide magnet flush and steady against the lateral edge of the nail to achieve a crisp wave line.