Cyan Mist Crescent Moon Cat-Eye Nails — Step-by-Step Tutorial
Create stunning cyan mist crescent moon cat-eye nails with a mirror chrome gradient finish using specialized magnetic gel and magic powder techniques.
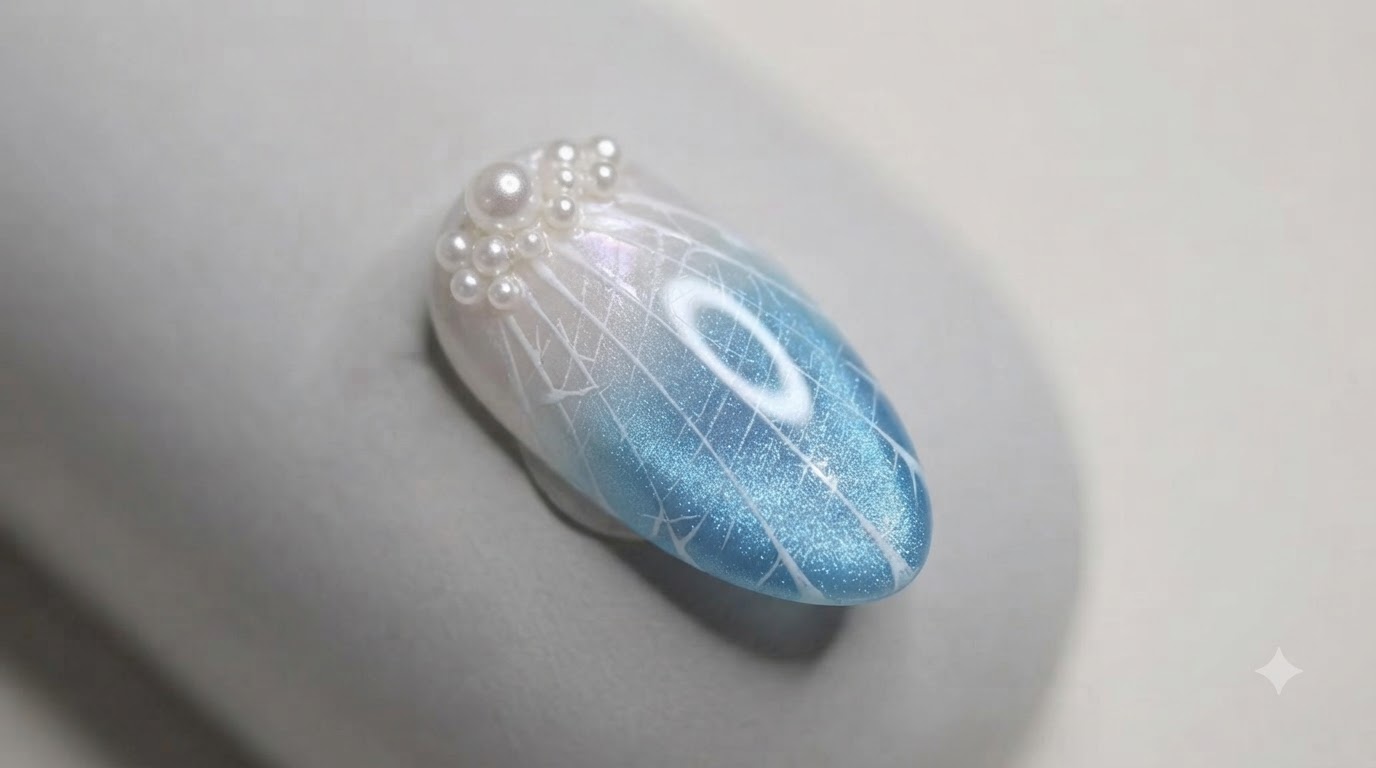
Cat-eye nail art continues to captivate nail enthusiasts with its dynamic, light-shifting shimmer and depth. This tutorial elevates the classic magnetic look by pairing a striking metallic cyan shade with a crescent moon light effect and a seamless sky-to-realm chrome powder gradient, resulting in a mesmerizing mirror gloss finish.
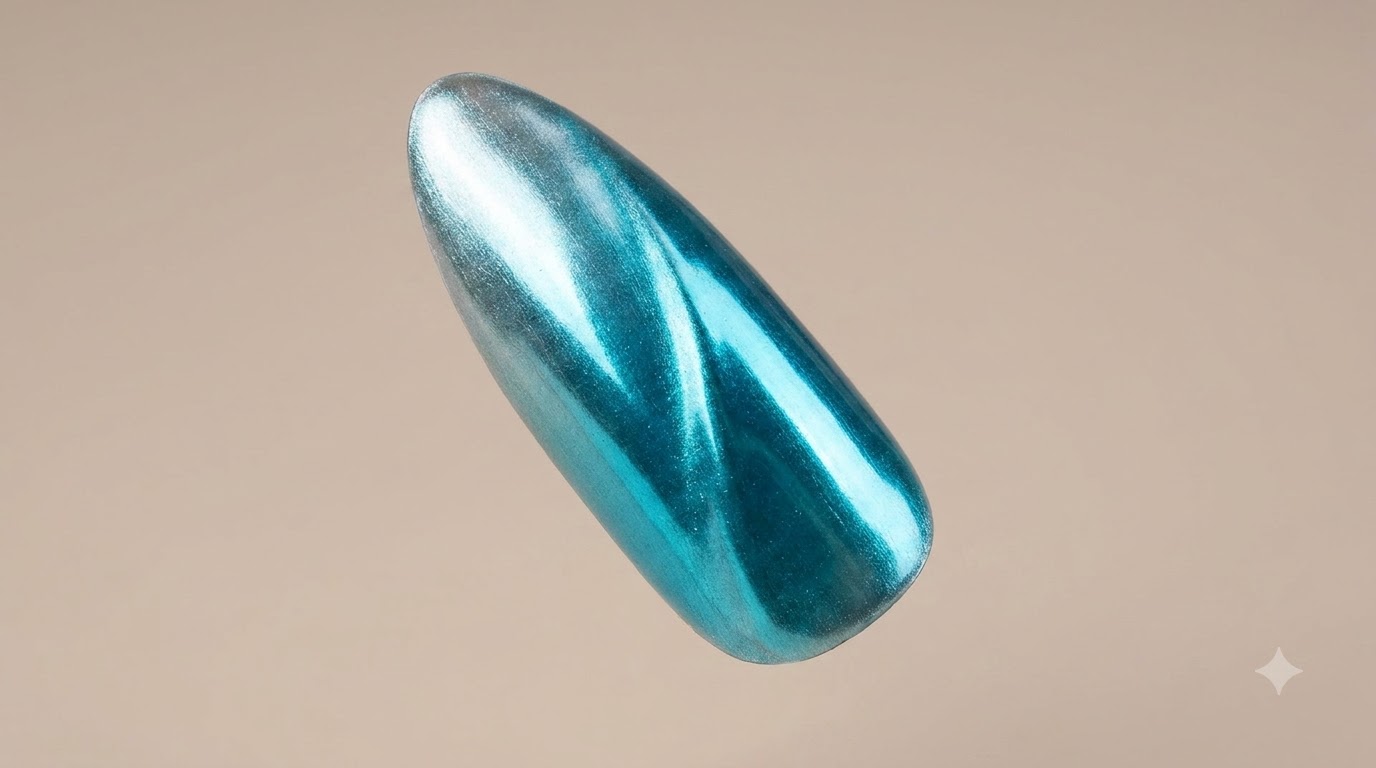
Steps
- 1Apply gentle No. 1 gel to free edge
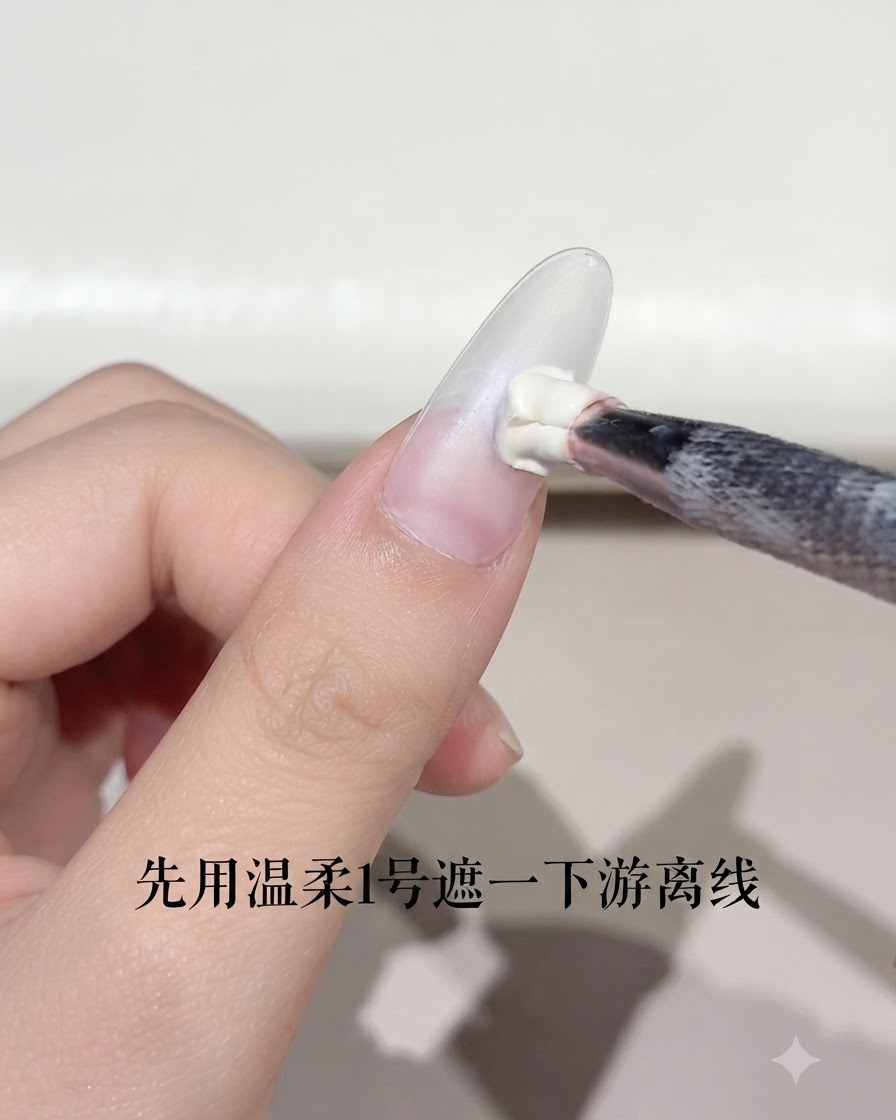
Take a nail brush with gentle No. 1 gel and carefully apply it to cover the free edge of the nail. This initial application helps anchor the product and prepares the nail structure.
Tip: Ensure the gel is applied thinly and evenly along the very edge to prevent chipping. - 2Cure gentle No. 1 gel
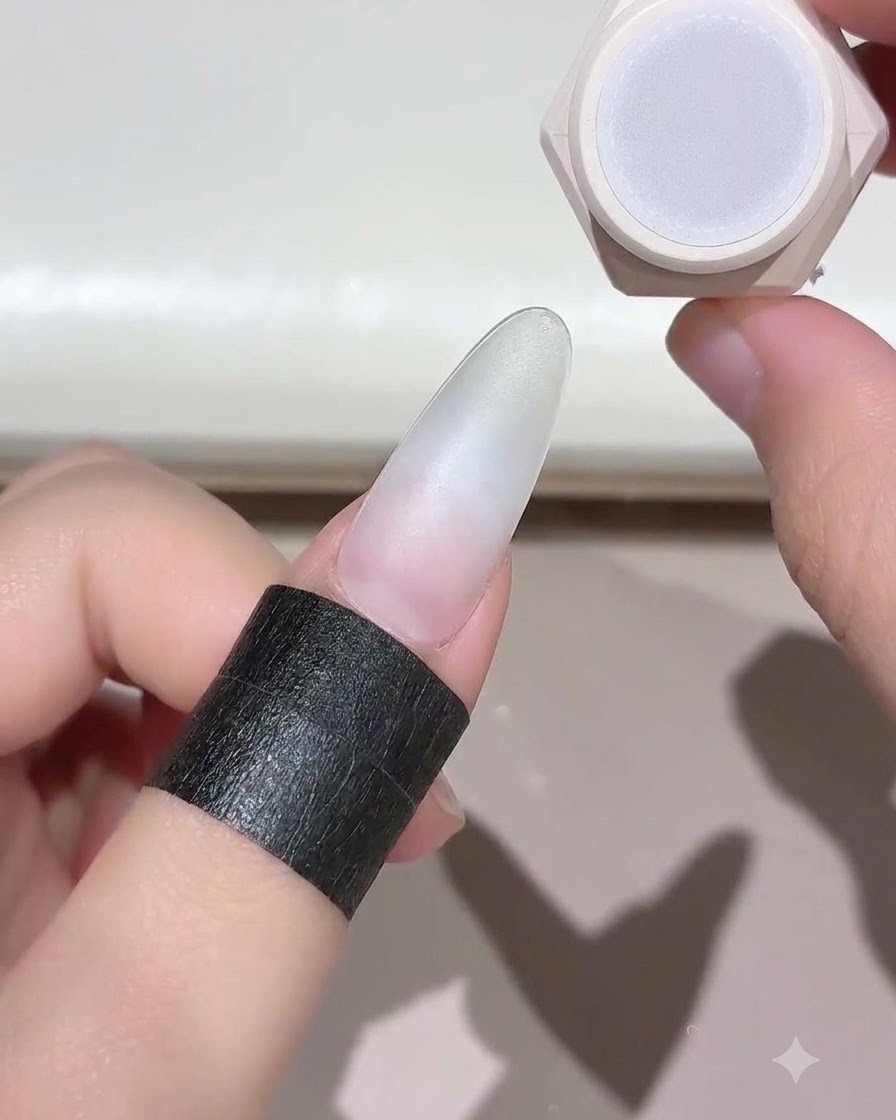
Place the finger with the applied gentle No. 1 gel under the UV or LED lamp to cure the layer securely. Follow standard curing times to ensure the product hardens fully.
Tip: Keep the finger steady inside the lamp to avoid any shifting of the uncured gel. - 3Apply milky white self-leveling gel
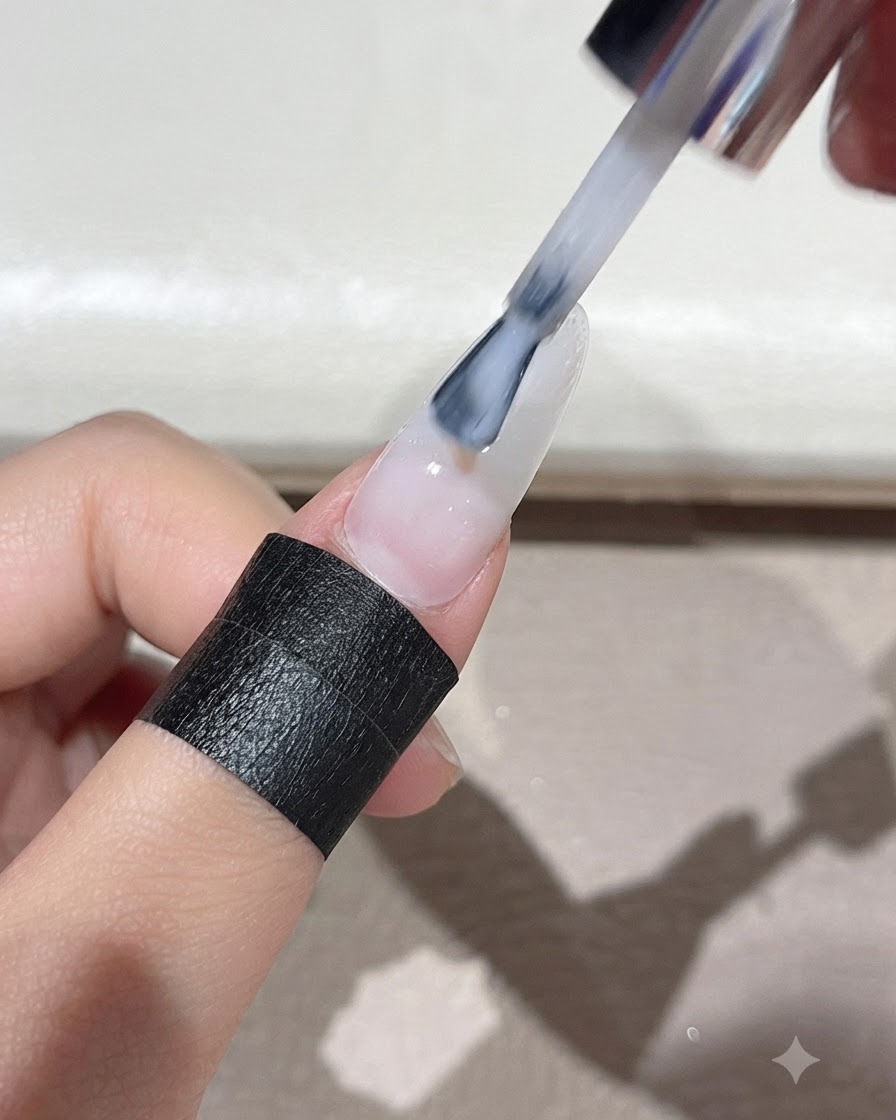
Using a brush, apply milky white self-leveling gel evenly across the entire nail plate. Allow the gel to self-level to create a smooth, translucent base for the subsequent cat-eye effect.
Tip: Do not overload the brush to avoid pooling near the cuticles and side walls. - 4Cure milky white gel layer
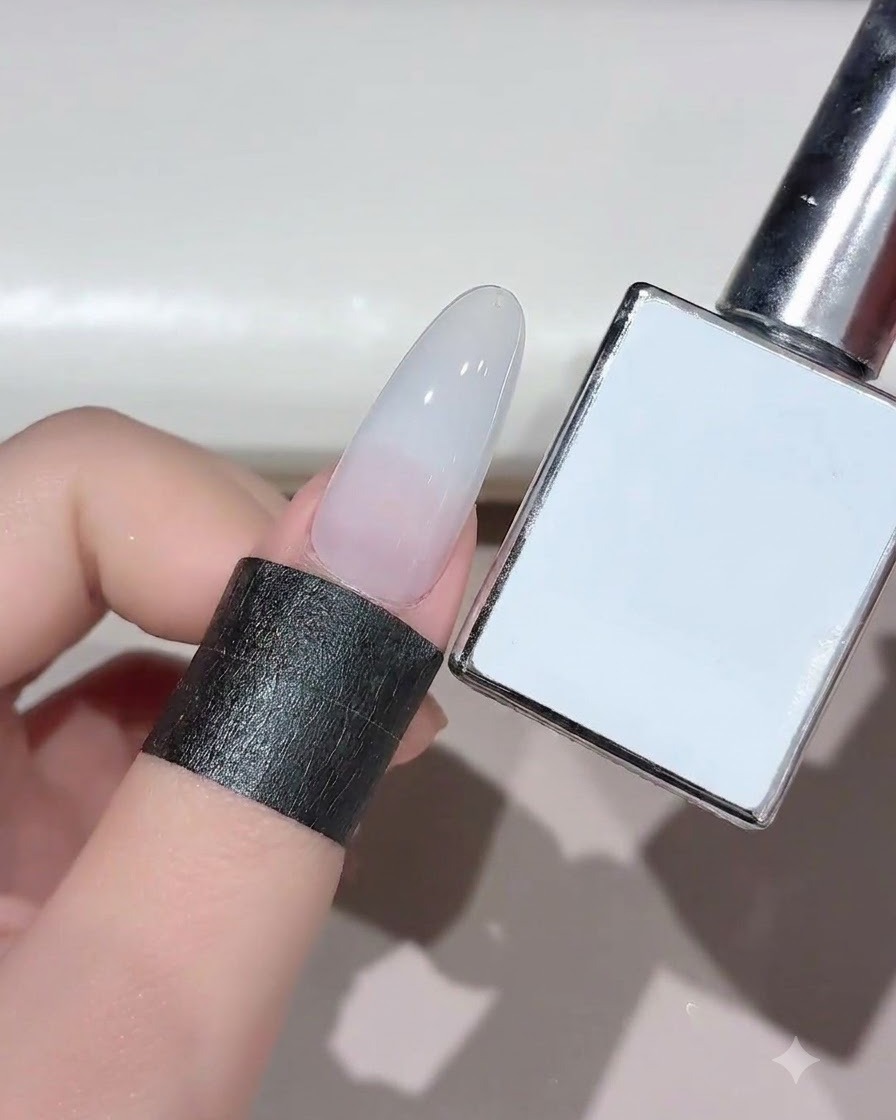
Place the nail under the UV/LED lamp to cure the milky white self-leveling gel layer completely. This creates a solid foundation for the cat-eye gel application.
Tip: Ensure complete curing so the underlying gel doesnt wrinkle under subsequent layers. - 5Apply wild cat-eye gel
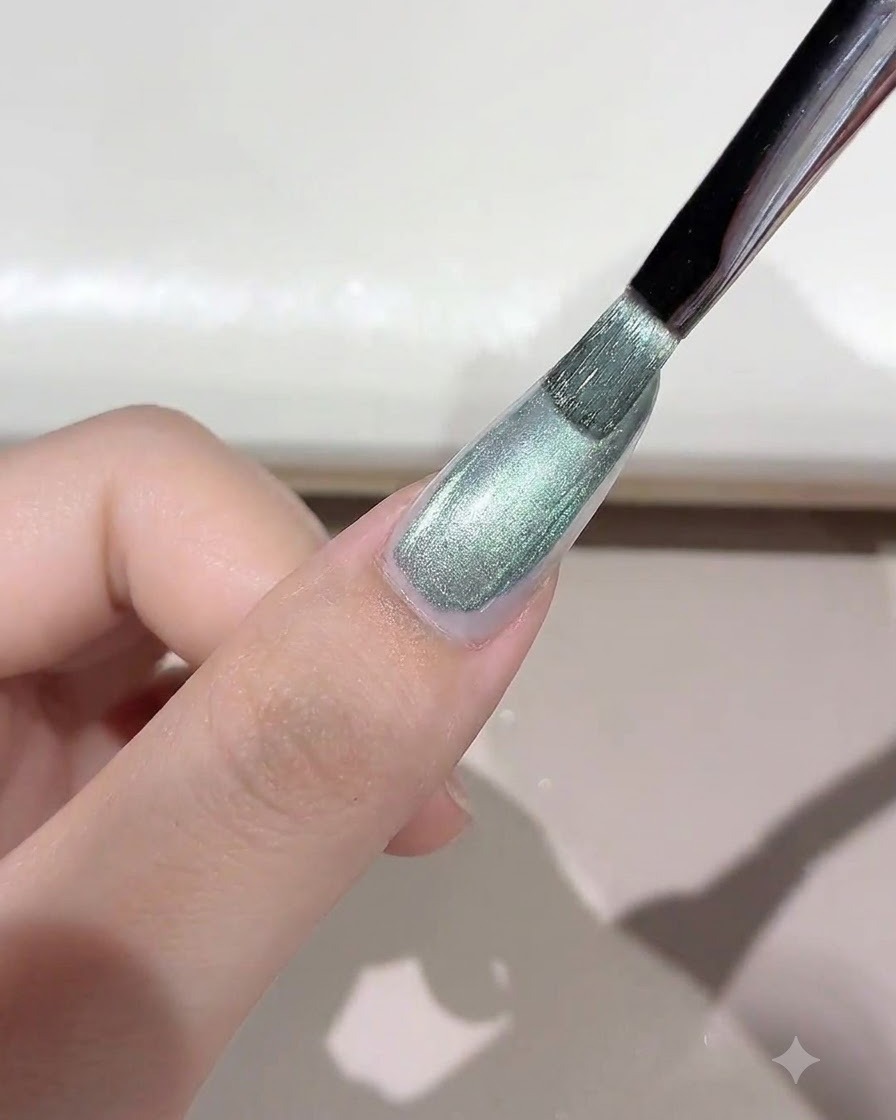
Apply a layer of wild cat-eye gel evenly over the nail surface using a brush. Do not cure yet, as you will need the magnetic particles to remain mobile for the next step.
Tip: Apply an even, moderate coat to ensure the magnetic shimmer has enough depth to move. - 6Create wide light band with magnet
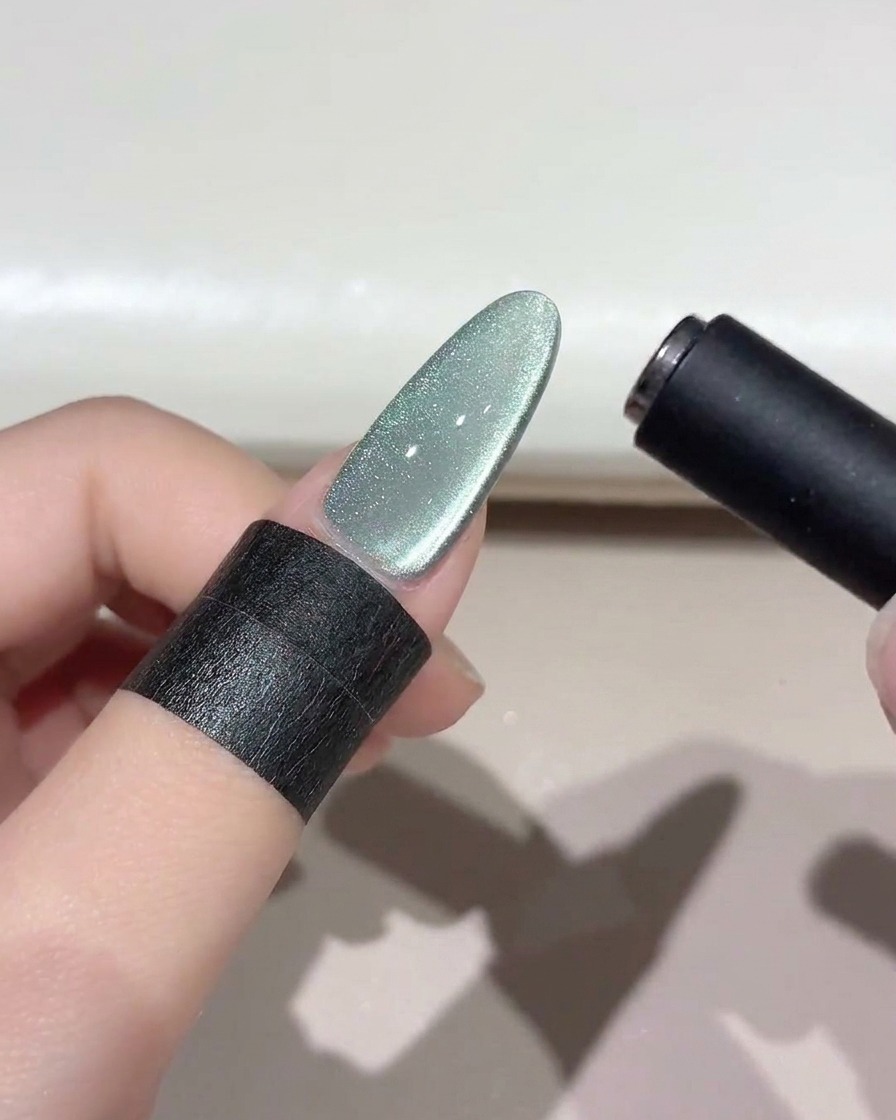
Take the signature magnetic tool and move it back and forth over the wet cat-eye gel to draw out a wide light band. Position the magnetic particles precisely to achieve the desired shimmering reflection.
Tip: Hold the magnet close to the nail without touching the wet gel surface to get a sharp, bright effect. - 7Create a side curved light arc
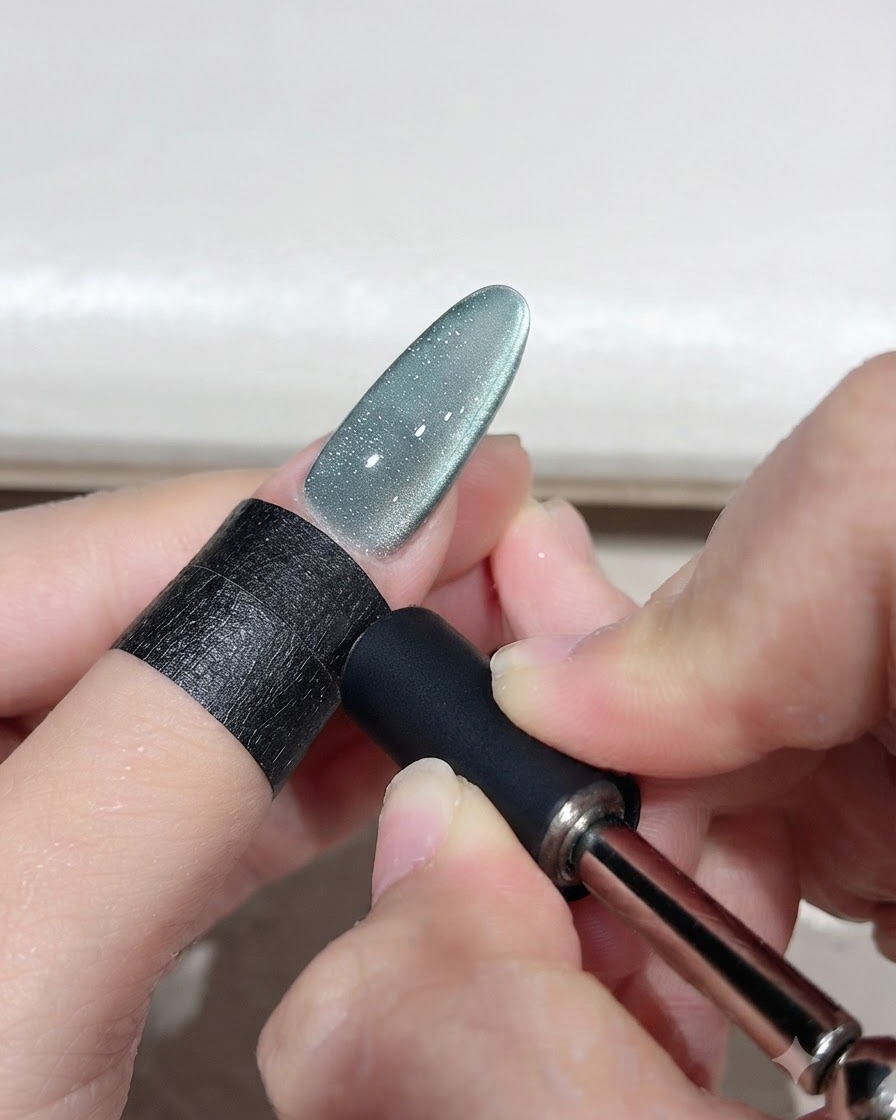
Hold the signature magnetic tool close to the uncured cat-eye gel to draw and shape a side curved light arc. Adjust the magnets angle to achieve the desired crescent moon cat-eye effect before proceeding.
Tip: Keep your hand steady while using the magnet to ensure the light band stays crisp and defined. - 8Cure the cat-eye gel
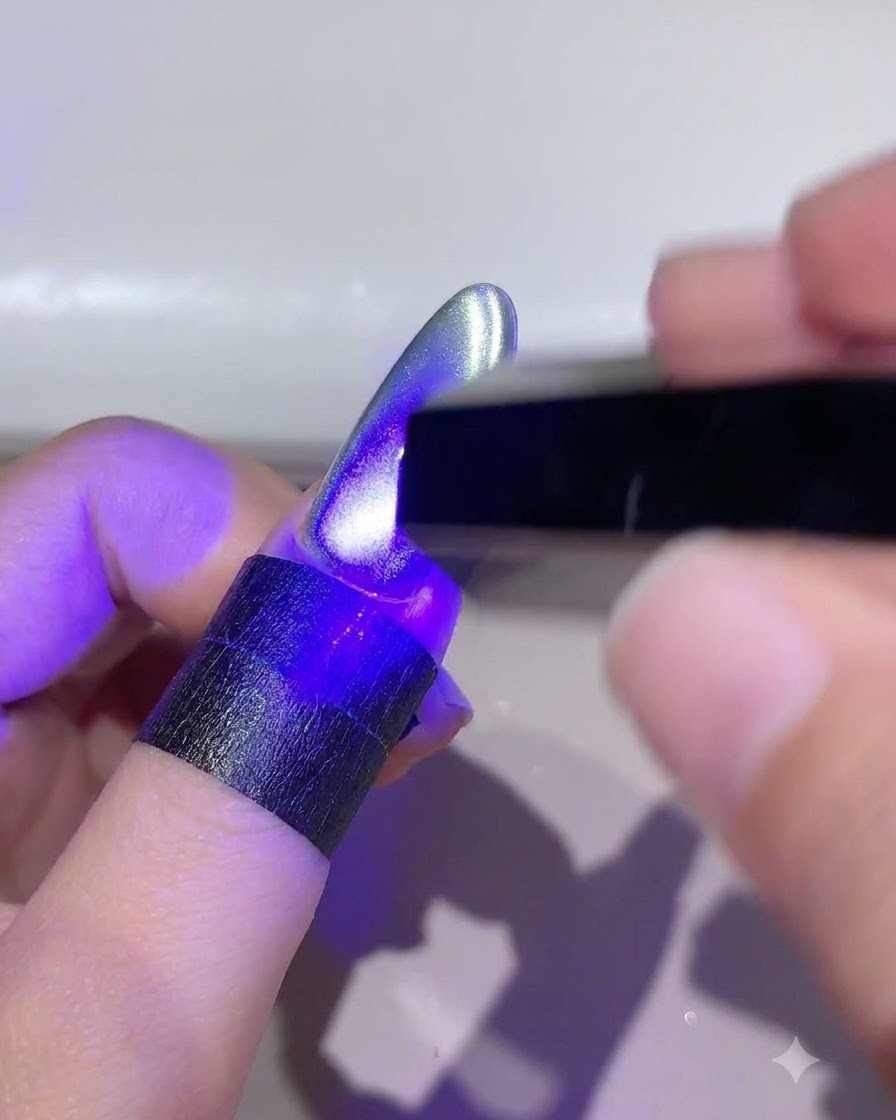
Place the finger under the UV or LED lamp to fully cure and set the styled cat-eye gel design. Ensure the light catches the entire nail surface evenly so the magnetic particles do not shift.
Tip: Check that the lamp placement is correct so the curved light arc locks into place precisely. - 9Apply powder-buffing top coat
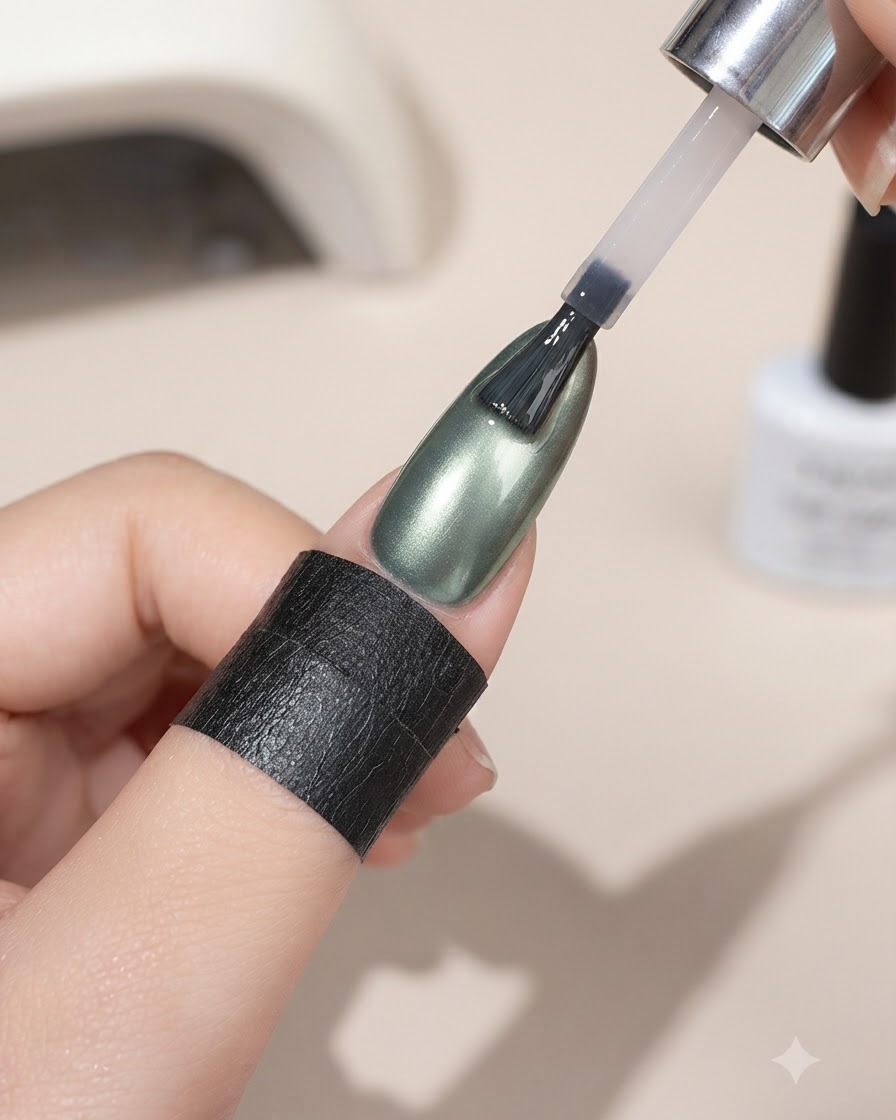
Apply a layer of Style Valley powder-buffing top coat evenly across the entire surface of the nail. This specialized top coat acts as a base layer to help the magic powder adhere smoothly and create a mirror shine.
Tip: Apply an even, thin layer to prevent pooling around the cuticles and ensure a smooth powder application. - 10Cure the powder-buffing top coat
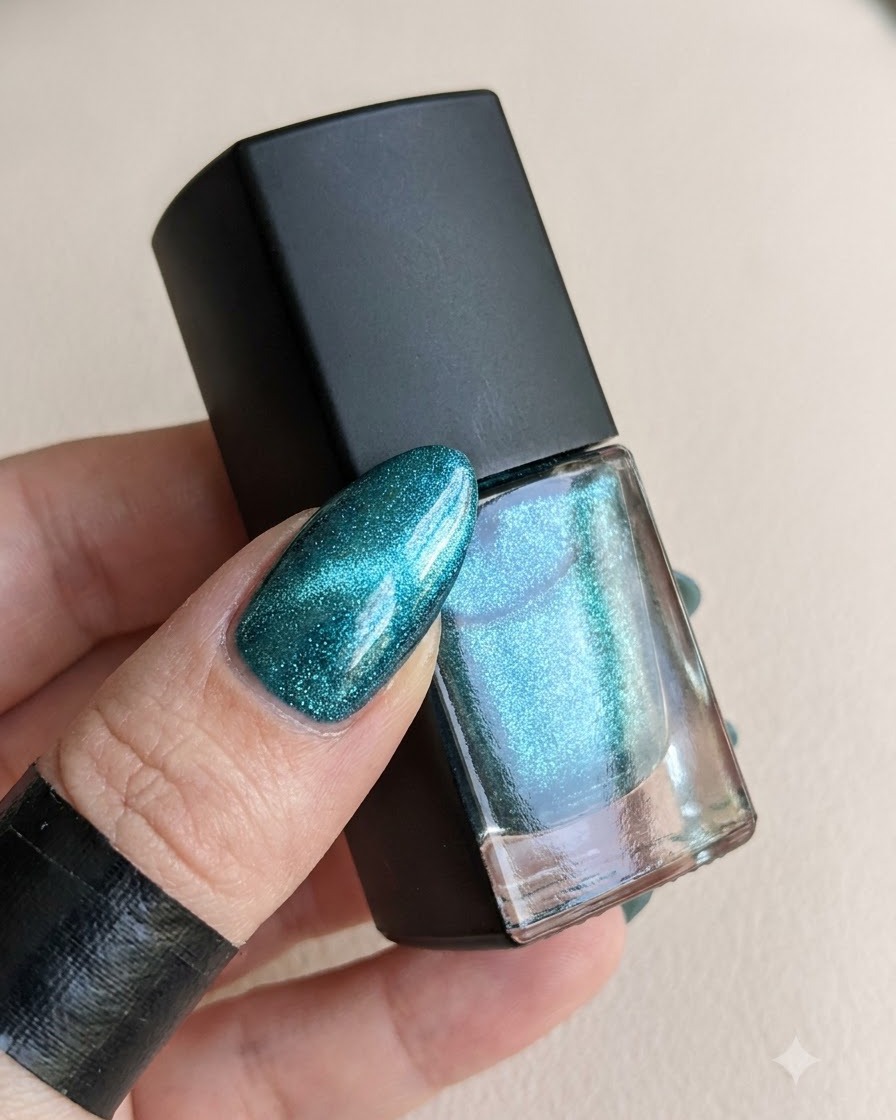
Cure the newly applied layer of Style Valley powder-buffing top coat under the UV or LED lamp. This cures the surface to the correct tackiness required for the magic powder application.
Tip: Follow the recommended cure time to ensure the proper tacky layer is formed for powder pickup. - 11Apply magic powder gradient
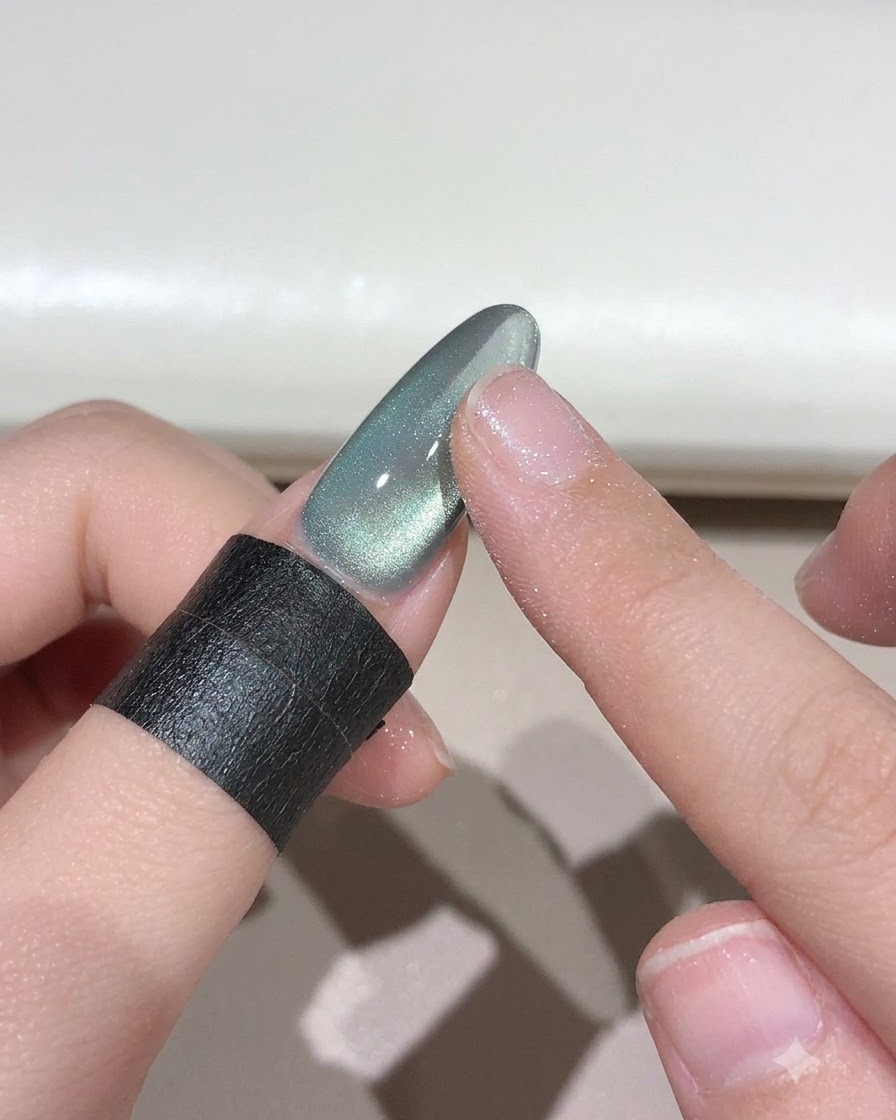
Using a finger, gently rub the sky-to-realm magic powder onto the nail starting from the tip and working backward. This technique builds a smooth gradient effect that enhances the mirror gloss.
Tip: Use light pressure and tap the powder on gently for a seamless fade from tip to base. - 12Brush off excess powder
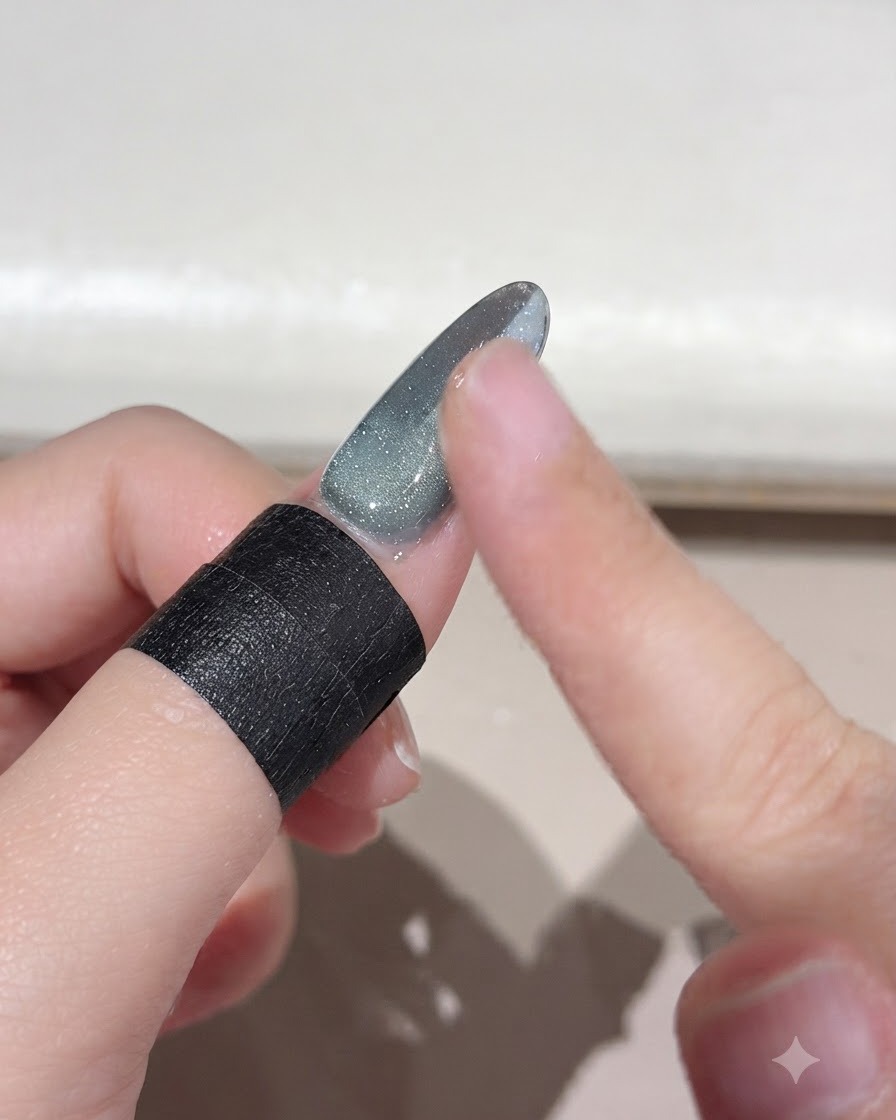
Gently sweep away any loose or floating magic powder particles from the surface of the nail. Cleaning off the excess ensures a clean finish before the encapsulation step.
Tip: Use a soft dusting brush or a clean finger to gently wipe away stray particles without disturbing the gradient. - 13Encapsulate magic powder
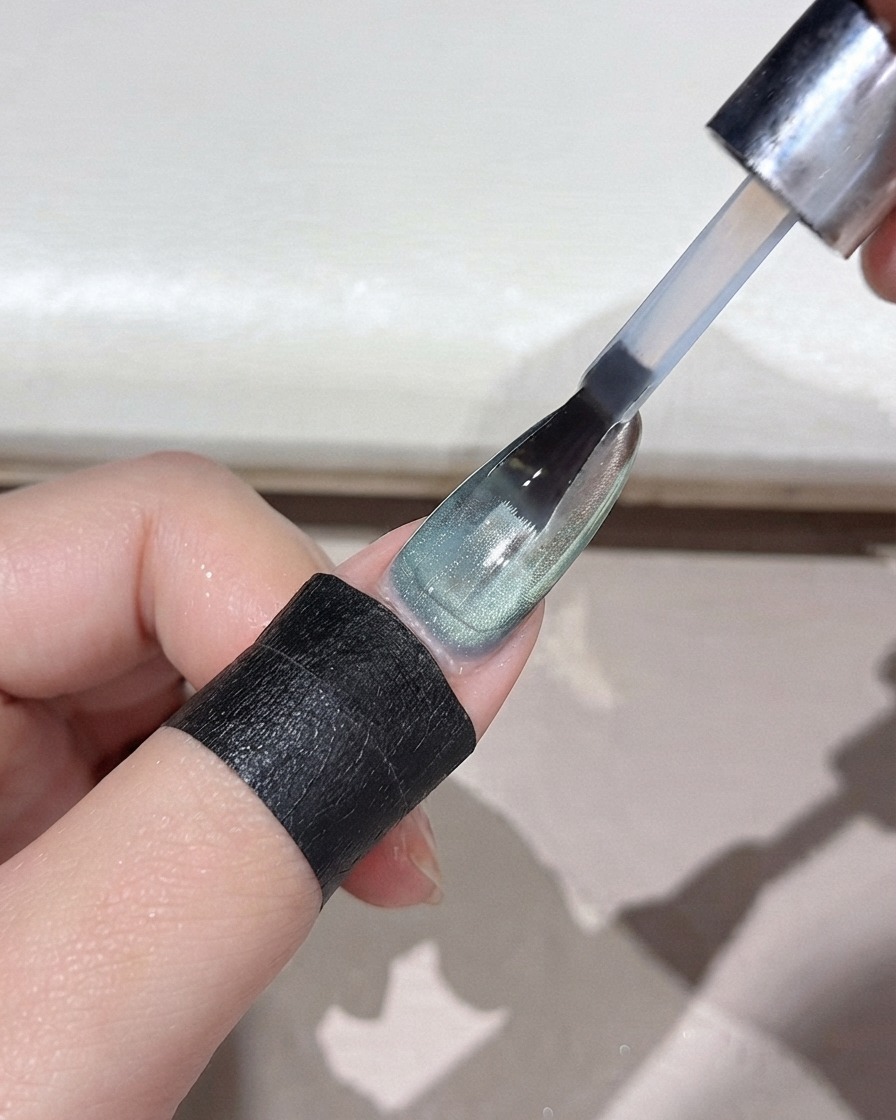
Apply a layer of the powder-buffing top coat over the entire nail to seal and encapsulate the mirror magic powder. This specialized two-in-one powder-and-encapsulation product is easy to use and provides a durable protective barrier before final curing under the lamp.
Tip: Make sure the powder is fully brushed off excess before sealing to maintain a clean mirror gloss. - 14Cure the Encapsulation Layer
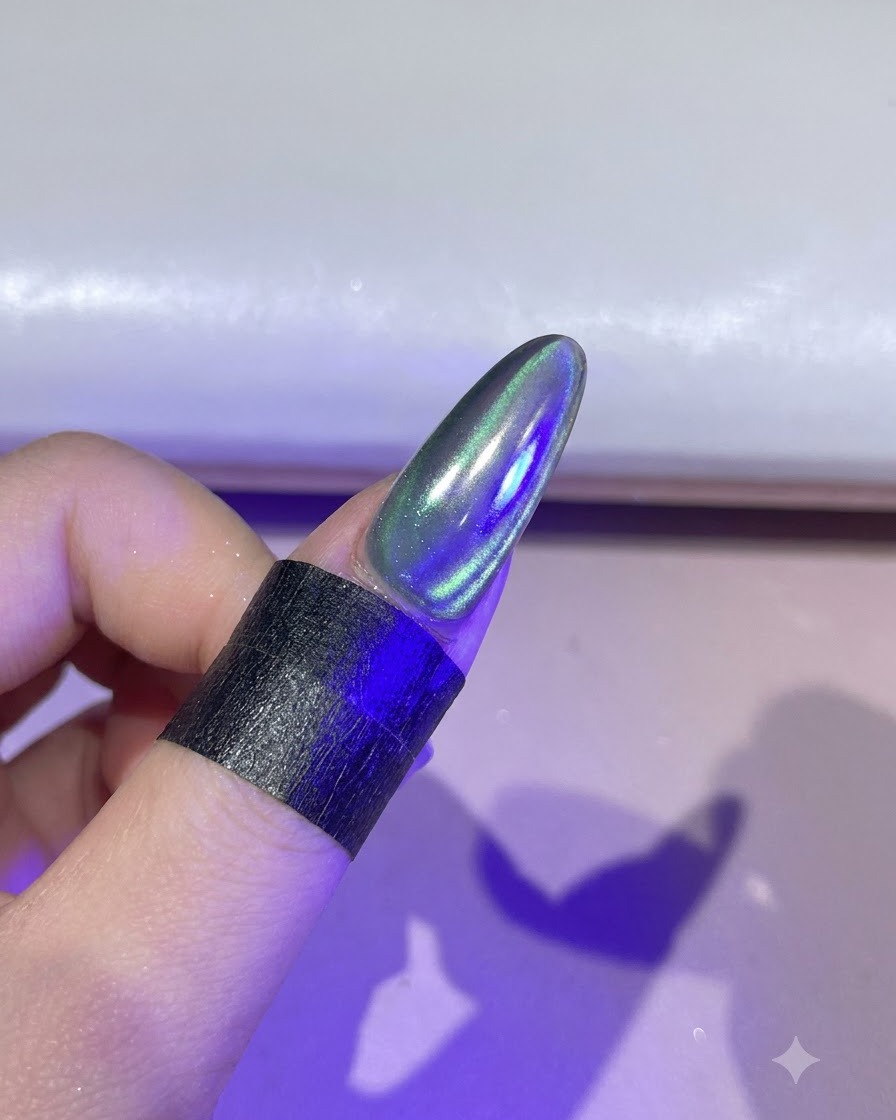
Place the nail under the UV/LED lamp to fully cure the top coat layer. This locks in the encapsulated magic powder and prepares the nail for the final surface coat.
Tip: Follow the manufacturers recommended curing time to ensure complete polymerization of the top coat. - 15Apply final smooth top coat
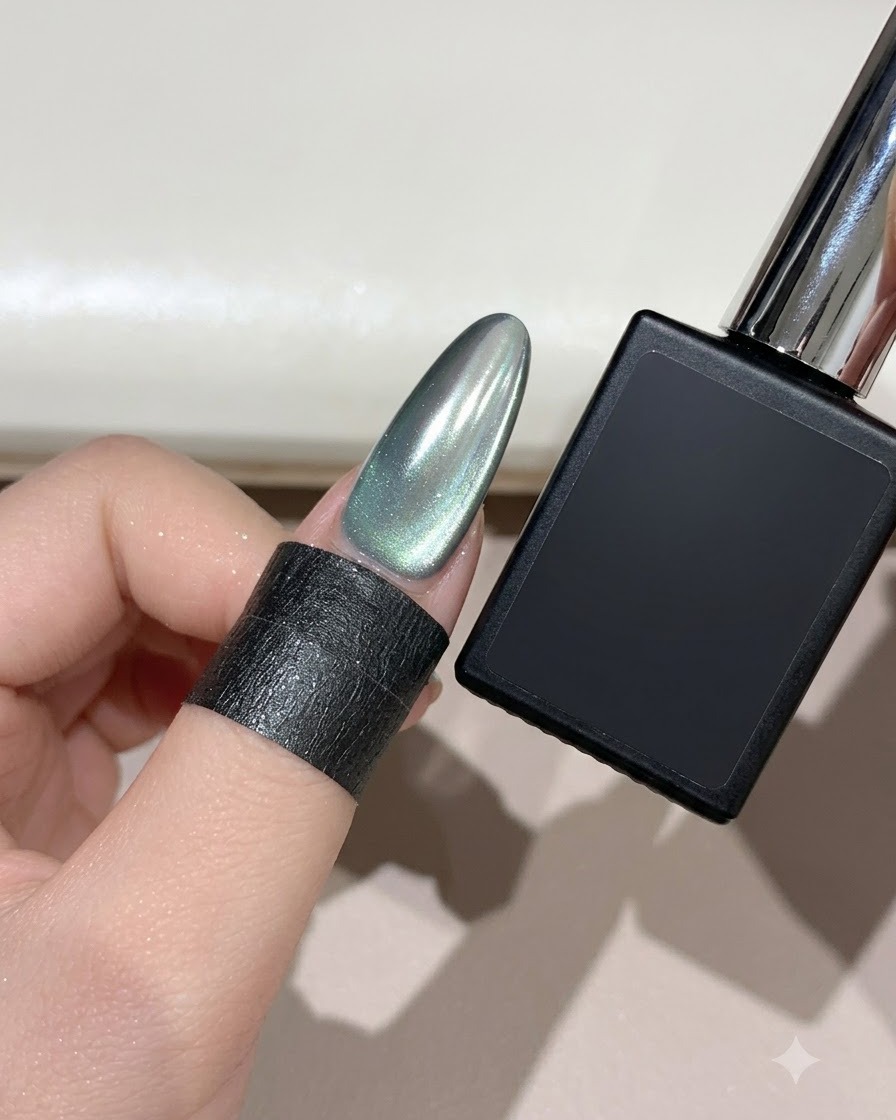
Apply a final layer of smooth top coat over the entire nail to give it an ultra-glossy finish, then cure under the UV or LED lamp to complete the tutorial.
Tip: Seal the free edge carefully with the top coat to prevent chipping and extend the wear of your manicure. - 16Cure Final Top Coat
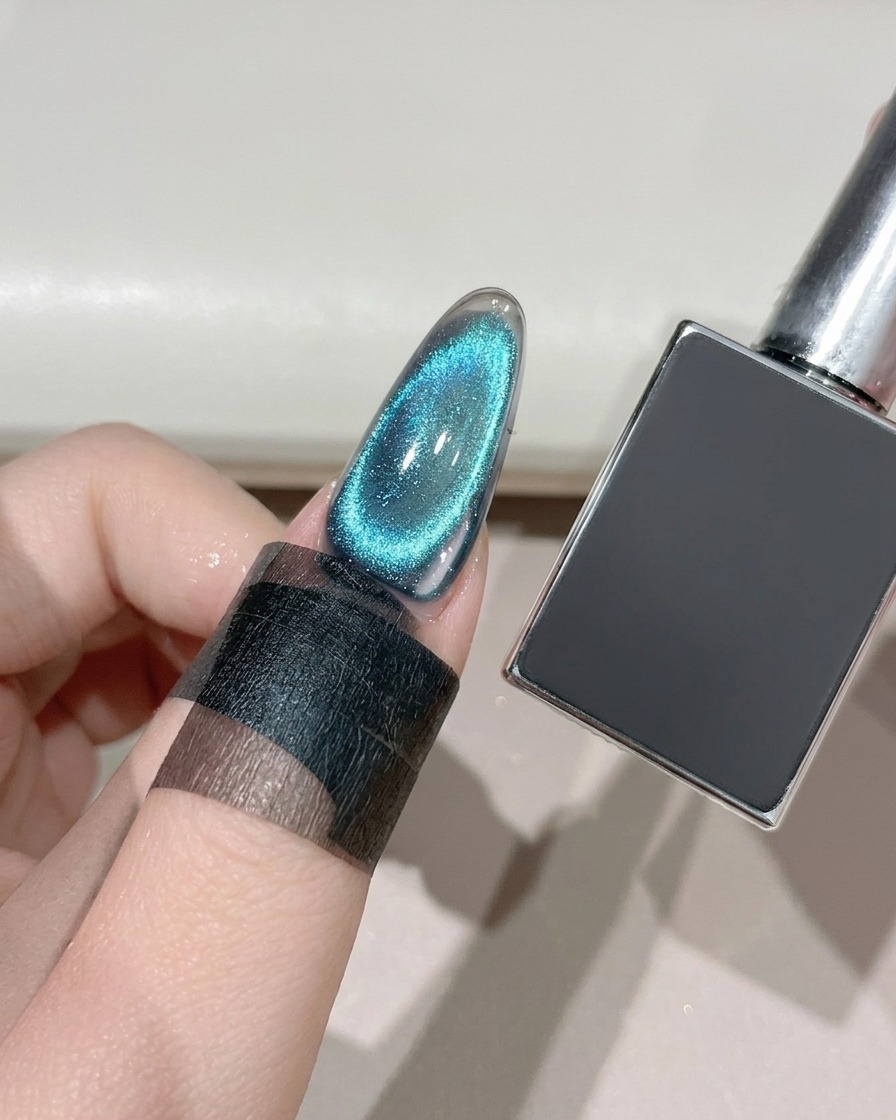
Place the nail under the UV/LED lamp one last time to cure the final smooth top coat layer. Once cured, your cyan mist crescent moon cat-eye manicure is completely finished!
Tip: Let the nail cool for a few seconds after curing before touching or applying cuticle oil to ensure maximum shine.