Blue Ocean Shell Cat Eye Nail Art — Step-by-Step Tutorial
Discover how to create stunning blue ocean shell nails featuring translucent cat-eye shimmer, intricate textured lines, and delicate pearl accents.
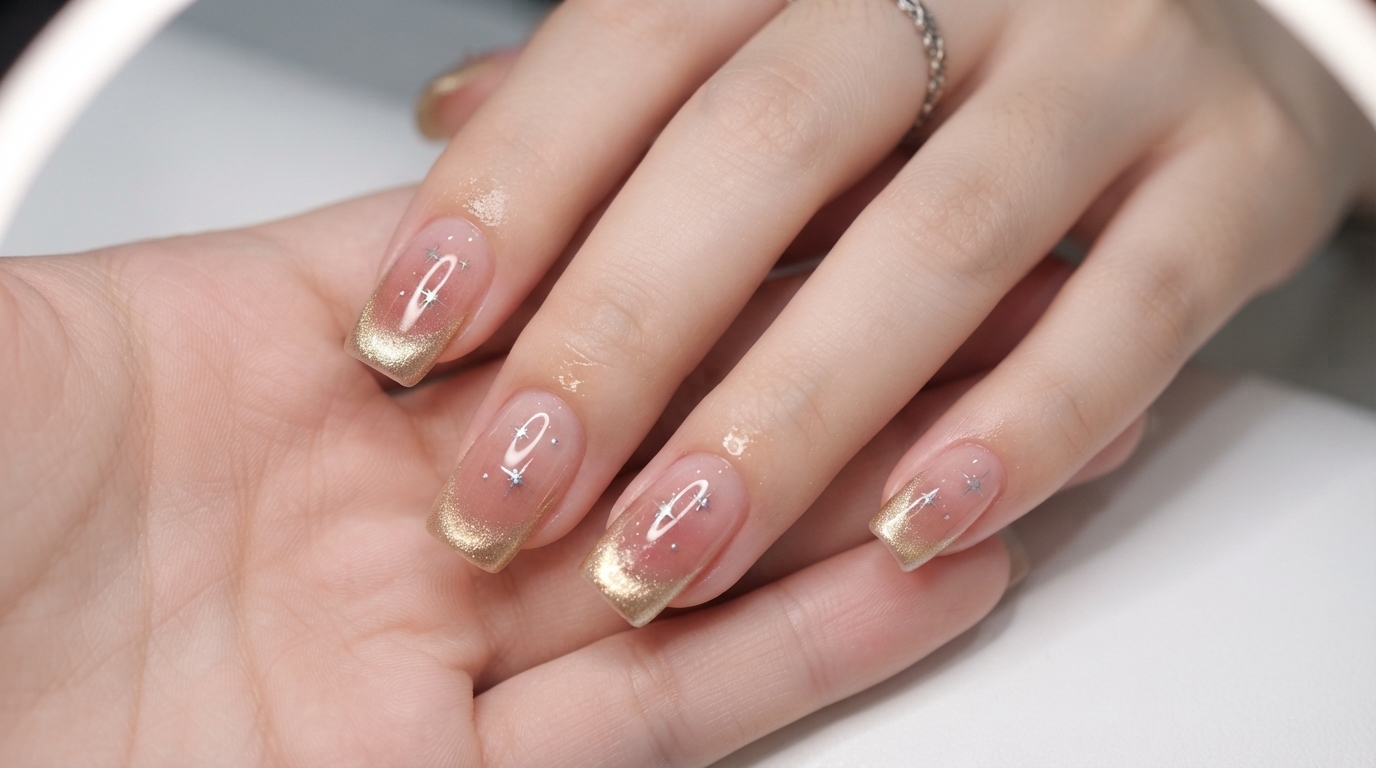
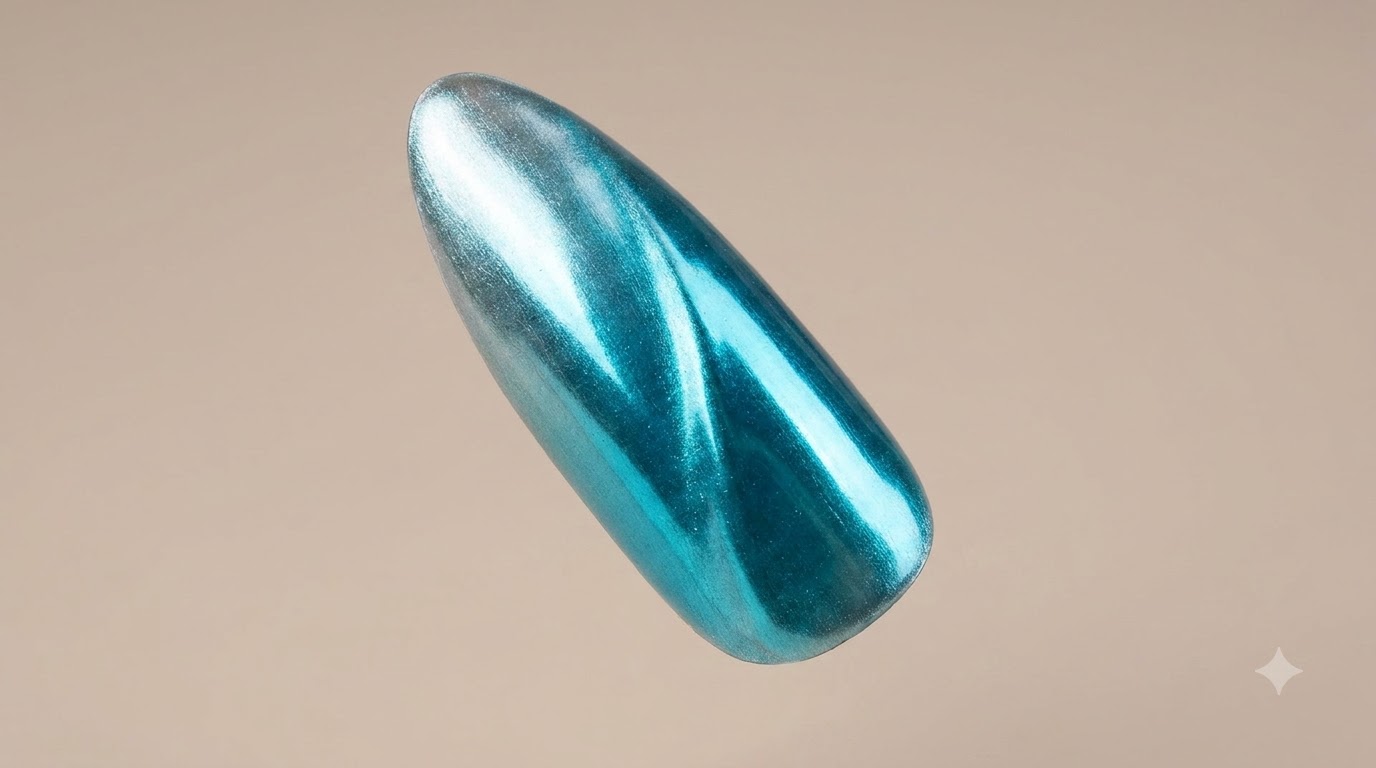
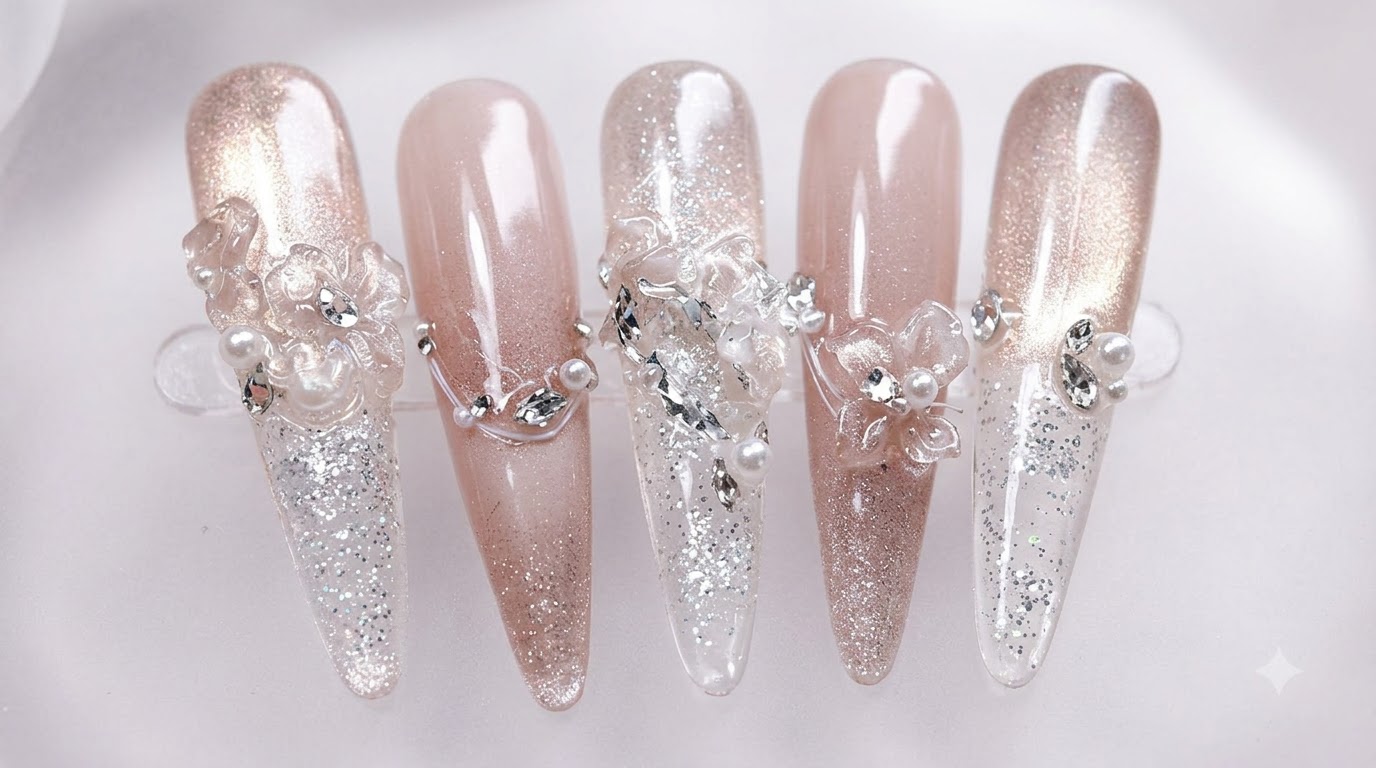
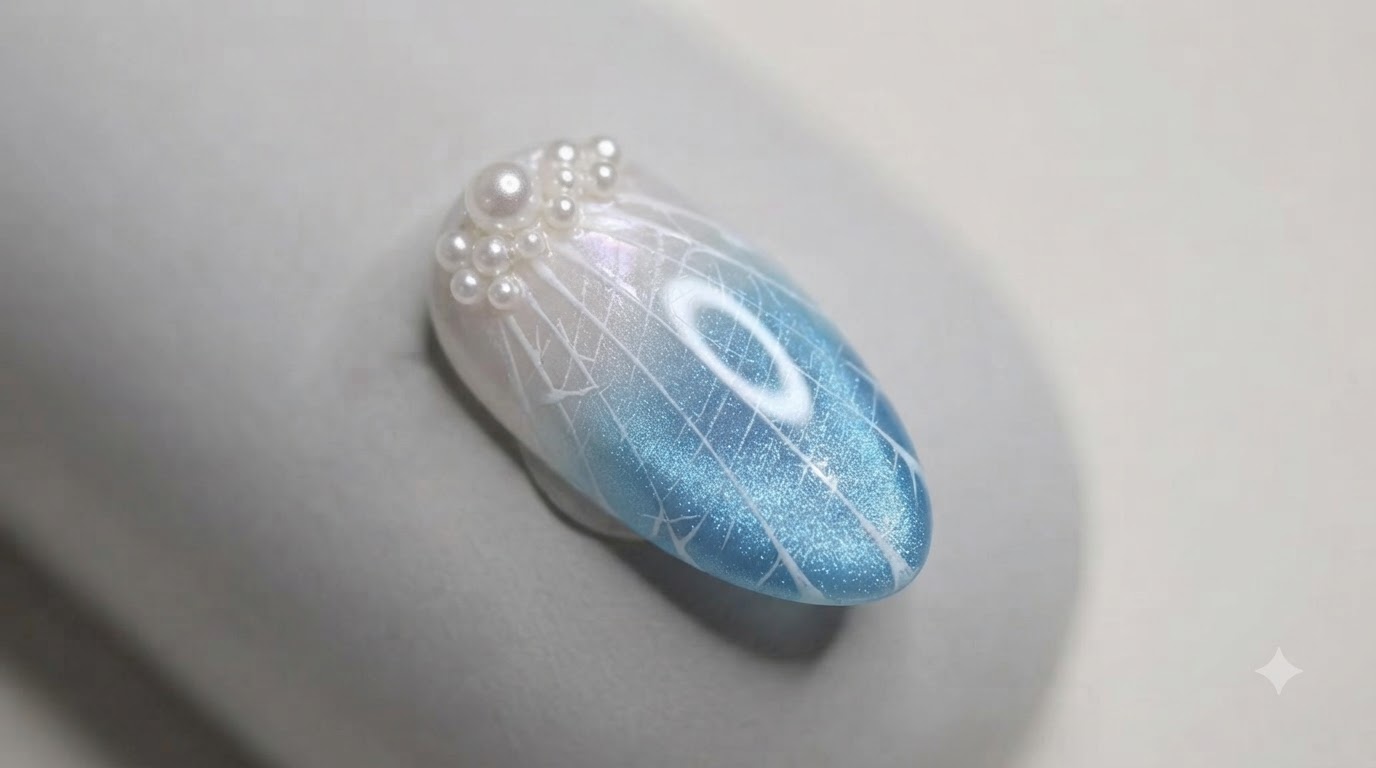
Ocean shell nail art combines ethereal depth with oceanic elegance, and this translucent blue cat-eye look brings the trend to life. Using special magnetic layering, soft sponge gradients, and hand-drawn textured details, this design achieves a multidimensional seashell effect that captures the light from every angle.
Steps
- 1Apply base gel to the nail
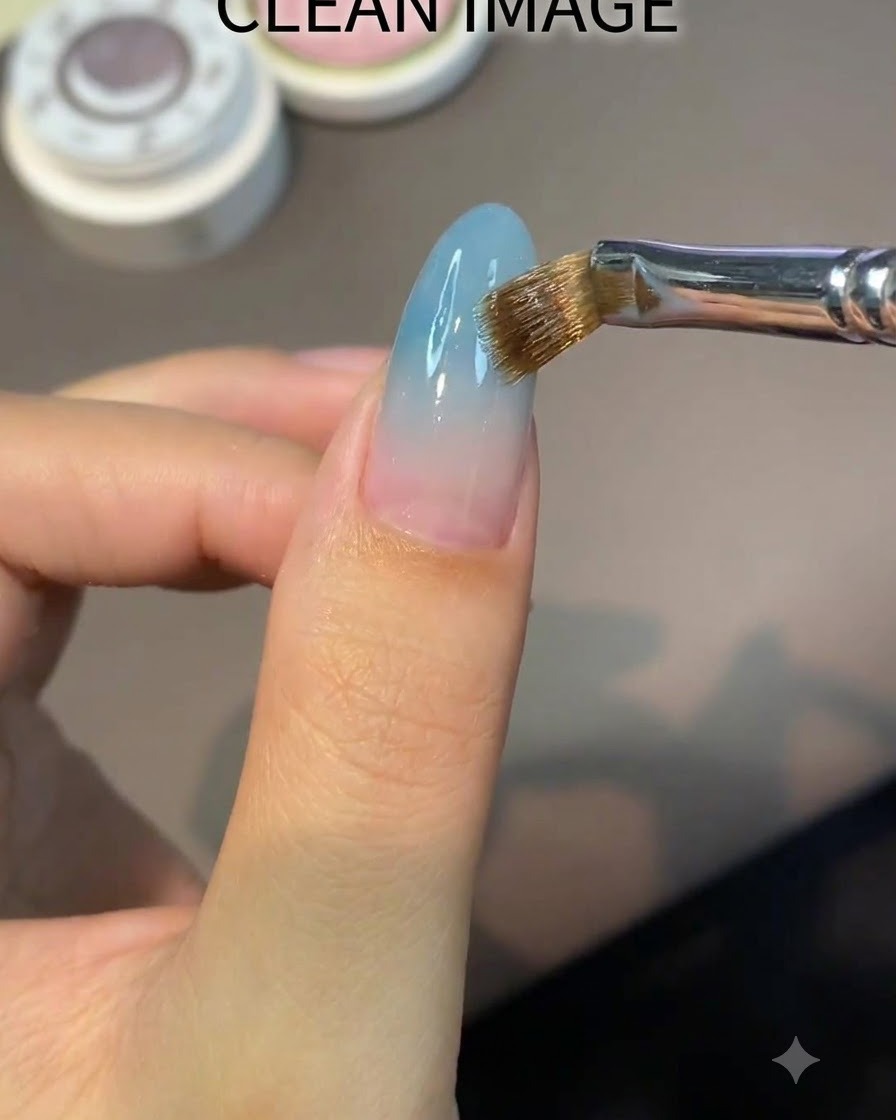
Using a flat brush, apply a smooth layer of clear or nude base gel to the prepped nail surface, ensuring even coverage from the cuticle to the free edge. Cap the edge to prevent lifting, and make sure not to flood the surrounding skin.
Tip: Keep the layer thin and controlled to maintain a natural look and ensure proper curing. - 2Dab and buff shimmering pigment
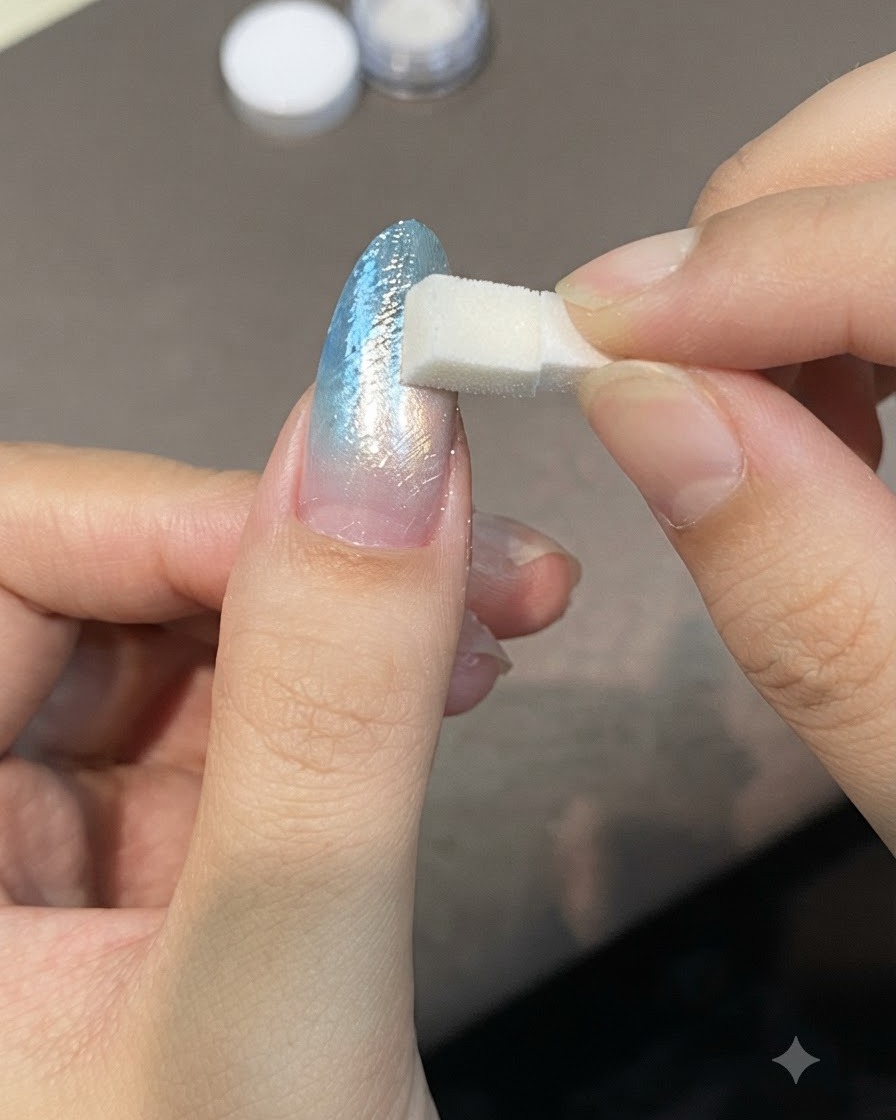
Take a small sponge applicator and gently dab and buff shimmering pigment or pearl powder directly onto the nail surface. Blend the powder evenly to create a soft, luminous, and metallic sheen over the base.
Tip: Tap off any excess powder from the sponge before application to avoid clumping. - 3Draw fine curved lines
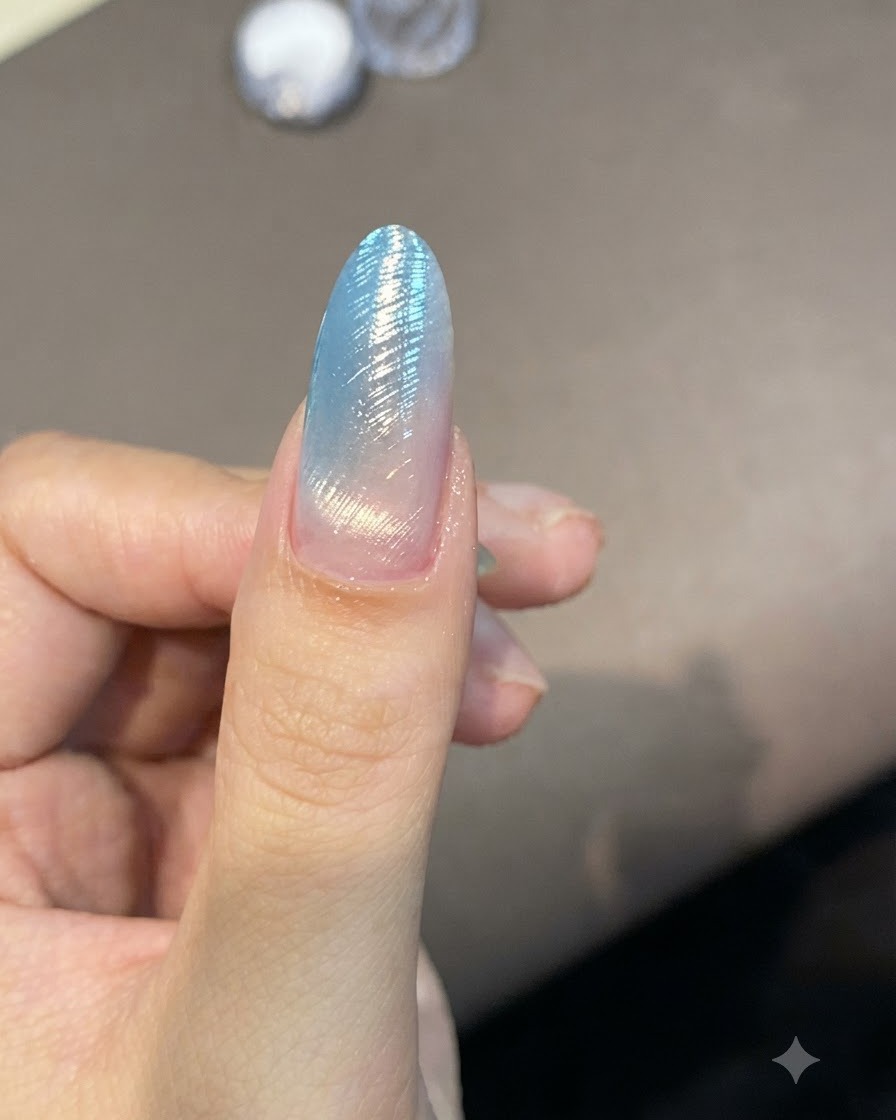
Using a fine liner brush, carefully draw delicate, curved lines across the nail surface to build intricate texture and depth. Maintain a steady hand for clean, crisp strokes that follow the contours of the nail.
Tip: Use light pressure on the brush tip to keep the lines thin and refined. - 4Dip brush into cat eye gel polish
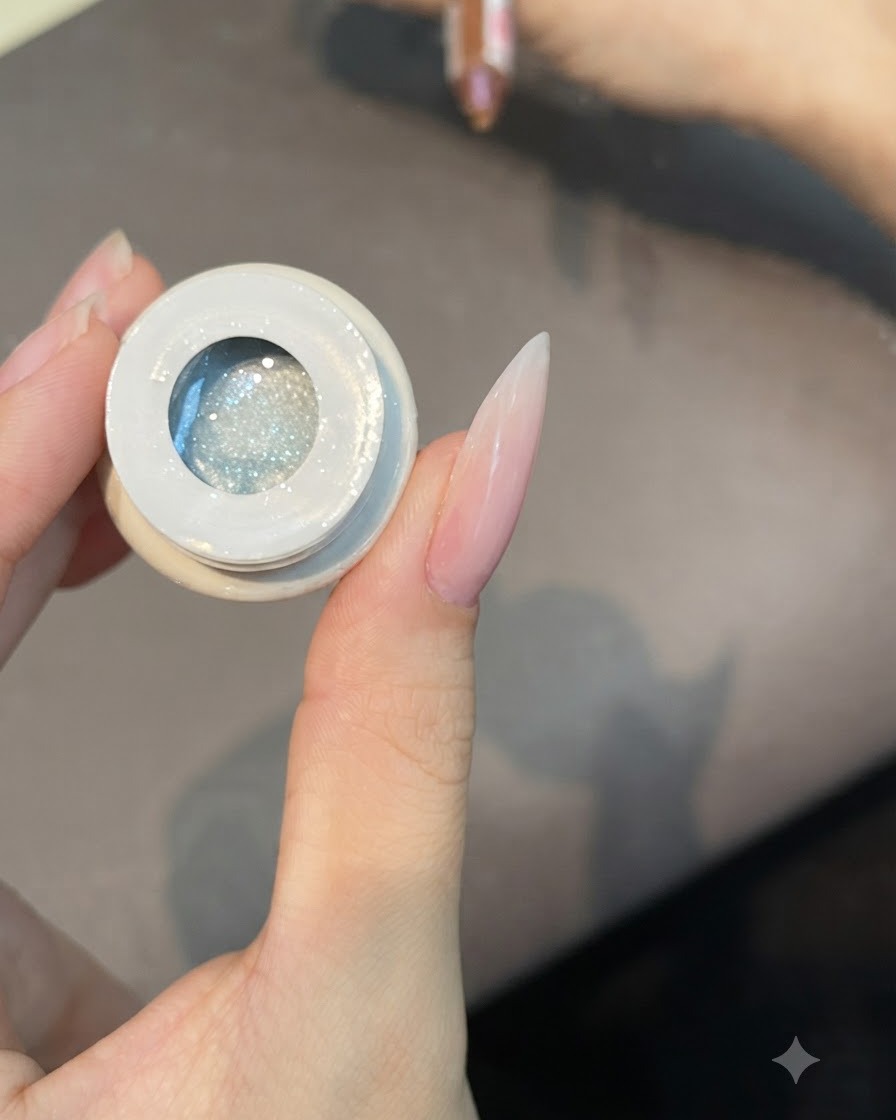
Dip a flat brush lightly into the container of translucent cat eye gel polish number 49. Ensure an appropriate amount of product is loaded onto the brush to prevent dripping or uneven application.
Tip: Wipe one side of the brush against the container rim to control the amount of gel. - 5Apply a thin coat of cat eye gel
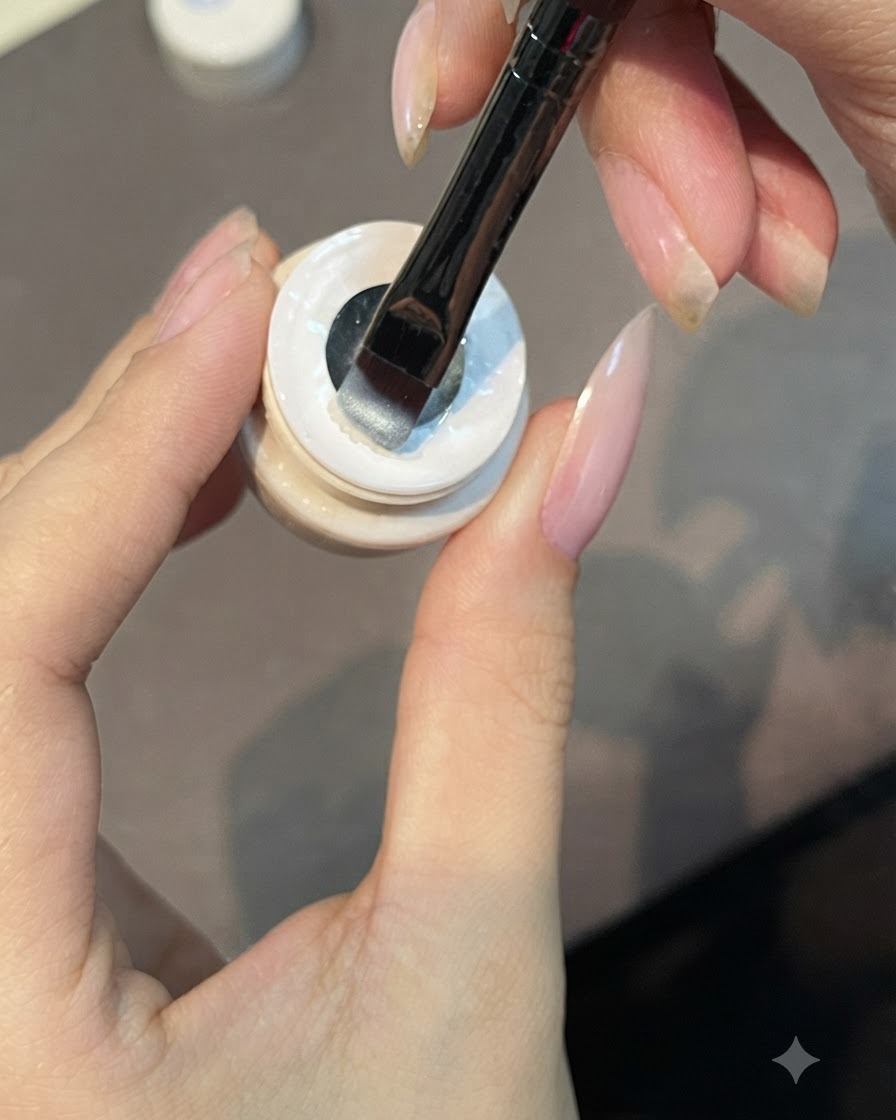
Apply a thin coat of the translucent cat eye gel evenly onto the nail plate. Ensure the coverage is uniform and smooth across the entire surface before moving on to the magnetic activation step.
Tip: A thin coat is essential for allowing the magnetic particles to move and catch the light effectively. - 6Activate cat eye magnetic particles
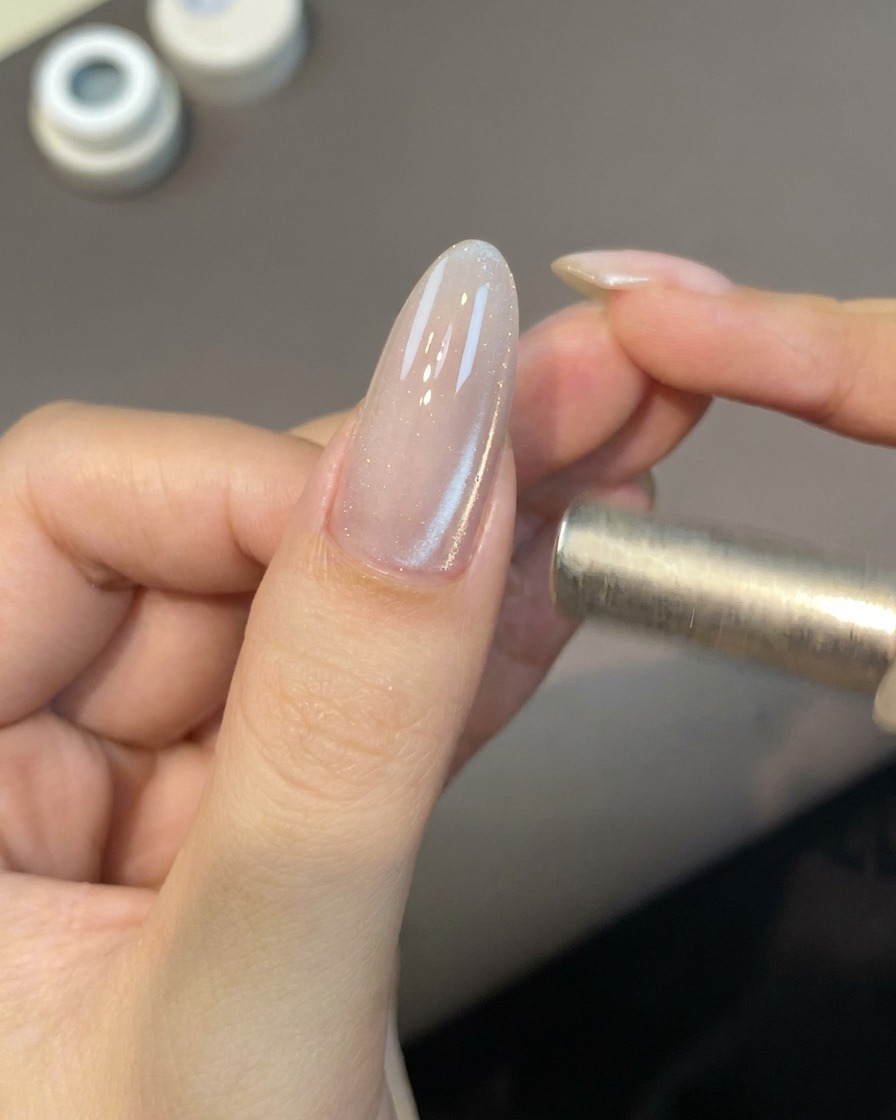
Hold a small magnetic wand tool close to the wet cat eye gel to activate and shift the magnetic particles. Position the magnet precisely to draw out the desired reflective light effect before curing.
Tip: Keep the magnet steady and close to the nail without touching the wet gel surface. - 7Concentrate cat eye particles
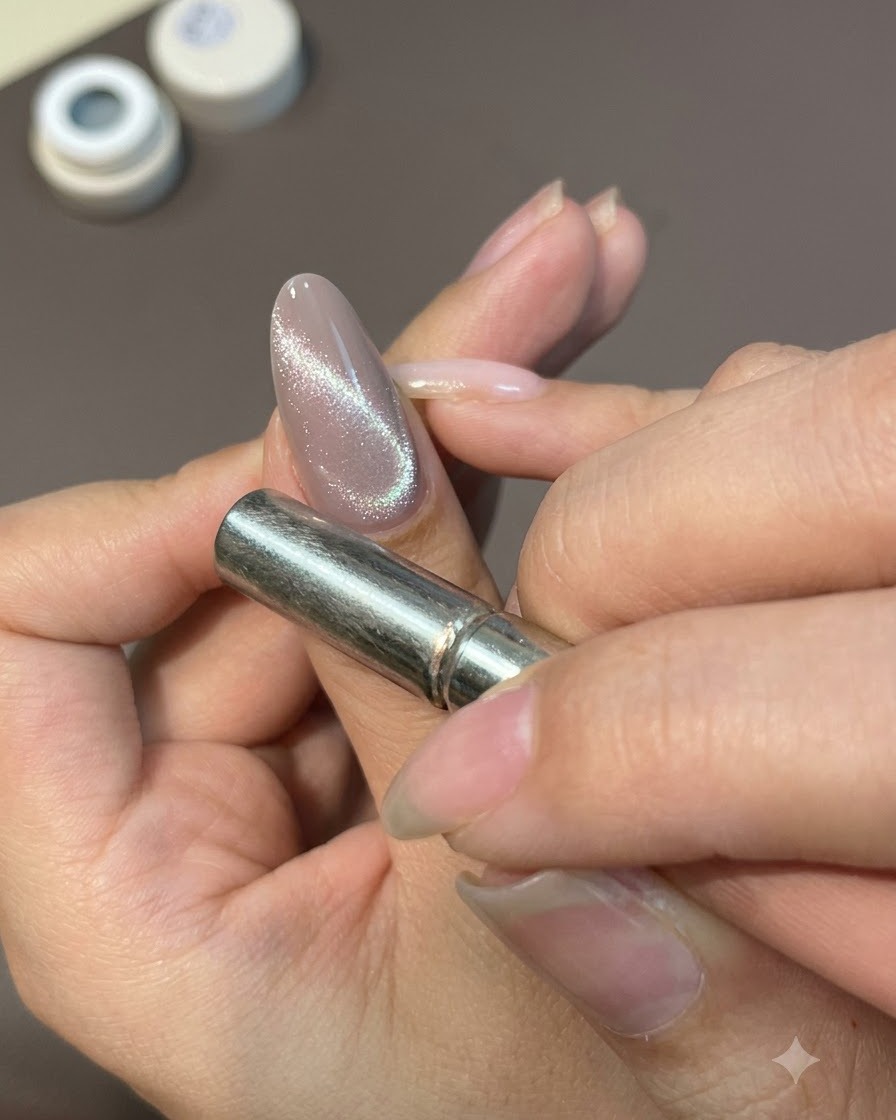
Hold the magnet close to the nail to draw and concentrate the reflective particles together. This creates a bright, glowing glass bead reflection centered on the nail surface.
Tip: Keep the magnet steady for a few seconds to let the magnetic particles fully lock into place before curing. - 8Cure layer under UV lamp
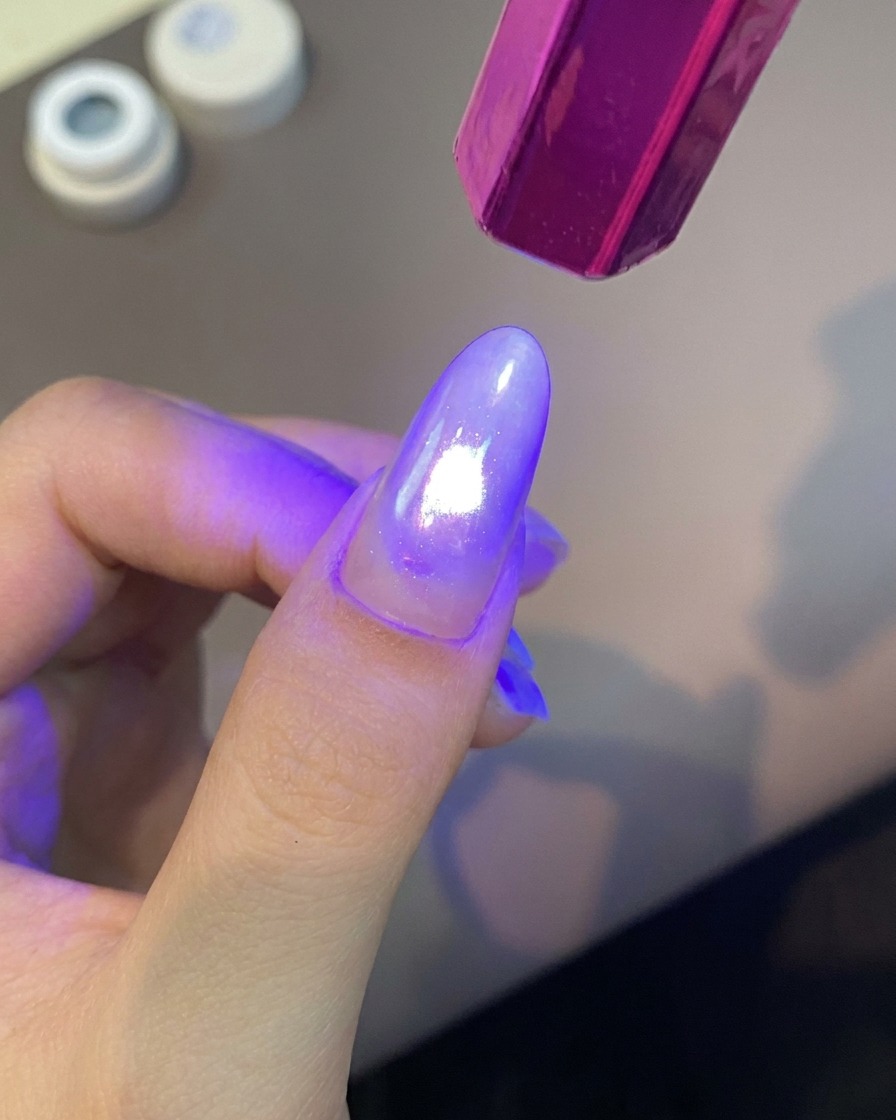
Hold a purple UV/LED handheld lamp directly over the nail to cure and set the current layer. Ensure the light hits the entire nail surface evenly to lock the design in place.
Tip: Flash cure for a few seconds if needed to prevent the gel or magnetic effect from shifting before the final set. - 9Pick up blue pigment
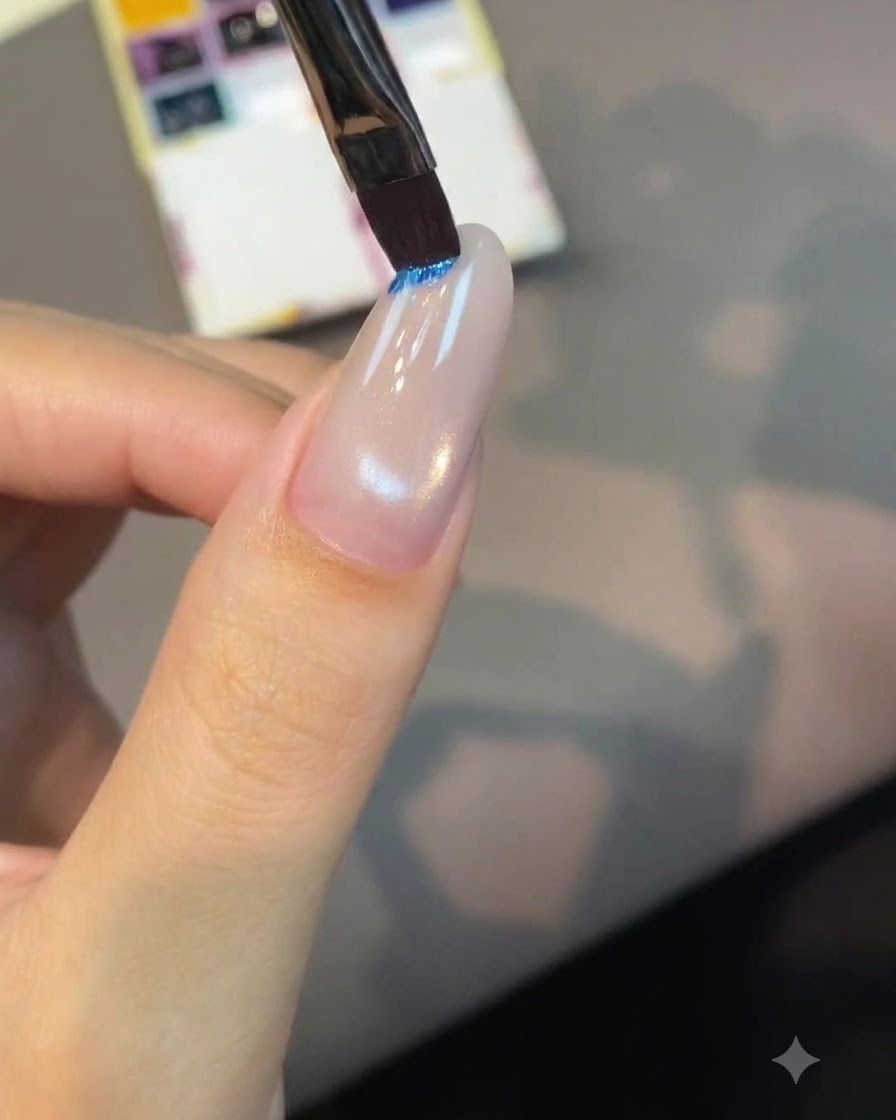
Use a fine flat brush to pick up a small amount of blue pigment from the color palette. This pigment will be used to create a soft, translucent gradient effect on the nail tip.
Tip: Tap off any excess product from the brush to ensure a smooth and even application. - 10Pat pigment for gradient
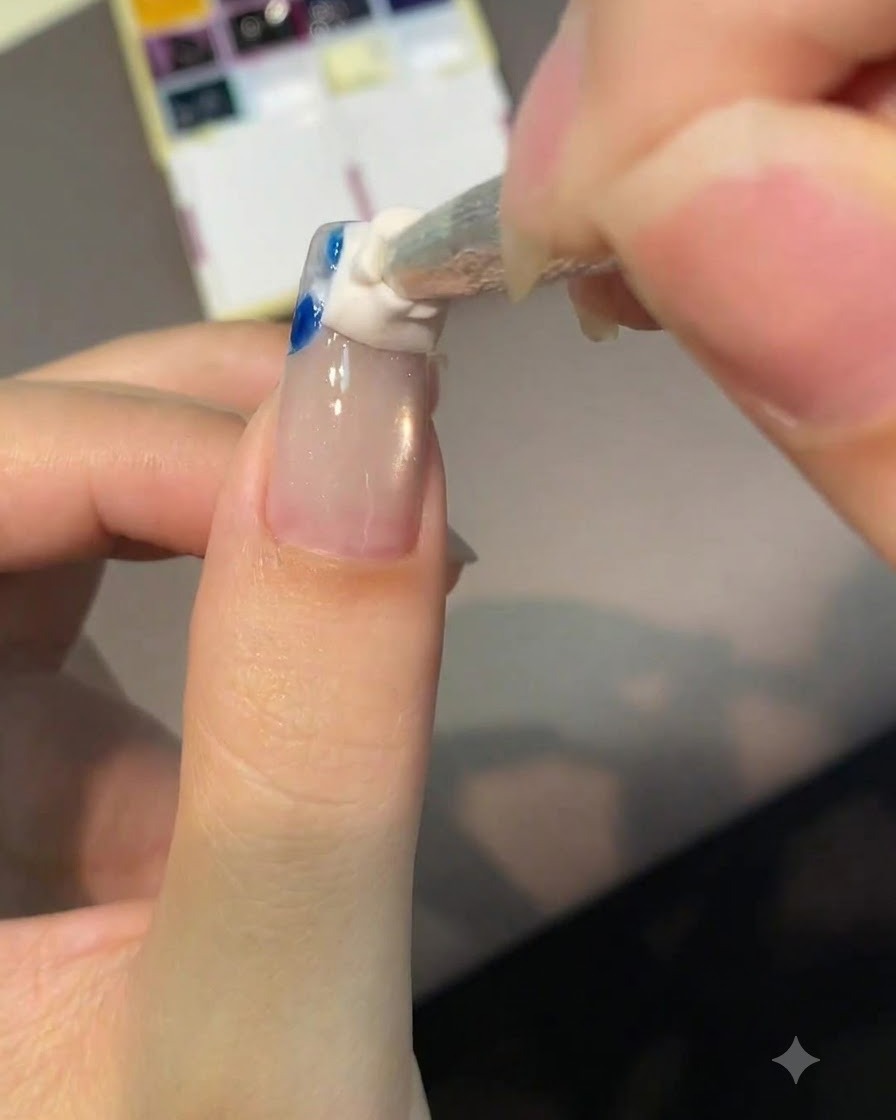
Take a glass sponge and dab white gel onto the tip of the nail, gently patting and blending it at a diagonal angle. This technique creates a translucent, soft gradient look across the nail tip.
Tip: Use light, tapping motions with the sponge to blend the colors seamlessly without harsh lines. - 11Cure gradient layer
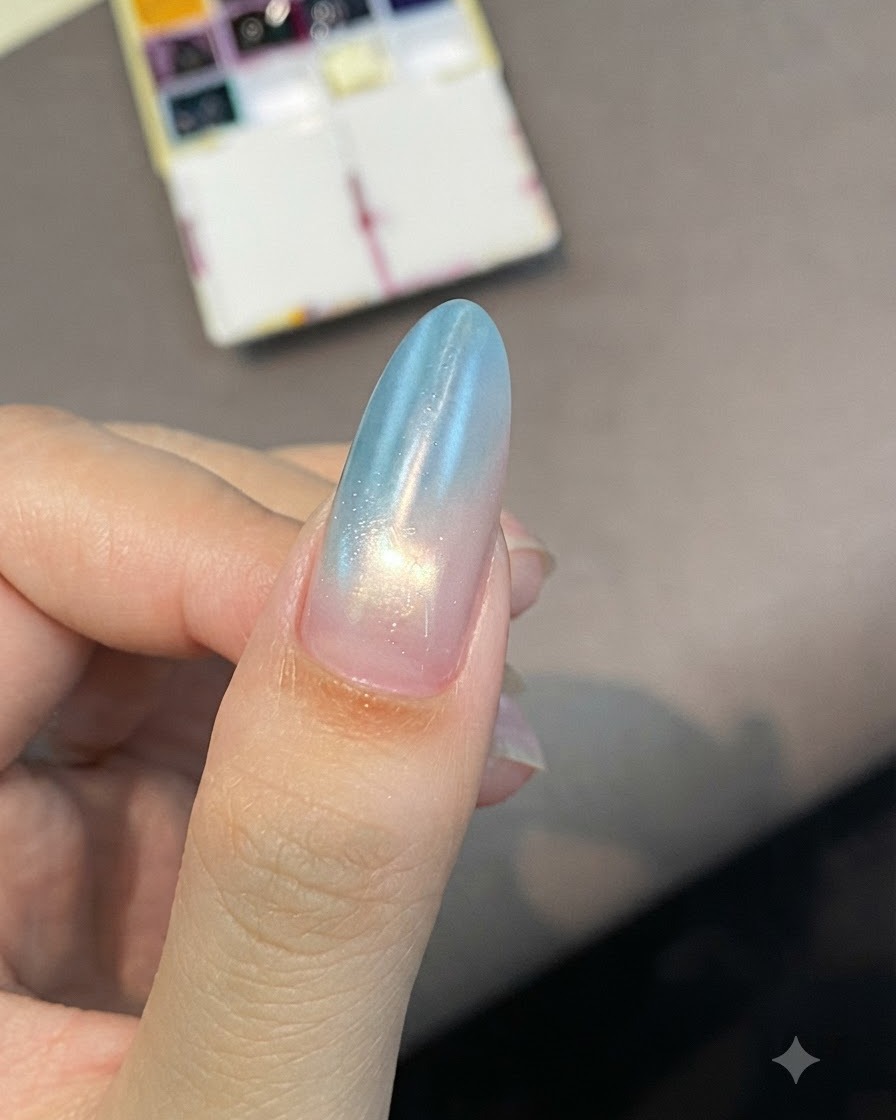
Place the newly blended gradient layer under the purple UV/LED lamp to cure the pigments and gel. This hardens the surface and locks the soft color transition in place.
Tip: Ensure the gradient is fully dry before moving on to the next sculpting or detailing step. - 12Apply sculpting gel
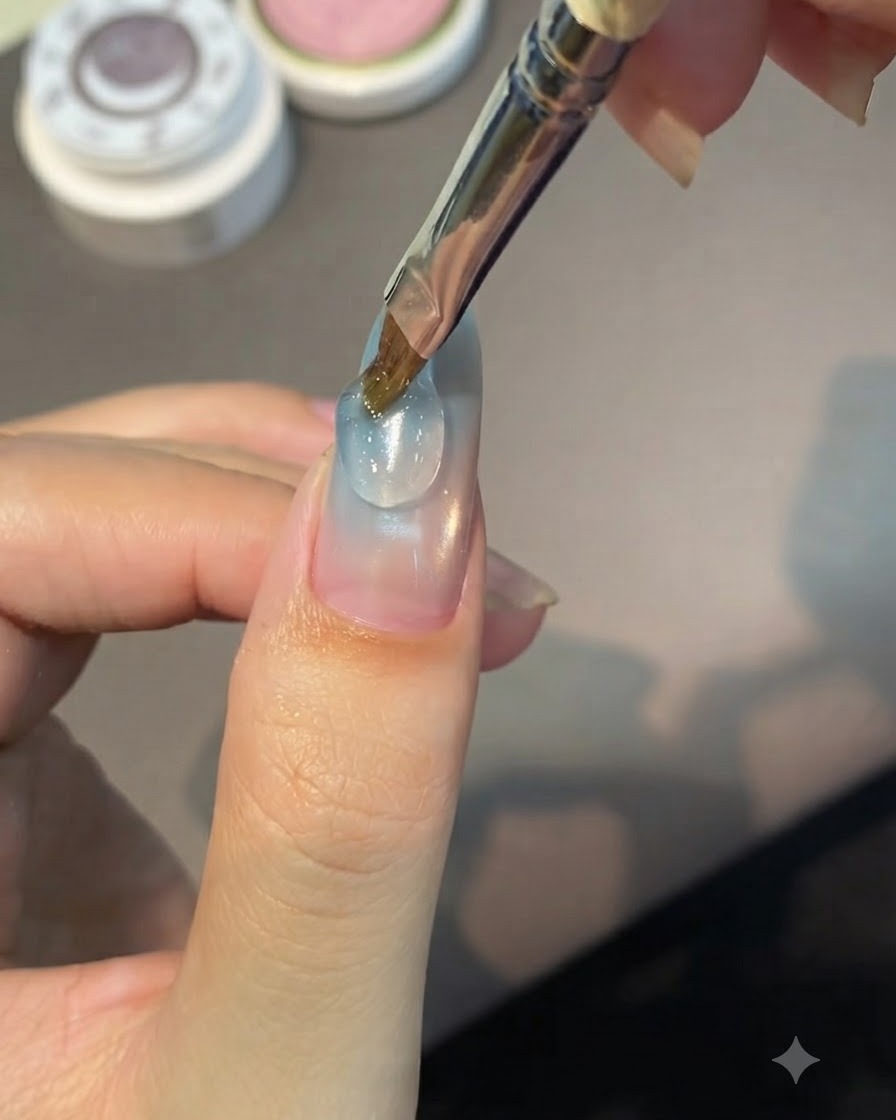
Apply a controlled layer of sculpting or structuring gel over the nail using a fine brush. This layer provides extra strength and creates a smooth base for drawing detailed textures.
Tip: Distribute the gel evenly across the apex and stress areas to ensure structural durability. - 13Create shell texture
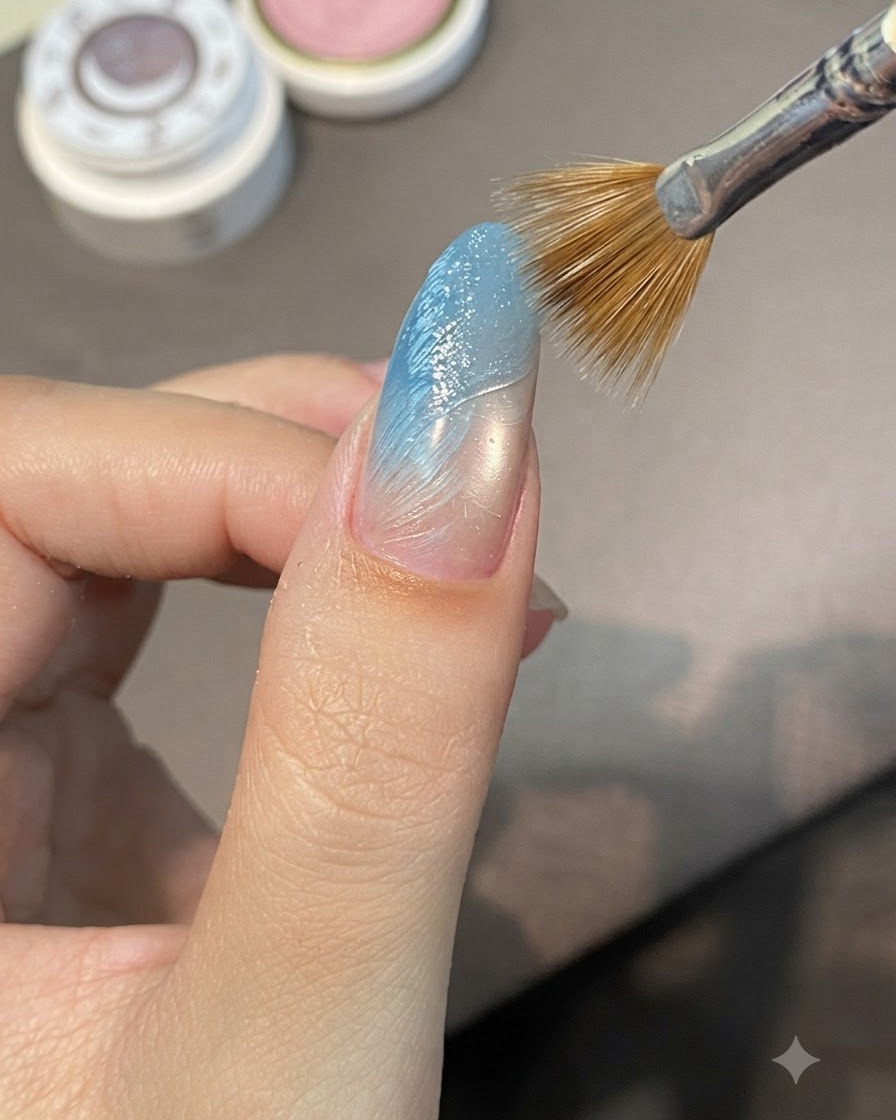
Apply a layer of sculpting gel and use a striping brush to sweep across it in a diagonal motion, creating raised ridges that mimic the natural texture of a seashell. Cure under the UV lamp after shaping the texture.
Tip: Maintain a light, consistent hand while sweeping the brush to ensure even ridges without completely flattening the gel. - 14Apply chrome powder
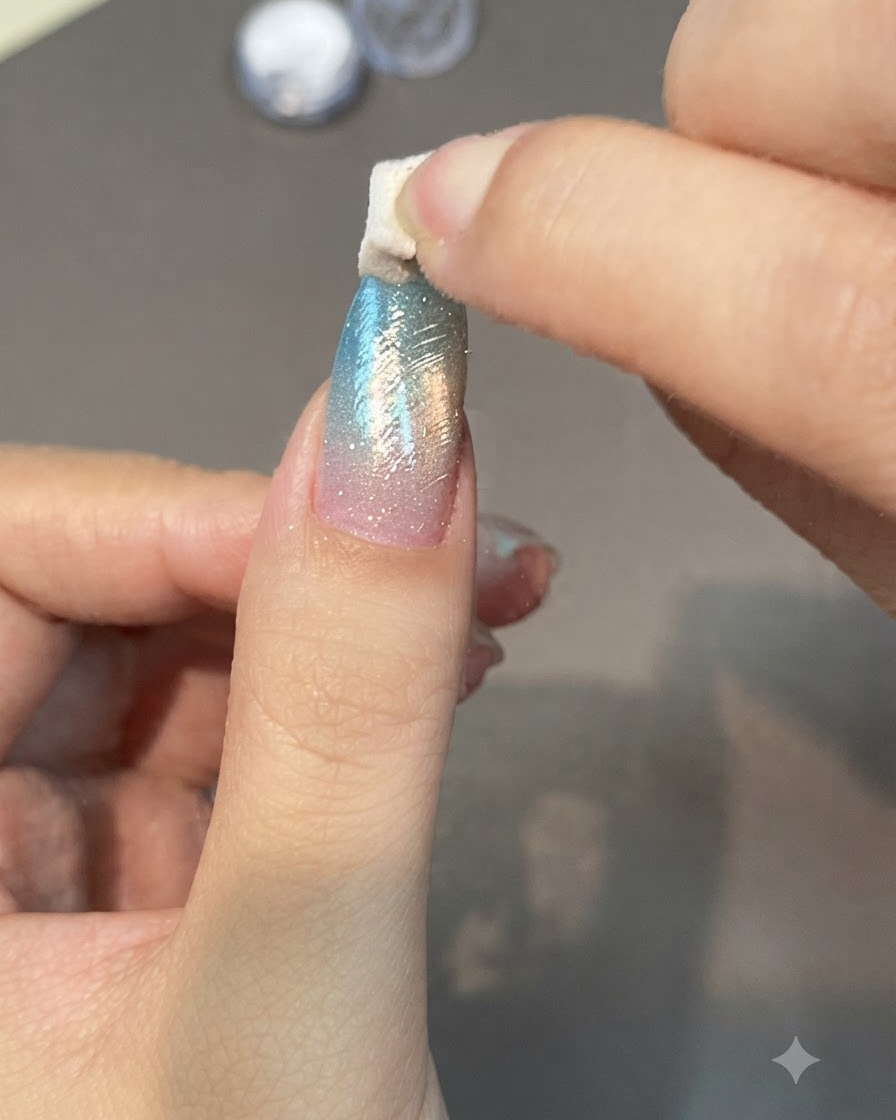
Take a sponge applicator and gently rub chrome powder over the cured textured nail surface. Ensure the powder coats all the ridges evenly to create a high-shine, iridescent metallic finish.
Tip: Buff the powder in gently and evenly to achieve maximum reflectivity and avoid patchy spots on the textured surface. - 15Apply powder-sealing top coat
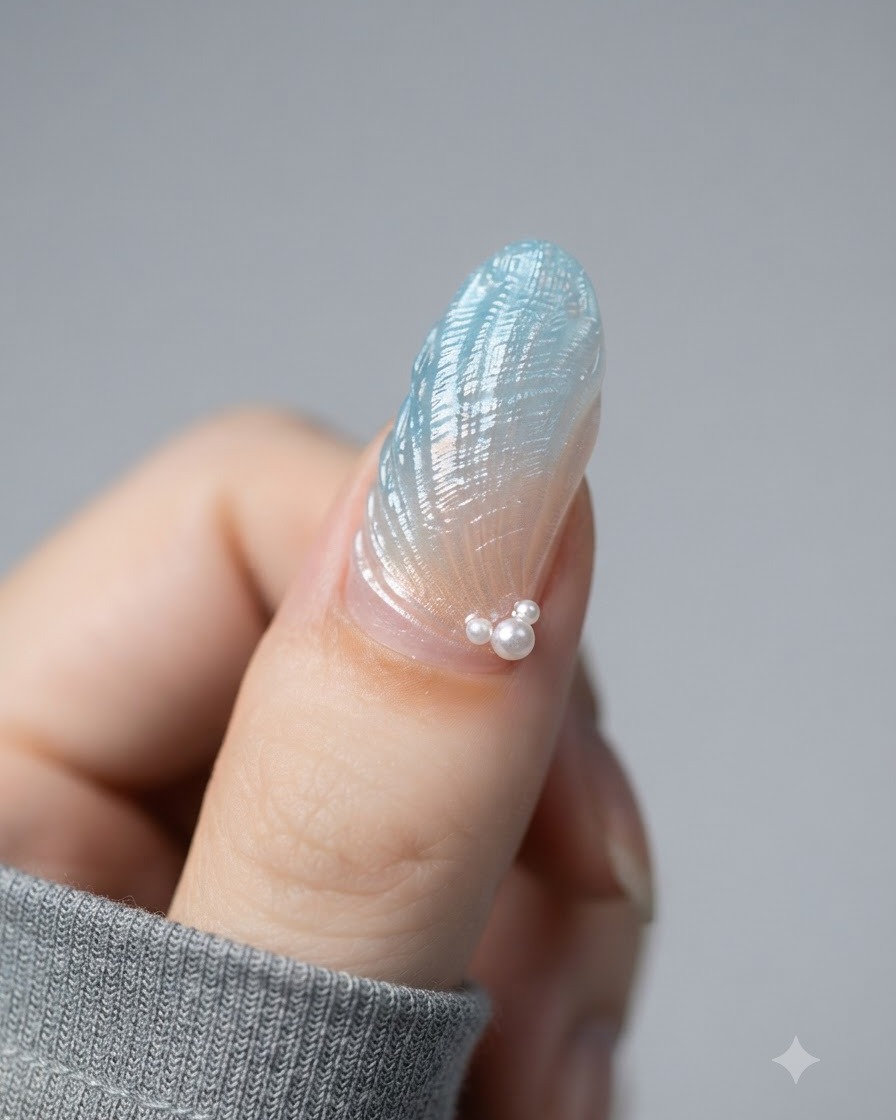
Apply a specialized powder-sealing top coat over the chrome layer to lock in the pigment and prevent chipping or fading. Ensure full coverage across the entire nail surface and cure under the UV lamp.
Tip: Sealing the edges carefully prevents the chrome powder from rubbing off or peeling around the free edge. - 16Define shell lines
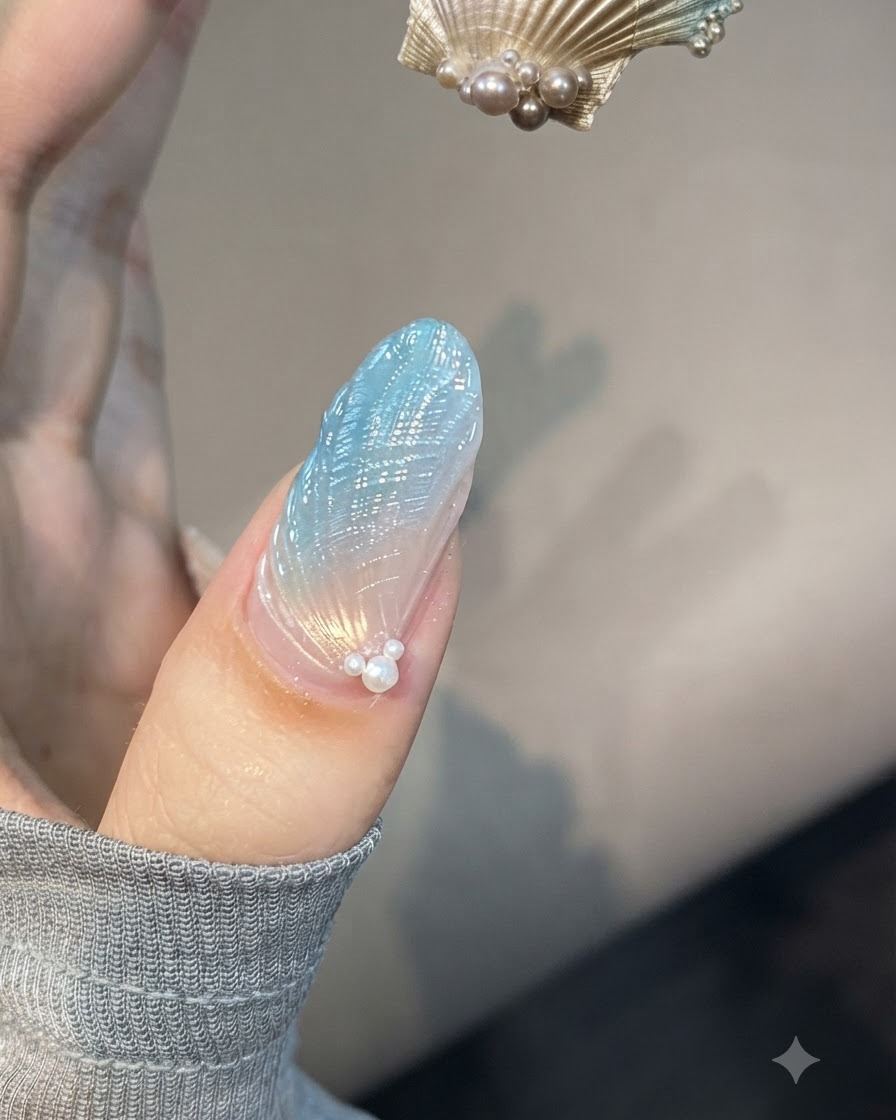
Dip a fine liner brush into bottled gel and carefully trace along the raised ridges to further define and accentuate the detailed shell lines. Take your time to keep the lines clean and precise.
Tip: Wipe excess gel from the liner brush before drawing to prevent thick, messy lines. - 17Draw and flash cure shell lines
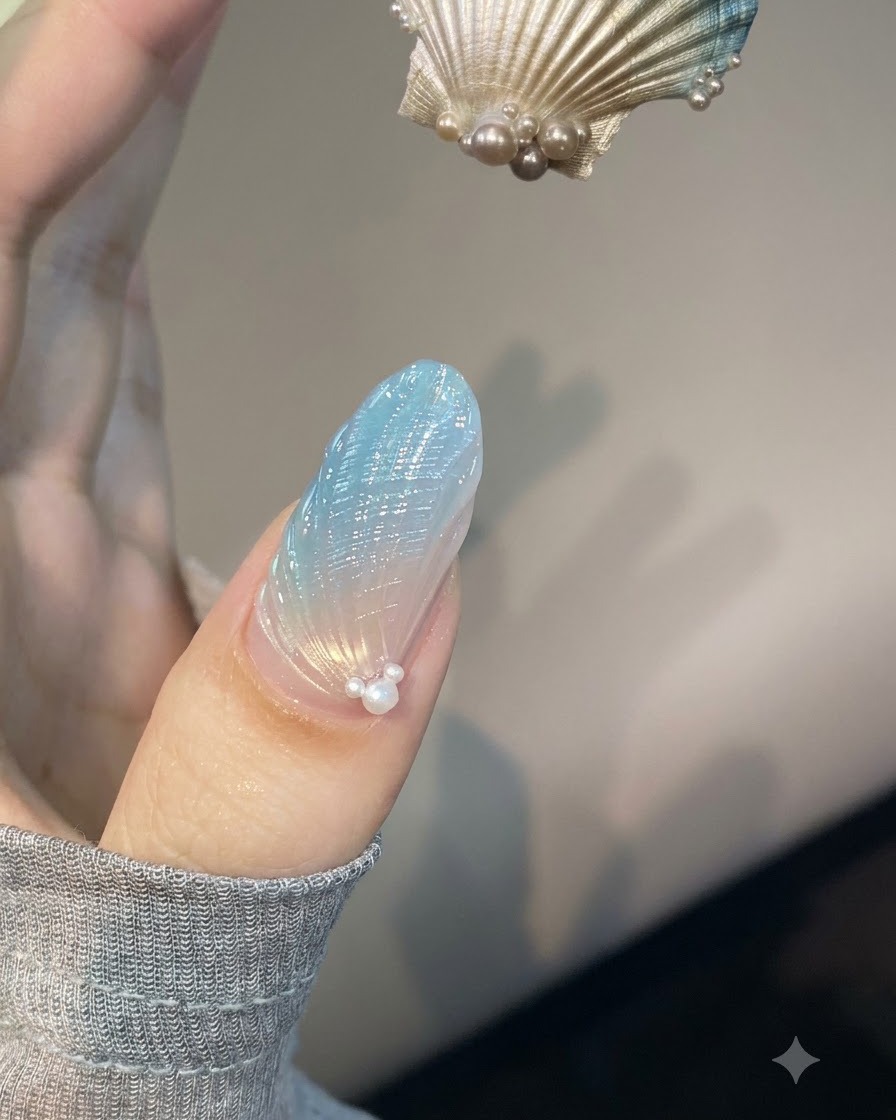
Continue drawing detailed shell lines stroke by stroke, flash curing each individual line with the UV lamp as you work. This ensures the drawn details stay in place without blurring or running before the full cure.
Tip: Flash cure immediately after drawing intricate details to maintain sharp, crisp lines. - 18Full nail cure
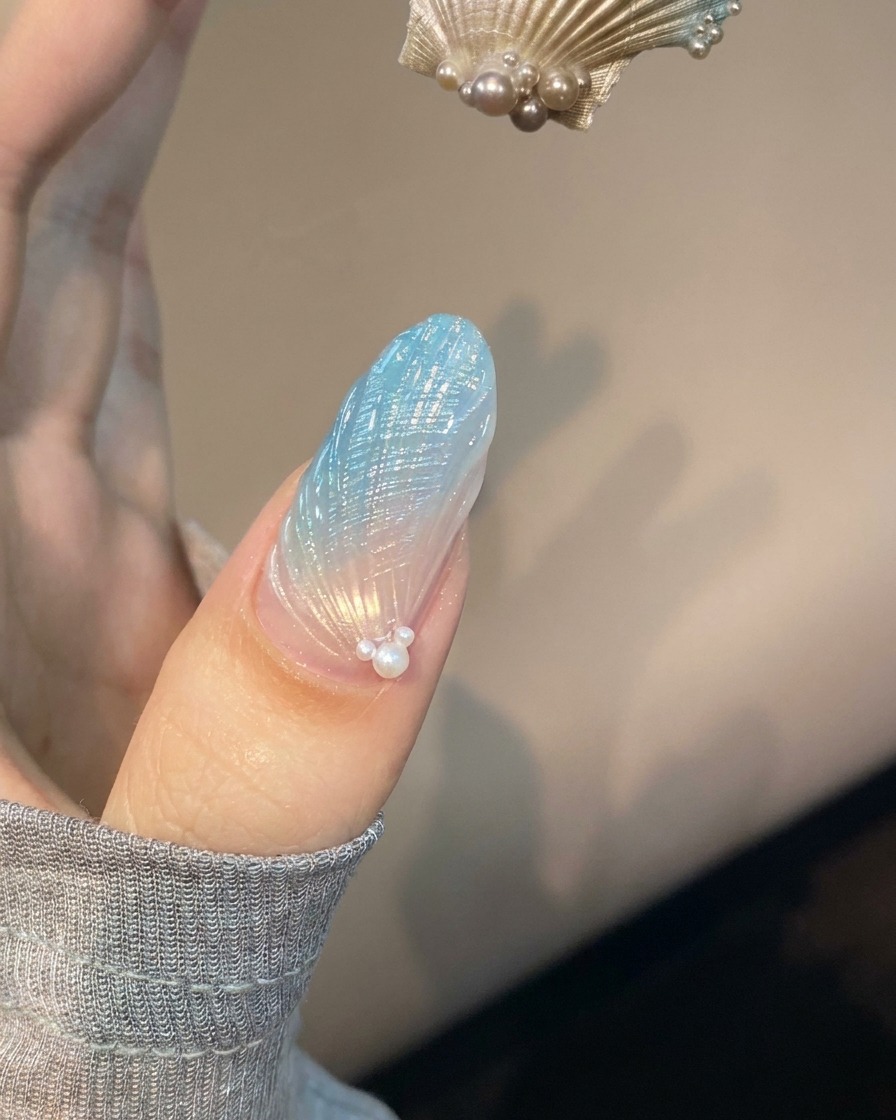
Place the hand under the UV lamp and cure the entire nail completely for 60 seconds to ensure all layers, gel textures, and chrome finishes are fully set and hardened. This final full cure secures all the intricate detailing and prevents any shifting or lifting before embellishments are applied.
Tip: Make sure the hand is placed directly under the UV source so that the curved edges and angled texture lines cure evenly. - 19Attach small pearl embellishments
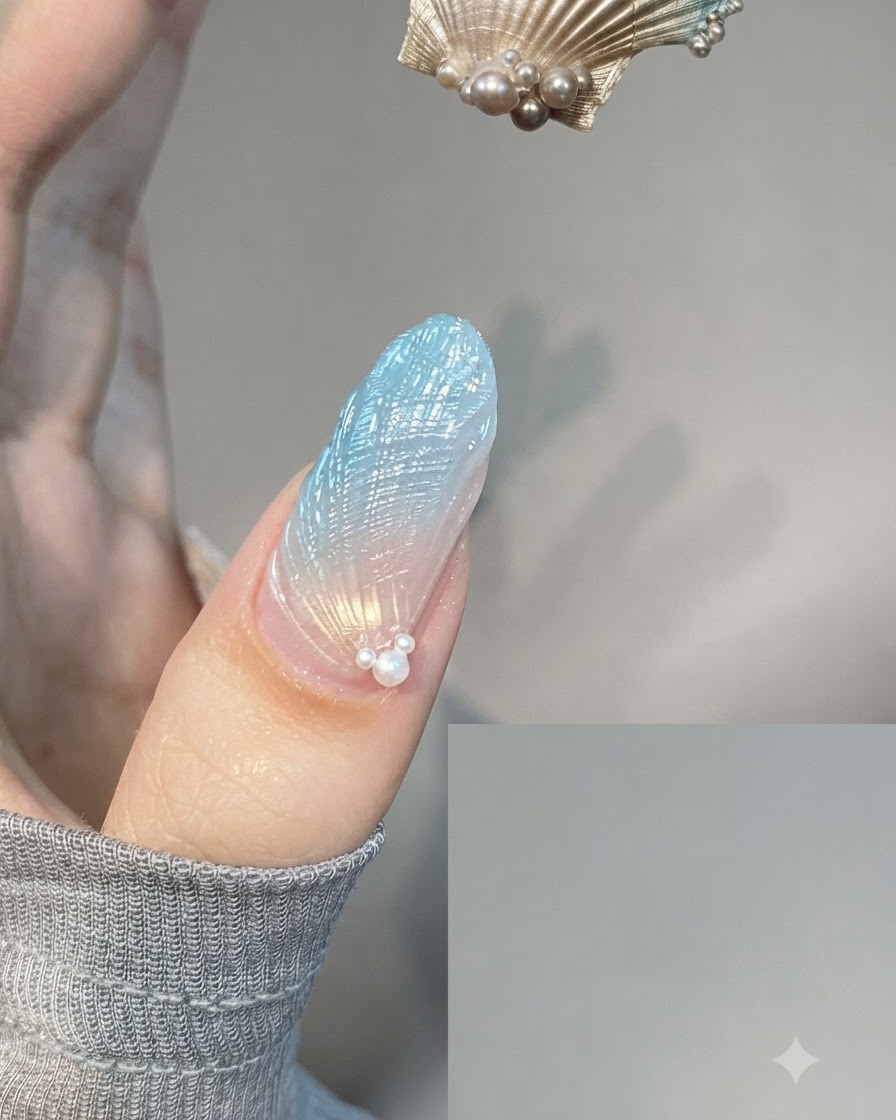
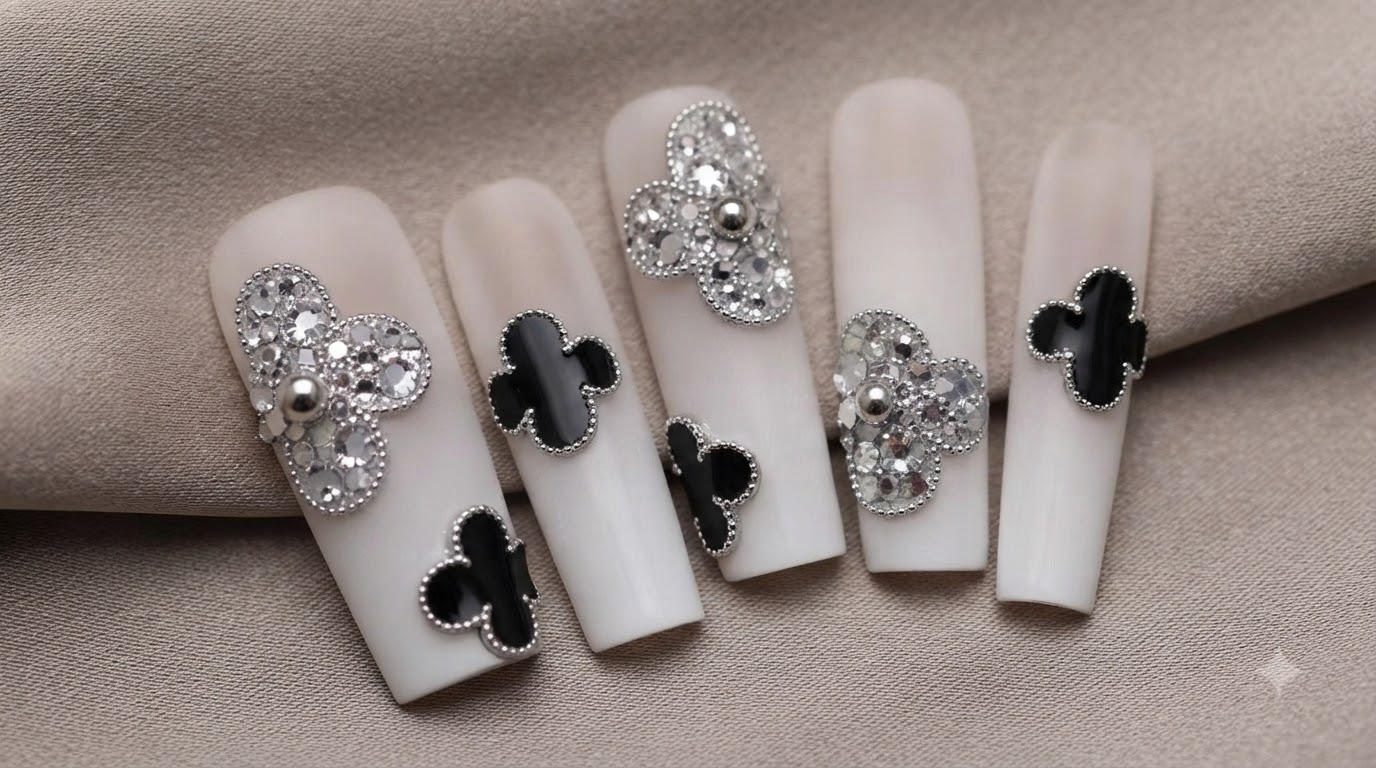
Place small pearl beads near the cuticle area to accent the completed shell nail art design. Secure the pearls in place and cure under the lamp to ensure a long-lasting hold, completing the final styled look.
Tip: Use a small dot of clearing gel or rhinestones glue to anchor the pearls securely before curing.