Carved Ice Flower Quicksand Cat-Eye Nails — Step-by-Step Tutorial
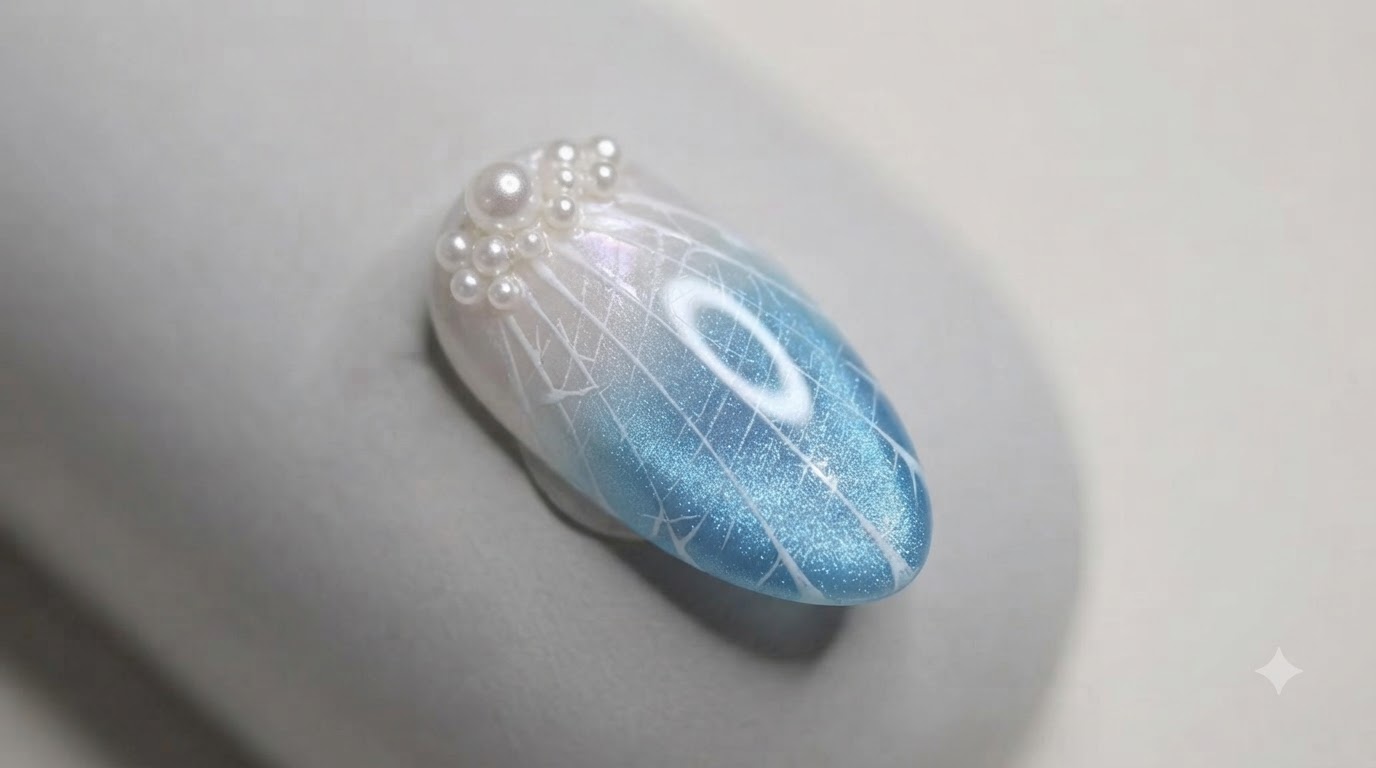
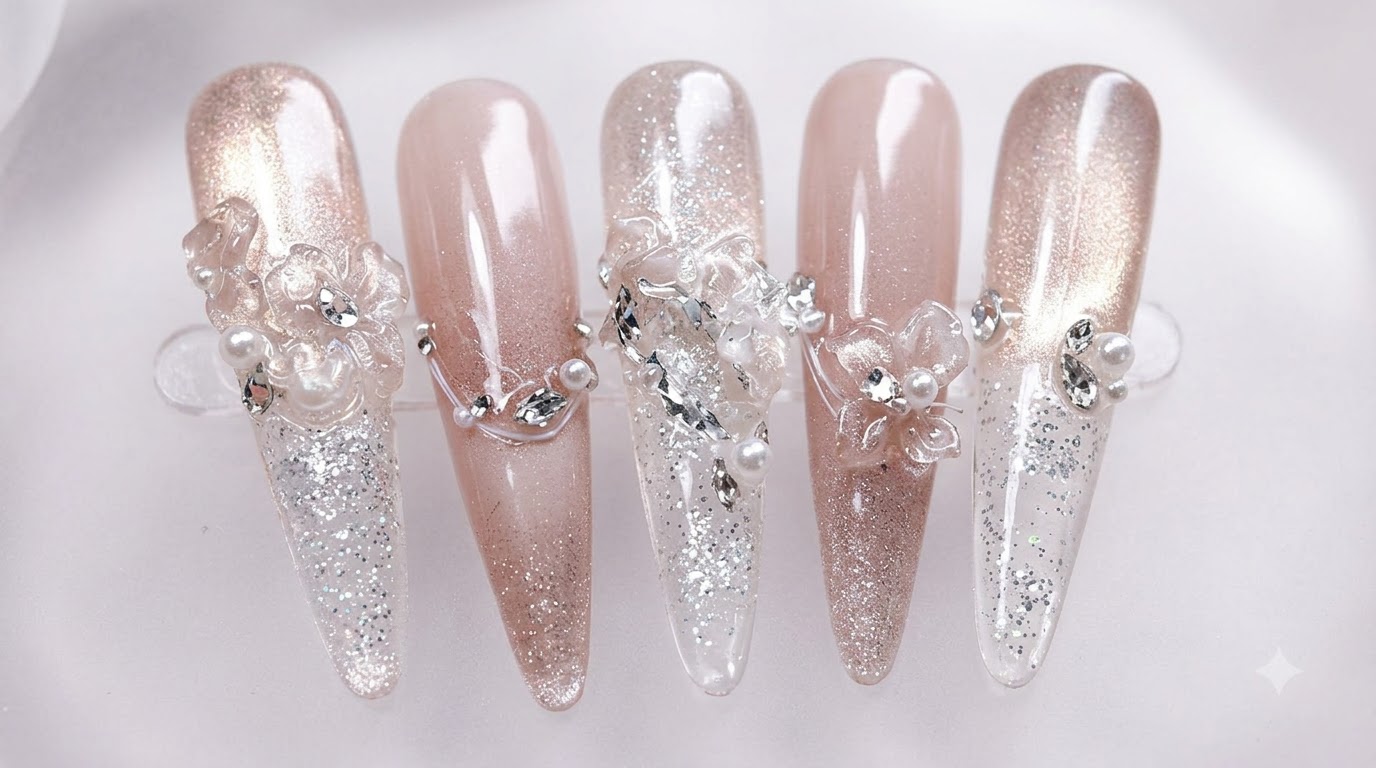
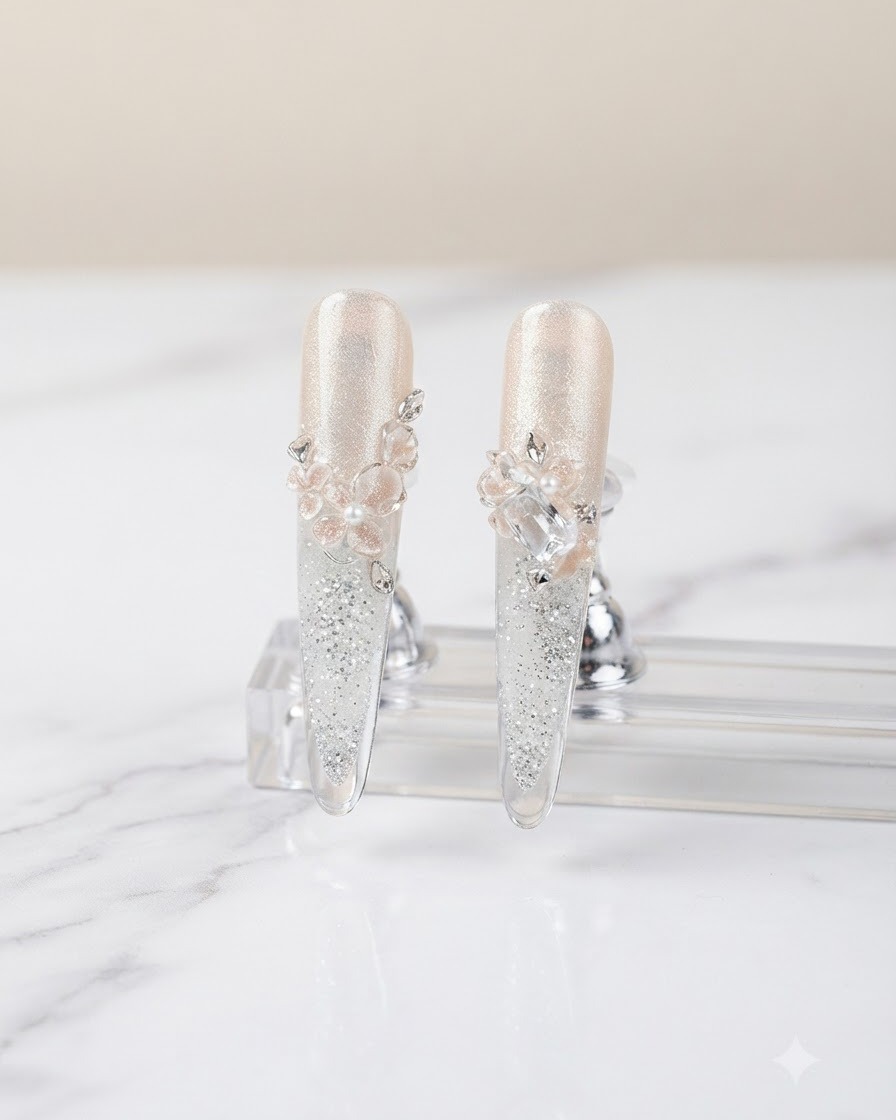
Discover how to create dazzling quicksand cat-eye nails featuring translucent 3D sculpted ice-flowers, silver glitter, and delicate spider gel lines.
Combining multi-dimensional liquid quicksand chambers with magnetic cat-eye shimmer and delicate 3D floral art creates a breathtaking masterpiece for your fingertips. This advanced tutorial breaks down every complex stage, from building the sealed glitter compartment to sculpting intricate glass-like ice-flowers.
Steps
- 1Create the quicksand base
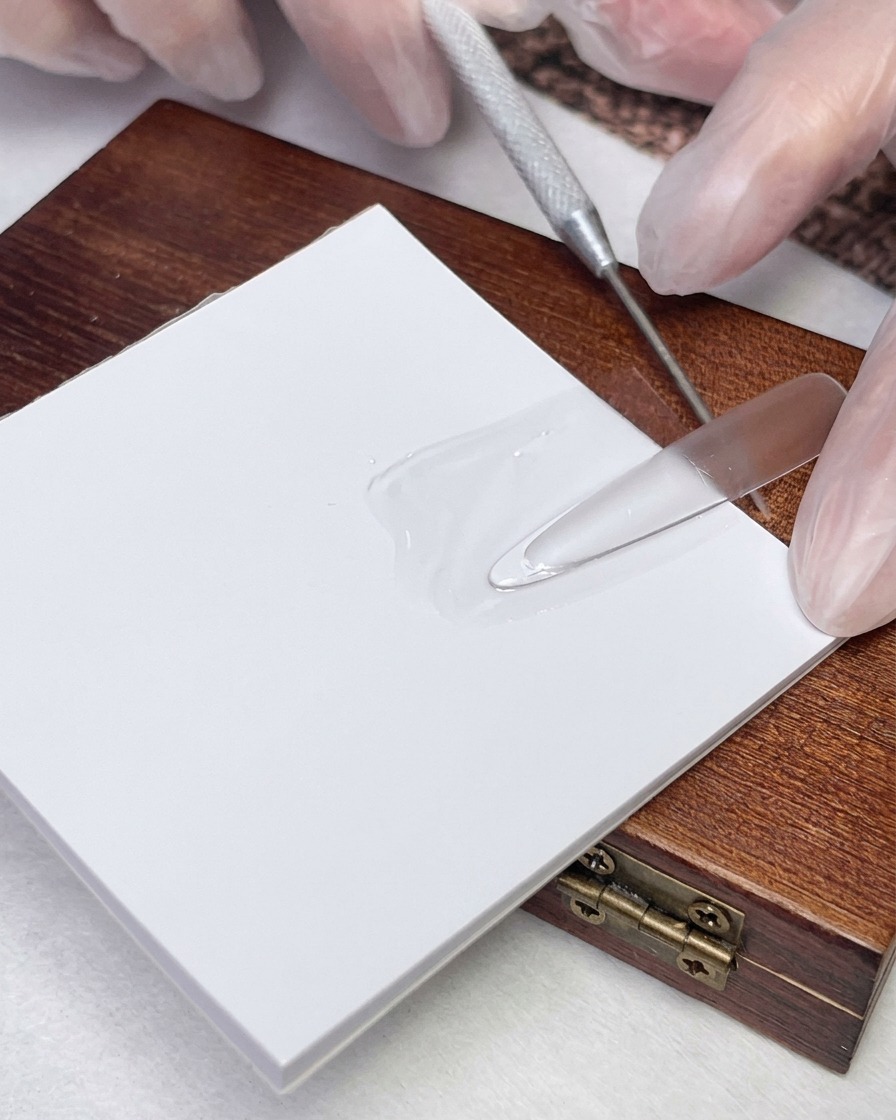
Using a flat gel brush, apply a rectangular layer of clear top coat onto a small white square card or piece of paper. This will serve as the foundation for your quicksand design, allowing you to build the hollow base before attaching the nail tip.
Tip: Make sure the rectangle is slightly larger than the hollow cavity of your nail tip to ensure a complete seal later. - 2Position the Stiletto Nail Tip
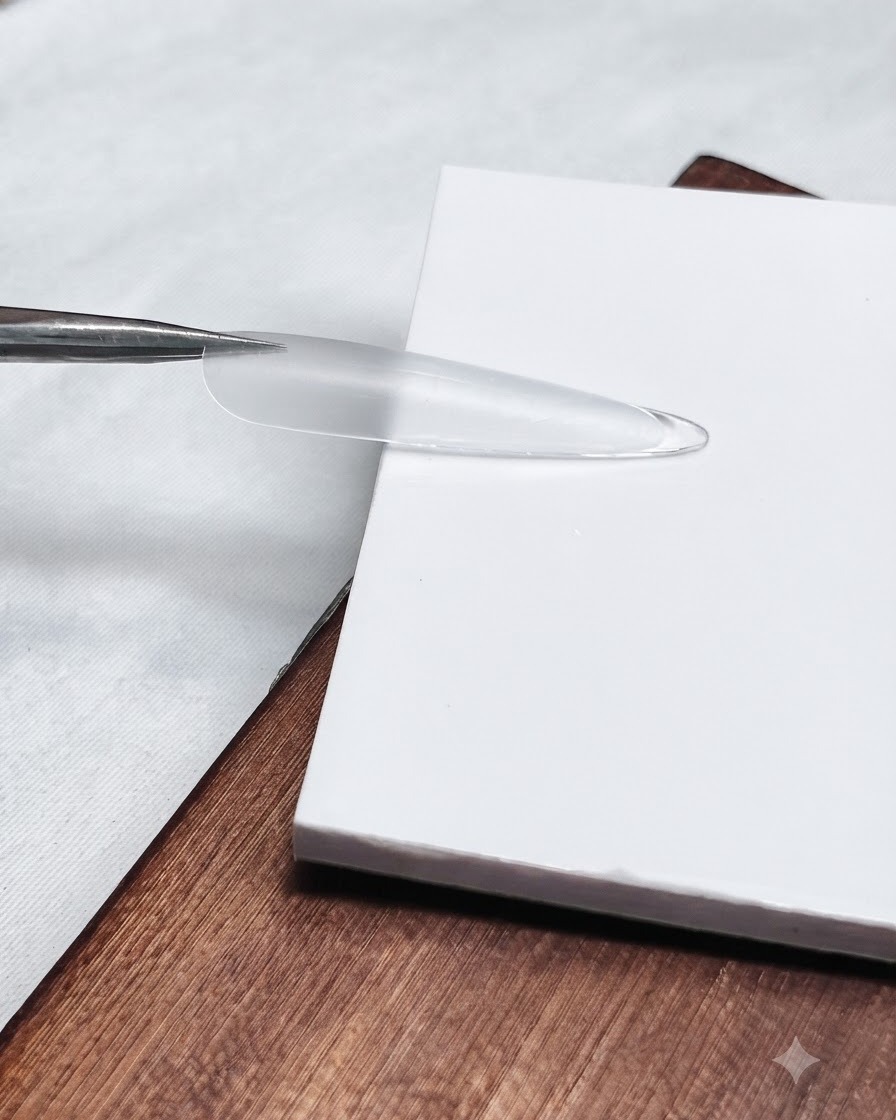
Take the clear, hollow stiletto nail tip and place it face down onto the wet top coat on the white square card. Ensure the front opening is securely sealed against the surface to create the base for the quicksand compartment.
Tip: Check that the edges make full contact with the top coat so that liquid will not leak out later. - 3Add glitter to the cavity
Use a small metal scoop to carefully drop loose silver glitter powder into the hollow cavity on the back of the nail tip. This glitter will create the dynamic, moving quicksand effect inside the sealed chamber.
Tip: Avoid overfilling the cavity; leave enough space for the quicksand oil and for the glitter to move freely. - 4Cut Clear Plastic Film
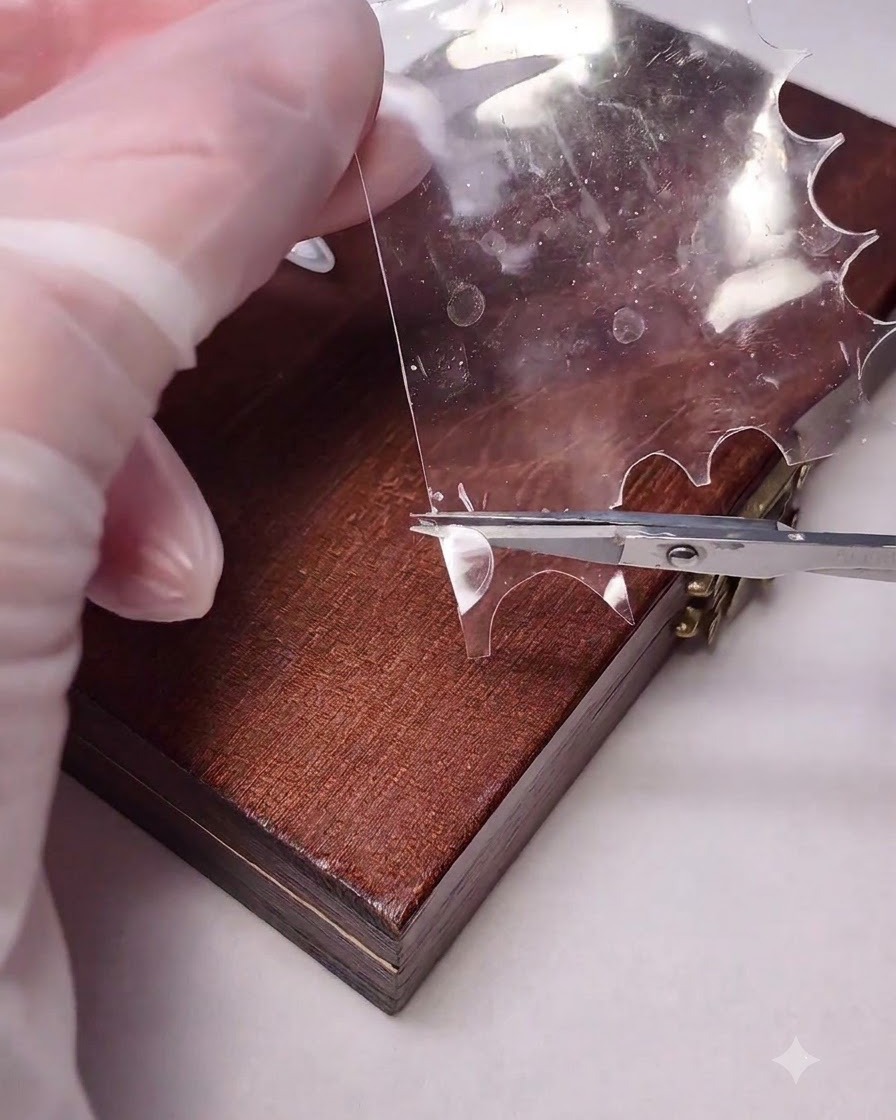
Take a thin sheet of clear plastic film and use small precision scissors to cut out a small, appropriately sized piece that will cover the open cavity of the nail tip.
Tip: Ensure the cut piece matches the shape of the opening closely for an easy and tight seal. - 5Seal the Plastic Film
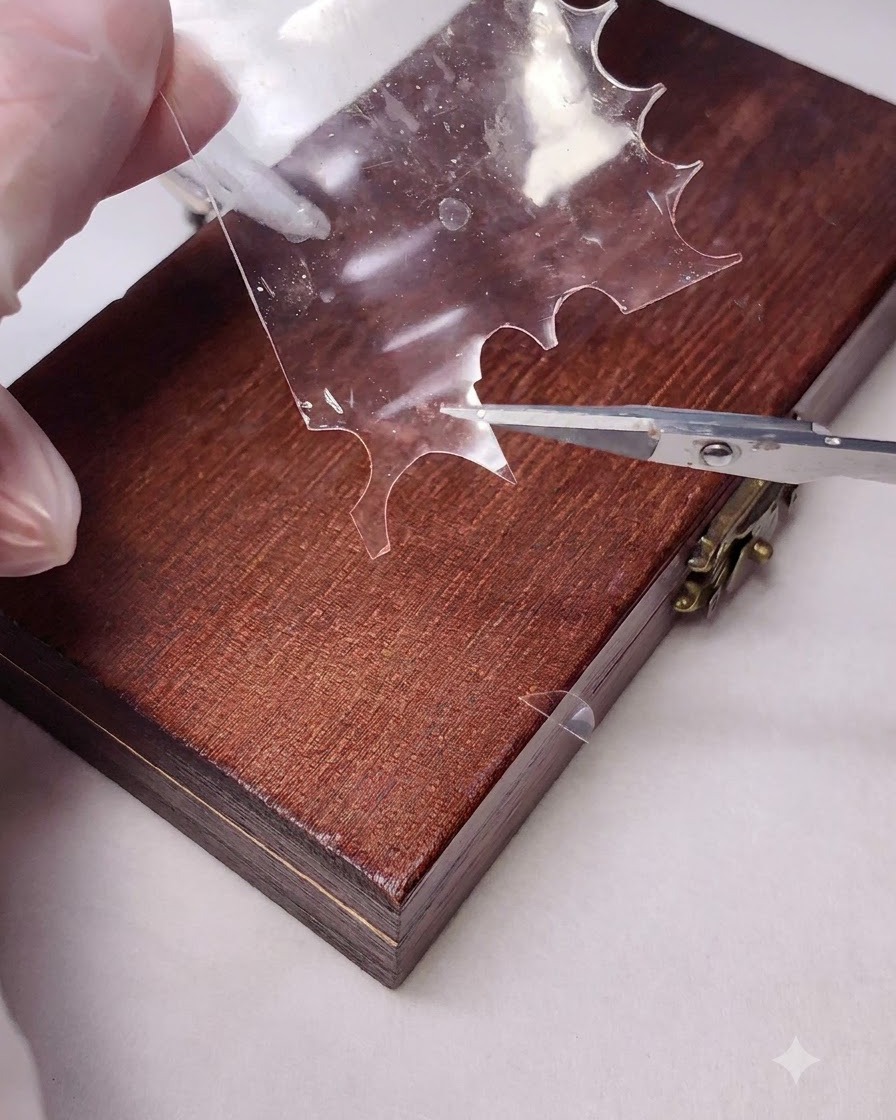
Position the newly cut clear plastic film directly over the open cavity of the nail tip. Use tweezers to press down and seal all the outer edges tightly to trap the glitter inside.
Tip: Press firmly along the entire perimeter of the film to prevent any gaps that could cause leaks. - 6Inject Clear Oil
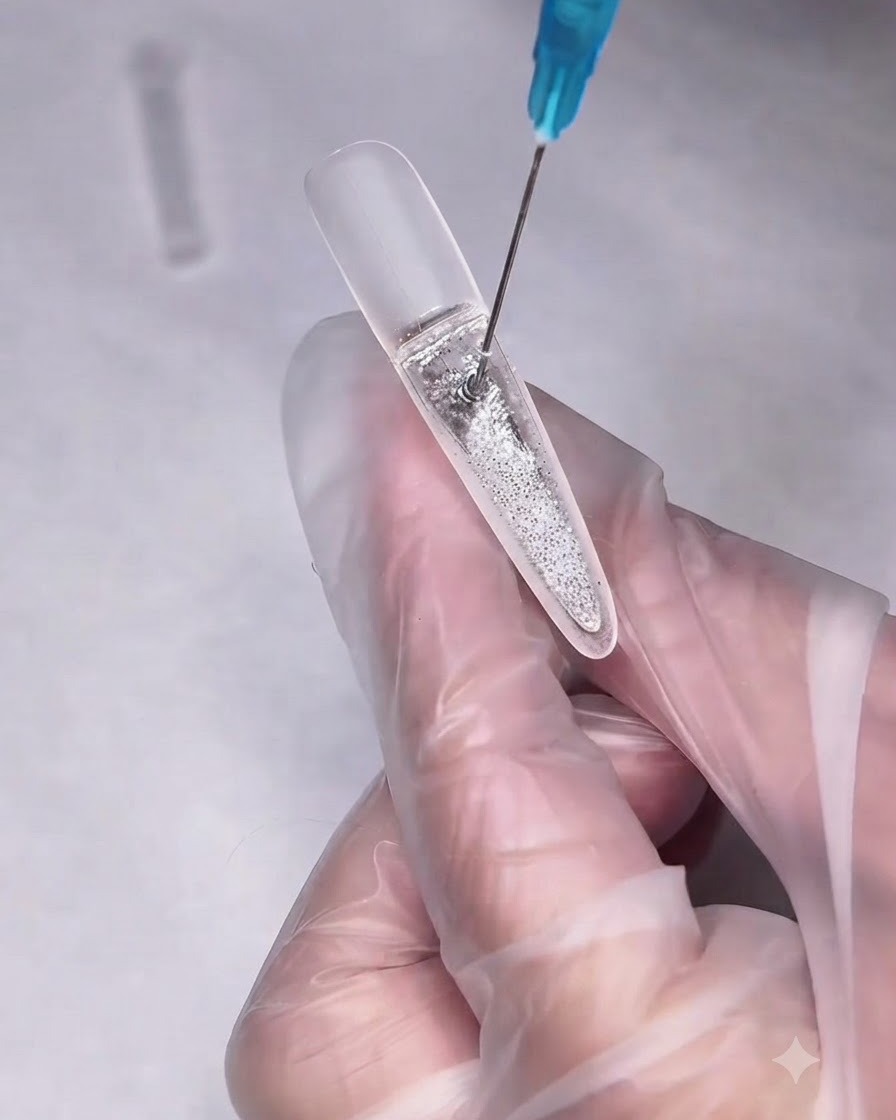
Carefully insert the fine needle of a syringe under the edge of the plastic film into the compartment. Slowly inject clear oil into the sealed quicksand cavity until it is adequately filled.
Tip: Inject slowly to avoid creating excessive air bubbles inside the quicksand chamber. - 7Apply cat-eye gel
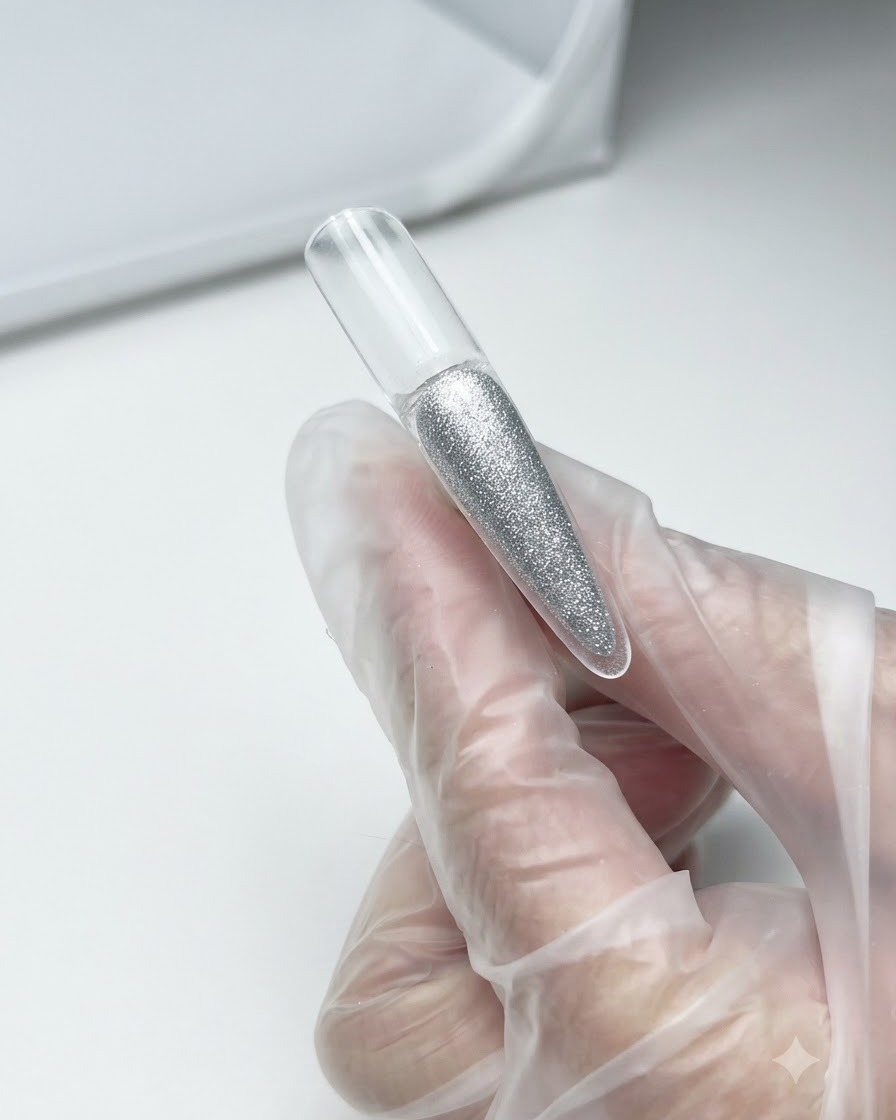
Flip the nail over to the front side and use a gel brush to apply a layer of nude-pink cat-eye gel over the upper half of the nail tip. Ensure the application is smooth and even, preparing the surface for the magnetic effect.
Tip: Do not cure the cat-eye gel just yet; the gel must remain wet to allow the magnetic particles to move. - 8Create the magnetic effect
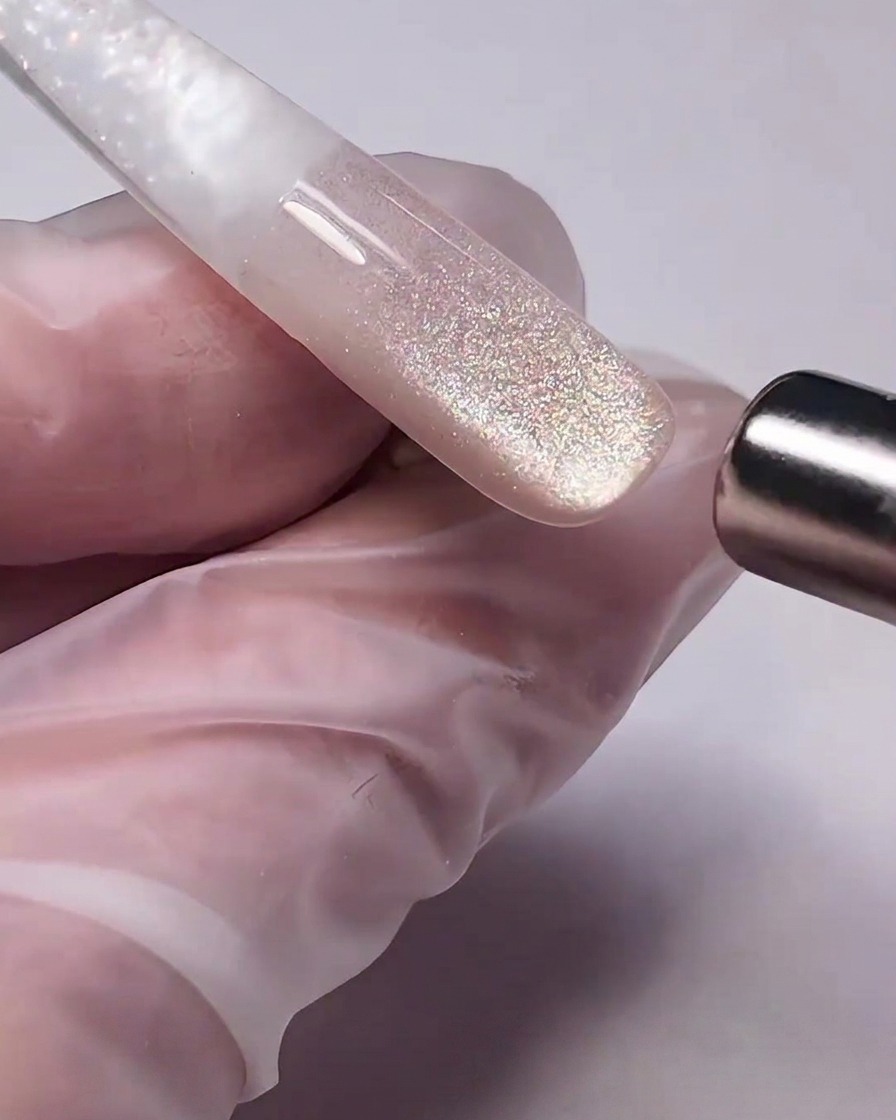
Hold a cylindrical magnetic wand close to the wet nude-pink cat-eye gel. Move the magnet around the edges to pull the metallic particles together, creating a brilliant, glowing glass bead effect with a shifting shimmer.
Tip: Hold the magnet steady for a few seconds to lock the particles in place before immediately curing under a UV/LED lamp. - 9Draw string lines with spider gel
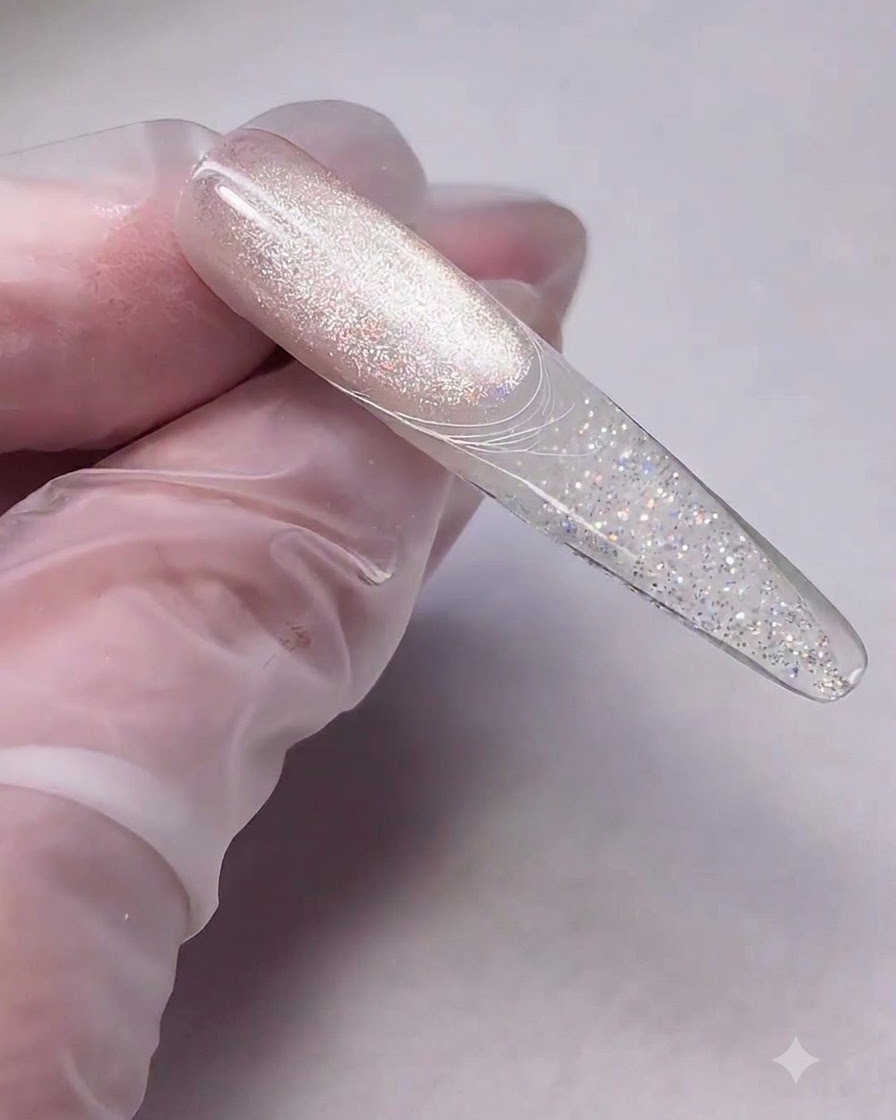
Dip a fine liner brush or a dotting tool into white spider gel. Carefully drag the gel across the surface of the nail to create thin, intersecting curved lines, adding a delicate, web-like texture to the design.
Tip: Spider gel is highly elastic; lift the tool slowly to stretch the gel into perfectly straight or gracefully curved, unbroken lines. - 10Pick up 3D carving gel
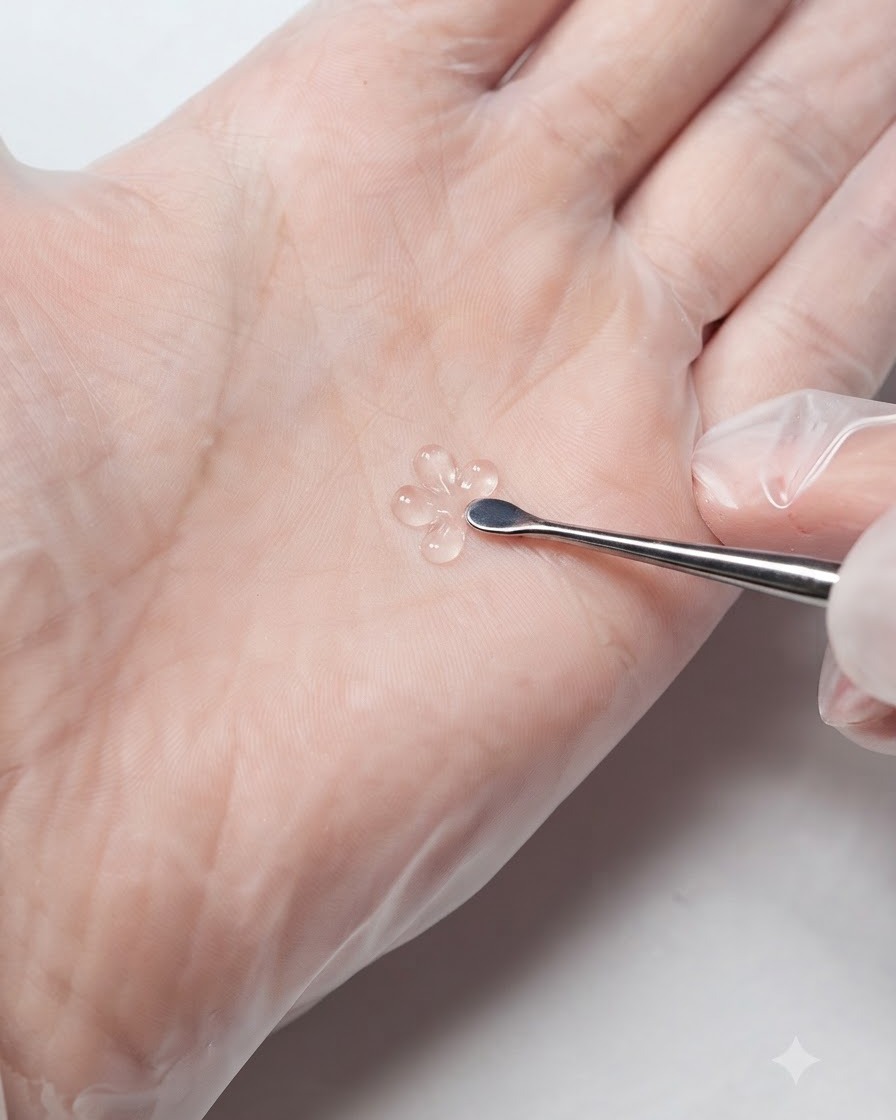
Using a metal cuticle pusher, pick up a small bead of solid white 3D carving gel. This firm gel will be used to sculpt the individual petals for your 3D flower design.
Tip: Keep your tools slightly lubricated with slip solution or rubbing alcohol to prevent the carving gel from sticking to the metal pusher. - 11Sculpt Individual Petals
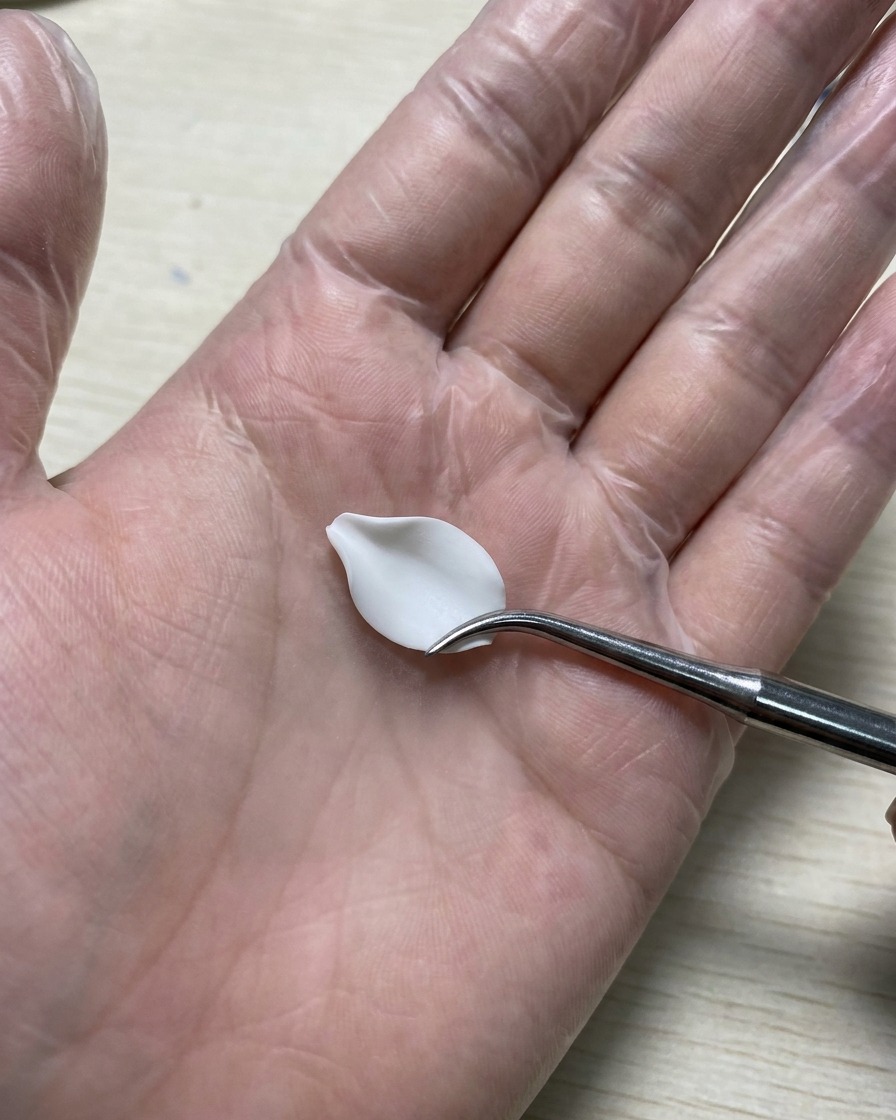
Take a small bead of 3D carving gel and place it onto your working surface or directly onto the nail. Use a silicone-tipped carving tool to gently press and spread the gel flat, shaping the edges into a distinct, curved flower petal. Repeat this process to create multiple individual petals needed for your floral arrangement.
Tip: Lightly mist your silicone tool with alcohol or base coat if the carving gel starts sticking to the tip while pressing. - 12Shape the 3D flower
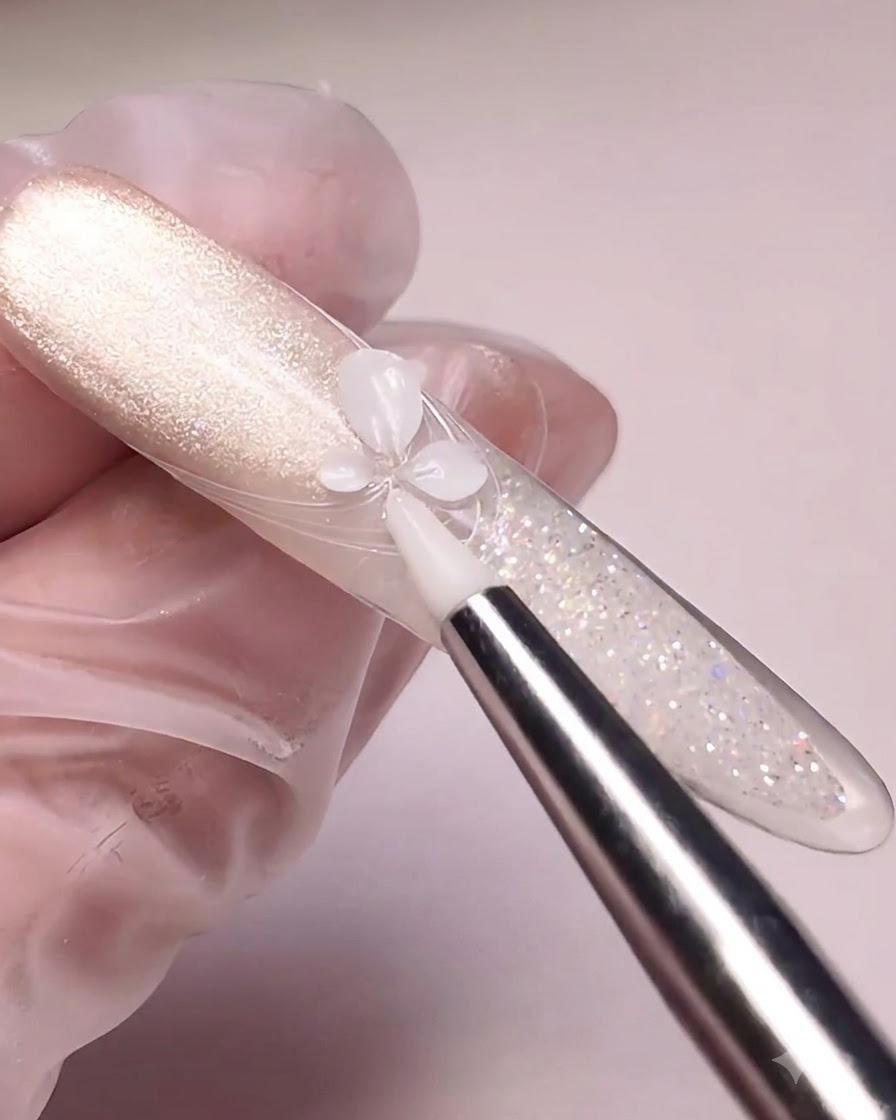
Continue adding small beads of 3D carving gel onto the nail. Use a silicone-tipped tool to gently press and shape each bead into a flower petal, arranging them together to form a multi-petal 3D flower design in the center of the nail.
Tip: Keep your silicone tool slightly damp with slip solution or rubbing alcohol to prevent the carving gel from sticking to it while shaping. - 13Apply cat-eye gel over the flower
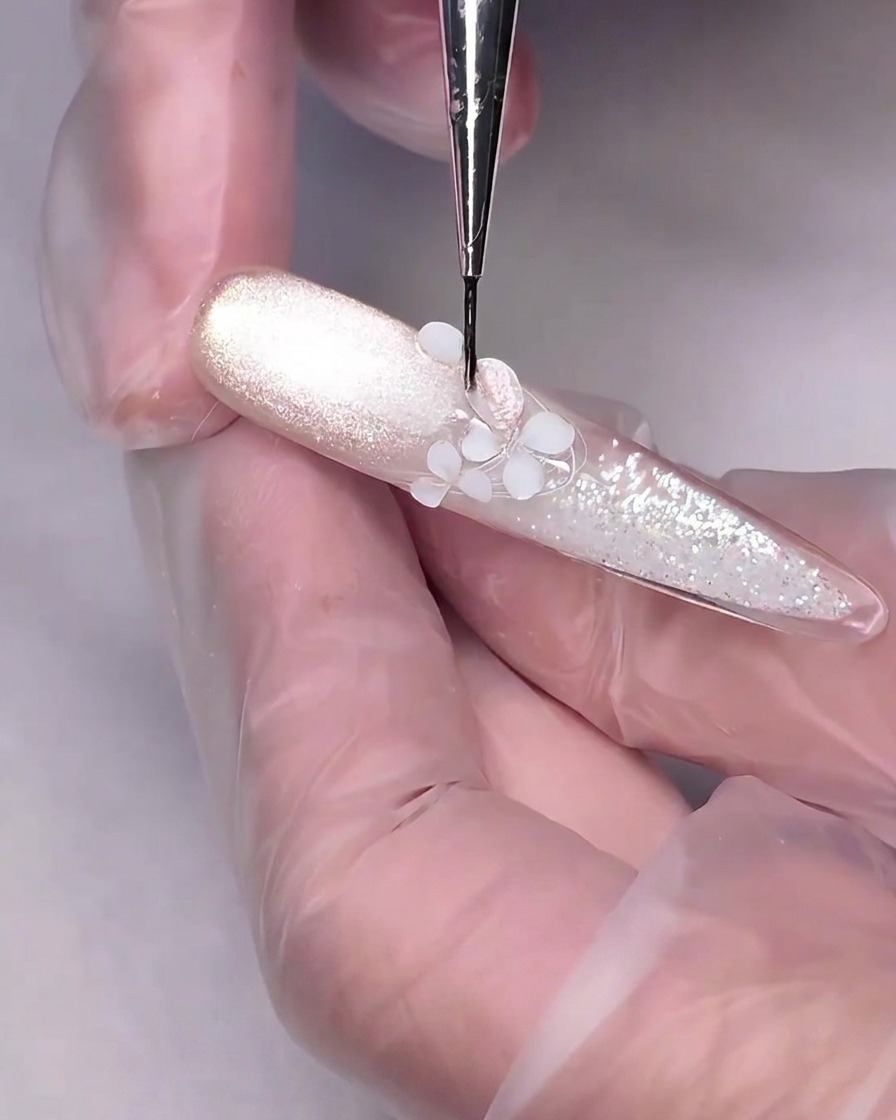
Using a fine detailing brush, carefully apply a thin, even layer of nude-pink cat-eye gel directly over the sculpted 3D petals. Ensure the gel covers the entire surface of the flower without flooding the surrounding design.
Tip: Use a very light hand when applying the gel to maintain the sculpted ridges and details of the 3D petals. - 14Activate Shimmer on Petals
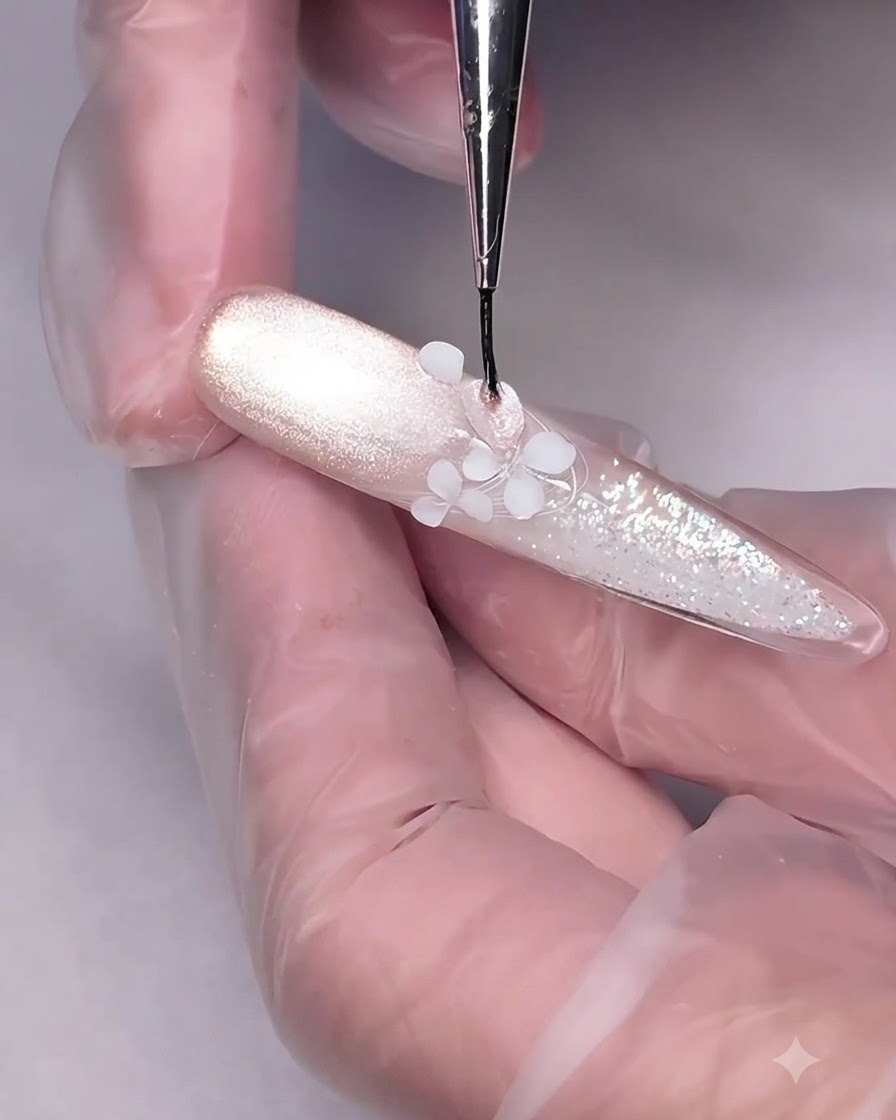
After overlaying a layer of cat-eye gel onto your sculpted flower, take a cylindrical magnet and carefully hover it close to the petals without touching the wet surface. Hold the magnet steady for a few seconds to pull the magnetic particles into position, creating a concentrated, full-glow shimmer across the flower design before curing under your lamp.
Tip: Keep the magnet steady and close to the nail to get a sharp, luminous magnetic effect, and cure immediately after positioning. - 15Create the ice-flower effect
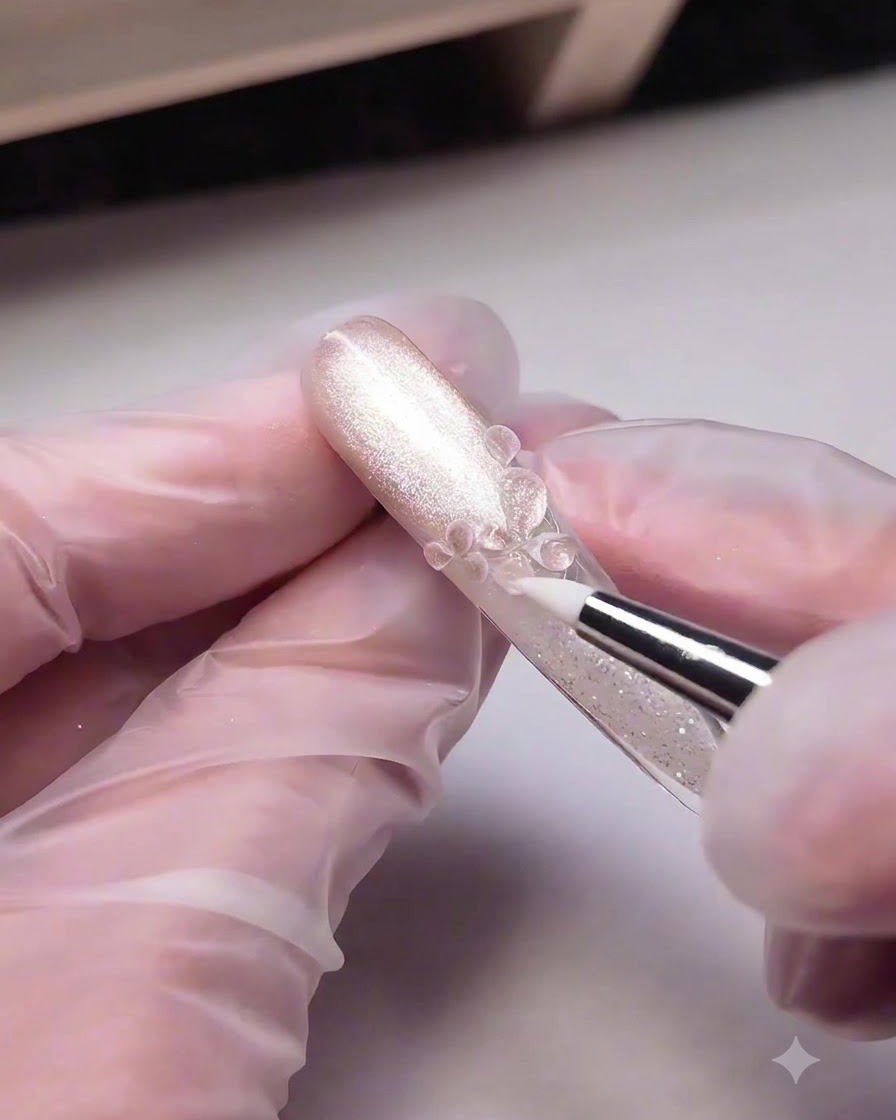
Take a clear, thick molding gel or top coat and use a detail brush to apply generous beads over each sculpted petal. This step encapsulates the cat-eye shimmer and creates a beautiful, dimensional glossy ice-flower effect.
Tip: Apply the clear gel one petal at a time and flash cure in between to prevent the thick gel from self-leveling and losing its structured bead shape. - 16Add embellishments
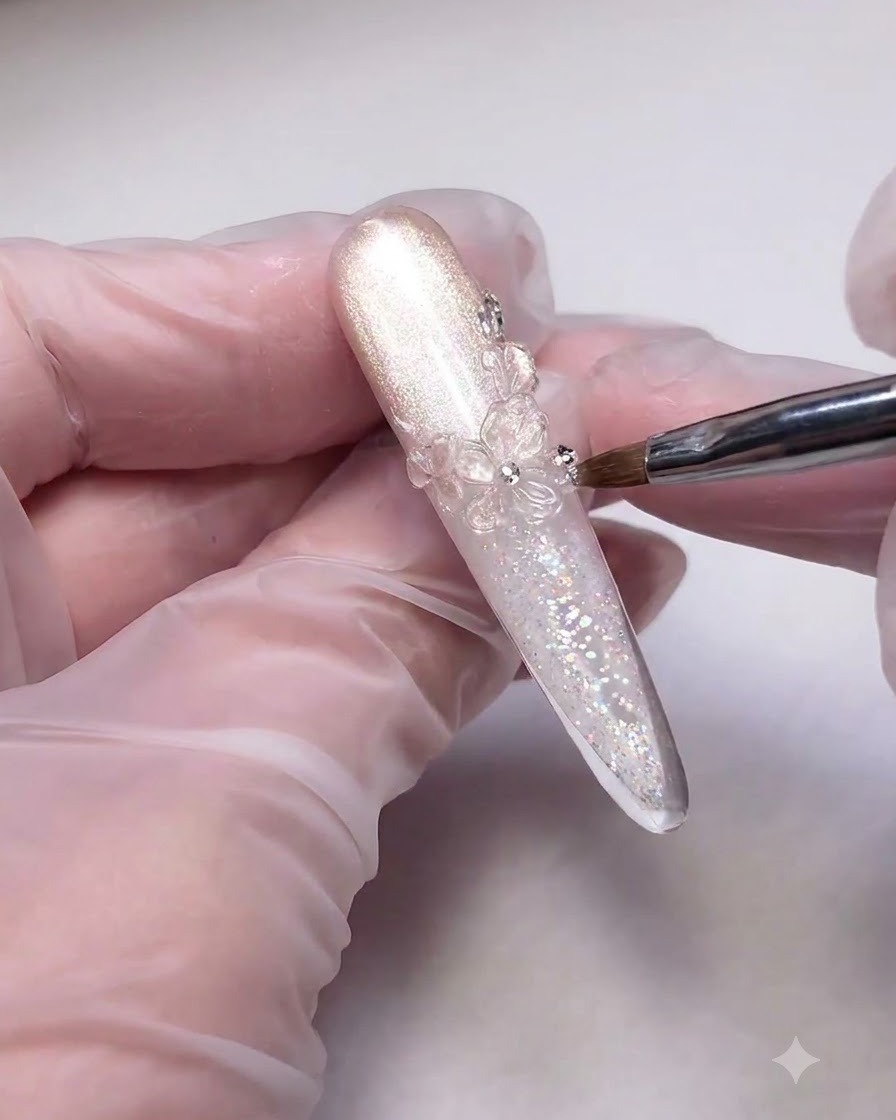
Complete the design by placing small silver rhinestones and pearls around the 3D flower. Use a detailing tool or brush to pick up the embellishments and carefully position them into the wet gel or nail glue.
Tip: Seal the edges of the rhinestones with a tiny bit of top coat to ensure they stay securely in place without dulling their sparkle.