Silver Star Gradient Gel Nails — Milky White Ombre Tutorial
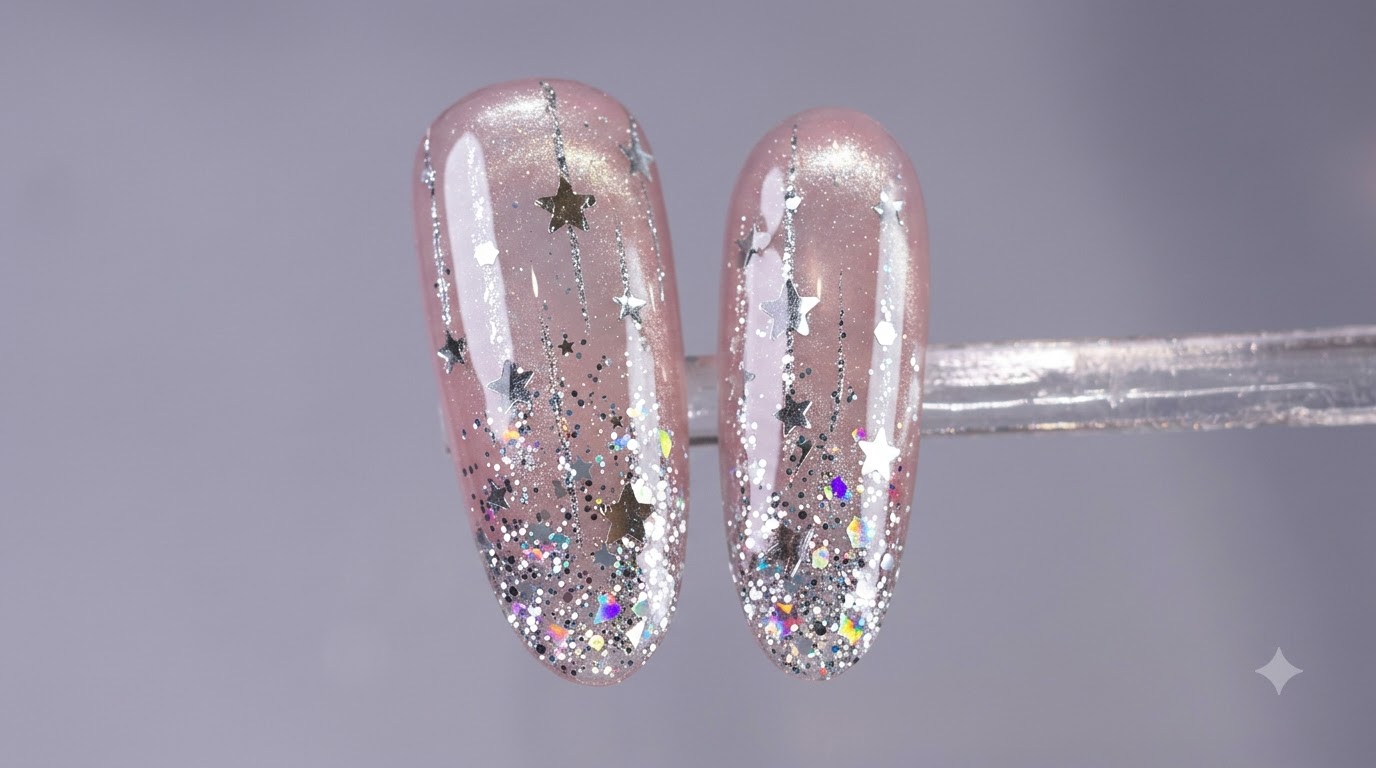
Create dreamy milky white gradient gel nails adorned with delicate vertical silver glitter lines and shimmering holographic star stickers.
Milky white gradient nails offer a soft, ethereal aesthetic that looks effortlessly chic on any nail shape. By combining an ombre fade with fine silver glitter accents and playful holographic stars, this design captures a magical, celestial vibe that is surprisingly easy to achieve at home.
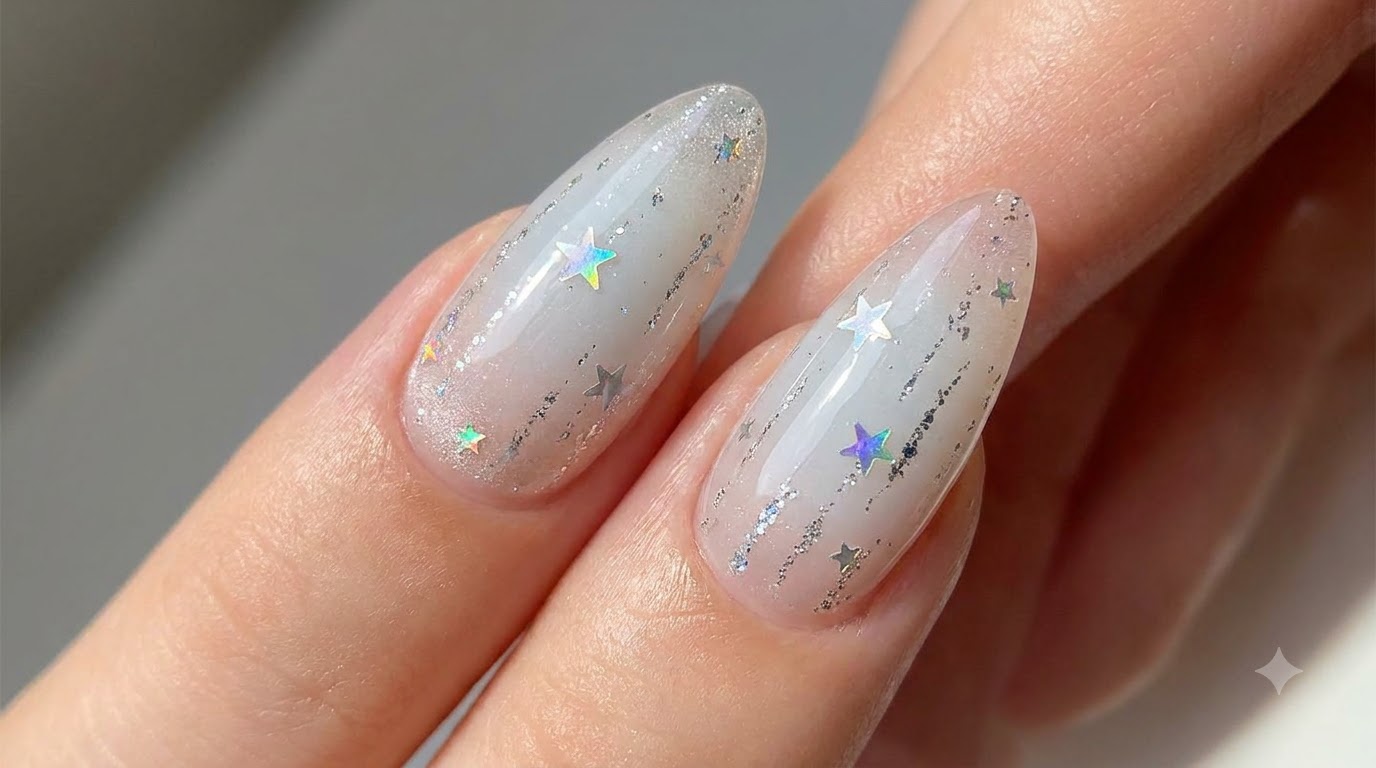
Steps
- 1Apply gel base coat
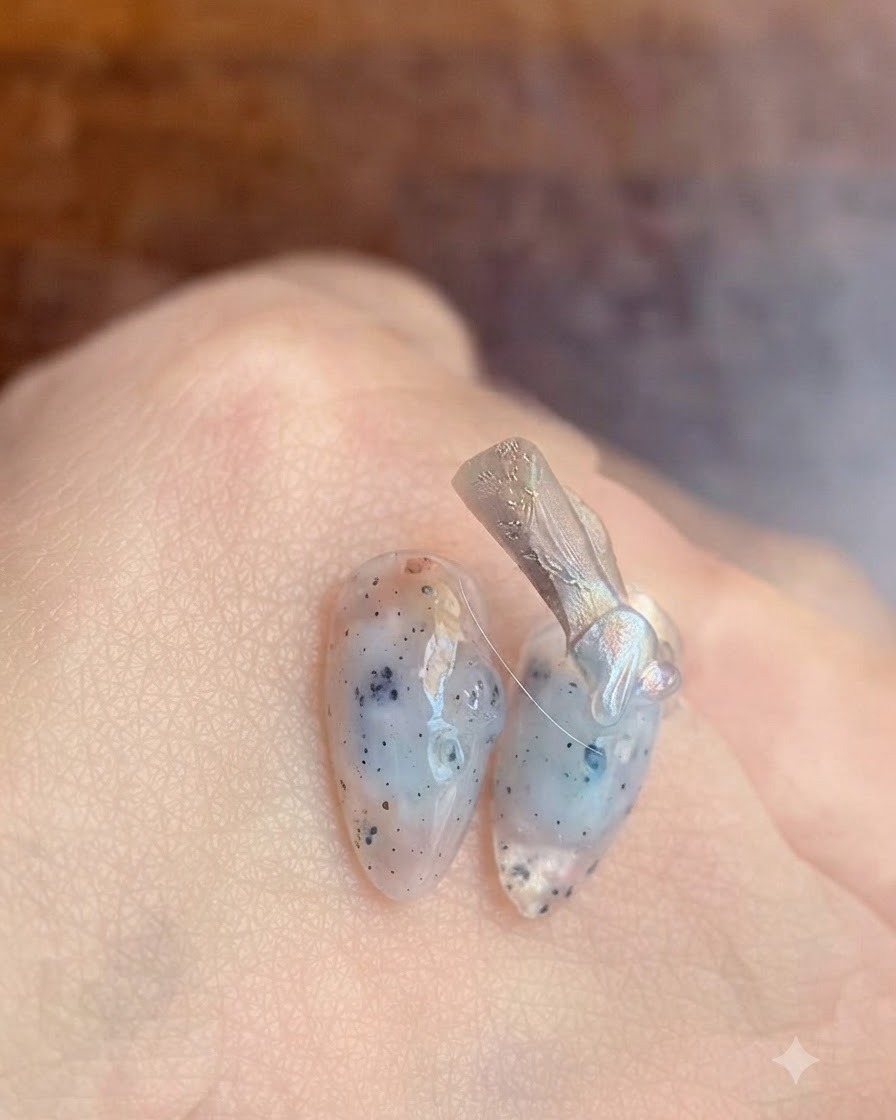
Apply a thin layer of gel base coat onto the surface of the prepped nail to ensure strong adhesion for the upcoming product layers. Make sure to coat evenly and avoid pooling around the cuticles.
Tip: Keep the base coat layer thin to prevent bubbling or lifting during the curing process. - 2Cure the base coat
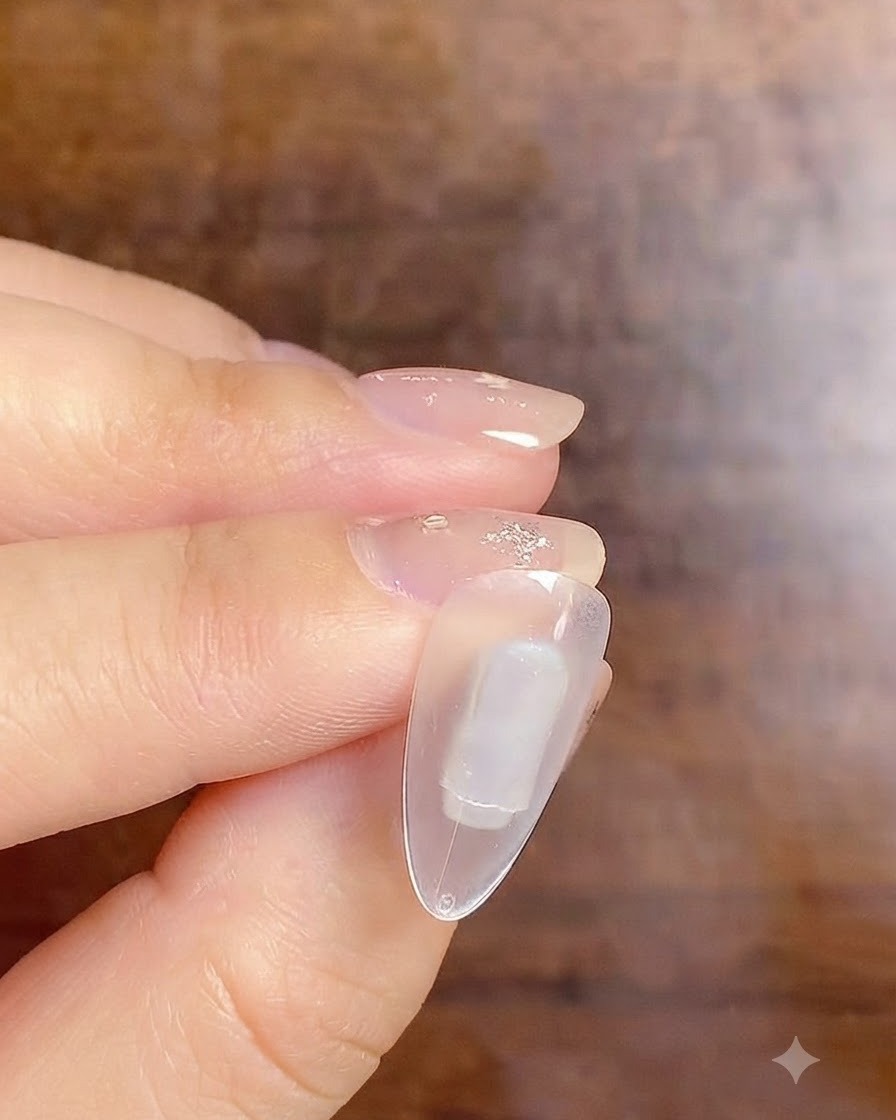
Place the nail under a small portable LED lamp to cure the base coat layer securely. Follow the manufacturers recommended curing time to ensure the layer hardens properly.
Tip: Position the portable lamp closely to ensure uniform exposure across the entire nail surface. - 3Apply milky white gradient
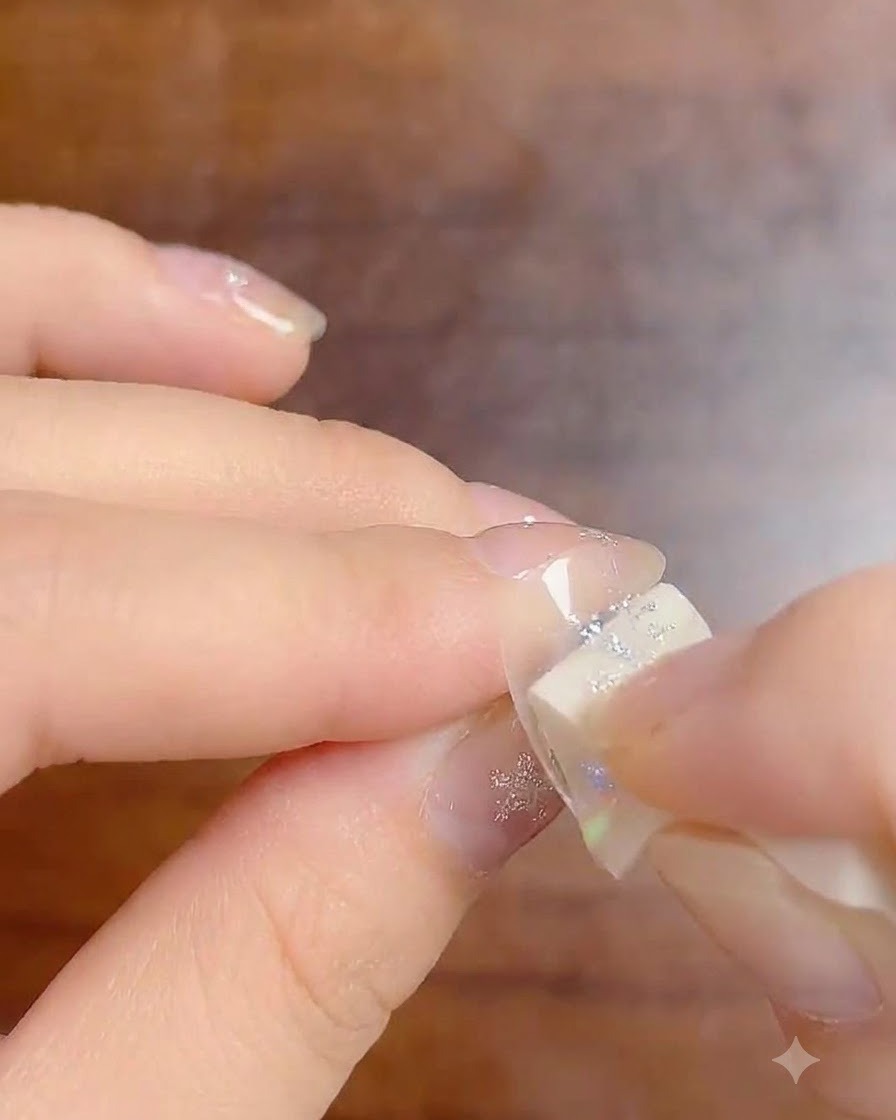
Using a makeup sponge or dedicated nail sponge, dab a milky white gradient gel onto the nail tip area. Gently dab upward toward the center to create a smooth, seamless ombre fade.
Tip: Dab lightly and build up color gradually with multiple thin passes to avoid harsh lines. - 4Draw vertical silver glitter lines
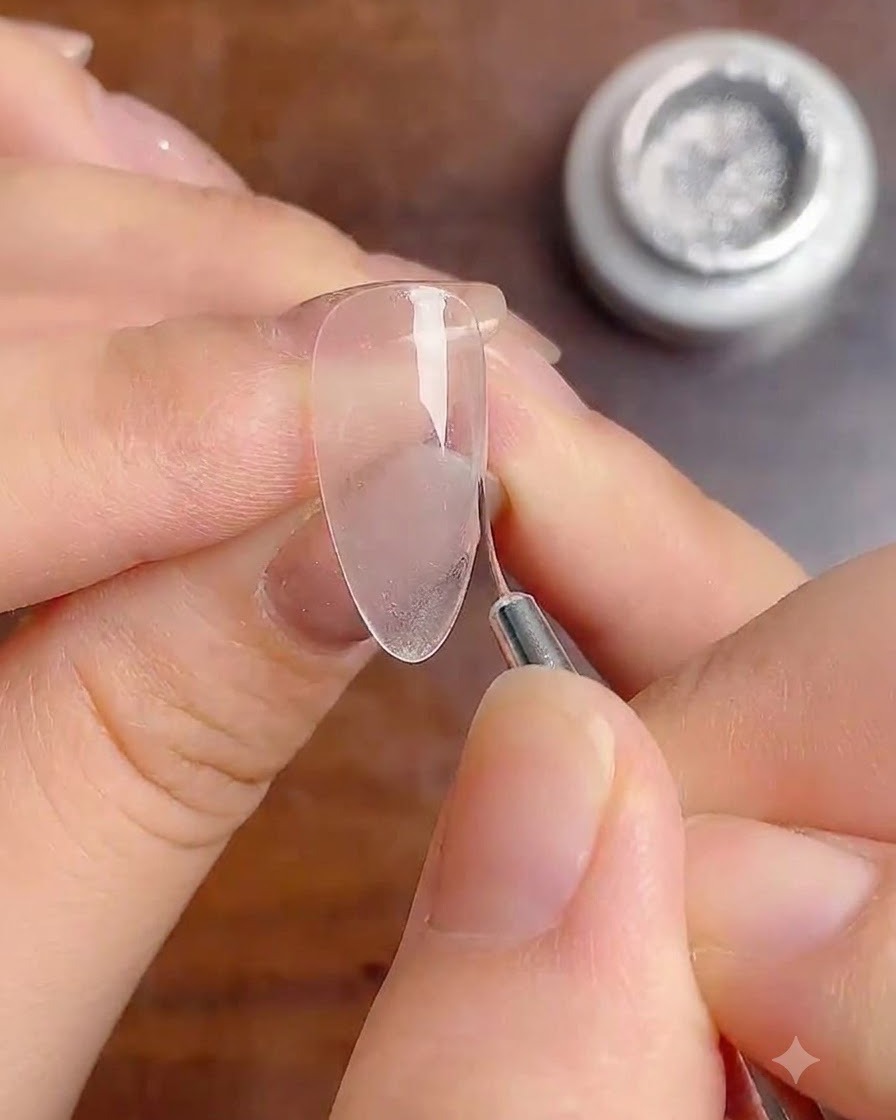
Take a fine liner brush loaded with silver glitter gel and carefully drag thin vertical lines down the center of the nail from the tip downwards. This adds subtle sparkle and dimension to the design.
Tip: Hold the fine liner brush with a light grip to maintain steady, ultra-thin lines. - 5Apply top coat as adhesive for stickers
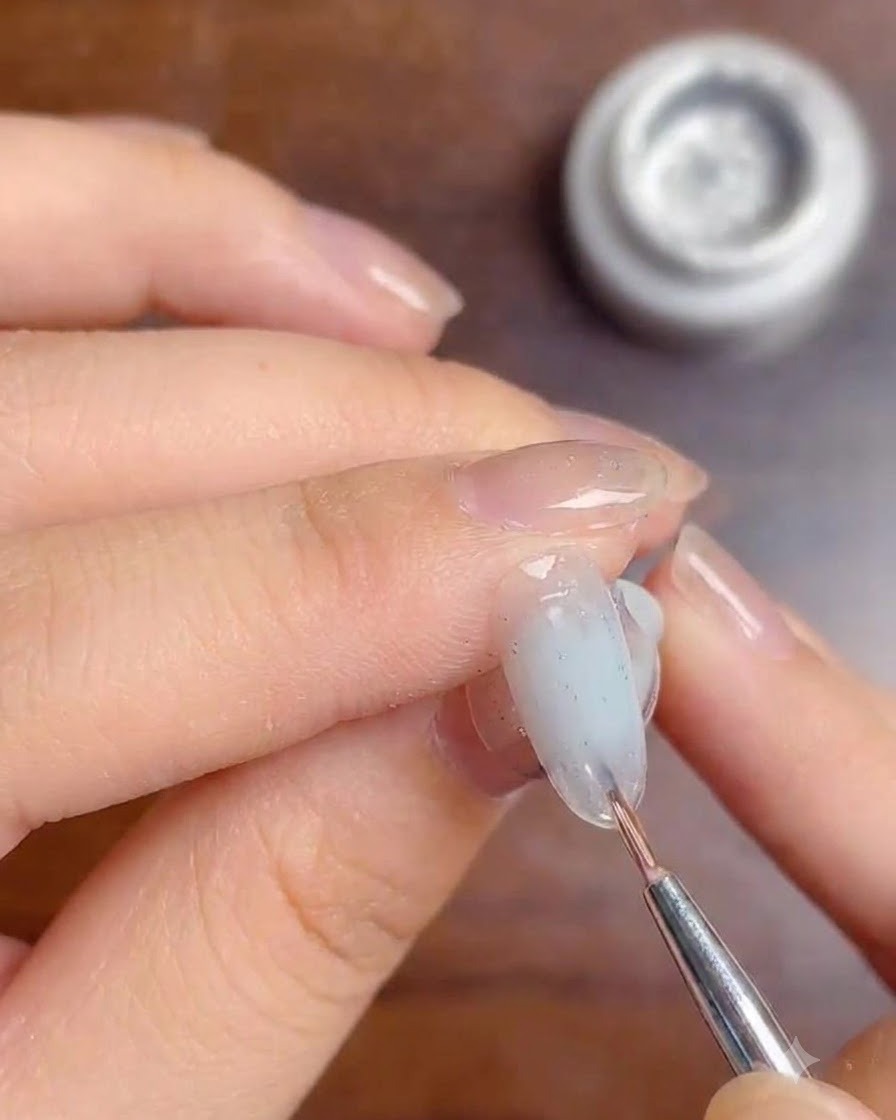
Apply a thin layer of top coat gel over the cured glitter lines without curing it yet. This wet layer will serve as the adhesive base to hold your nail art stickers in place before you secure them under the lamp.
Tip: Apply a smooth, even layer so the stickers sit flat and do not shift or wrinkle. - 6Place star-shaped nail stickers
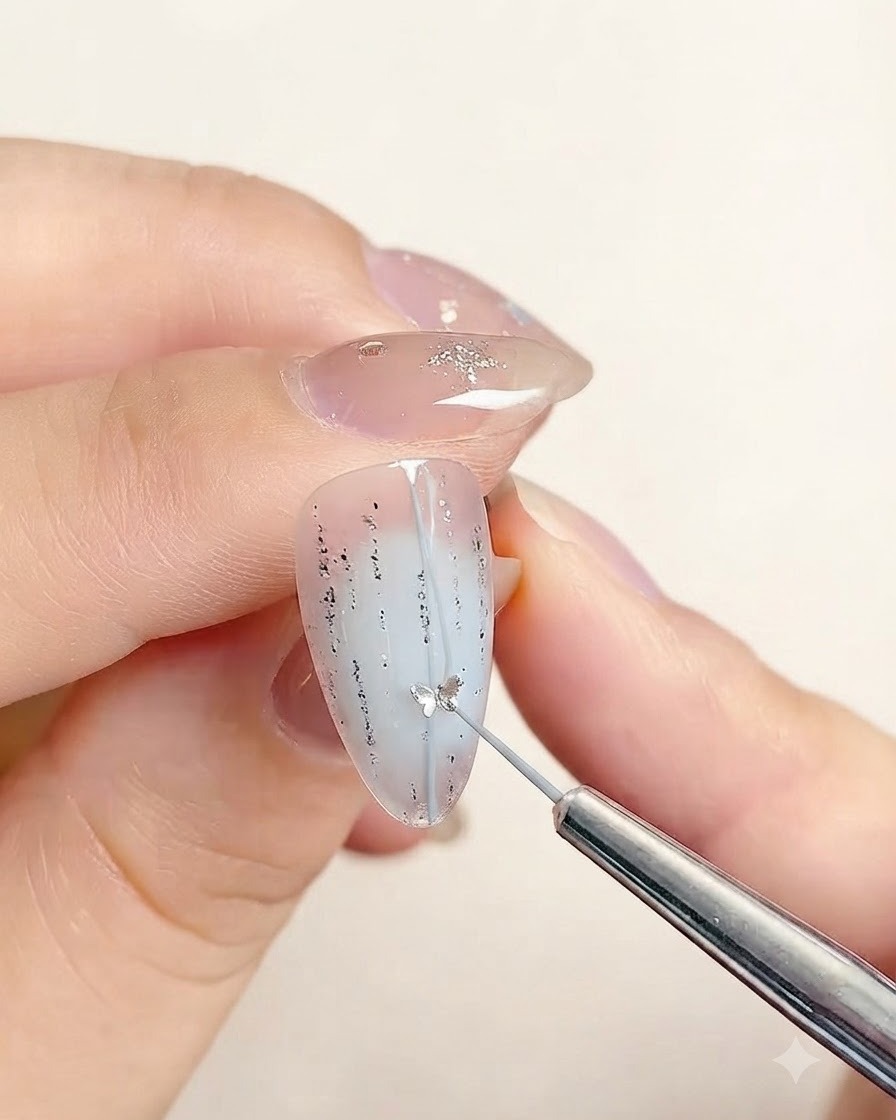
Using a precision tool or tweezers, carefully pick up star-shaped nail stickers and place them onto the tacky surface along the center silver glitter line. Press them gently so they lay flat against the nail.
Tip: Dab a tiny bit of clear gel or top coat beneath the stickers if extra hold is needed before final curing. - 7Cure nails under LED lamp
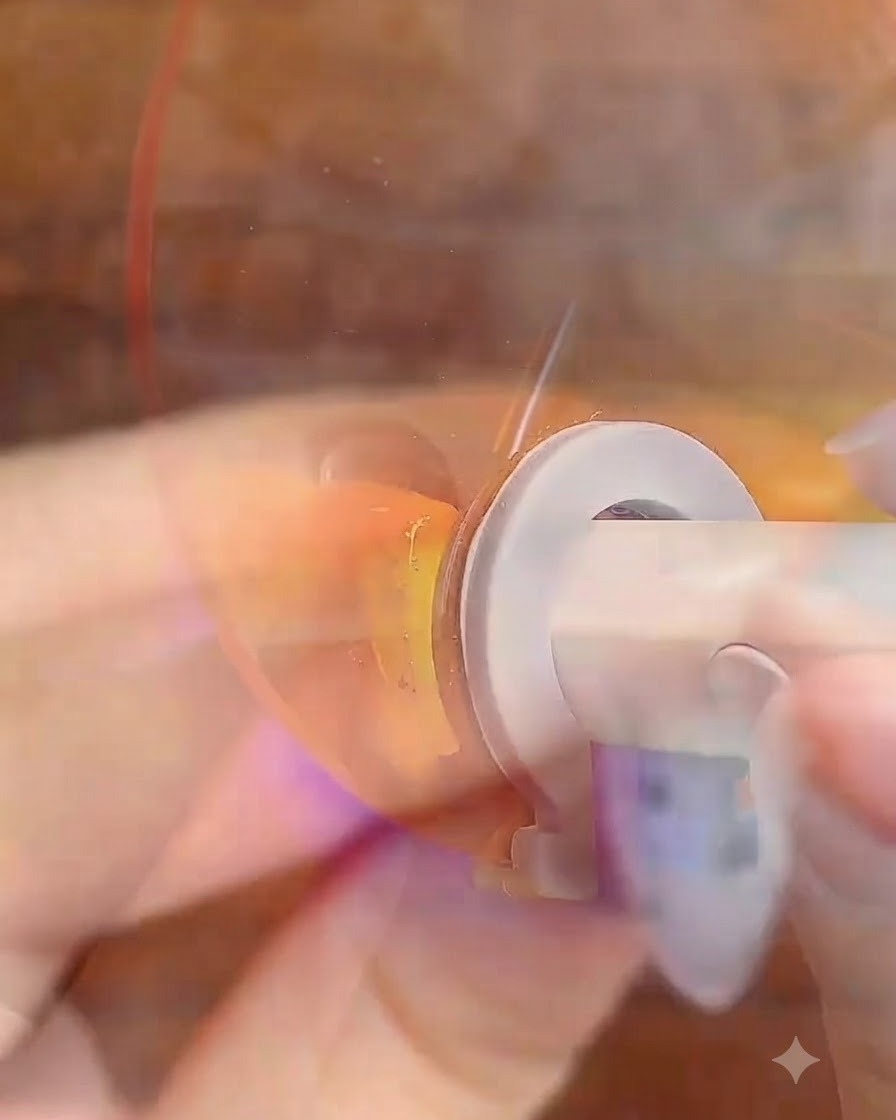
Place your hand under the LED lamp to cure the top coat and lock the star stickers securely in place. Ensure the light covers all angles of the nail so the gel sets completely.
Tip: Hold your hand steady inside the lamp to prevent the stickers from sliding before the gel cures. - 8Apply final sealing top coat
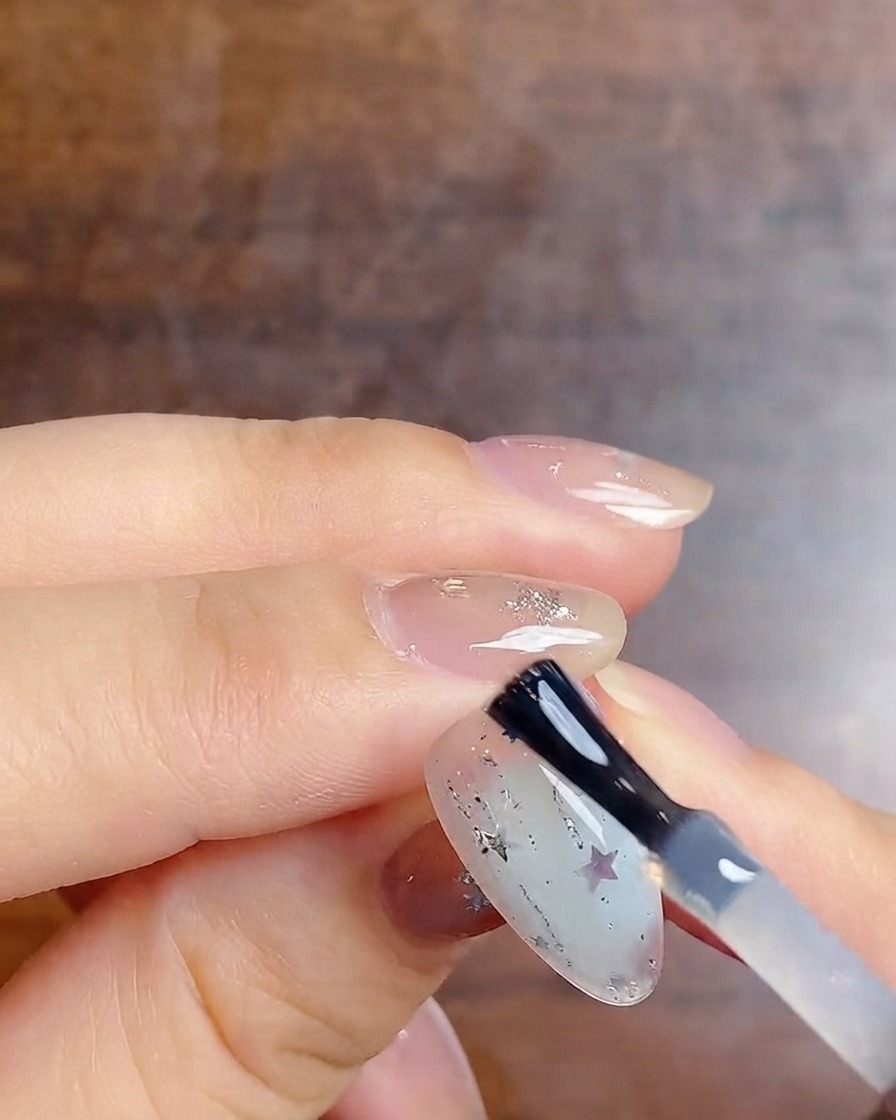
Apply a generous and smooth layer of top coat over the entire nail, completely covering and sealing the star stickers and glitter lines. This eliminates any bumpy texture from the stickers and gives a glossy, durable finish.
Tip: Cap the free edge carefully with top coat to prevent chipping and ensure long-lasting wear.