Ins-Style Sparkling Star
Cat-Eye Gradient Gel Nails — Step-by-Step Tutorial
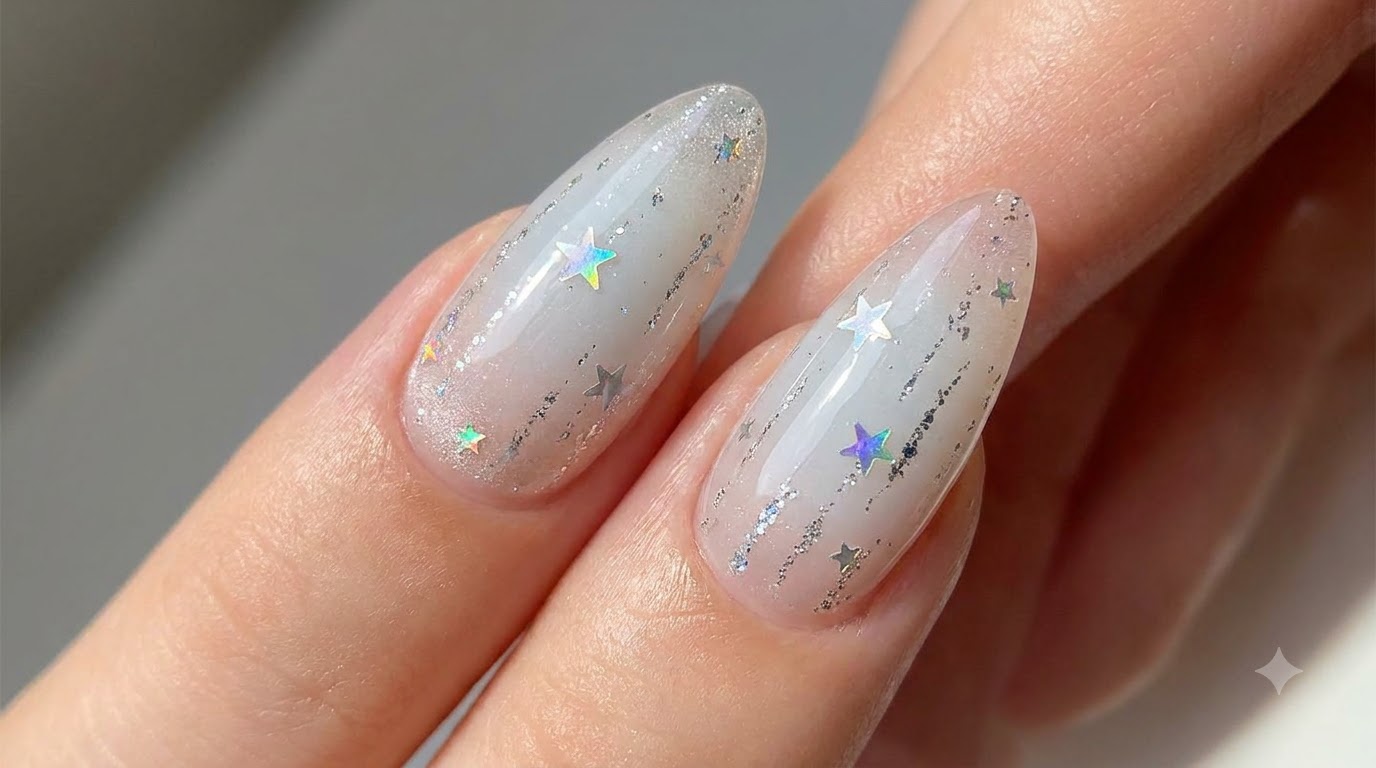
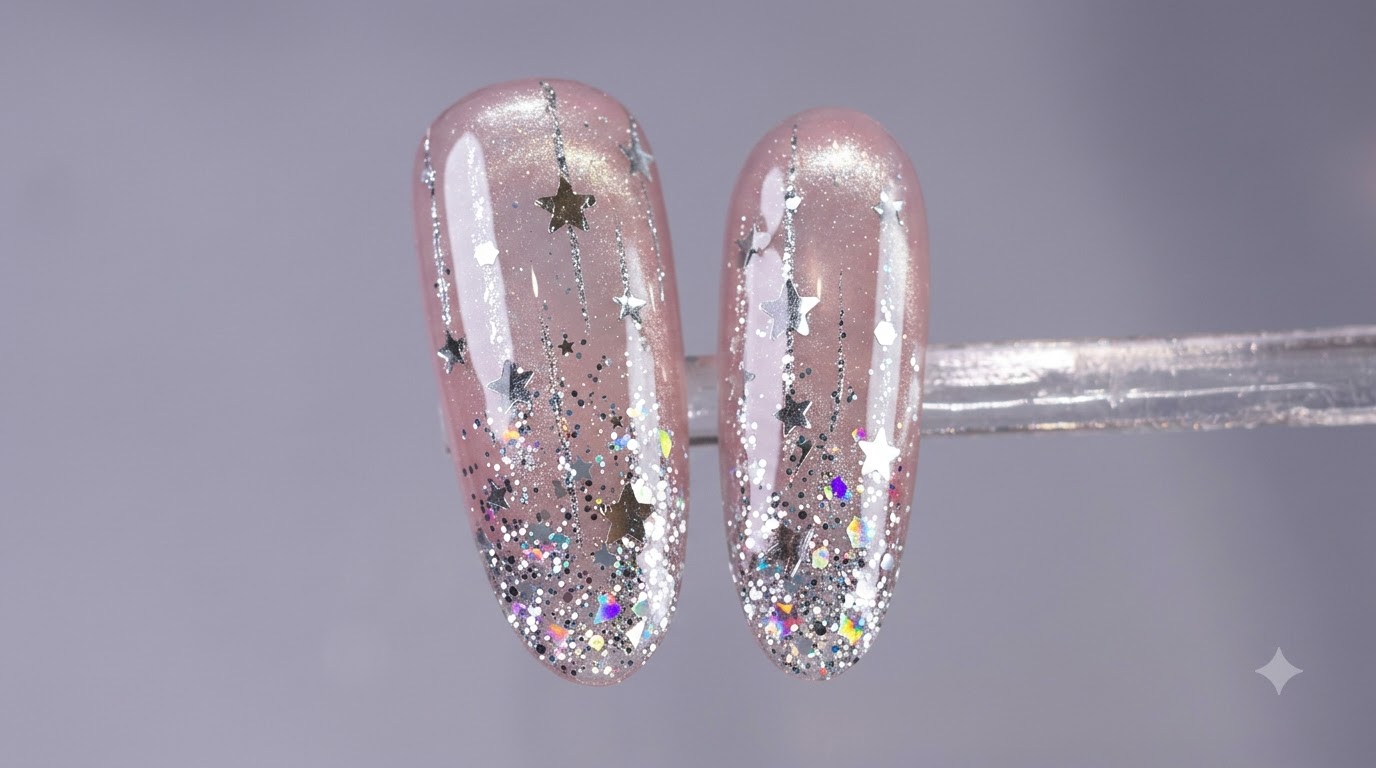
Create a breathtaking Ins-style manicure featuring sparkling stars, vertical magnetic cat-eye light, and a shimmering silver glitter gradient.
Star-studded manicures and dynamic cat-eye effects are taking over social media feeds everywhere. This stunning design combines a milky pink translucent base with moving magnetic light, colorful flakes, and delicate hand-painted silver lines for a truly magical, celestial finish.
Steps
- 1Apply resin D04 base gel
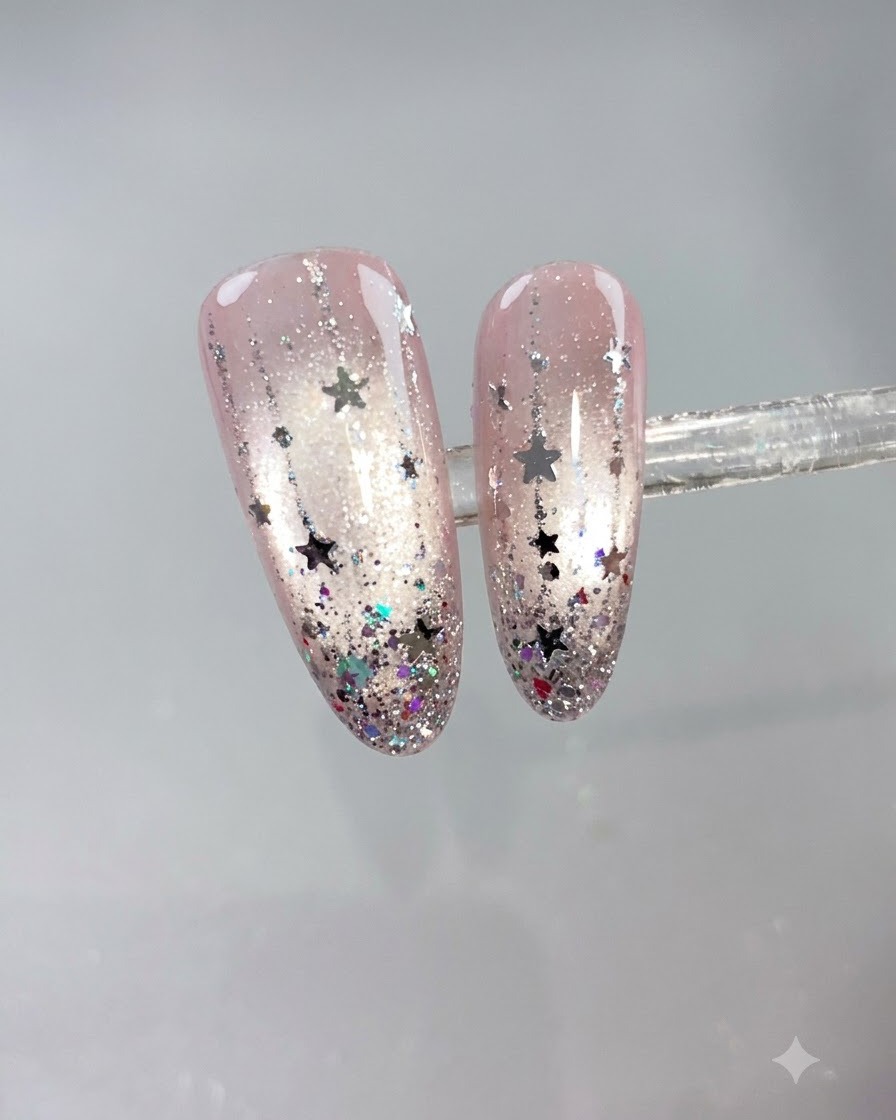
Apply an even layer of resin D04 base gel to the prepped nail plate using the applicator brush. Ensure the entire nail surface is covered smoothly while maintaining a clean boundary around the cuticles and free edge.
Tip: Apply a thin, uniform coat to prevent pooling near the sidewalls and ensure proper curing under the lamp. - 2Apply White Boiling Water No. 2 cat-eye gel
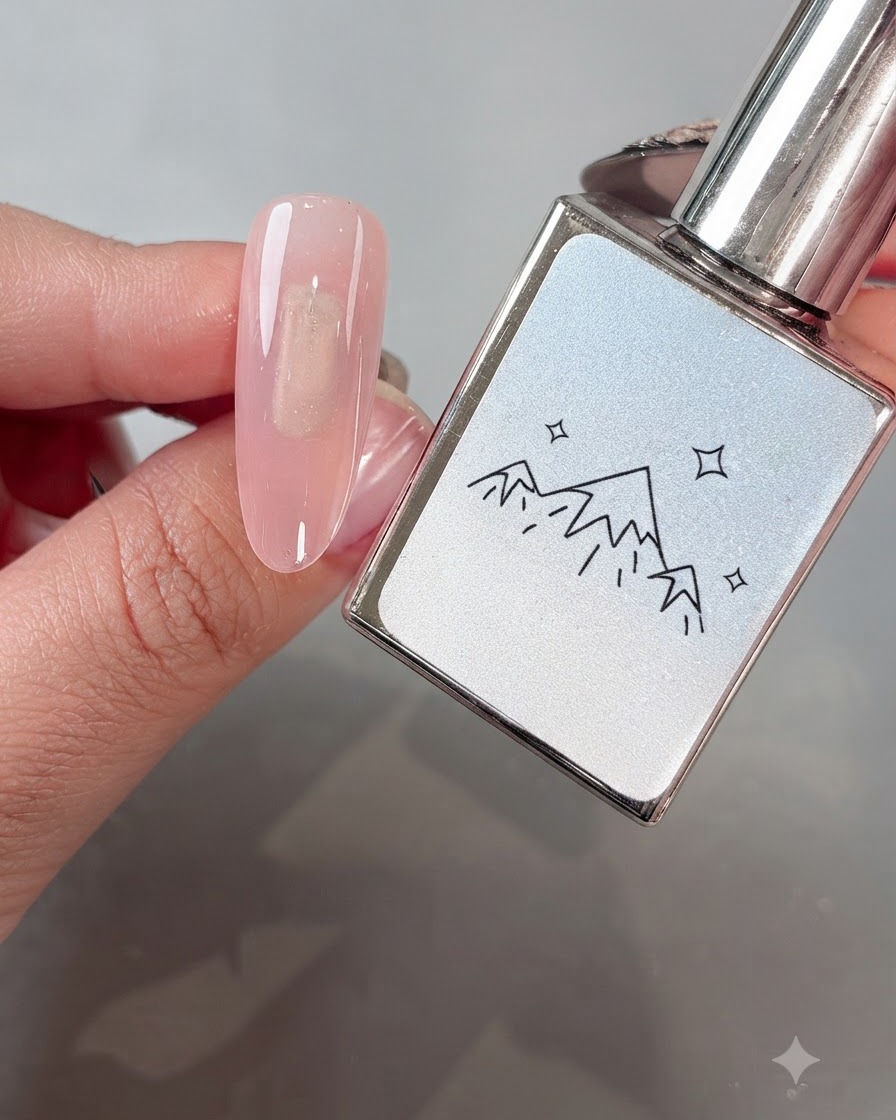
Take the White Boiling Water No. 2 cat-eye gel and brush it evenly across the nail surface over the base layer. Make sure the distribution is even so the magnetic particles can form a smooth, consistent light effect.
Tip: Stir or roll the bottle gently beforehand if needed to keep the magnetic particles evenly suspended. - 3Create a wide light band with a magnet
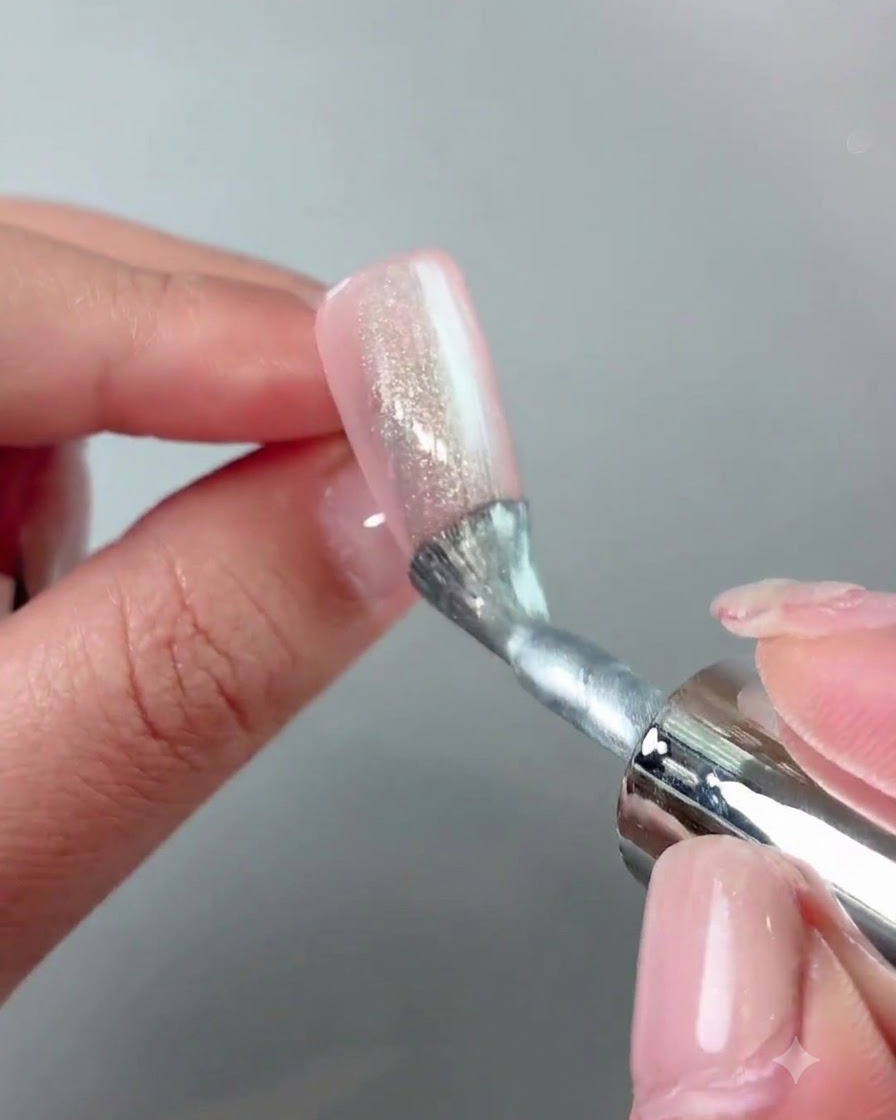
Position a classic magnetic wand on both the left and right sides of the nail without touching the surface. Hold it steady to pull the magnetic particles outward, creating a wide, luminous light effect across the center.
Tip: Keep the magnet at a consistent distance from the nail to ensure the light band is evenly balanced on both sides. - 4Form the glass ball cat-eye effect
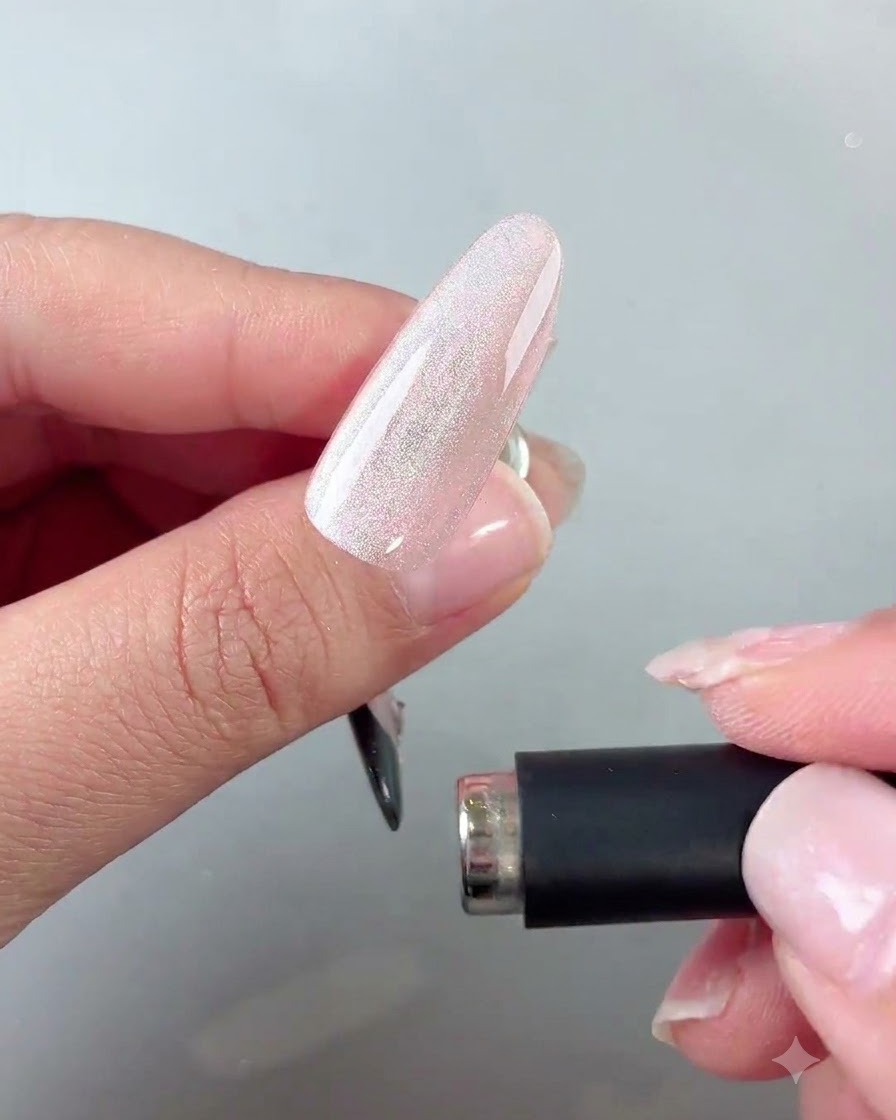
Use the magnet to further guide and concentrate the magnetic particles, shaping them into a rounded, glowing circular glass ball cat-eye effect right in the center of the nail.
Tip: Make subtle adjustments with the magnet angle until the center spot shines bright and resembles a spherical glass ball. - 5Apply silver glitter gel to the nail tip
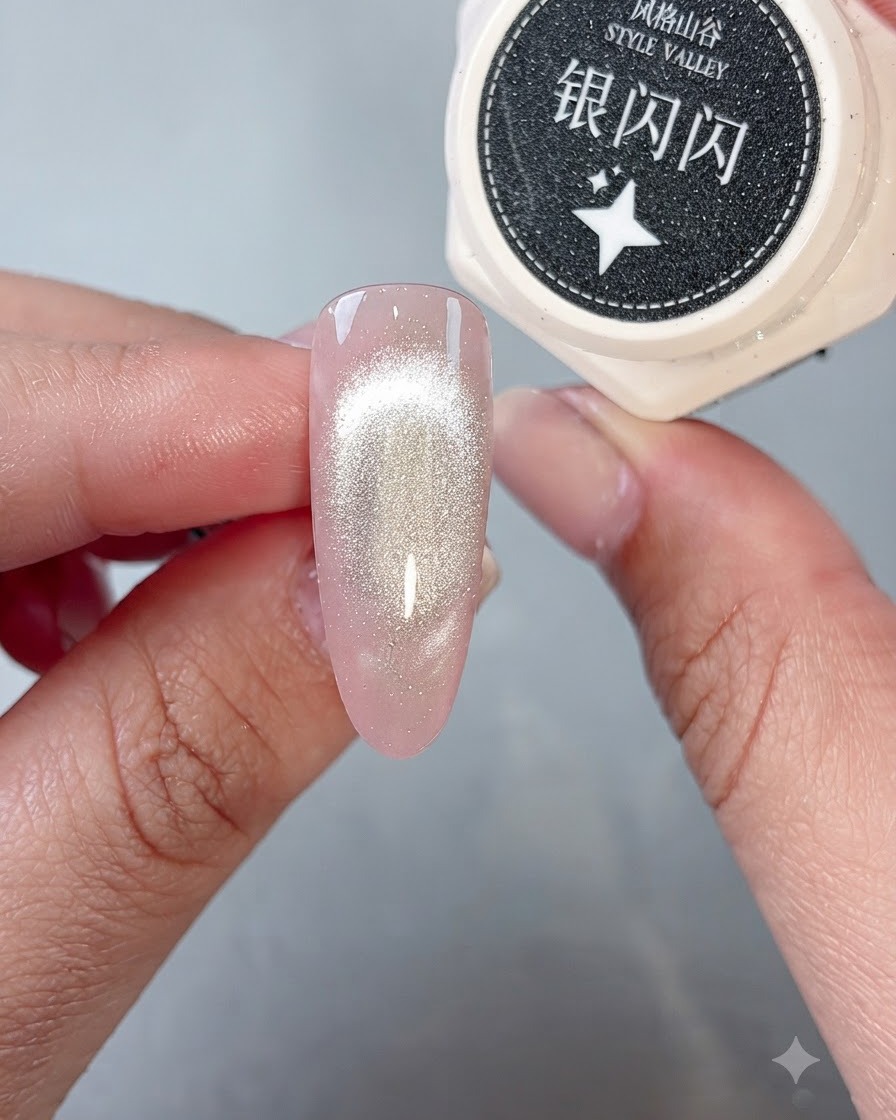
Take the silver glitter gel and apply a concentrated amount directly onto the tip of the nail. This sets up the foundation for the sparkly gradient transition effect.
Tip: Focus the densest application right at the free edge, tapering slightly upward toward the center. - 6Blend glitter into a gradient effect
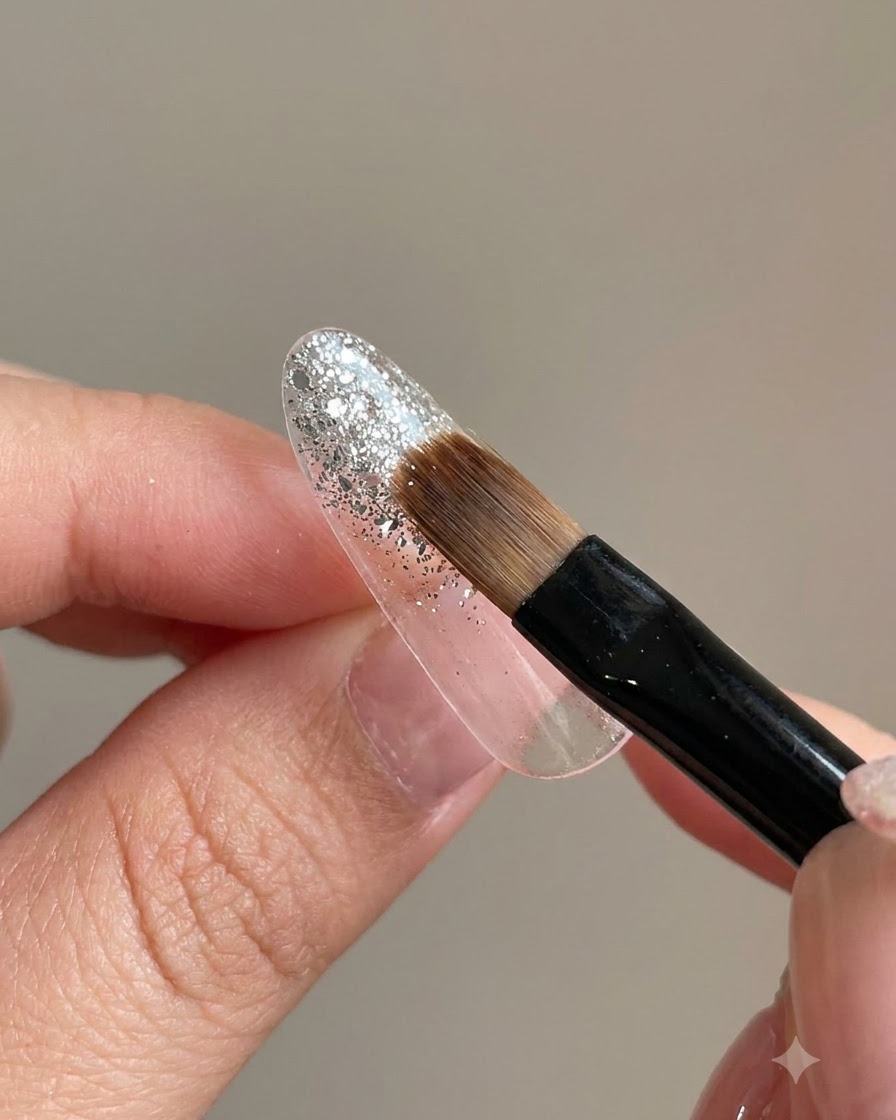
Take a style valley sweeping brush, angle it precisely at 45 degrees relative to the nail surface, and gently feather the silver glitter upward to create a smooth, seamless gradient transition.
Tip: Keep a light touch with the sweeping brush so you disperse the glitter particles evenly without wiping them away completely. - 7Apply Style Valley F27 Glitter Sequins
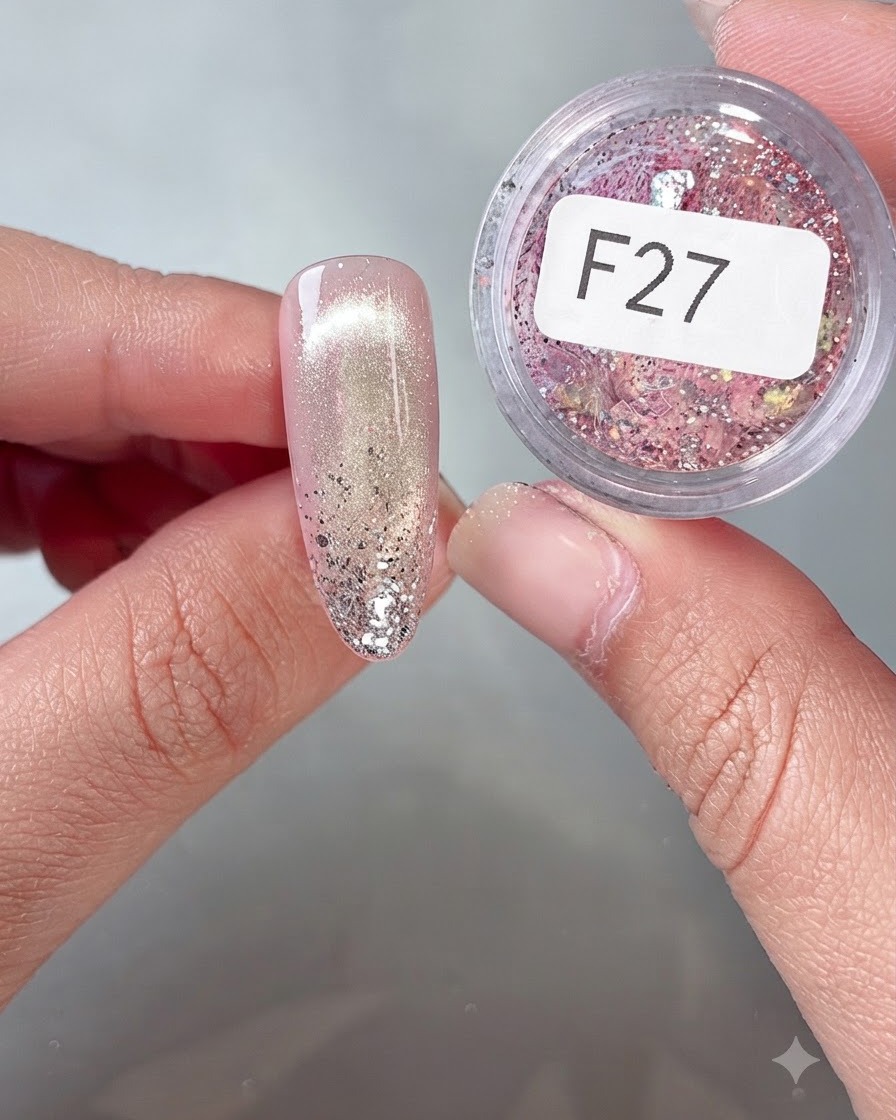
Pick up Style Valley F27 glitter sequins using a fine tool and carefully place them into the gap areas of the nail design to achieve a vibrant, colorful flake effect.
Tip: Place sequins strategically in sparse areas to maintain a balanced look. - 8Draw Intersecting Silver Lines
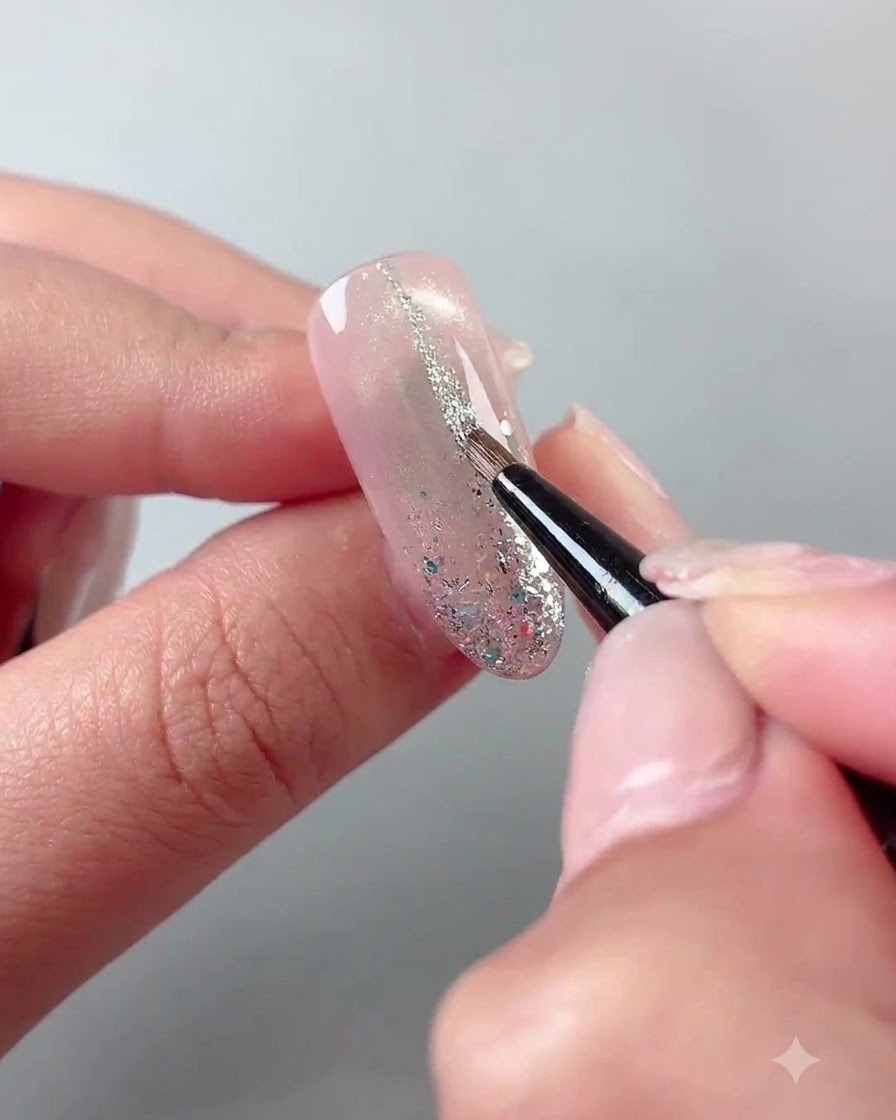
After curing the previous layer, take a liner brush with silver glitter and draw several fine intersecting lines along the rear edge and the gradient transition zone for added dimension.
Tip: Keep your hand steady and use light pressure for ultra-fine lines. - 9Apply Star Stickers
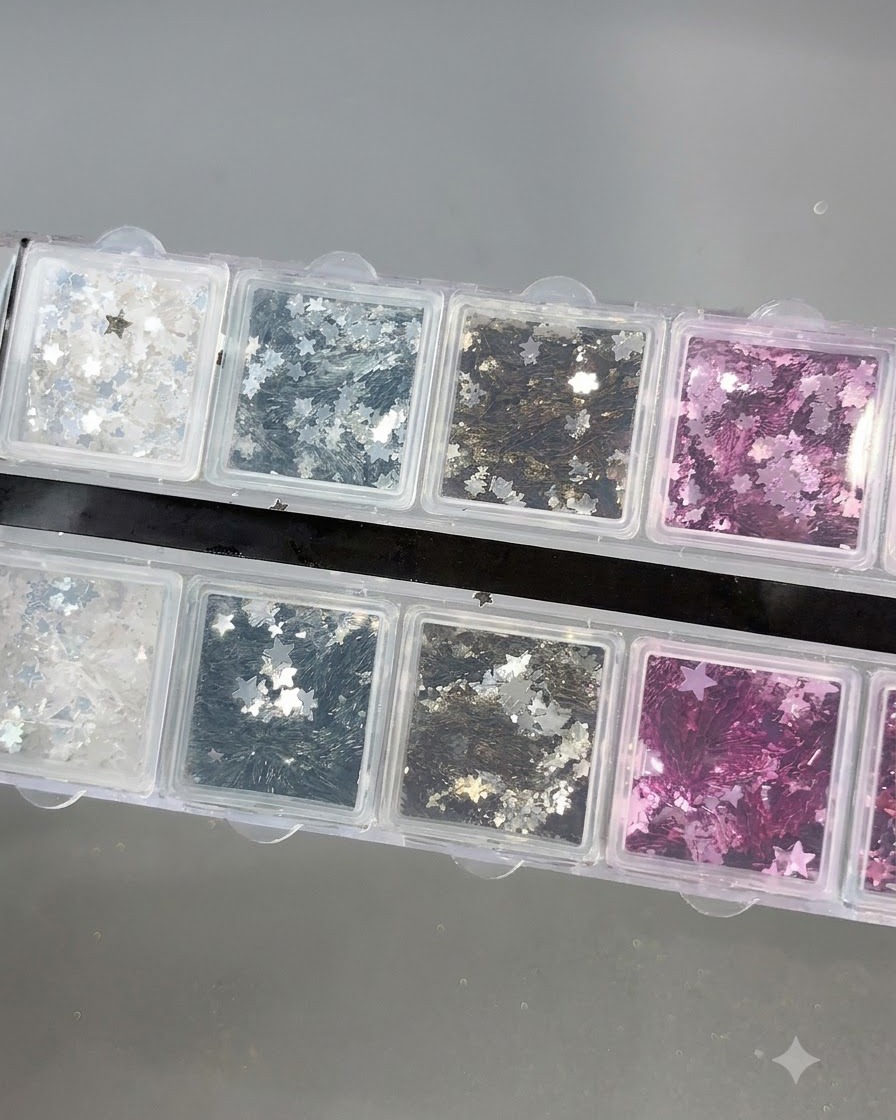
Select star stickers from the Style Valley sequin set and apply them onto the nail surface using a detail brush to enhance the sparkling atmospheric look.
Tip: Vary the sizes of the star stickers for a more natural and vivid composition. - 10Apply Soft Reinforcing Gel
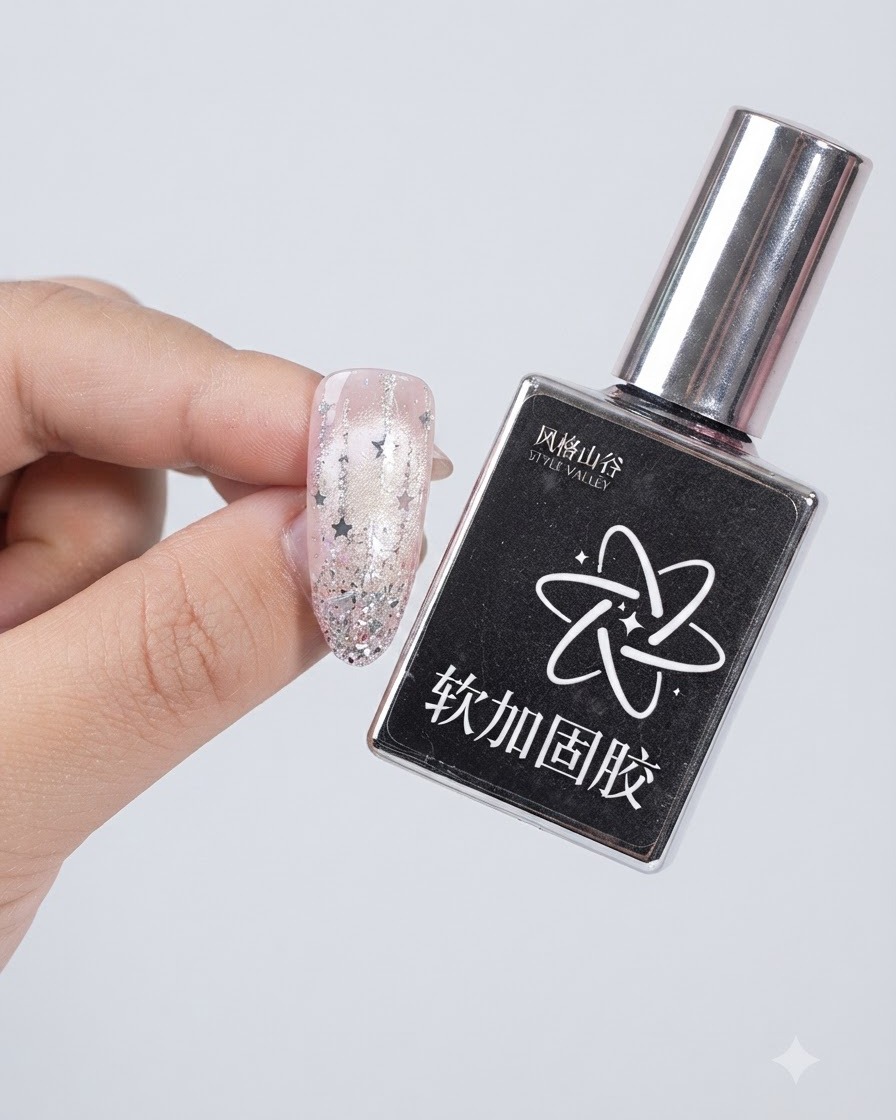
Apply a protective layer of soft reinforcing gel over the fully decorated nail surface to encapsulate the embellishments, then cure under the UV or LED lamp.
Tip: Ensure all edges of the sequins and stickers are fully covered to prevent snagging. - 11Apply Slippery Top Coat
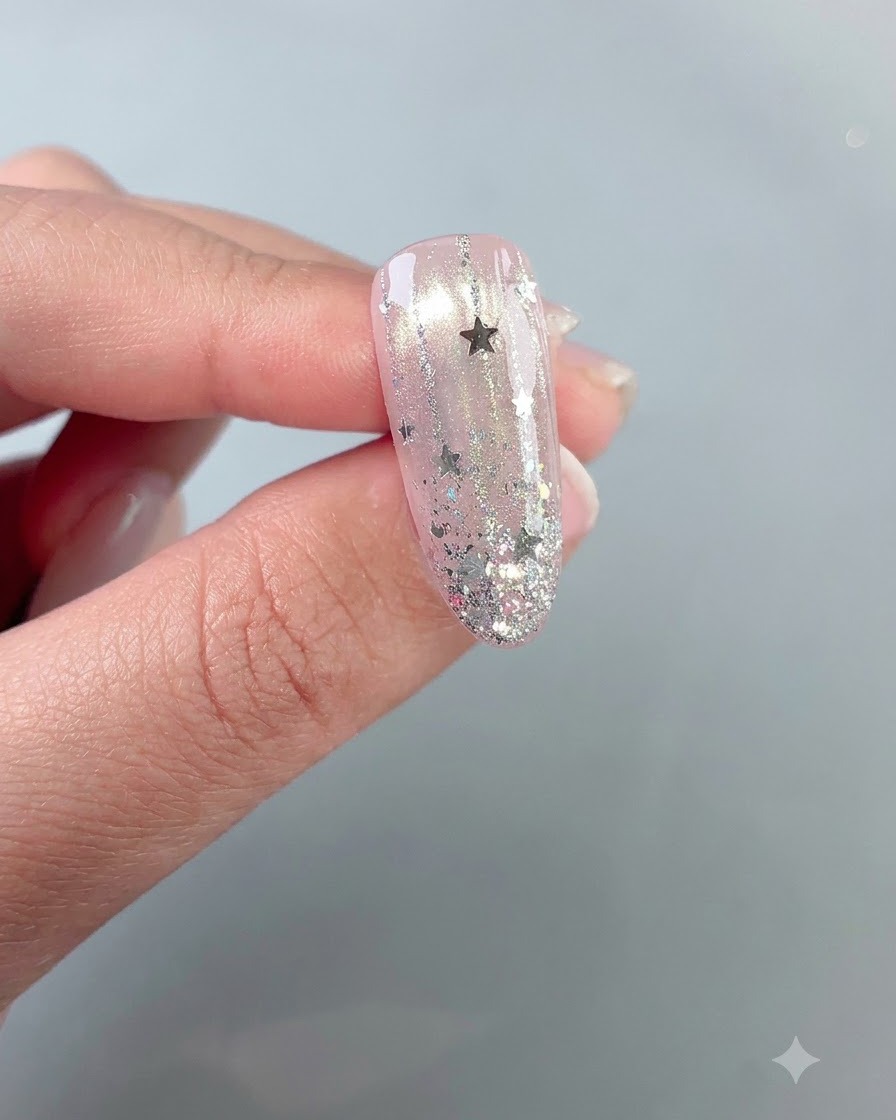
Finish the nail art by applying a final layer of slippery top coat gel to seal everything in and provide a long-lasting high-gloss shine, then cure.
Tip: Cap the free edge with top coat to prevent chipping and sealing the entire manicure.