Silver Chrome Butterfly Nail Art
Milky White Base — Step-by-Step Tutorial
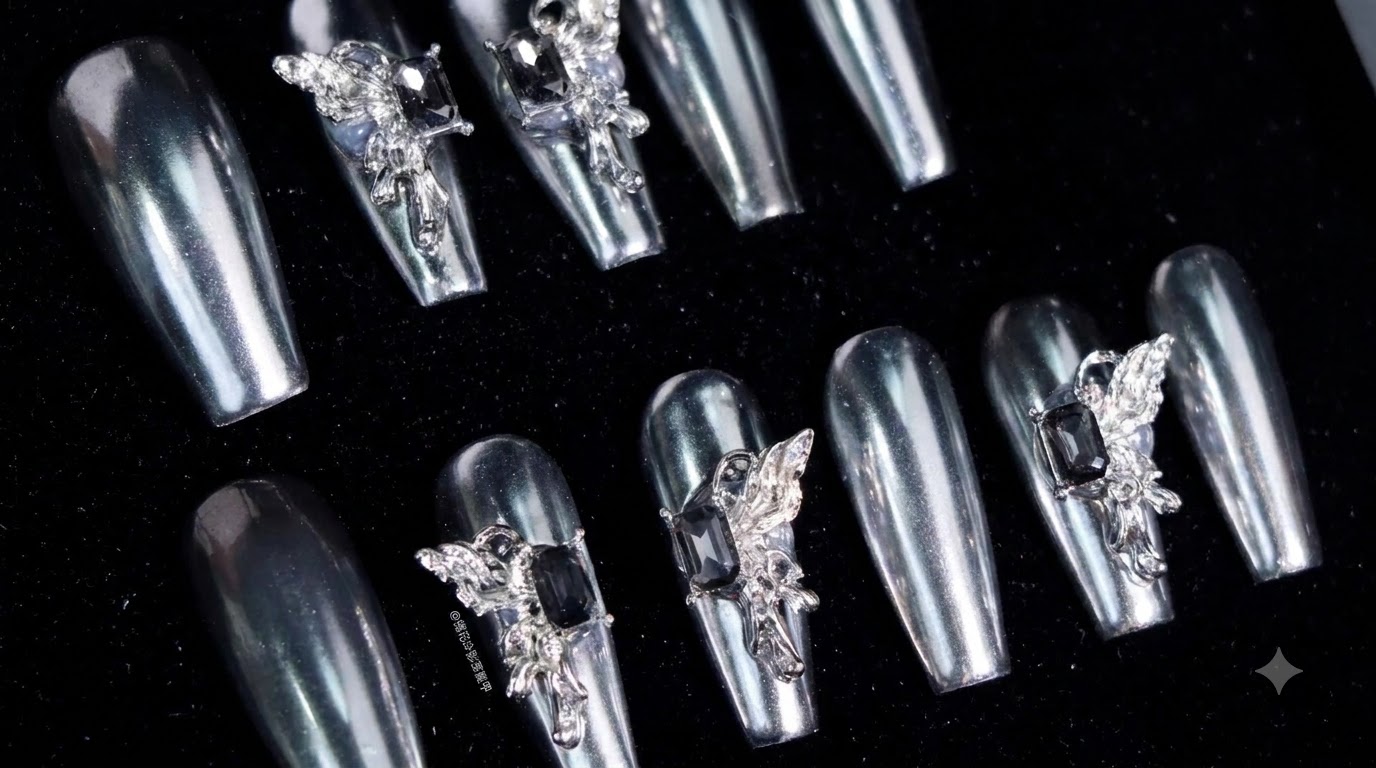
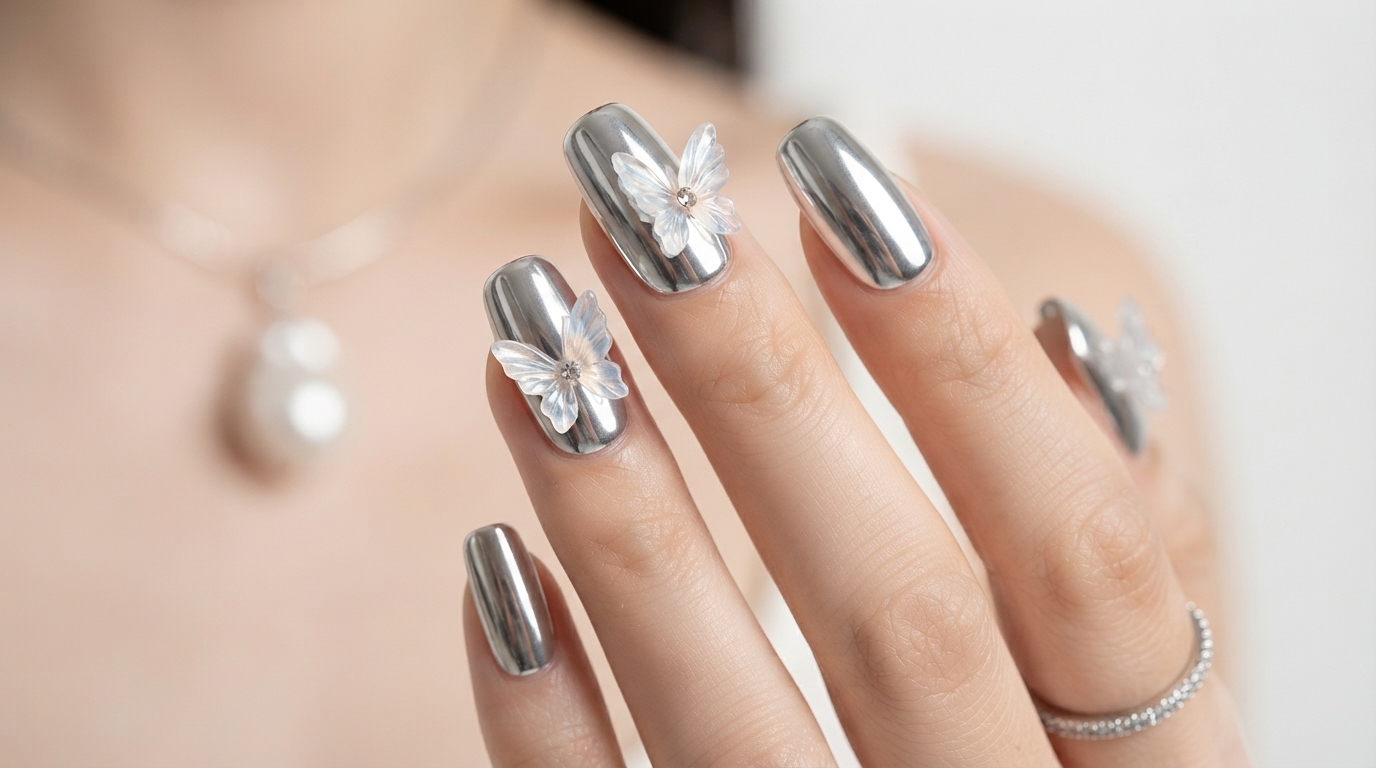
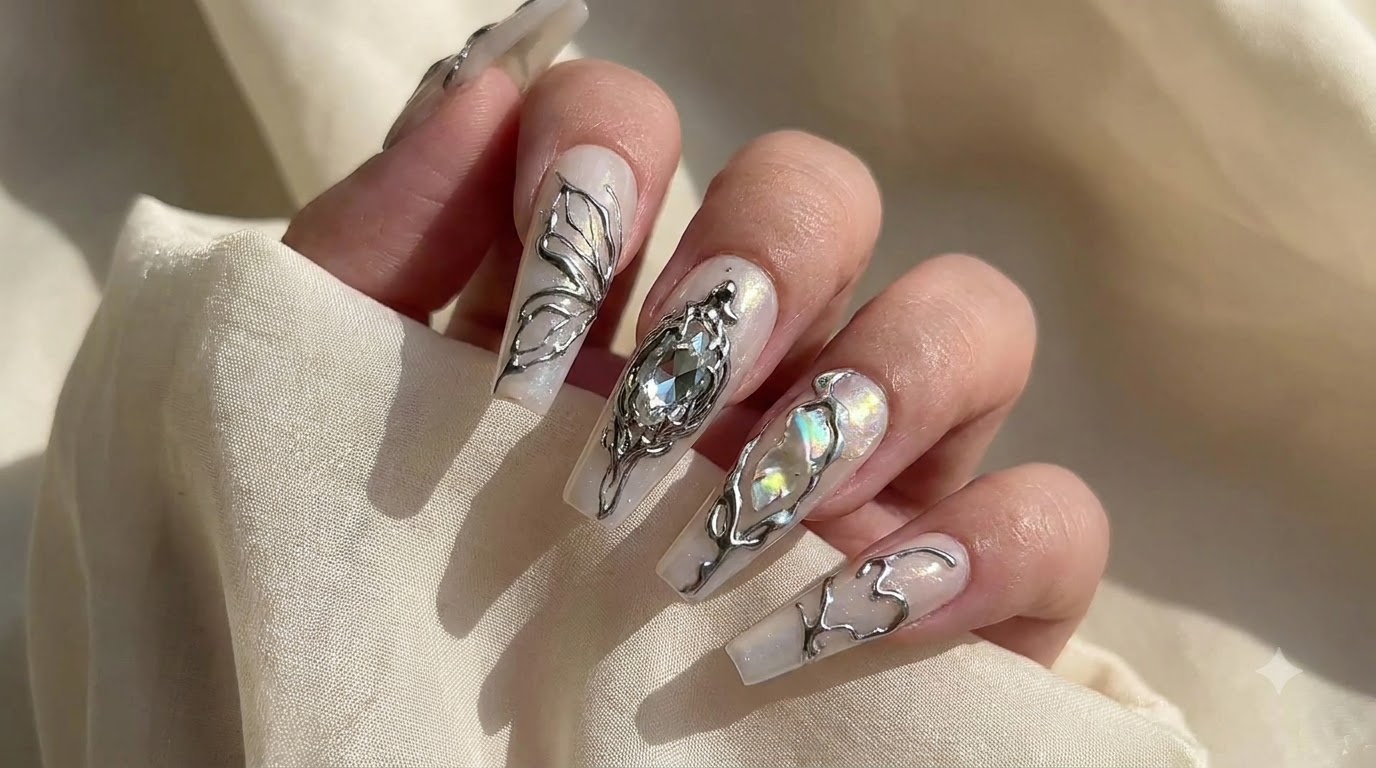
Create enchanting long stiletto nails featuring a milky white aurora base, delicate 3D black lines, and reflective silver chrome butterfly details.
Metallic 3D nail art combined with ethereal aurora bases has taken the nail world by storm. This look features stunning stiletto nails accented with handcrafted butterfly outlines that catch the light from every angle, offering a perfect blend of edgy chrome and dreamy milky tones.
Steps
- 1Apply first layer of milky white gel polish
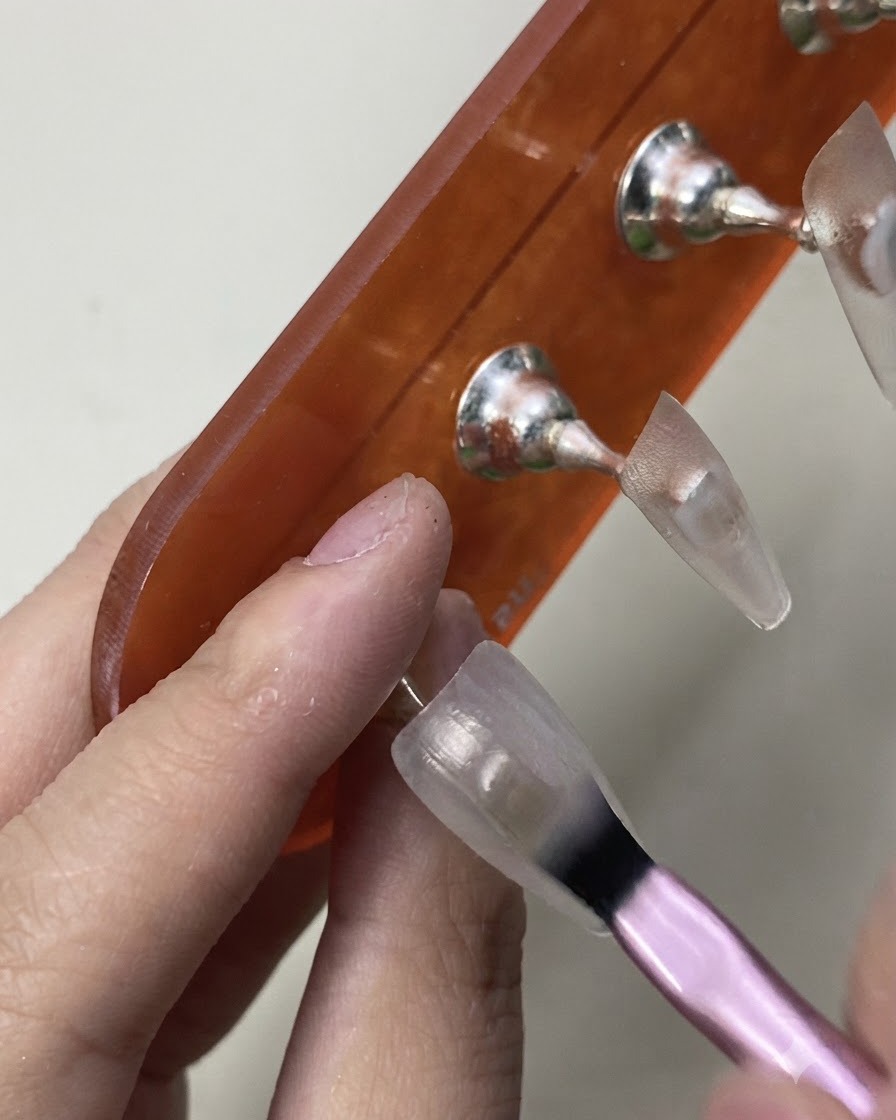
Take your brush with a small amount of milky white gel polish and apply the first even layer onto the nail extension stand. Keep the application smooth and thin to prevent pooling at the edges and ensure an even foundation for the subsequent color layer.
Tip: Applying thin layers prevents wrinkling and ensures proper curing under the UV/LED lamp. - 2Apply second layer of milky white gel polish
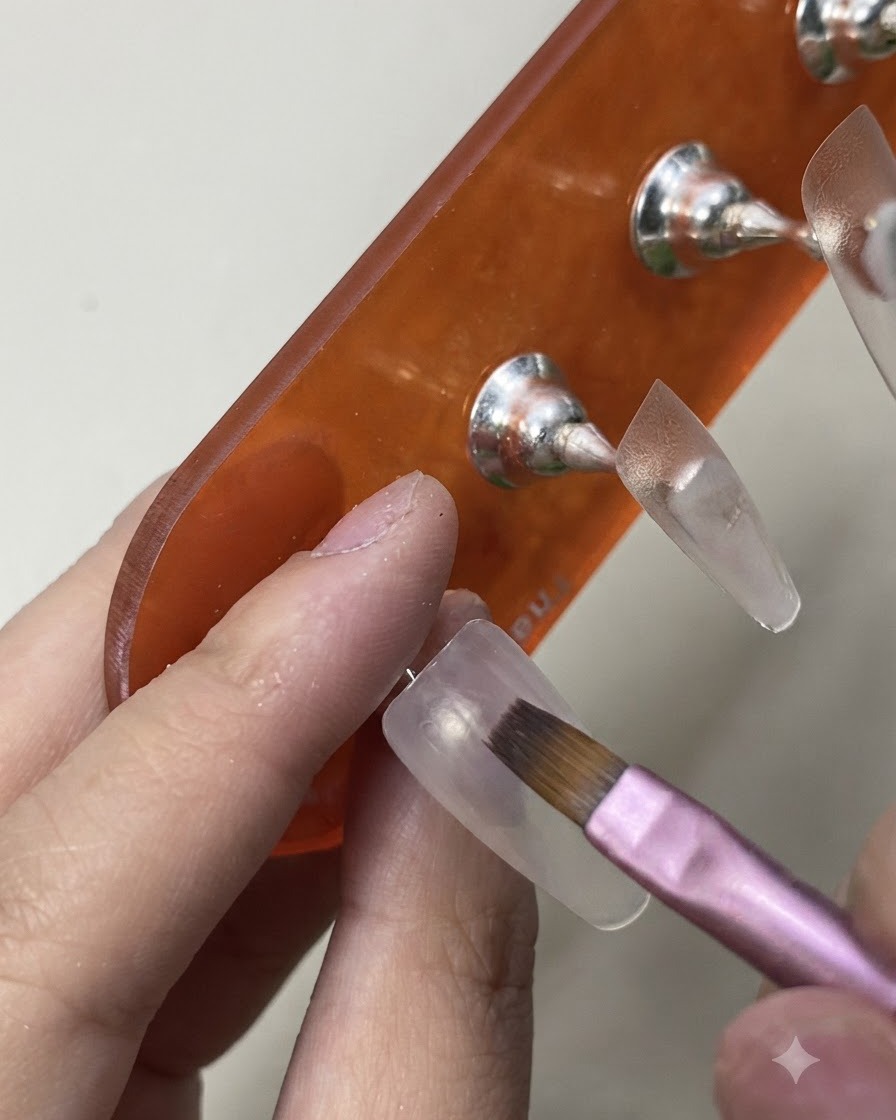
Apply a second layer of milky white gel polish over the first cured layer to build up smooth and opaque coverage. Make sure to cover the entire nail evenly, maintaining a clean cuticle line and neat edges.
Tip: The second coat helps eliminate any streakiness from the first layer, achieving a flawless milky gradient look. - 3Apply gel top coat
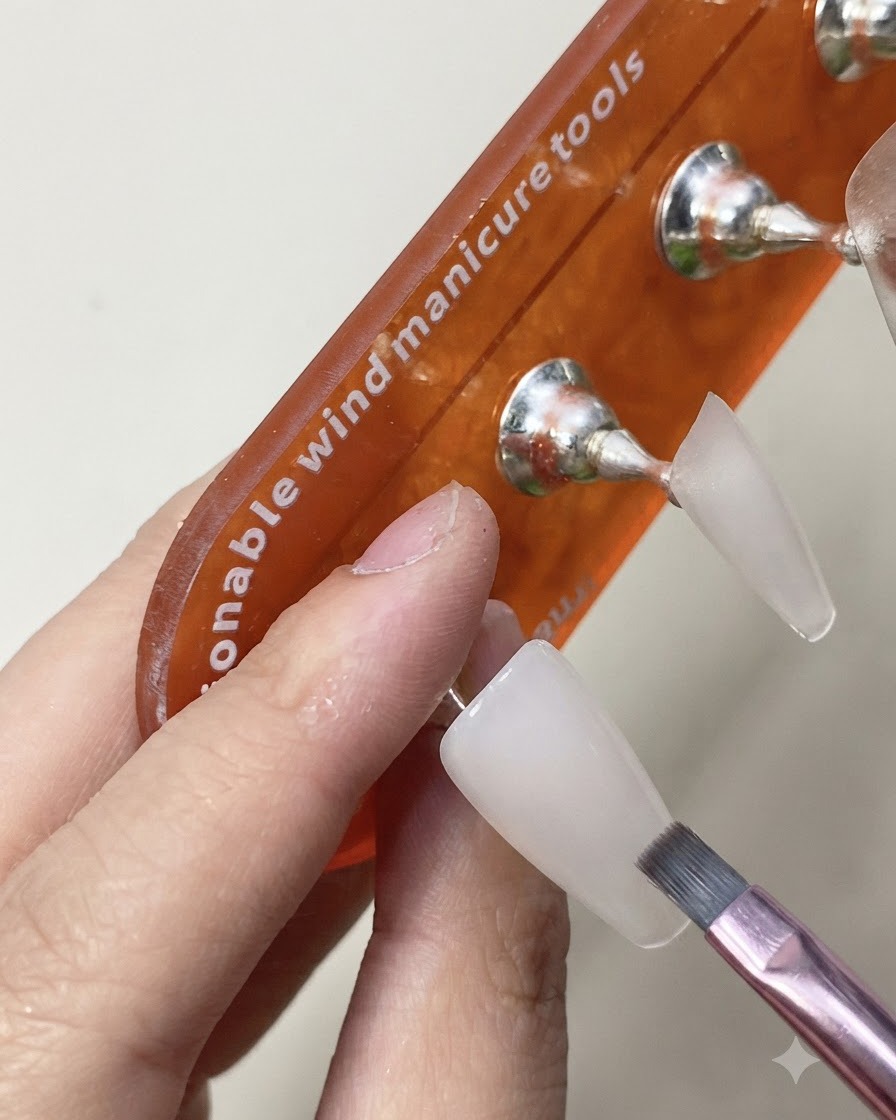
Apply a protective layer of gel top coat over the fully cured milky white base gel. Ensure full coverage across the entire nail surface to prepare a smooth, glossy base for rubbing on the aurora powder effect.
Tip: Capping the free edge with top coat prevents chipping and seals in the underlying gel polish. - 4Rub on aurora powder
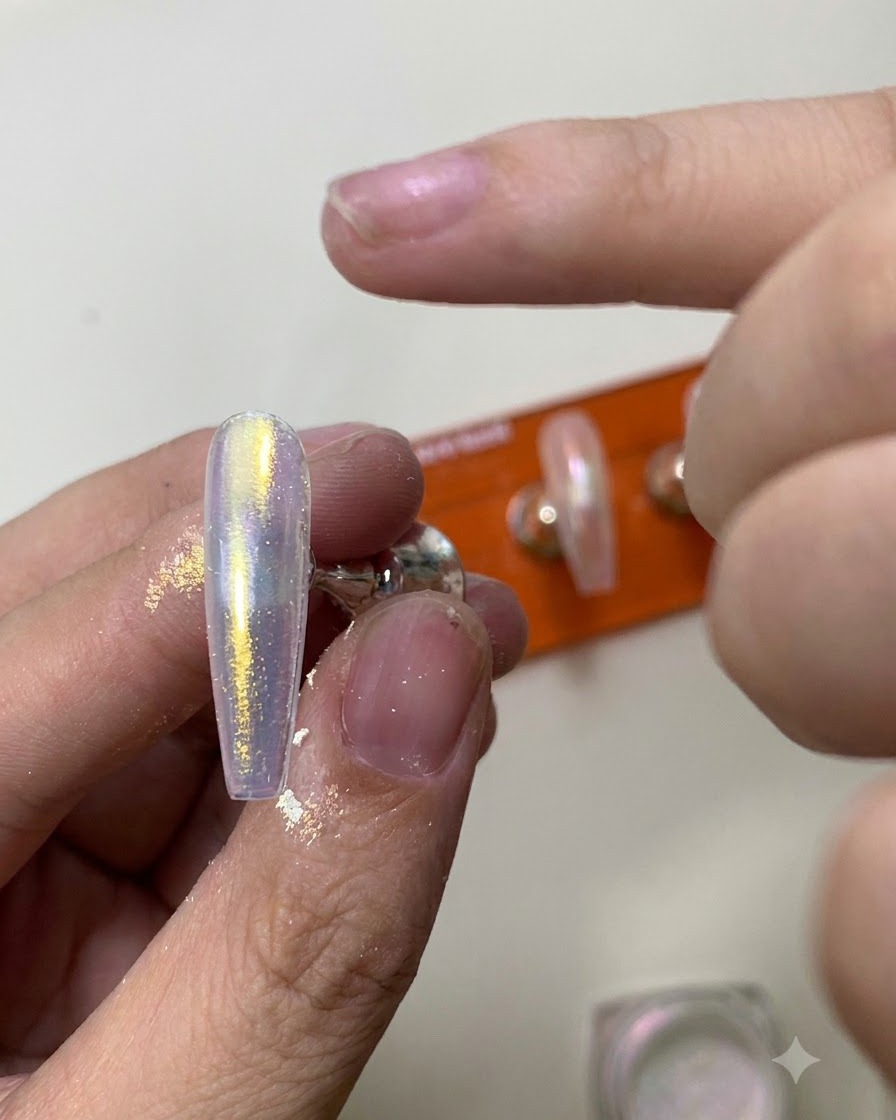
Using a silicone tool or applicator, gently rub aurora powder onto the cured top coat surface. Buff the powder evenly across the nail until a vibrant, iridescent shifting shine appears over the milky white base.
Tip: Apply the powder while the top coats tacky inhibition layer is removed or use a no-wipe top coat cured to perfection for the smoothest mirror finish. - 5Apply matte top coat and cure
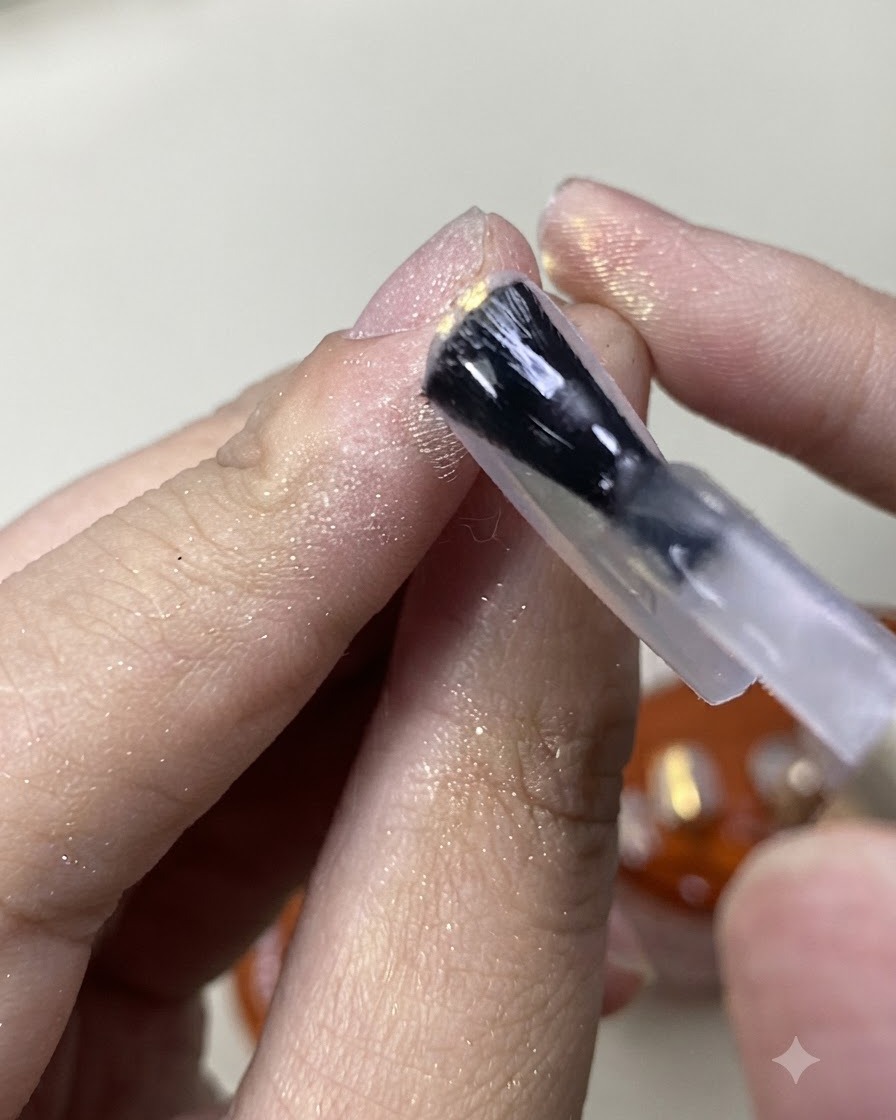
Apply a layer of matte top coat over the aurora powder finish to lock in the chrome effect and create a velvety texture, then place it under the UV/LED lamp to cure completely.
Tip: A matte finish creates a stunning contrast underneath glossy raised nail art details like the butterfly lines. - 6Mix rhinestone glue and black polish
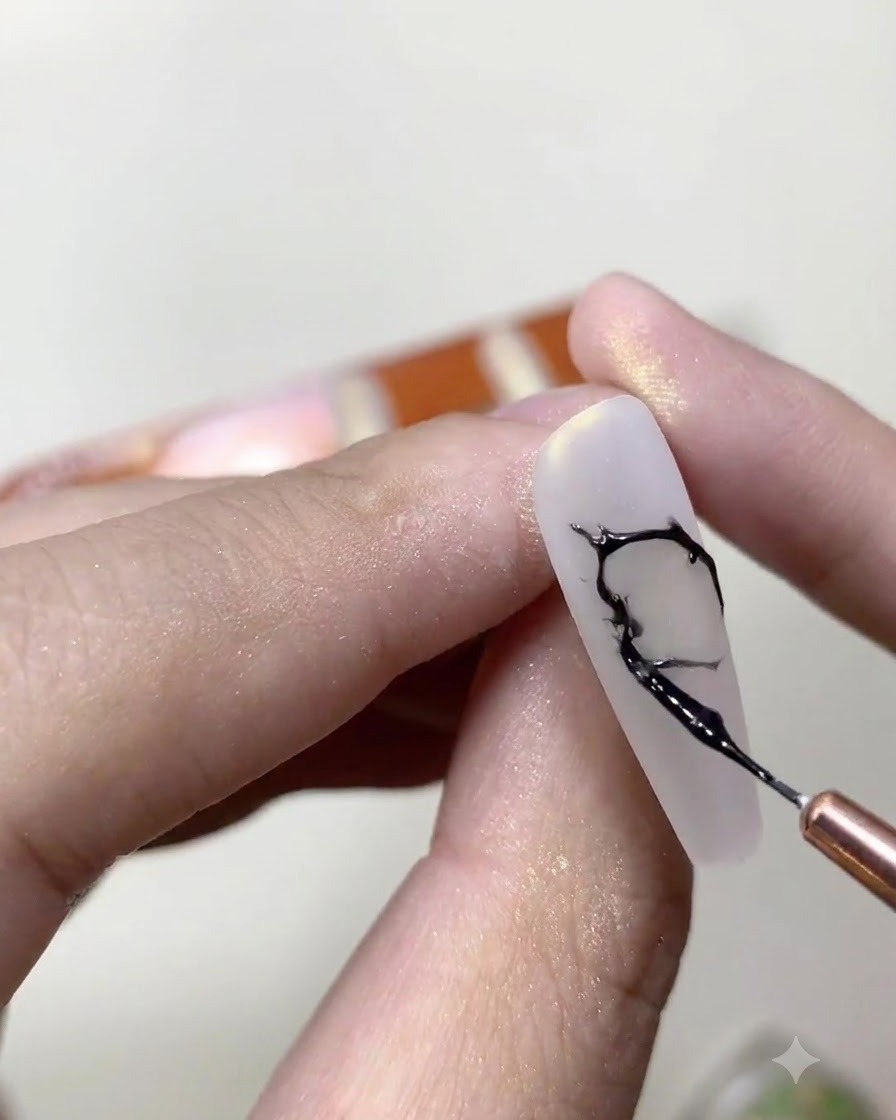
Using a fine liner brush, mix no-wipe rhinestone glue with black gel polish on a palette. This combination creates a thick, raised dimensional gel mixture that holds its shape without spreading when drawing intricate butterfly lines.
Tip: Adjust the ratio so the mixture is viscous enough to maintain 3D height without running or flattening out. - 7Outline the butterfly wings
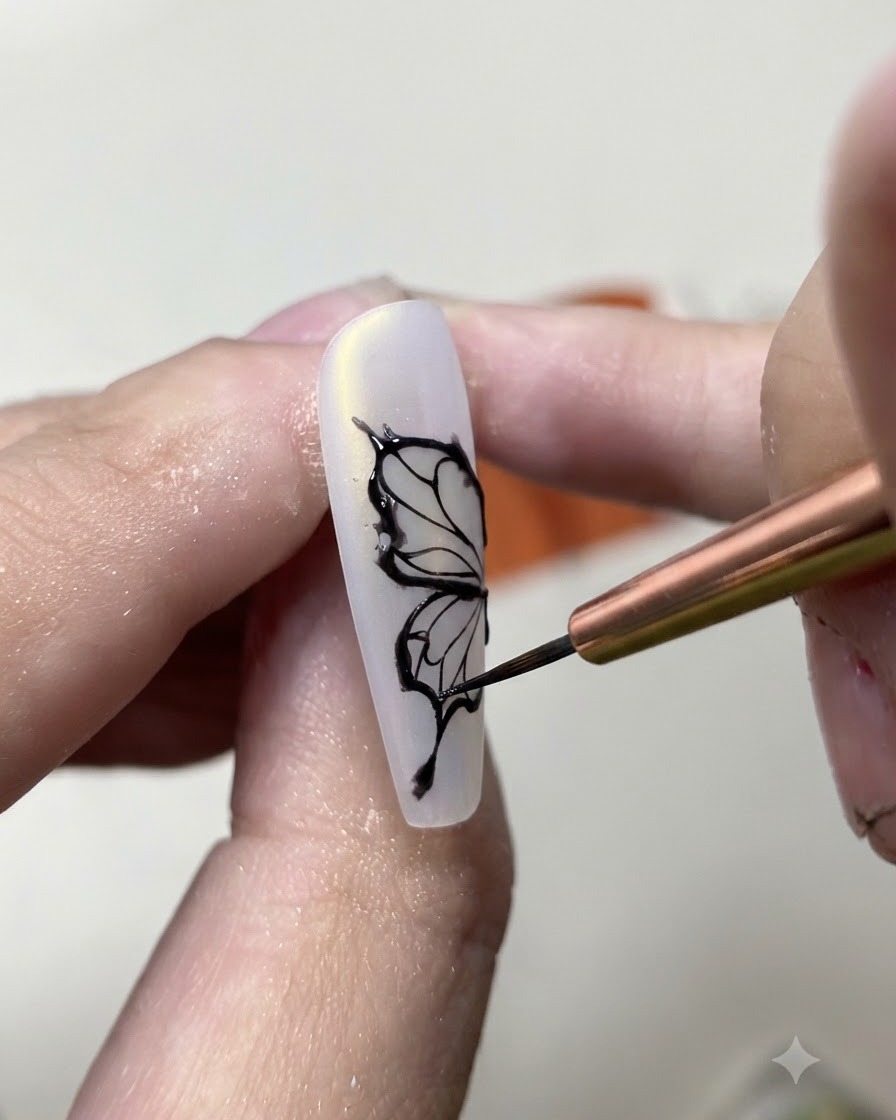
Using a fine liner brush and your black gel mixture, begin sketching the delicate outlines of the butterfly wings directly onto the matte nail surface. Maintain a light and gentle hand technique, allowing a slight natural hand shake so your lines stay organic, fluid, and non-rigid.
Tip: Keep your touch feather-light and embrace a subtle natural hand tremor to prevent the lines from looking stiff and mechanical. - 8Add butterfly wing details
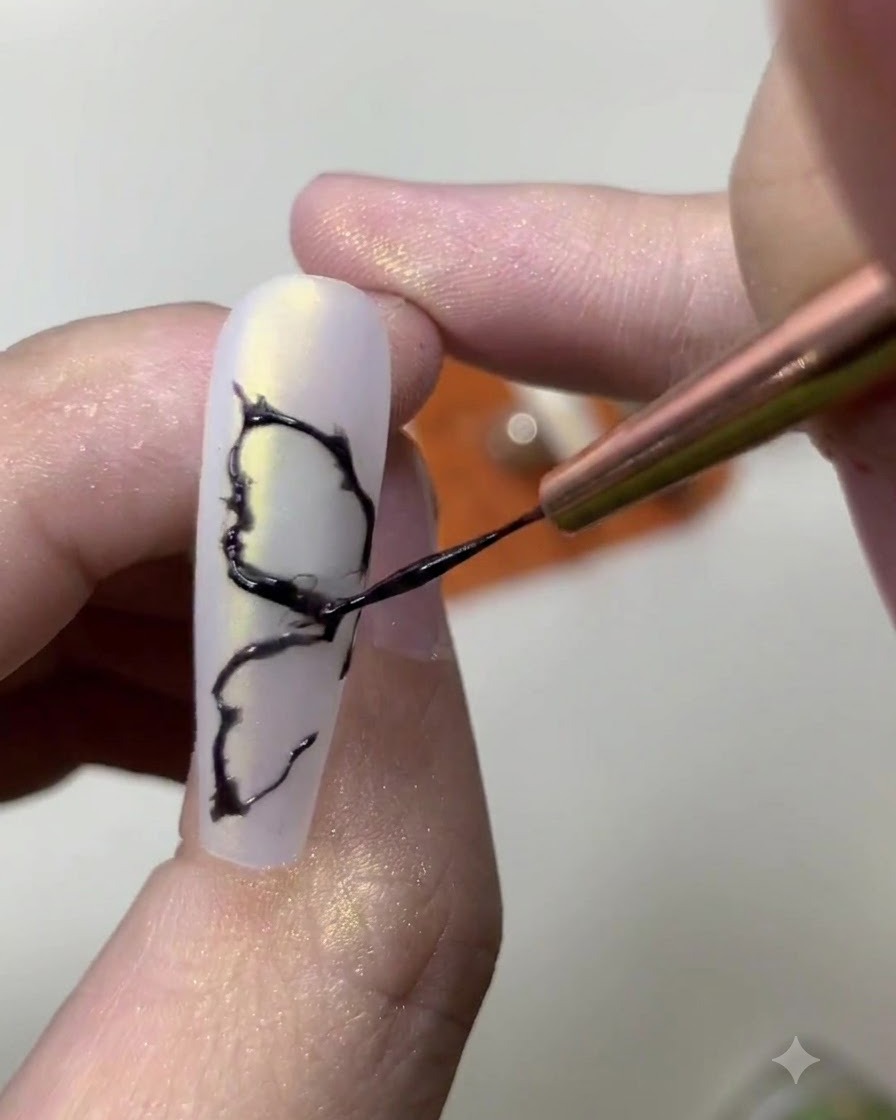
Continue building out the inner sections and intricate details of the butterfly wings. Work slowly with a controlled, gentle hand pressure to ensure symmetry and clean flow across the wing structures.
Tip: Work in thin, buildable strokes to maintain complete control over the line width and curvature. - 9Refine the butterfly wing lines
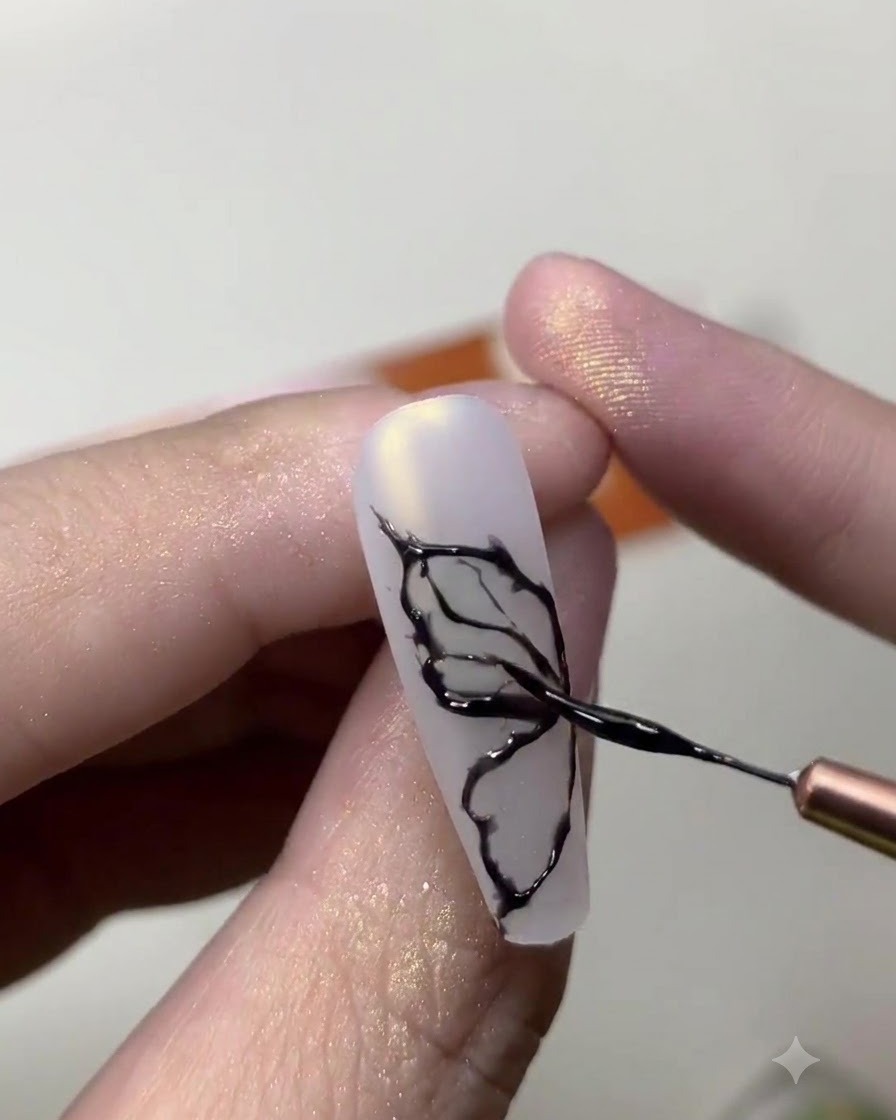
Using a fine liner brush and the black mixture, carefully refine the thin lines of the butterfly wings. Maintain a light, gentle hand and allow a slight hand shake so the lines look organic, fluid, and natural rather than overly rigid and mechanical.
Tip: A slight, controlled hand tremor prevents lines from looking unnaturally straight and stiff. - 10Cure the butterfly line art
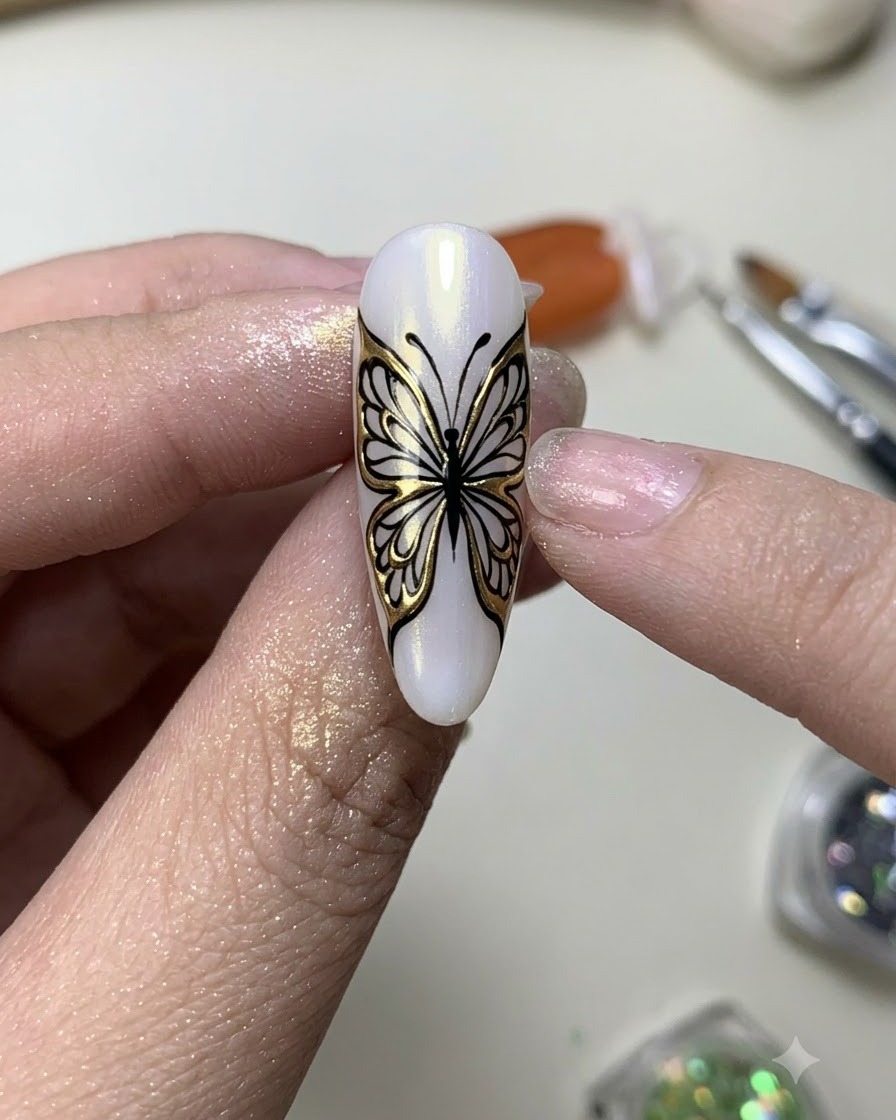
Place the nail under the UV or LED lamp to fully cure the black line art mixture. Ensure the design is completely set before moving on to the next powder application step to prevent any smudging or distortion of the delicate lines.
Tip: Fully curing textured or gel-based line art ensures the subsequent chrome powder adheres correctly to the cured lines only. - 11Apply silver chrome powder
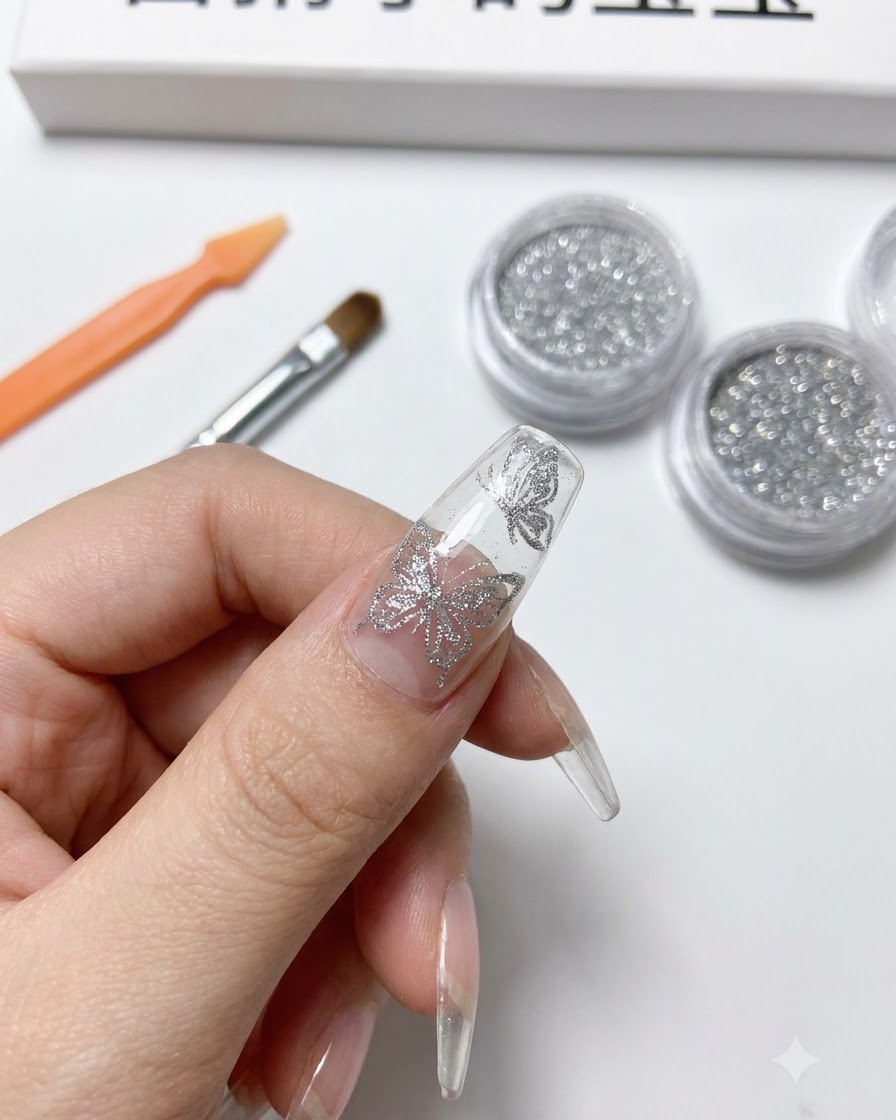
Take silver chrome powder and rub it directly over the cured black butterfly line art. The powder will adhere to the cured gel lines, giving them a brilliant, reflective metallic silver finish.
Tip: Rubbing chrome directly onto the cured art creates a striking metallic effect without needing an extra tacky layer. - 12Clean up excess silver powder
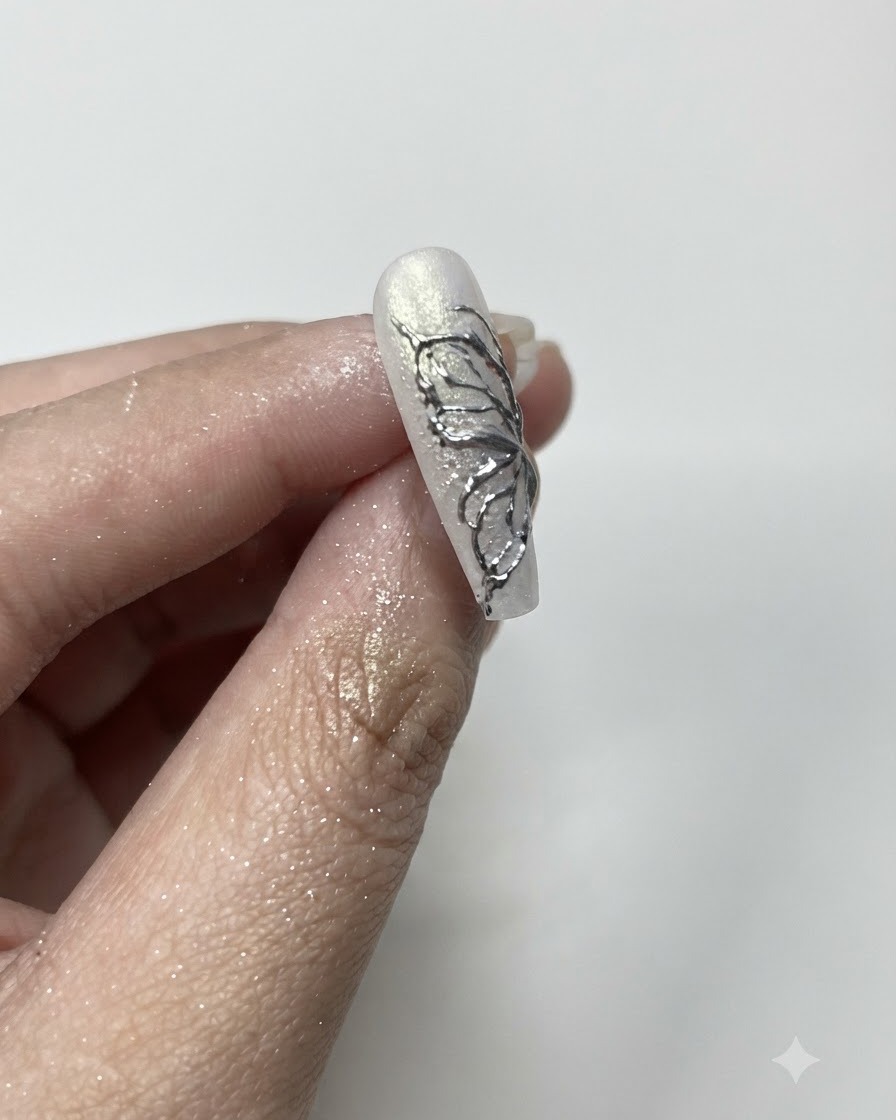
Use a clean, fluffy dust brush to gently sweep away and clean up all the excess floating silver powder from the surrounding nail surface and edges, leaving only the polished chrome butterfly design intact.
Tip: Always brush away excess powder thoroughly before applying top coat to prevent stray metallic specks from dulling the base. - 13Apply final protective top coat
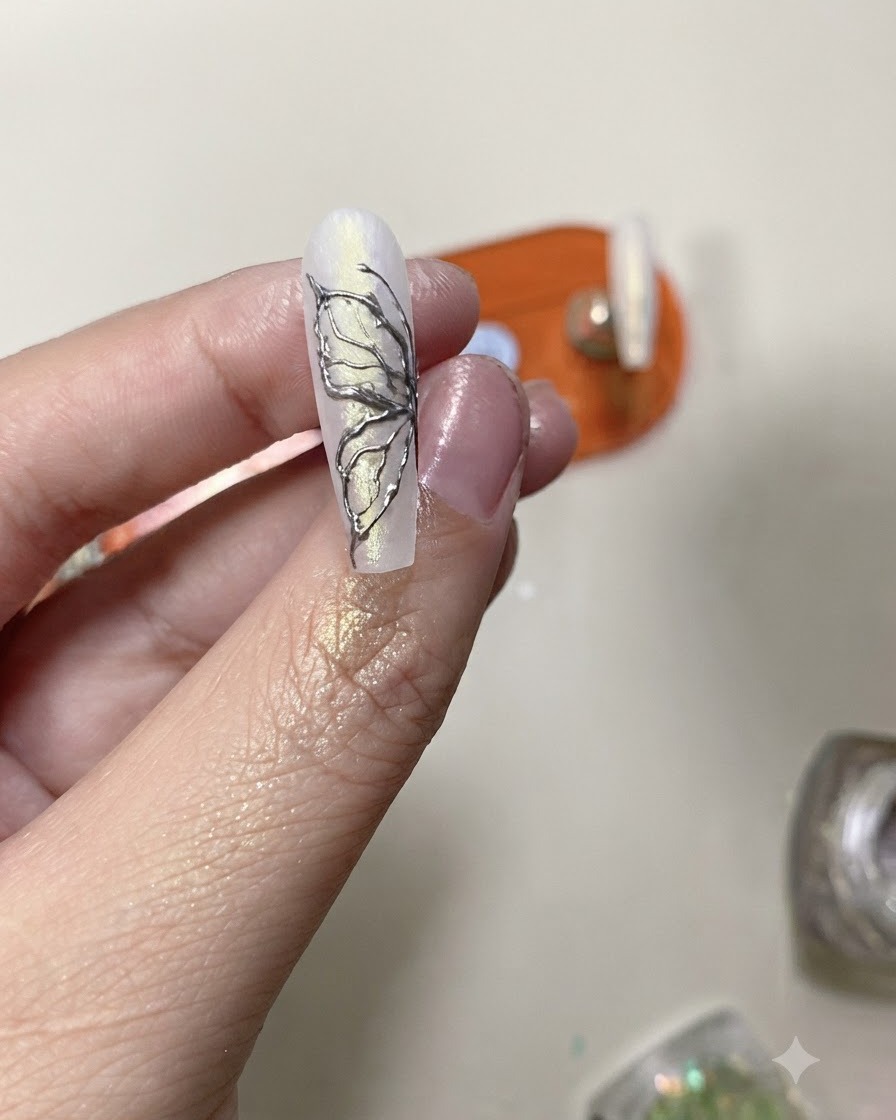
Apply a final layer of protective top coat over the entire completed silver chrome butterfly design to seal in the chrome and provide a glossy, long-lasting finish. Cure under the UV or LED lamp to complete the manicure.
Tip: Cap the free edge carefully with top coat to prevent chipping and protect the chrome art from wearing off at the tip.