French Star
Cat Eye Gel Nail Art — Step-by-Step Tutorial
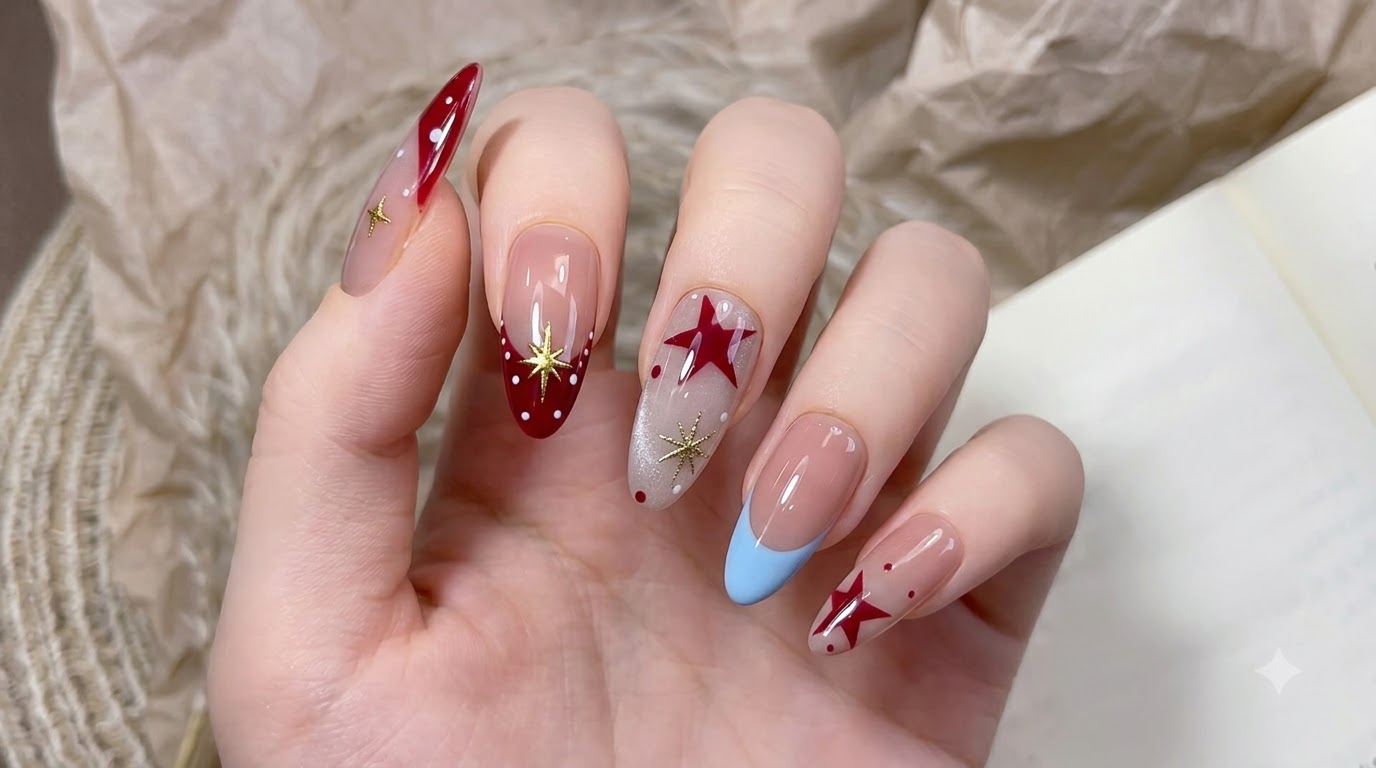
Create an enchanting manicure combining pastel French tips, luminous cat eye effects, and hand-painted red stars with gold sparkles.
Starry motifs and celestial accents have taken the nail art world by storm, blending whimsical charm with sophisticated techniques. This look pairs classic French tips with magnetic cat eye dimension and delicate metallic details, creating a stunning statement manicure that catches the light from every angle.
Steps
- 1Apply pink blush gel with a cushion stamp
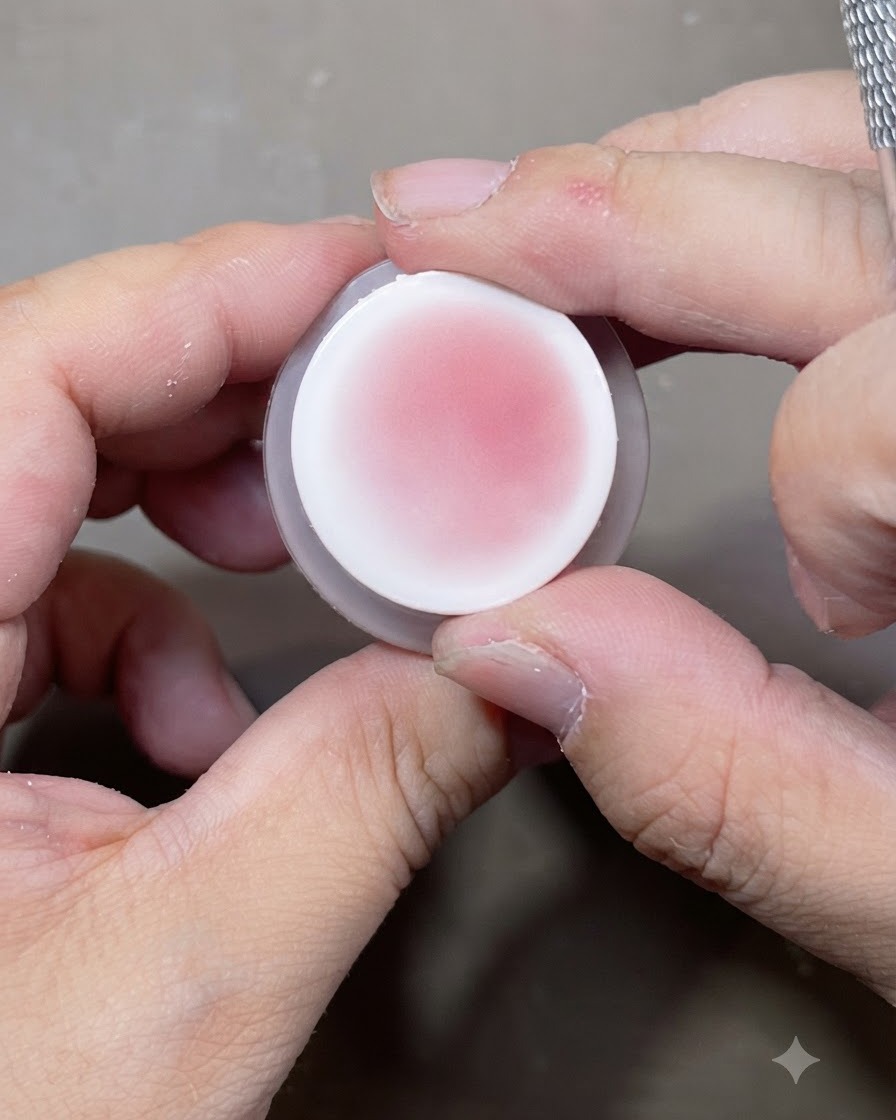
Take a cushion stamp and pick up a small amount of pink blush gel. Gently dab the stamp onto the center of the nail surface to create a soft, diffused gradient effect resembling a natural blush look.
Tip: Tap off any excess gel from the cushion stamp before applying to avoid heavy, uneven patches on the nail. - 2Apply Nude Base Color
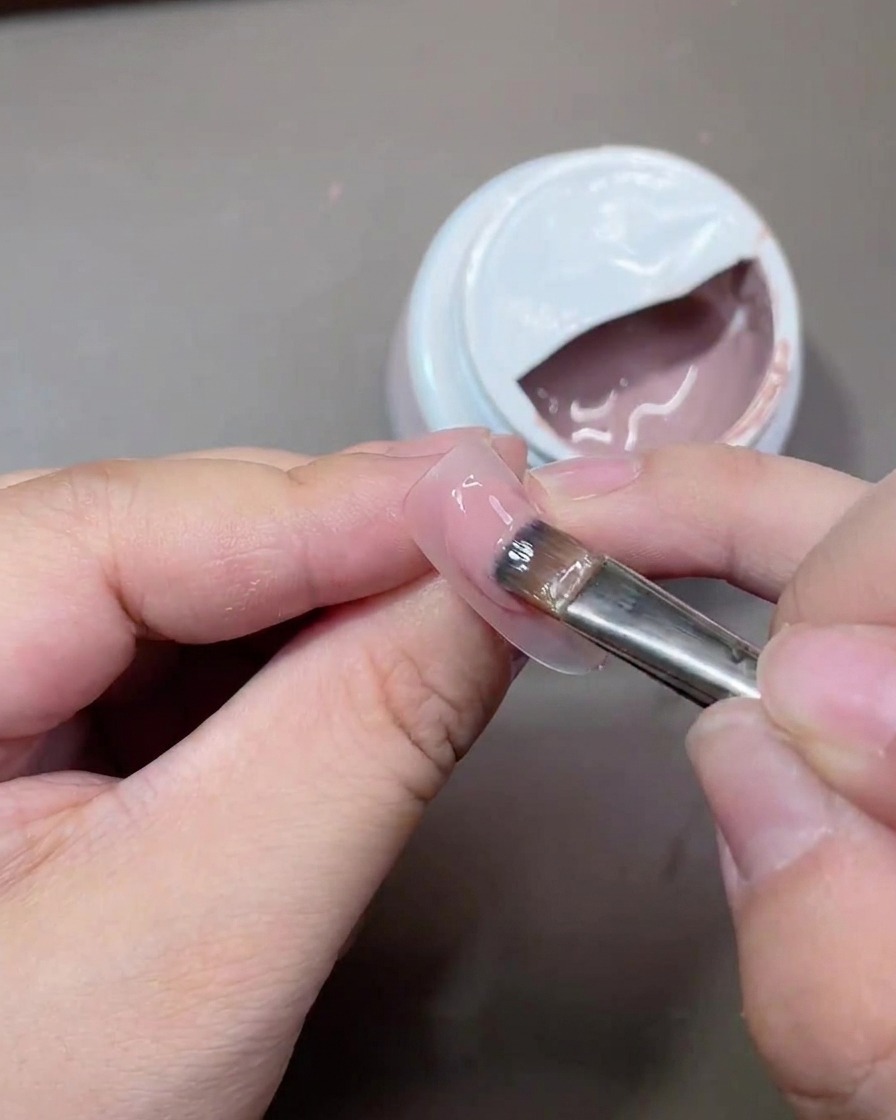
Using a flat gel brush, pick up a small amount of nude base color and apply a thin, smooth coat evenly over the entire nail platecite: 1. Work from the cuticle area down toward the free edge, ensuring full coverage without pooling around the edges. Cure under a UV or LED lamp as specified by the product guidelines.
Tip: Applying thin layers prevents wrinkling and ensures the gel cures completely through to the bottom layer. - 3Draw French Tip Positioning Lines
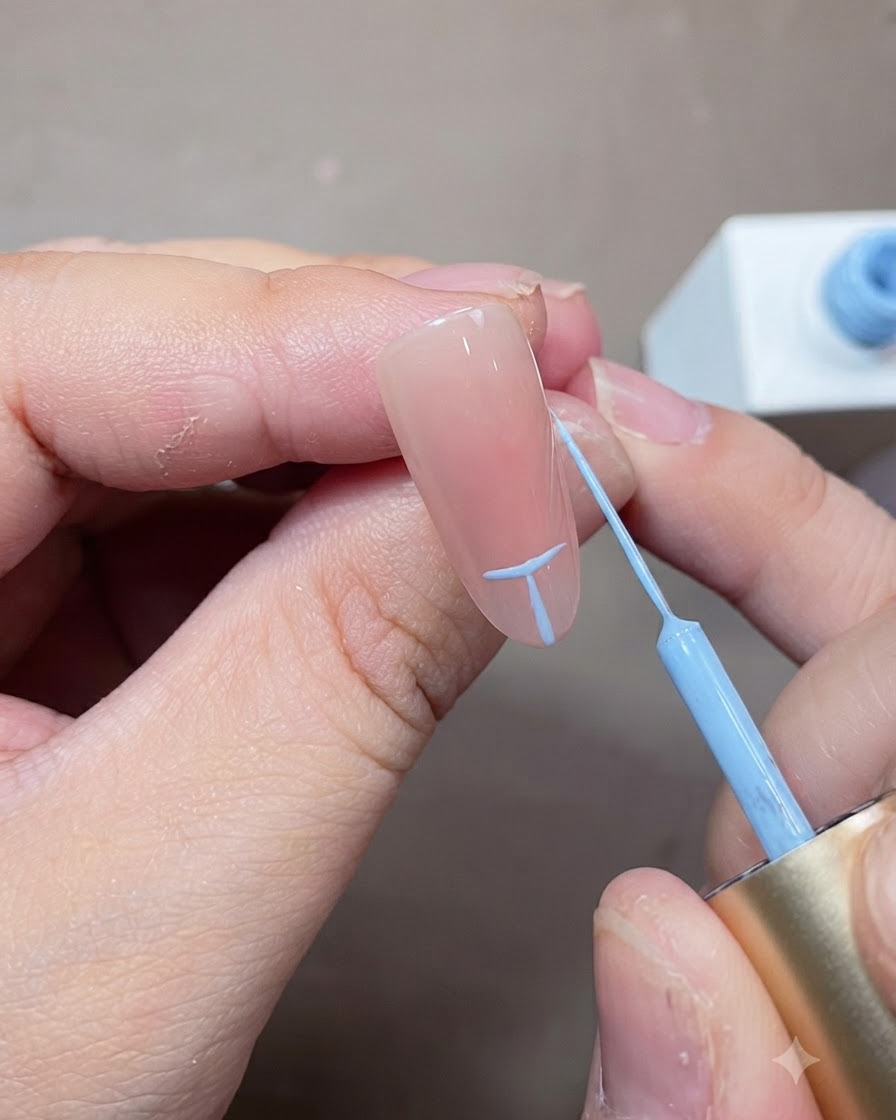
Using a fine liner brush and blue gel polish, carefully map out the guidelines for your French tipcite: 1. Draw a vertical center line and small tick marks or curves on the sides to establish the symmetry and height of the smile line before filling it in.
Tip: Keep your hand steady by anchoring your pinky finger against your other hand while drawing fine geometric positioning lines. - 4Connect Lines to Form French Arc
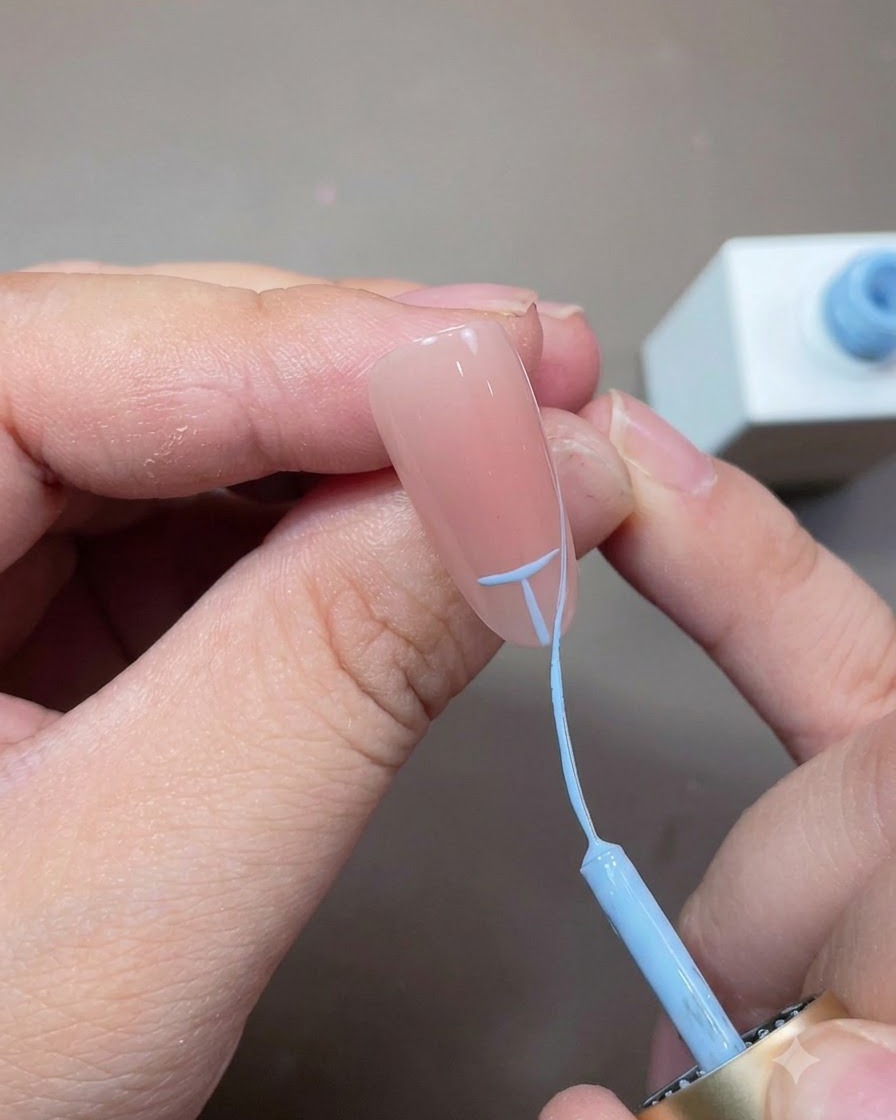
Take your fine liner brush and connect the previously drawn blue positioning lines to form a clean, well-defined arc across the tip of the nailcite: 1. Trace smoothly from one side edge to the other to establish the final outline of the French manicure tip.
Tip: Draw the arc in two smooth strokes—starting from each side edge and meeting in the center—for better symmetry. - 5Fill in the French Tip Color
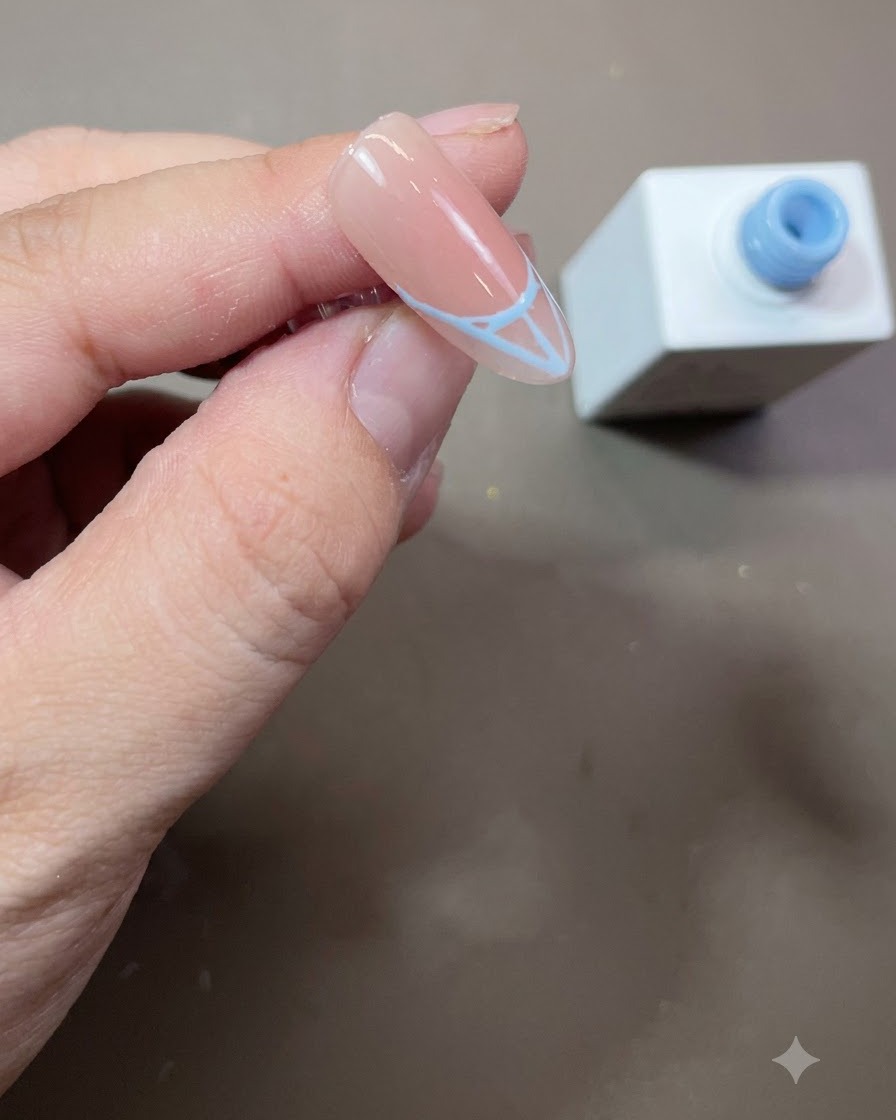
Carefully fill in the empty space inside the blue French tip outline using your blue gel polish and a fine detailing brushcite: 1. Ensure the color is distributed evenly up to the edge and clean up any stray strokes with a brush dipped in alcohol before curing.
Tip: Float the gel over the surface rather than pressing down hard with the brush bristles to maintain a smooth, streak-free fill. - 6Apply Fingertip Blush Gradient
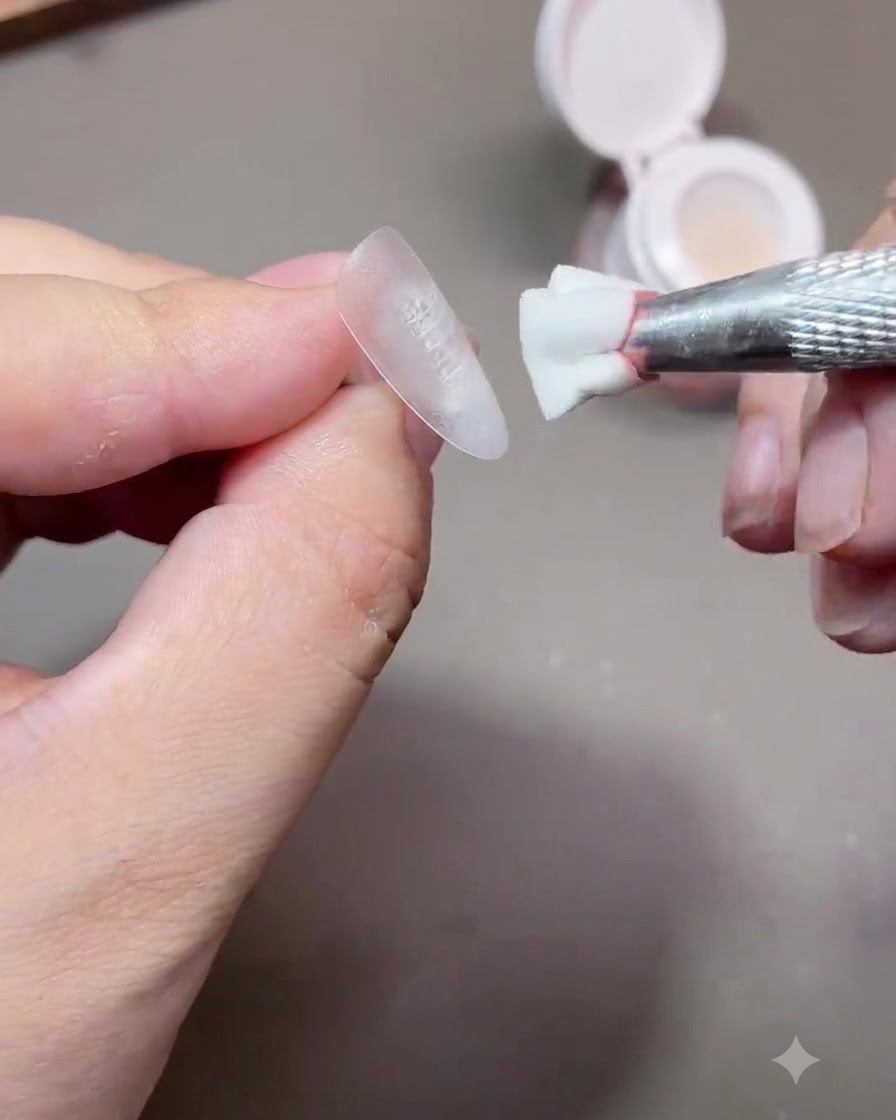
Take a sponge tool containing pink blush gel and gently dab it onto the fingertip area to build a subtle, smoky gradient effectcite: 1. Soften the edges where the color meets the nude base to ensure a seamless transition without harsh boundaries.
Tip: Dab off excess product on a palette or paper towel before touching the nail to prevent heavy blotches. - 7Apply nude base color
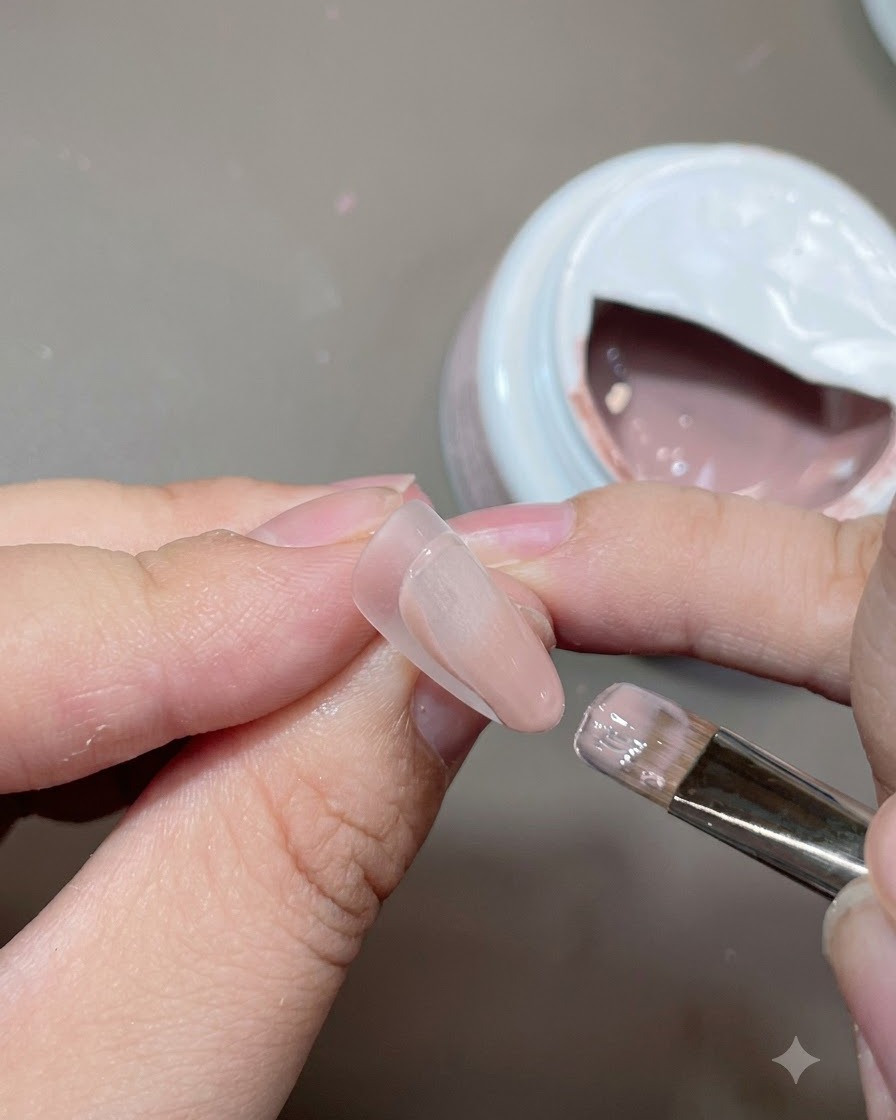
Apply a thin layer of nude base color over the gradient area using a flat gel brush. Work smoothly to ensure an even, translucent coverage that unifies the base before creating the French tips and nail art details.
Tip: Keep the layer thin to prevent bulkiness and ensure proper curing. - 8Apply translucent cat eye gel
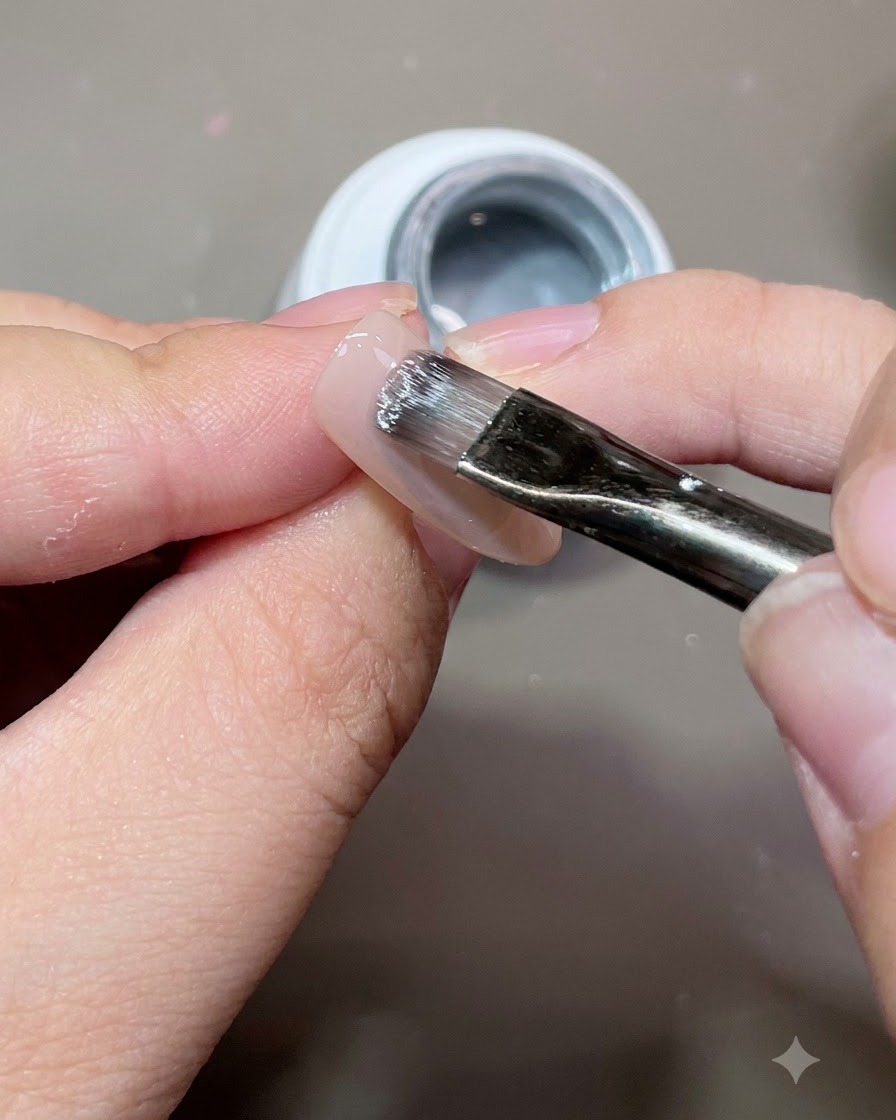
Apply an even layer of translucent cat eye gel over the nail surface using a gel brush. This specialized gel contains magnetic particles that will be manipulated in the next step to create a luminous, glowing effect.
Tip: Apply a smooth, consistent layer so the magnetic particles can move freely and create a clean light reflection. - 9Magnetize the cat eye gel
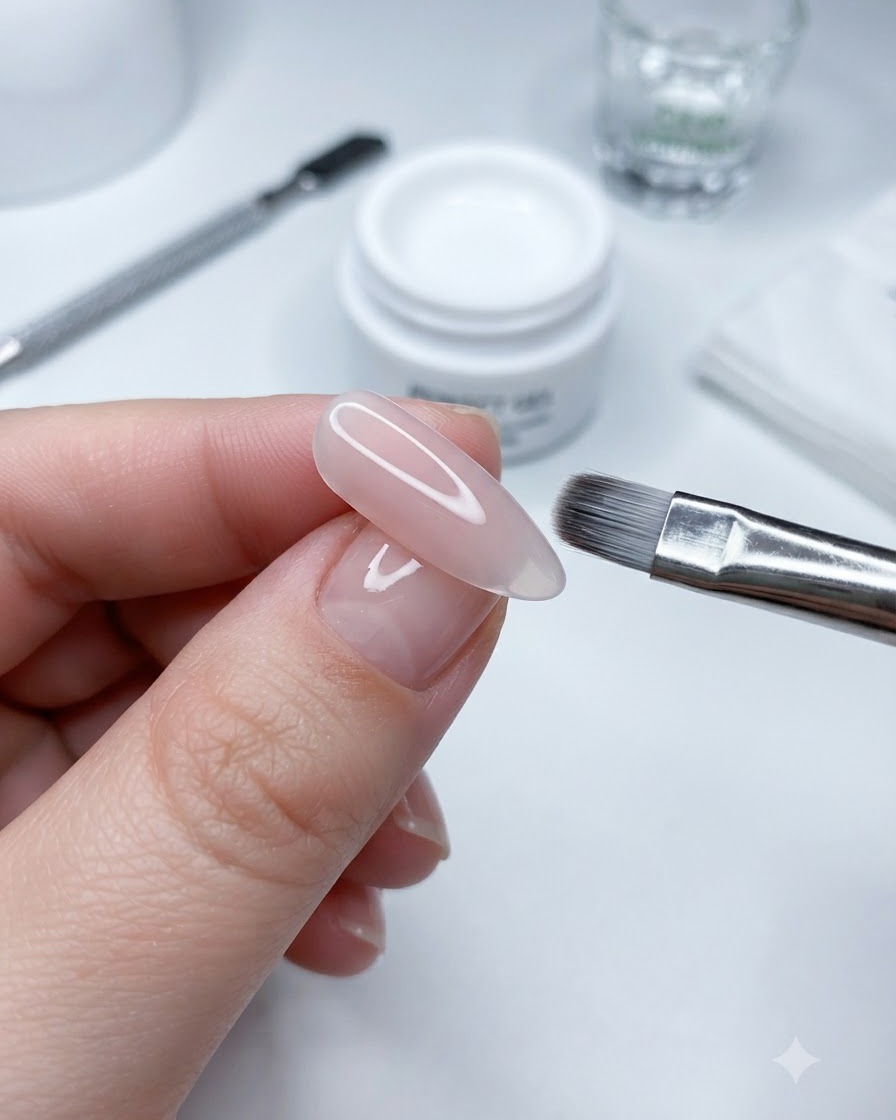
Hold a professional magnet tool close to the side of the nail to attract the magnetic particles, creating a luminous side light glass bead effect. Once the desired reflection is achieved, cure immediately under the UV or LED lamp to lock the particles in place.
Tip: Hold the magnet steady for a few seconds to get a sharp, well-defined cat eye beam. - 10Draw the star frame
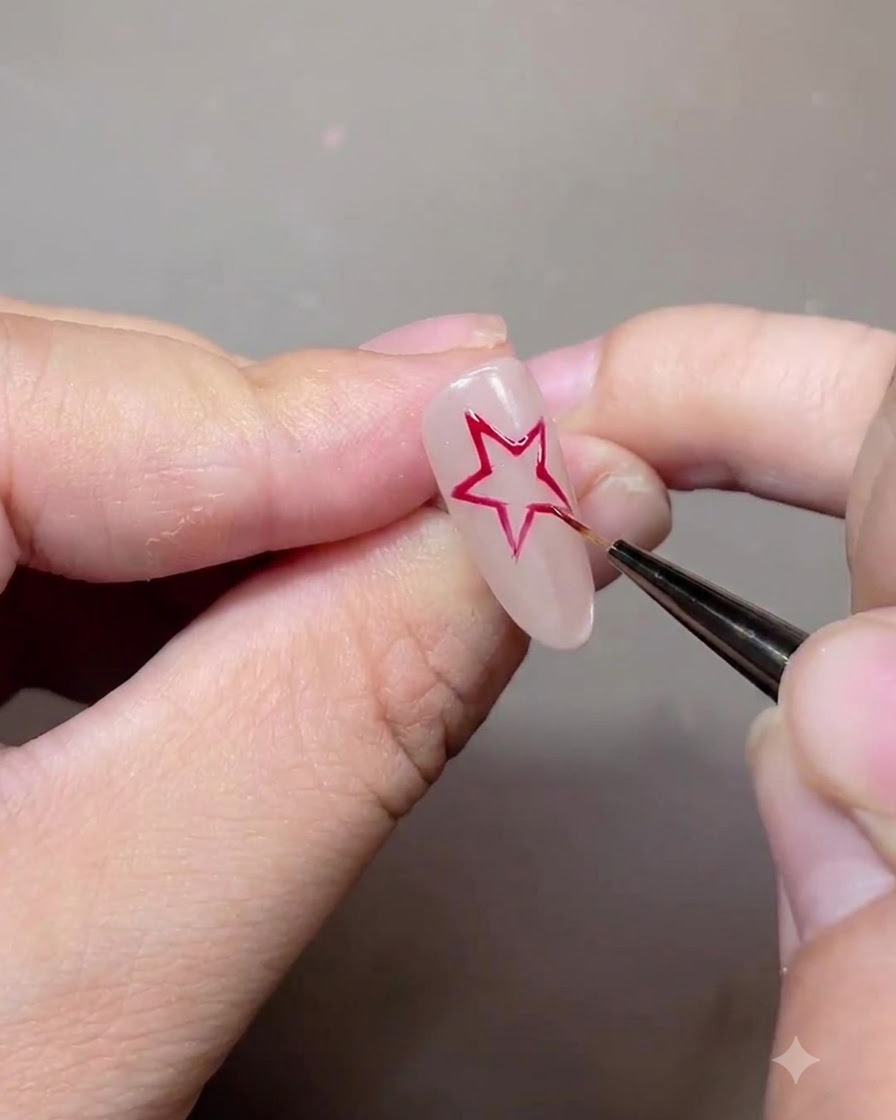
Using a fine liner brush dipped in red gel polish, carefully outline a five-pointed star frame on the nail surface. Take your time to ensure the lines are crisp and well-proportioned before filling.
Tip: Use a light touch with the tip of the fine liner brush to keep the star outlines sharp and delicate. - 11Fill in the star shape
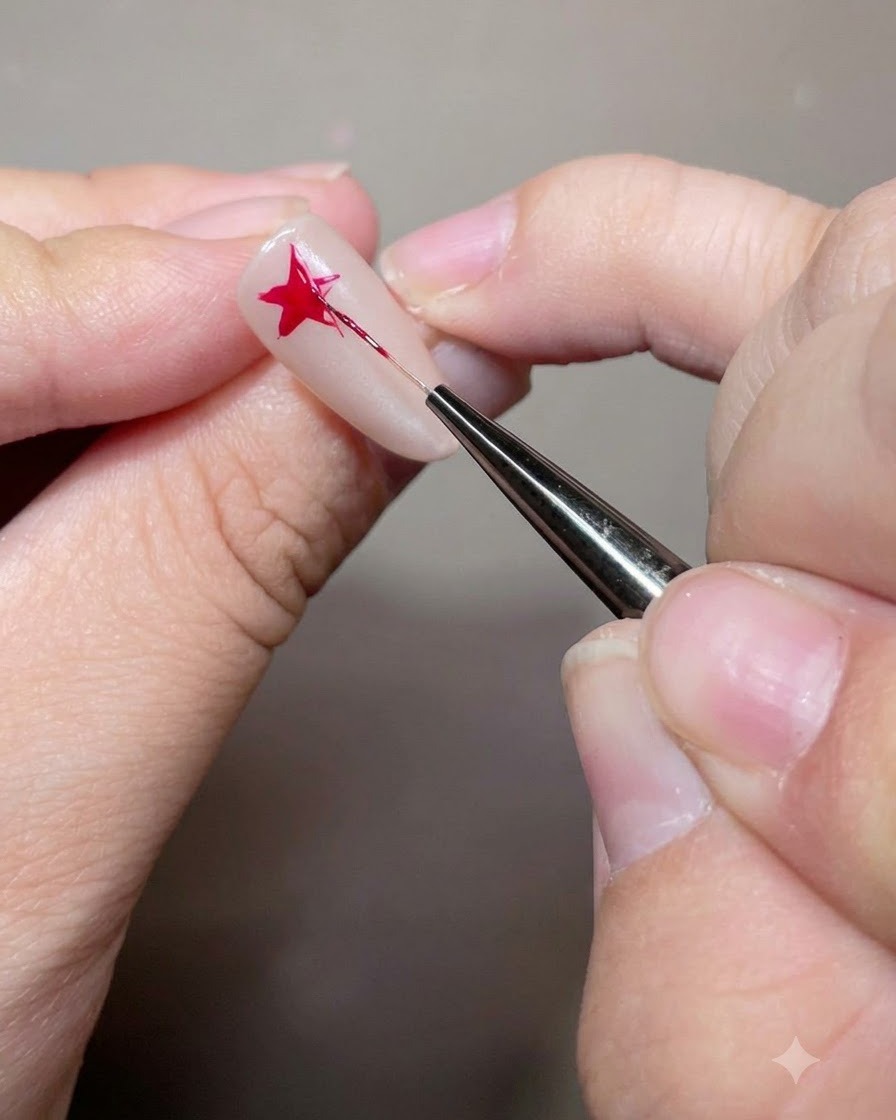
Carefully fill in the interior of the red star outline using the fine liner brush and red gel. Make any necessary detailed adjustments to the edges and points to achieve a clean, polished finish.
Tip: Gently guide the gel into the corners of the star points using just the very tip of your brush. - 12Paint platinum gold star sparkles
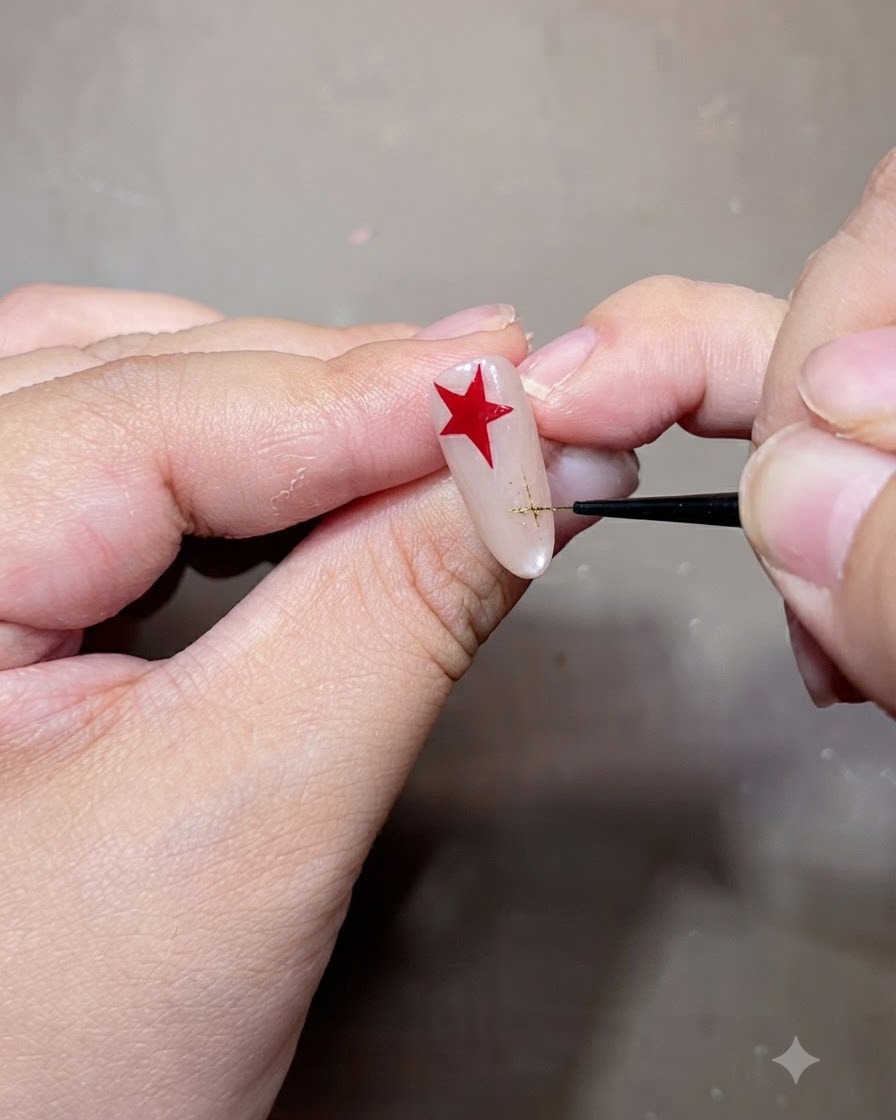
Using a fine liner brush dipped in platinum gold gel, carefully draw delicate cross-shaped star sparkle accents and thin rays right next to the main star motif to add a magical sparkling effect.
Tip: Keep your hand steady and use just the very tip of the fine liner brush to draw crisp, ultra-thin golden lines. - 13Add colored polka dot accents
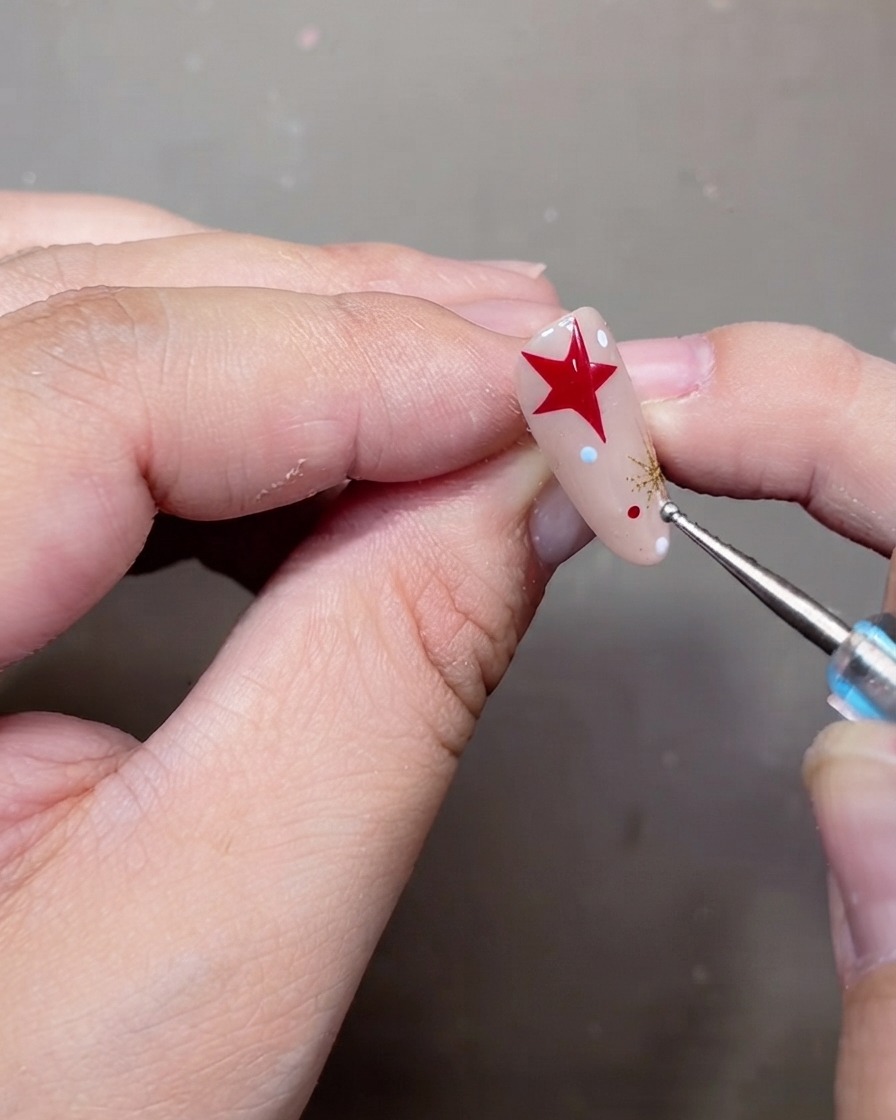
Dip a nail dotting tool into contrasting colored polishes and place small, neat polka dots around the star and sparkle elements to enhance the playful starry night theme.
Tip: Vary the size of the dots slightly by using different ends of the dotting tool for a more dynamic and balanced composition. - 14Apply final gloss top coat
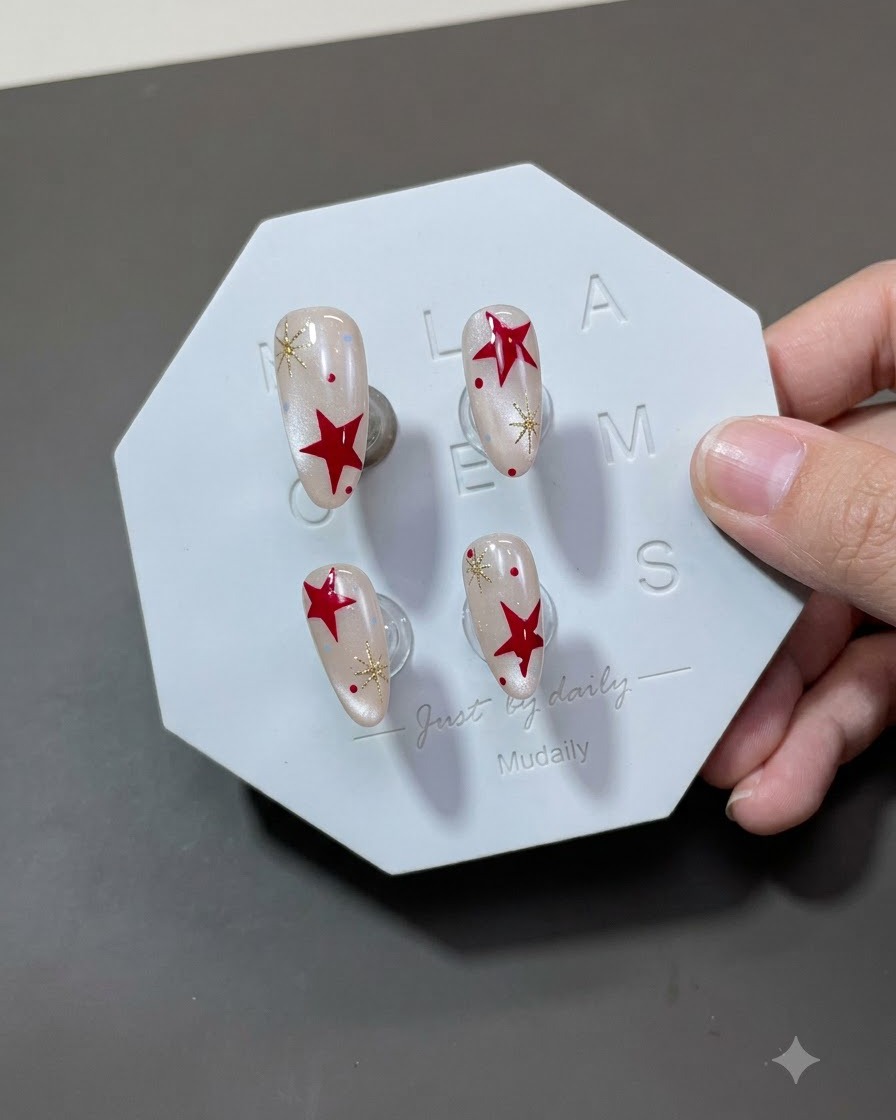
Apply an even layer of high-gloss top coat over the entire nail design, making sure to seal the free edge completely. This locks in the gel paint, star art, and cat-eye details while providing a durable, shiny protective shield.
Tip: Be gentle with your brush strokes over detailed nail art so you dont smudge the metallic star accents underneath.