Polka Dot and Star Leopard Print Nail Art — Step-by-Step Tutorial
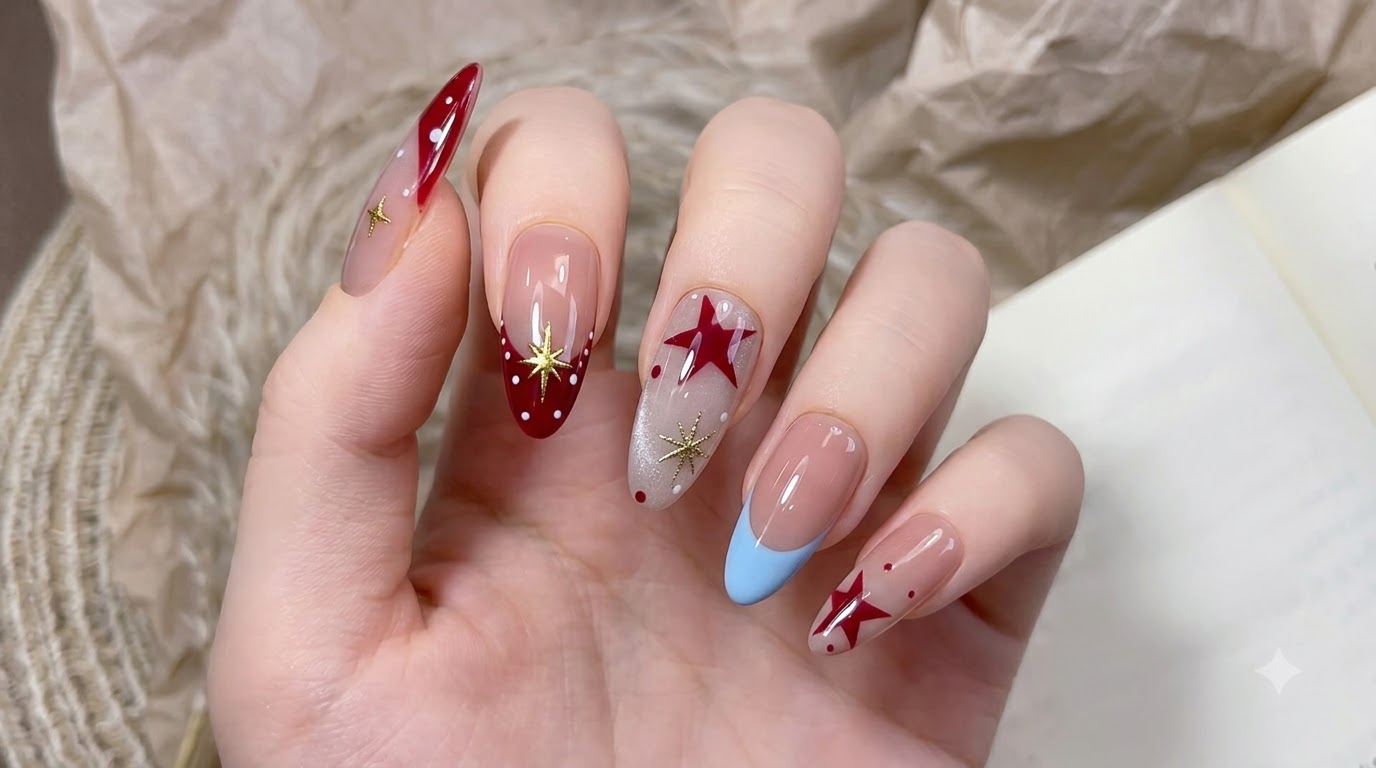
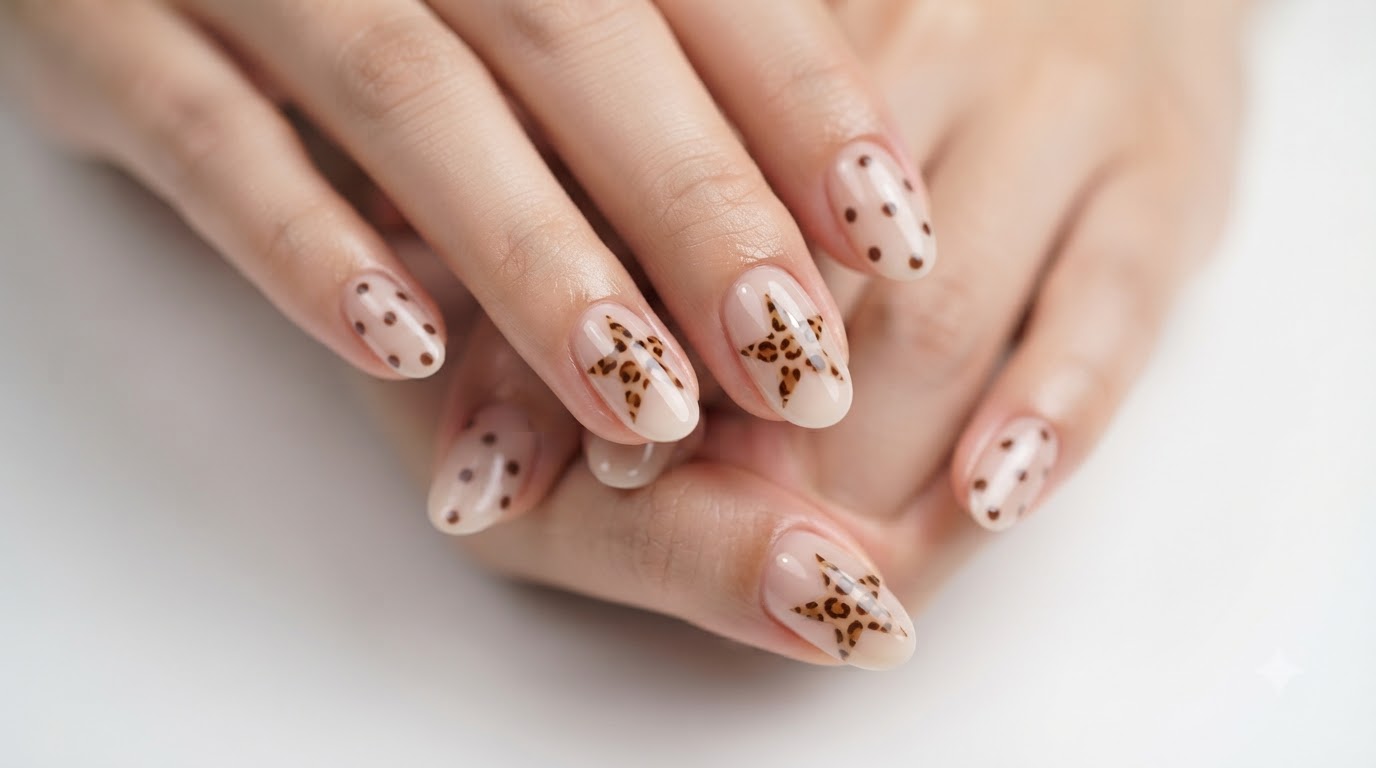
Create playful chic nails featuring a nude base, charming brown polka dots, and standout star shapes filled with detailed leopard print.
Combining classic polka dots with fierce leopard print inside a geometric star motif brings a uniquely stylish edge to your manicure. This step-by-step guide walks you through meticulous prep, precise dotting work, and intricate animal print detailing for an eye-catching finish.
Steps
- 1Apply white gel base layer
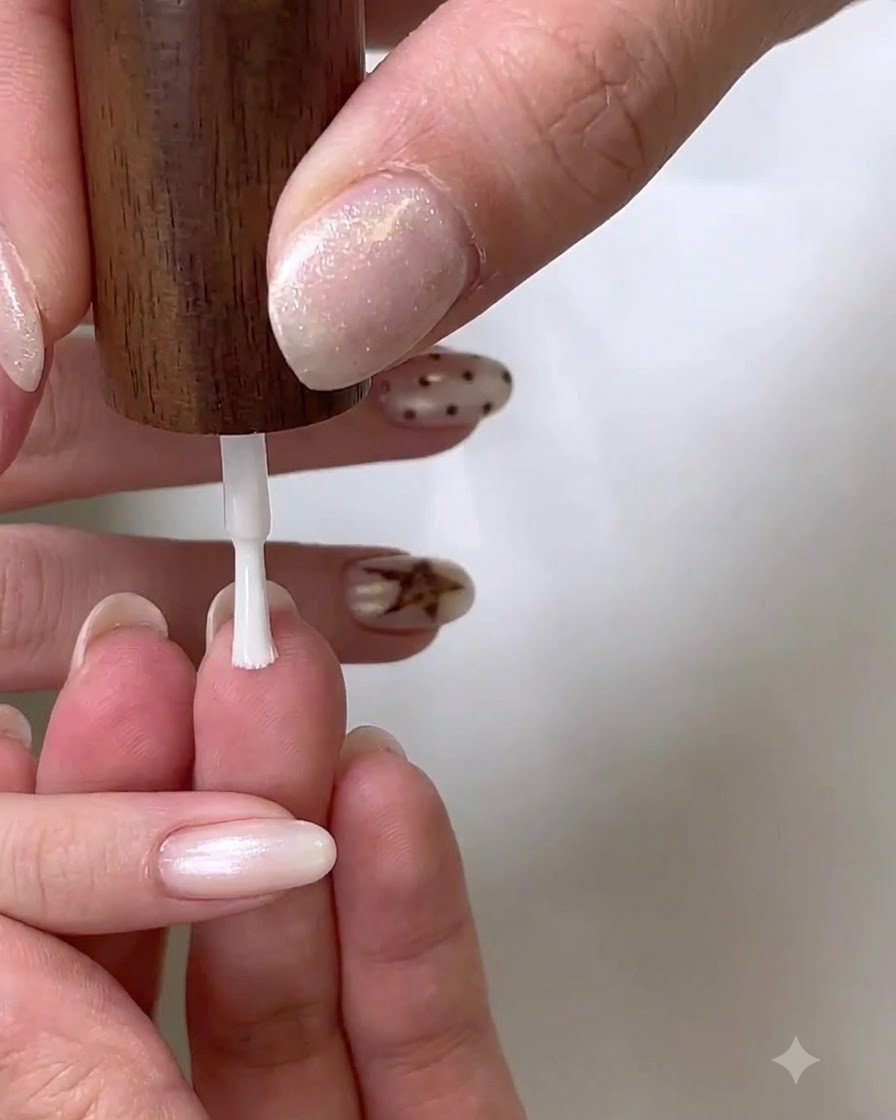
Using a flat gel brush, carefully apply an even white gel base layer to the nail surface. Work gently from the cuticle area down toward the free edge, ensuring smooth coverage without pooling or streaking.
Tip: Keep your strokes light and consistent to maintain a flat, even layer before curing. - 2Buff nail surface with a sanding band
Attach a sanding band to your e-file and lightly buff the nail surface to remove shine and create micro-texture. This improves adhesion for gels or acrylics, preventing lifting and peeling later.
Tip: Keep the sanding band flat against the nail surface rather than digging in with the edge to avoid creating grooves. - 3Trim excess cuticle skin
Carefully use sharp cuticle nippers to trim away any loosened non-living skin or hangnails surrounding the nail plate. Be precise and only cut lifted, dead tissue to prevent nicks or bleeding.
Tip: Never pull or rip skin; always use clean, controlled snips with sterilized nippers. - 4Refine cuticle area
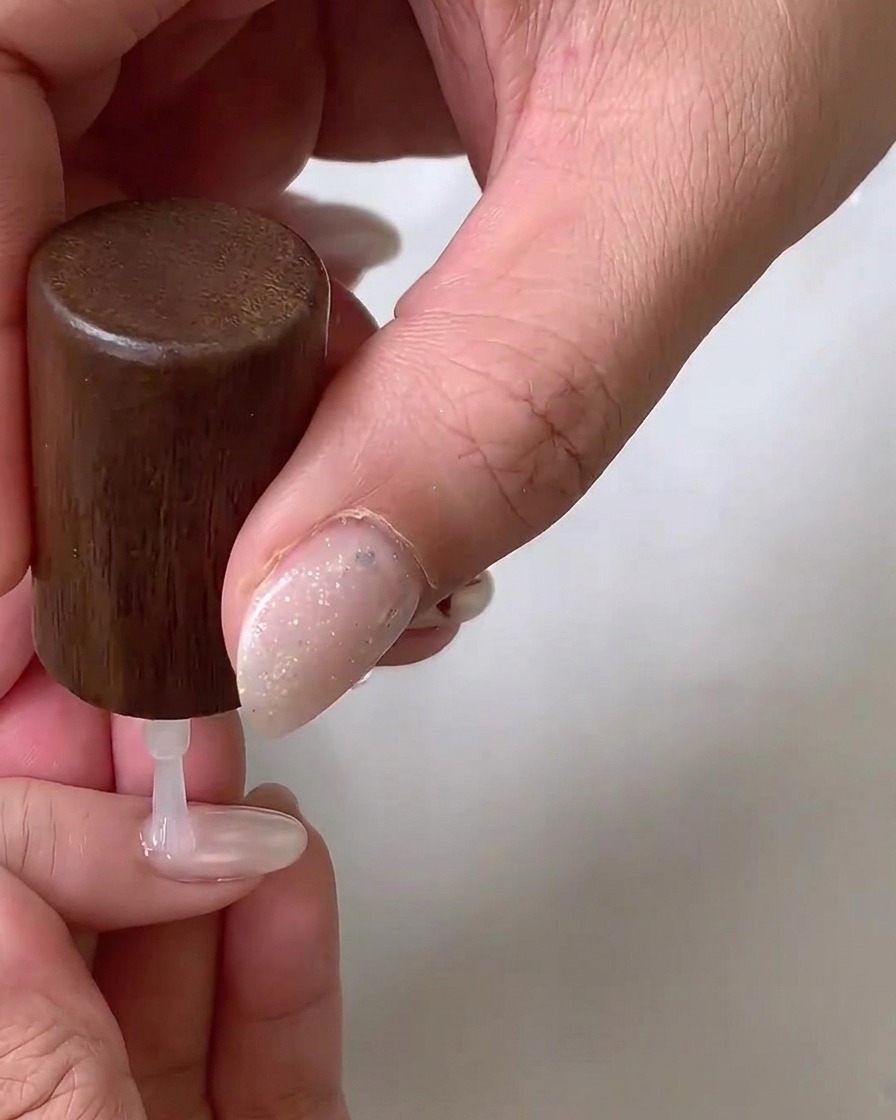
Using a flame-shaped e-file bit, gently refine the skin and nail plate around the cuticle area once more to ensure a clean transition. Keep the speed low and maintain a light touch to protect the surrounding skin while smoothing out any remaining ridges or dead skin.
Tip: Keep the e-file moving continuously and never press directly into the skin to avoid accidental friction burns. - 5Brush off excess dust
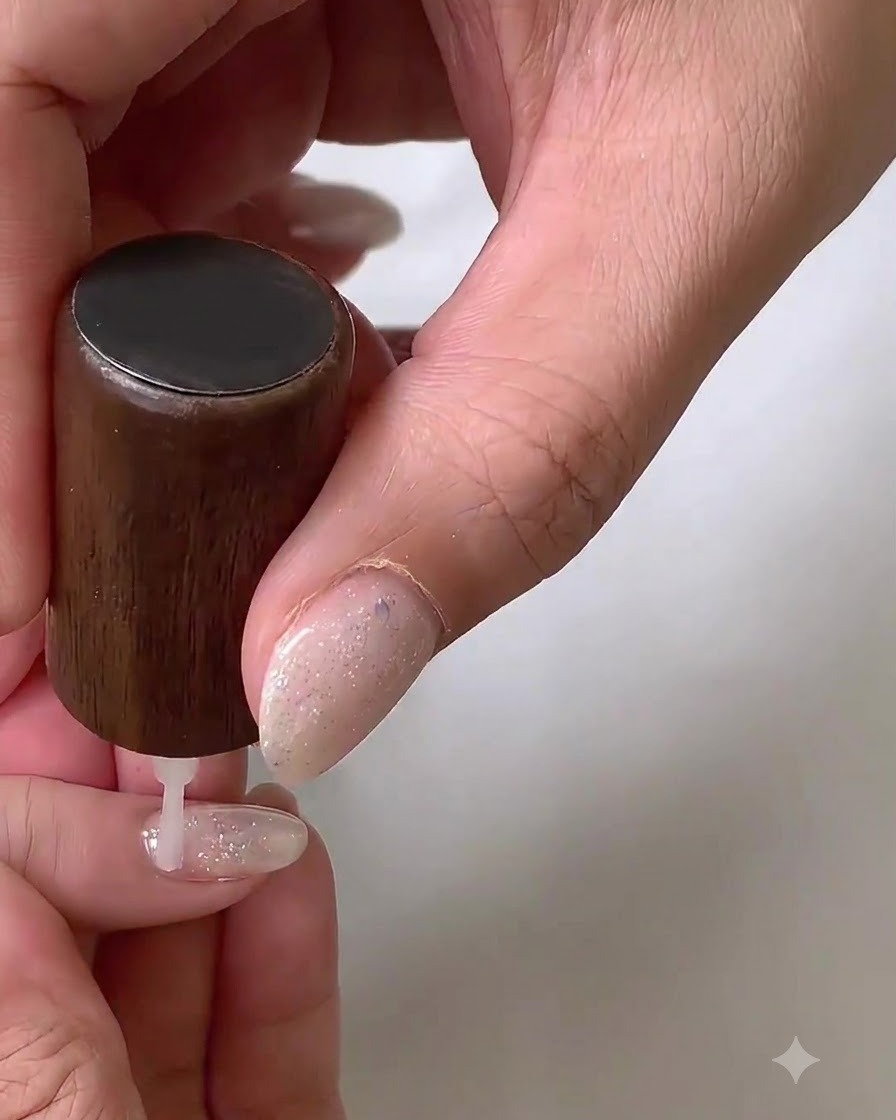
Take a soft nail brush and gently sweep away any remaining dust from the nail plate and surrounding skin. Ensure the surface is completely clean before moving on to the next product application.
Tip: A clean surface prevents dust particles from becoming trapped under subsequent gel layers. - 6Final precision filing
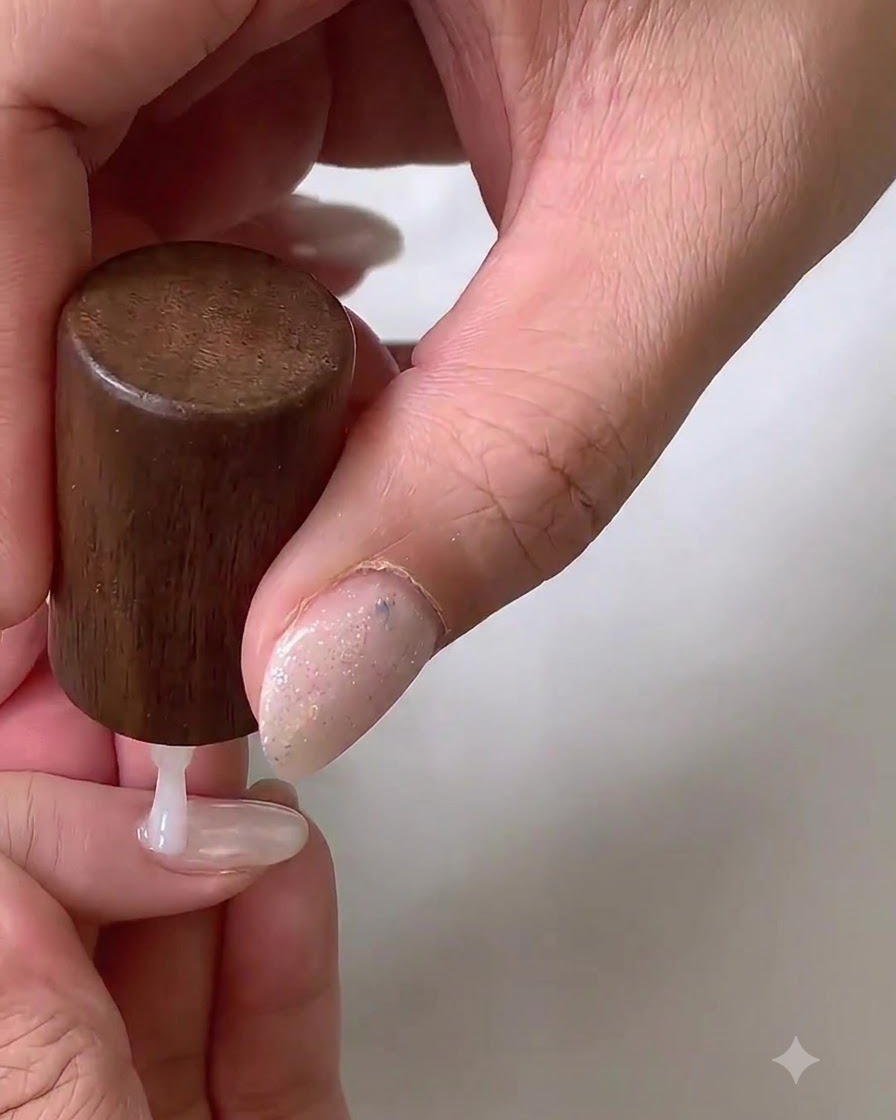
Pass the flame-shaped e-file bit along the cuticle line one final time to achieve ultimate precision and smoothness. This step ensures that all lifted product or residual cuticle tissue is completely removed, creating a flawless surface for polishing.
Tip: Hold the handpiece at a gentle angle parallel to the nail plate to prevent the tip from gouging the natural nail. - 7Apply white gel base layer
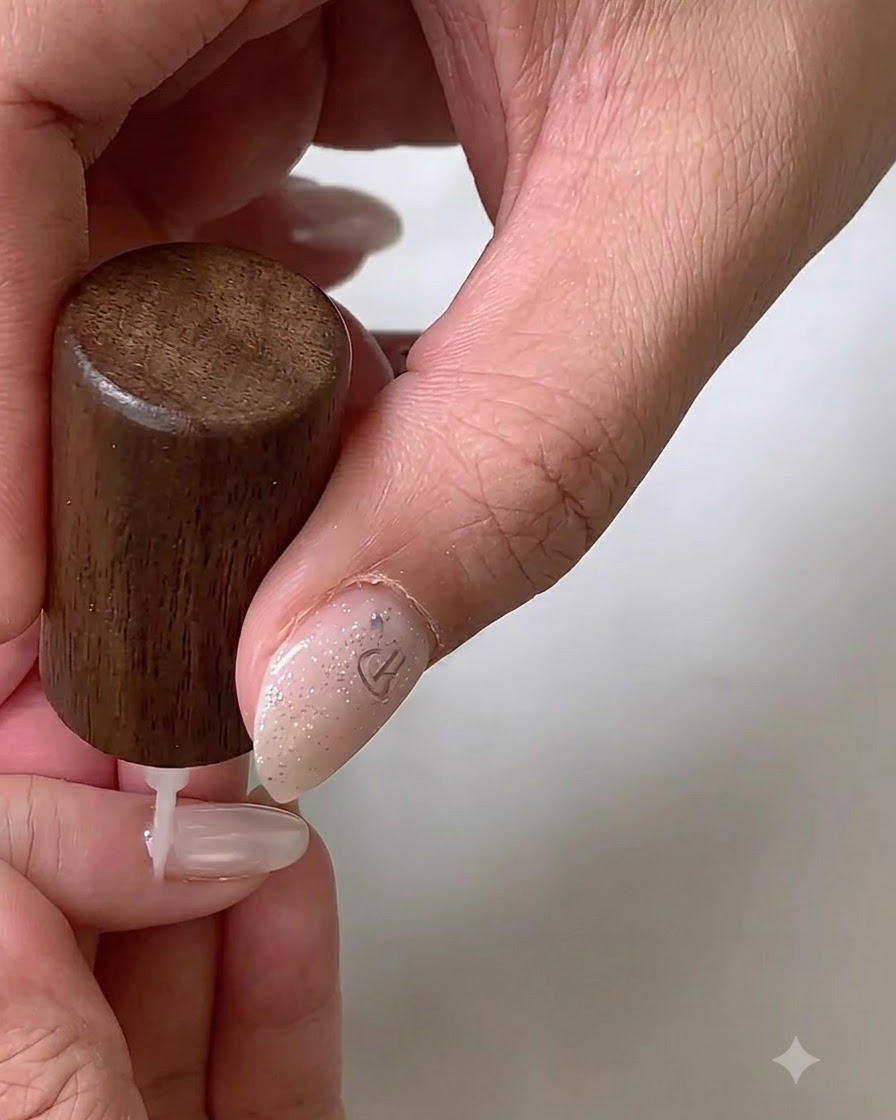
Using a flat gel brush, apply a smooth white gel base layer to the nail surface, ensuring even distribution from the cuticle to the free edge without flooding the skin.
Tip: Keep strokes light and thin to prevent bubbling or uneven curing. - 8Cure white base layer
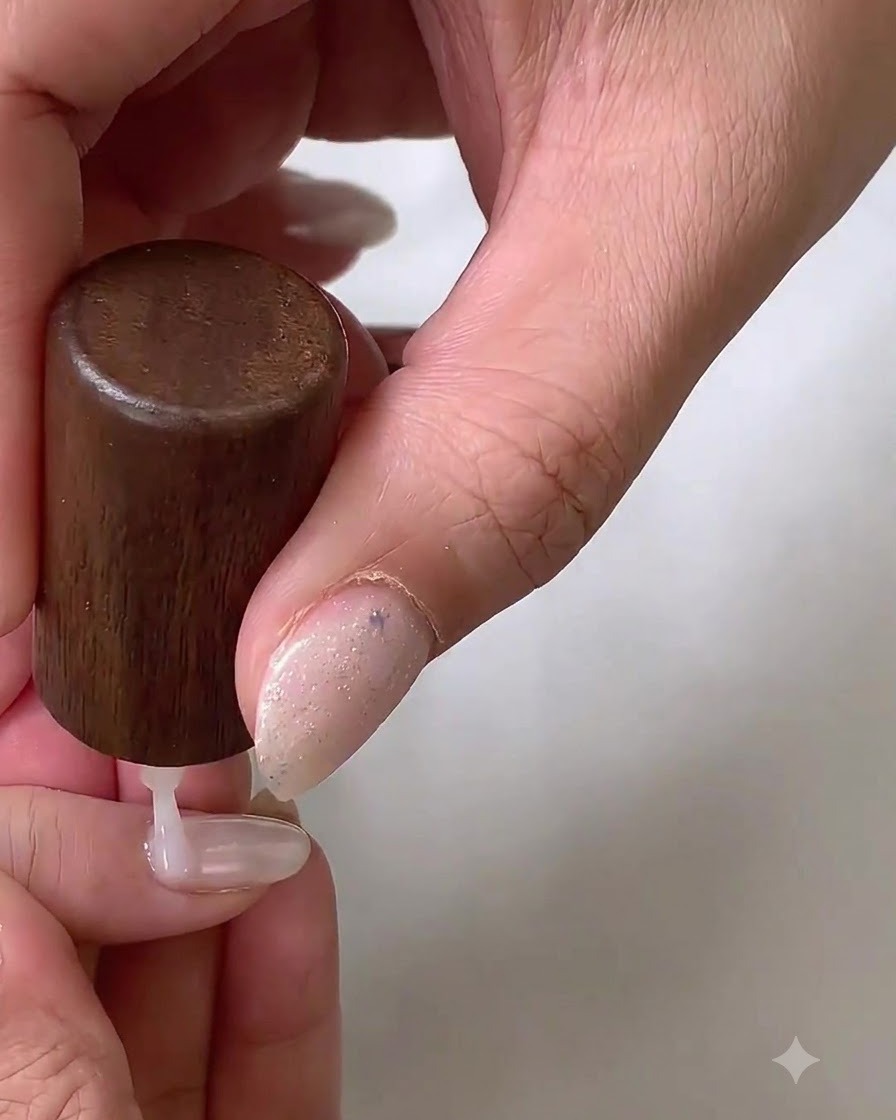
Place the hand under an LED nail lamp to cure the white gel base layer fully, setting the product for subsequent steps.
Tip: Ensure proper hand placement inside the lamp so all fingers receive uniform UV/LED exposure. - 9Apply second coat of white gel base
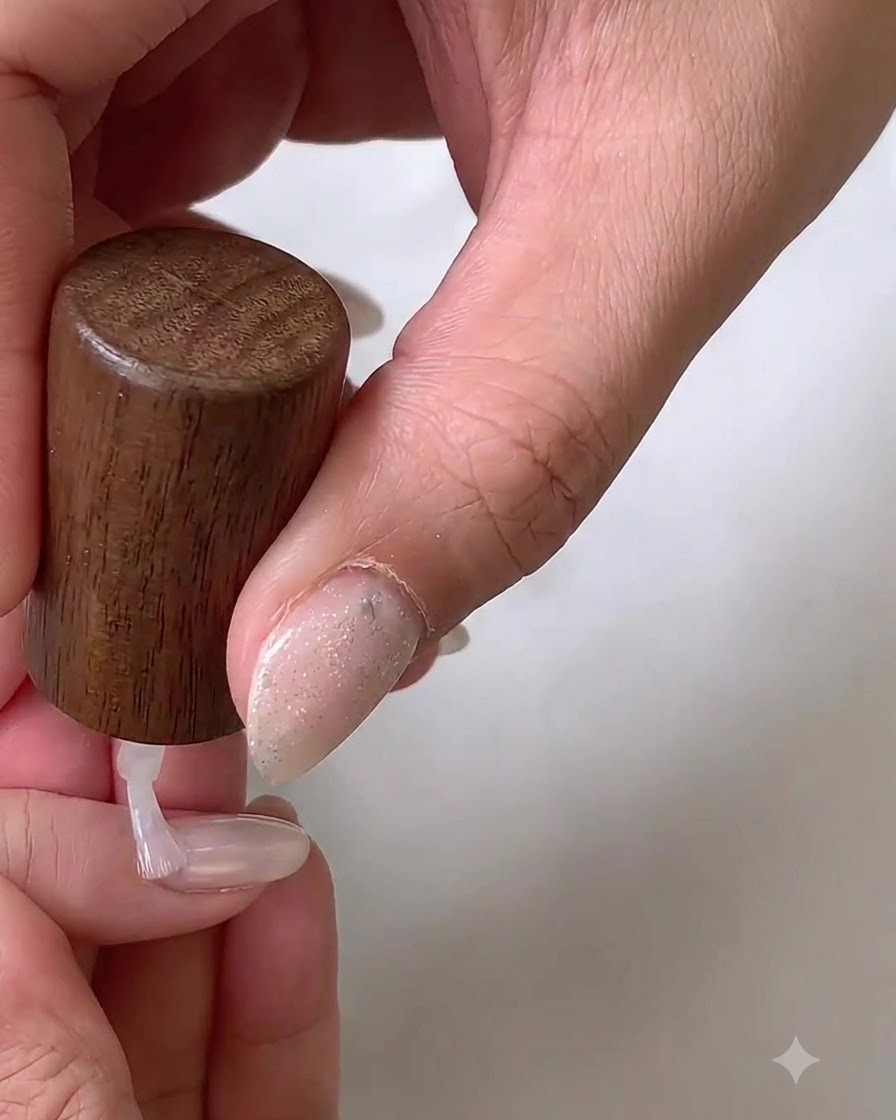
Apply a second coat of white gel base to the nail to deepen the opacity and ensure completely even coverage across the entire surface.
Tip: Two thin coats are always better than one thick coat to prevent wrinkling during curing. - 10Smooth the white gel layer
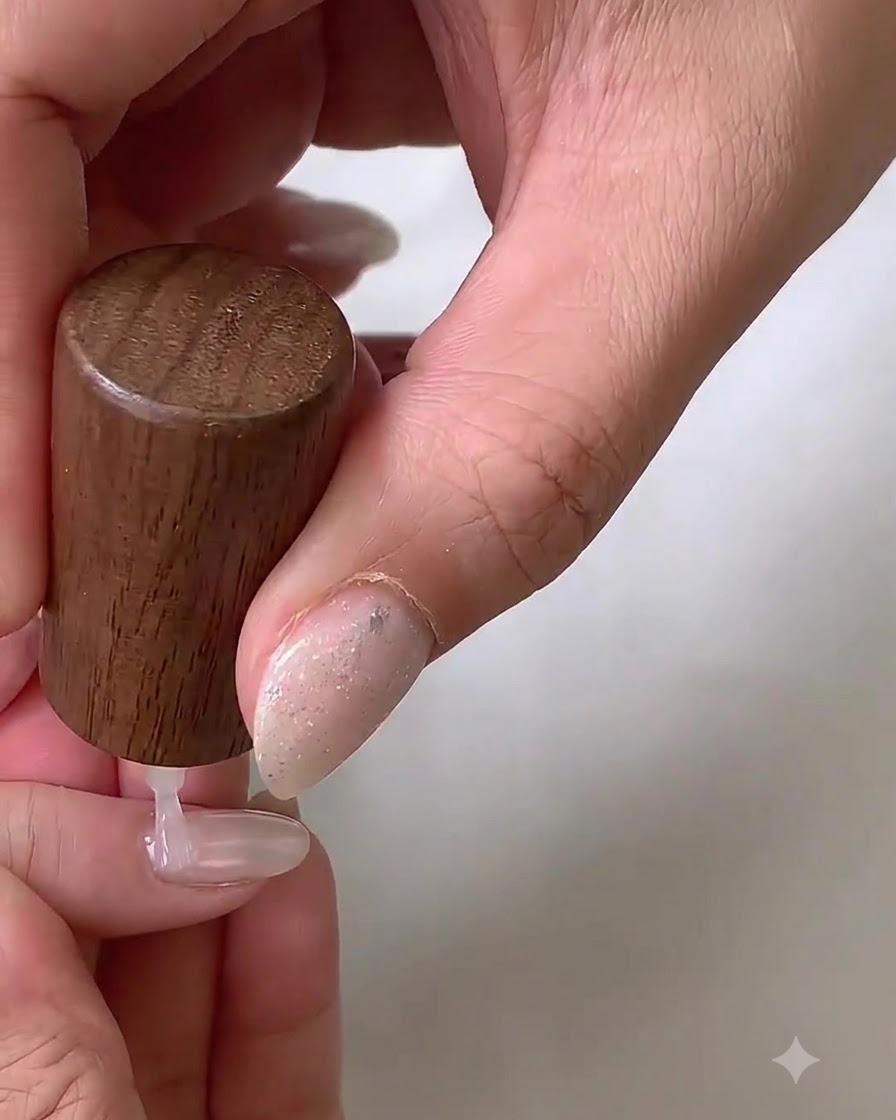
Gently glide a clean brush across the white gel layer on the nail surface to level out any minor ridges or brush marks before curing.
Tip: Lightly floating the brush helps achieve a glass-smooth surface finish. - 11Cure second white layer
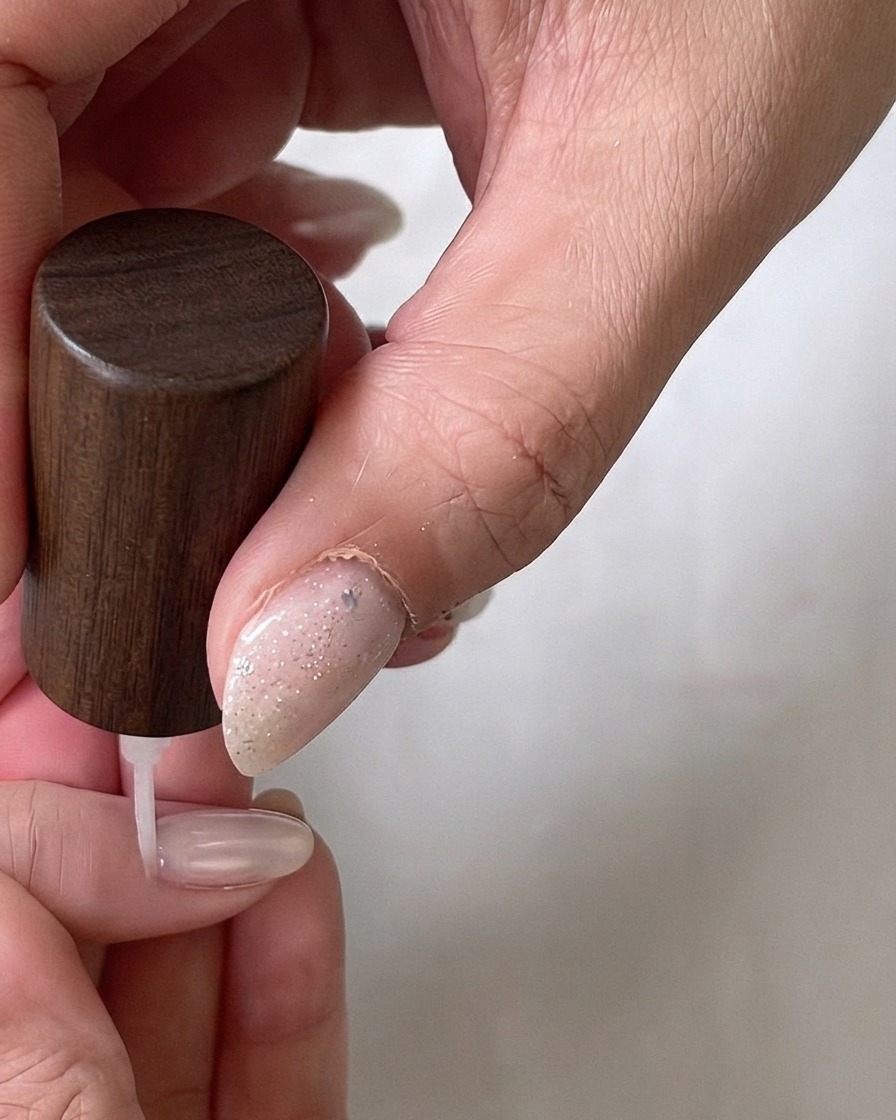
Place the hand inside the LED lamp to cure the second layer of white base coat. Ensure the entire nail surface is exposed to the light so the gel cures evenly and securely without wrinkling or shifting.
Tip: Check that your hand is positioned flat inside the lamp so thumbs and side edges receive equal UV/LED exposure. - 12Apply guide sticker
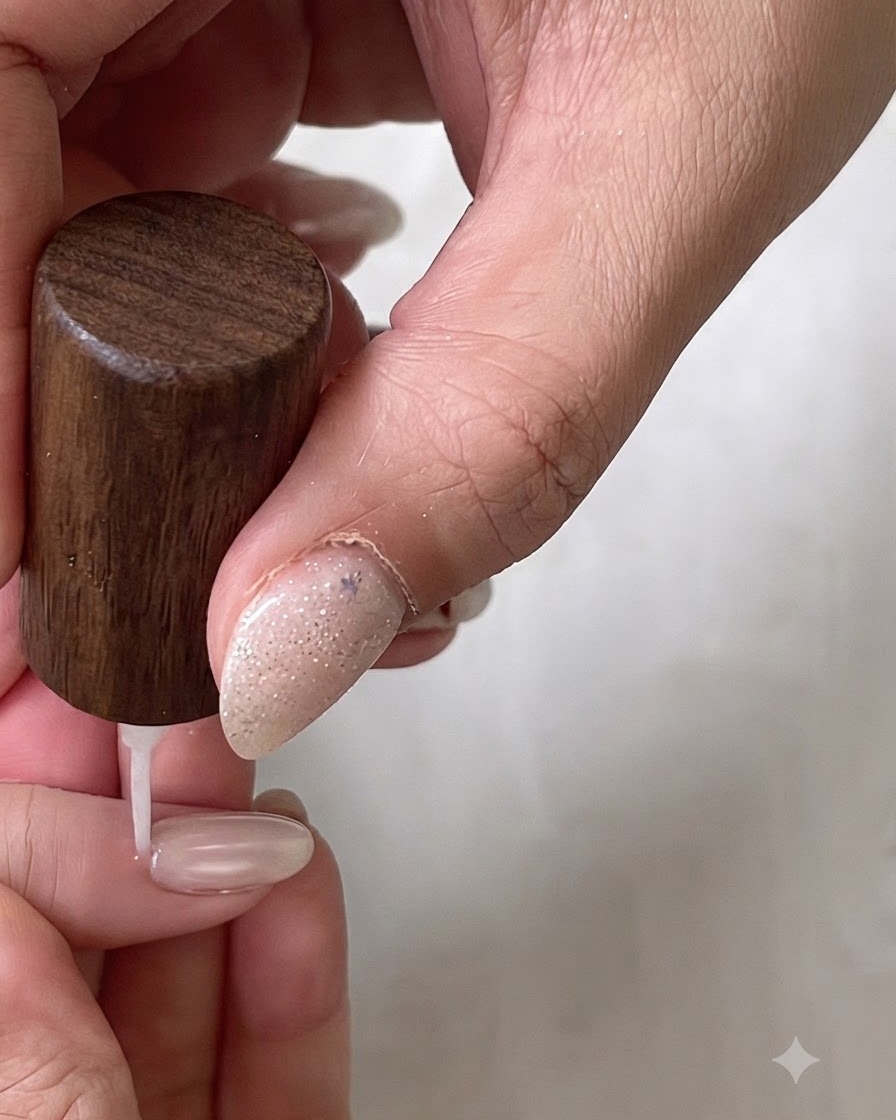
Position a nail form or geometric guide sticker carefully onto the nail surface to establish precise boundaries for upcoming nail art. Press down the edges firmly so that paint or gel cannot bleed underneath.
Tip: Ensure the sticker is pressed down completely without air bubbles to get crisp, clean lines during your design work. - 13Apply brown dot pattern
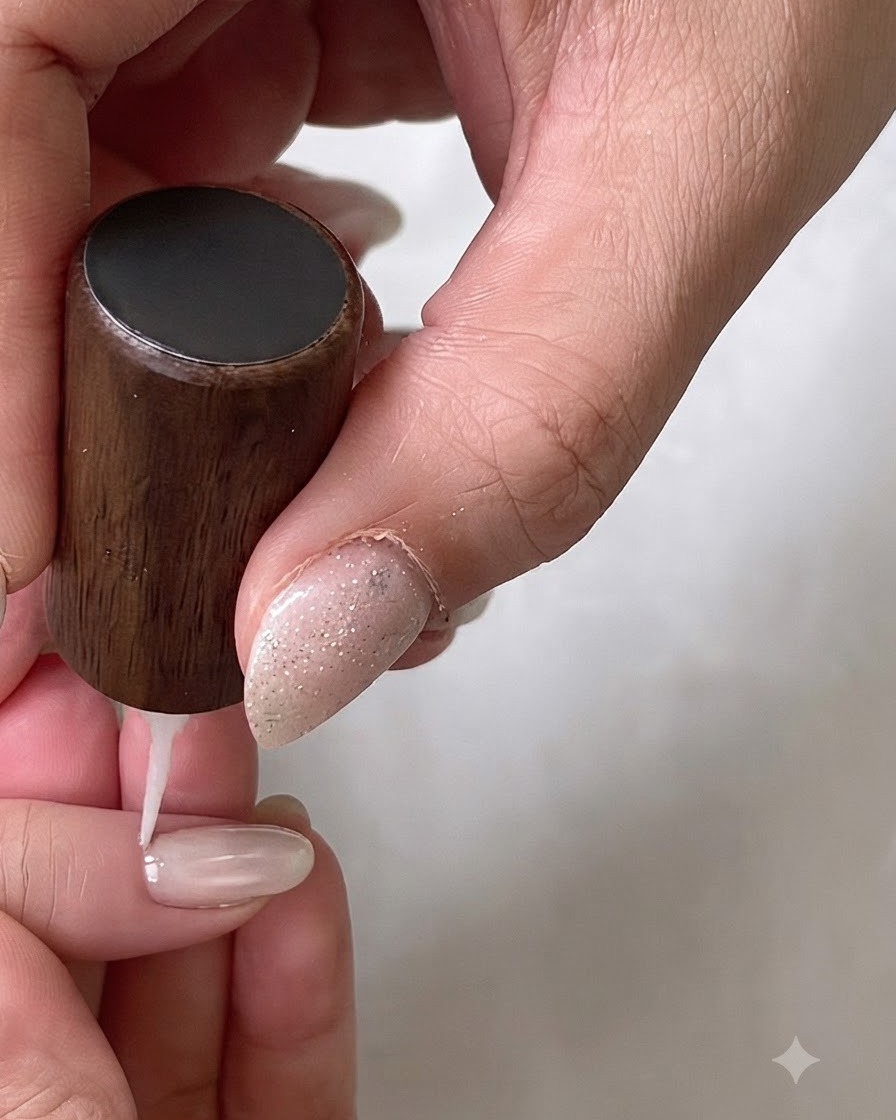
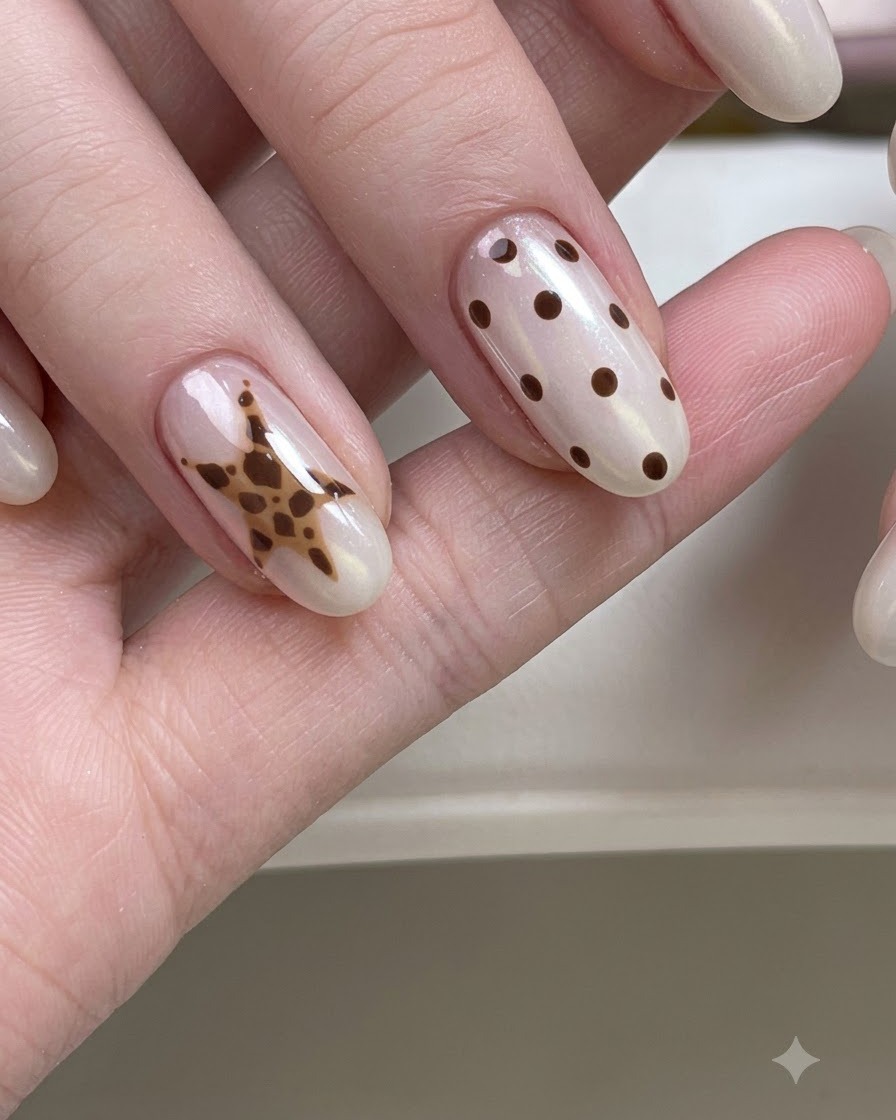
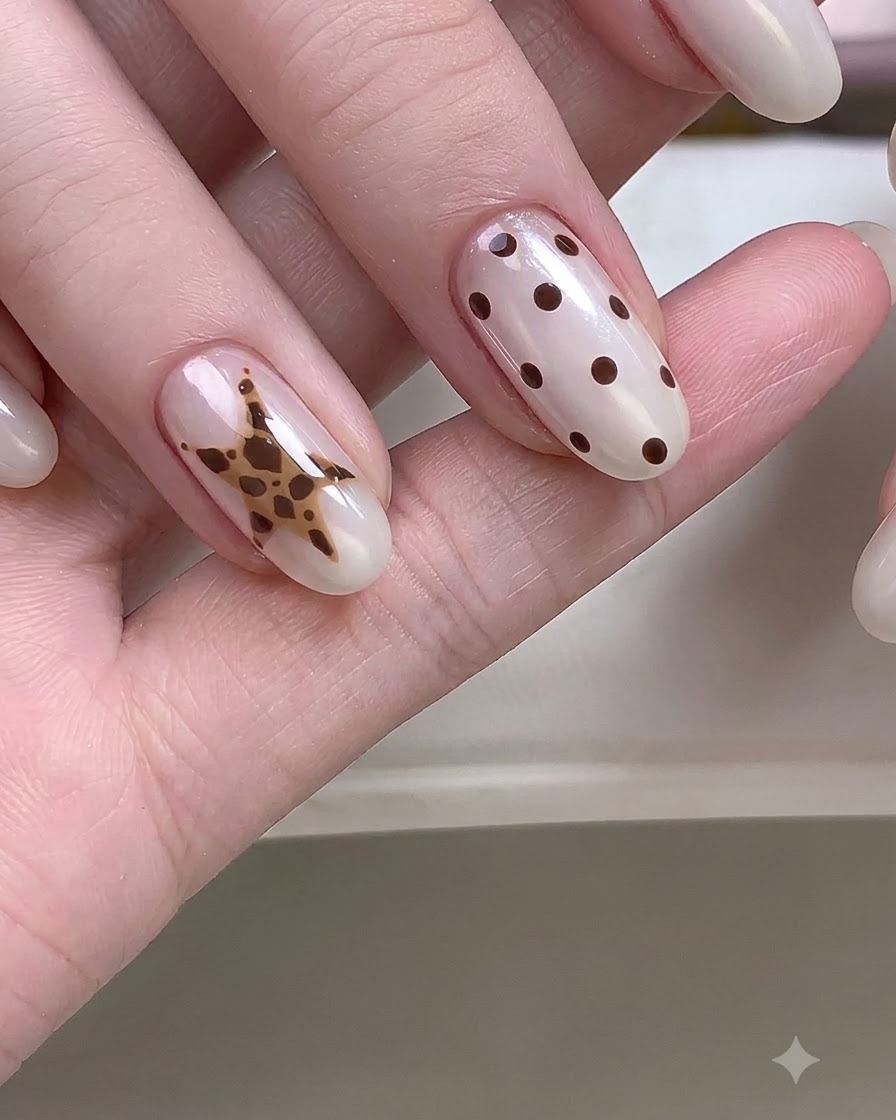
Dip a fine dotting tool into brown gel polish and apply small, evenly spaced dots onto the nail in a deliberate pattern. Maintain a consistent amount of product on the tip of the tool to keep all dots uniform in size.
Tip: Wipe your dotting tool clean between applications to prevent blobs and keep each dot sharp and distinct. - 14Outline and paint nail art design
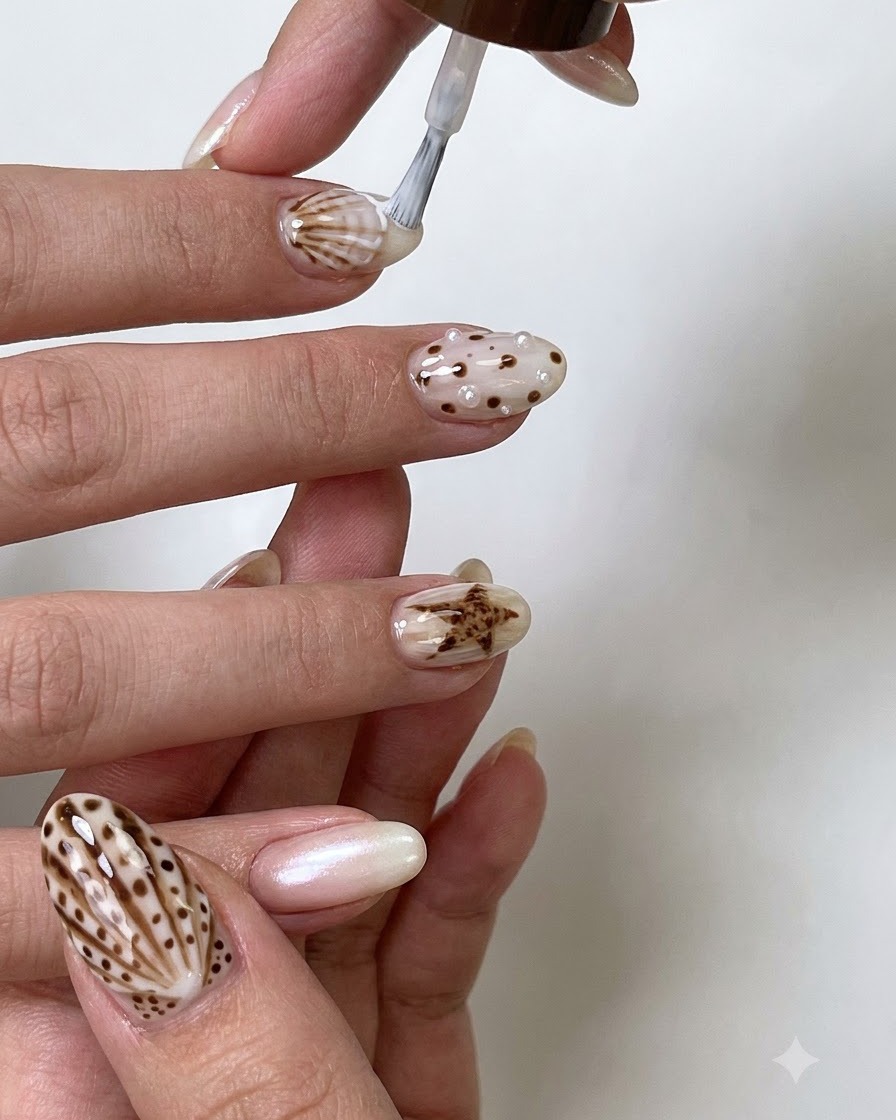
Using a fine liner brush dipped in brown gel, carefully outline and paint intricate details or motifs like shells, dots, and star shapes on the designated nails. Work with a steady hand to achieve crisp, clean lines and defined shapes.
Tip: Wipe your liner brush frequently on a lint-free wipe with a tiny bit of cleanser to maintain a sharp, thin tip for precise detailing. - 15Fill star with leopard print
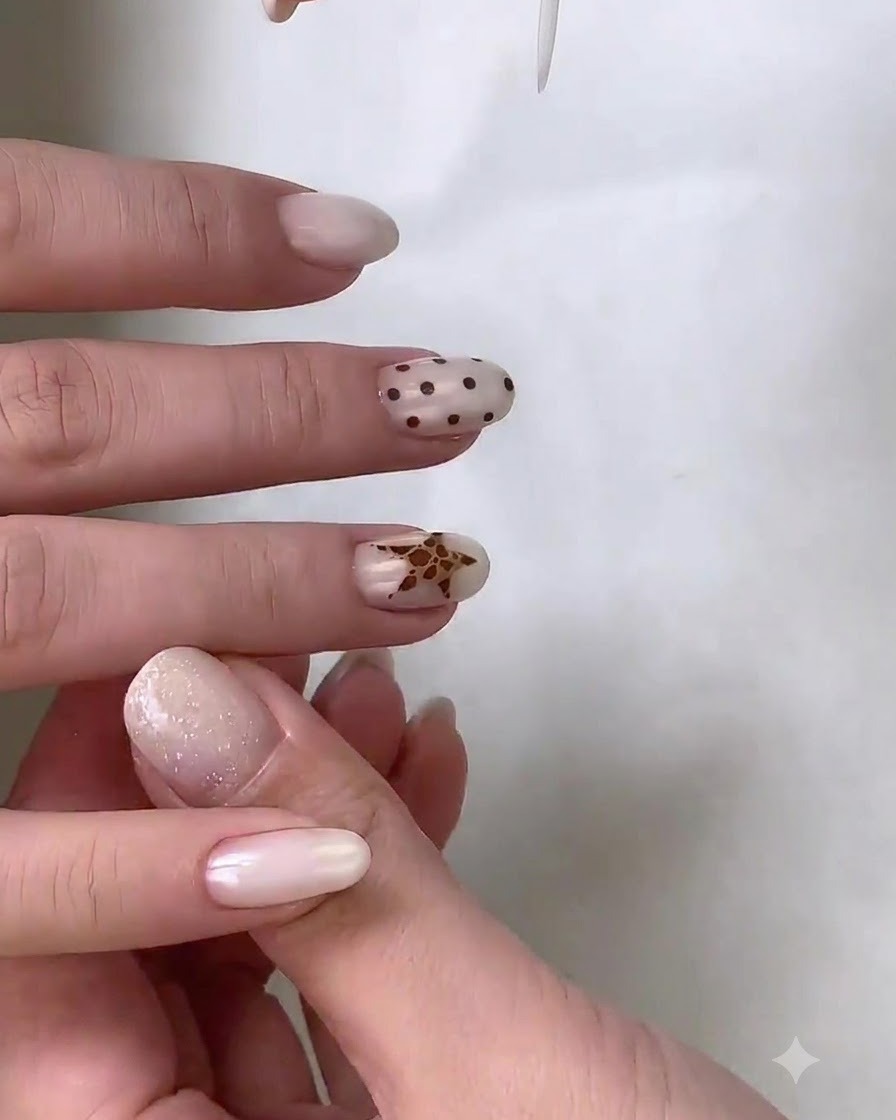
Using a fine liner brush dipped in brown gel, carefully draw and fill in detailed leopard print accents inside the star shape. Keep your hand steady and use light strokes to create the organic spots characteristic of animal print.
Tip: Work in small sections and flash-cure your lines if necessary to prevent the gel details from bleeding together. - 16Apply final clear top coat
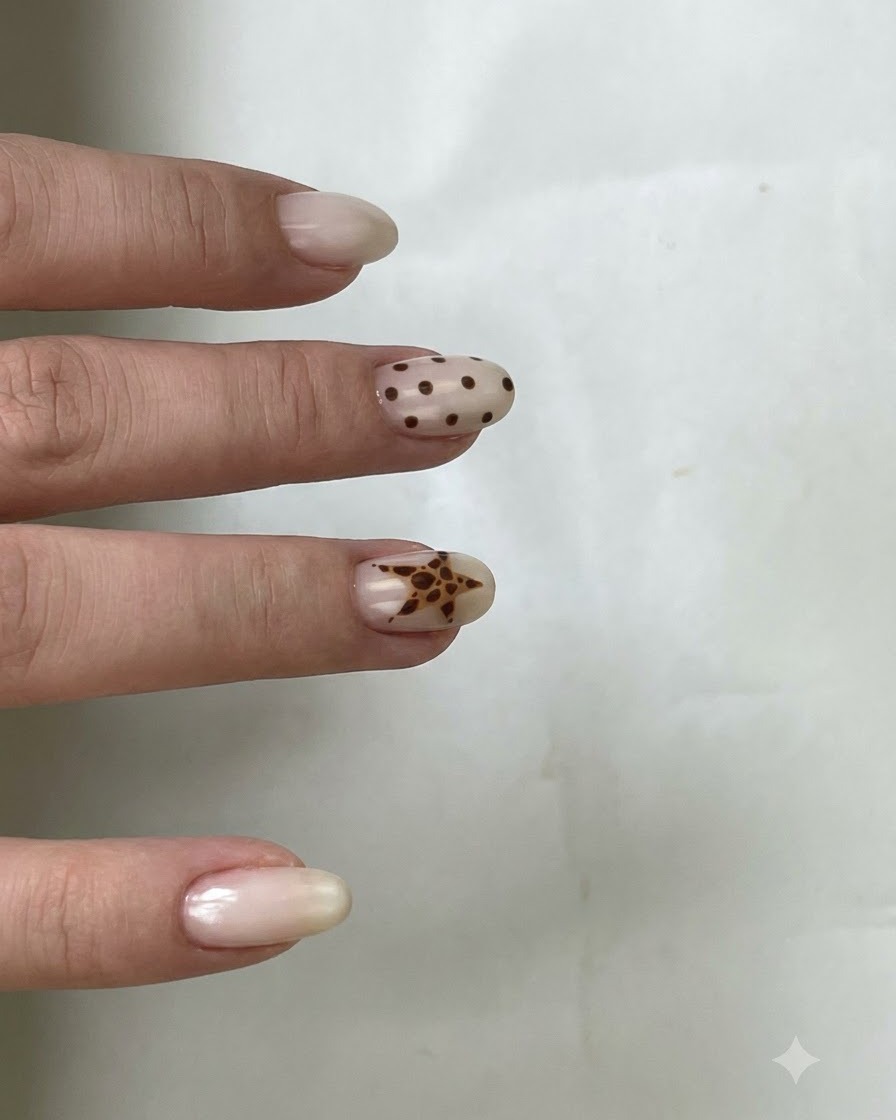
Apply a generous yet even layer of clear top coat over the entire nail surface, fully sealing in the polka dots and star nail art design. Ensure the free edge is cleanly capped to prevent premature chipping and lifting. This protective layer provides a high-gloss shine and seals all artwork securely.
Tip: Cap the free edge carefully with top coat to lock in the nail art and extend the lifespan of your manicure. - 17Cure top coat under LED lamp
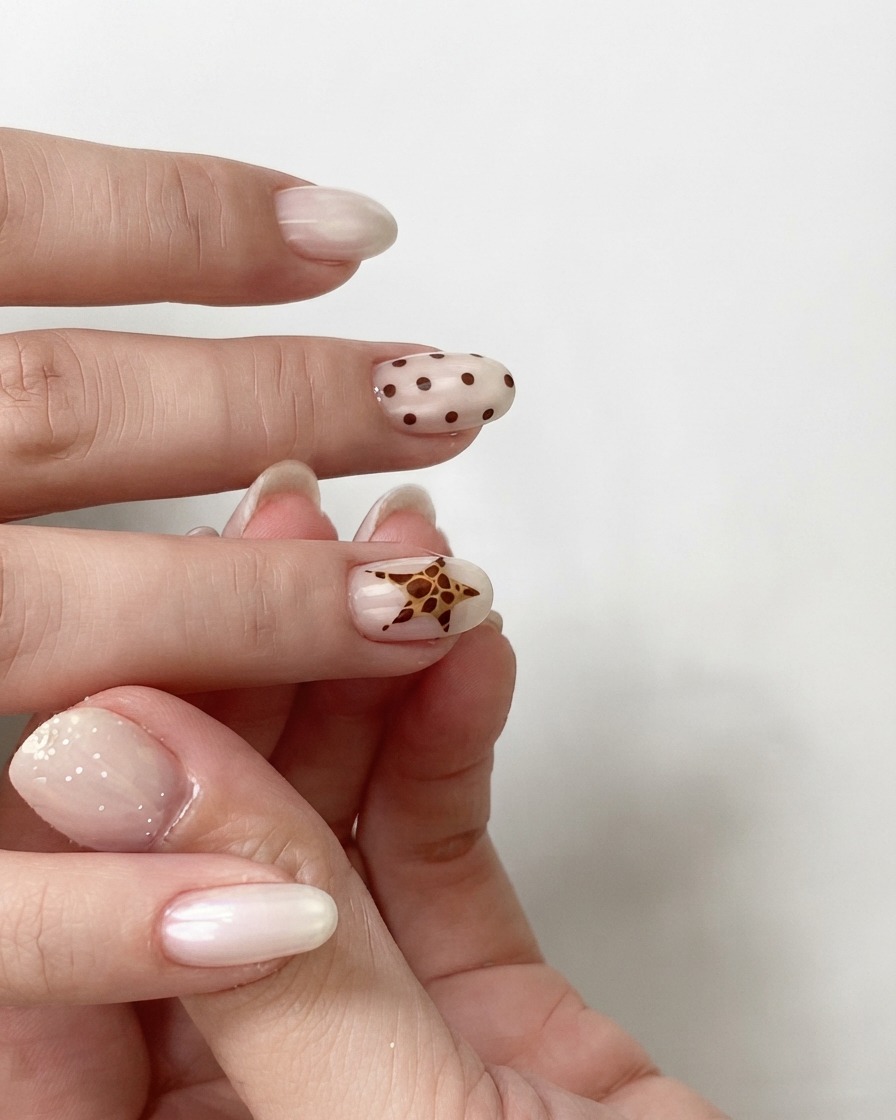
Place your hands inside the LED lamp and cure the final top coat layer completely according to your gel systems specifications. This final cure hardens the top coat to a durable, high-gloss finish, locking in the entire nail design and making it resistant to scratches and everyday wear.
Tip: Do not remove your hands early; a complete cure ensures maximum shine and prevents a tacky or soft surface.