Van Cleef Clover Luxury Rhinestone
Glitter Gel Nails — Step-by-Step Tutorial
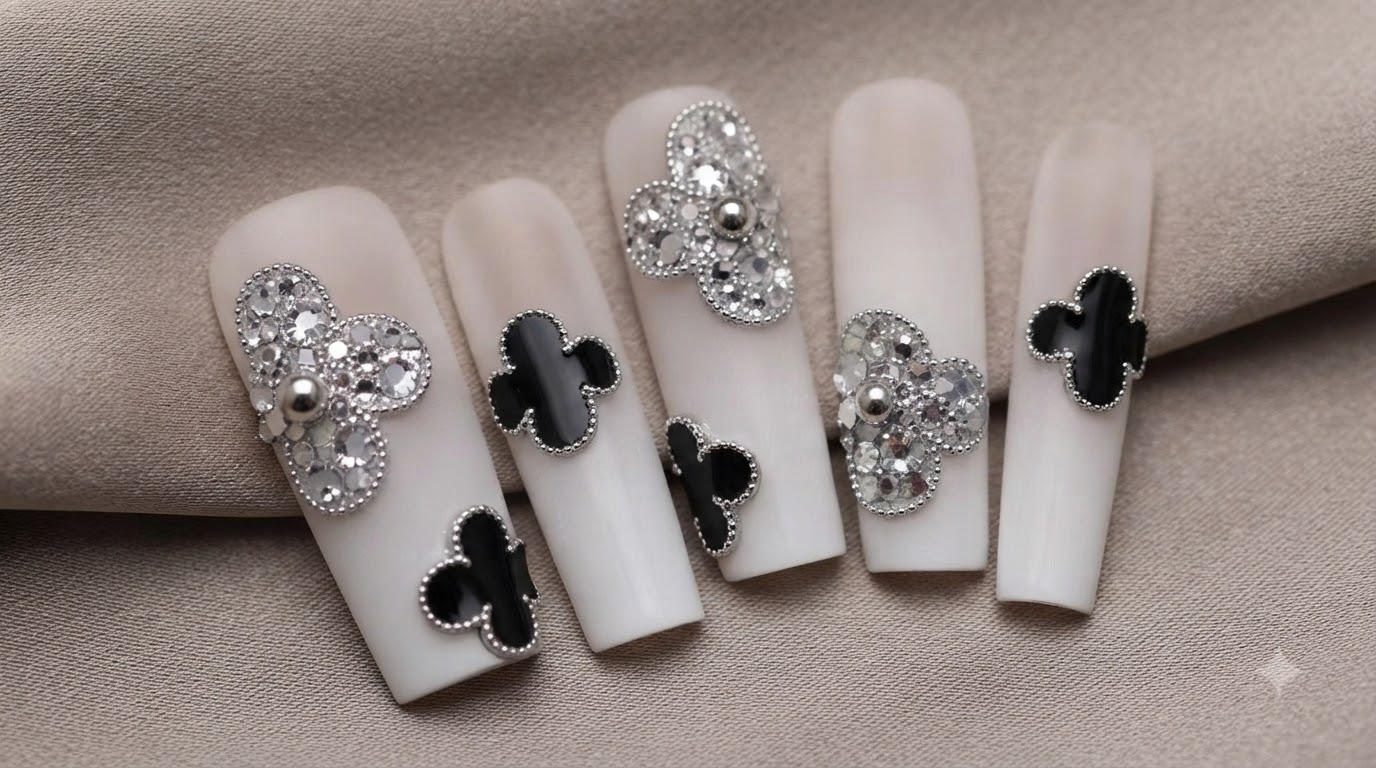
Create luxurious Van Cleef-inspired clover nail art featuring elegant black and silver glitter outlines, textured 3D rhinestone borders, and a soft milky white gradient base.
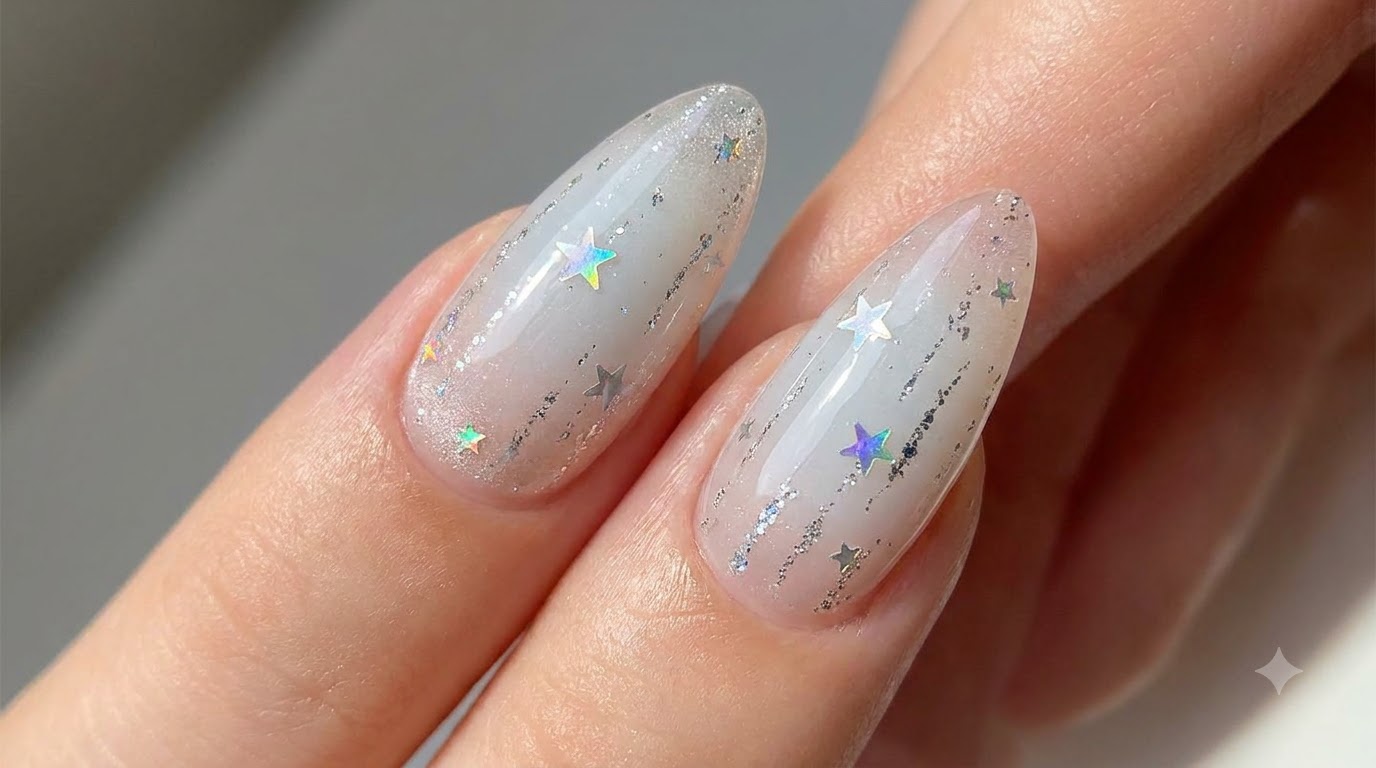
Inspired by the iconic luxury clover motifs, this sophisticated nail design combines a soft milky white gradient base with sparkling high-density glitter lines, 3D raised frames, and dazzling rhinestone clusters. Perfect for special occasions or whenever you want to showcase high-end salon elegance right at your fingertips.
Steps
- 1Enhance the gradient effect
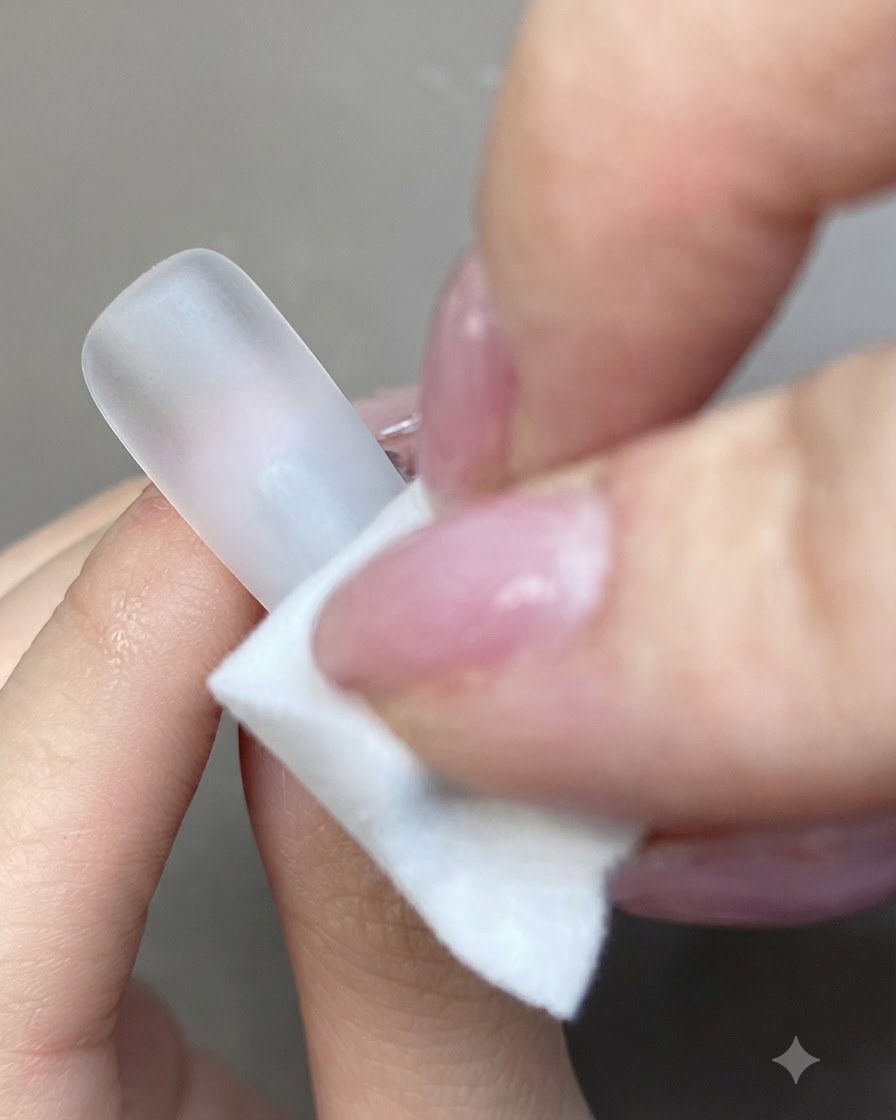
Lightly dab the fingertip area again using a cotton pad with white gel to enhance the gradients depth and layered texture. This builds on the initial gradient for a more refined appearance. Cure under the UV lamp once finished.
Tip: Dab very lightly to avoid creating harsh lines or overlapping too heavily with the lower gradient. - 2Apply translucent milky white layer
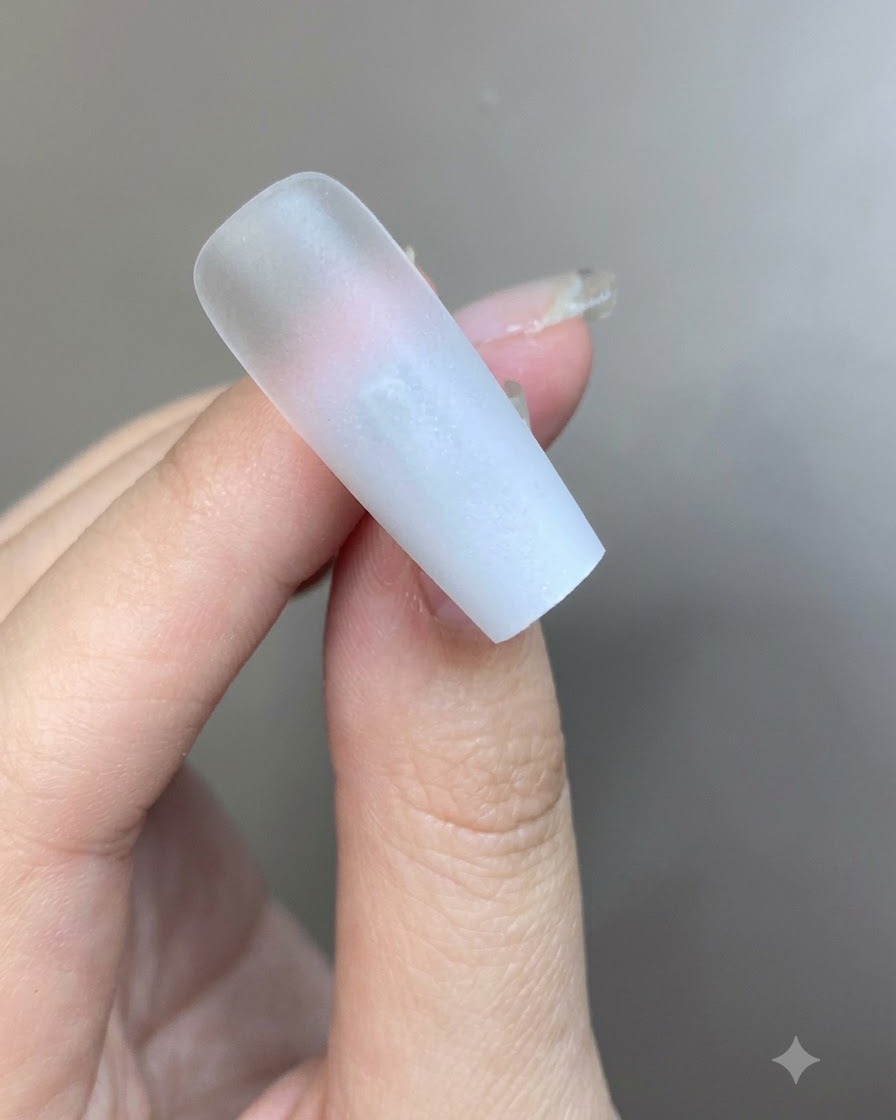
Brush a very thin layer of milky white gel evenly across the entire nail plate. Keep this application extremely thin so it does not completely cover or obscure the base gradient created underneath. Cure the layer under the UV or LED lamp.
Tip: Applying the milky white too thickly will wash out the gradient effect underneath. - 3Apply matte top coat
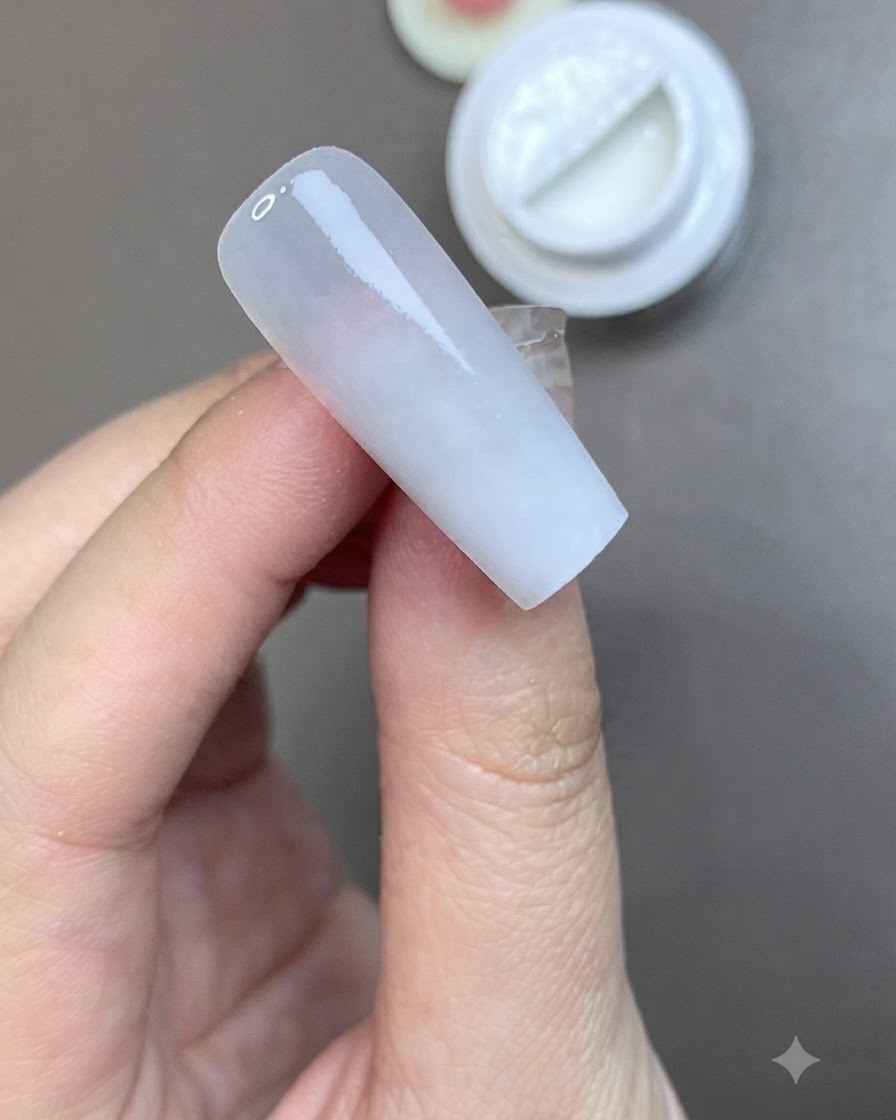
Apply an even coat of matte top coat over the fully cured milky white base layer to create a smooth, velvet-like texture. Cure the top coat under the lamp to set the finish.
Tip: Ensure the matte top coat covers the entire nail surface evenly to prevent shiny spots. - 4Outline silver clover motif
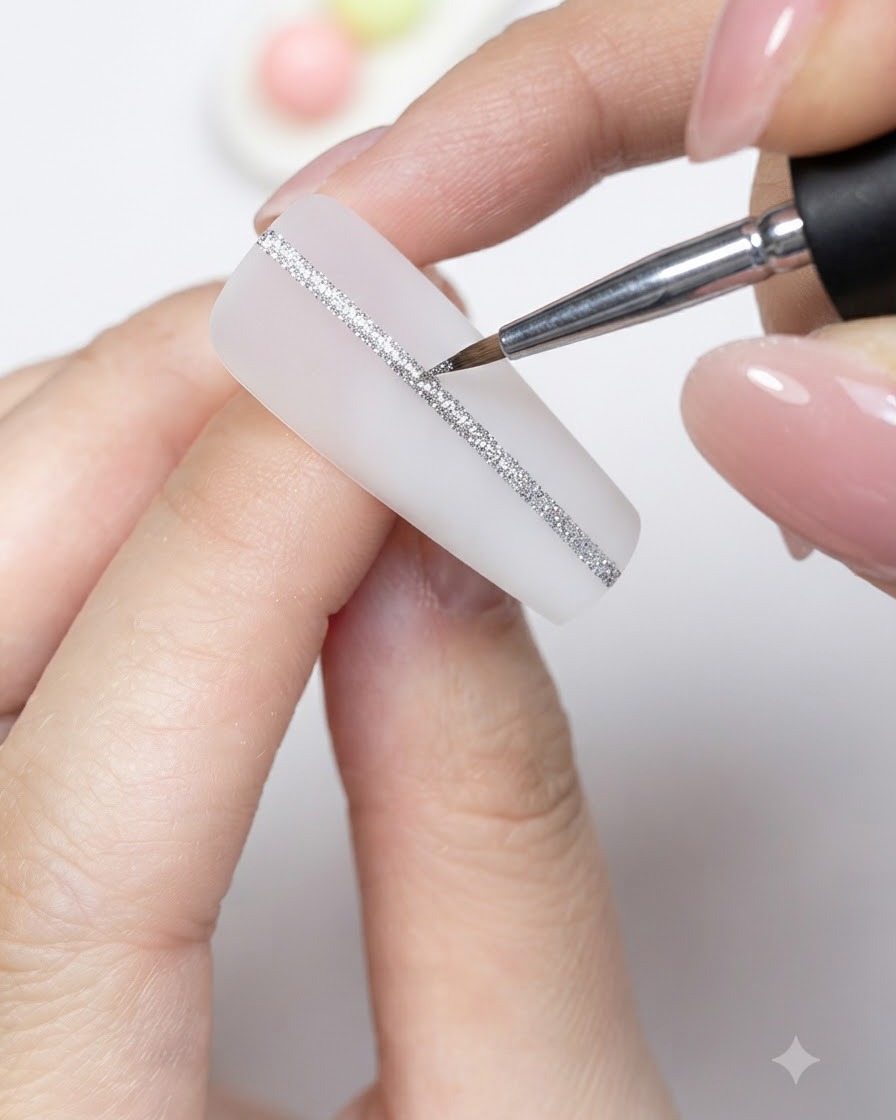
Using a fine liner brush and high-density silver glitter liner gel, carefully position and outline the shape of a four-leaf clover motif directly onto the matte nail surface. The glitter liner should be bright and sparkly.
Tip: Map out the positioning lightly with the brush tip before filling in the lines to keep the proportions balanced. - 5Outline black clover motif
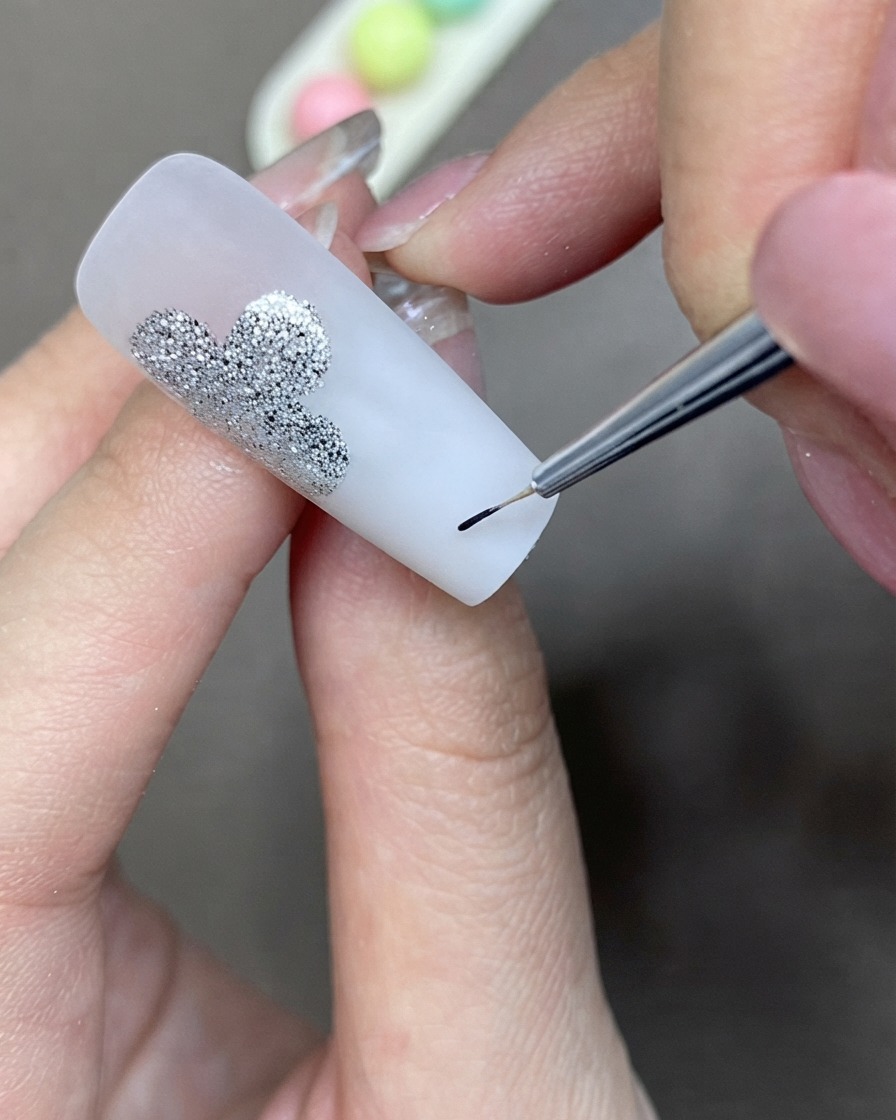
Using a fine liner brush and high-density black liner gel, position and outline another clover motif on a separate section of the nail surface using the exact same technique.
Tip: Keep a steady hand to ensure clean, sharp contours for the black clover design. - 6Frame the black clover with adhesive gel
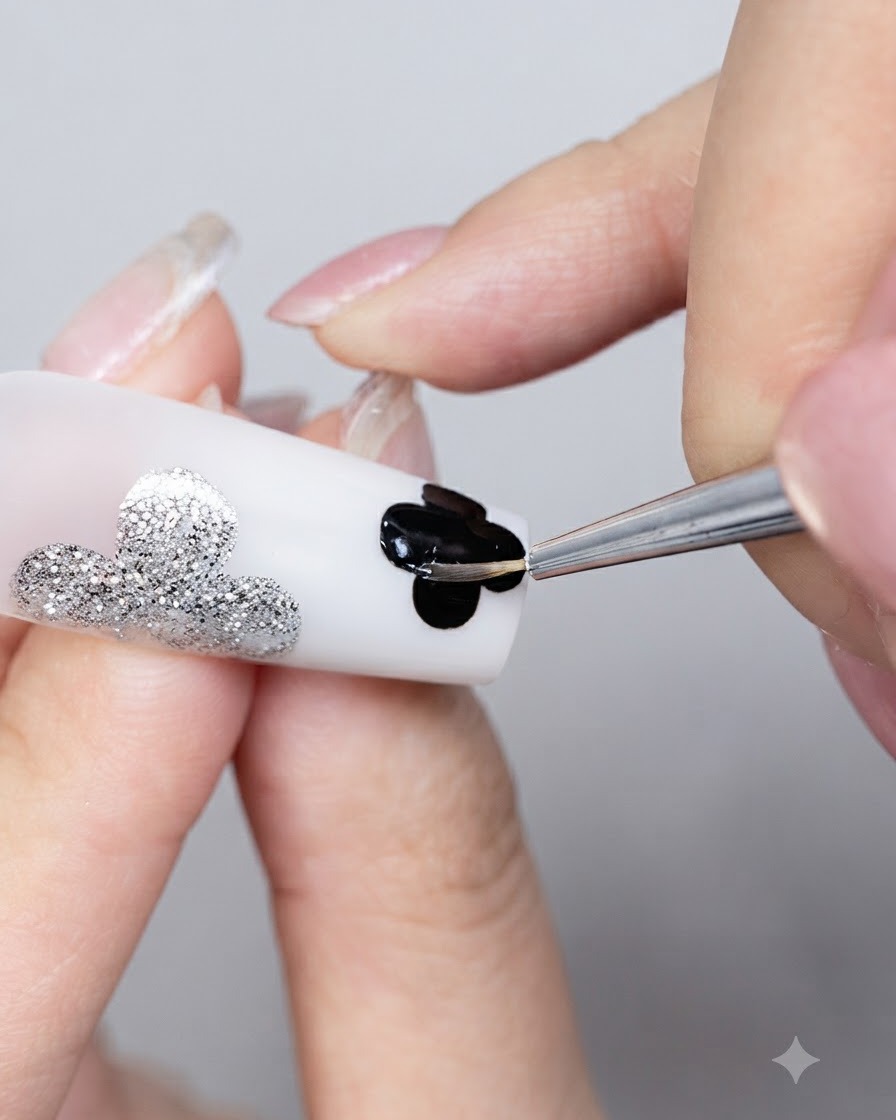
Take rhinestone adhesive gel using a small detail brush and carefully trace around the border of the black clover motif. Try to outline the shape in one smooth stroke to create a distinct, three-dimensional, and delicate raised frame.
Tip: Outlining in a single continuous stroke helps maintain a smooth, uniform border that wont run around. - 7Place and adjust the framed element
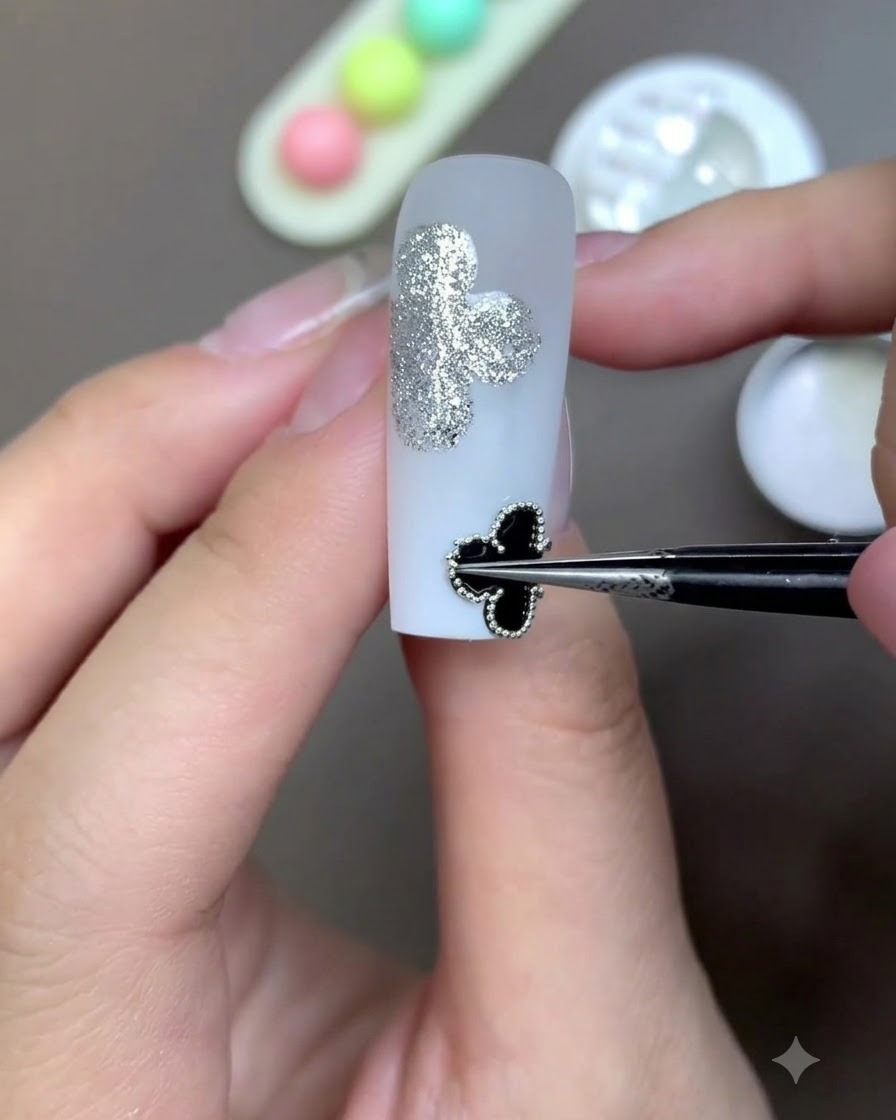
Using tweezers or a precision tool, carefully pick up the framed black clover element and place it onto the prepared nail surface. Gently adjust its position using a brush or tool before the adhesive is cured.
Tip: Pre-framing with adhesive gel makes it much easier to shape and place small embellishments accurately without shifting. - 8Apply steel beads for the outline
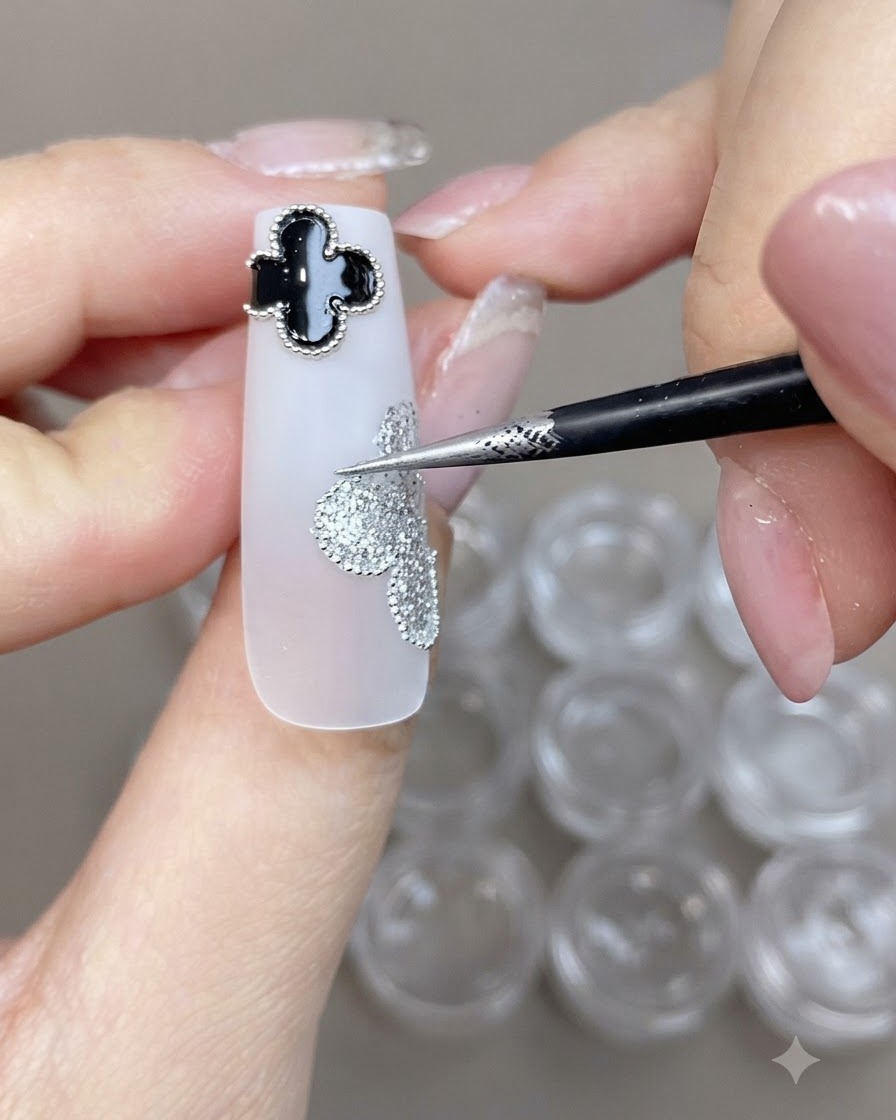
Apply tiny small steel beads along the outer outline of the silver glitter clover motif. Sticking these beads first helps to firmly fix and define the outer contour so the overall shape looks clean and well-defined.
Tip: Be sure to stick the small steel beads precisely along the outline to anchor the shape before adding larger stones. - 9Apply adhesive to the center
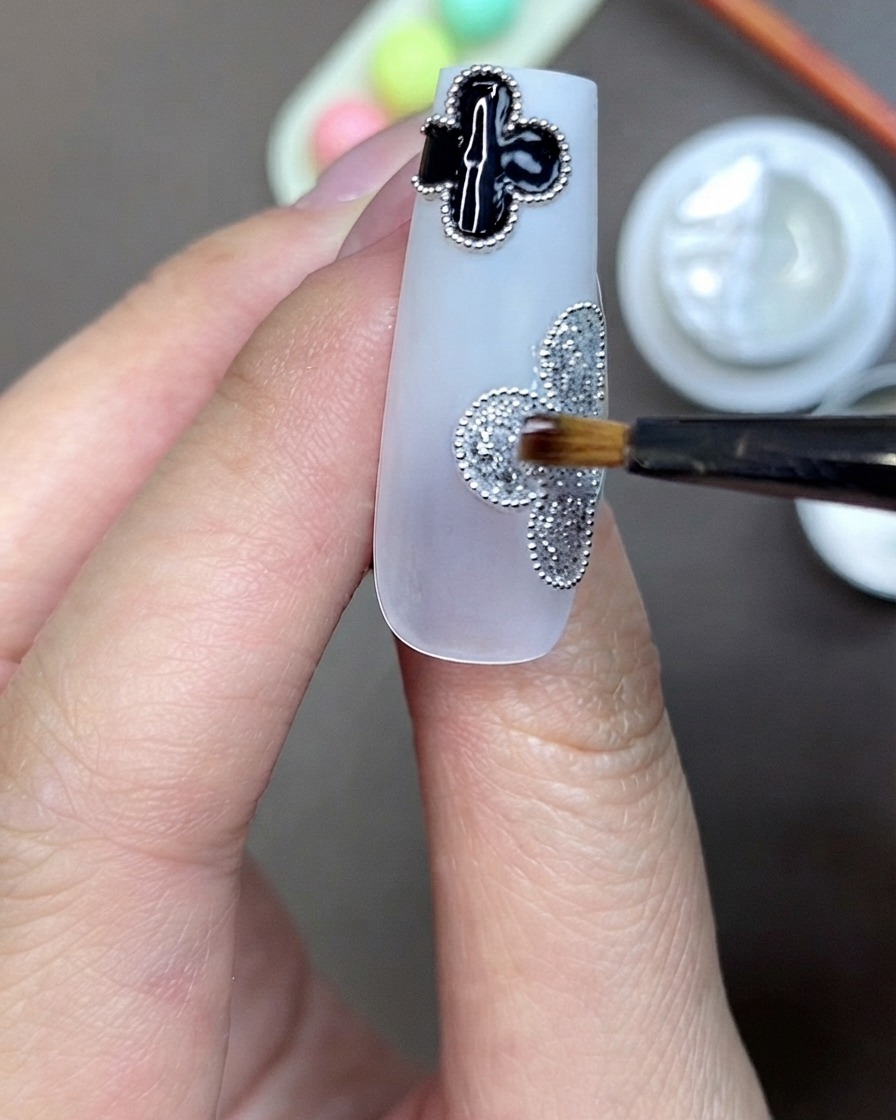
Brush a moderate amount of rhinestone adhesive gel into the middle section of the silver clover shape. This adhesive layer will anchor the center rhinestones securely in place.
Tip: Apply enough adhesive to hold the stones securely, but avoid using too much to prevent the gel from spilling over the edges. - 10Place rhinestones and center steel bead
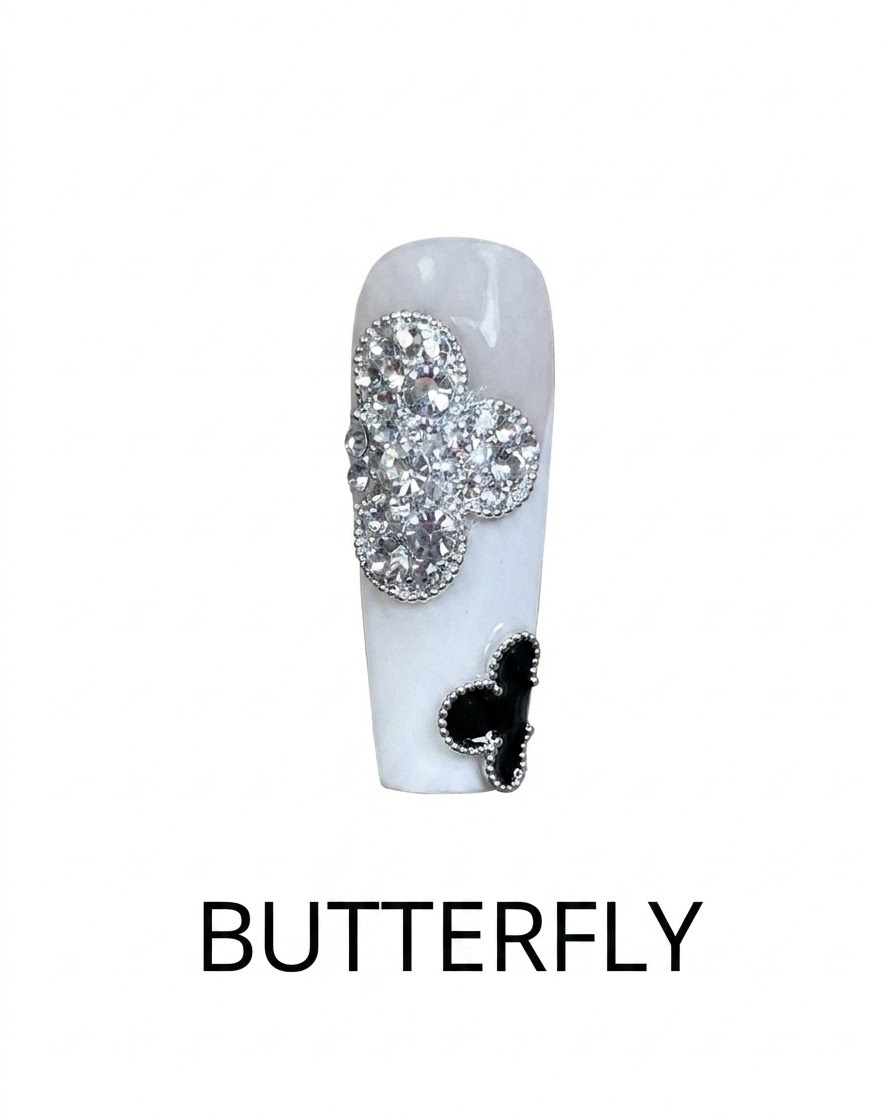
Begin by placing the larger rhinestones into the adhesive gel, followed by the smaller ones, ensuring you leave a slight gap between them. Finally, place a single steel bead directly in the center of the rhinestone cluster, then cure the entire nail under your UV or LED lamp.
Tip: Remember to leave a tiny gap in the rhinestone crevices so the top coat can seal everything properly. - 11Apply shiny top coat to details
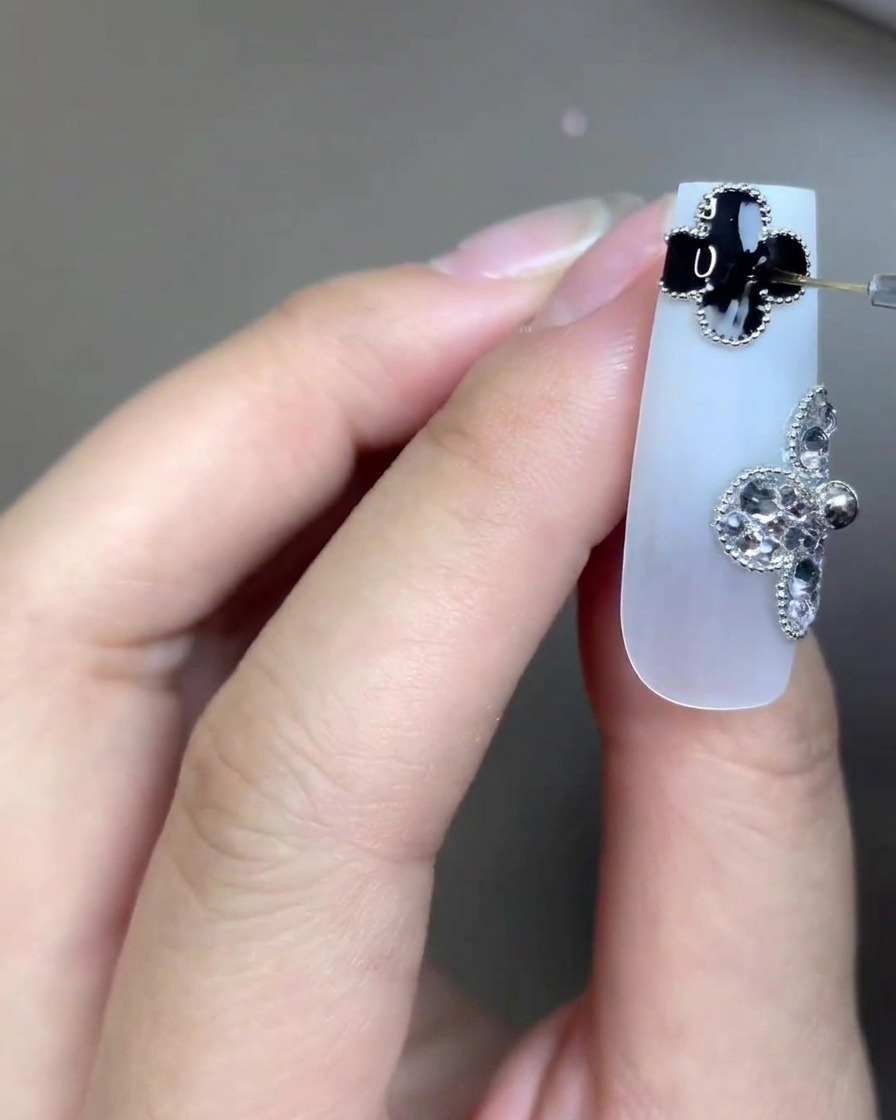
Using a fine detailing brush, carefully apply a shiny top coat directly onto the surface of the black four-leaf clover and around the rhinestone clovers edges. Ensure you work the top coat gently into the crevices to seal the design, while keeping the surface of the rhinestones bare to maintain their brilliant sparkle.
Tip: Avoid brushing top coat directly over the rhinestones, as this will smooth out their facets and dull their shine.