Pink Gradient
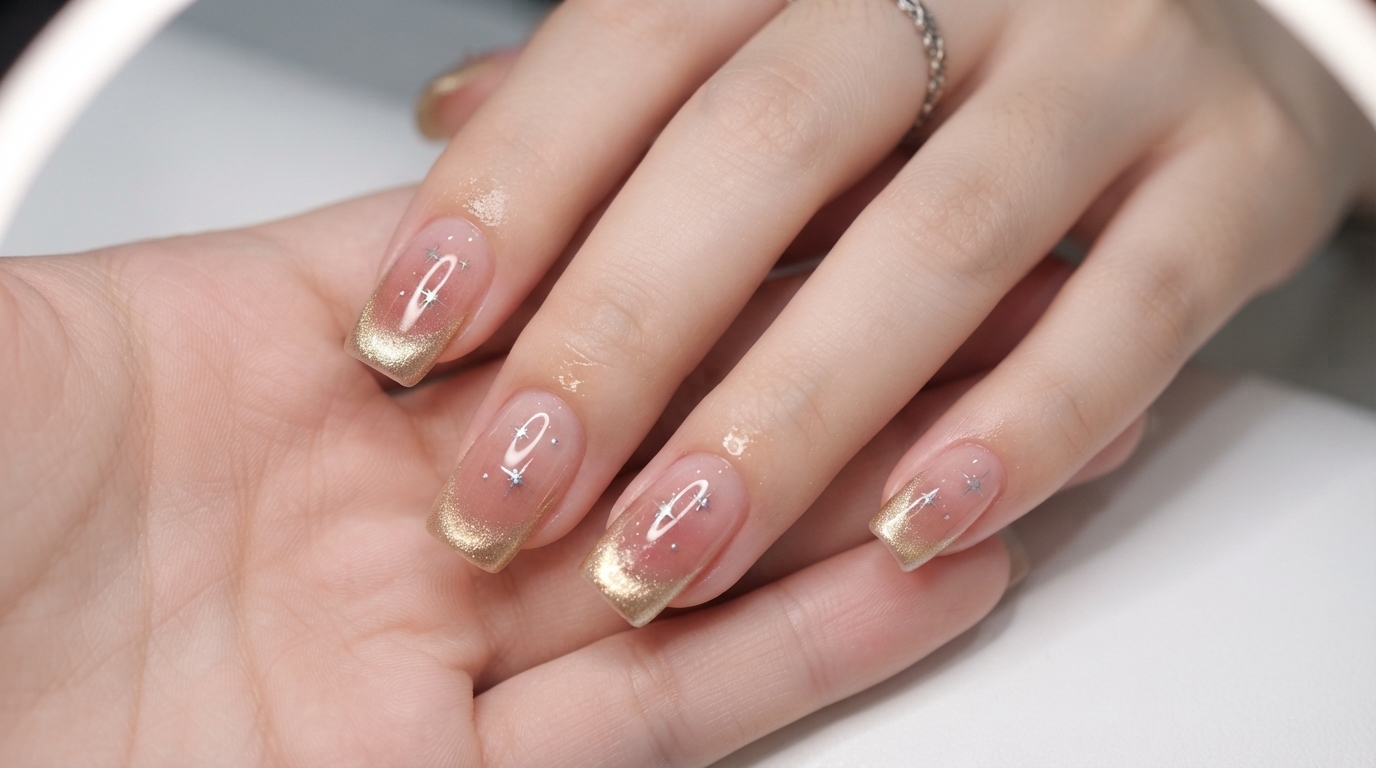
Golden Cat-Eye French Nails — Step-by-Step Tutorial
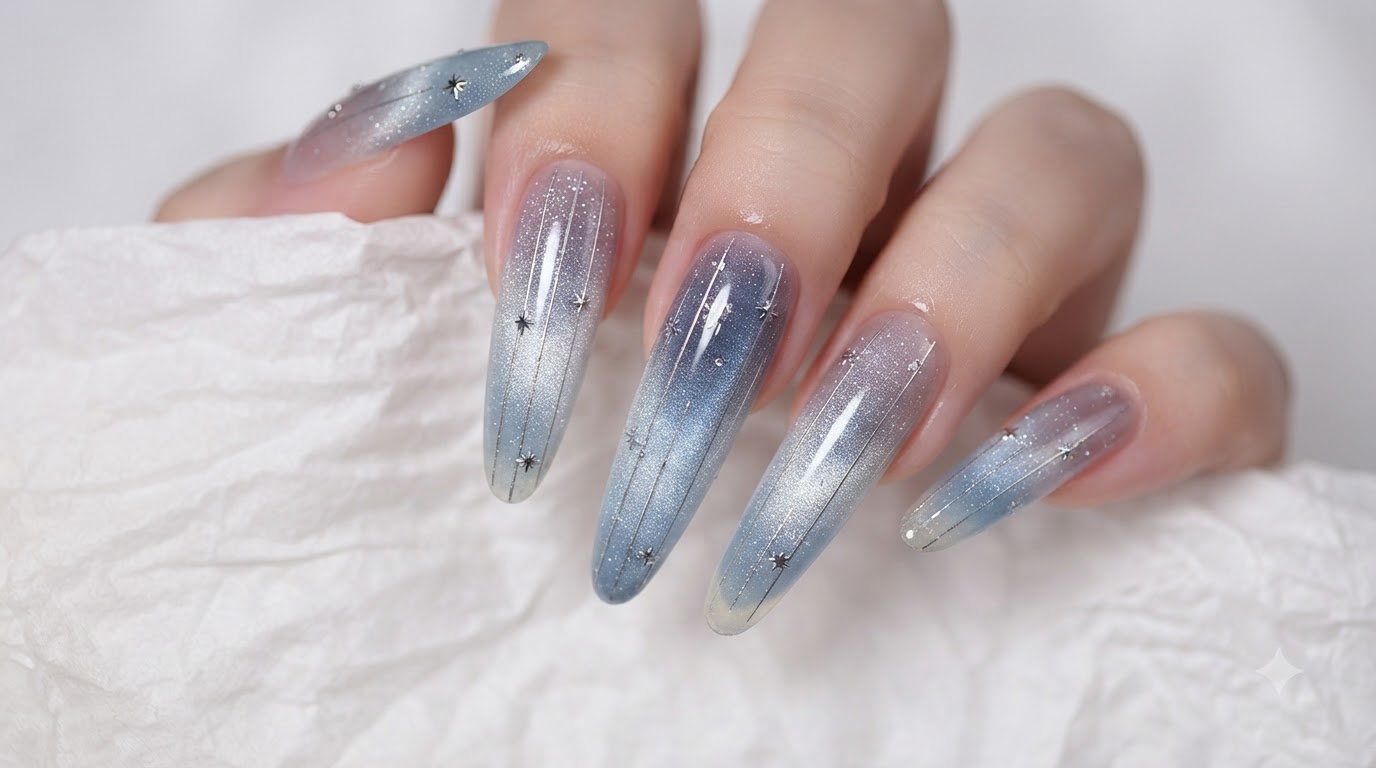
Create a dreamy pink gradient manicure featuring sparkling golden magnetic cat-eye French tips and delicate star accents for a magical finish.
Combining soft pink gradient bases with glittering golden cat-eye French tips creates a mesmerizing balance of elegance and sparkle. Accentuated with delicate star details, this look captures a celestial charm that feels both romantic and modern. Perfect for elevating your everyday style or adding a touch of magic to special occasions.
Steps
- 1Apply pink gel gradient
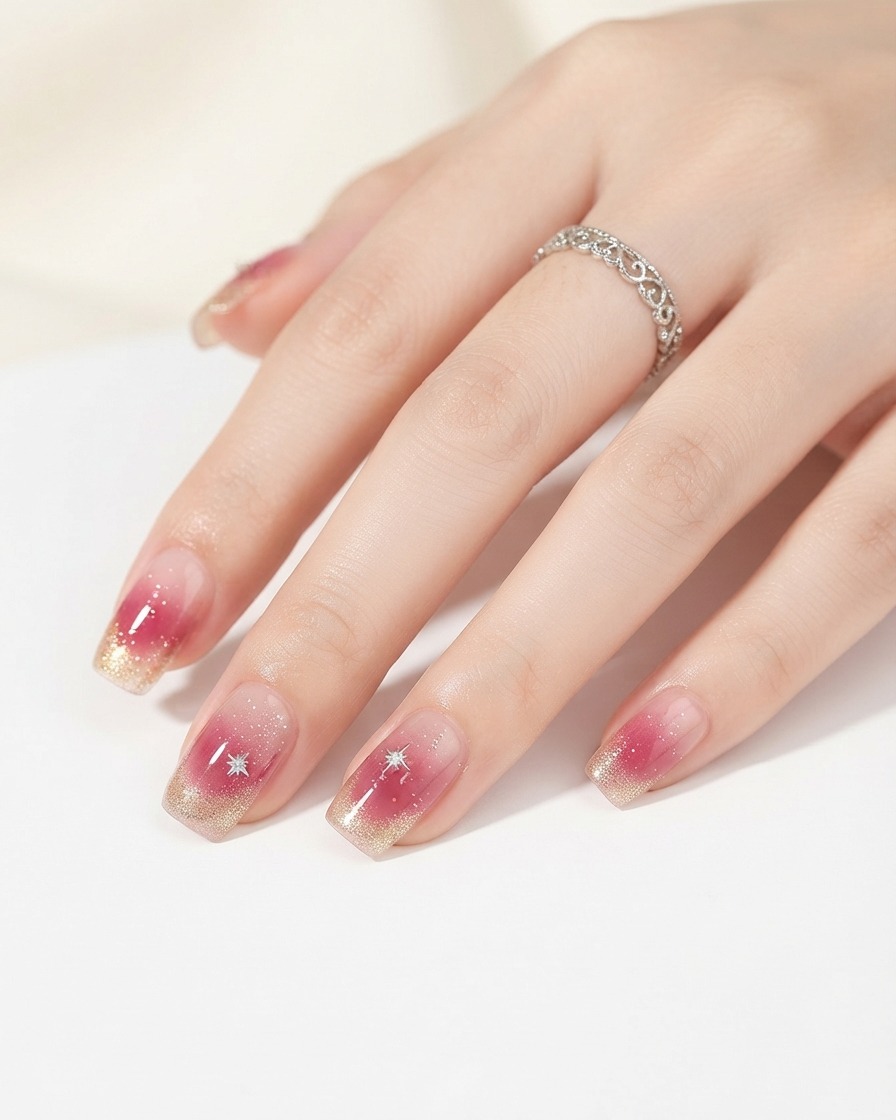
Using a small brush, apply pink gel polish onto the center of the nail plate. Dab and feather the color gently to establish a smooth gradient effect, leaving the base and tip lighter.
Tip: Keep the initial application thin to prevent pooling and ensure an even ombre transition. - 2Blend gradient toward cuticle
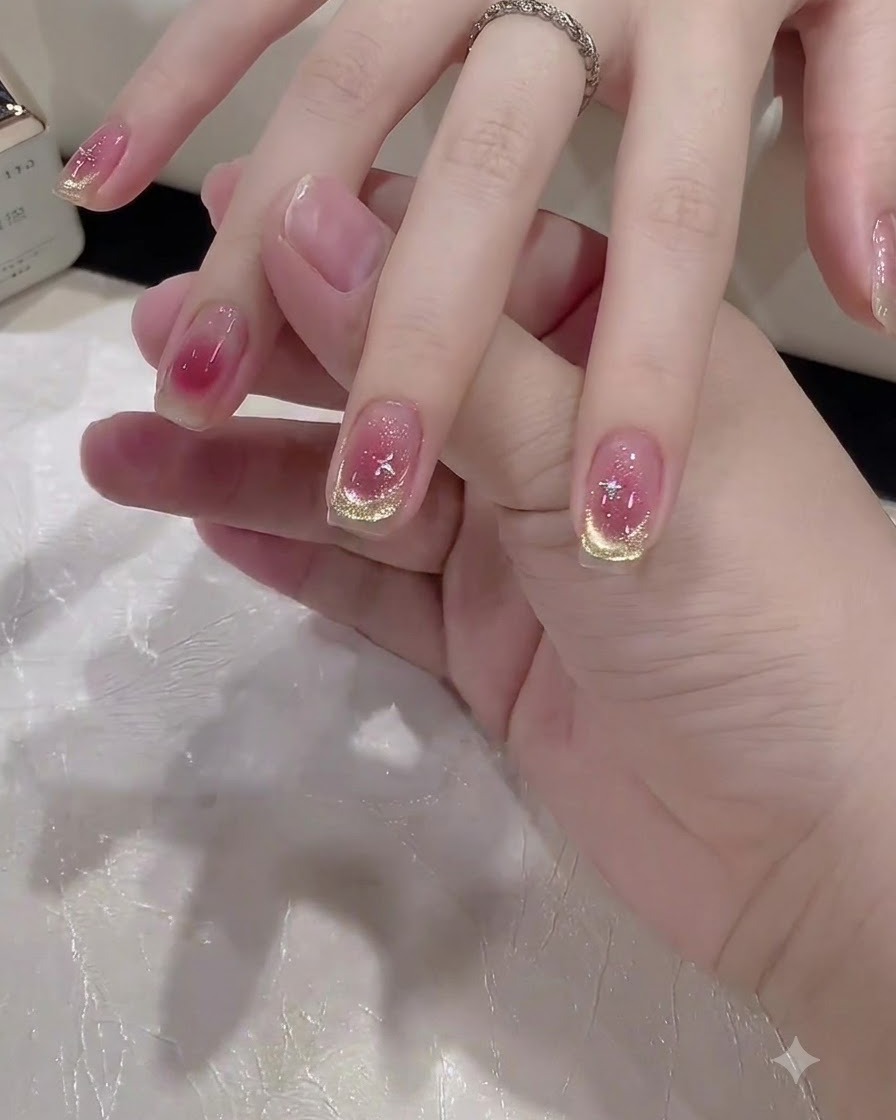
Take a flat shading brush and gently blend and smooth out the pink gel gradient toward the cuticle area. This creates a seamless fade from the bare nail base into the vibrant pink center.
Tip: Use light, sweeping motions with the flat brush to avoid wiping away too much color. - 3Refine gradient edges
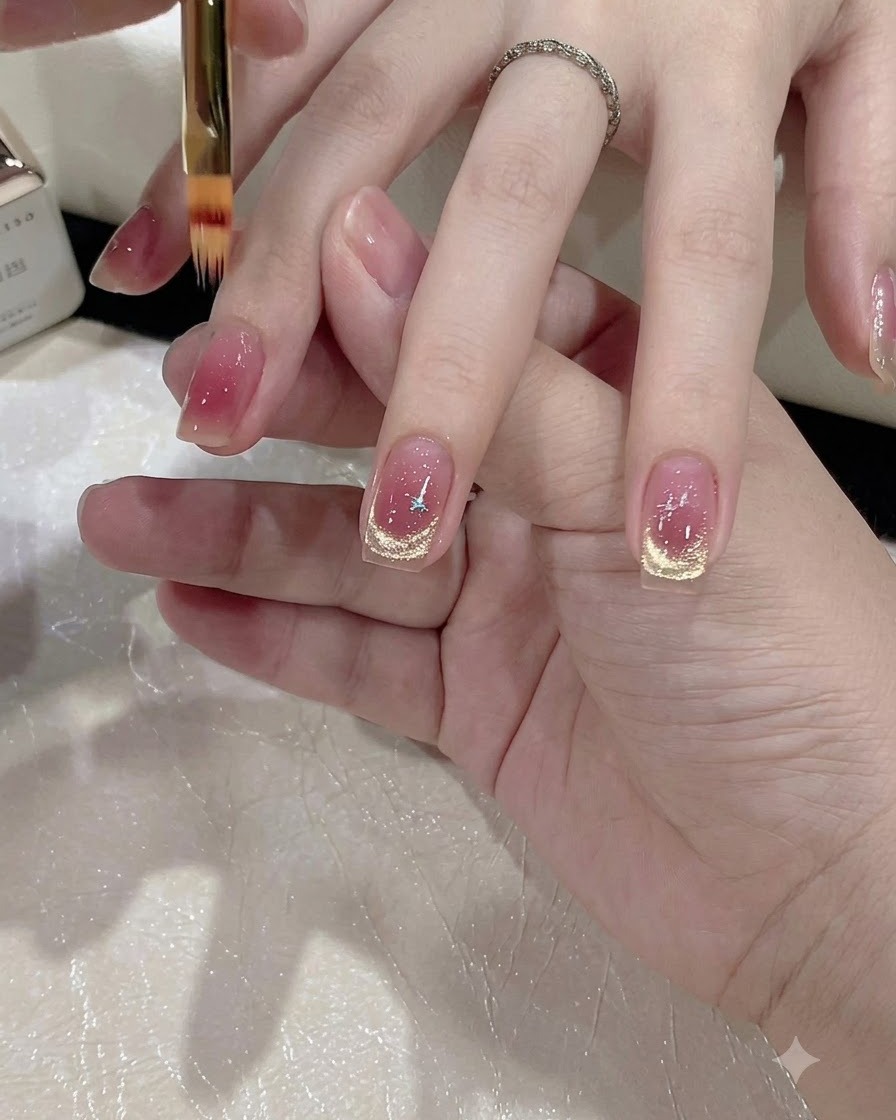
Use a fine detail brush to carefully clean up and refine the edges of the pink gradient layer. Ensure the boundaries are neat and symmetrical before curing.
Tip: Wipe your detail brush clean with a lint-free wipe and alcohol if it picks up excess gel. - 4Cure pink gel layer
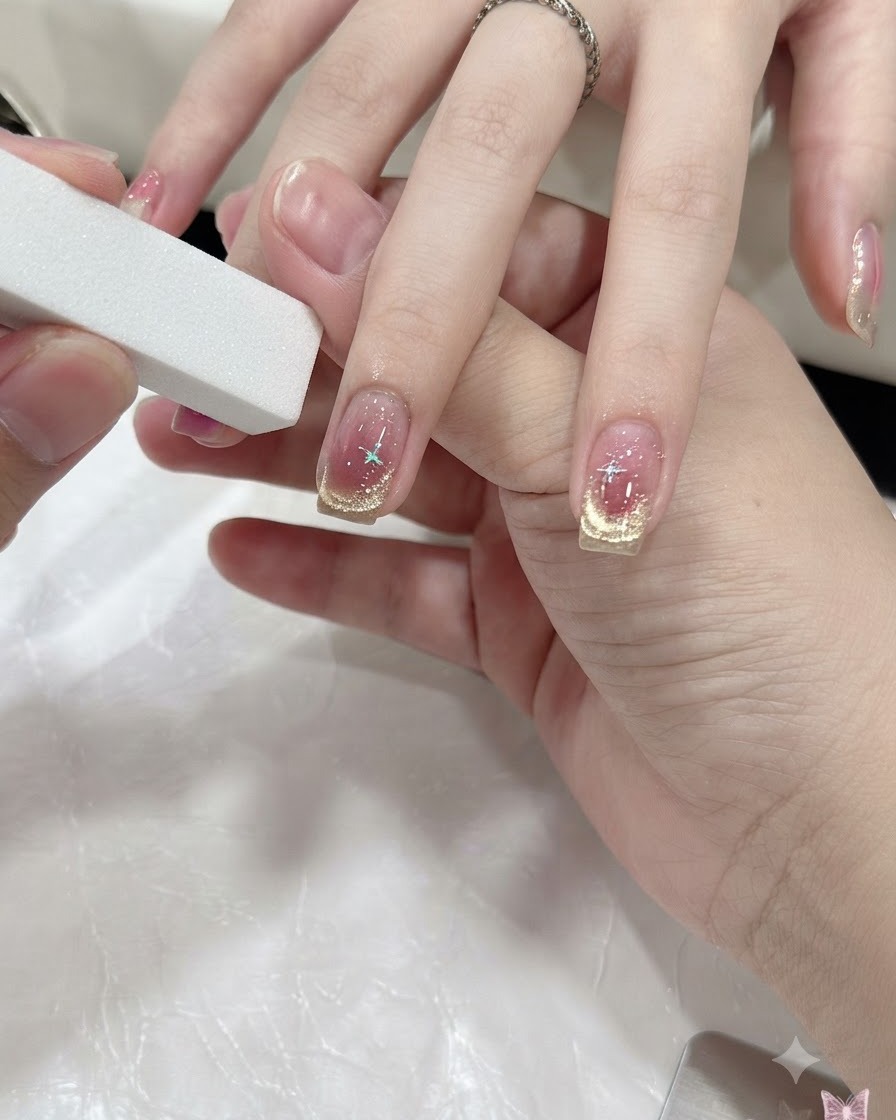
Place your hand under the mini UV/LED lamp to cure the pink gel layer. Cure for the recommended manufacturer time to lock the gradient in place.
Tip: Ensure your hand is positioned correctly under the lamp so all fingers cure evenly. - 5Apply gold cat-eye French tip
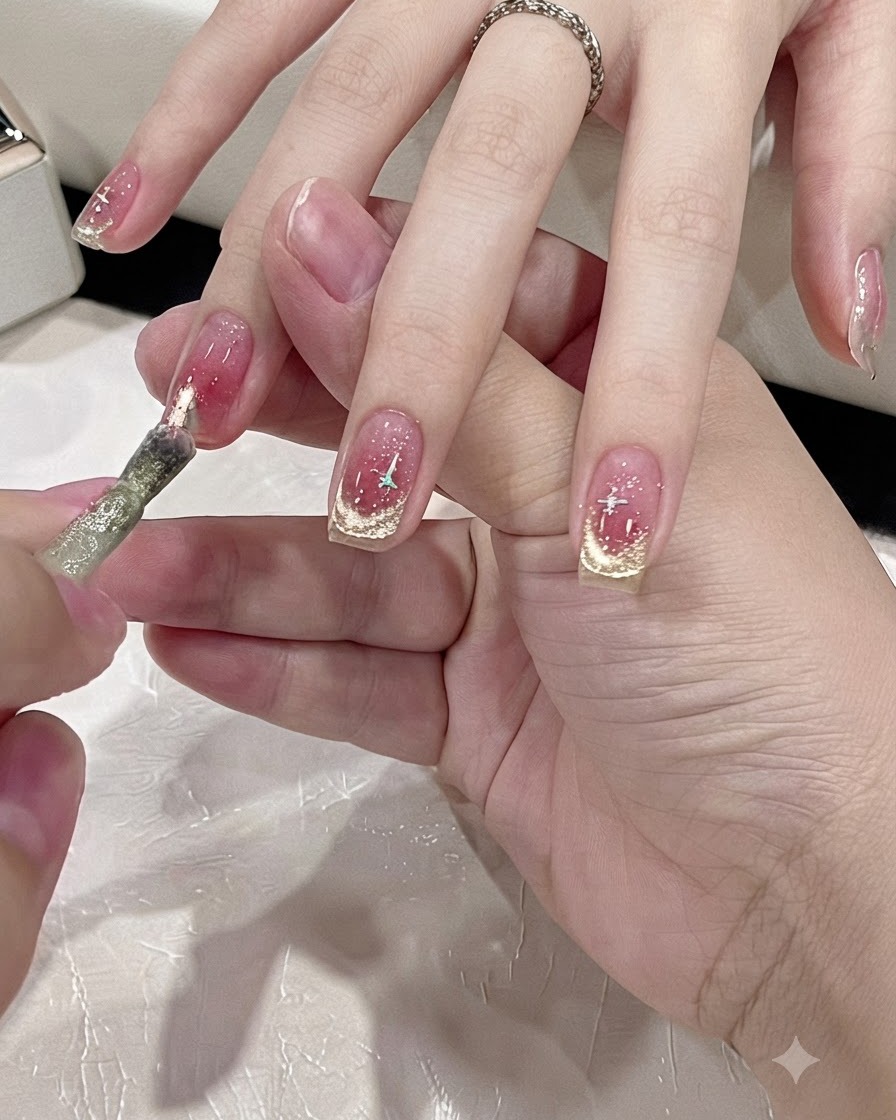
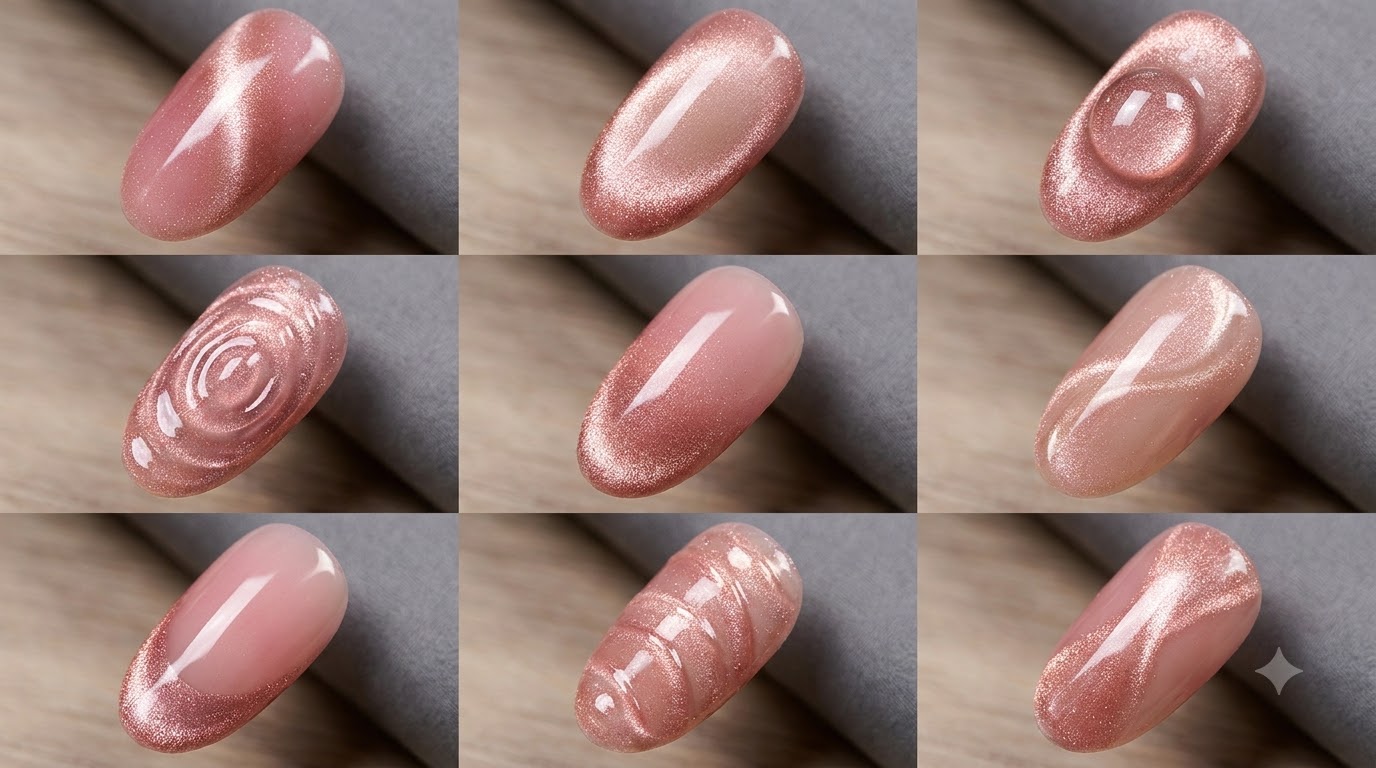
Apply sparkling gold magnetic cat-eye gel onto the tip of the nail, carefully outlining a curved French tip shape. Make sure the line is clean and follows the natural smile line.
Tip: Apply the cat-eye gel in a thin layer so it doesnt run or distort before magnetizing. - 6Smooth and shape gold French tip
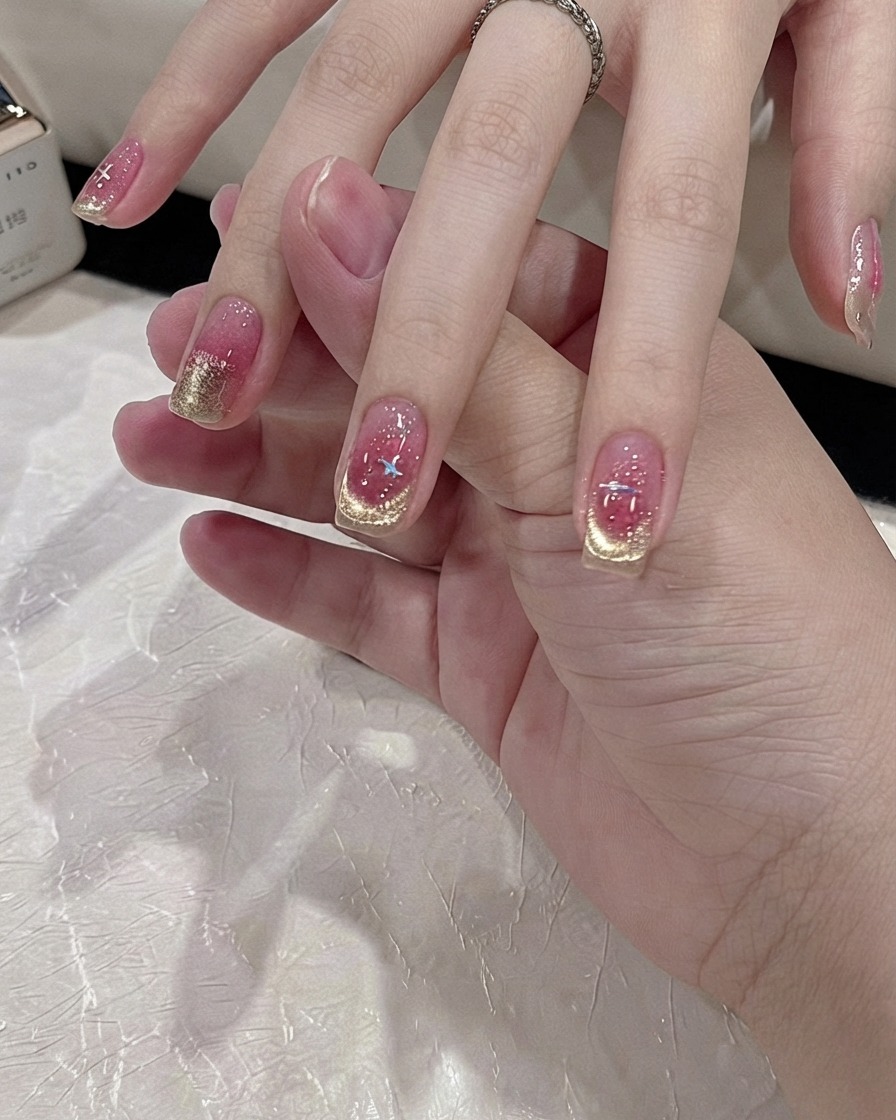
Take a fine cleaning brush to smooth and crisp up the edges of the gold cat-eye gel French tip. Perfect the curve to ensure a sharp, polished appearance.
Tip: Lightly feather the edges of the cat-eye polish to blend it smoothly into the nail base. - 7Activate the cat-eye effect with a magnet
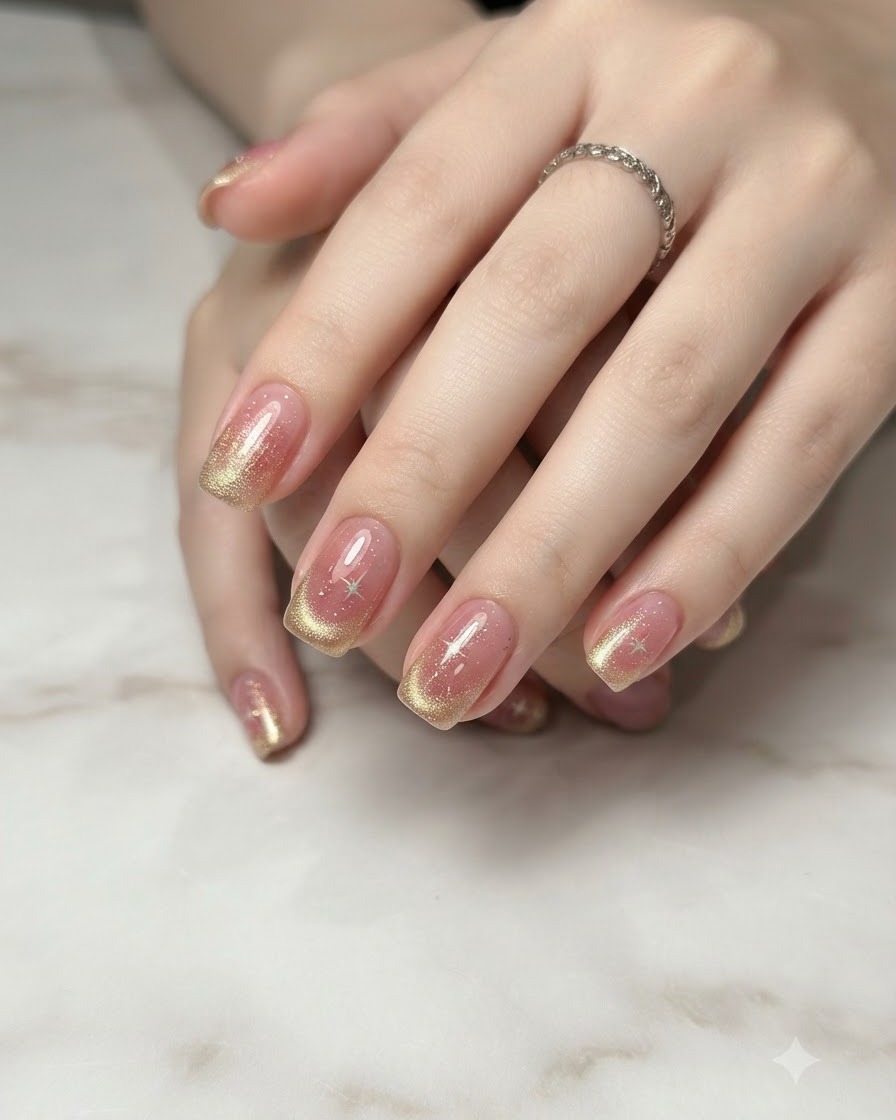
Hold the magnetic wand tool closely over the uncured gold gel tips without touching the surface. Hover it for several seconds to pull and align the magnetic particles into a sharp, shimmering cat-eye beam before curing.
Tip: Keep the magnet completely steady while holding it over the nail to prevent the particles from scattering unevenly. - 8Cure the cat-eye gel
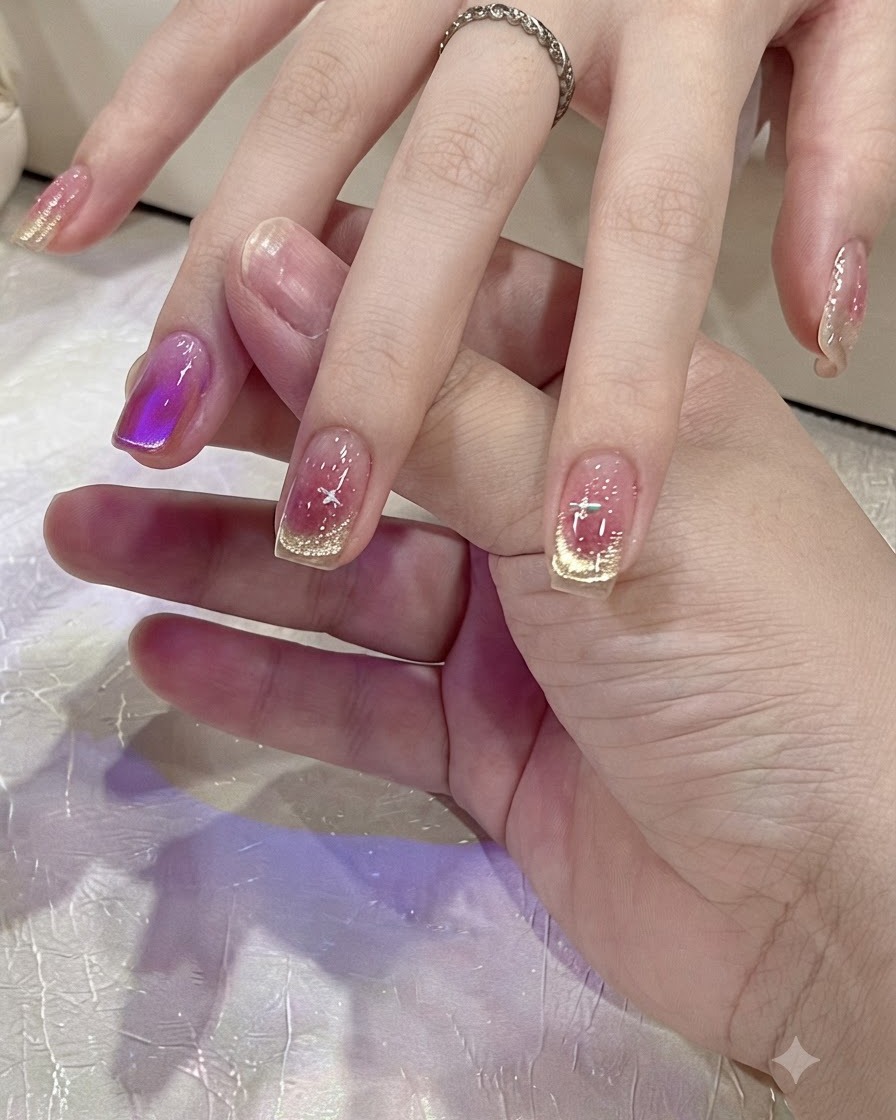
Place the nails under the mini UV/LED lamp and cure the activated gold cat-eye gel according to the product guidelines to lock the magnetic pattern in place.
Tip: Ensure your hand is placed flat and directly under the light source so all tips cure uniformly. - 9Apply dot of gel adhesive
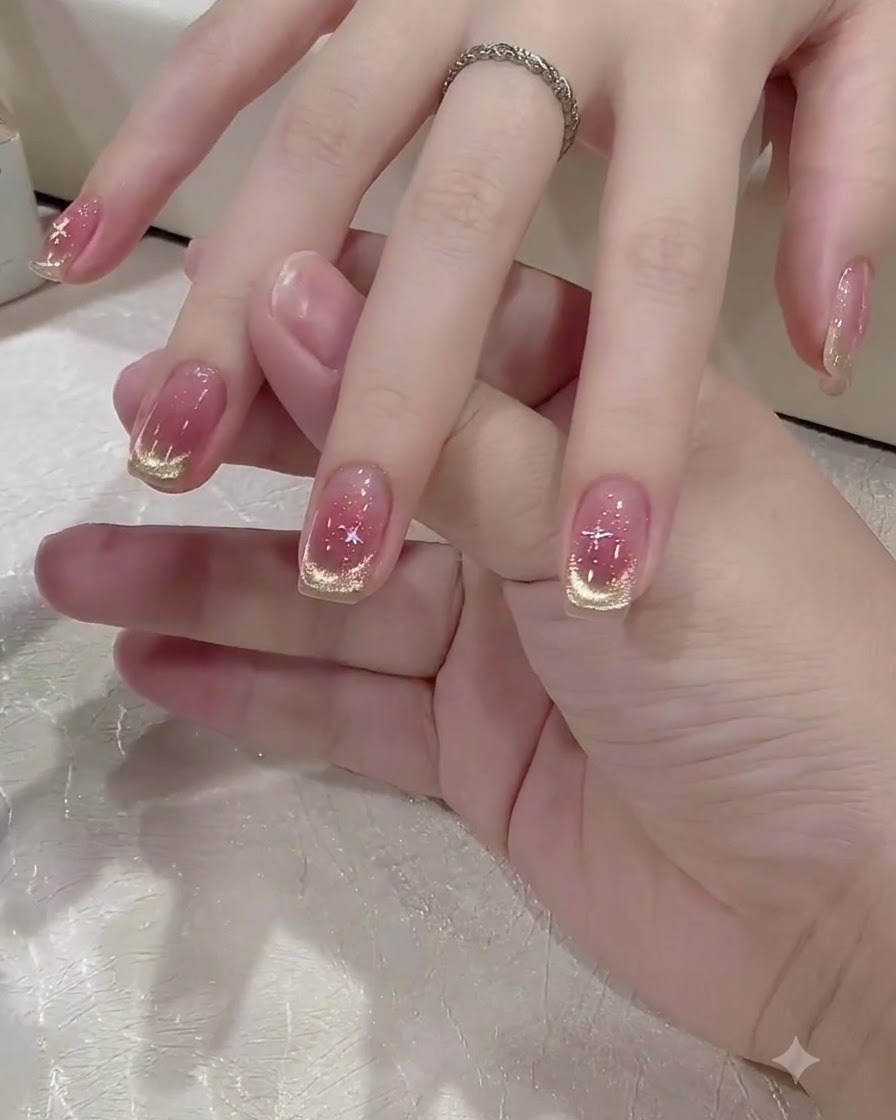
Dip a fine detailing tool into clear gel adhesive and place a tiny dot on the desired spot of the nail surface where the embellishment will sit.
Tip: Use a minimal amount of adhesive to prevent it from leaking out from under the decoration. - 10Place star sticker
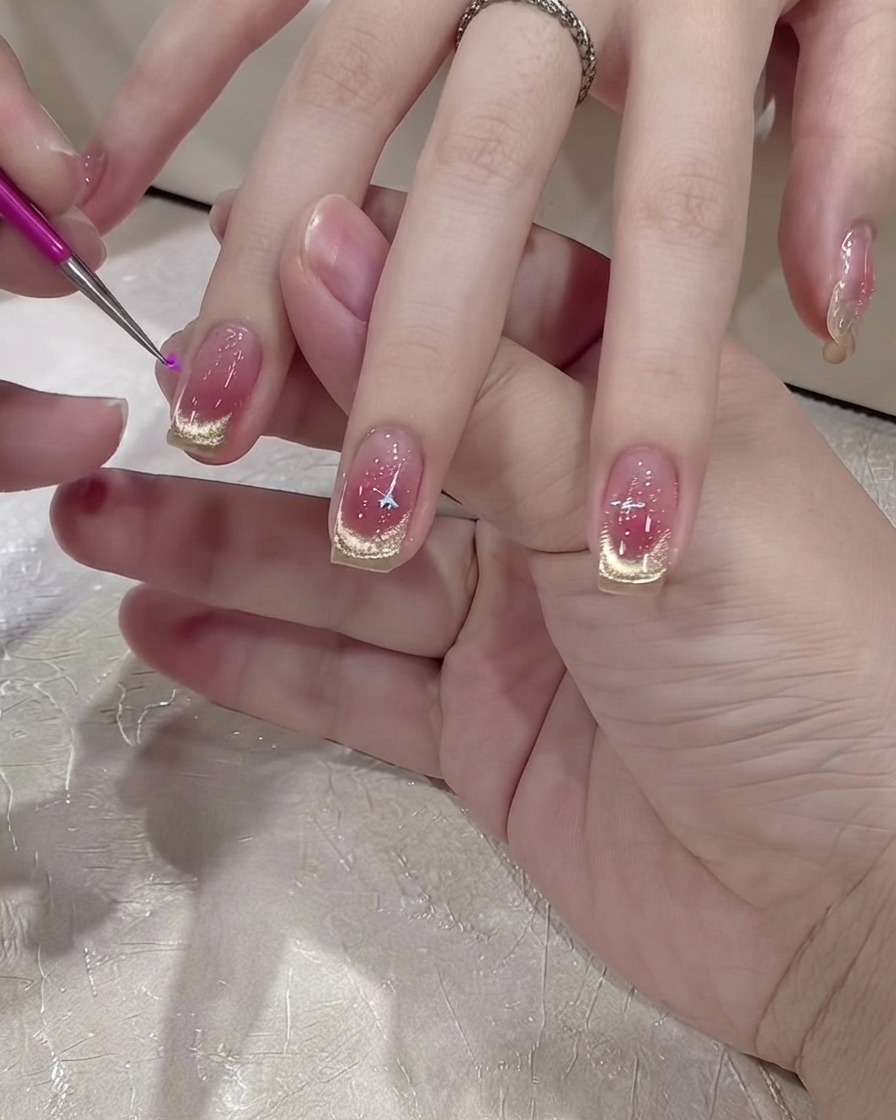
Pick up a small star sticker using tweezers or a fine tool, and carefully position it directly onto the fresh dot of gel adhesive.
Tip: Press lightly on the center of the sticker to ensure it sets flat into the adhesive layer. - 11Cure the star embellishment
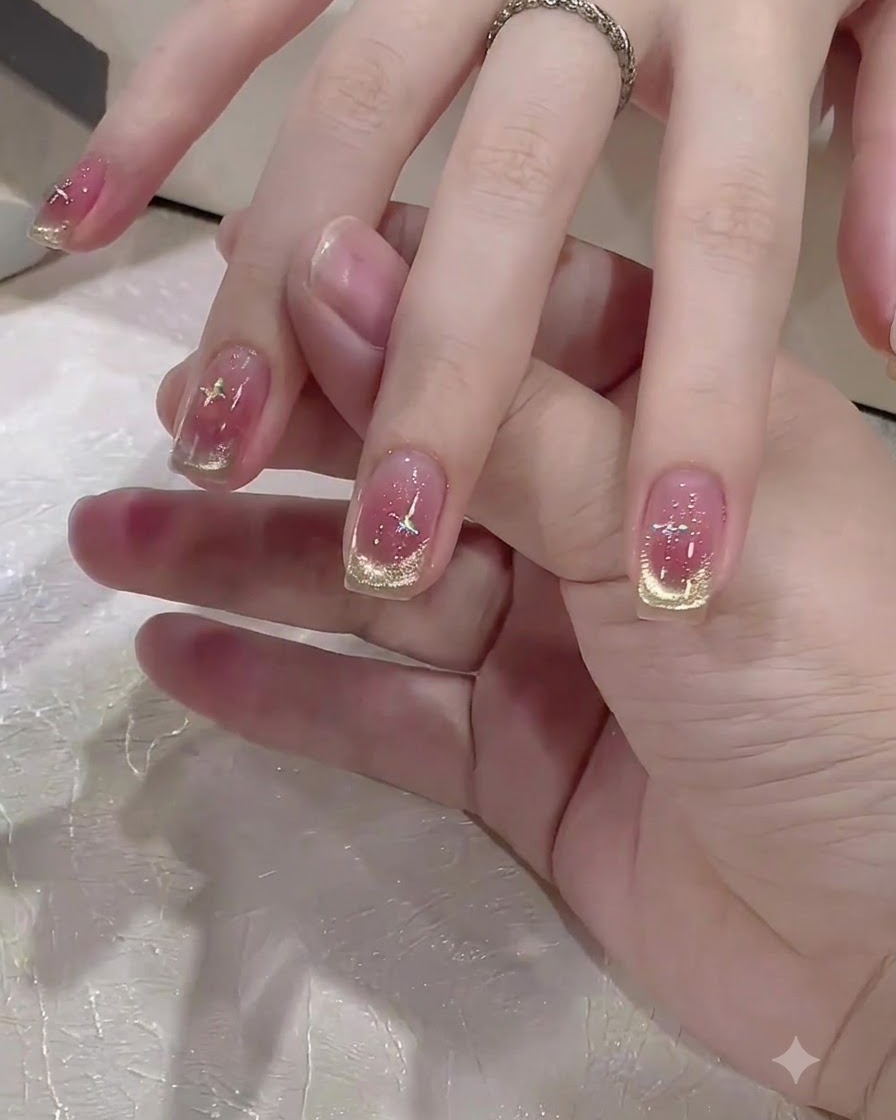
Place the hand back under the mini UV/LED lamp to cure the adhesive gel and securely lock the star sticker onto the nail.
Tip: Cure fully so the edges of the sticker are sealed underneath the hardened adhesive. - 12Apply Top Coat
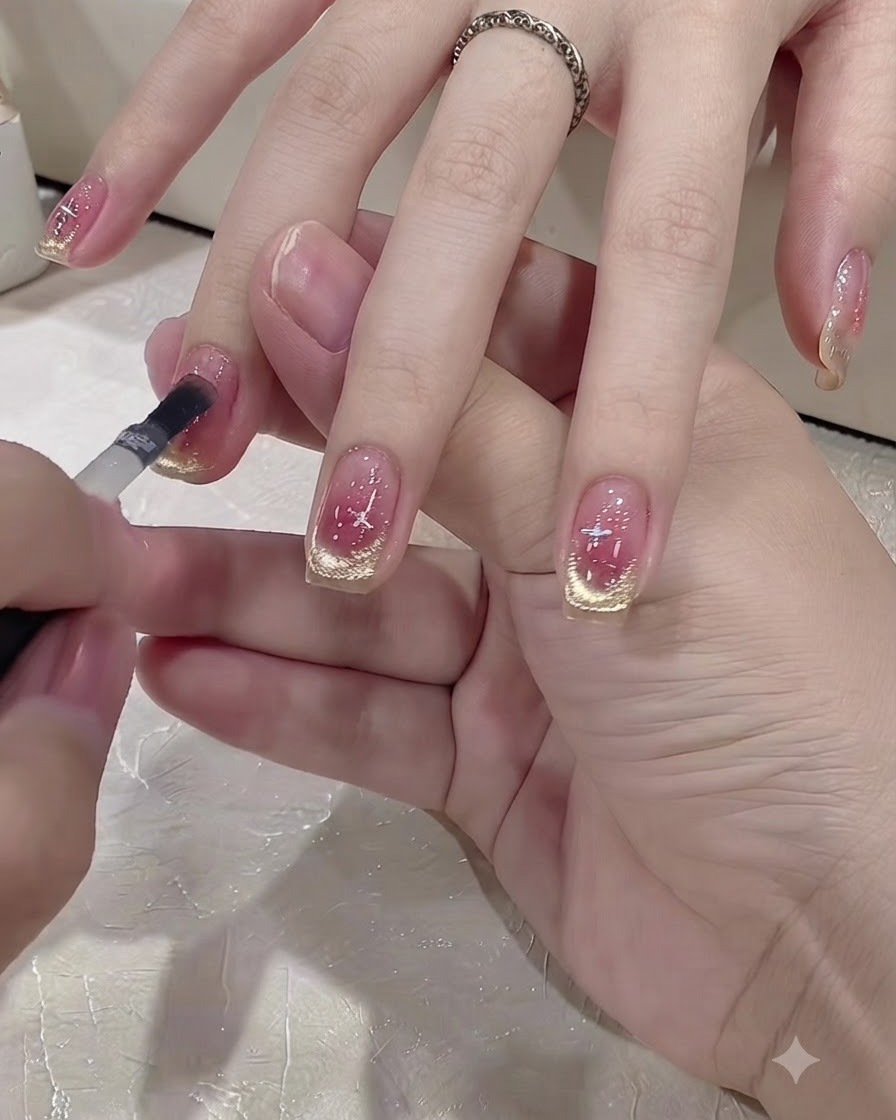
Apply a clear, high-gloss top coat evenly over the entire nail surface to seal in the design, add brilliant shine, and protect the manicure from chipping. Ensure you cap the free edge for maximum longevity.
Tip: Cap the free edge of every nail to lock in the product and prevent premature chipping. - 13Cure Final Top Coat
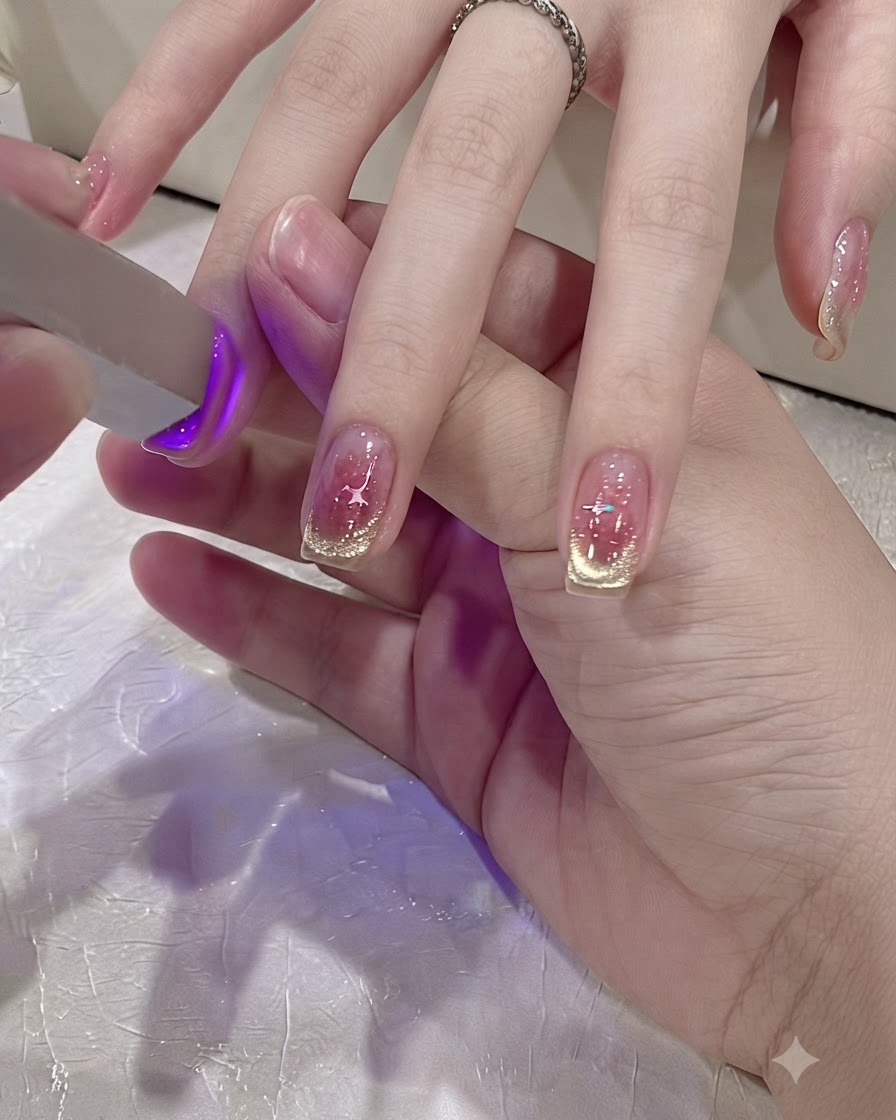
Place the nails under a mini UV or LED lamp to cure the final top coat layer completely. Ensure each nail receives adequate exposure so the finish is fully hardened and glossy.
Tip: Do not rush the curing time; a fully cured top coat ensures a tack-free, long-lasting shine.