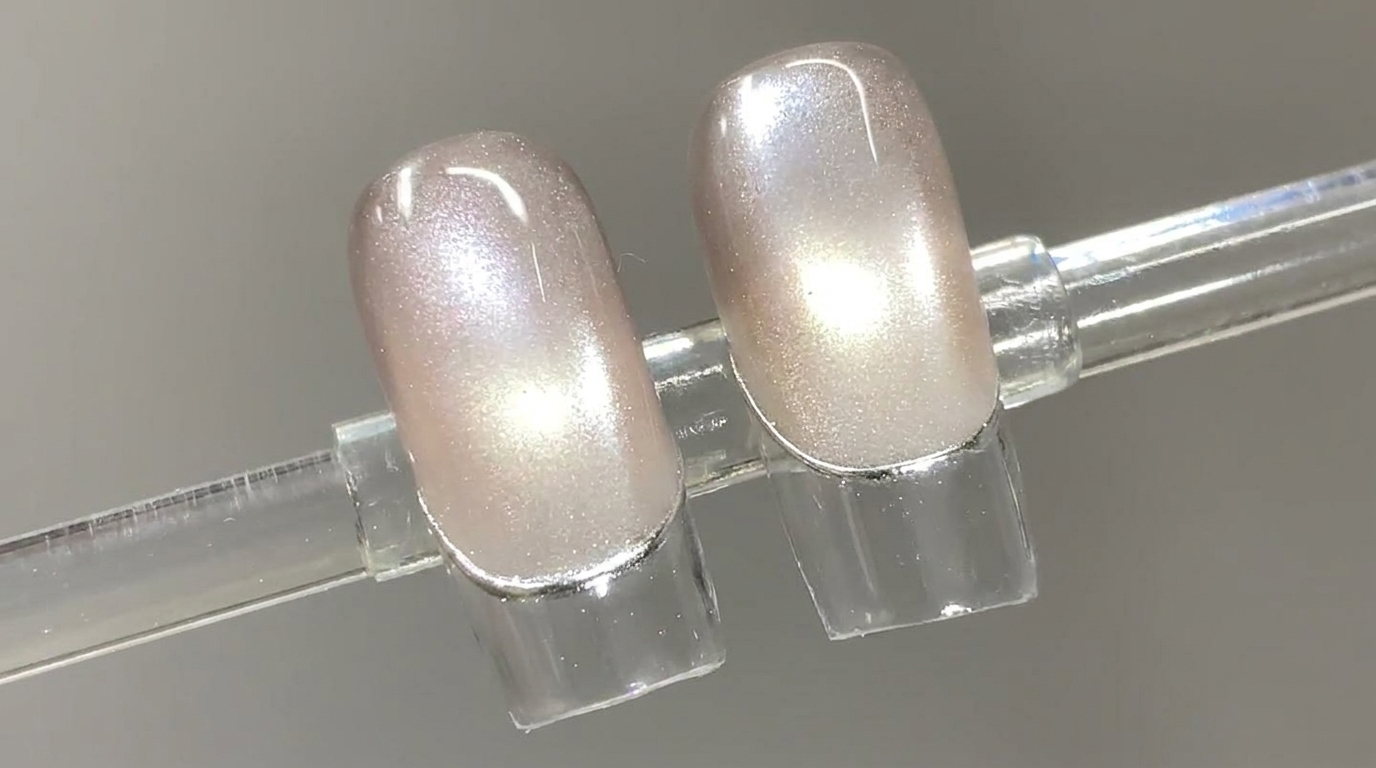
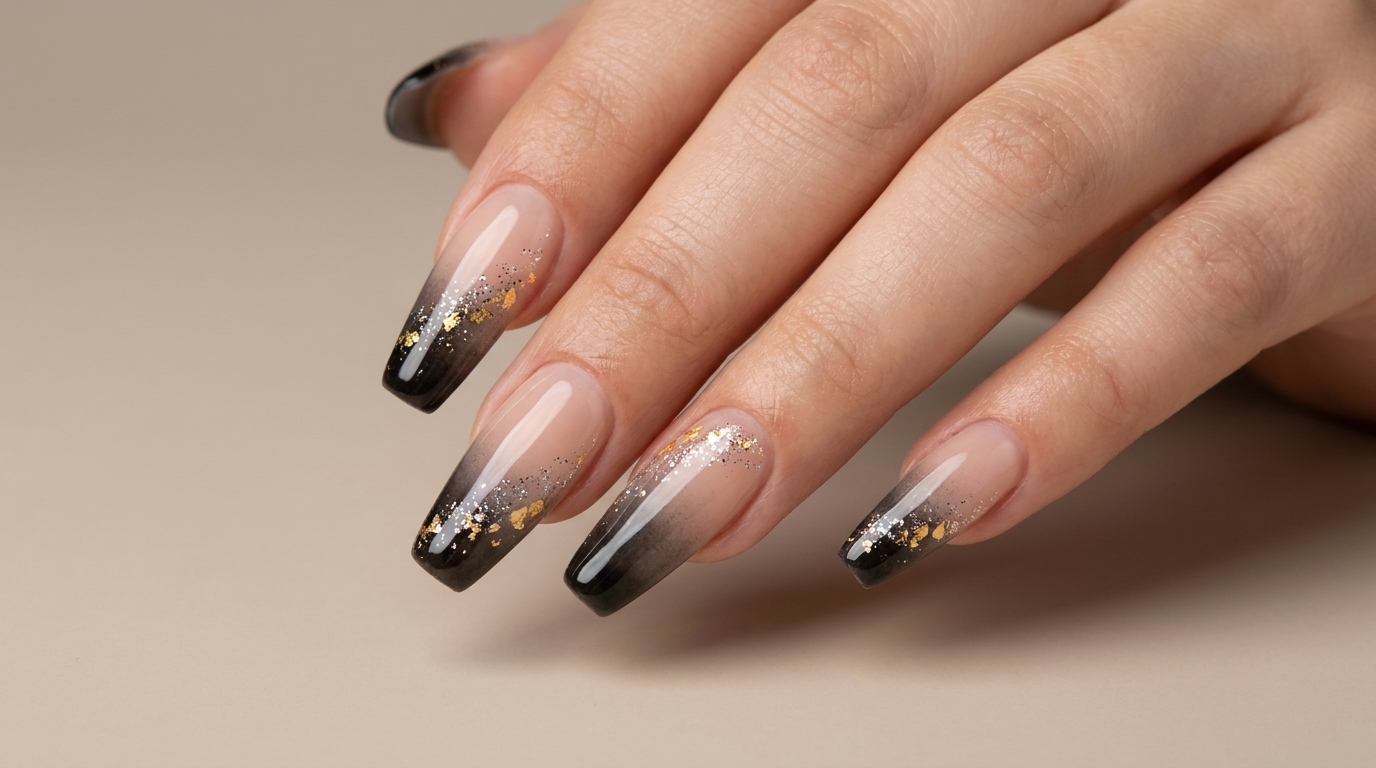
Aurora Gradient Cat Eye Nails — Step-by-Step Tutorial
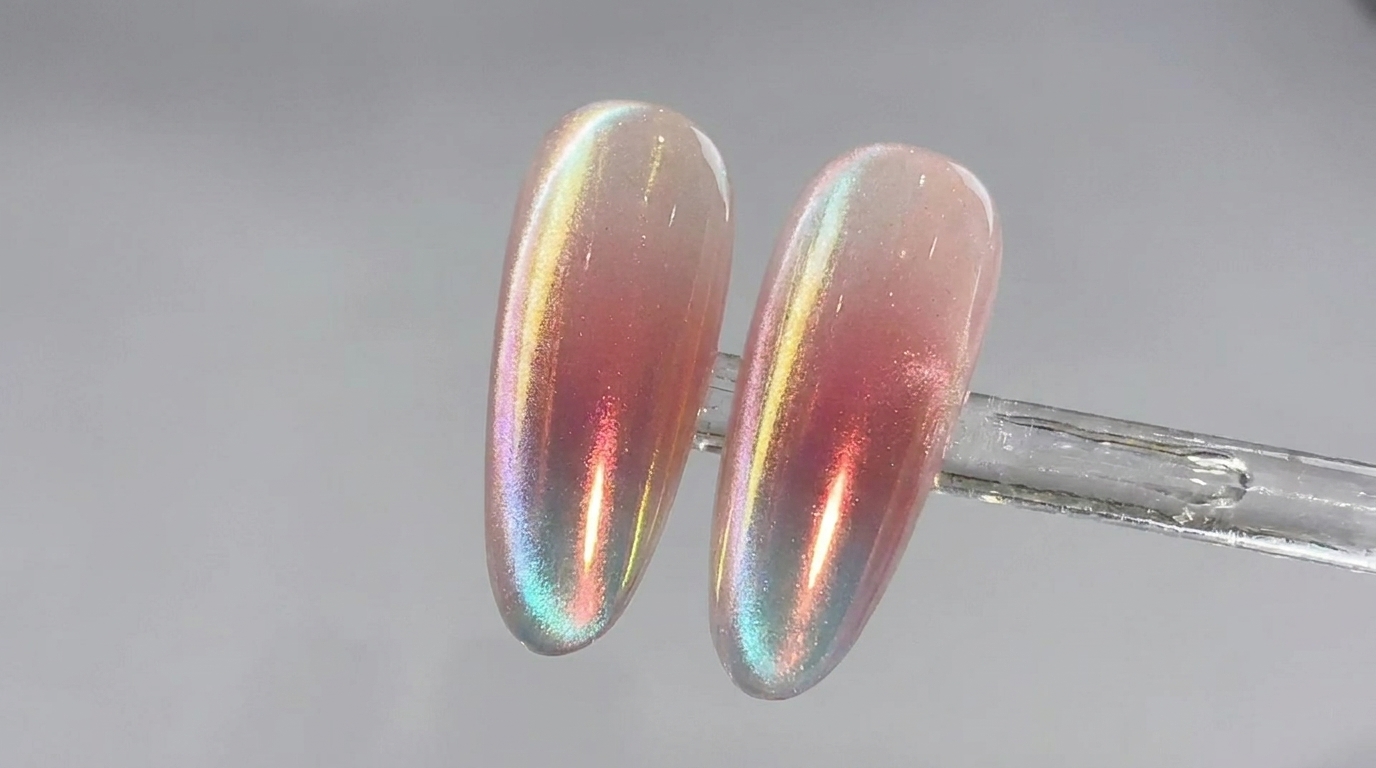
Create dreamy aurora gradient cat eye nails with a soft blush pink center and an intense, multi-dimensional iridescent shine.
Aurora cat eye nails combine two of the most popular nail trends: magnetic dimensional sparkle and soft, blended blush gradients. This ethereal look features a water-gloss finish that shifts color with the light, offering a sophisticated and atmospheric aesthetic that elevates any manicure.
Steps
- 1Apply blush pink gel effect
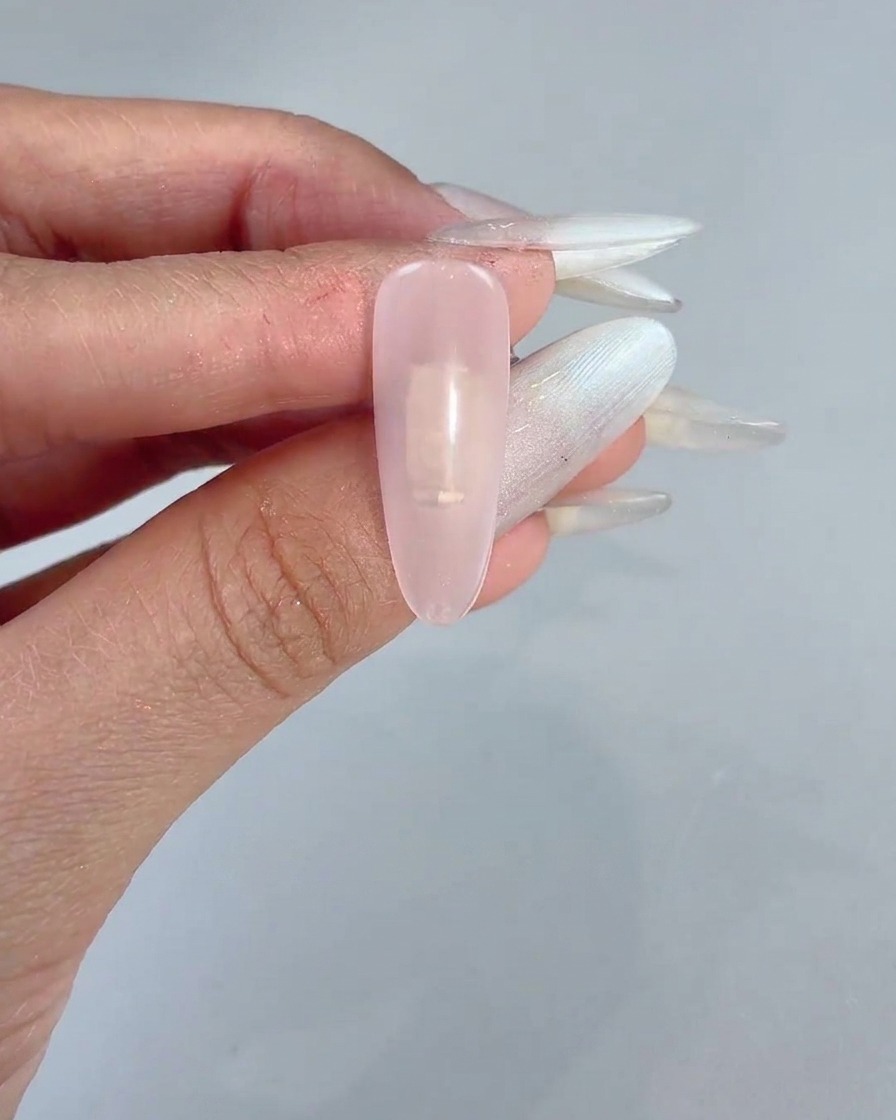
Take a sponge block and gently dip it into the gentle pink gel No. 9 to prepare for color applicationcite: 1. Carefully dab the pink pigment onto the middle section of the nail surface to create a soft, delicate blush effectcite: 1. Ensure the edges are blended seamlessly into the base coat for a natural, dreamy gradient finish.
Tip: Use a light tapping motion with the sponge to avoid heavy patches and achieve an even, translucent blush look. - 2Create a blush gradient
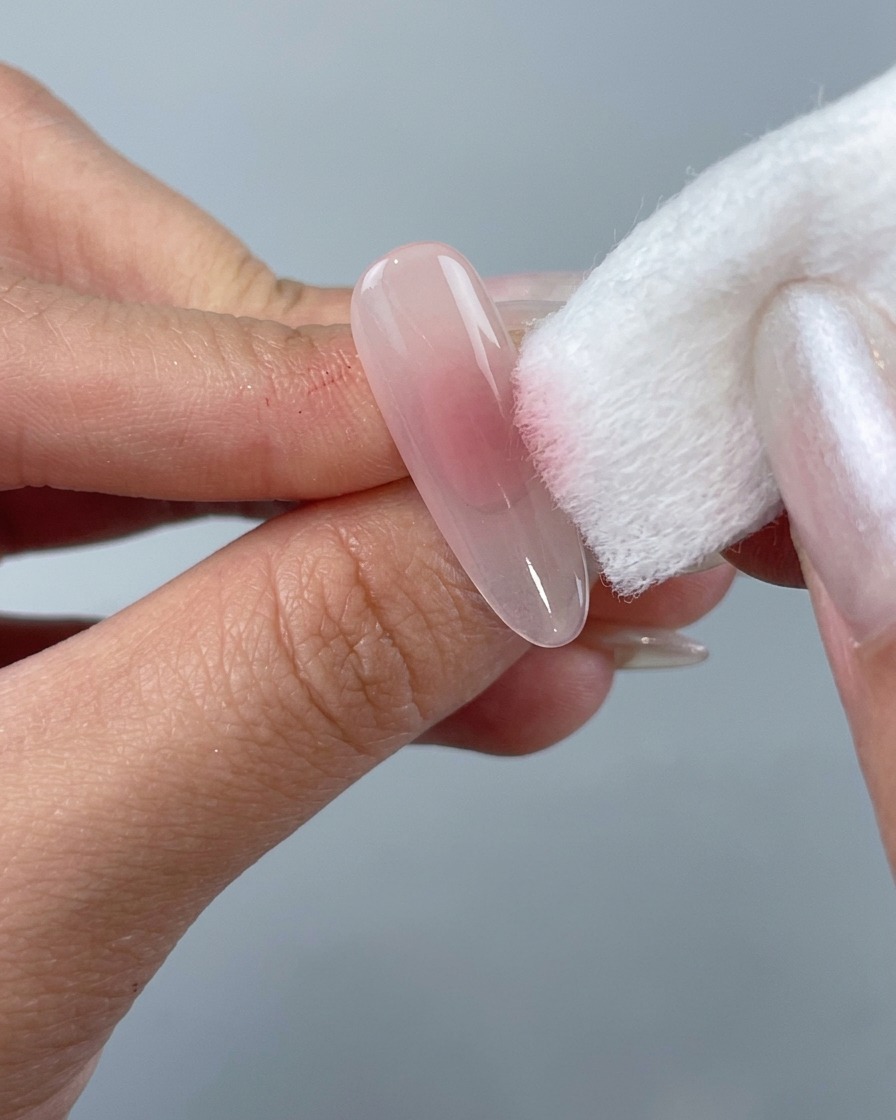
Using a small sponge block, gently dab the pink gel onto the center of the nail surface. Lightly pat the edges to blend the color seamlessly outward, creating a soft and natural blush effect. Cure the nail completely once you are satisfied with the gradient.
Tip: Apply the gel in thin, gradual layers rather than all at once to ensure a smooth blend and prevent the color from looking too harsh. - 3Apply clear white cat-eye gel
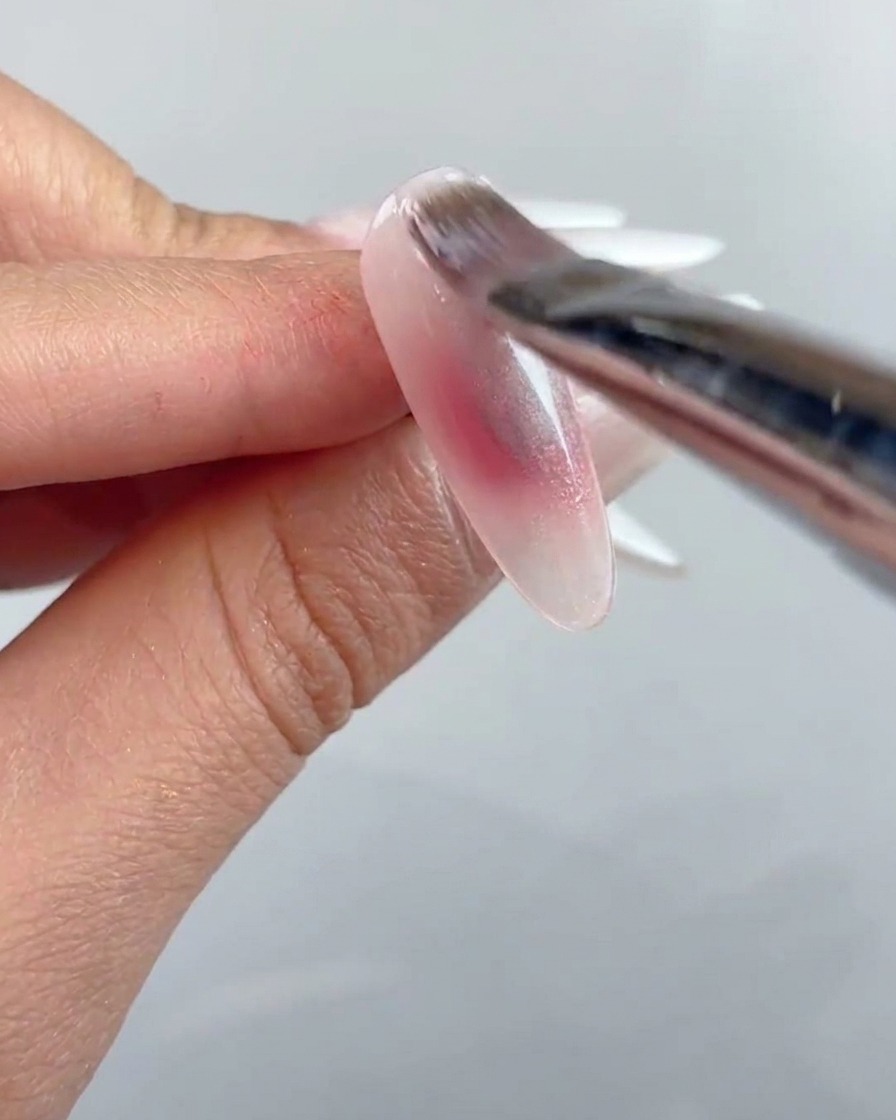
Brush a layer of crystal clear cat-eye gel No. 1 evenly over the entire nail surface, covering the gradient blush base completely. This gel contains ultra-fine magnetic powder that will create the signature shimmering light reflection once activated.
Tip: Apply an even, moderate layer to ensure the magnetic particles have enough fluid medium to move freely. - 4Magnetize the cat-eye reflection
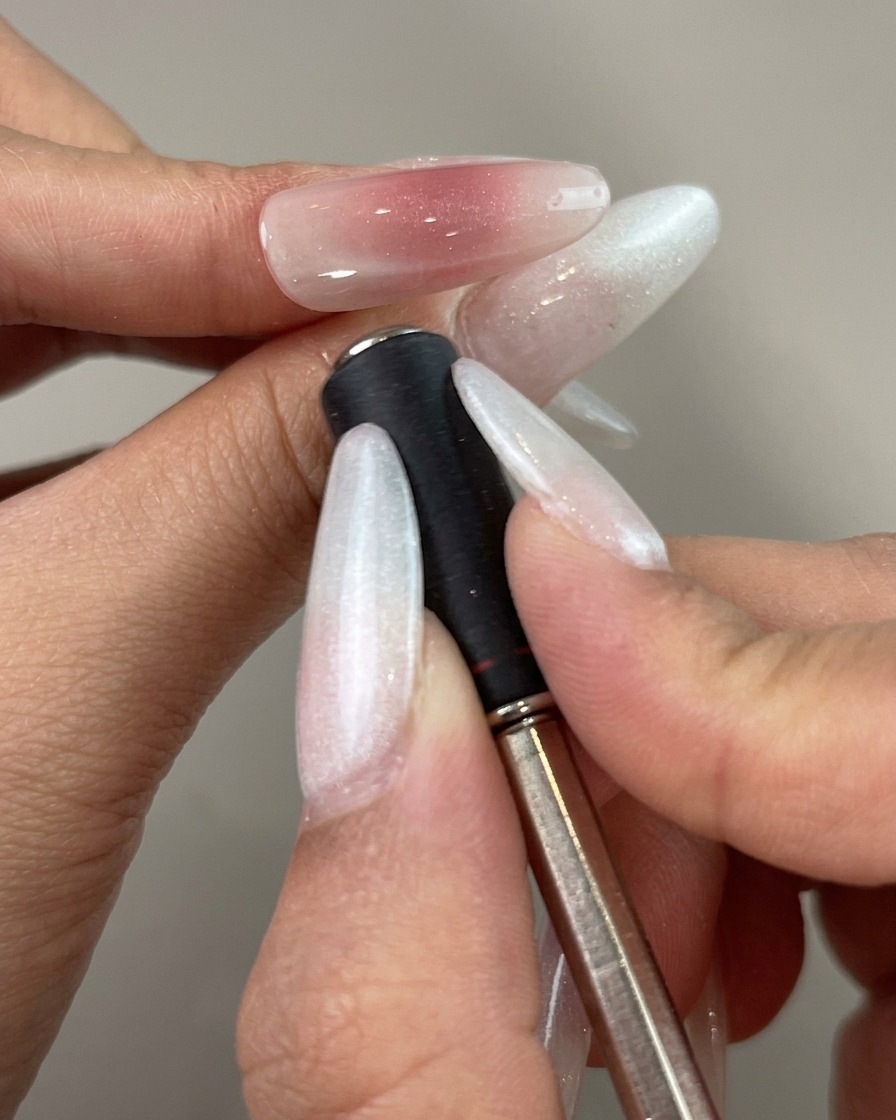
Hold an heirloom magnetic wand close to the side of the uncured cat-eye gel layer. Use the magnetic field to attract and pull the particles into a defined side arc reflection light stripe along the nail length.
Tip: Keep the magnet steady and close without touching the wet gel surface to get a sharp, high-contrast light beam. - 5Refine details at cuticle and tip
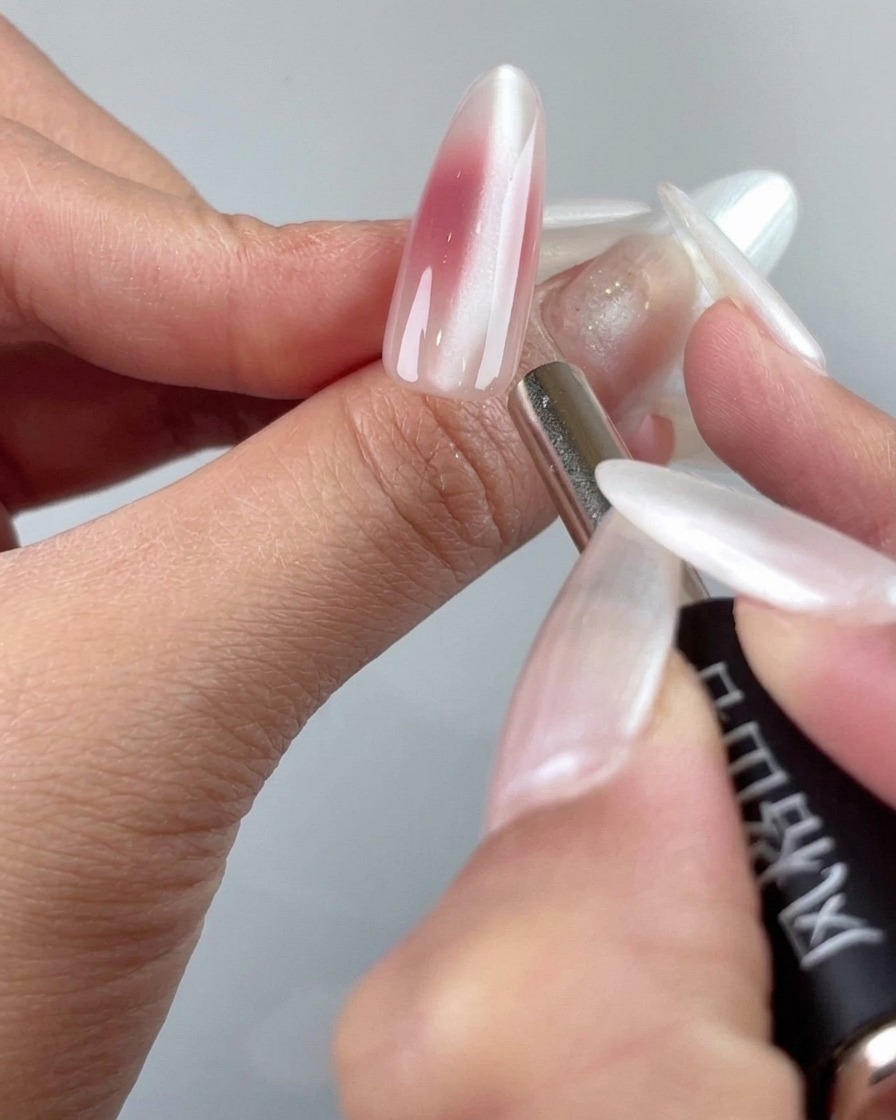
Use the detail tip of a specialized magnetic tool to precisely handle and adjust the magnetic powder particles near the cuticle and tip areas. This ensures the cat-eye effect looks clean, balanced, and professionally finished before curing under the lamp.
Tip: Work carefully around the edges to prevent stray magnetic particles from muddying the clean lines near the skin. - 6Apply powder-rubbing top coat
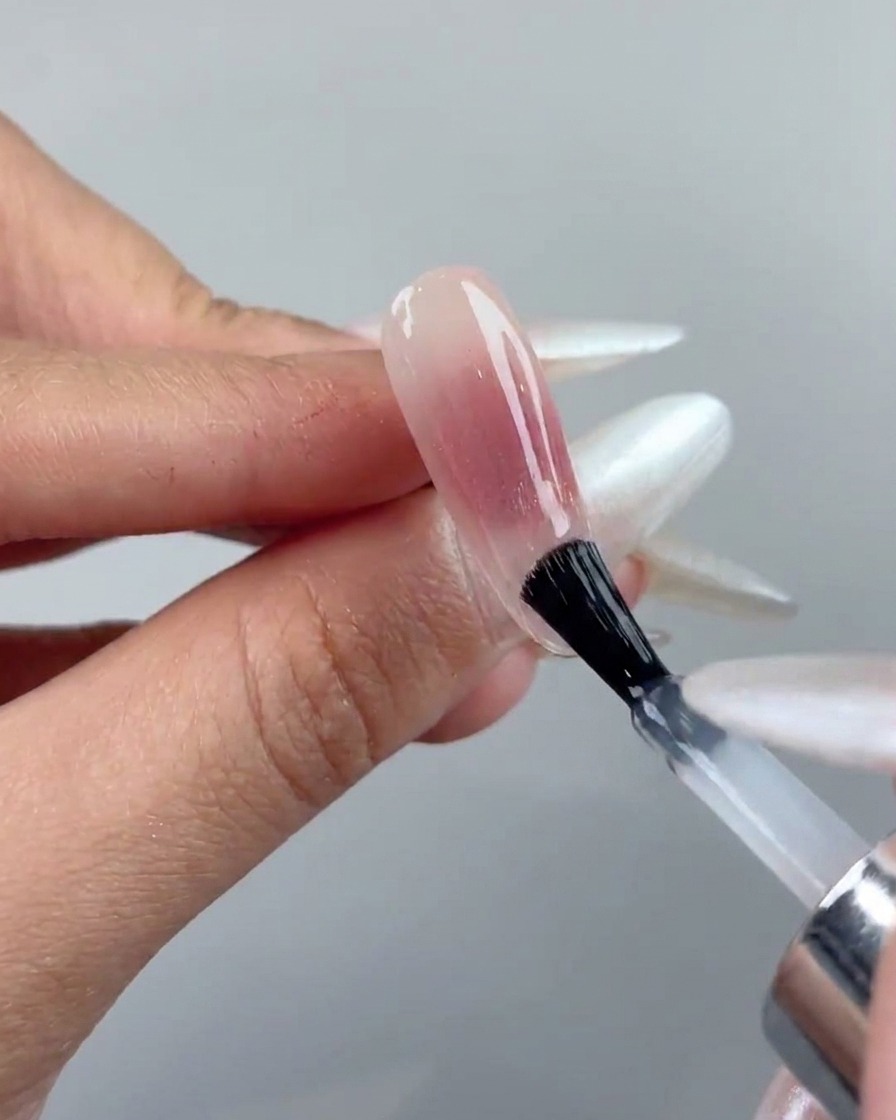
Take a brush and apply a layer of non-wipe powder-rubbing top coat evenly over the fully cured cat-eye gel surfacecite: 1. This special top coat is designed to provide a smooth, sticky-free base that grips the chrome pigment securely while preventing any future shedding or chippingcite: 1.
Tip: Make sure the top coat layer is applied smoothly and evenly without any pooling near the cuticles before curing. - 7Rub iridescent aurora chrome powder
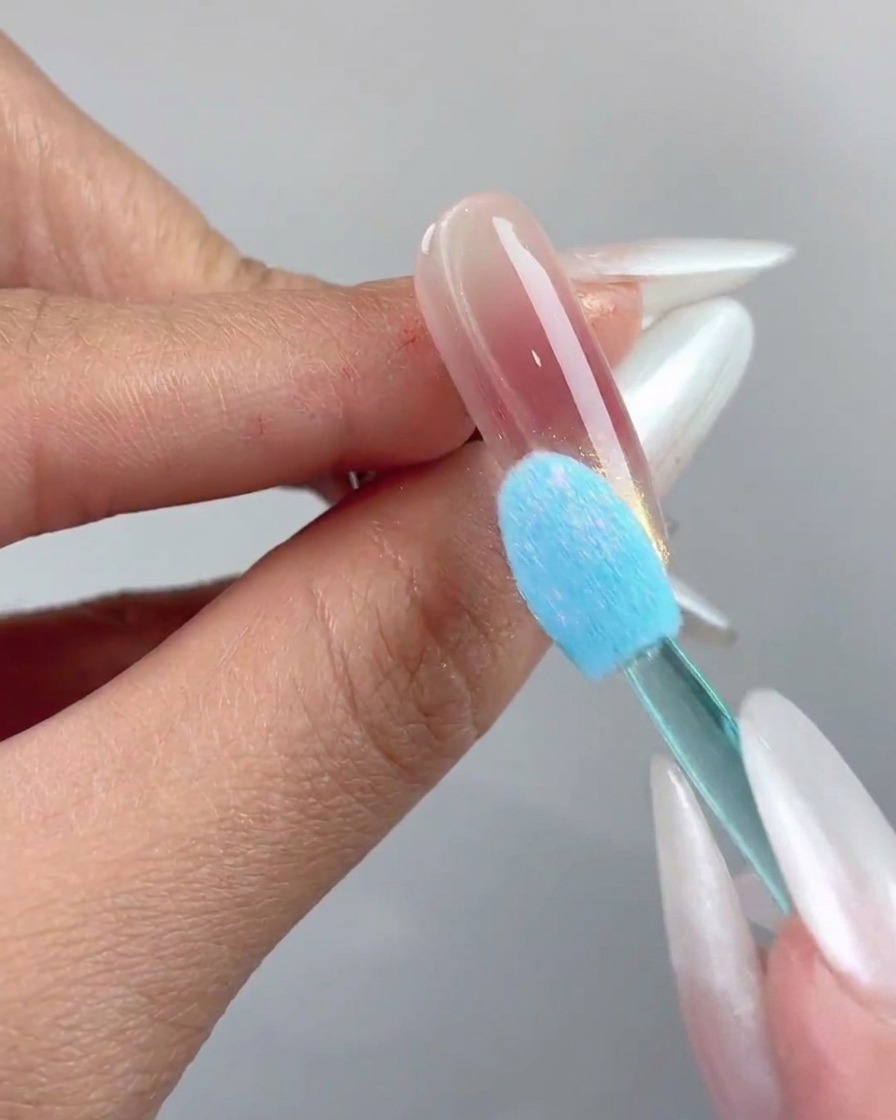
Take a silicone sponge applicator and gently pick up iridescent aurora chrome powdercite: 1. Rub the powder evenly onto the designated nail tip area to create a dreamy, multi-dimensional atmospherecite: 1. The pigment will adhere smoothly to the non-wipe top coat layer for a brilliant finish.
Tip: A small amount of chrome powder goes a long way; buff it gently into the surface for the highest shine. - 8Brush away excess powder
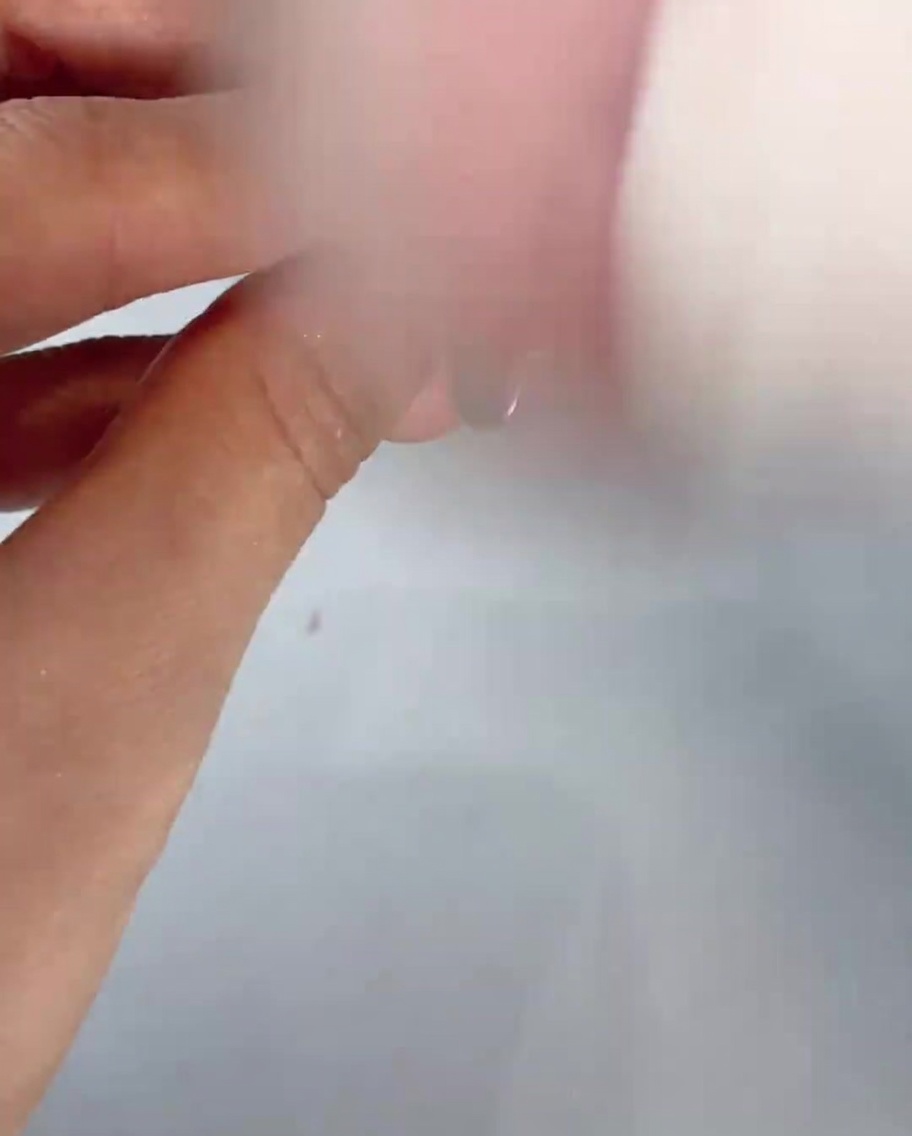
Take a soft, fluffy dusting brush and gently sweep across the nail surface to remove any loose, excess chrome powder dustcite: 1. This ensures a clean base before sealing and prevents stray particles from dulling the final high-gloss finish.
Tip: Use very light strokes so you do not disturb or rub off the chrome layer adhered to the tip. - 9Seal with smooth top coat
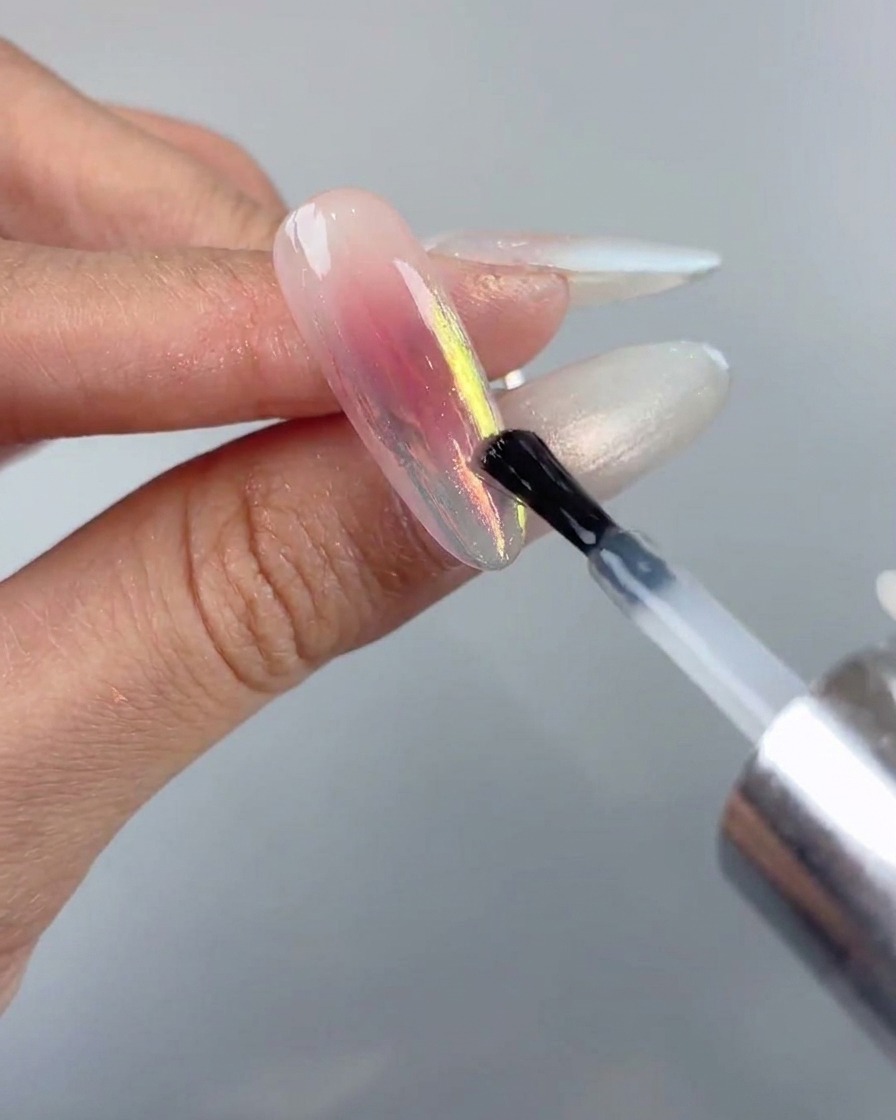
Apply a final sealing layer of smooth top coat over the entire nail surface, brushing it on evenly to lock in the aurora chrome designcite: 1. Cap the free edge carefully to ensure longevity, then cure under the lamp to complete the look with a water-glossy clear finish.
Tip: Capping the free edge with top coat prevents the layers from peeling and extends the wear time of your manicure.