Silver French Glass Bead Cat Eye Nails — Step-by-Step Tutorial
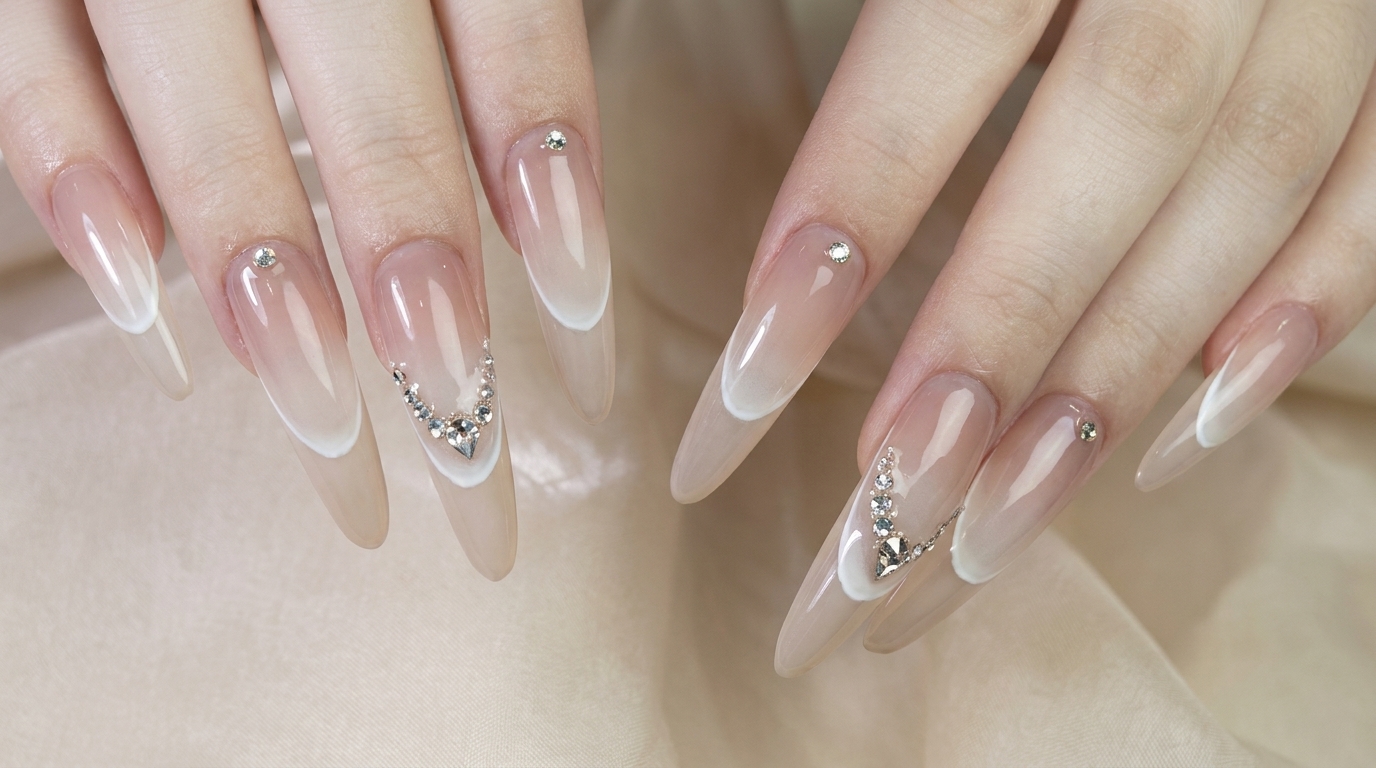
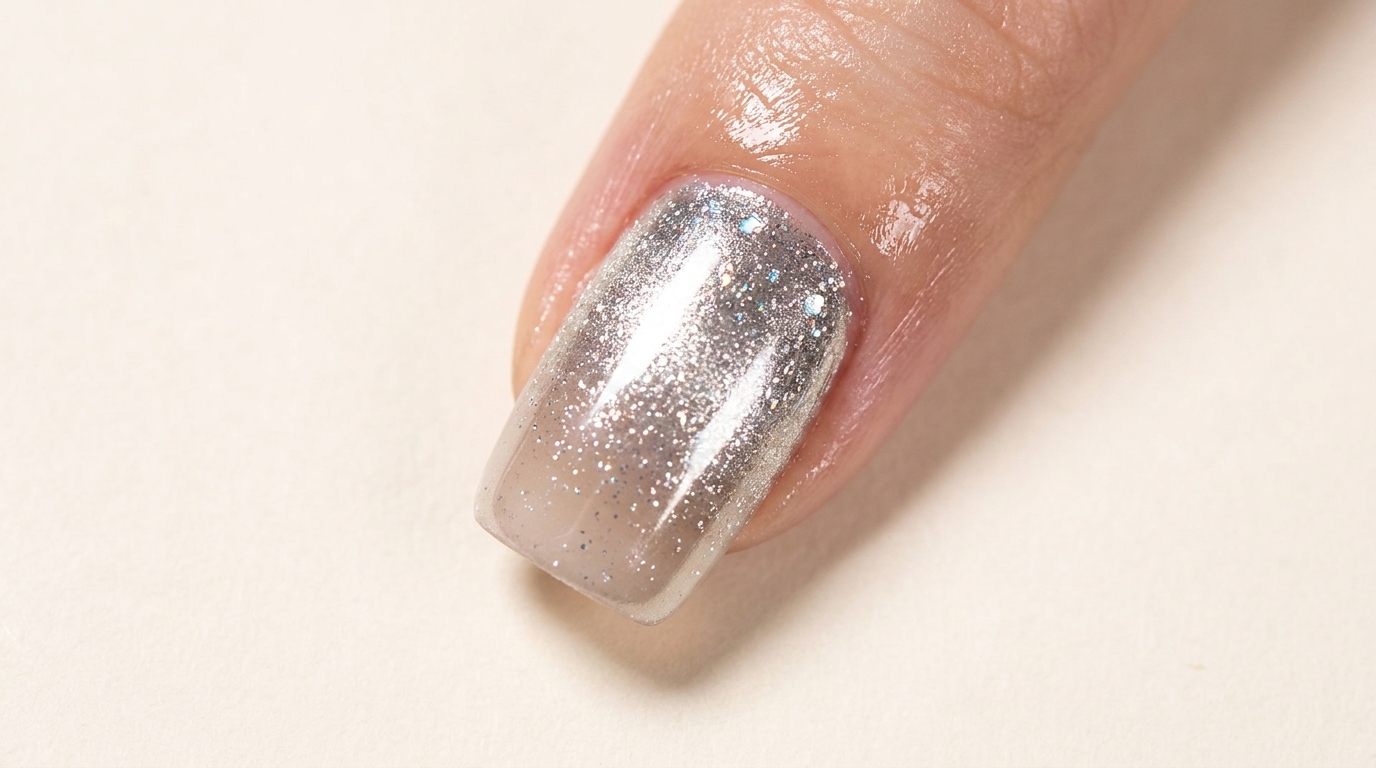
Create stunning silver French glass bead cat eye nails featuring a milky gradient tip, mesmerizing magnetic shimmer, and precise chrome lines.
The glass bead cat eye trend combined with classic French tips offers a multidimensional look that catches the light from every angle. This tutorial breaks down how to achieve the signature floating light reflection and sharp chrome smile line right at home.
Steps
- 1Apply French guide sticker
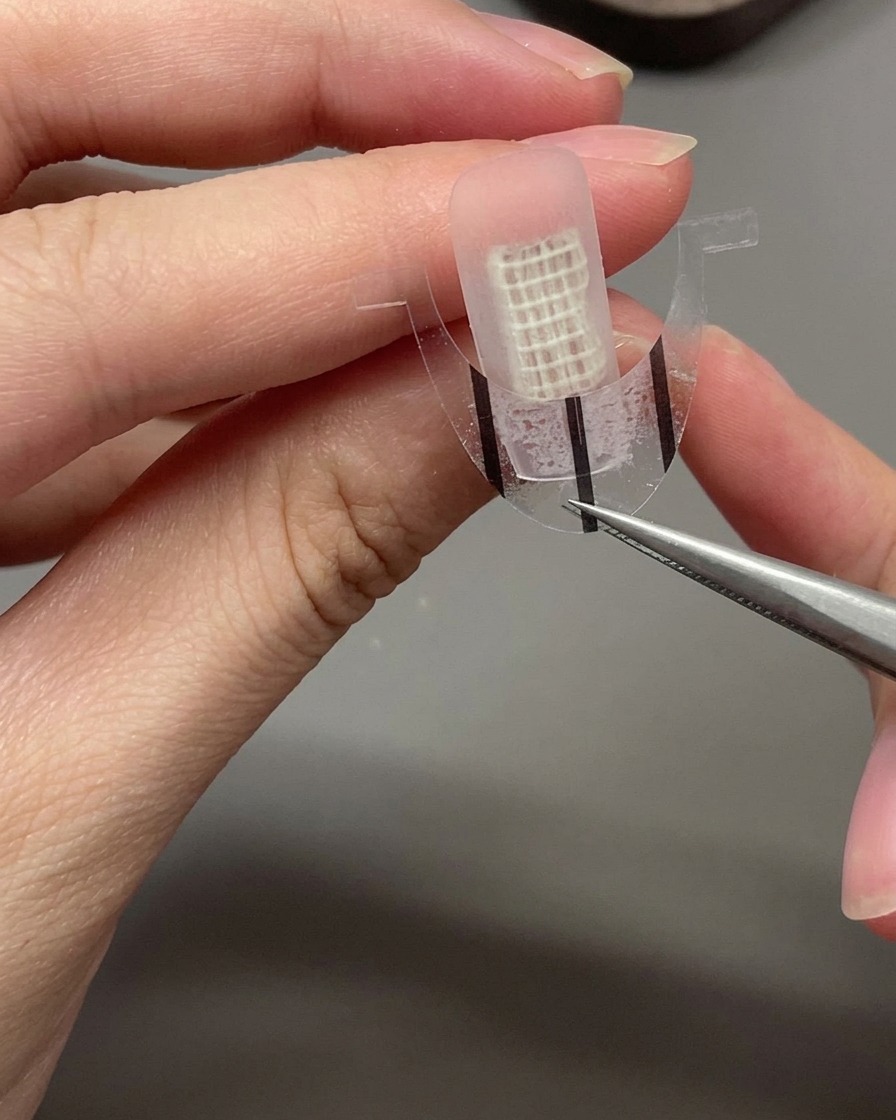
Place a curved French guide sticker across the middle of the bare nail to section off the tip area, ensuring the edges are firmly pressed down to prevent product bleeding underneath.
Tip: Make sure the guide sticker is straight and symmetrical to guarantee an even French tip line. - 2Create a gradient tip
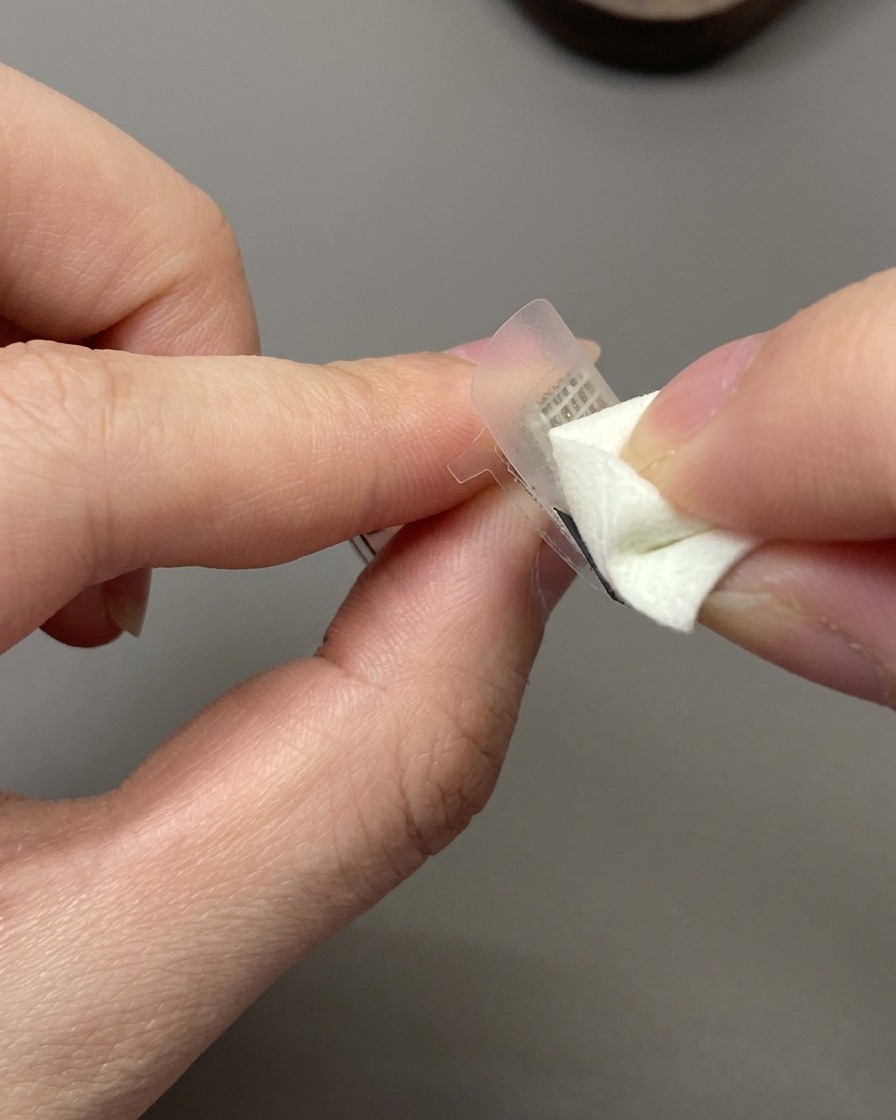
Take a small cosmetic sponge and dab off-white gel polish lightly over the French guide sticker on the nail tip. Gently stipple the polish to build up a soft, seamless color transition that mimics a natural gradient effect before curing.
Tip: Use a light tapping motion rather than dragging to achieve a smooth, airbrushed gradient texture. - 3Apply grey-nude cat eye gel
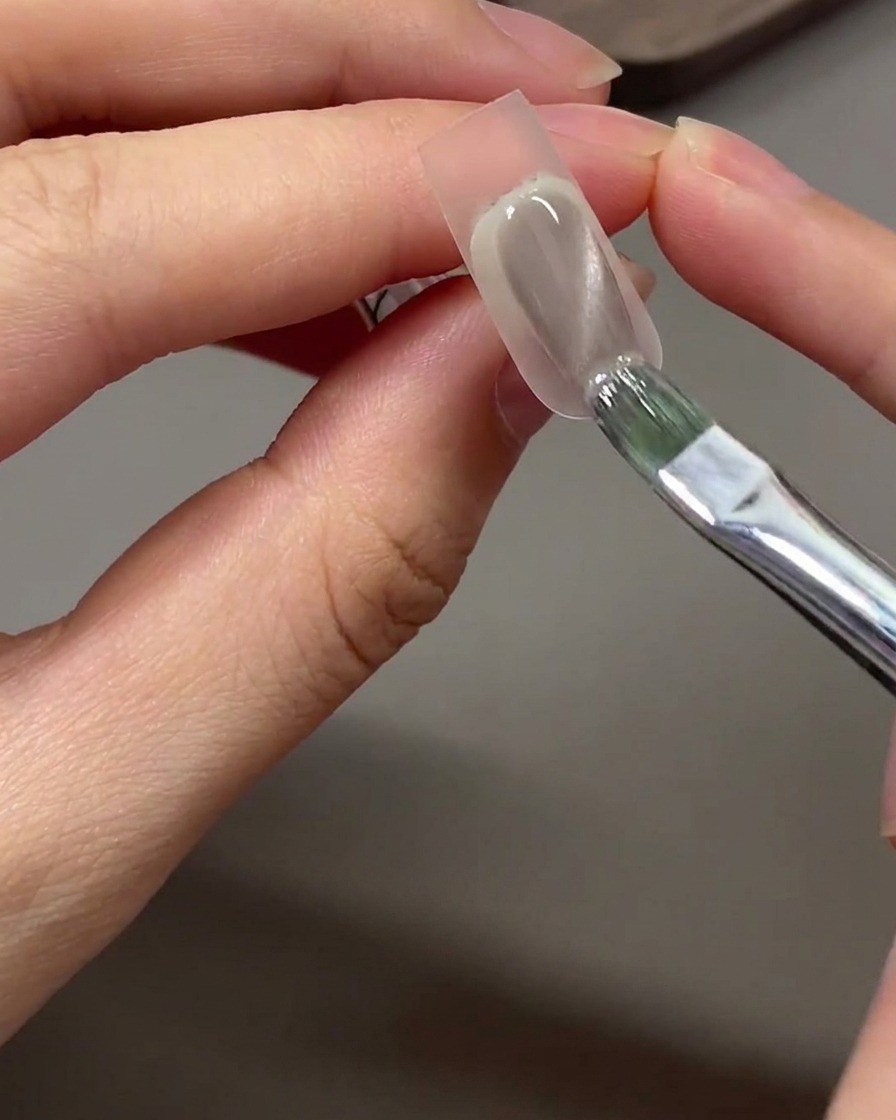
Apply a coat of grey-nude cat eye gel polish directly over the sponge-dabbed gradient area on the nail tip using a standard gel brush.
Tip: Apply an even layer of cat eye gel so the magnetic particles have enough suspension to move fluidly. - 4Create a wide light band with a magnet
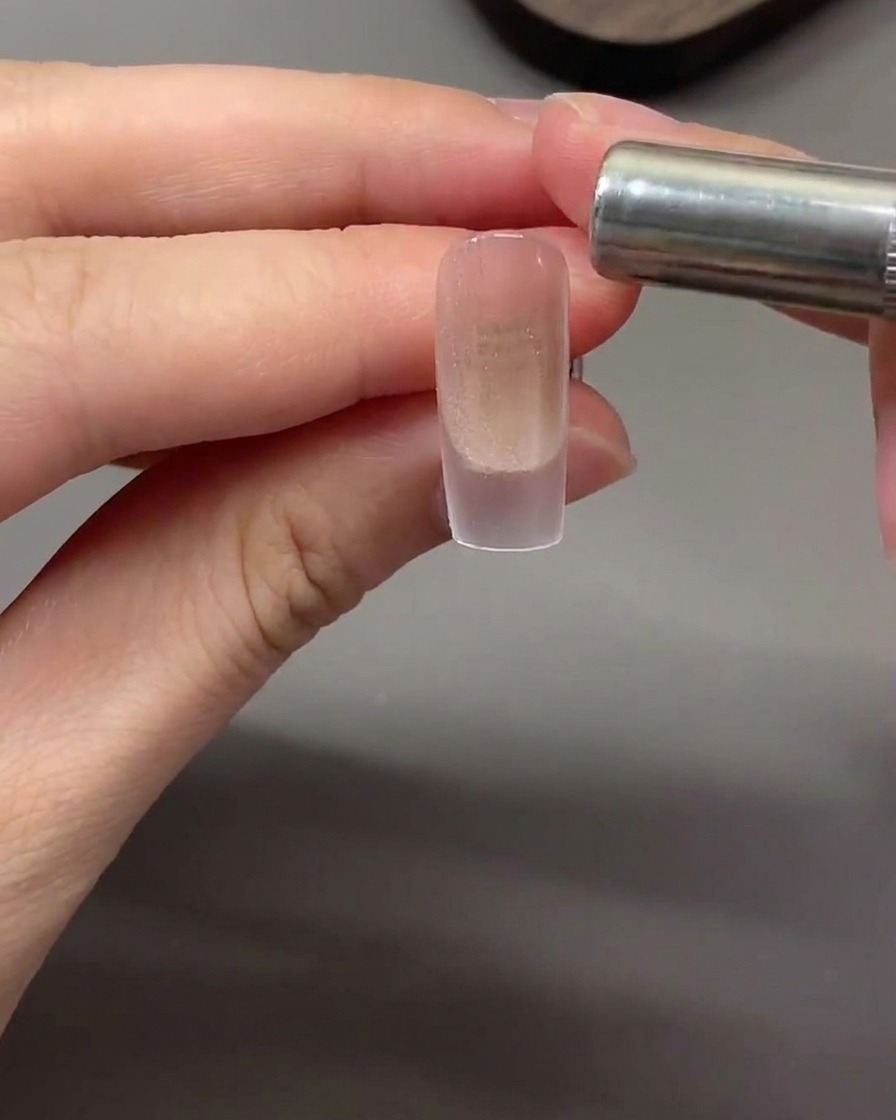
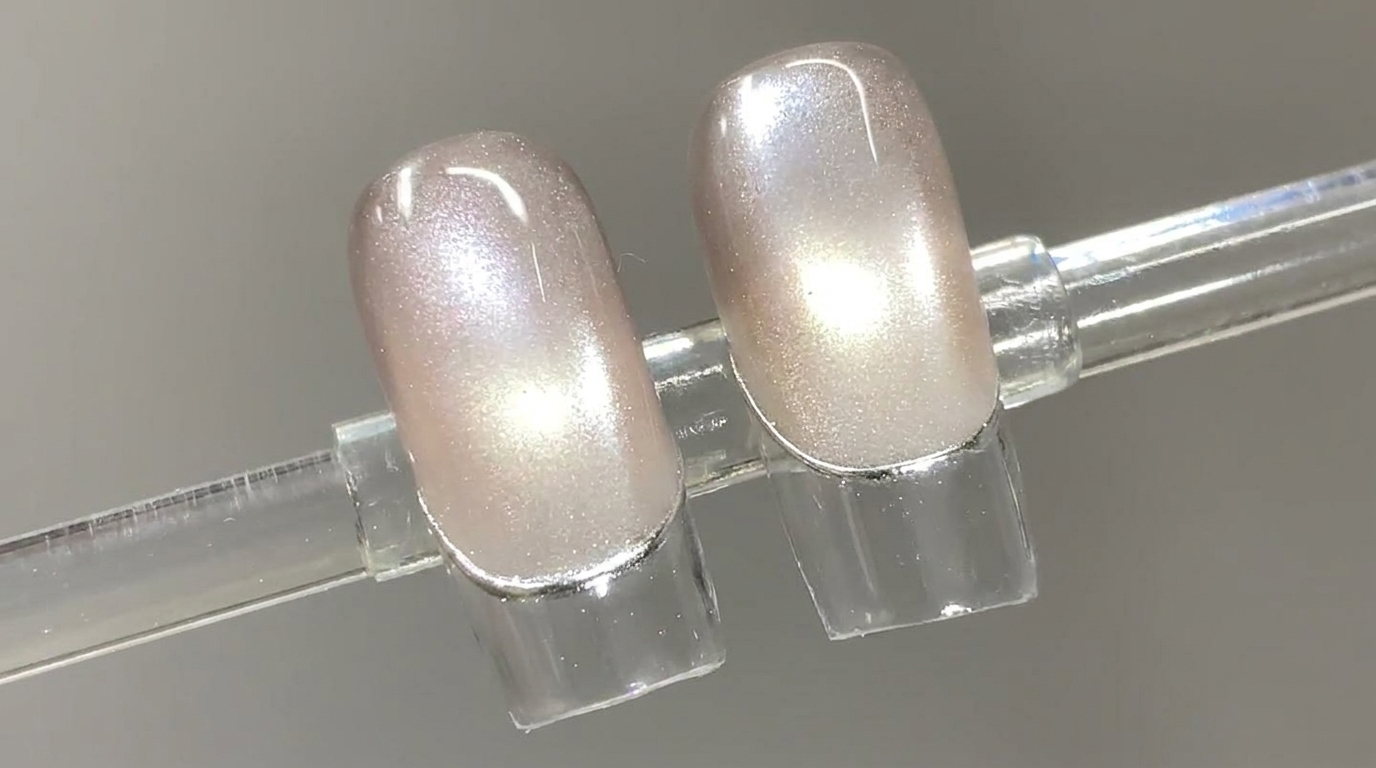
Hover a cylindrical magnet horizontally on both sides of the nail tip to draw and concentrate the magnetic particles into a wide, luminous band of light.
Tip: Keep the magnet steady and close to the nail without touching the wet gel surface. - 5Shape the glass bead reflection
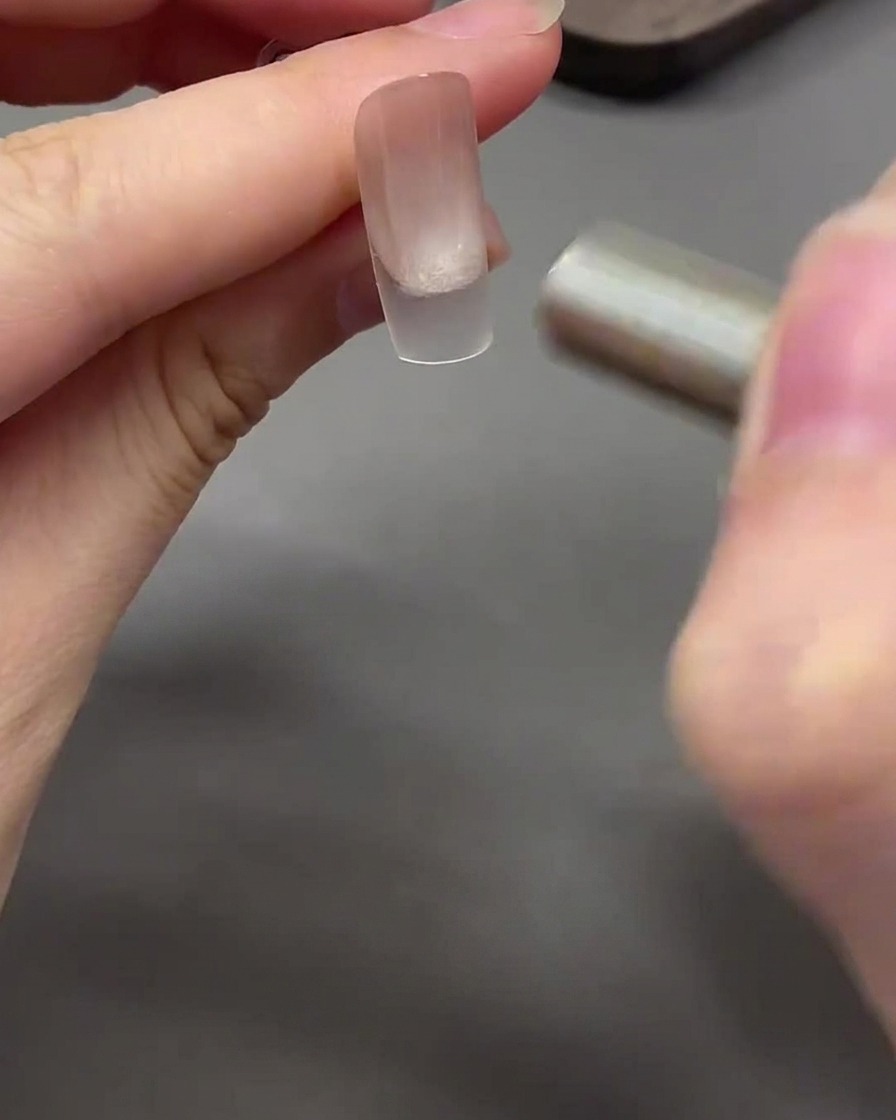
Move the magnet in a curved, semi-circular motion around the tip to push and shape the light band into a concentrated, round glass bead reflection.
Tip: Gentle, sweeping arcs help refine the magnetic shimmer into a dimensional orb look. - 6Apply matte top coat
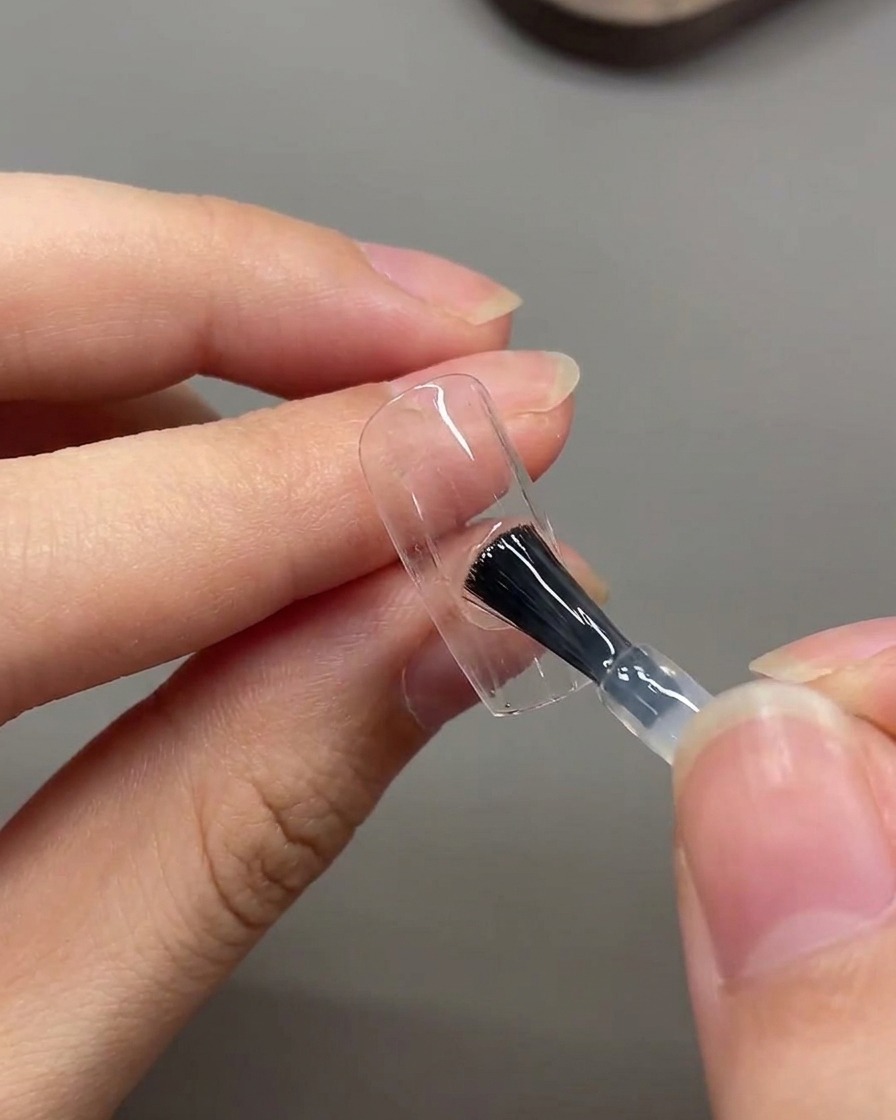
Apply a layer of matte top coat over the entire nail surface to remove shine and create a textured base that prepares the surface for chrome powder application.
Tip: Ensure the matte top coat is fully cured before moving on to chrome powder application. - 7Paint the French smile line
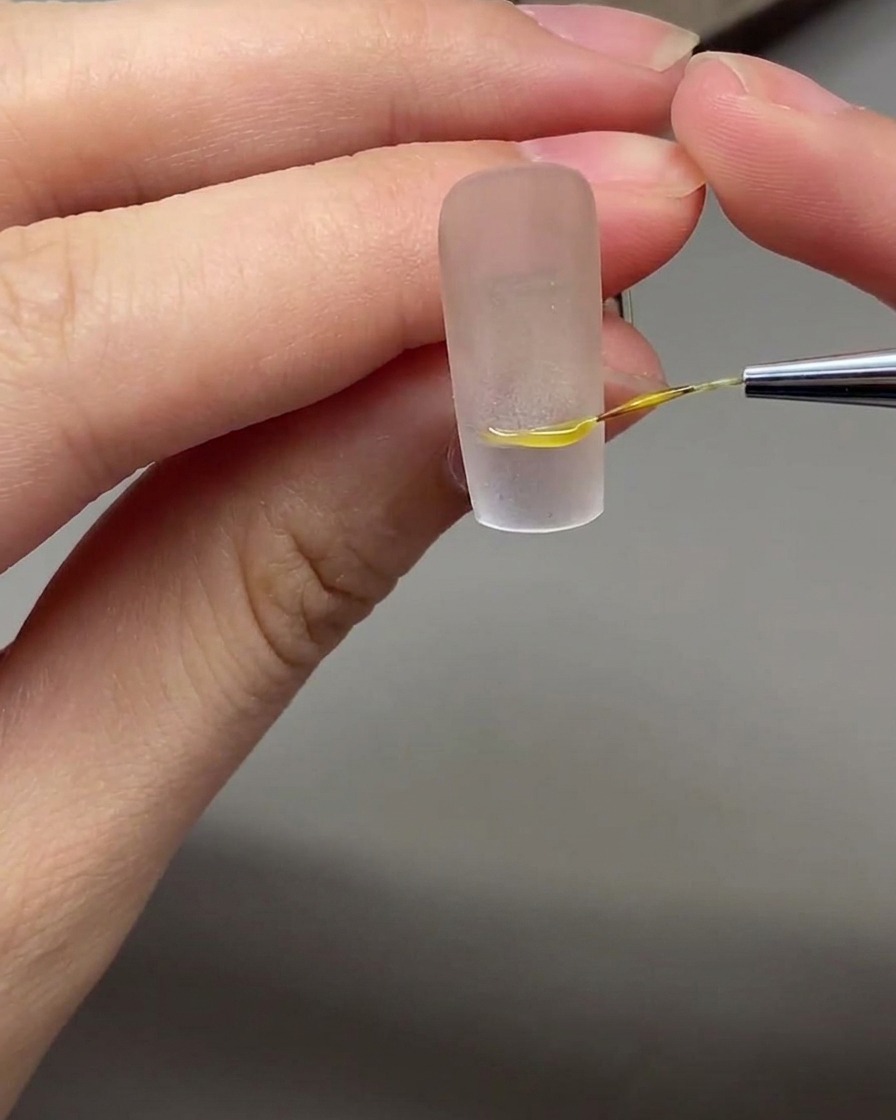
Take a fine liner brush dipped in gel and carefully paint a precise, curved French smile line along the boundary of the painted tip. Follow the natural contour of the nail to create a clean, elegant arc. Take your time to steady your hand for a crisp and symmetrical result before curing.
Tip: Rest your pinky finger against your other hand for stability when drawing fine lines to prevent hand tremors. - 8Apply silver chrome powder
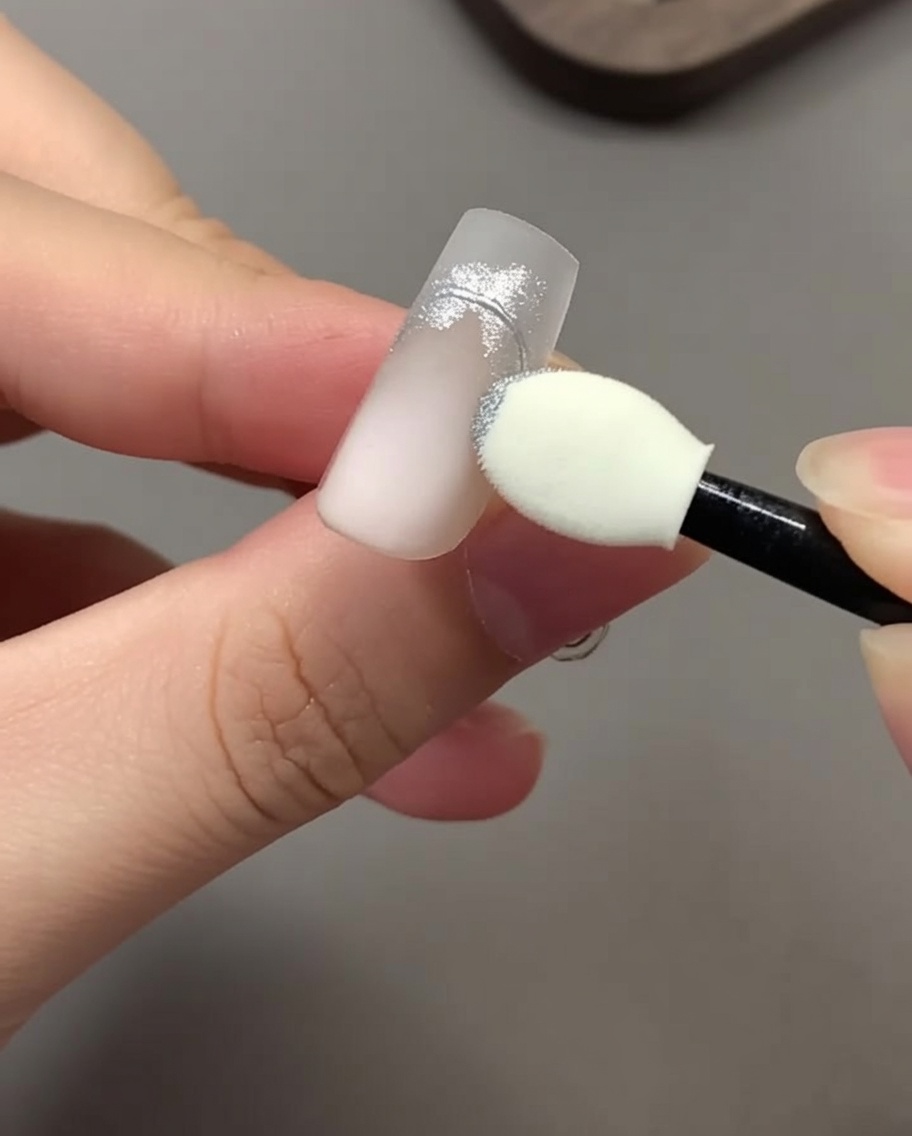
Take an eyeshadow sponge applicator loaded with silver magic mirror chrome powder and gently rub it directly over the cured drawn line. Buff the powder thoroughly until it transforms into a brilliant metallic mirror finish.
Tip: Apply the powder while the surface is slightly warm or tacky right after curing for maximum adhesion and shine. - 9Clean up excess chrome powder
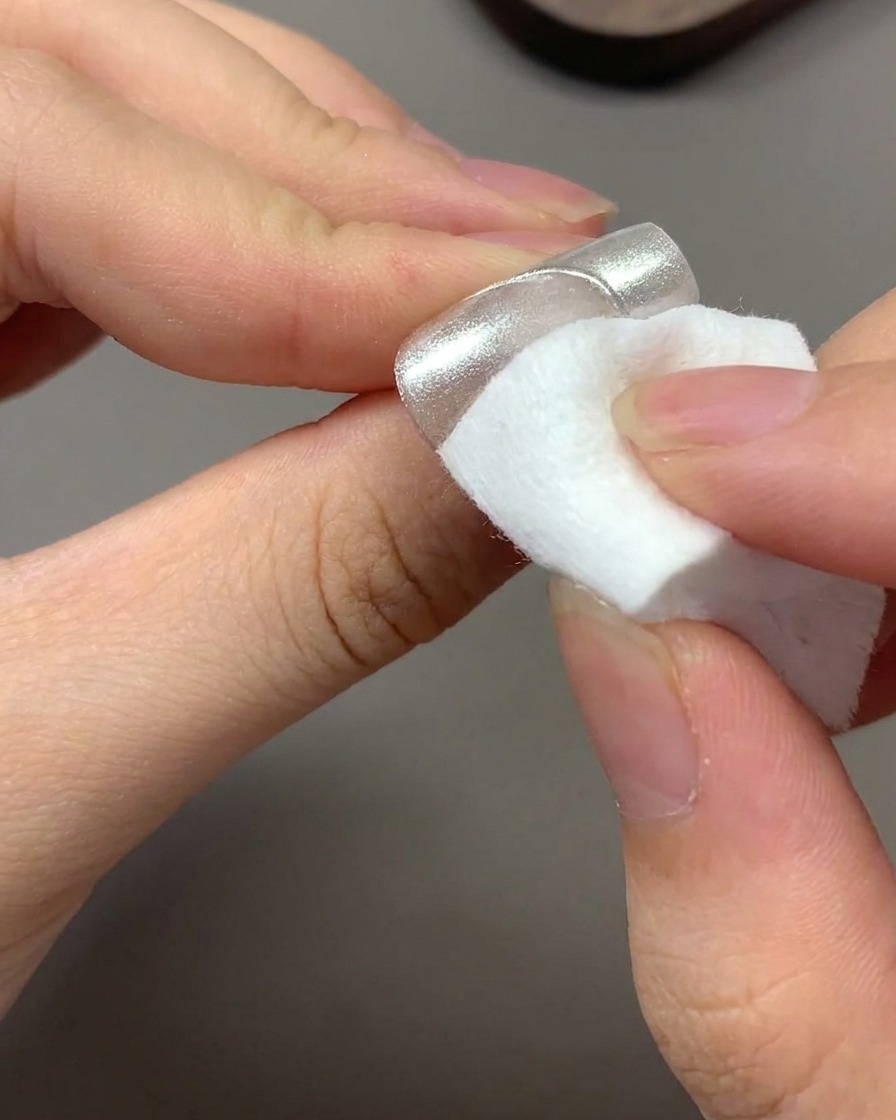
Take a clean, dry lint-free wipe and gently brush away any stray floating chrome powder particles from the surrounding matte surface of the nail. This keeps the background clean and ensures the metallic line pops sharply.
Tip: Ensure the wipe is completely dry to prevent smudging the chrome onto the matte base coat. - 10Seal the chrome line
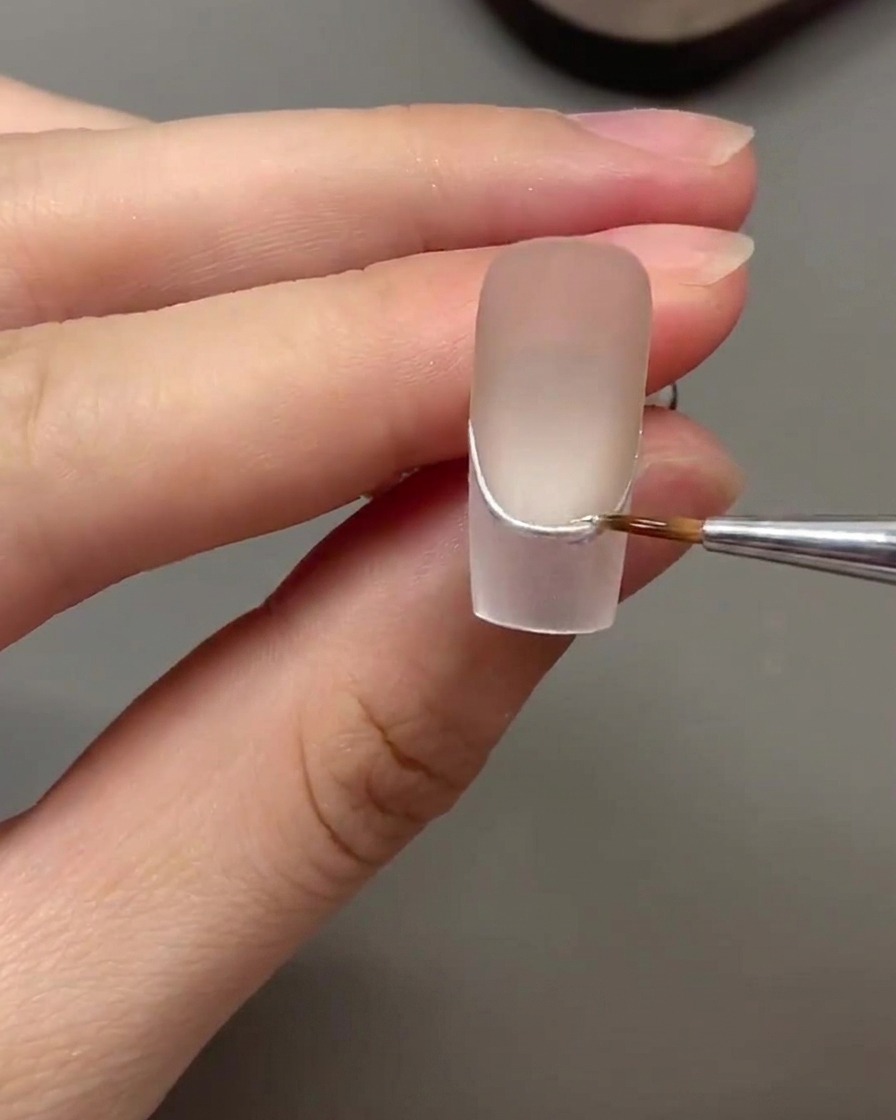
Using a fine liner brush, carefully apply a thin, precise layer of reinforcement gel directly over the polished silver chrome line. This encapsulation step prevents the chrome from chipping or wearing off prematurely.
Tip: Cap the line completely with the gel, ensuring no exposed edges of chrome remain unprotected. - 11Apply final glossy top coat
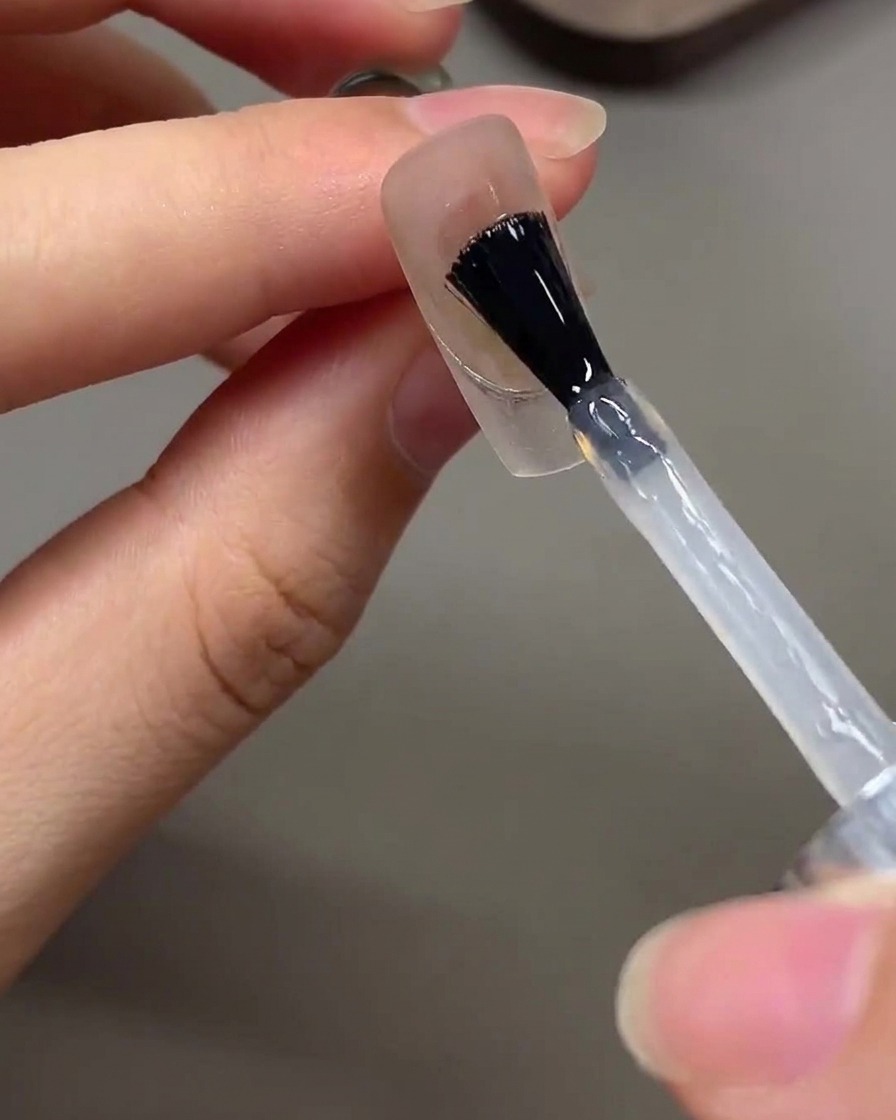
Finish the manicure by brushing a high-shine glossy top coat over the entire surface of the nail. Seal the free edge thoroughly to lock in the glass bead effect and protect all underlying layers of art.
Tip: Do not forget to swipe the top coat along the underside of the tip for extended durability and wear. - 12Seal the underside of the tip
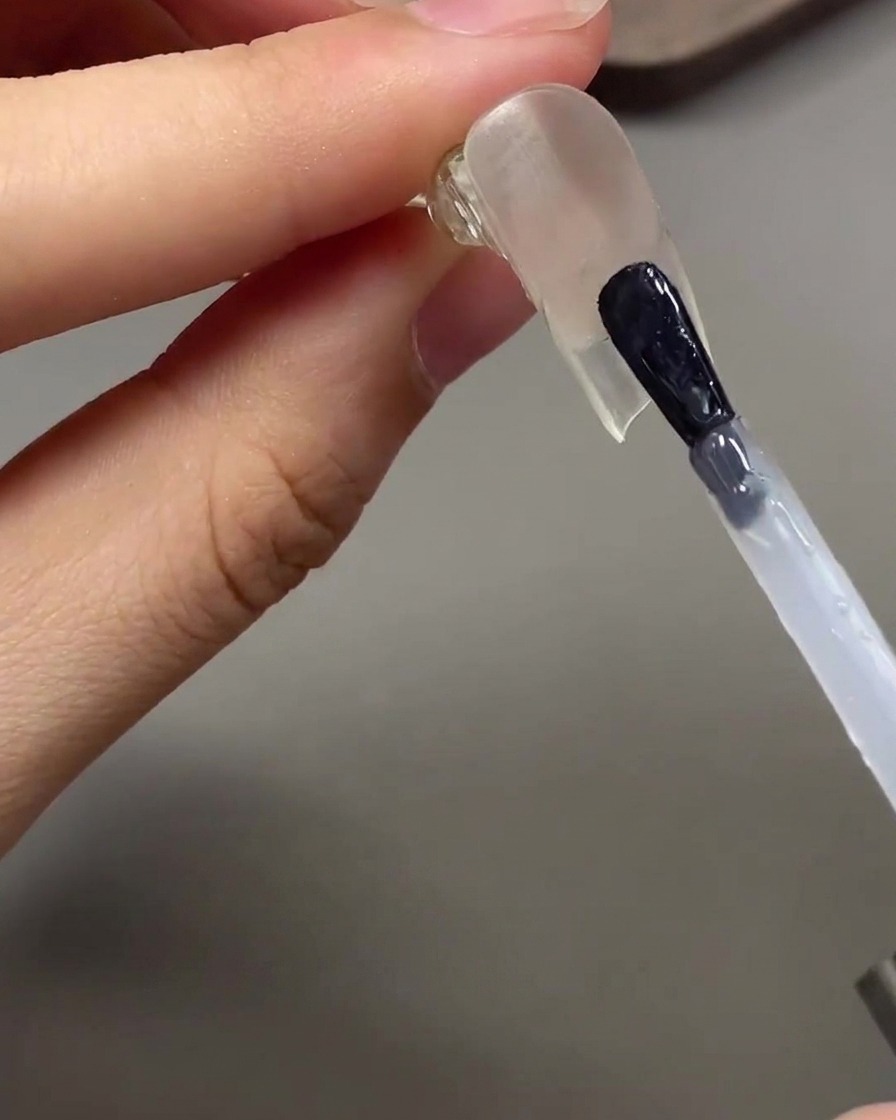
Apply a final layer of glossy top coat directly to the underside of the free edge of the nail tip. This step ensures complete sealing, prevents lifting from underneath, and adds extra clarity and protection to the finished extension.
Tip: Always remember to seal underneath the free edge to extend the lifespan of your manicure and prevent water trapping.