French Gradient Long Almond Nails
Rhinestone Embellishments — Step-by-Step Tutorial
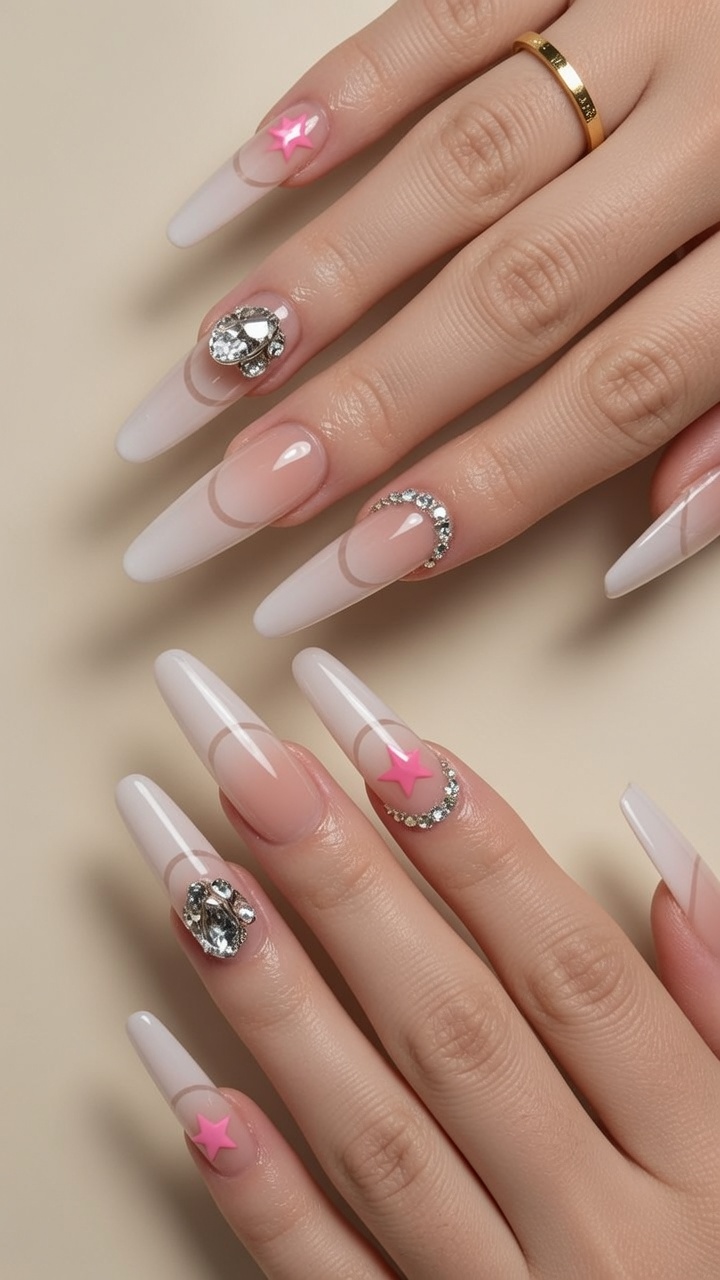
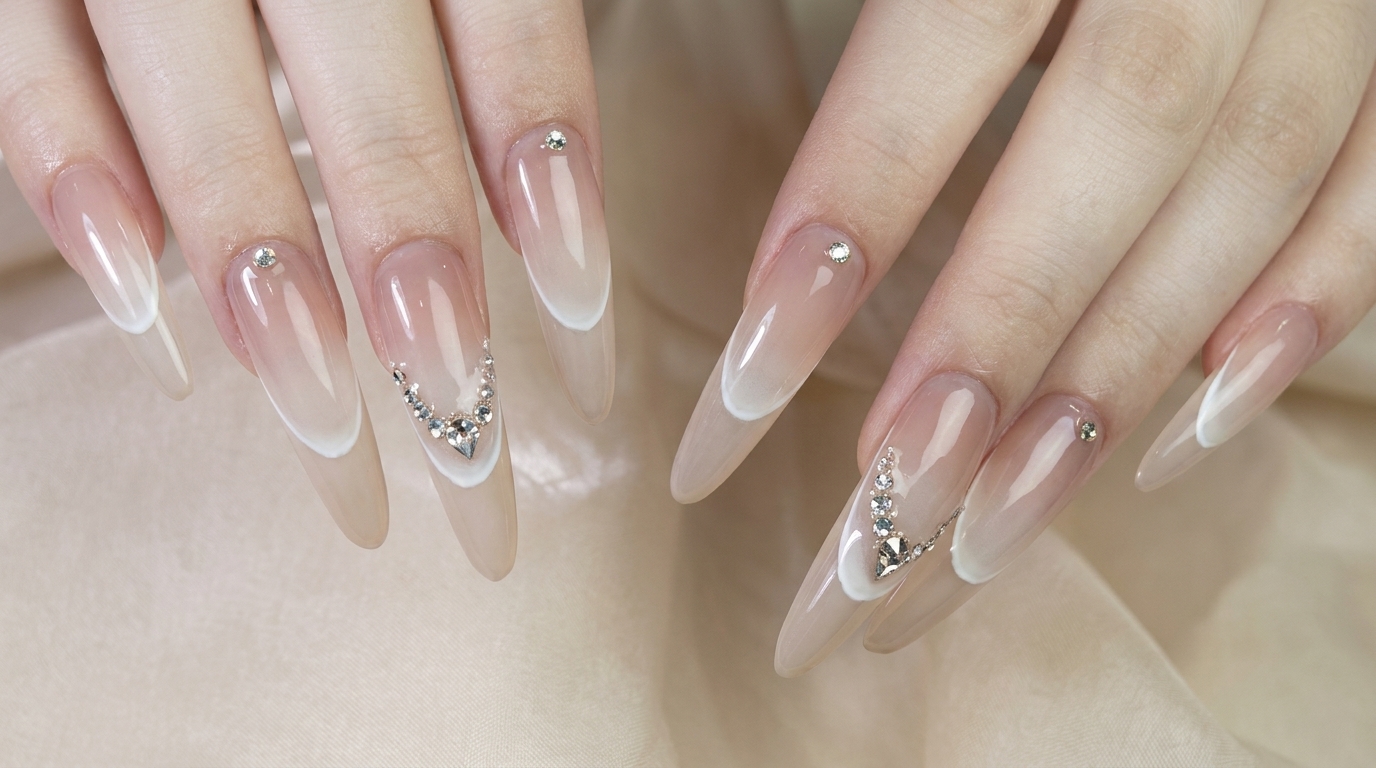
Discover how to create stunning long almond-shaped French gradient nails featuring translucent base tones, white smile line stickers, and delicate rhinestone embellishments.
Long nails make a bold and elegant statement, offering plenty of space to experiment with sophisticated techniques. This look combines a clear translucent gradient base with a modern moon smile French style using precision stickers, finished off with sparkling rhinestone details for a high-end salon appearance.
Steps
- 1Apply translucent gray base gel
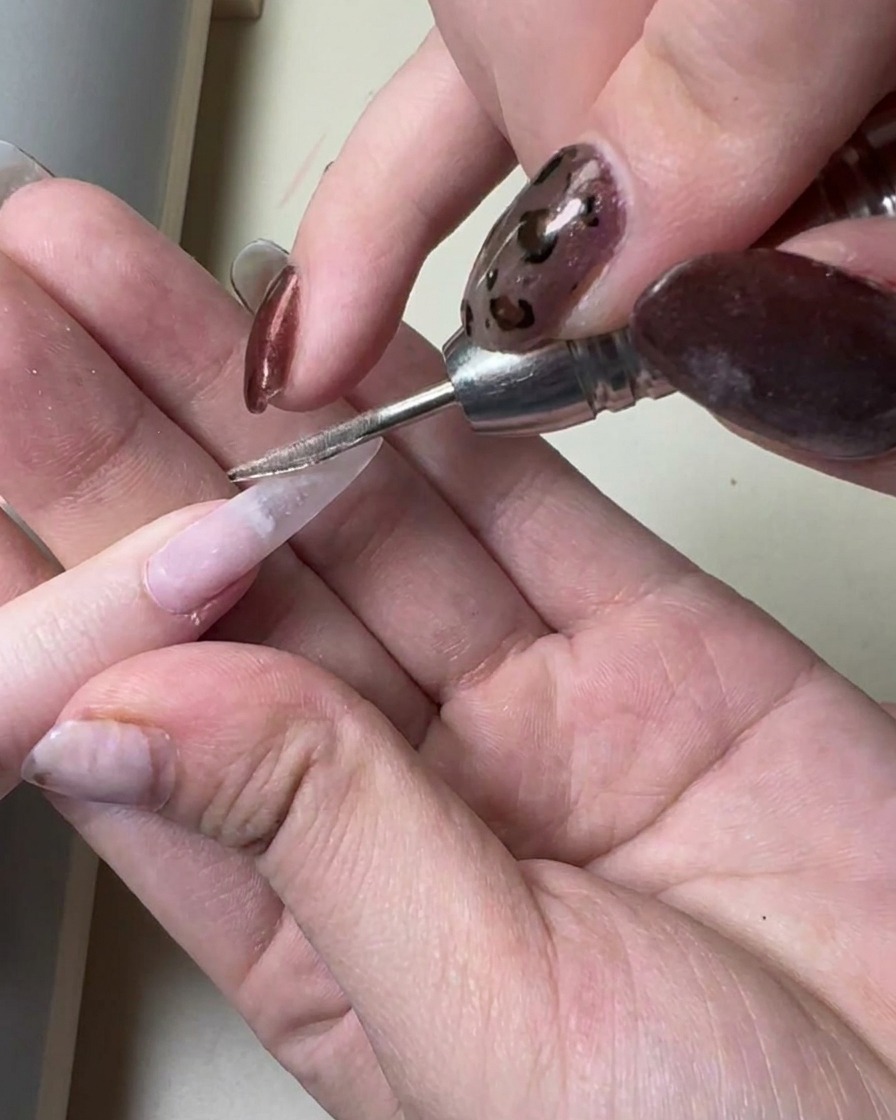
Apply a smooth layer of translucent gray base gel across the natural nail plate and extension surface. Ensure even coverage from the cuticle area down to the extended tip to create the first foundation layer of the clear gradient look.
Tip: Keep the layer thin to prevent pooling near the cuticles and ensure a proper cure. - 2Apply translucent light pink base gel
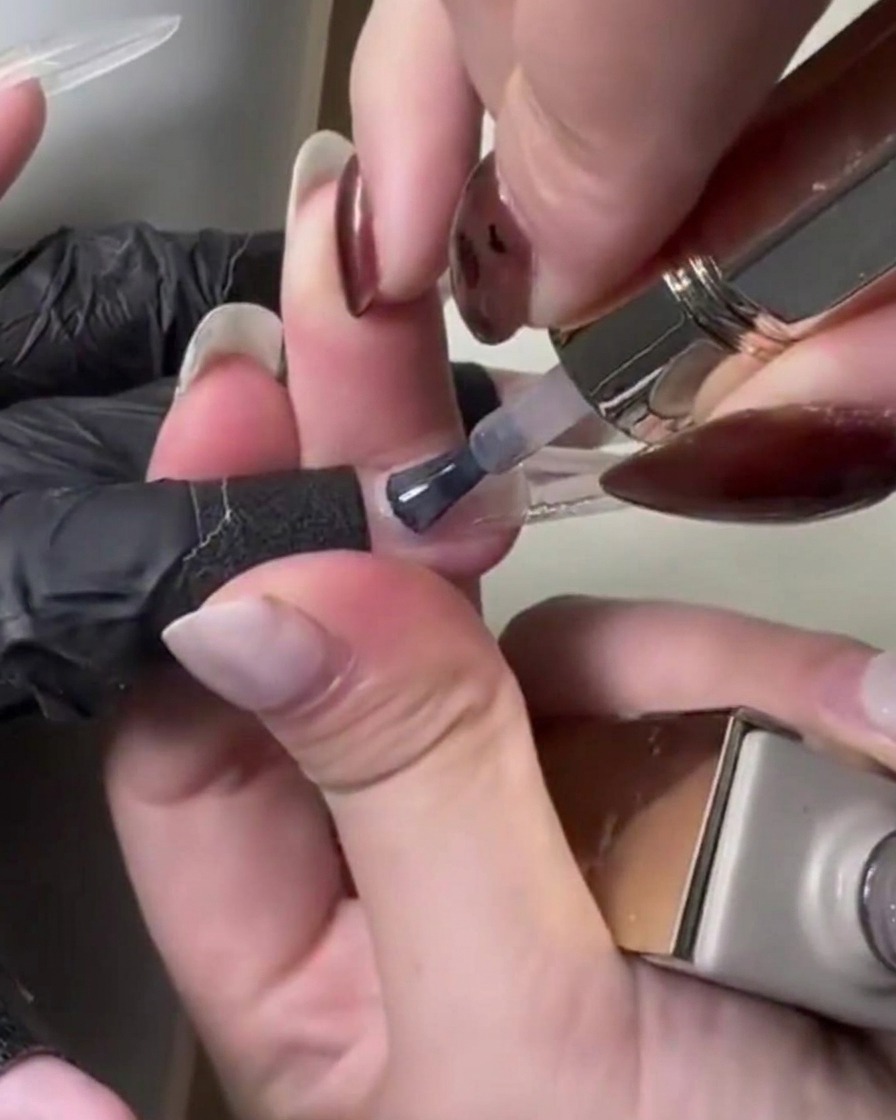
Layer a second coat of translucent light pink base gel directly over the previous gray layer. This combination of translucent gels builds a deep, clear, and natural nude gradient base before the French design is added.
Tip: Make sure each gel layer is evenly distributed to maintain a consistent translucent effect across all fingers. - 3Apply white tapping gel with a sponge
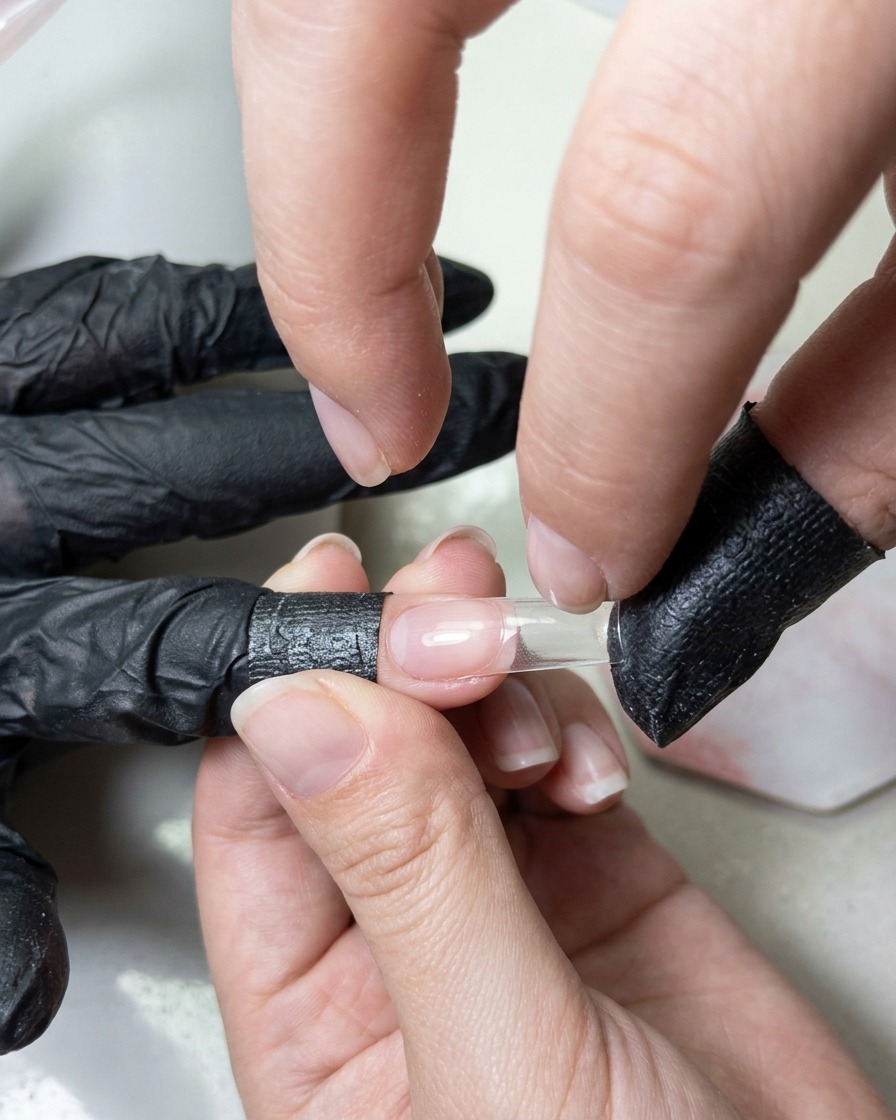
Take a makeup sponge dabbed with white tapping gel from Sakuras collection and gently tap it twice onto the nail tip. Because the nails are long, this technique covers the free edge position and builds a clean gradient fade.
Tip: Light tapping motions prevent harsh lines and create a smooth, smoky fade from tip to base. - 4Layer nude skin-toned gel over gradient
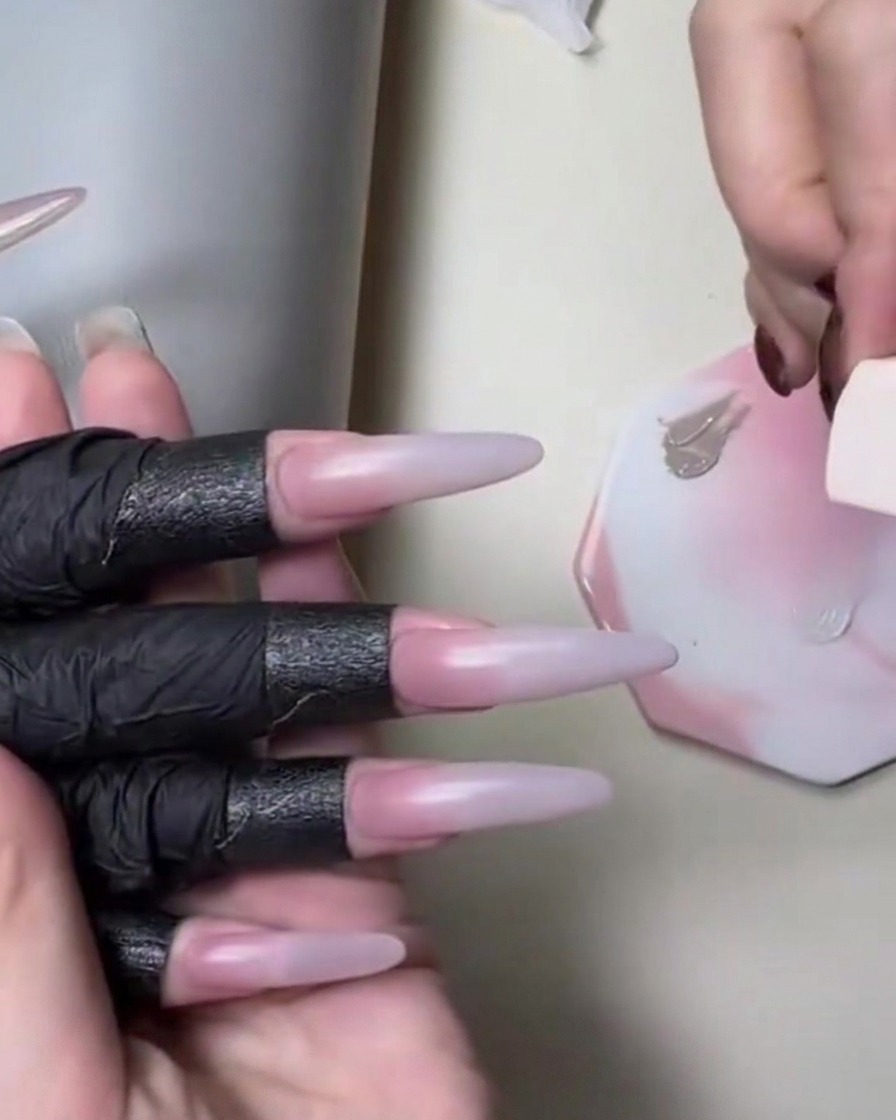
Apply a slightly nude skin-toned color on top of the existing gradient using the sponge applicator. Gently pat the color onto the transition area to tie the tones together and soften the look.
Tip: Use a clean section of the sponge or a fresh dab to avoid muddying the white tip. - 5Blend connection area with sponge
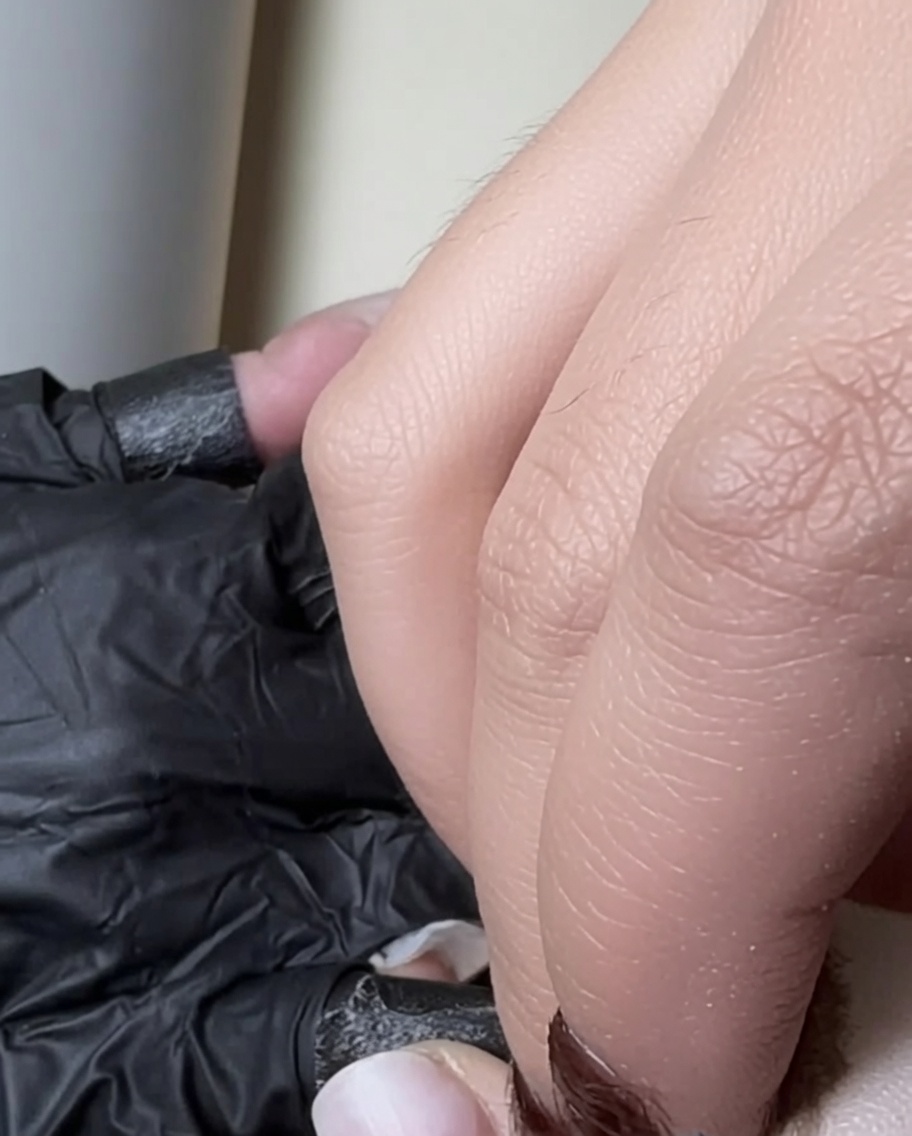
Take the clean end of the sponge block and gently pat the connection area where the colors meet. This action diffuses the pigments together, ensuring a flawless and seamless transition across the long nail.
Tip: Pat lightly so you do not rub away the gel layers underneath. - 6Apply the French smile line sticker
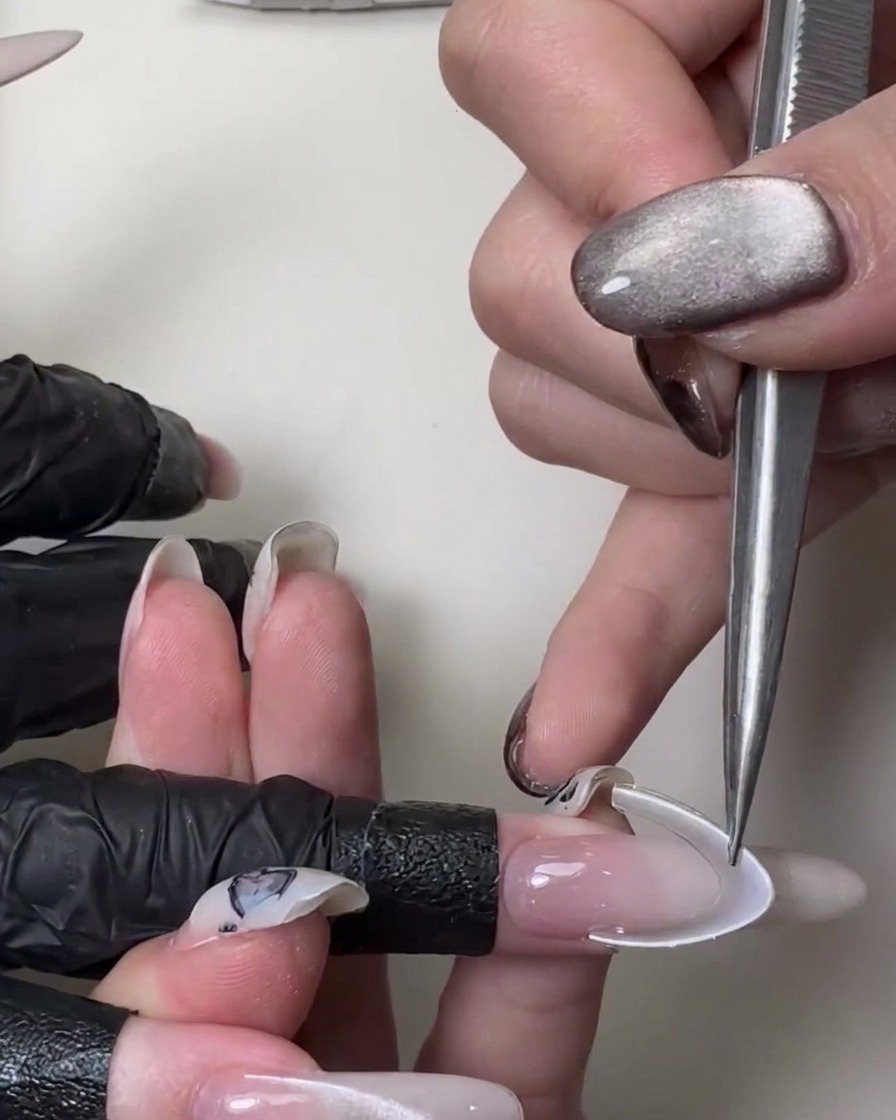
Using a pair of precision tweezers, pick up the white French smile line sticker. Carefully position it onto the tip of the long nail to create the moon smile French style. Because the nail is long, placing the sticker accurately helps to seamlessly cover the free edge position while maintaining a crisp line.
Tip: Hover the sticker over the nail to double-check alignment before pressing it down, as it can be difficult to readjust once it adheres to the nail. - 7Secure the French tip sticker
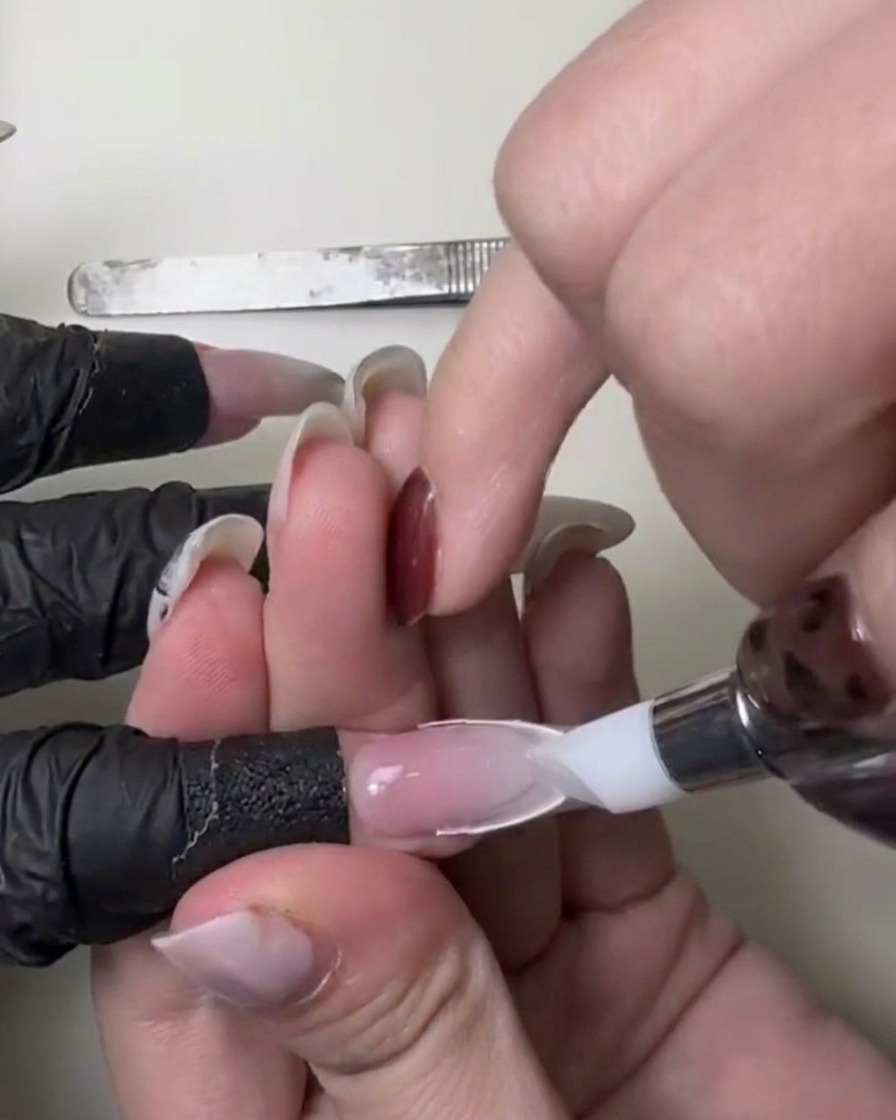
Using a silicone shaping pen or stick, gently but firmly press down on the entire surface of the smile line sticker. Ensure you press along the edges to eliminate any trapped air bubbles and create a seamless, flat bond against the nail surface.
Tip: A silicone tool is ideal for this as it wont scratch or tear the delicate sticker like metal tools might. - 8Apply rhinestones to the smile line
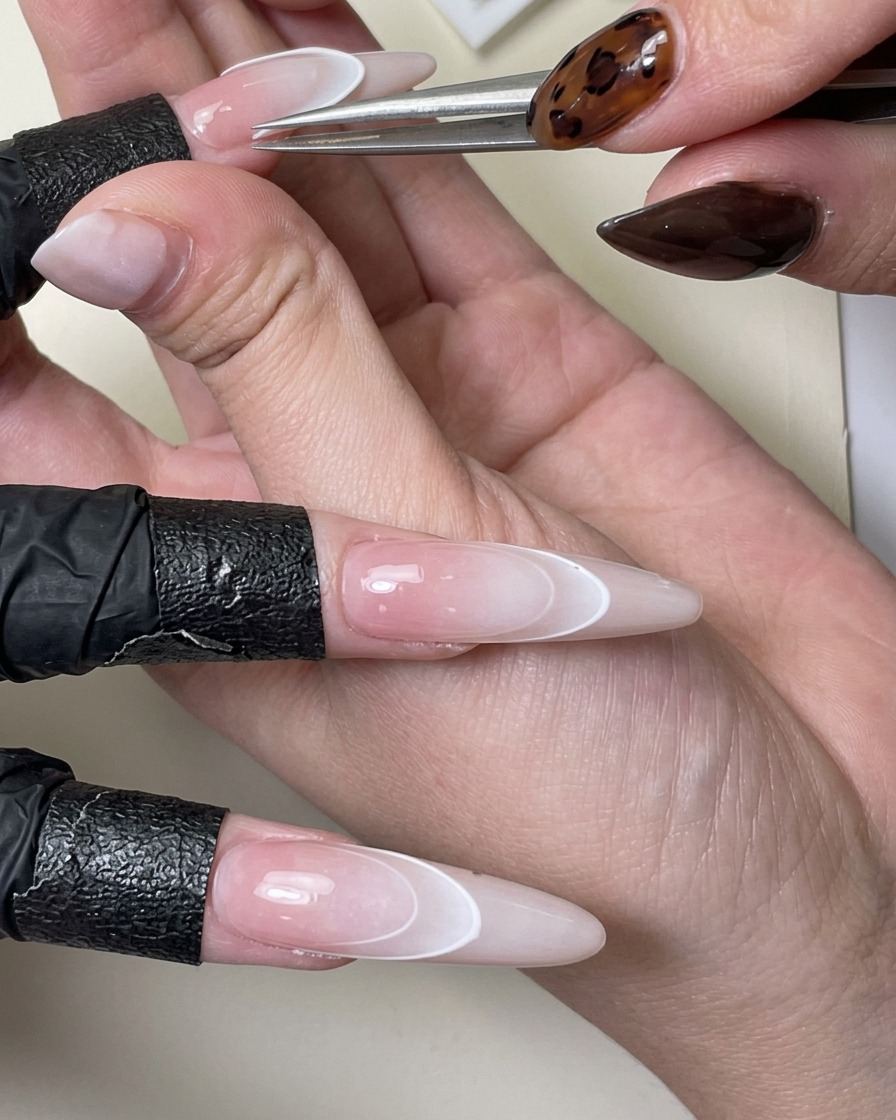
Using precision tweezers, carefully pick up and place sparkling rhinestones along the curved edge of the white French smile line. Once positioned, use a silicone tool to gently press the rhinestones firmly into place, ensuring they adhere securely to the nail surface without any gaps.
Tip: Apply a tiny dot of thick gem gel or builder gel where you intend to place each rhinestone to ensure maximum adhesion and prevent them from falling off.