Metallic Chrome Gel Nail Art Collection — Creative Techniques
Discover how to create stunning metallic chrome nail art with this easy, step-by-step guide. Elevate your manicure with hearts, flames, and stars.
Metallic chrome gel is a versatile tool that adds a modern, high-fashion edge to any nail look. From delicate hearts and trendy flame art to precise French tips, this collection of techniques allows you to customize your nails with a sophisticated reflective finish. This guide will walk you through the essential methods to achieve these intricate, metallic designs at home.
Steps
- 1Apply metallic silver dot
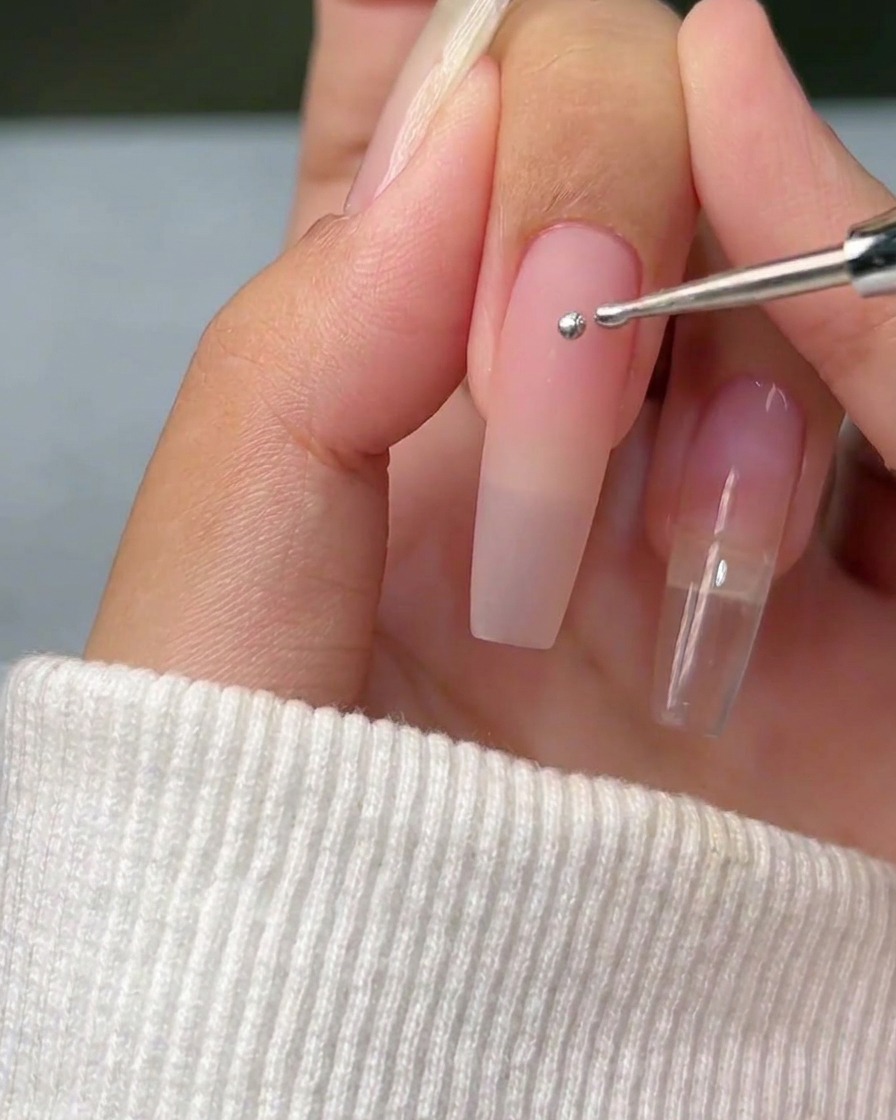
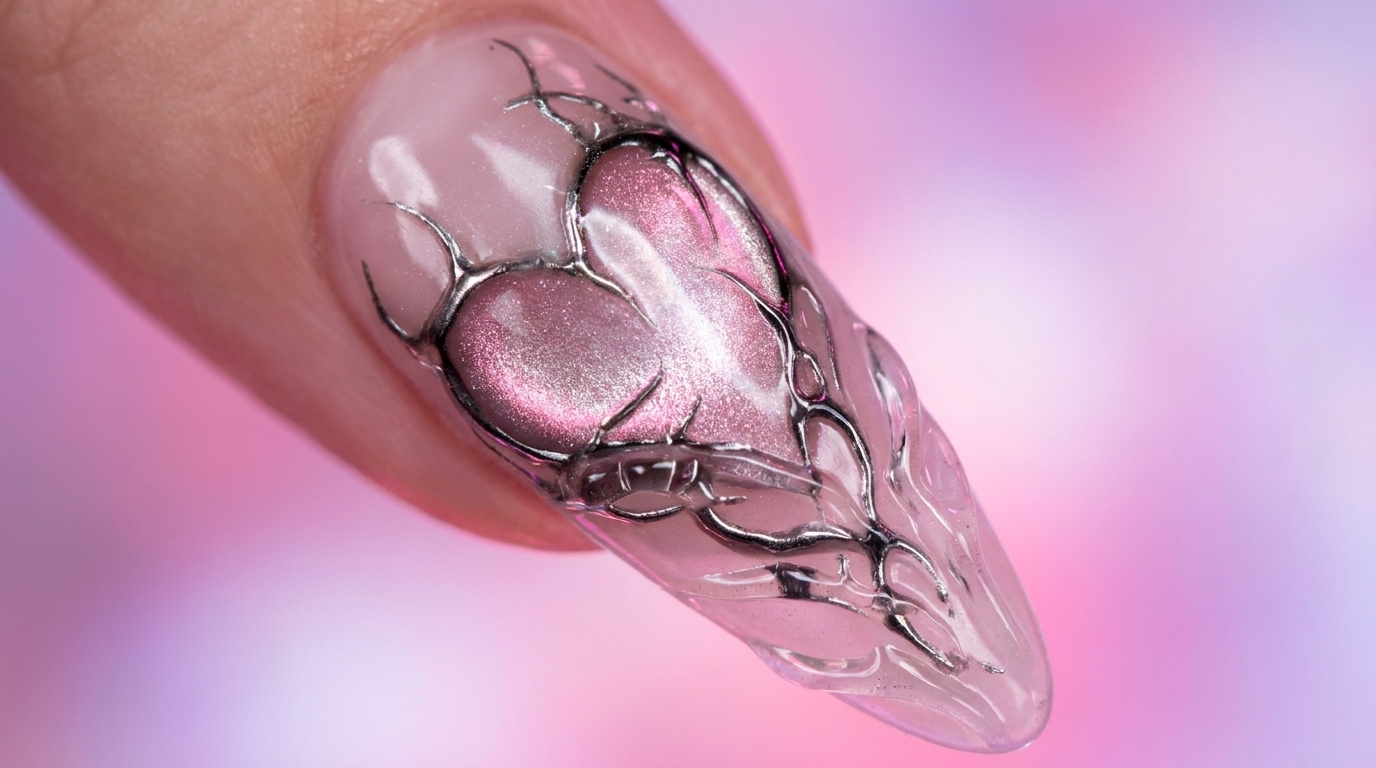
Using a dotting tool, pick up a small amount of metallic silver gel and place a single dot onto the nail plate. This dot serves as the anchor point for creating the heart nail art design.
Tip: Apply the dot lightly to ensure it stays in a compact, circular shape, which makes it easier to pull into a heart form later. - 2Shape the heart
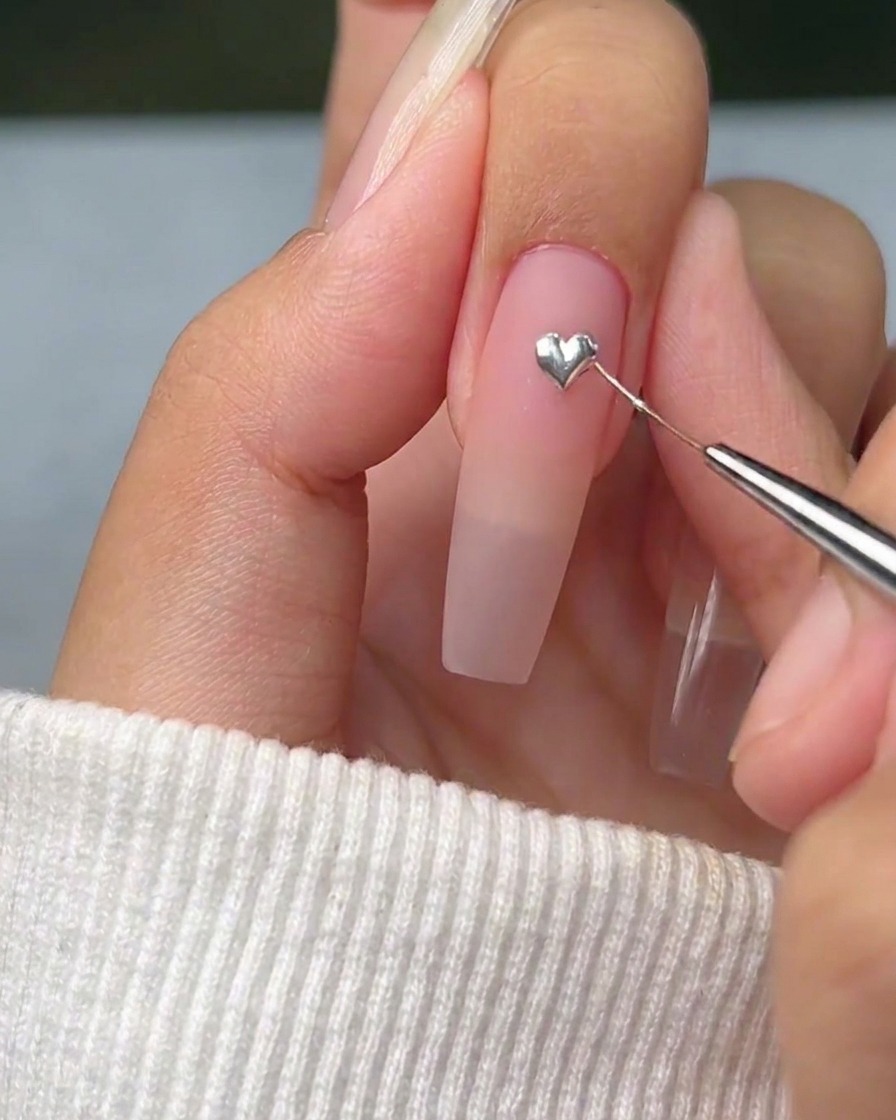
With a fine liner brush, gently pull the edges of the silver gel dot downwards and connect them to form a triangle, creating the heart shape. Refine the edges to ensure a crisp, metallic heart design.
Tip: Work with a minimal amount of gel on your brush to maintain control while dragging the metallic pigment into the heart shape. - 3Create flame foundation
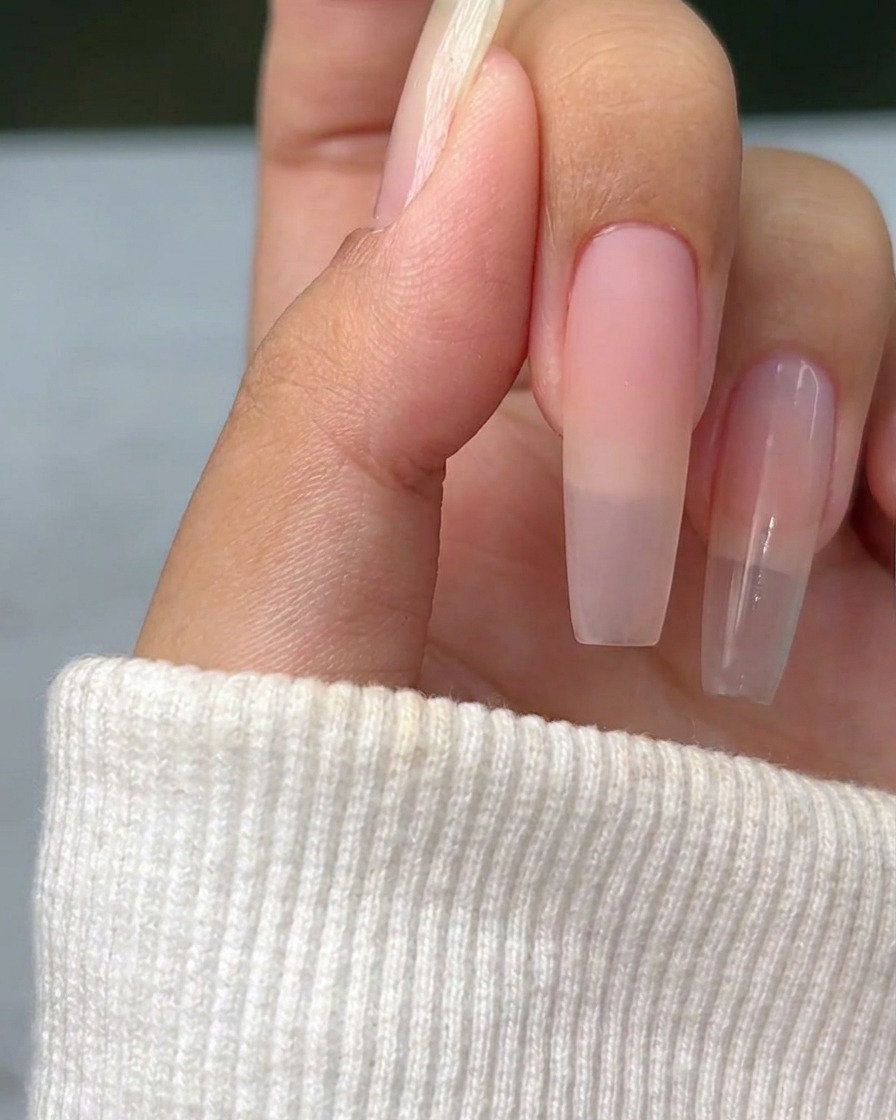
Using a fine liner brush, paint a delicate, thin cross onto the nail plate using the metallic silver gel. This cross acts as a structural guide to ensure the flame design is centered and symmetrical.
Tip: Keep the lines of the cross as thin as possible to maintain a refined look for the final flame art. - 4Outline the flames
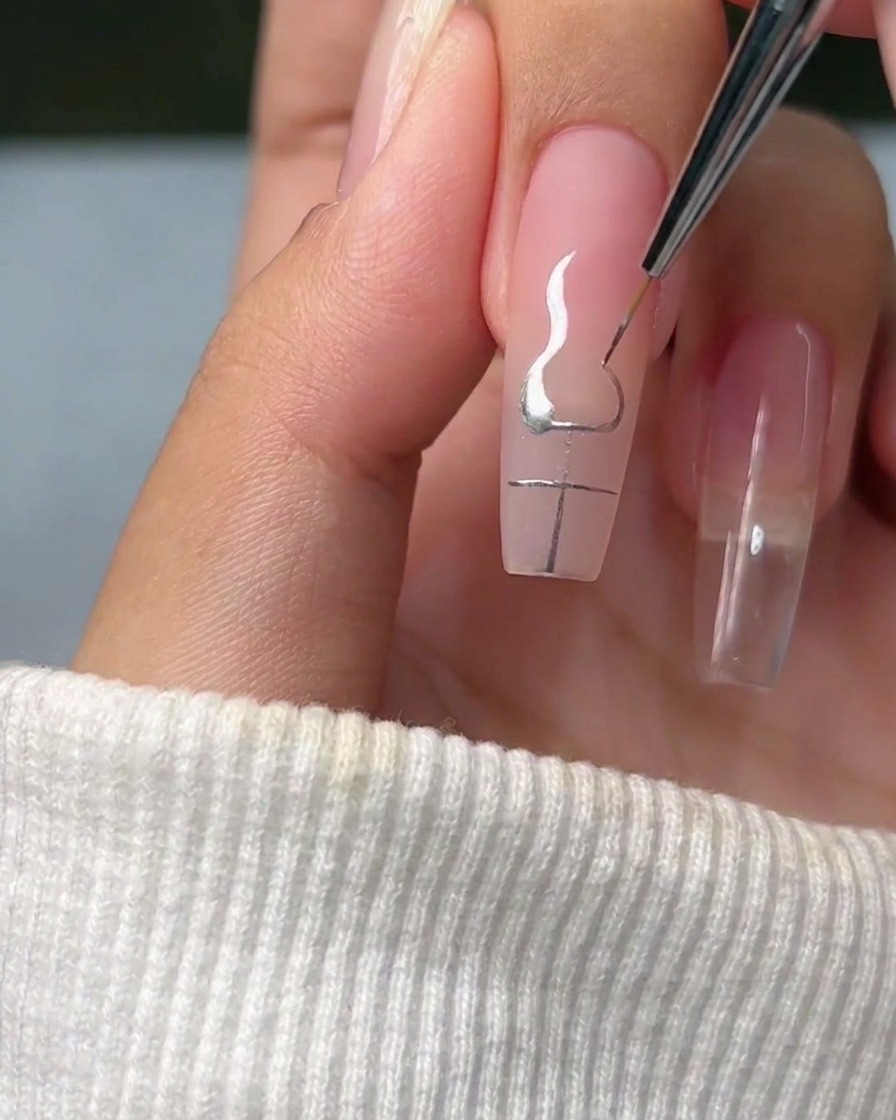
Using your liner brush, draw curved lines of varying lengths extending from the four corners of the previously painted cross. These curves define the outer edges of the flames.
Tip: Varying the curvature and length of these lines will give your flames a more realistic, organic look. - 5Fill the flames
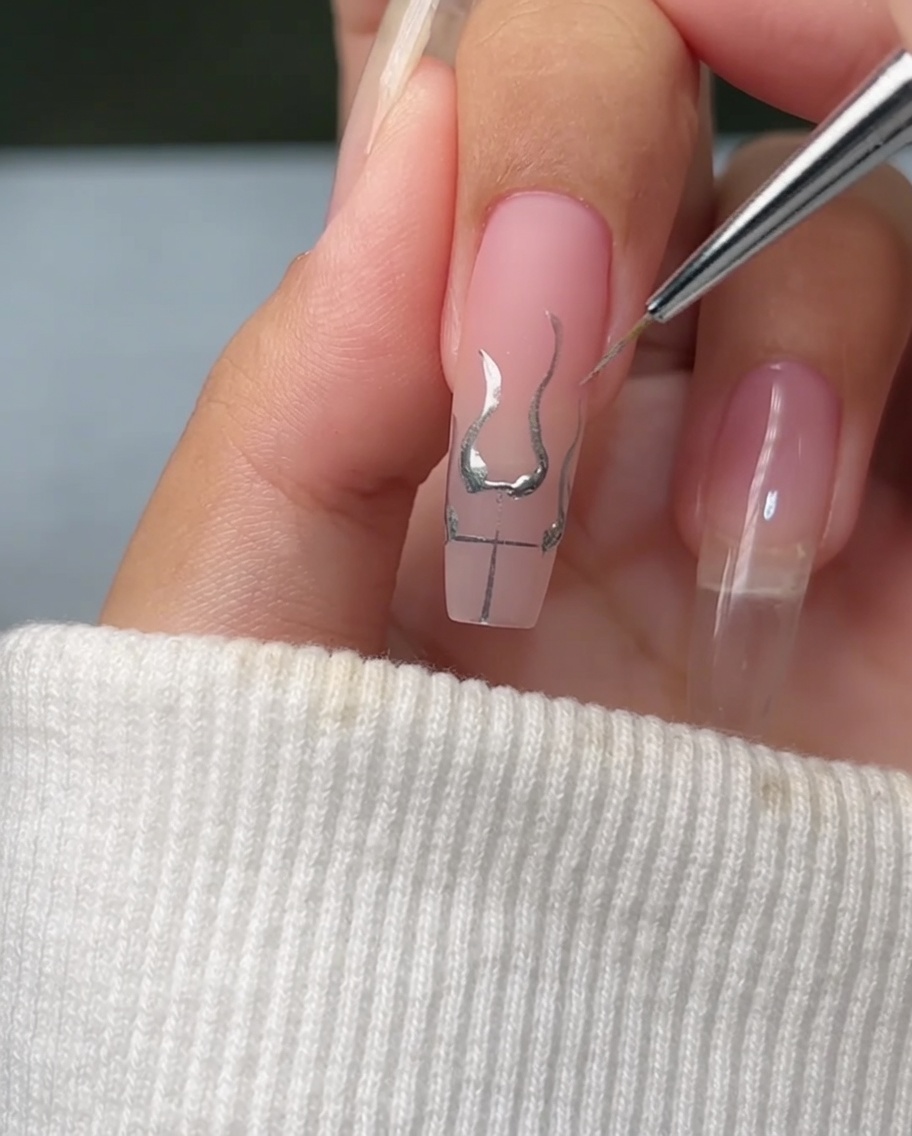
Carefully fill in the lower section of the outlined flame shapes with the metallic silver gel. Ensure the gel is evenly distributed to achieve a smooth, chrome-like appearance.
Tip: Take your time filling in the shapes to maintain sharp edges, as metallic gels can easily lose their definition if over-applied. - 6Finish the metallic flame design
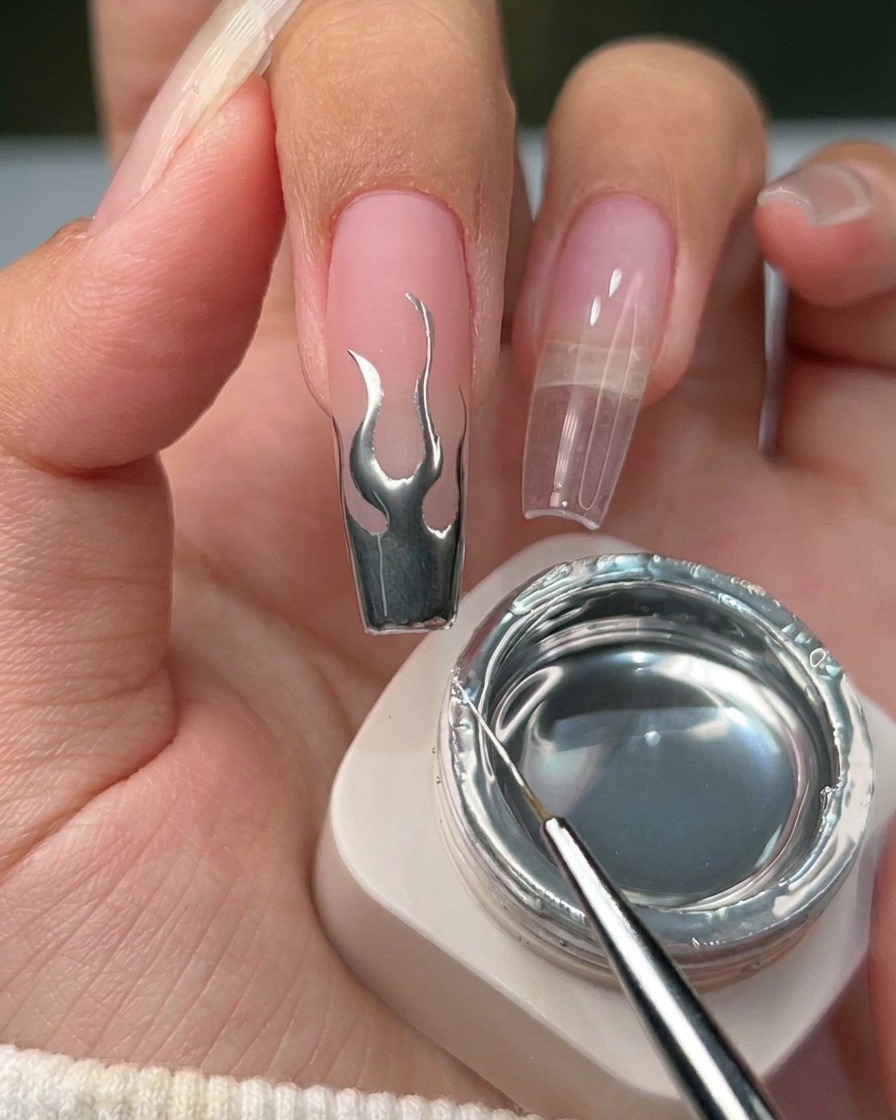
Your metallic flame design is now complete and ready to show. Ensure the chrome gel has fully cured under your lamp to lock in that high-shine metallic texture.
Tip: For the best chrome effect, ensure your surface is smooth before applying the metallic gel. - 7Create a four-pointed star
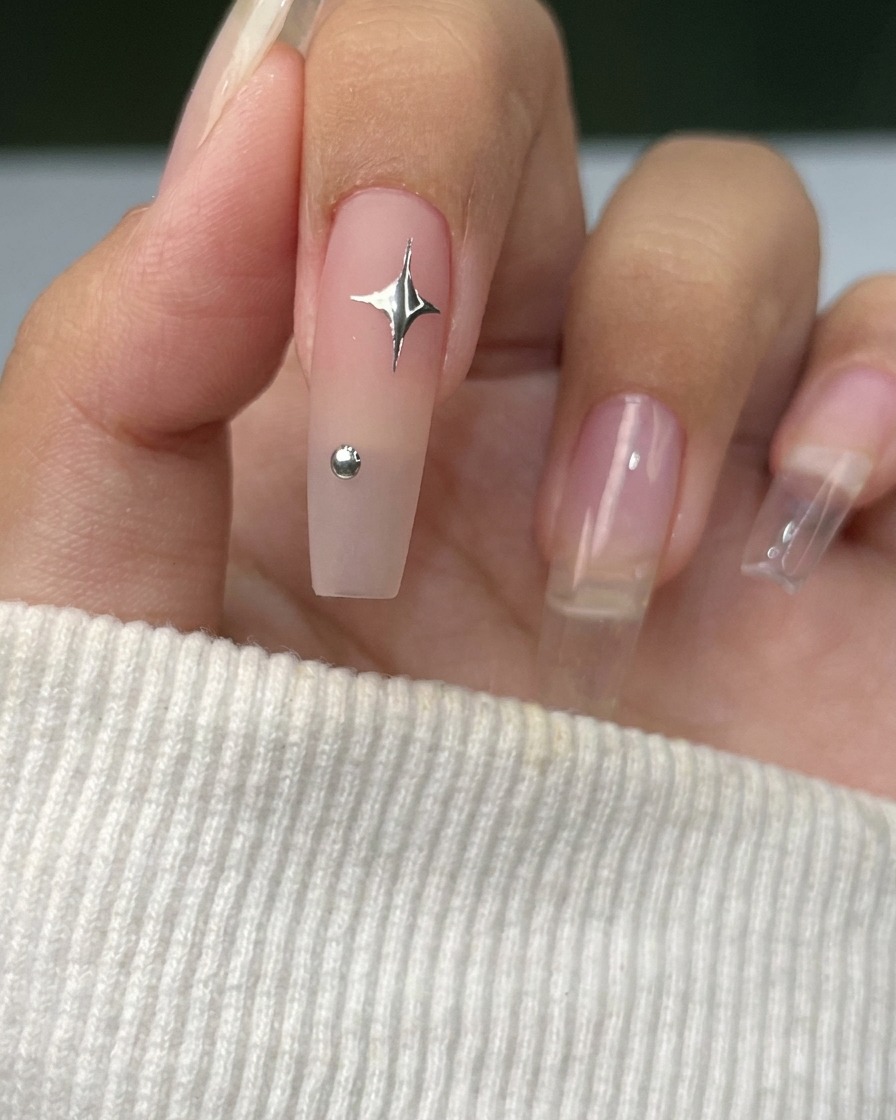
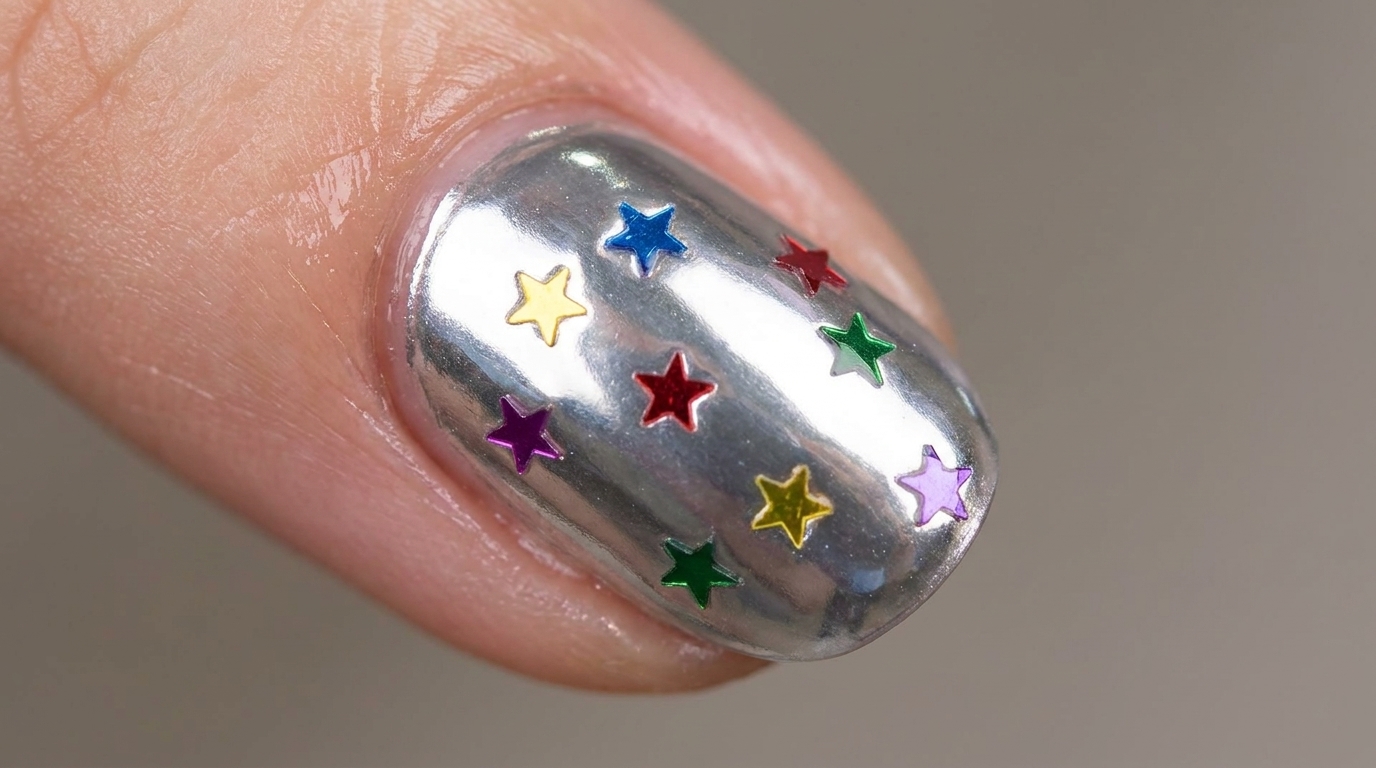
Using a fine liner brush and your metallic silver gel, place a small dot on the nail. Carefully draw four thin, intersecting lines radiating outward from that center point to form a star shape.
Tip: Keep your lines thin at the tips to make the star look sharp and delicate. - 8Admire your metallic stars
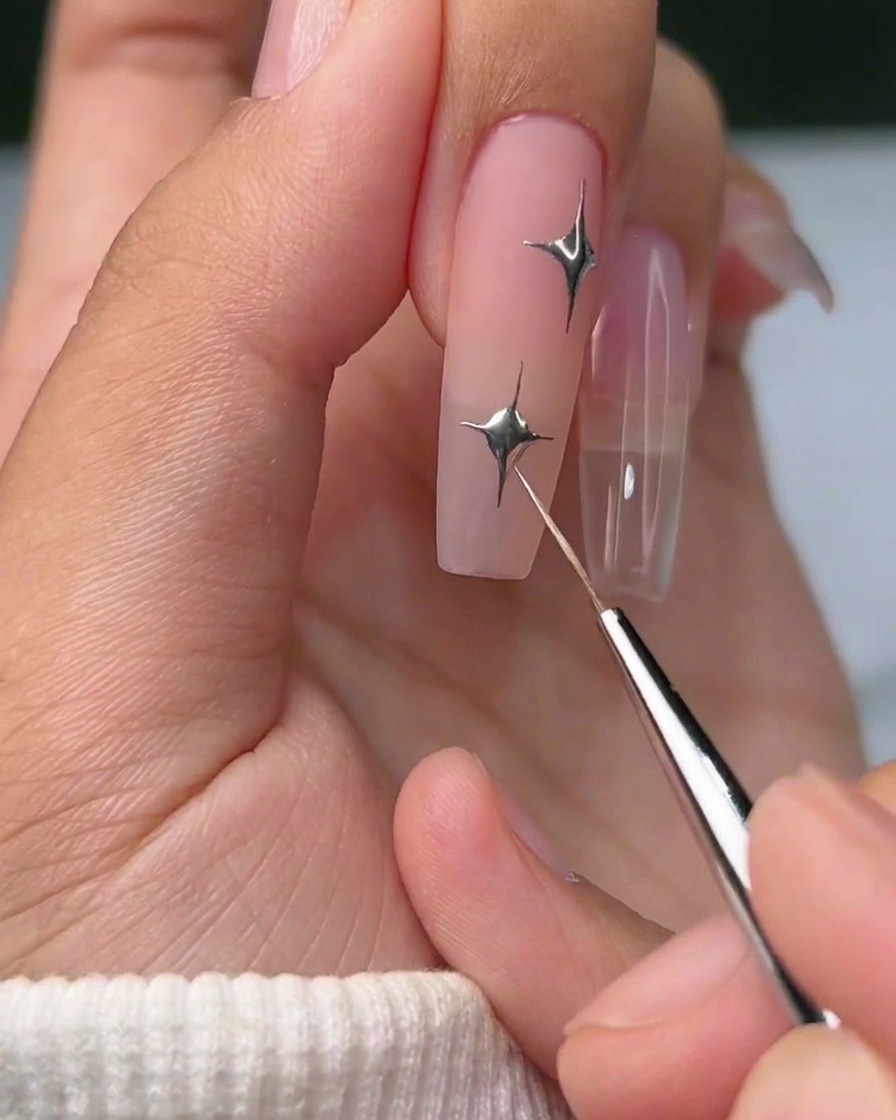
Your four-pointed star design is now complete. The metallic chrome finish provides a striking contrast against the neutral nail base.
Tip: Pair these stars with small silver accessories to enhance the overall aesthetic. - 9Outline your French tip
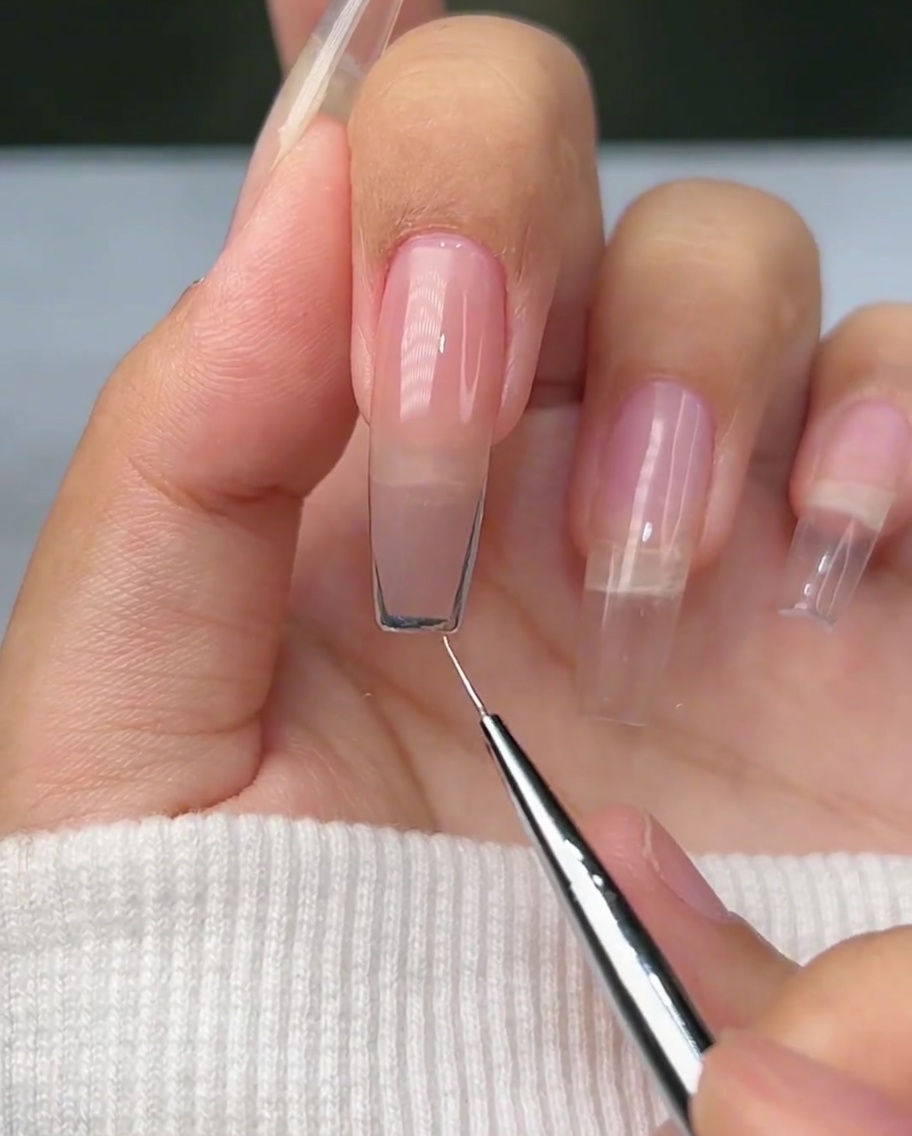
With a fine liner brush, draw a thin, smooth curved line across the free edge of the nail to create the outline for your French tip. You can customize the depth of the curve based on your preferred style.
Tip: Support your hand on a table for steady lines when drawing the French tip outline. - 10Fill in the French tip
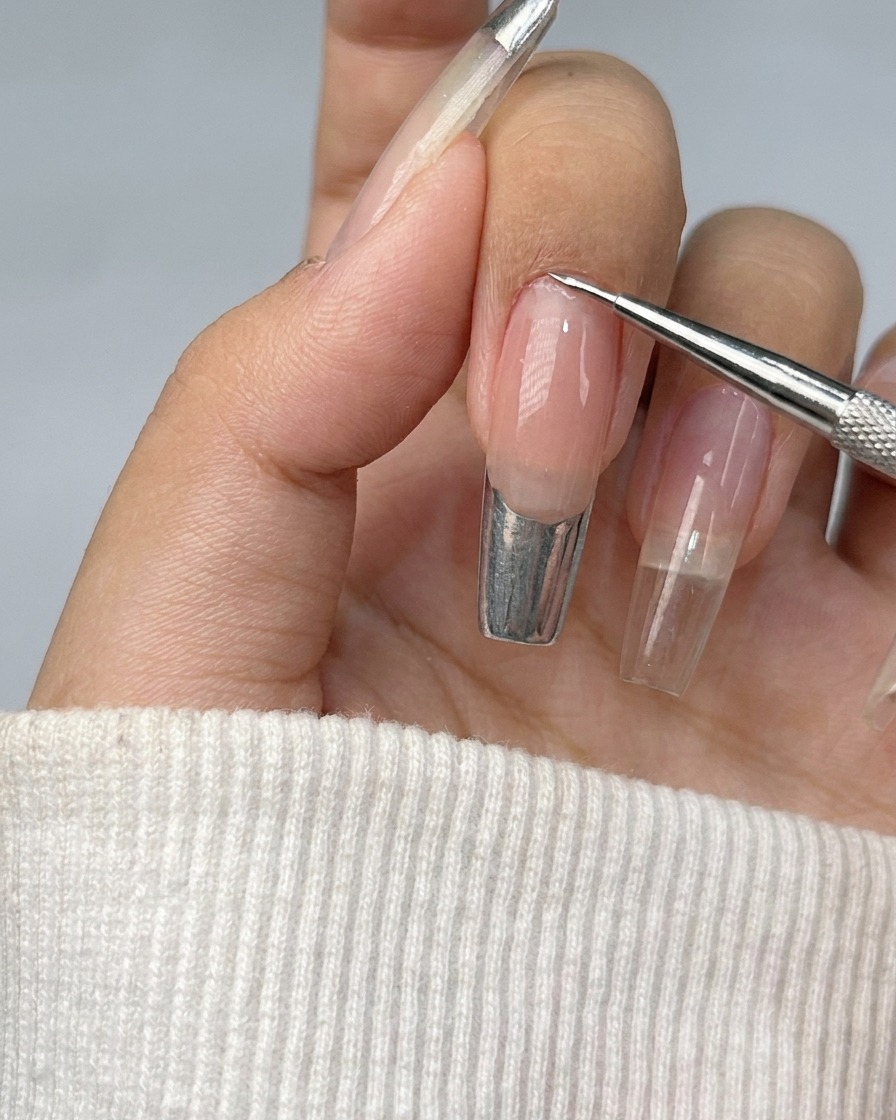
Once your outline is set, use your fine liner brush to fill in the space between the curve and the free edge with your metallic silver gel. Ensure the coverage is solid and smooth for a clean look.
Tip: Apply the gel in thin layers to avoid bulk and ensure it cures evenly. - 11Add abstract line art
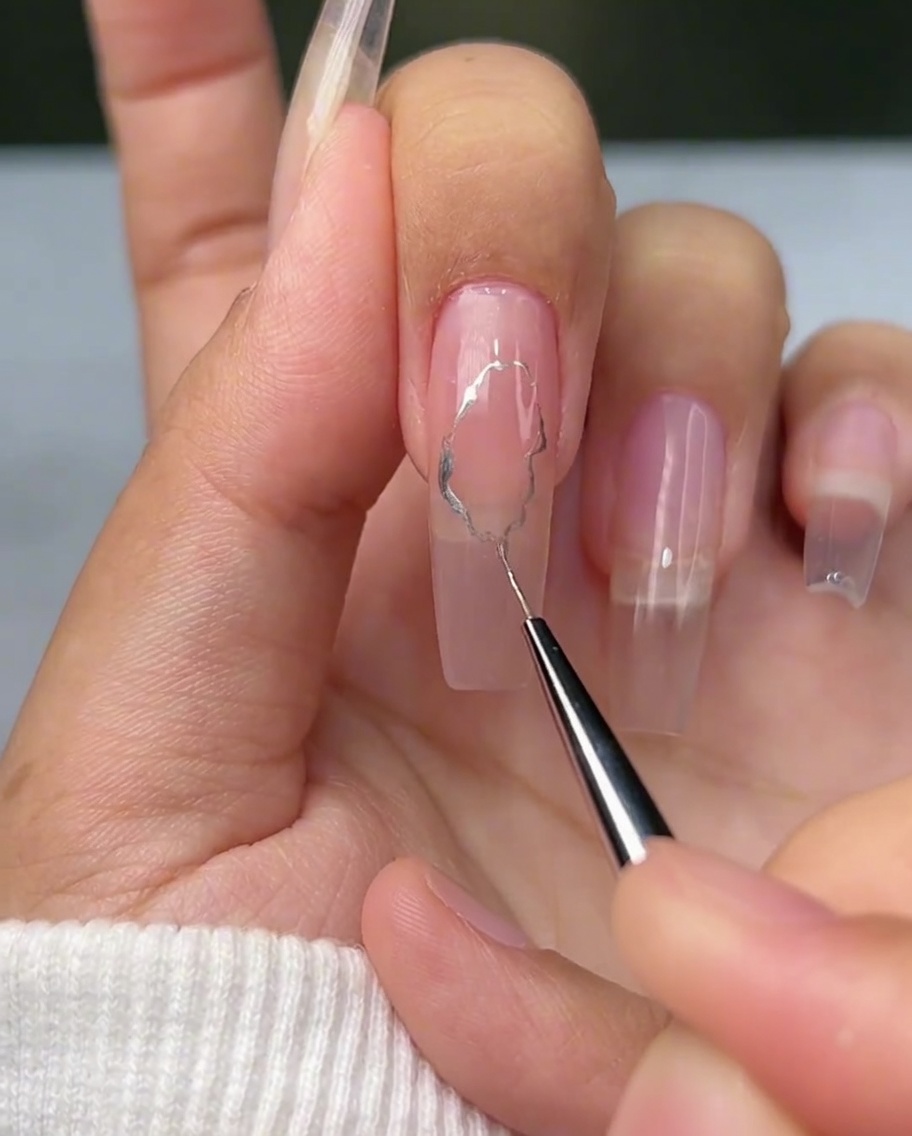
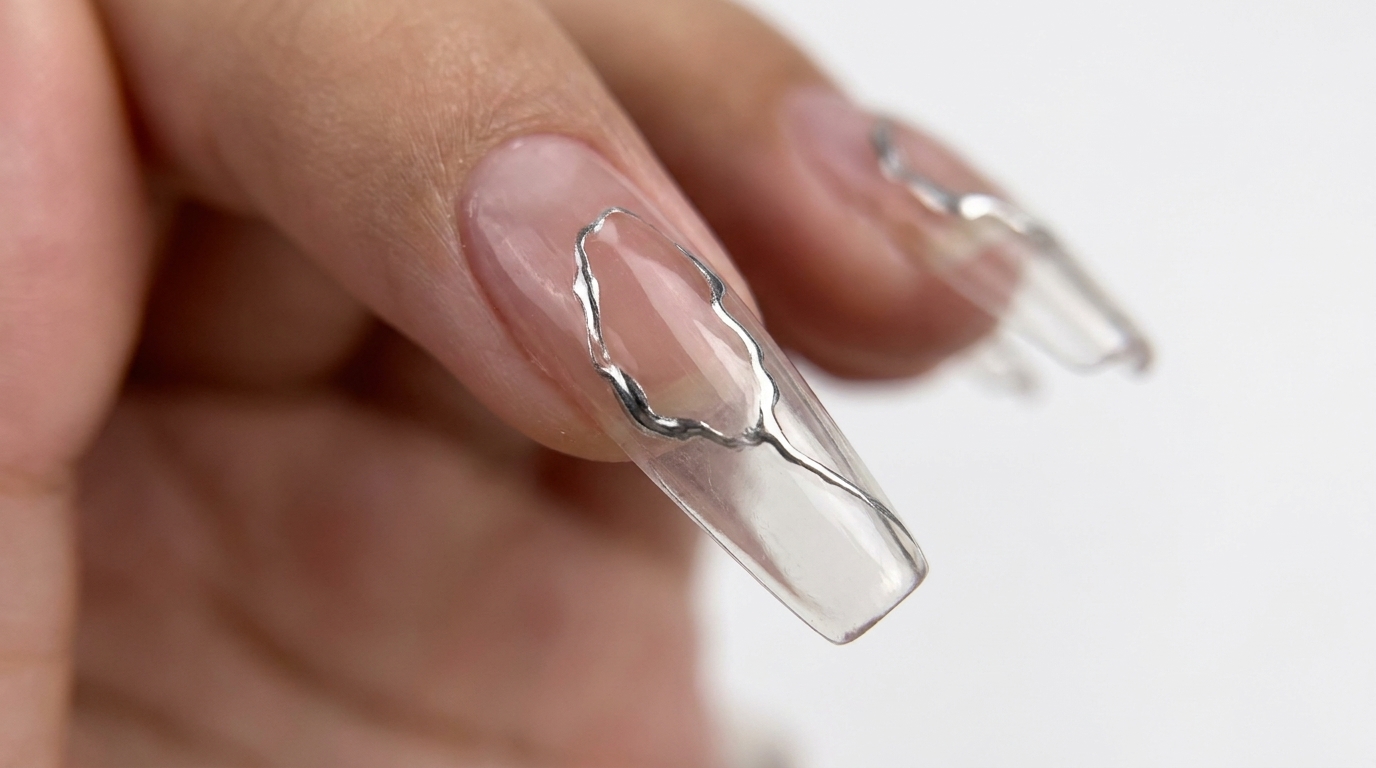
Using a fine liner brush, add abstract and irregular wavy lines across the nail surface. These organic patterns complement the metallic finish and add a trendy touch to your manicure.
Tip: Dont overthink the lines — irregular and abstract patterns look more artistic.