Cyber Y2K Silver Flame Cat Eye Nails — Futuristic Nail Tutorial
Create an edgy, futuristic manicure with this step-by-step guide to Cyber Y2K silver flame cat-eye nails. Perfect for a chic, high-fashion aesthetic.
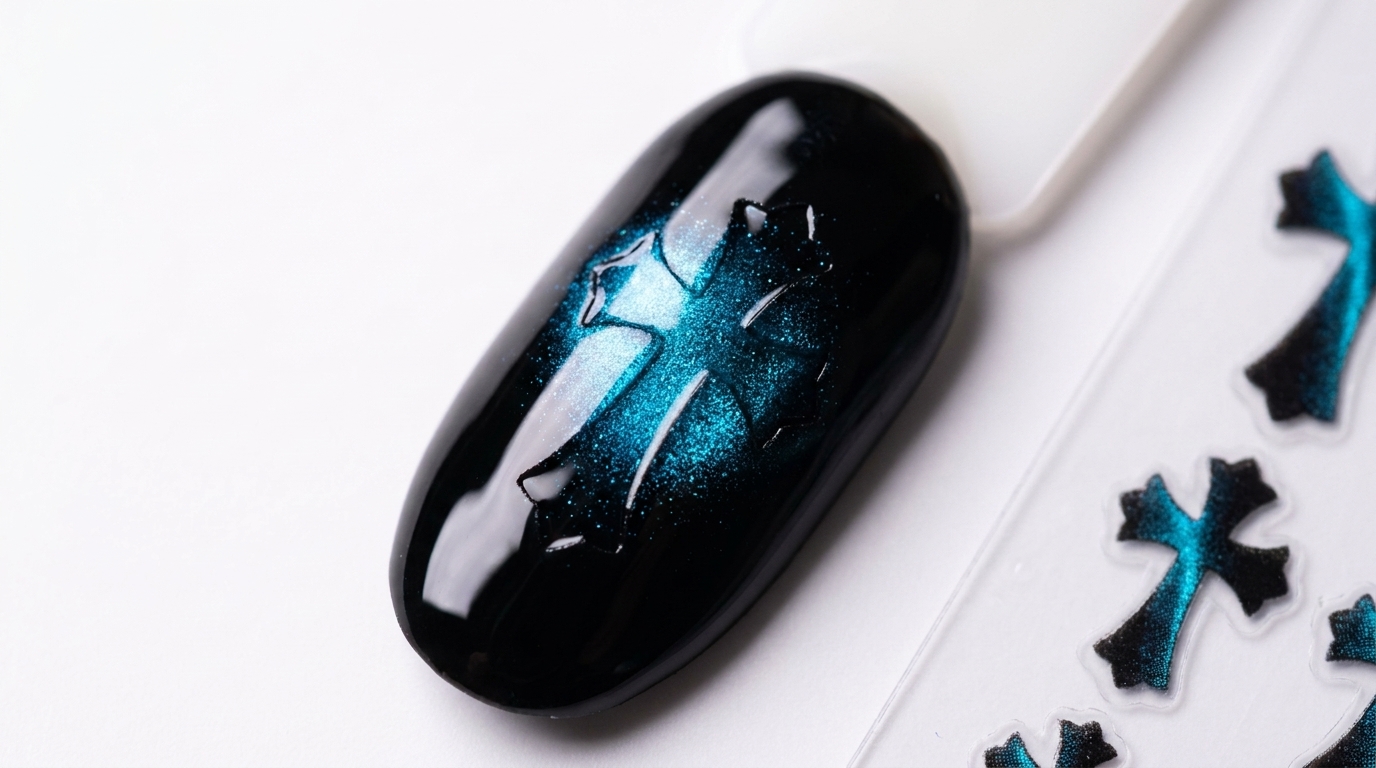
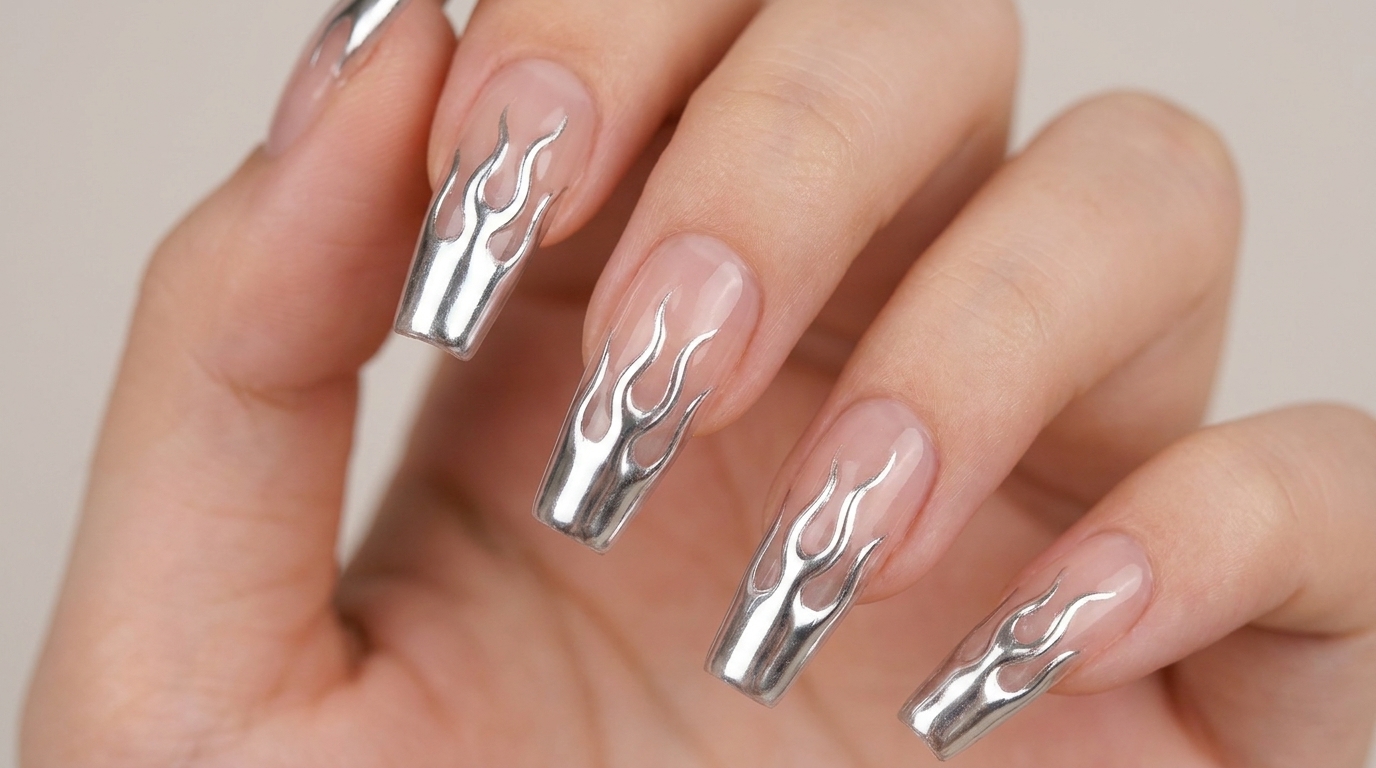
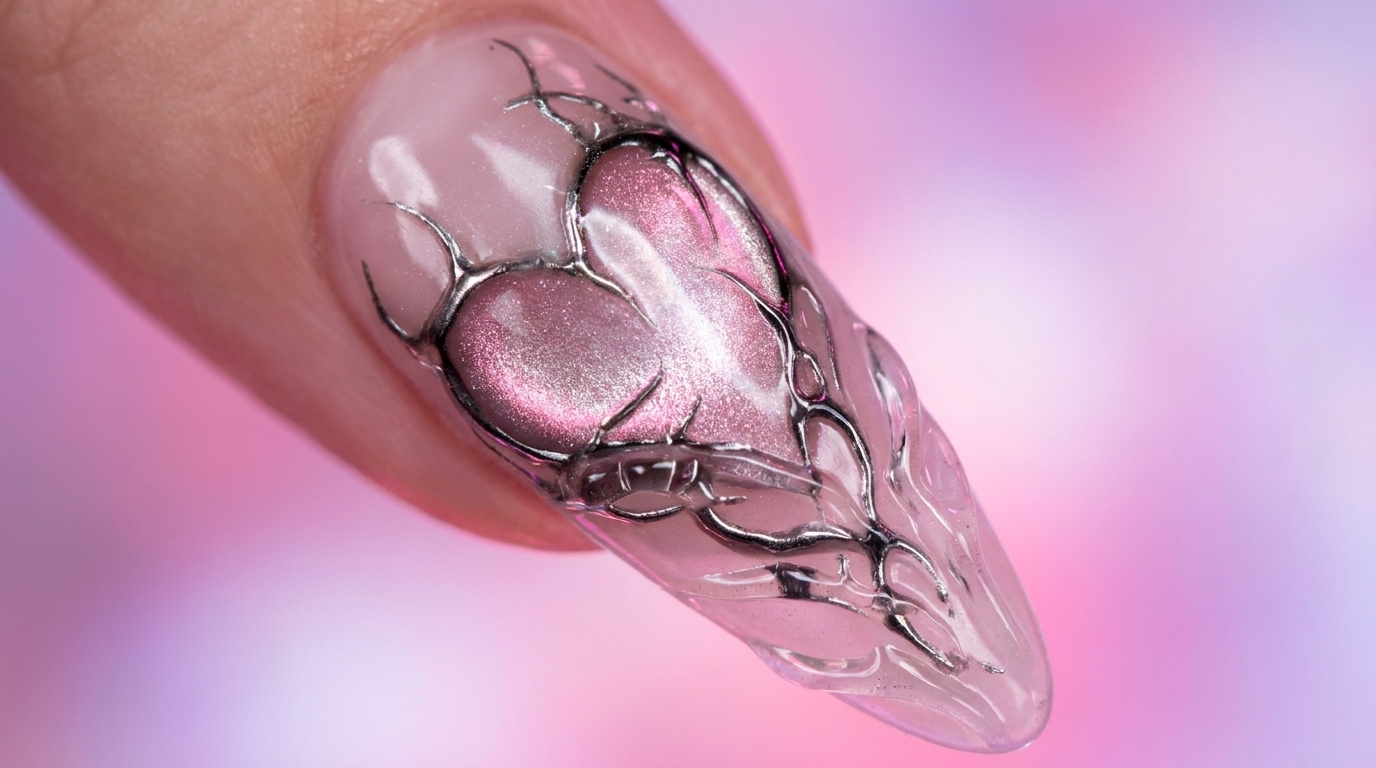
Embrace the Y2K-inspired cyber aesthetic with this intricate nail design that combines romantic heart motifs with edgy, chrome-accented flames. This look utilizes magnetic cat-eye polish to create a deep, glowing shimmer before layering on sharp, metallic details. It is a bold, high-fashion statement that perfectly captures the trending futuristic style.
Steps
- 1Apply sheer pink gel polish
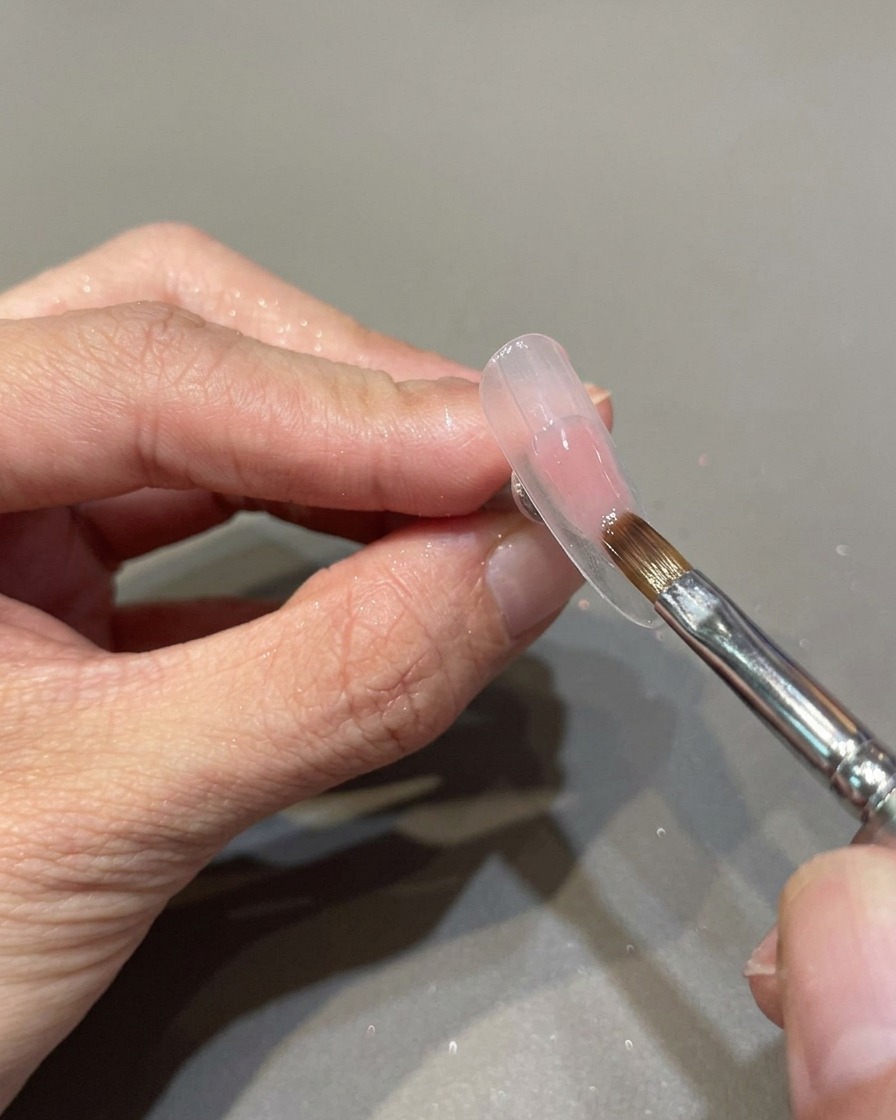
Apply a thin, even layer of sheer pink gel polish across the entire nail surface, ensuring smooth coverage from cuticle to tip. Cure under a UV or LED lamp as specified by the product instructions to set the color.
Tip: Apply in thin, light coats to prevent the gel from pooling at the cuticles and ensure a professional, even finish. - 2Apply gel base coat
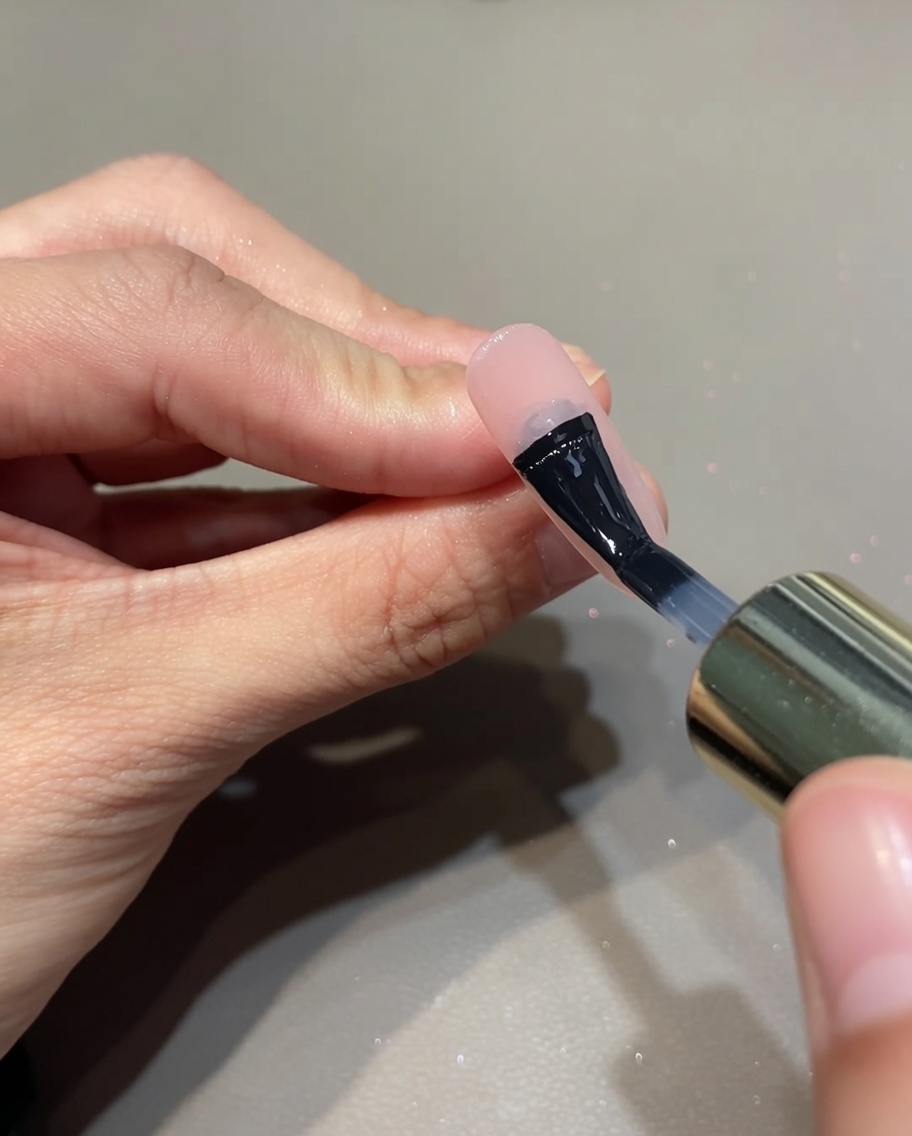
Apply a thin layer of base coat over the entire nail surface. Ensure the product is applied evenly without touching the surrounding skin, then cure under a UV or LED lamp.
Tip: Cap the free edge of the nail with the base coat to help prevent chipping and ensure longevity of the manicure. - 3Apply mirror powder
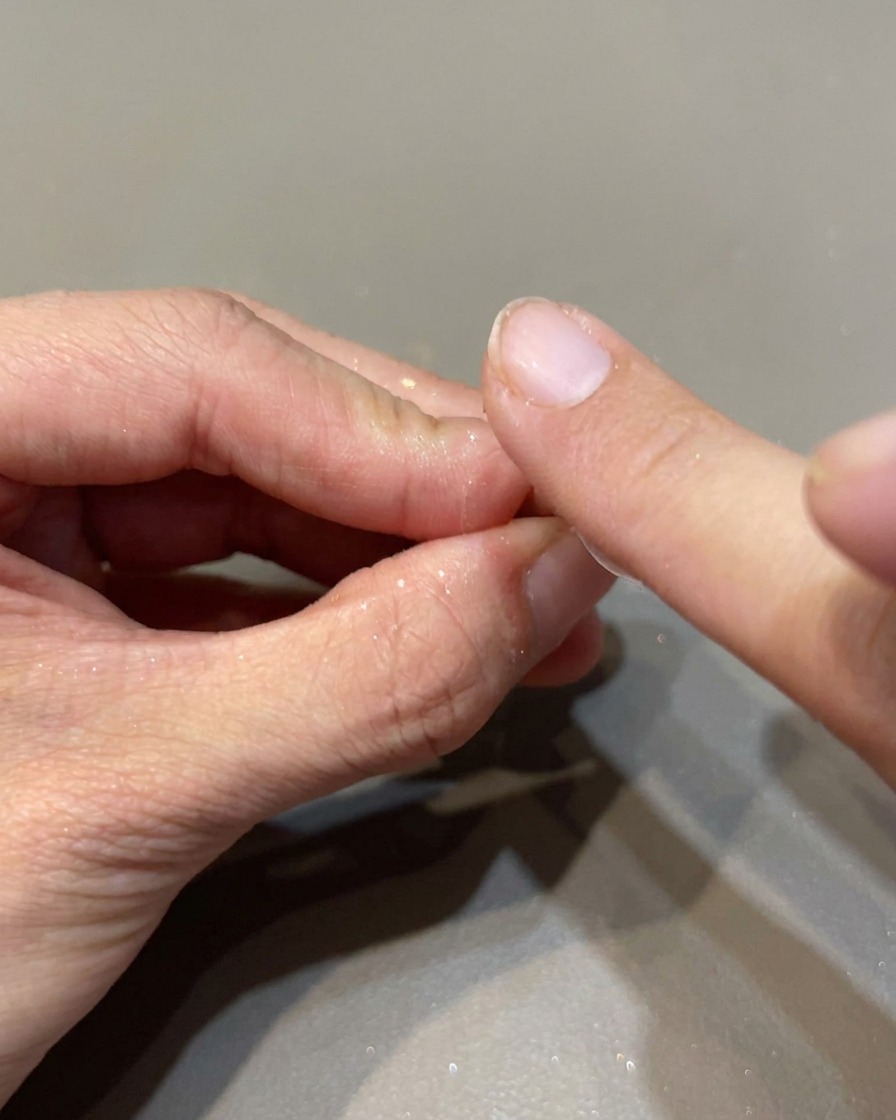
Using a sponge applicator, gently rub the mirror powder onto the cured gel surface. Buff the powder until the nail achieves a smooth, reflective, chrome-like mirror effect, then remove any excess dust with a soft brush.
Tip: Ensure the base gel is fully cured and tacky-free before application to achieve the cleanest and most reflective chrome finish. - 4Seal the chrome powder
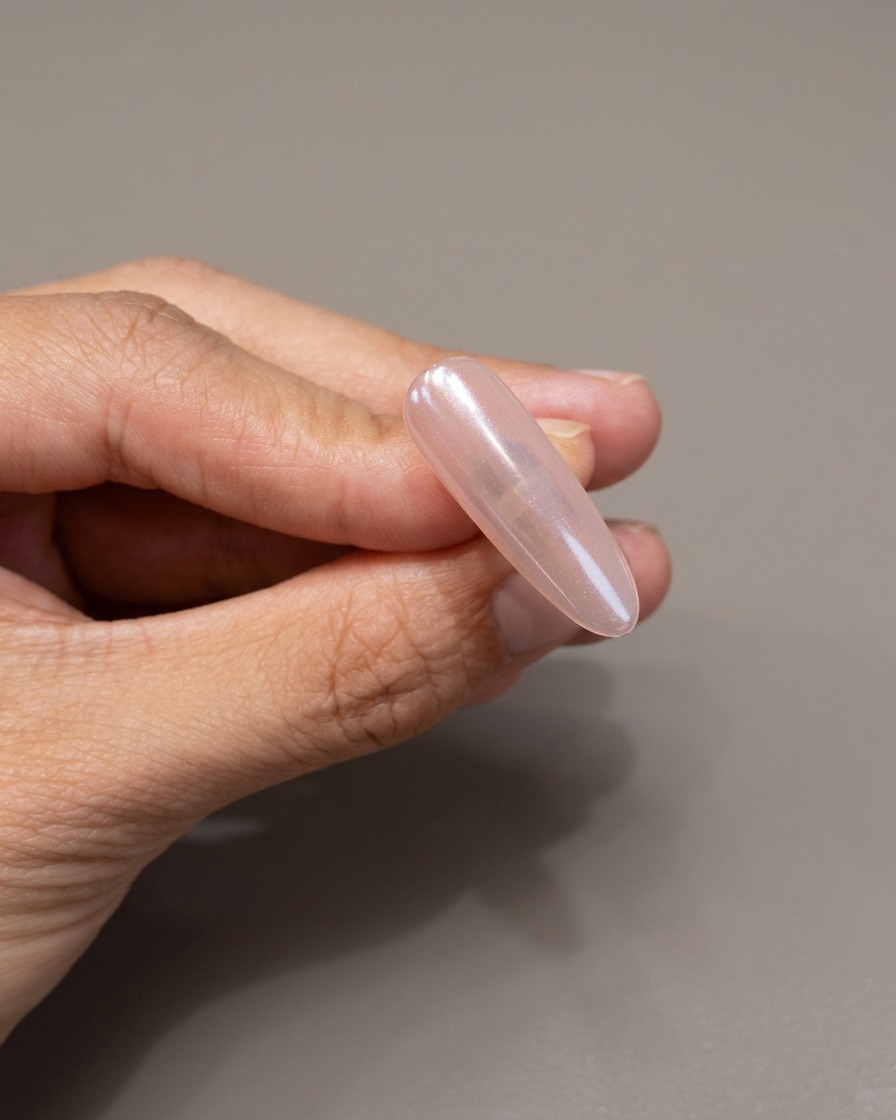
Apply a layer of base coat or soft sculpting gel over the entire nail to encapsulate the mirror powder. This step prevents the chrome finish from wearing off or dulling, then cure the layer to lock it in.
Tip: Using a soft sculpting gel provides a slightly thicker protective layer, which is ideal for securing delicate pigments like chrome powder. - 5Create a heart shape with cat-eye gel
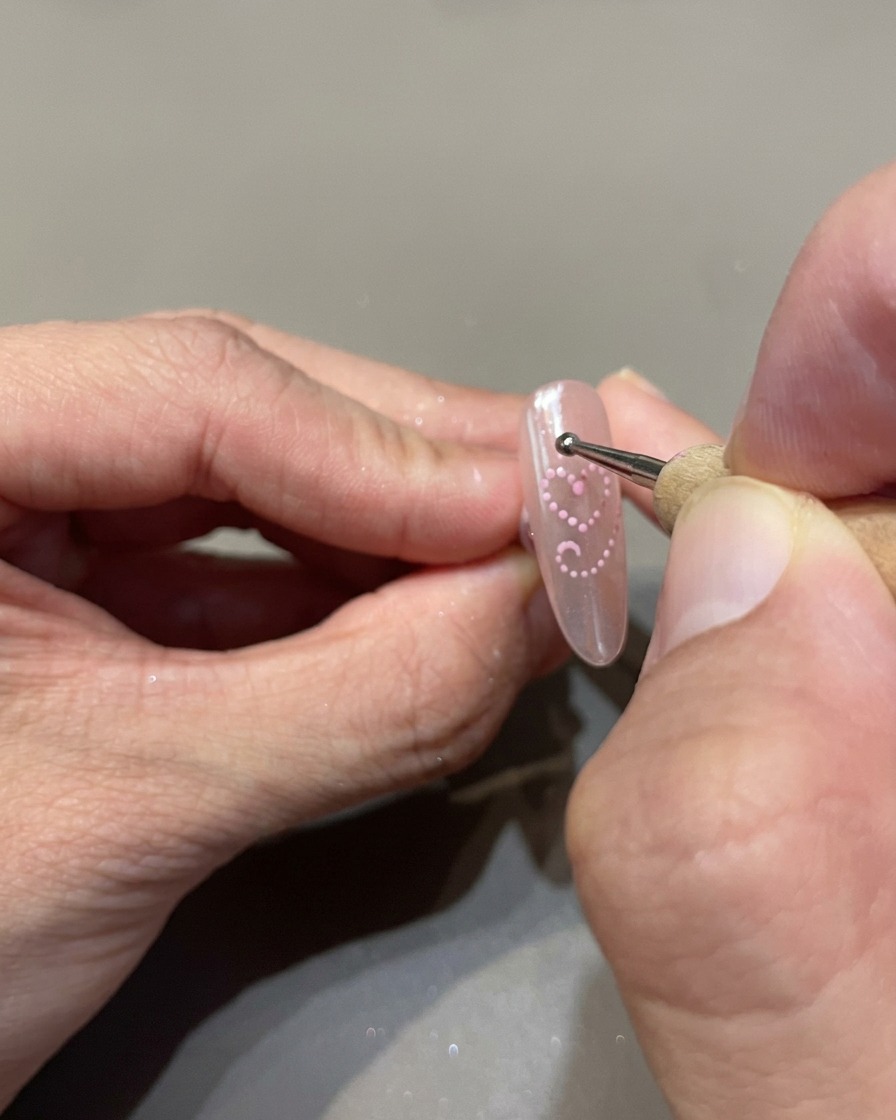
Using a precision dotting tool, carefully place small dots of your chosen cat-eye gel polish onto the nail surface to map out a heart shape. This provides a guide for the final design before blending.
Tip: Maintain a steady hand and use uniform dot sizes to ensure the heart shape is symmetrical and well-proportioned. - 6Define the heart design
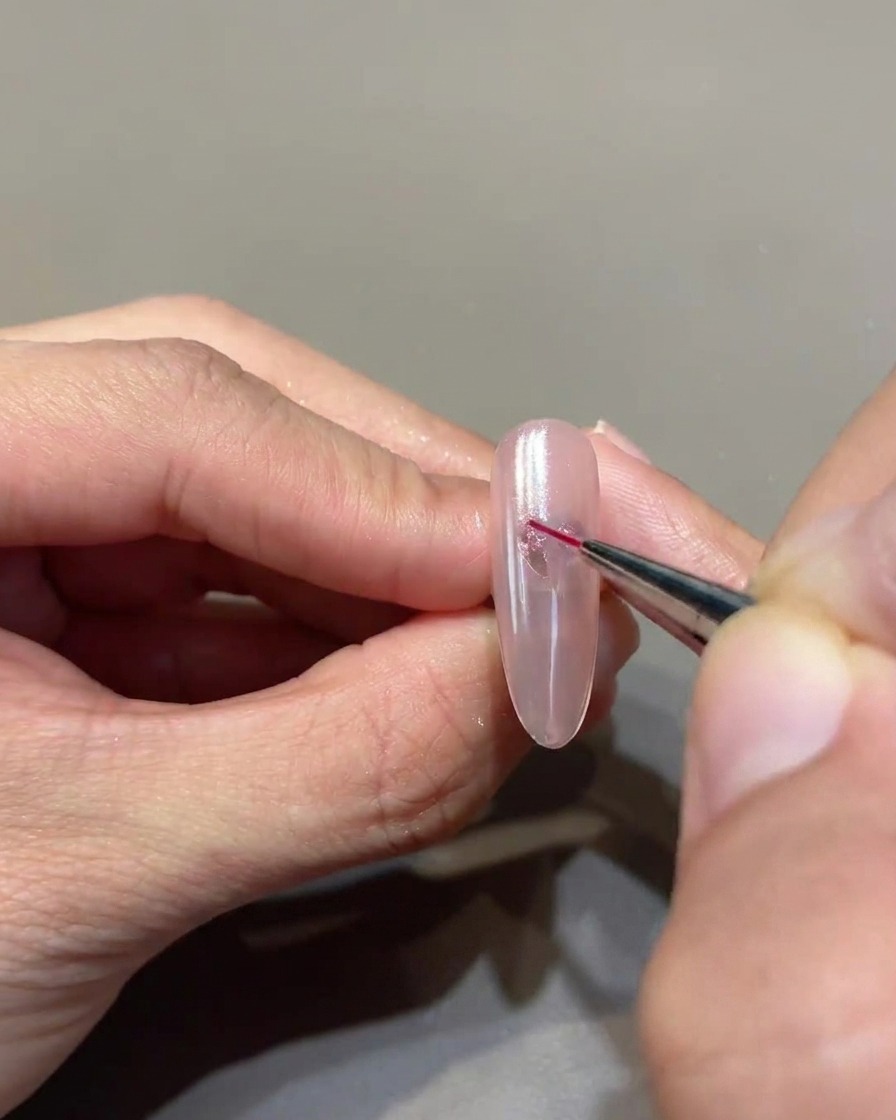
Using a fine liner brush, trace over the dots to connect them and perfect the heart shape. This refining step ensures clean, sharp edges before you proceed to highlight the pigment with a magnet.
Tip: Keep the liner brush damp with a tiny amount of base gel if you need to smooth out the lines while defining the shape. - 7Create the cat-eye heart effect
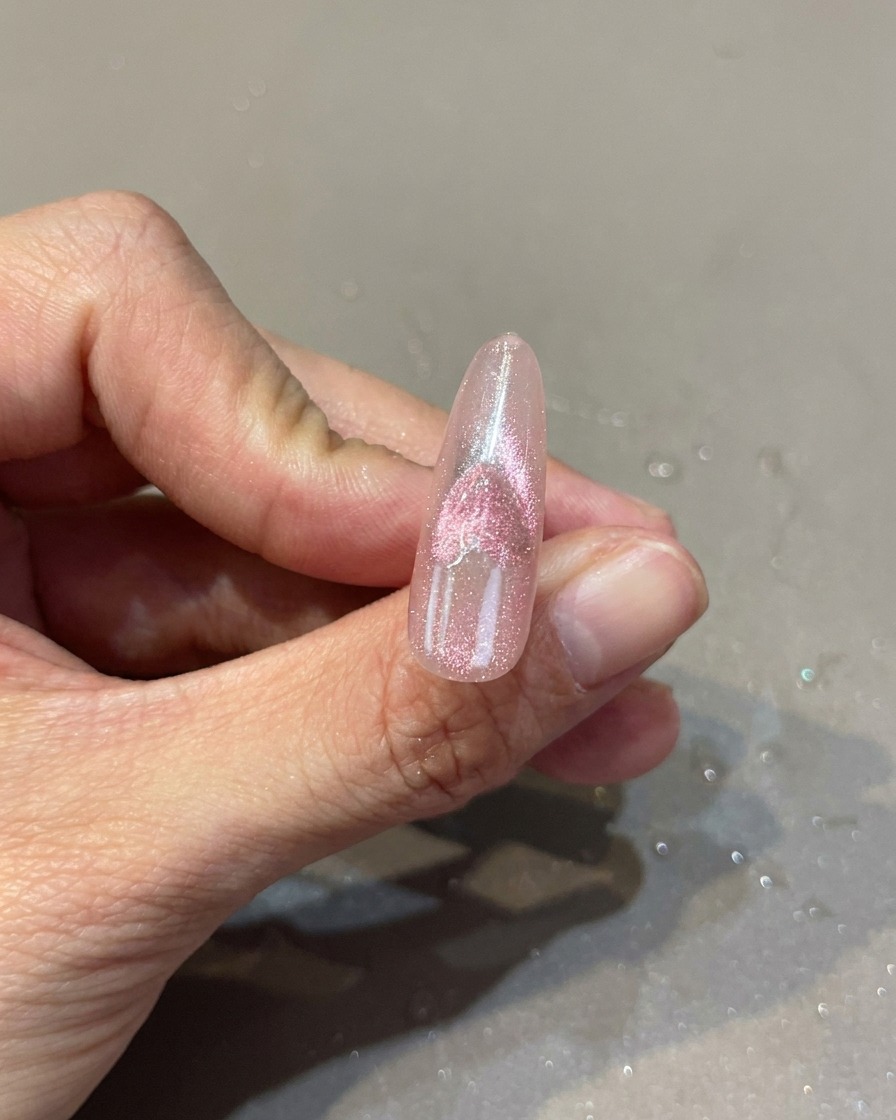
With the cat-eye gel still uncured on the nail, use a small magnet to gently pull the magnetic pigment particles toward the center of your heart shape. This motion concentrates the shimmer to create a highlighted, 3D glowing effect within the design. Once satisfied with the placement, cure the nail under your UV or LED lamp to set the magnetic pigments in place.
Tip: Hold the magnet close to the nail surface for maximum pigment movement, but be careful not to touch the wet gel. - 8Apply no-wipe top coat
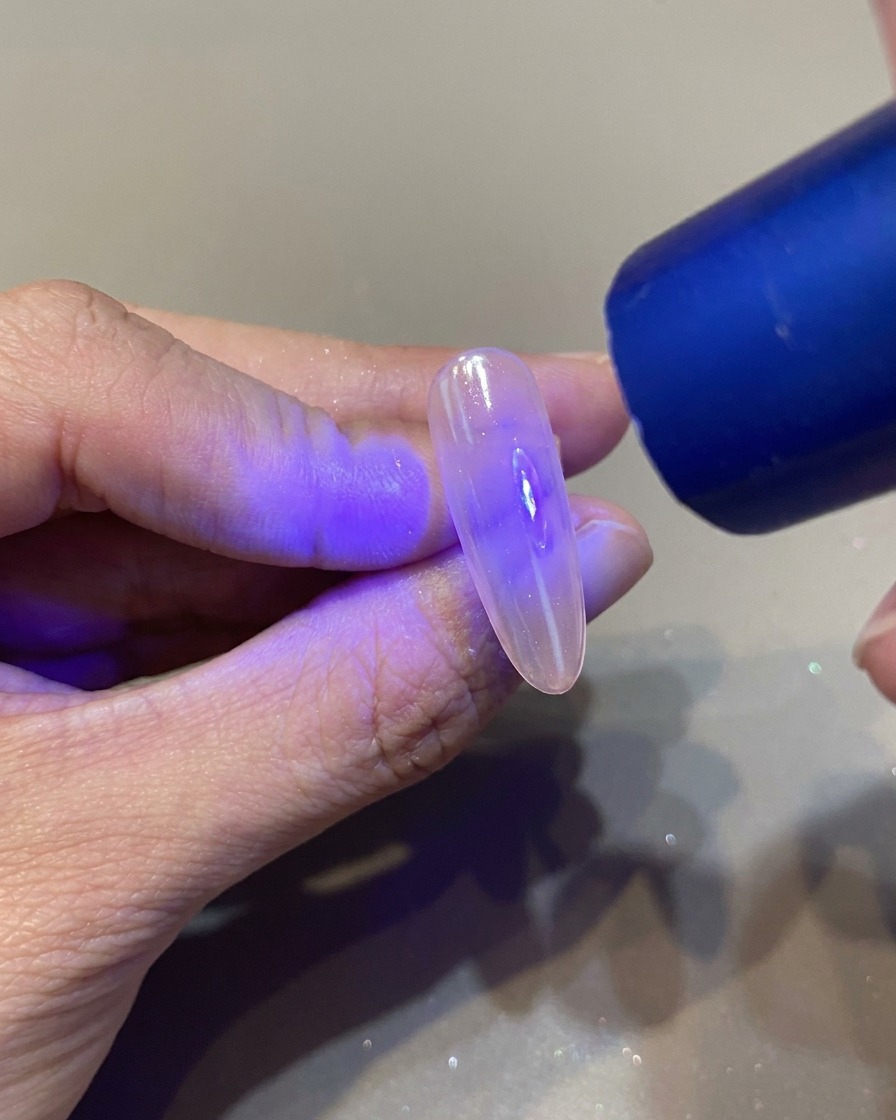
After curing the heart design, apply a smooth, even layer of no-wipe top coat over the entire nail surface. Ensure you cap the free edge to seal the design fully and protect it from wear. Place the nail under the UV or LED lamp for a full cure to achieve a high-gloss, smooth finish without any sticky residue.
Tip: Using a no-wipe top coat saves time by eliminating the need to cleanse the nail with alcohol after curing. - 9Draw black flame details
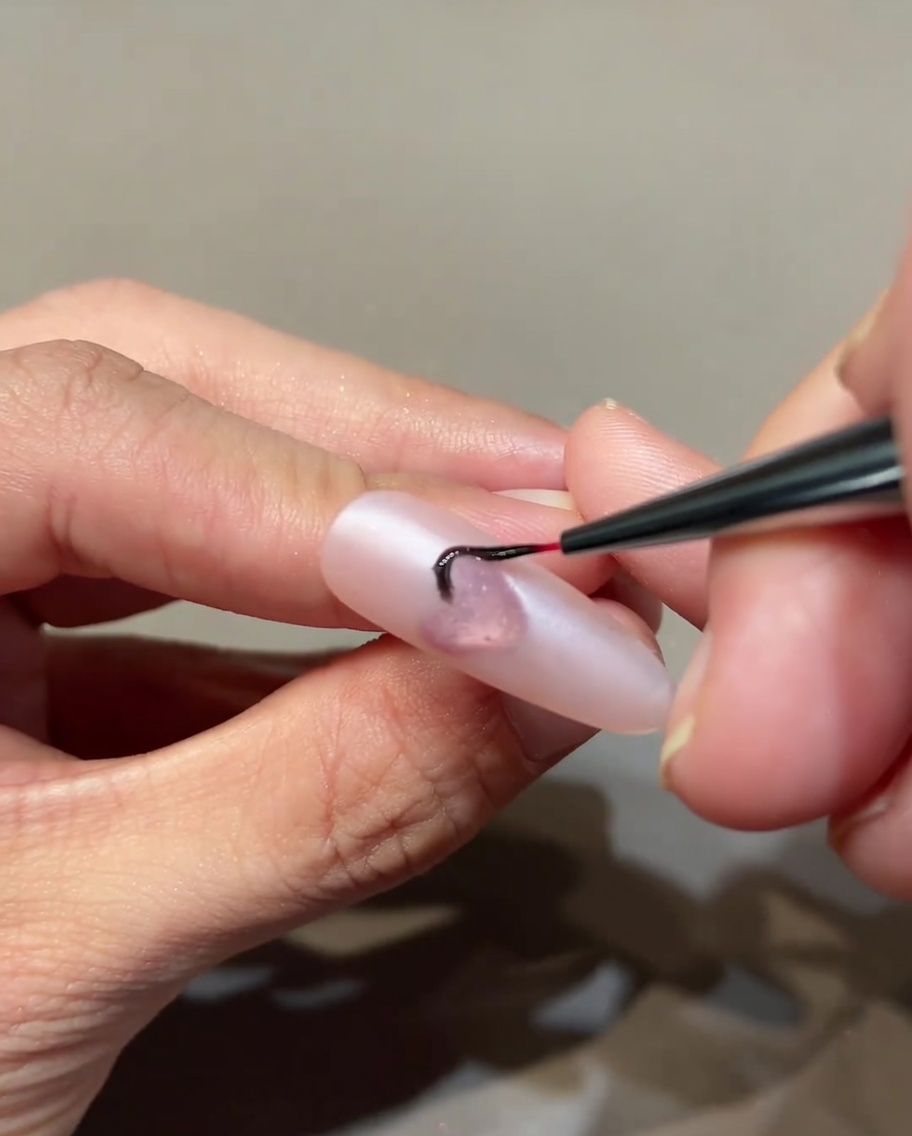
Using a thin liner brush loaded with black gel, carefully paint intricate, stylized flame patterns radiating outward from the heart design. Start from the edges of the heart and flick the brush lightly to create sharp, pointed tips for the flames. Keep the lines thin and precise for a clean, cyber-style look, then cure the gel under your lamp to set the art.
Tip: If you make a mistake, wipe it clean with a brush dipped in a little rubbing alcohol before curing the gel. - 10Apply silver chrome powder
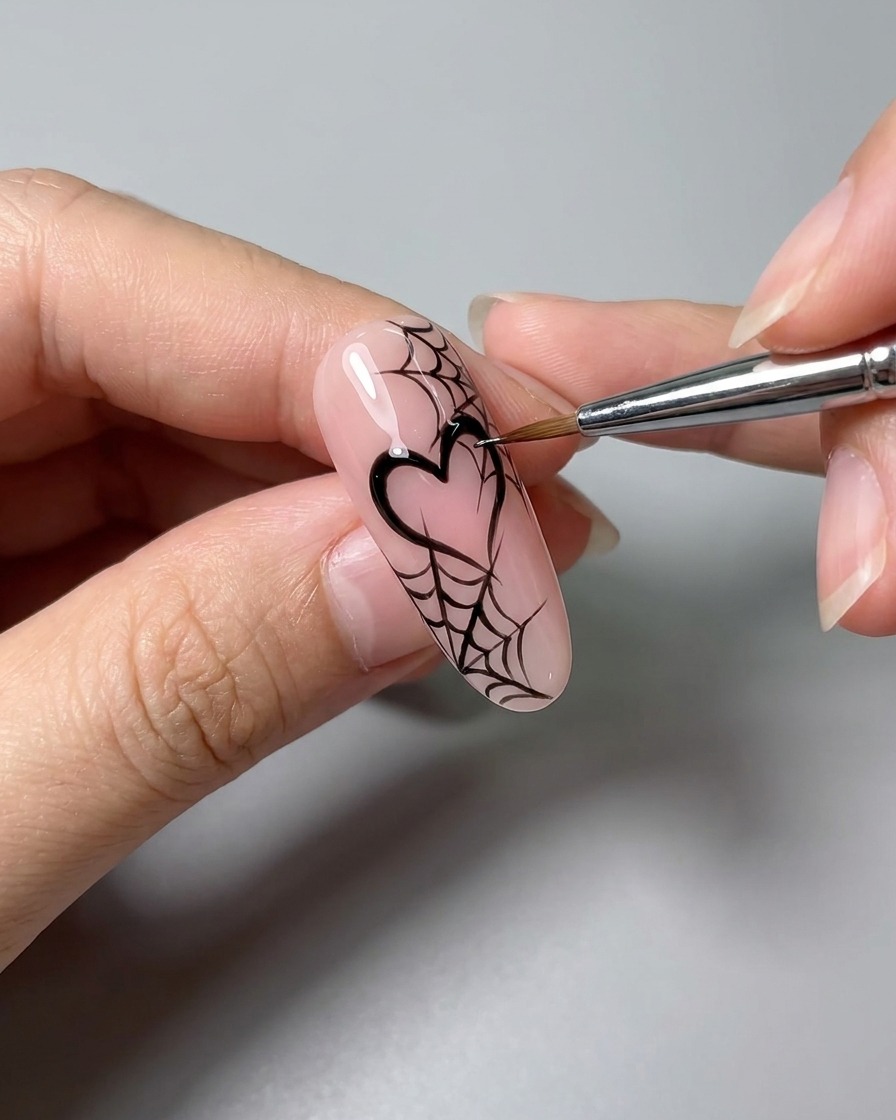
Using a small eyeshadow applicator or silicone tool, gently buff silver chrome powder over the cured black flame patterns. Ensure the powder covers all the black gel lines thoroughly to create a metallic, mirror-like effect. Carefully avoid getting excessive powder on the surrounding base area to keep the design crisp.
Tip: A little powder goes a long way; start with a small amount and build it up to achieve full opacity. - 11Clean excess chrome
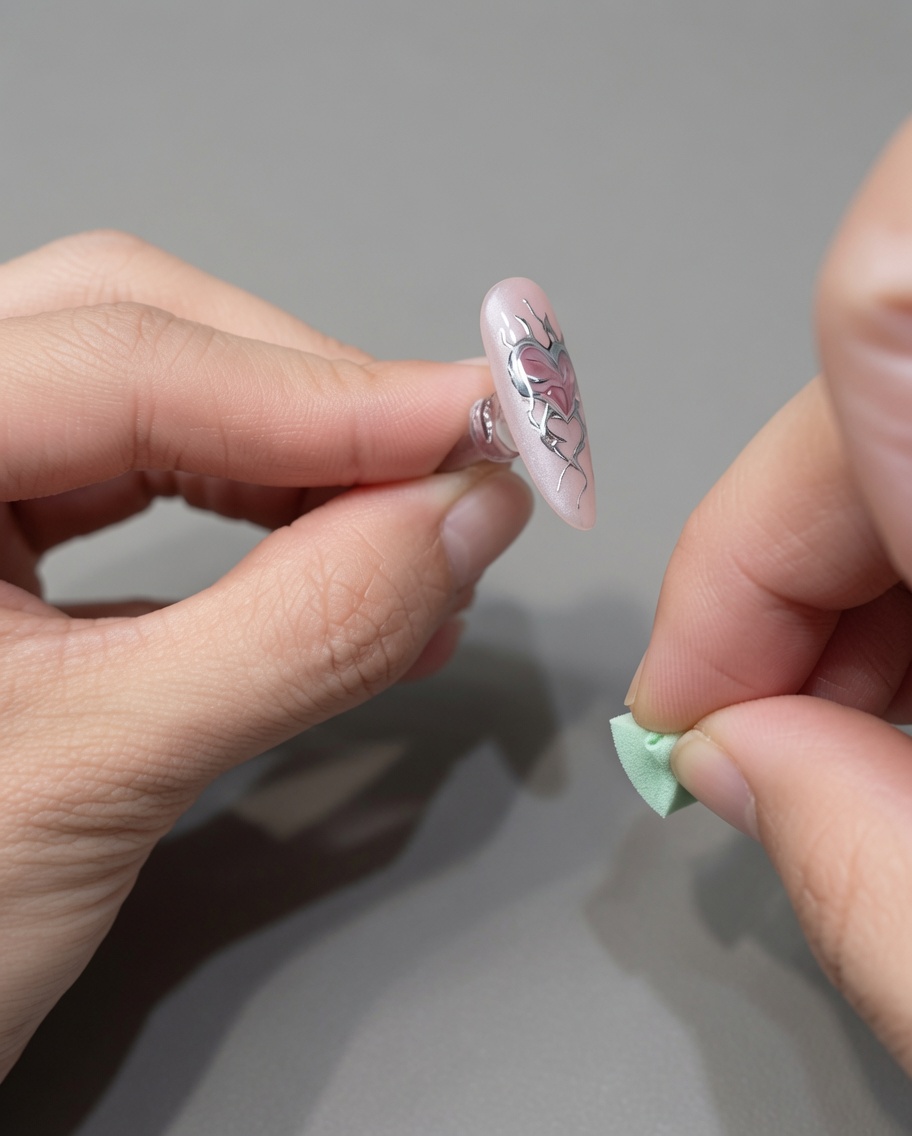
Once the silver chrome has been applied to the flame design, use a clean, dry makeup sponge or a soft brush to gently wipe away any loose or excess powder from the surrounding nail surface. Removing the excess ensures that the final top coat remains clear and the chrome stays only where you intended it to be.
Tip: Use a light touch to avoid smudging the chrome finish on the flame patterns. - 12Apply final top coat
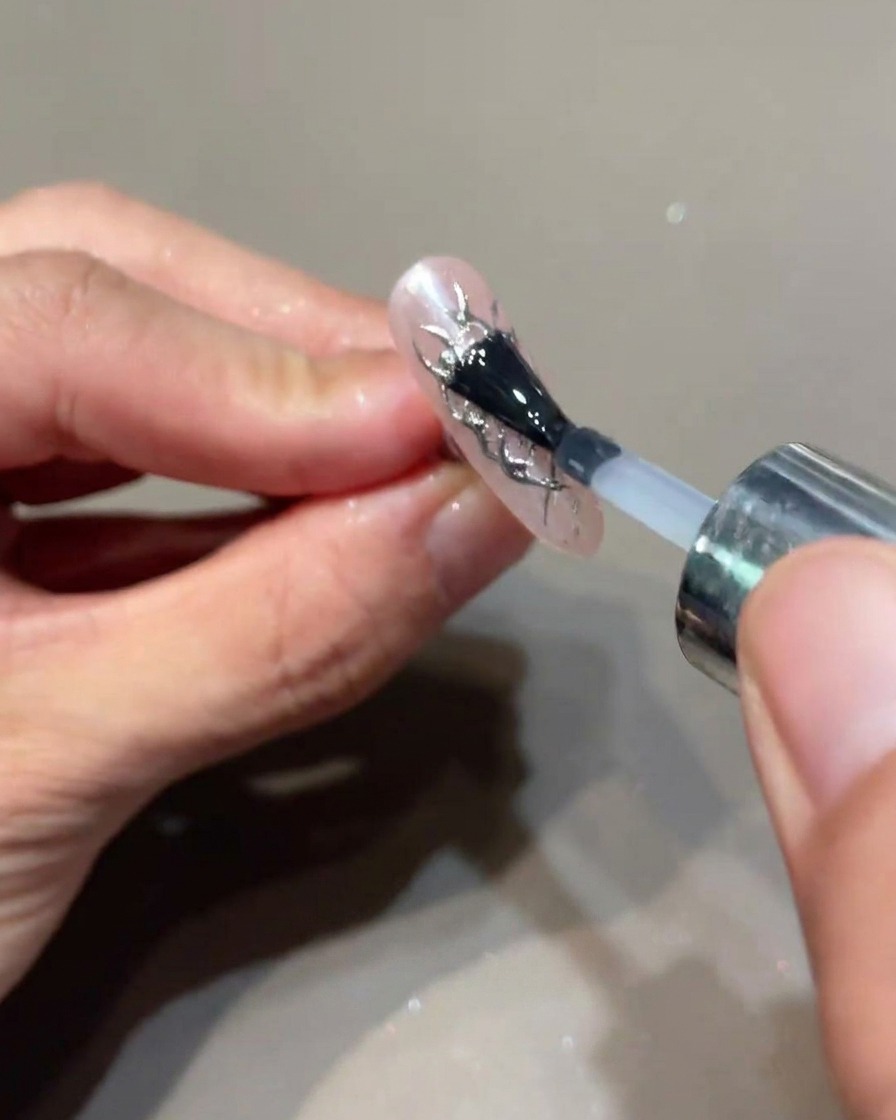
Apply a final layer of high-shine top coat over the entire nail to protect the chrome design and seal the flame details. Carefully cap the free edge again to prevent any peeling. Cure the nail under your UV or LED lamp for the final time to set the look and ensure a durable, glossy finish that completes the style.
Tip: Ensure your brush is clean before dipping it back into the top coat bottle to prevent contamination from the chrome powder. - 13Add 3D details with builder gel
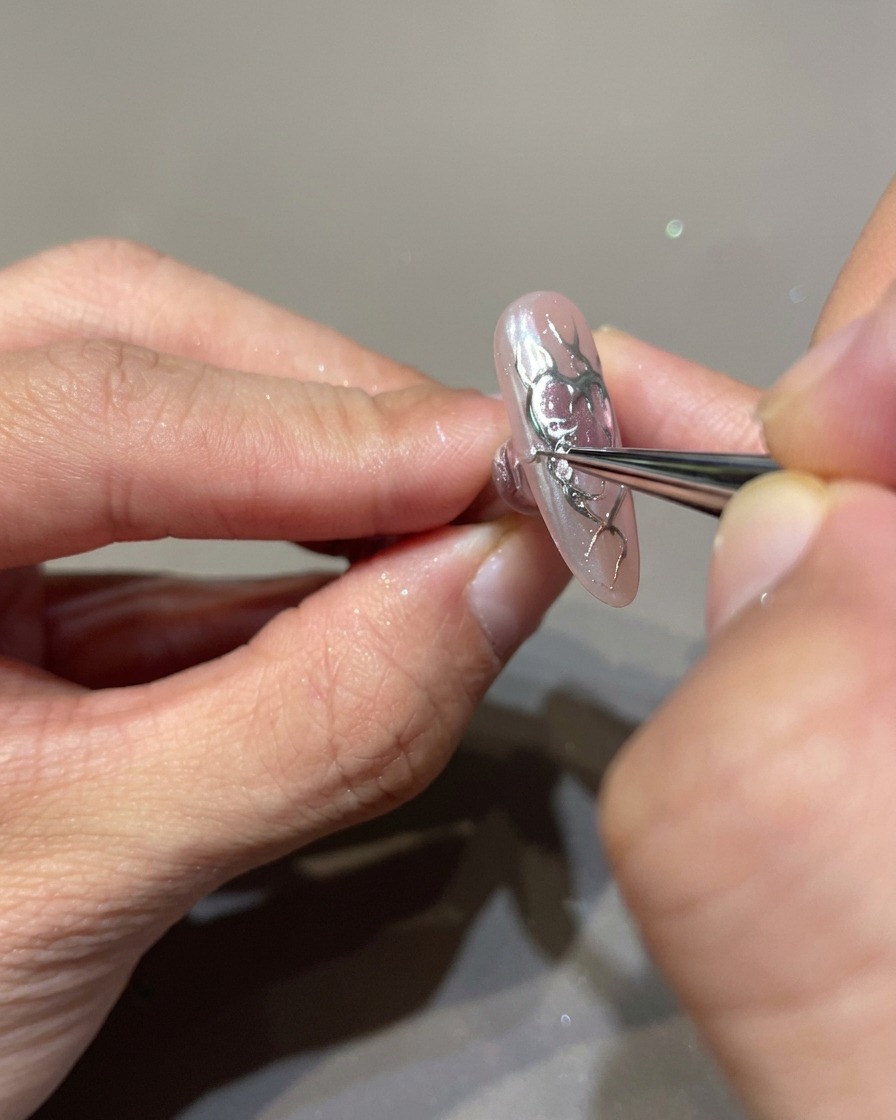
Using a fine liner brush and clear builder gel, carefully trace over the previously drawn black flame patterns and the heart outline. Apply the gel in a controlled manner to build up a subtle 3D texture, following the contours of the design to add depth and dimension to the cyber-style nail art.
Tip: Apply the builder gel in thin layers, curing briefly if needed to prevent the gel from leveling out too much before you achieve the desired 3D effect. - 14Cure the 3D gel
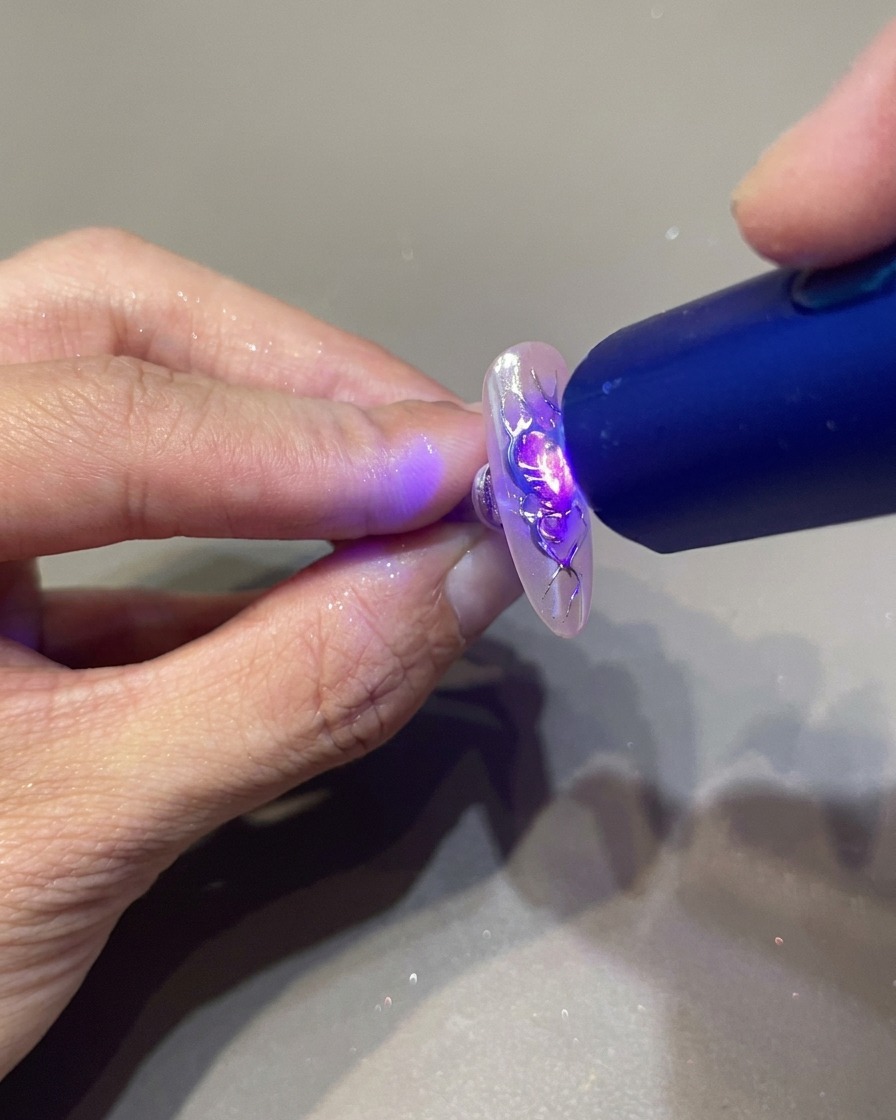
Position a portable UV lamp directly over the nail to cure the newly applied clear builder gel. Hold the lamp steady for the manufacturers recommended time to ensure the 3D elements are fully set and hardened, maintaining the intricate relief pattern created on the heart and flame design.
Tip: Ensure the light is positioned directly above the nail to cure the 3D details evenly without shifting the uncured gel.