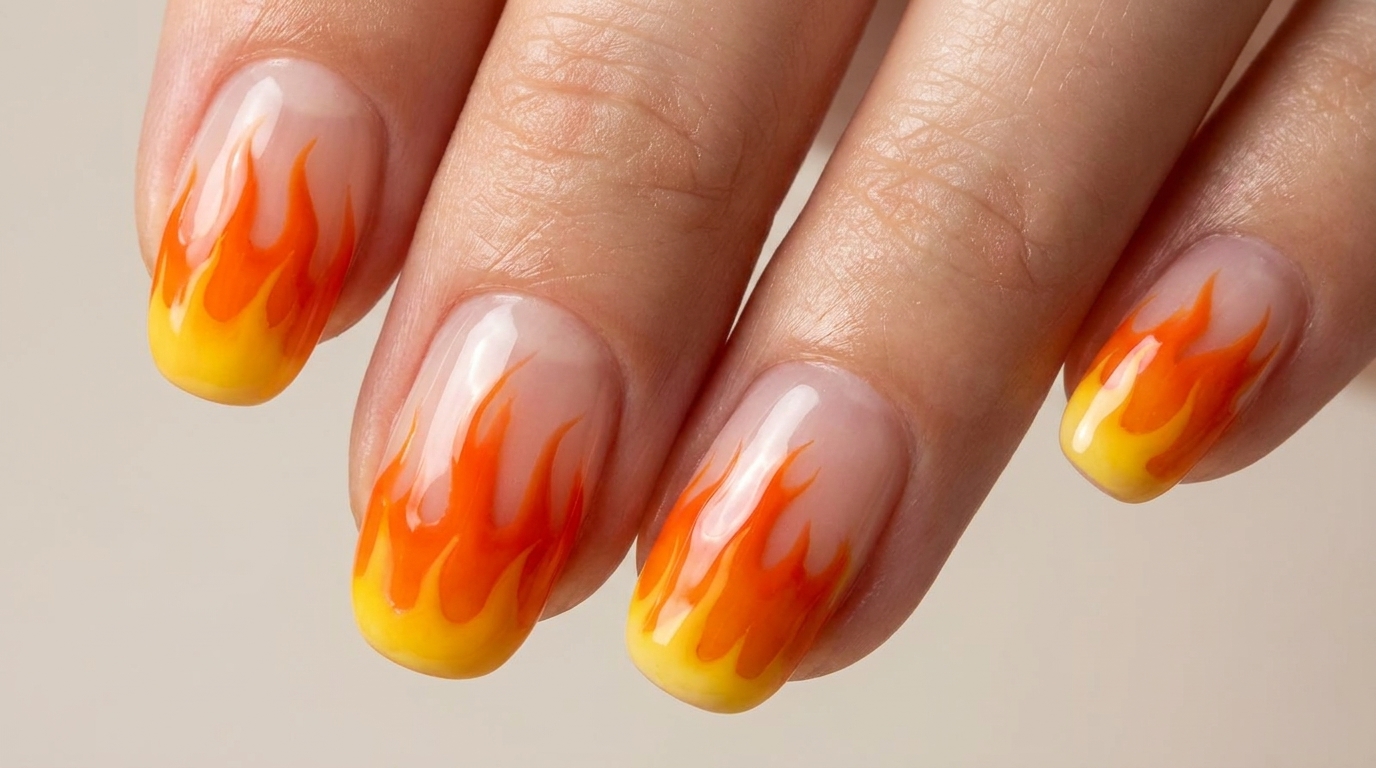
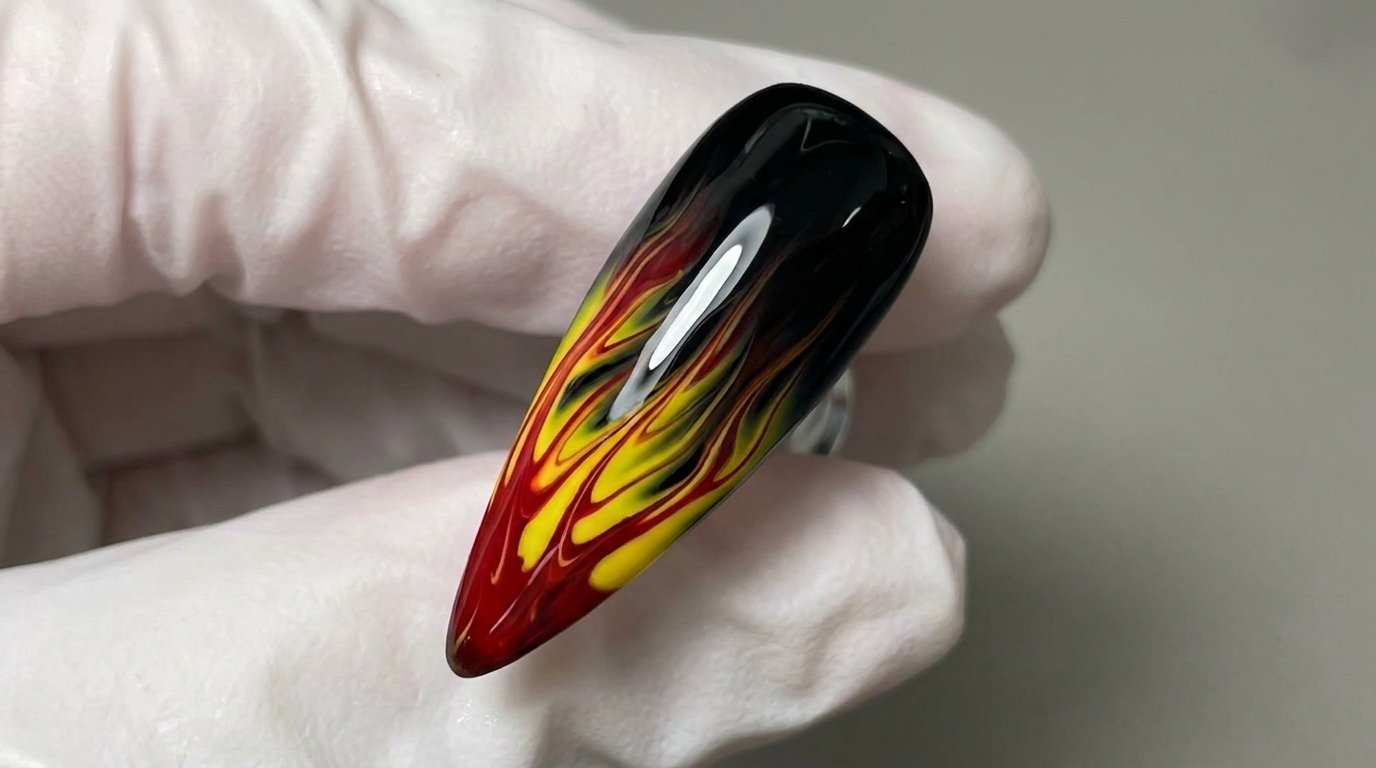
Fiery Gradient Flame Nail Art — Easy Blooming Gel Tutorial
Master the trendy flame nail look with this simple blooming gel technique. Create a vibrant fire gradient in seconds with our easy-to-follow step-by-step guide.
Flame nail art is a bold, artistic choice that has taken the beauty world by storm. By utilizing the magic of blooming gel, you can achieve this professional, streak-like fire effect at home without needing advanced painting skills. This technique relies on the colors spreading and mixing on their own to create a seamless, high-contrast transition from deep black to bright lime green.

Steps
- 1Apply black gel base
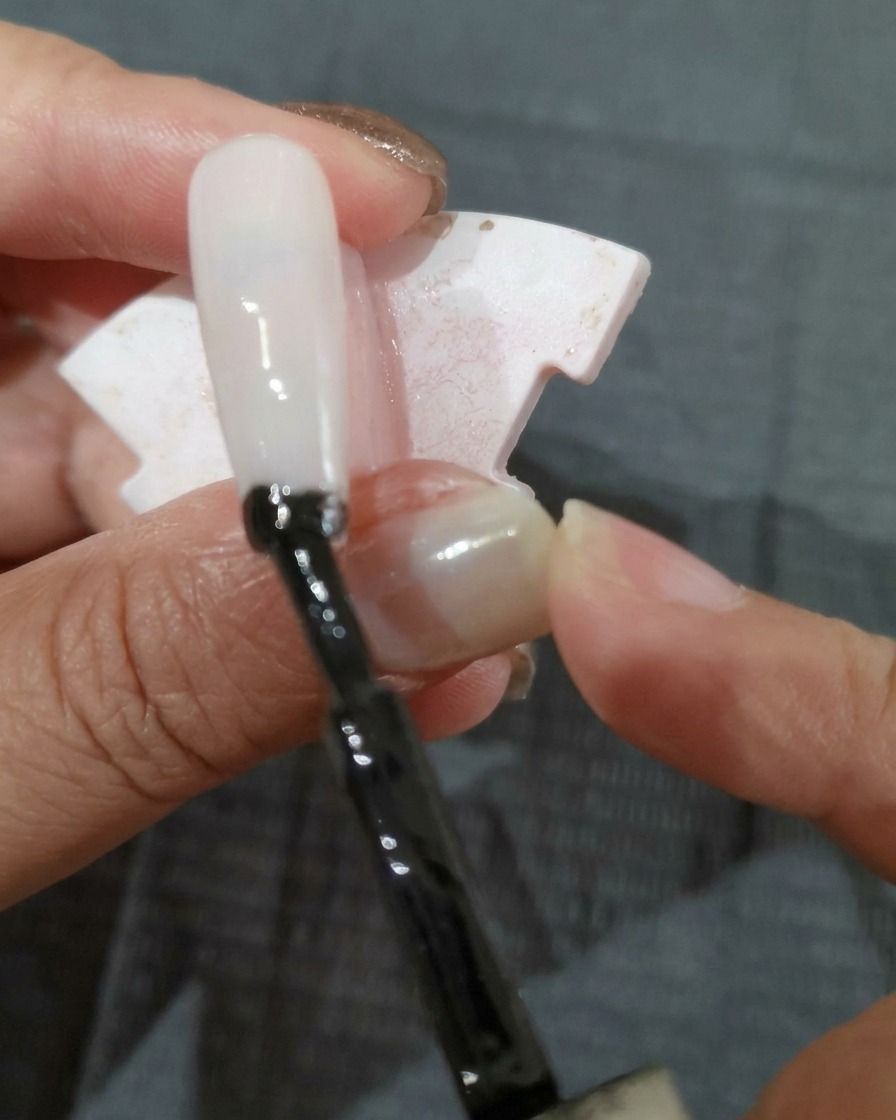
Begin by applying an even layer of black gel polish over the nail. Ensure full coverage while keeping the layer thin to prevent pooling. This black base provides the necessary contrast to make the flame colors pop.
Tip: If the black is too sheer, cure for 30 seconds and apply a second thin coat for deep, opaque color. - 2Apply red gel layer
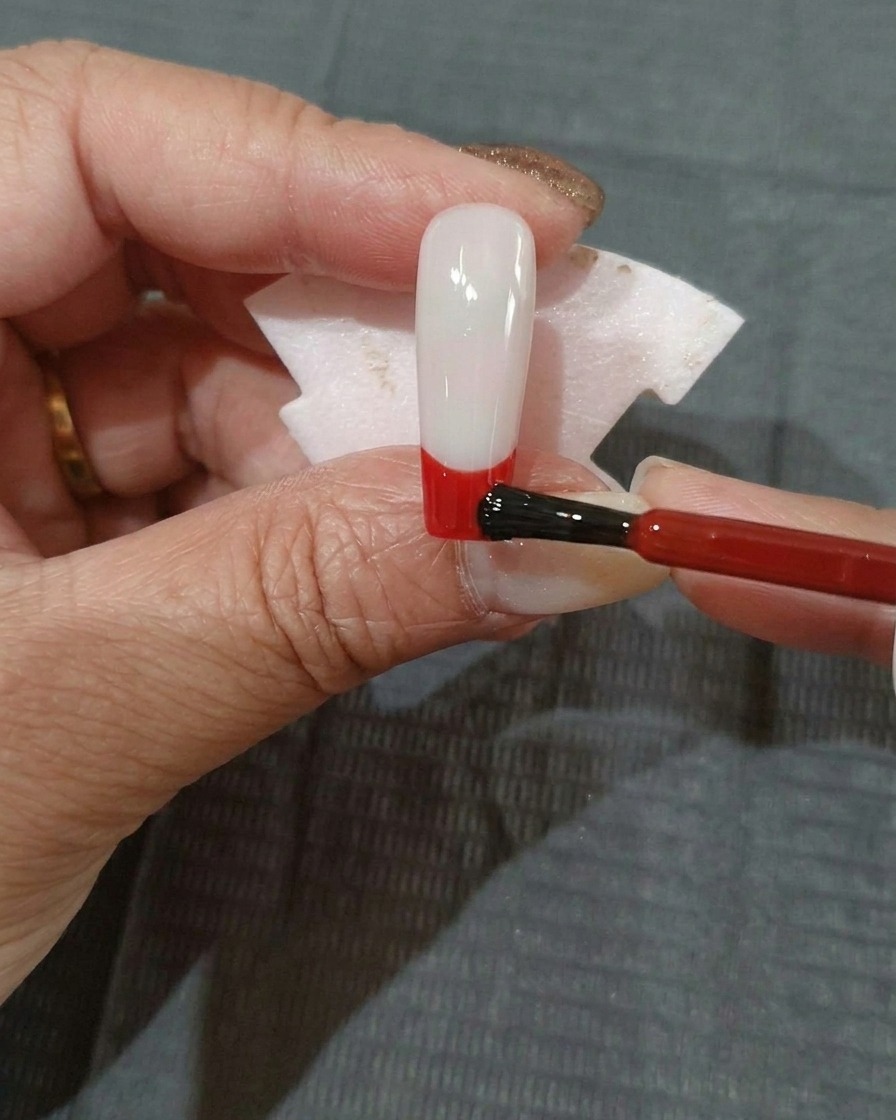
While the black base is still wet, apply a layer of red gel polish starting from the tip, covering about one-third of the nail. This will serve as the first color in your flame gradient.
Tip: Use a light hand to avoid dragging the black base polish too much at this stage. - 3Add orange-red layer
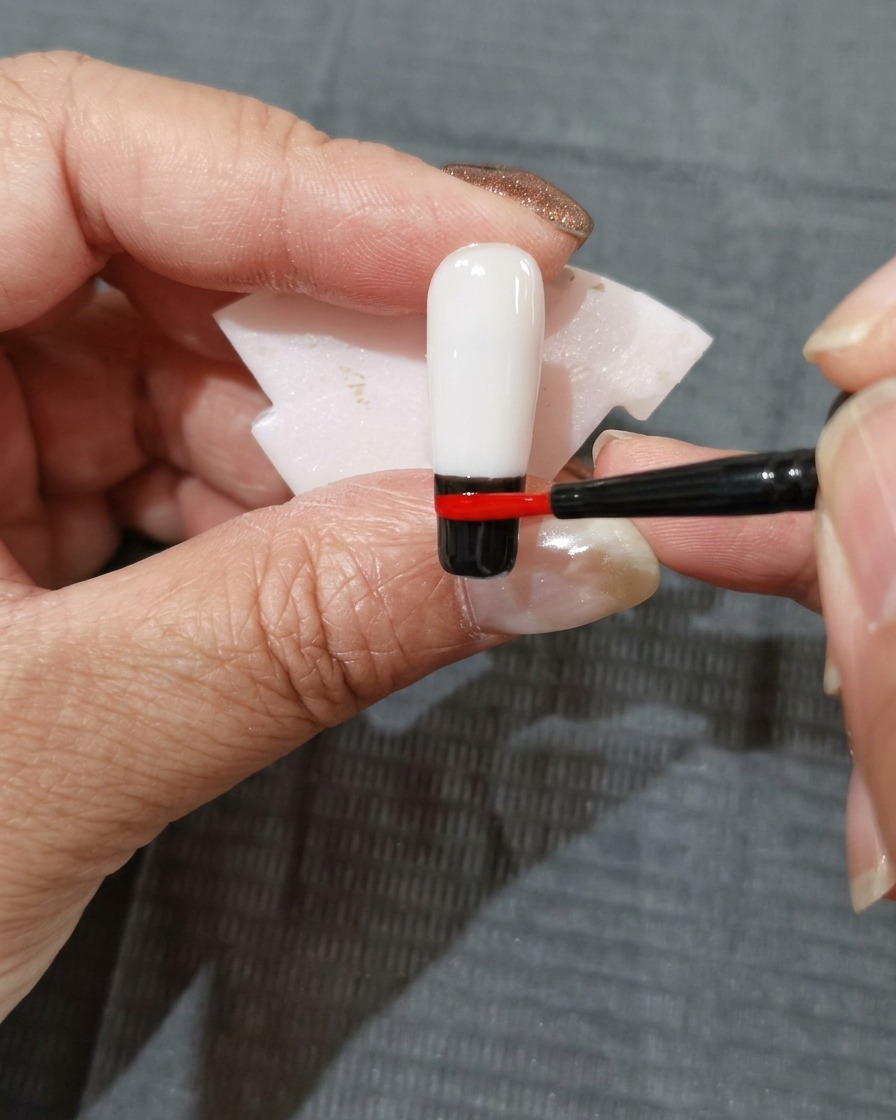
Apply a section of orange-red gel polish immediately above the red layer. Keep this layer consistent in thickness to ensure a smooth transition during the blending step.
Tip: Keep the color bands distinct for now; you will blend them together in the final step. - 4Add yellow-green layer
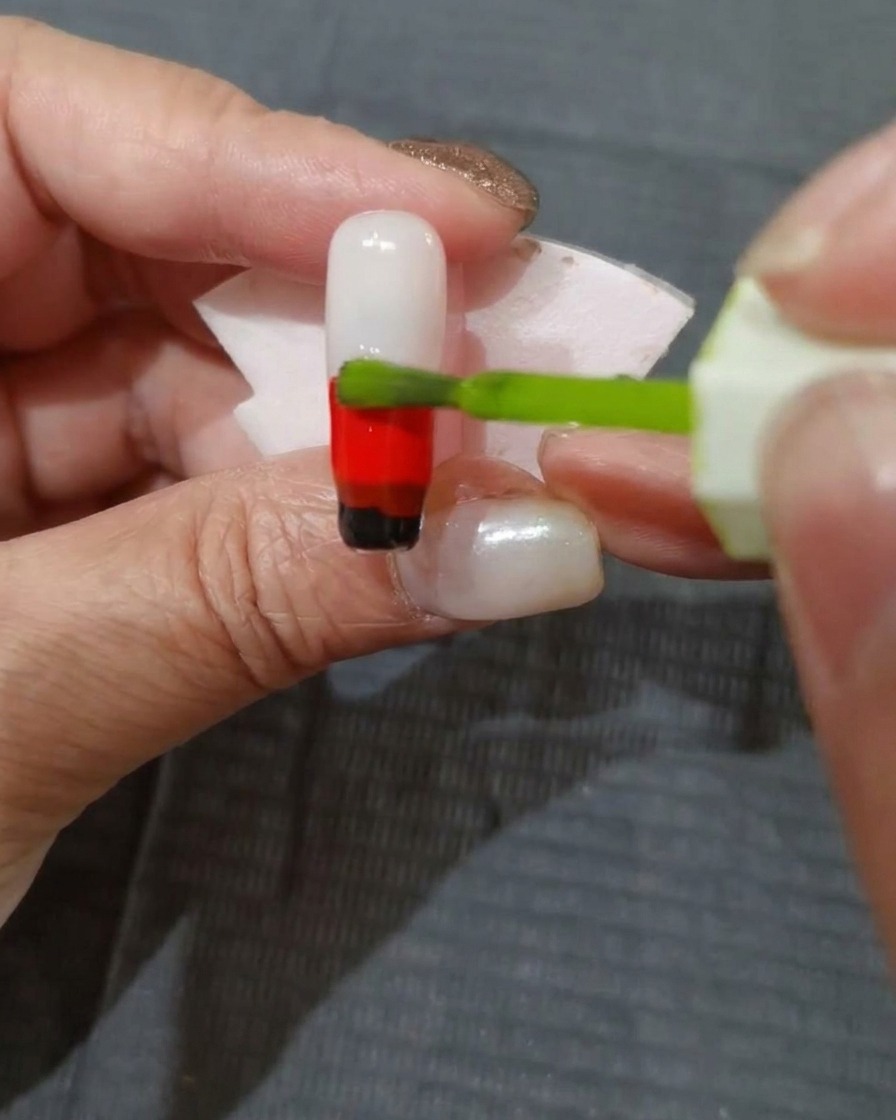
Finally, apply the yellow-green gel polish to the top section of the nail, completing the color sequence. Ensure all colors are applied while the base layers are still wet to facilitate proper blooming.
Tip: Ensure you dont over-saturate the nail with too much product, which can cause the polish to run or flood the cuticles. - 5Create the flame effect
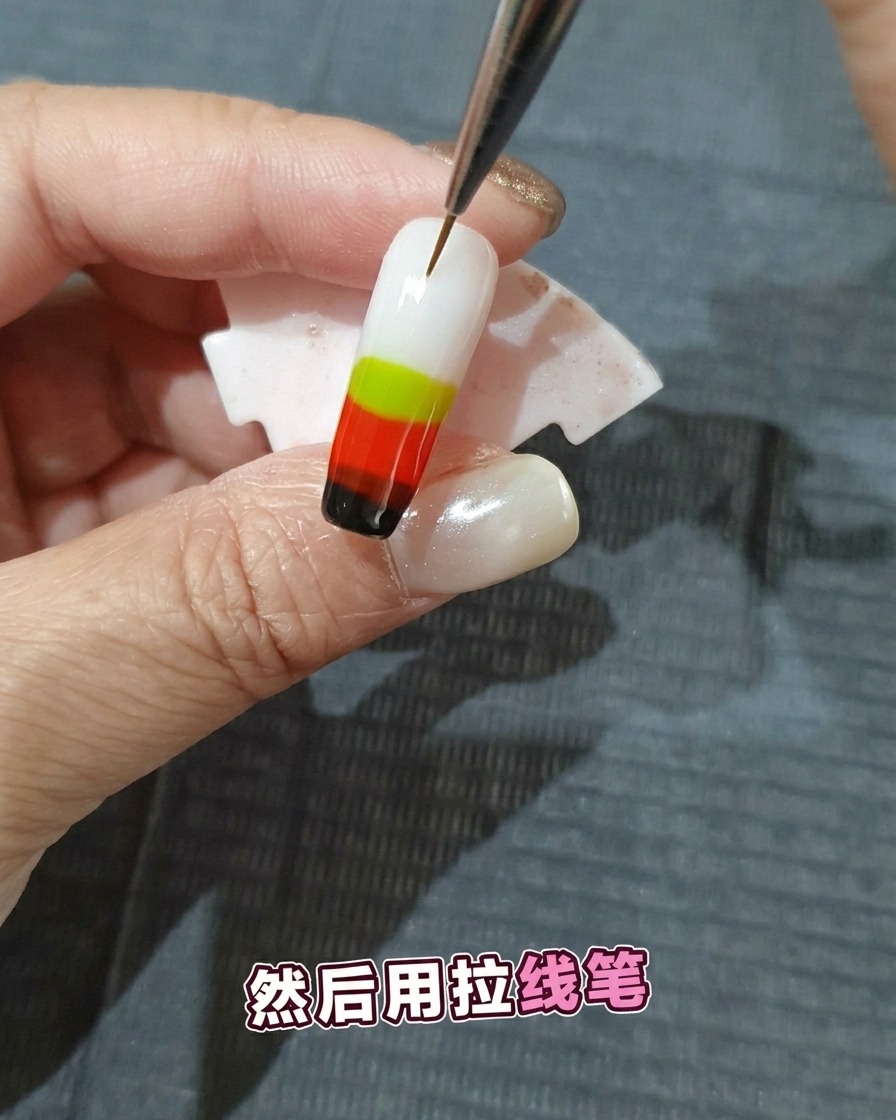
Using a thin liner brush, gently pull the wet colors upward from the bottom of the nail toward the top in long, streaky strokes. This movement creates the signature flame shapes as the colors bloom into each other.
Tip: Clean your liner brush on a lint-free wipe between strokes to keep the lines sharp and prevent muddying the colors.